
HID Conversion
#1
 07-17-2010, 12:36 AM


HID Conversion
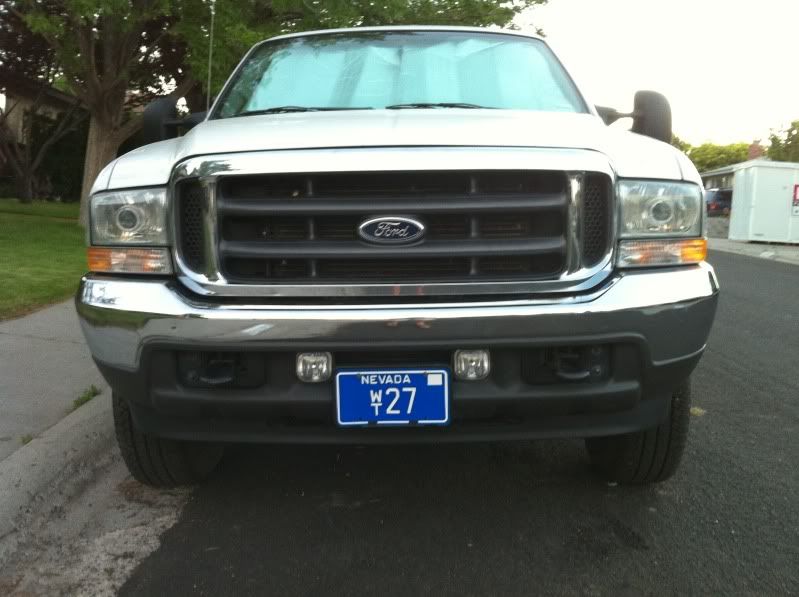
My first post on here was griping about the terrible lighting on the truck and how to get it brighter (my other car has Xeons on it so that is what I am used to) After a lot of research I decided to go with the kit provided by retro-solutions 9004 9007 HB1 HB5 Bixenon projector system, complete I highly recomend them Todd was great with working with me and good prices. I found a few posts where guys retro fited Acura projectors in their lights, I can tell you these are MUCH easier. I got the large lenses white angle eyes, and 51k bulbs.
I used this thread to take the headlights out:
https://www.ford-trucks.com/forums/9...te-how-to.html
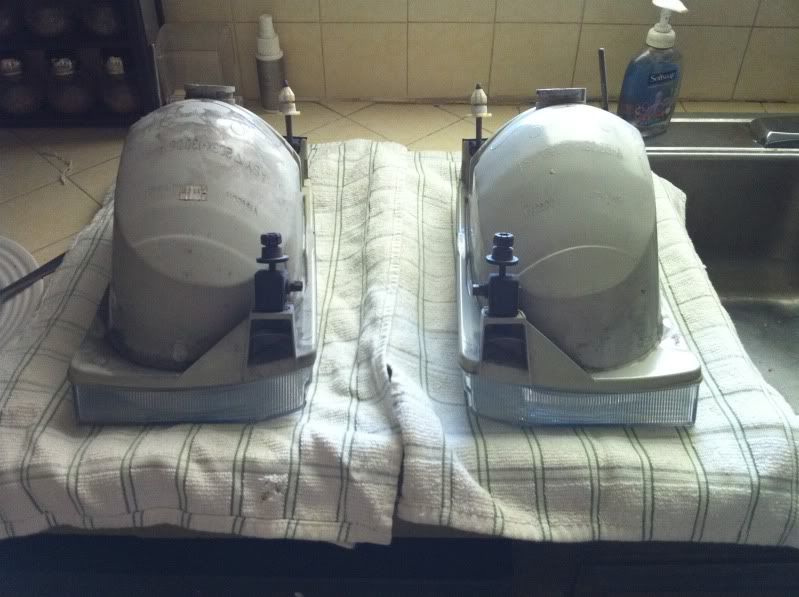
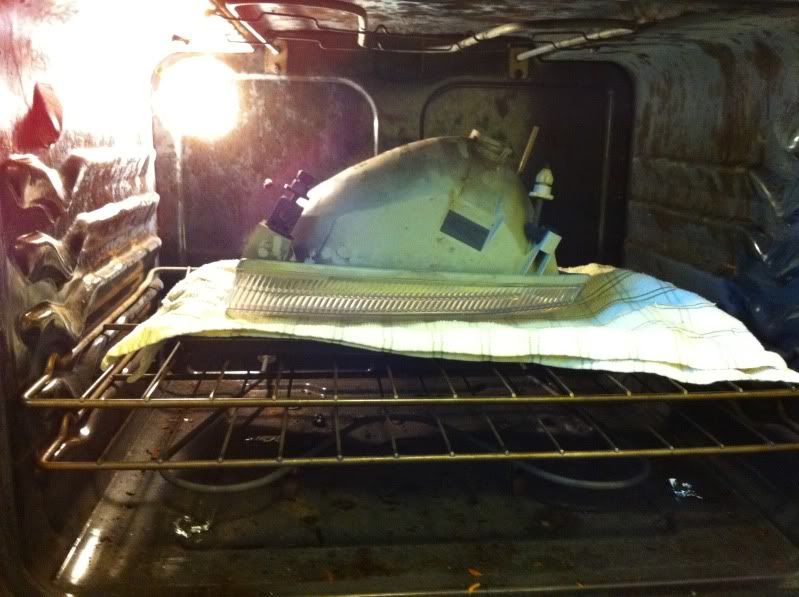
After you get the lights out you have to get the lenses off. This was the largest pain of the whole project. Todd said 200-220f I found it was more like 250 for about 25 mins before the lights would start to come apart. This glue in these lights DOES NOT get tacky either, even with a 800f heat gun blowing on it, it just kind of gets soft. Take your time with this and if they are not coming apart throw them back in the oven.

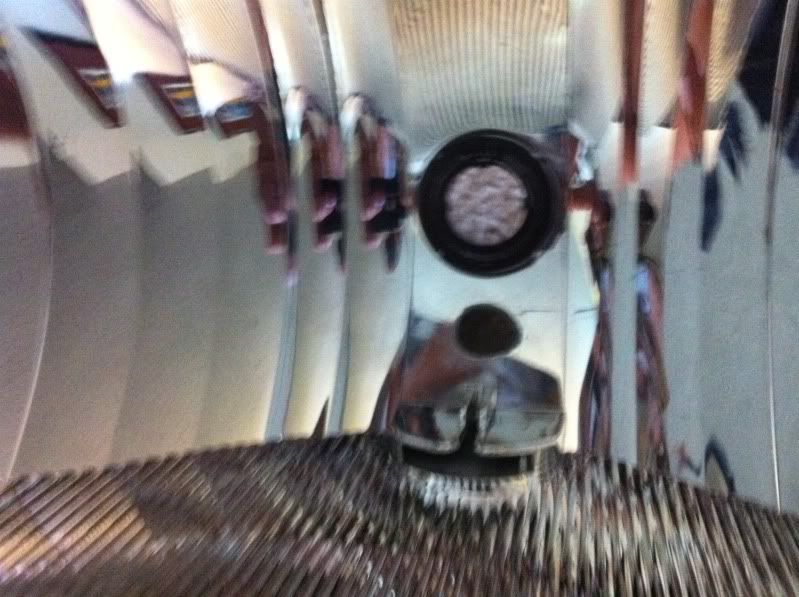
After you get them apart, you need to remove the defleltor that is in the housing, using a flathead screwdriver, put in the the open bottom and pull towards you, they slide your fairly easily. This should insure that you now have a light housing with no obstructions. You will also have to drill a small hole to fit the wires for the backlight (optional) and the angle eye, (white connector) The hold I used was about a 1/2 inch. I used a rubber grommet in the hole.

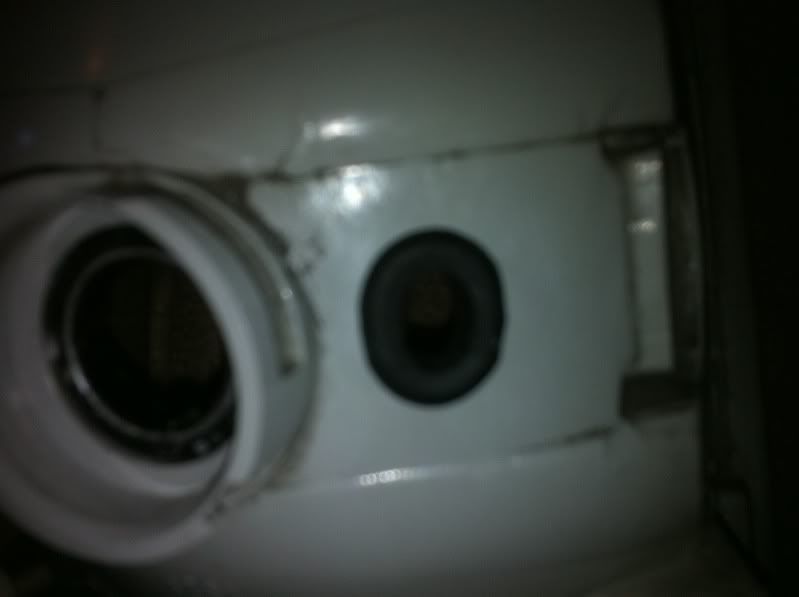
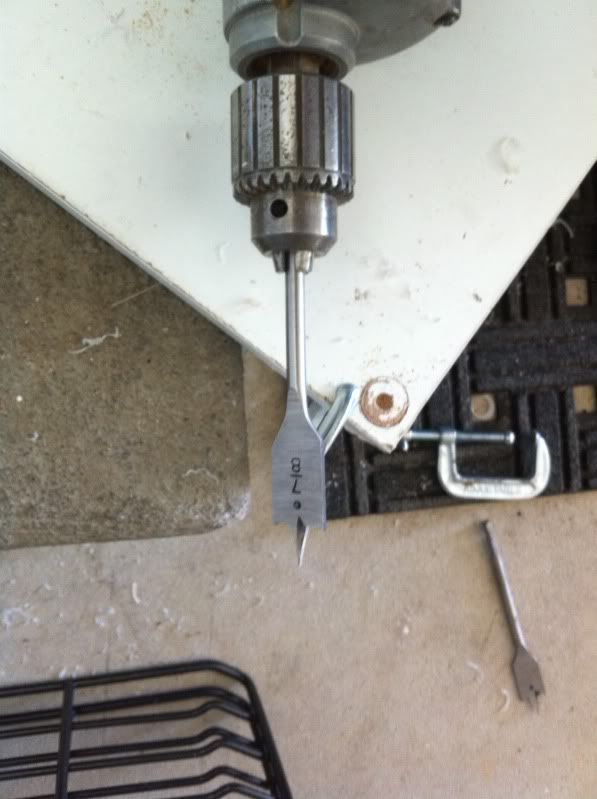
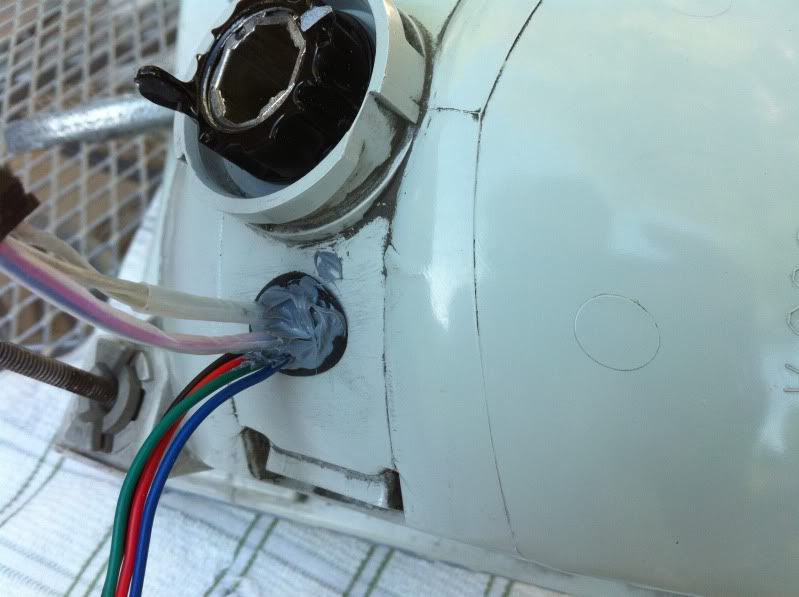
The one problem I found with the kit is that there is no washer for the back of the light housing, so if you shook it hard enough (similating off road bumps), the projector would fall forward. I could not find a metal washer that fit, so I found some teflon washers, that were the right outer diamater to fit in the bulb socket, and drilled out the middle with a 7/8 drill bit.

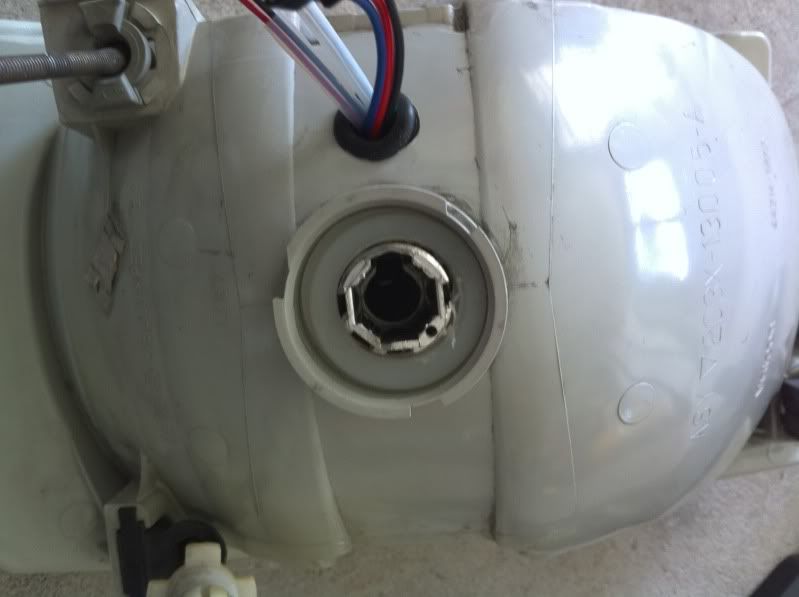
You can see the back with no washer, just tightening the lock washer and nut here the projector can fall forward
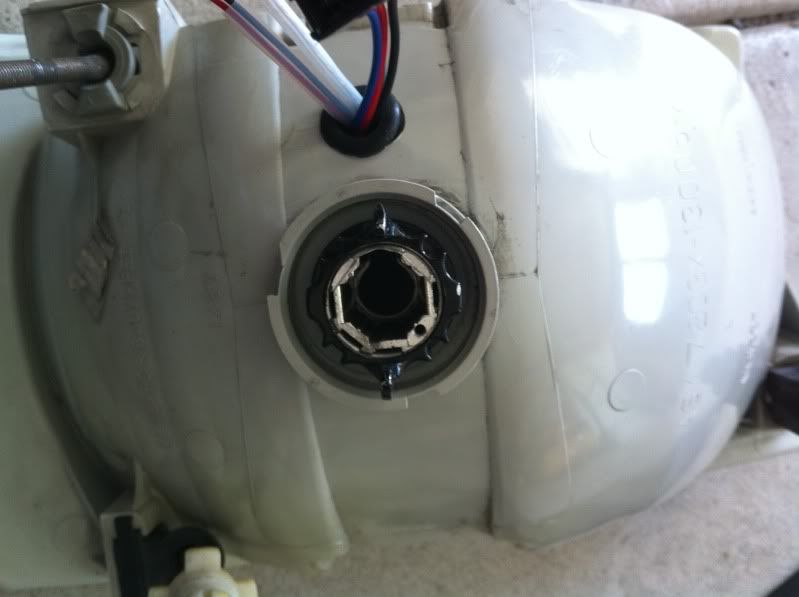
Here is the back, I used 2 wahers,
Now tightened
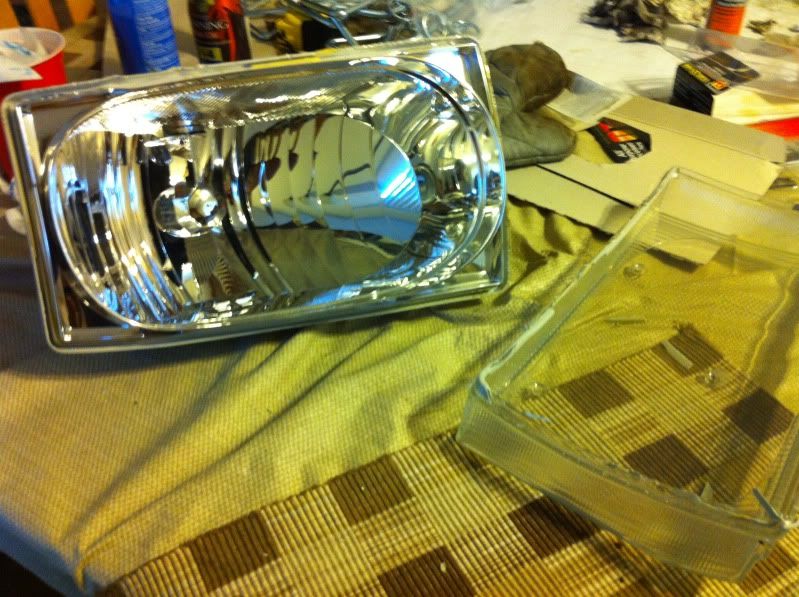
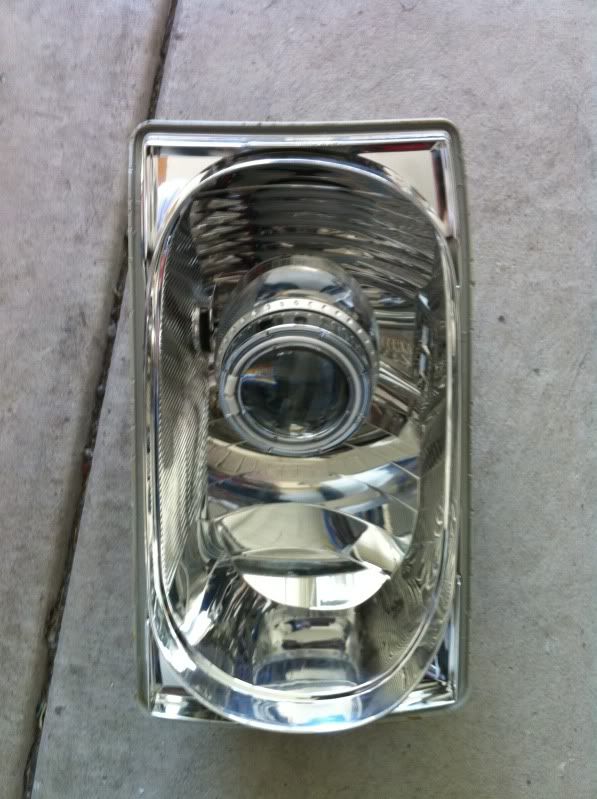
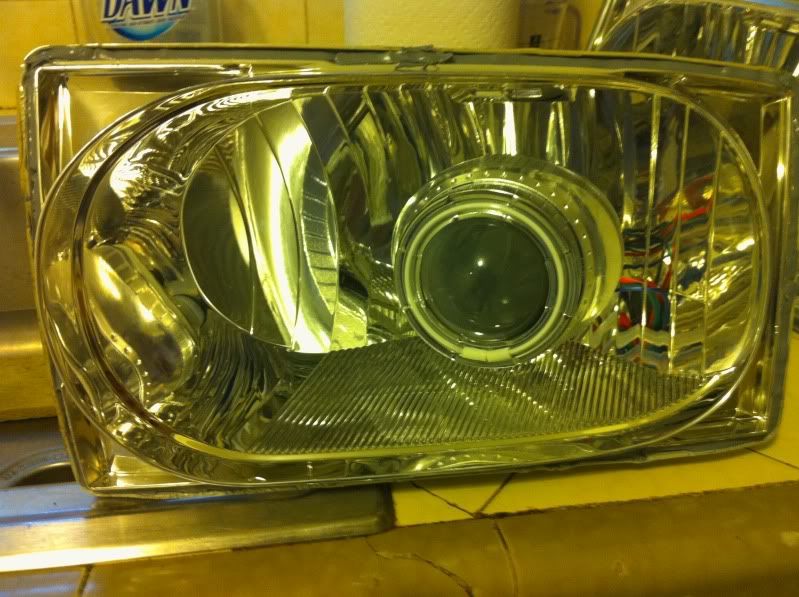
here is the front now assembled
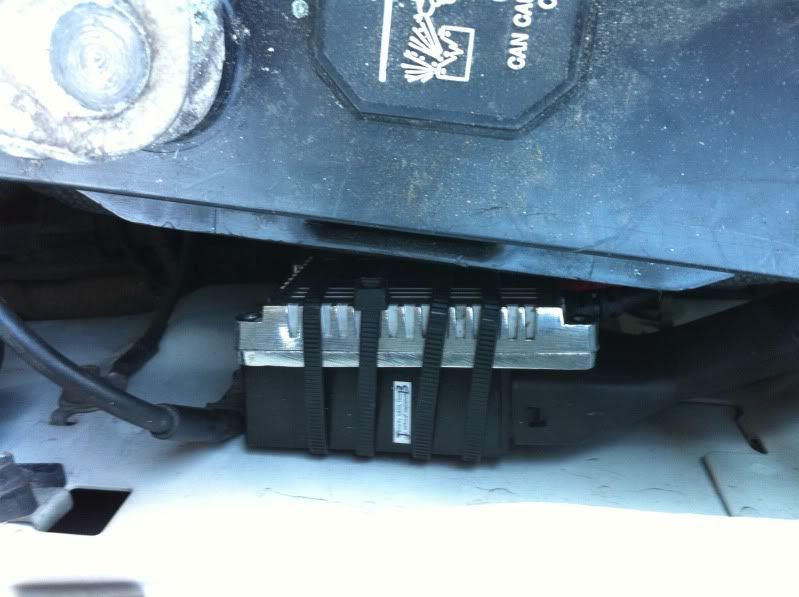
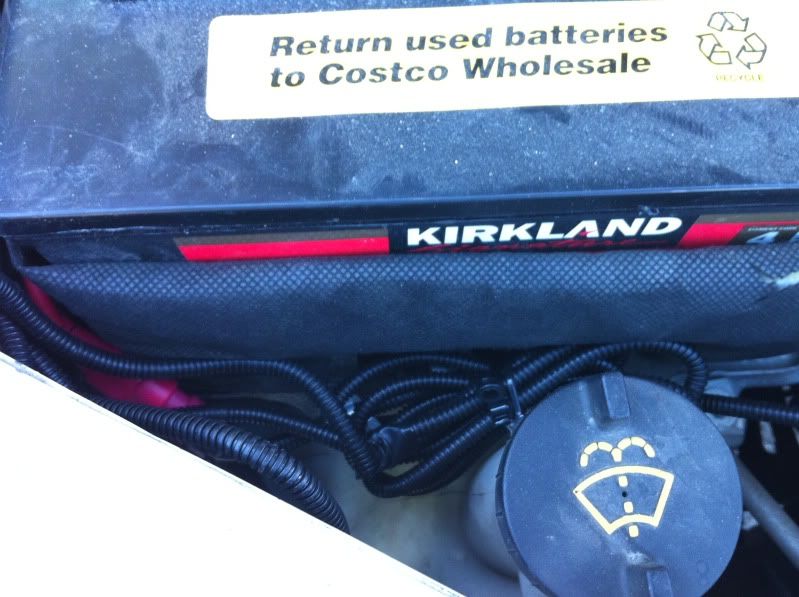
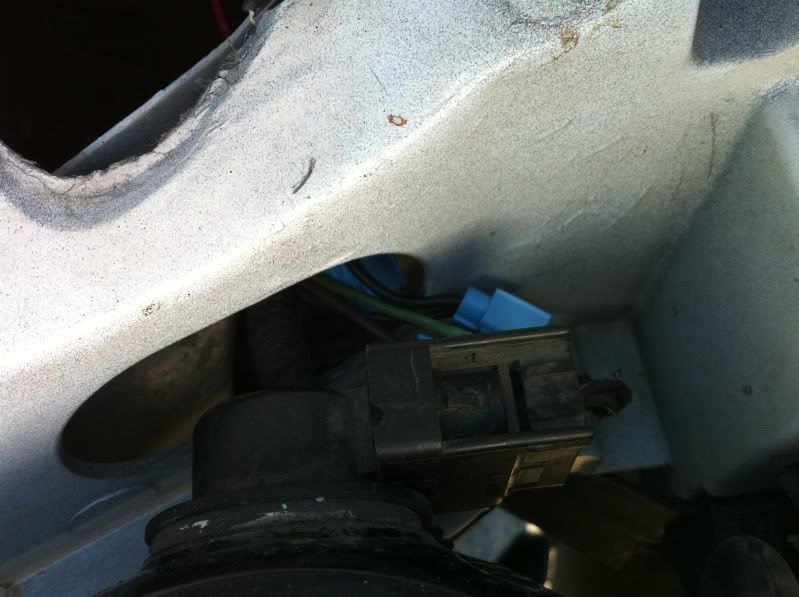
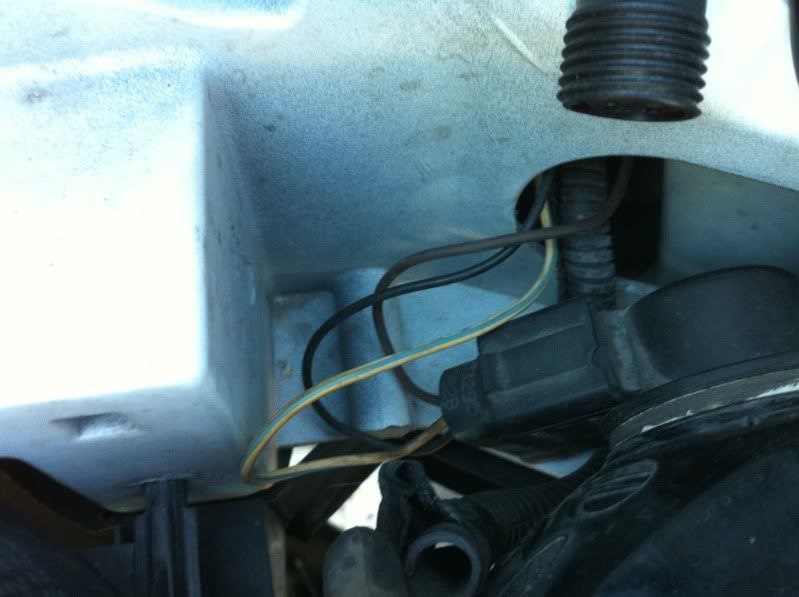
I then wired everthing up to make sure that everything was working properly. The advantage of the desiel is the 2 batteries so I ran the power lines for the ballasts to each battery. I tapped into the parking lights for the angle eyes labeled "power of caution light" on the kit. You can see that in the pics below:

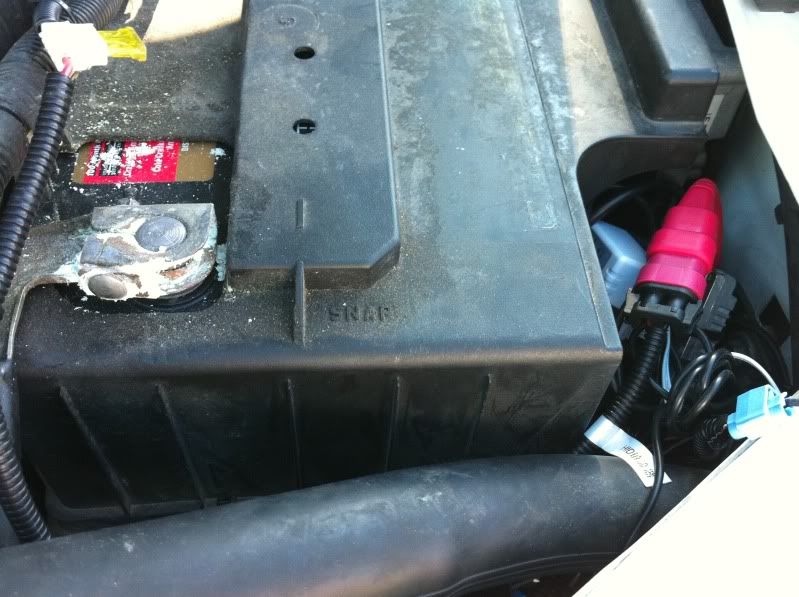

Here is the lights that I tapped into both have neg that is black the positives are the browns. You can take the connector off the parking light housing and put the wires in the connectors to test. I would also tap the backlight into the same positive as one side of the parking lights, you can fit both wires into 1 splice. Splice the other into the negative. This way they will both come on with the parking lights.
The rest is fairly simple to wire, you can take a srew off and use that for ground for the ballasts.
Once everything is tested and good to go, it is time to seal the lights back up. Make sure all the old sealant is off and you can easily put the lenses back into the housing. Once this is done, fill the housing ring with the provided sealant.
place in the over 220 for about 12 mins, with the lenses on. Take out, clamp together and let cool and dry for 2 hours. Seal up any other part of the light
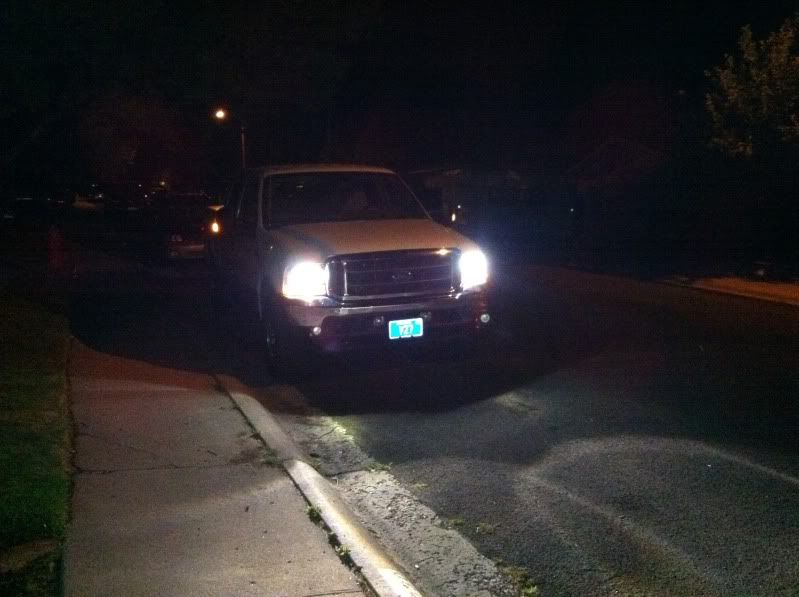
Now mount and do the final tweaks for alighment and you are good. I love bright lights! Great upgrade for the money
I used this thread to take the headlights out:
https://www.ford-trucks.com/forums/9...te-how-to.html
After you get the lights out you have to get the lenses off. This was the largest pain of the whole project. Todd said 200-220f I found it was more like 250 for about 25 mins before the lights would start to come apart. This glue in these lights DOES NOT get tacky either, even with a 800f heat gun blowing on it, it just kind of gets soft. Take your time with this and if they are not coming apart throw them back in the oven.
After you get them apart, you need to remove the defleltor that is in the housing, using a flathead screwdriver, put in the the open bottom and pull towards you, they slide your fairly easily. This should insure that you now have a light housing with no obstructions. You will also have to drill a small hole to fit the wires for the backlight (optional) and the angle eye, (white connector) The hold I used was about a 1/2 inch. I used a rubber grommet in the hole.
The one problem I found with the kit is that there is no washer for the back of the light housing, so if you shook it hard enough (similating off road bumps), the projector would fall forward. I could not find a metal washer that fit, so I found some teflon washers, that were the right outer diamater to fit in the bulb socket, and drilled out the middle with a 7/8 drill bit.
You can see the back with no washer, just tightening the lock washer and nut here the projector can fall forward
Here is the back, I used 2 wahers,
Now tightened
here is the front now assembled
I then wired everthing up to make sure that everything was working properly. The advantage of the desiel is the 2 batteries so I ran the power lines for the ballasts to each battery. I tapped into the parking lights for the angle eyes labeled "power of caution light" on the kit. You can see that in the pics below:
Here is the lights that I tapped into both have neg that is black the positives are the browns. You can take the connector off the parking light housing and put the wires in the connectors to test. I would also tap the backlight into the same positive as one side of the parking lights, you can fit both wires into 1 splice. Splice the other into the negative. This way they will both come on with the parking lights.
The rest is fairly simple to wire, you can take a srew off and use that for ground for the ballasts.
Once everything is tested and good to go, it is time to seal the lights back up. Make sure all the old sealant is off and you can easily put the lenses back into the housing. Once this is done, fill the housing ring with the provided sealant.
place in the over 220 for about 12 mins, with the lenses on. Take out, clamp together and let cool and dry for 2 hours. Seal up any other part of the light
Now mount and do the final tweaks for alighment and you are good. I love bright lights! Great upgrade for the money
#2
07-17-2010, 12:40 AM
Posting Guru
Join Date: Jul 2010
Location: Fort Worth
Posts: 1,711
Likes: 0
Received 0 Likes
on
0 Posts
#3
07-17-2010, 12:45 AM
#4
07-17-2010, 01:38 AM
Here is an example this is a pic of HID in the stock housing no projectors, then a pic of the same headlight with projectors. You can see the thread for yourself, this is where my research started.
Bixenon Projector retrofit - Ford Powerstroke Diesel Forum


Bixenon Projector retrofit - Ford Powerstroke Diesel Forum

Thread
Thread Starter
Forum
Replies
Last Post