newrider3's F-100

#77
 12-09-2010, 07:58 AM
Elder User
Join Date: May 2007
Location: NY (not the city!!)
Posts: 523
Likes: 0
Received 0 Likes
on
0 Posts
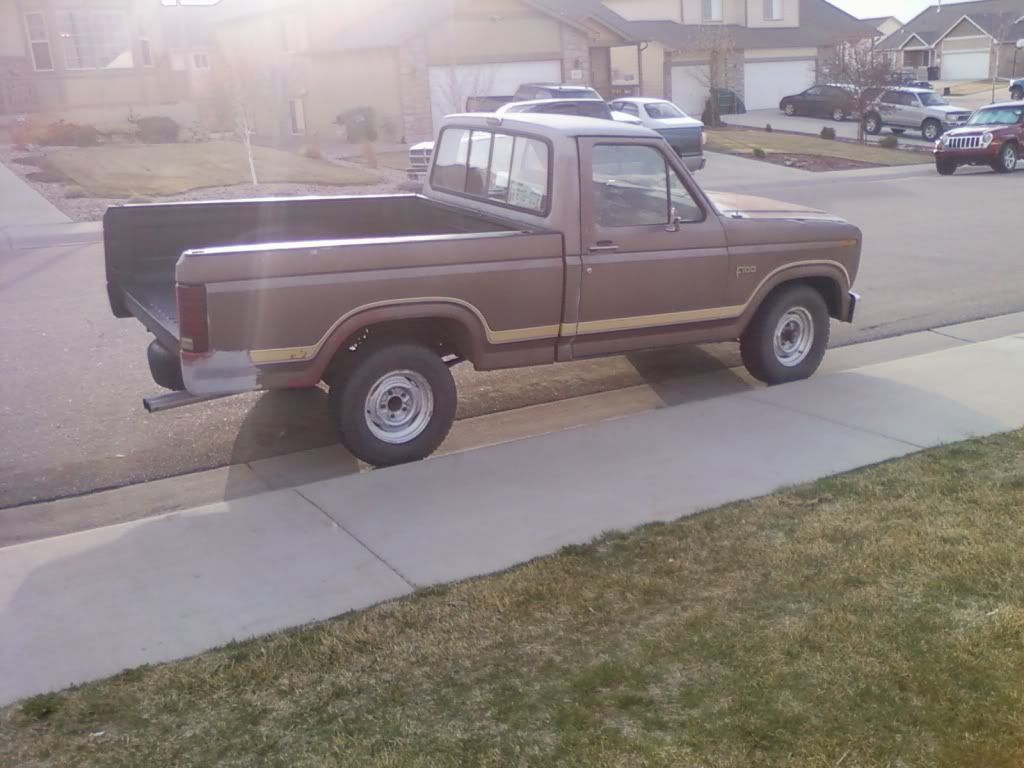
Awesome build. Its amazing what a little hard work is capapble of. The sad truth is that most people would have junked that truck. I would try to keep the the original color if possible. Its hard to believe how good these trucks look in brown. My dads old 1980 F-250 is copper colored (just a fancy way of saying brown haha) and I love it. I cant say im a fan of the rat rod stuff but you are being consistant with your theme and its coming together really well. All the personal touches make it very unique. Keep up the good work!
#78
12-09-2010, 08:26 PM
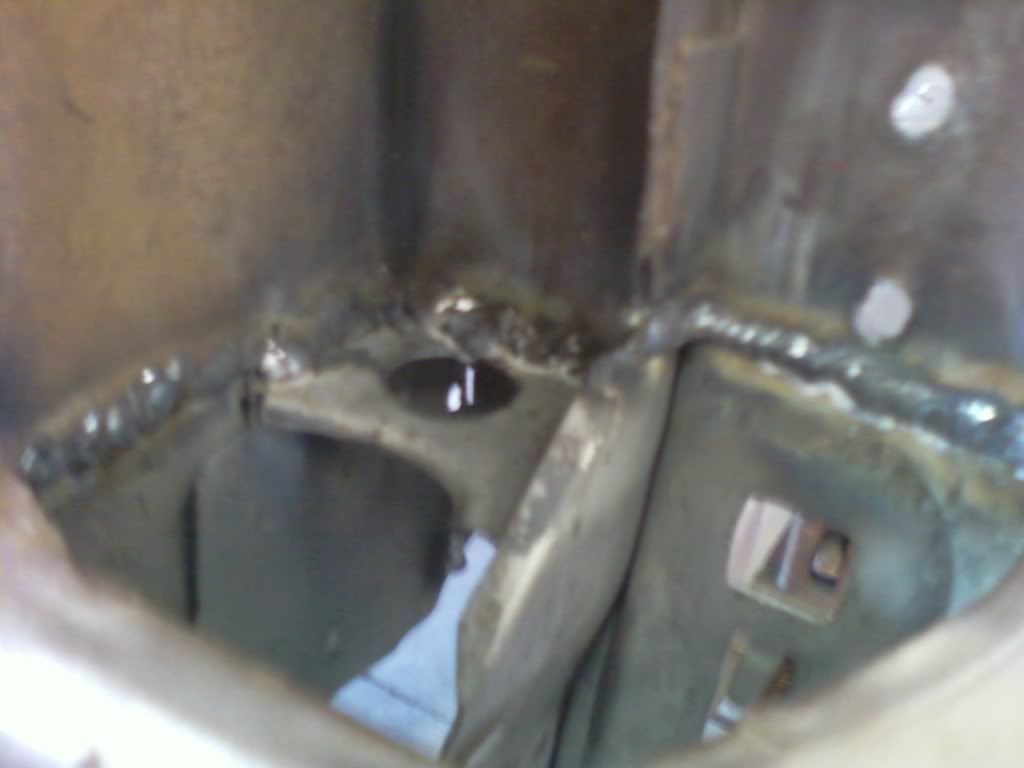
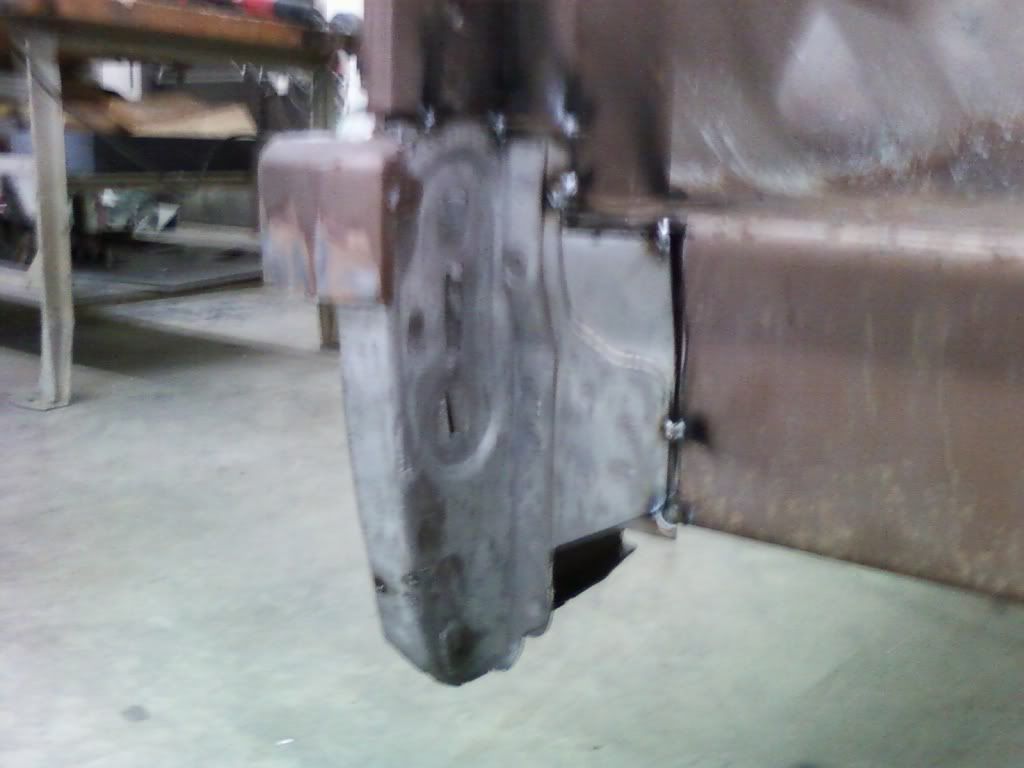
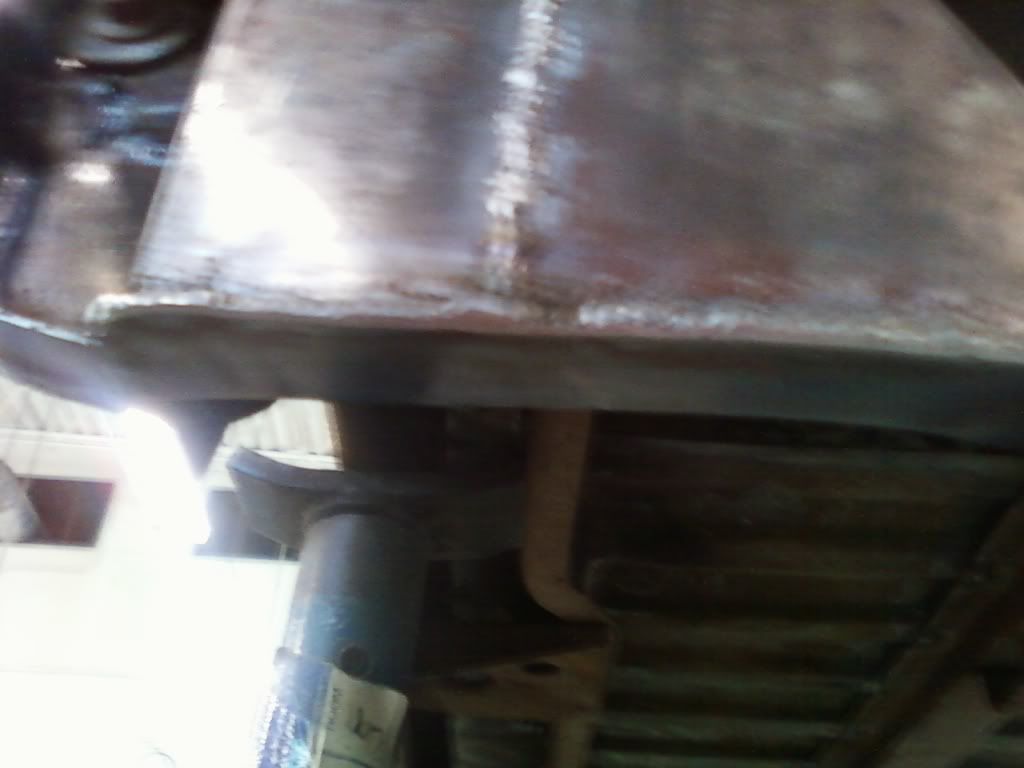
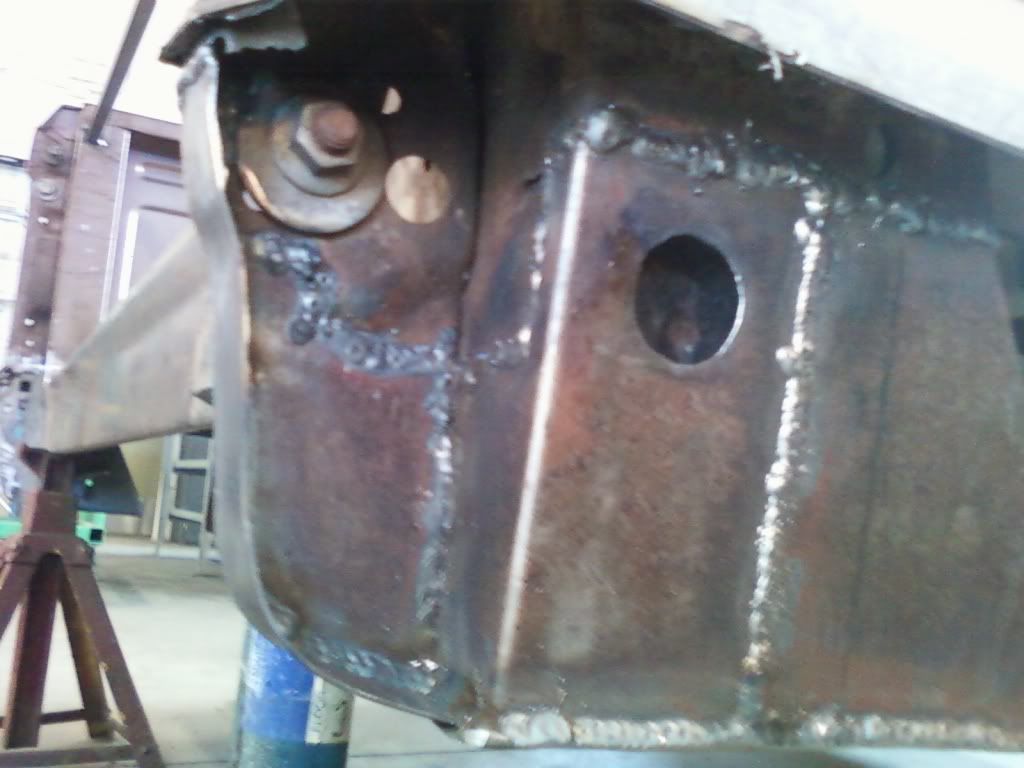
Began replicating the inner structure on the passenger side, more of the inner structure was salvageable so I'm just making the outer bits from scratch. Even replicated the big hole from the original with the plasma cutter, just incase it was actually there for something important.

Awesome build. Its amazing what a little hard work is capapble of. The sad truth is that most people would have junked that truck. I would try to keep the the original color if possible.I cant say im a fan of the rat rod stuff but you are being consistant with your theme and its coming together really well. All the personal touches make it very unique. Keep up the good work!

#81
12-26-2010, 08:06 PM
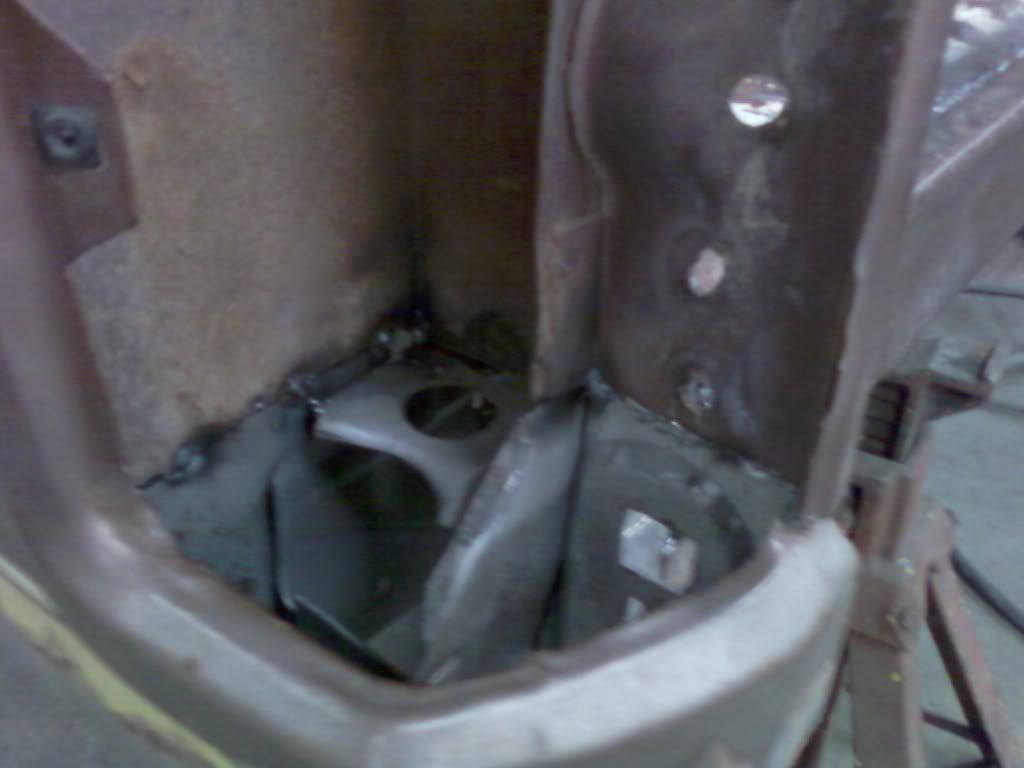
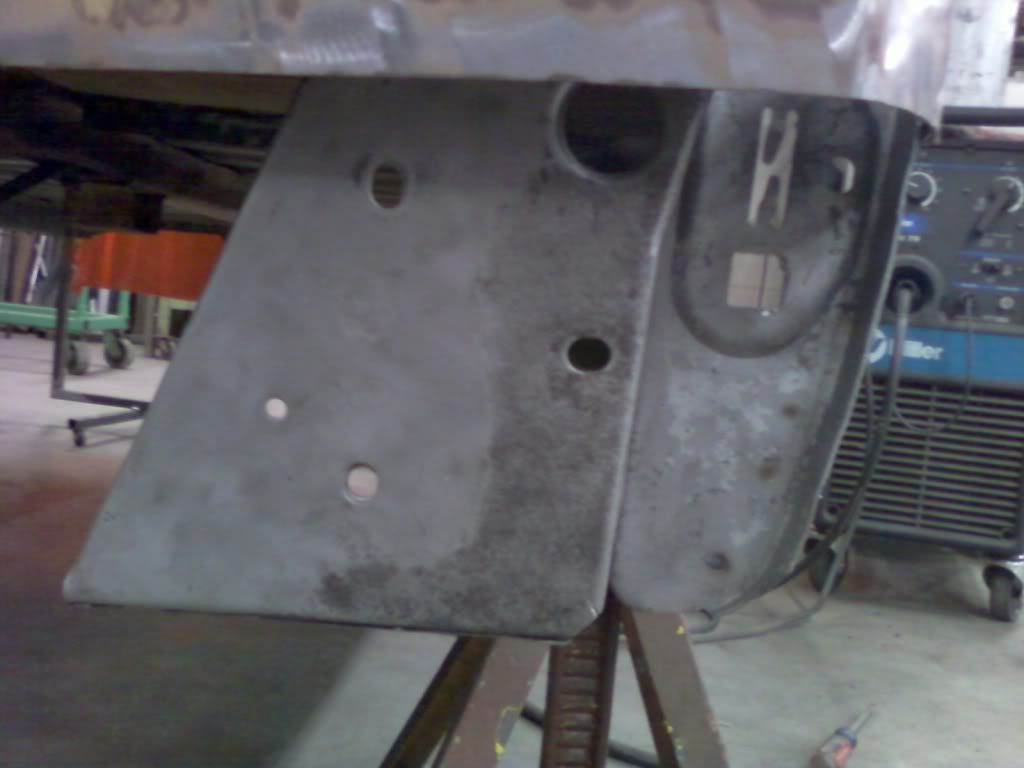
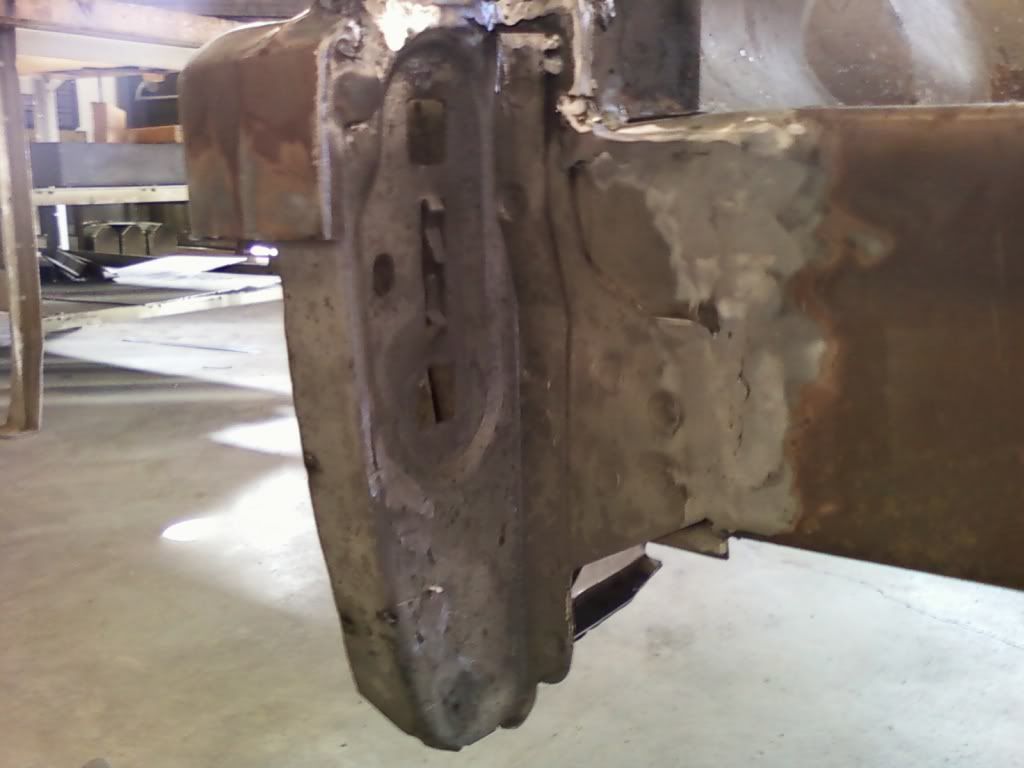
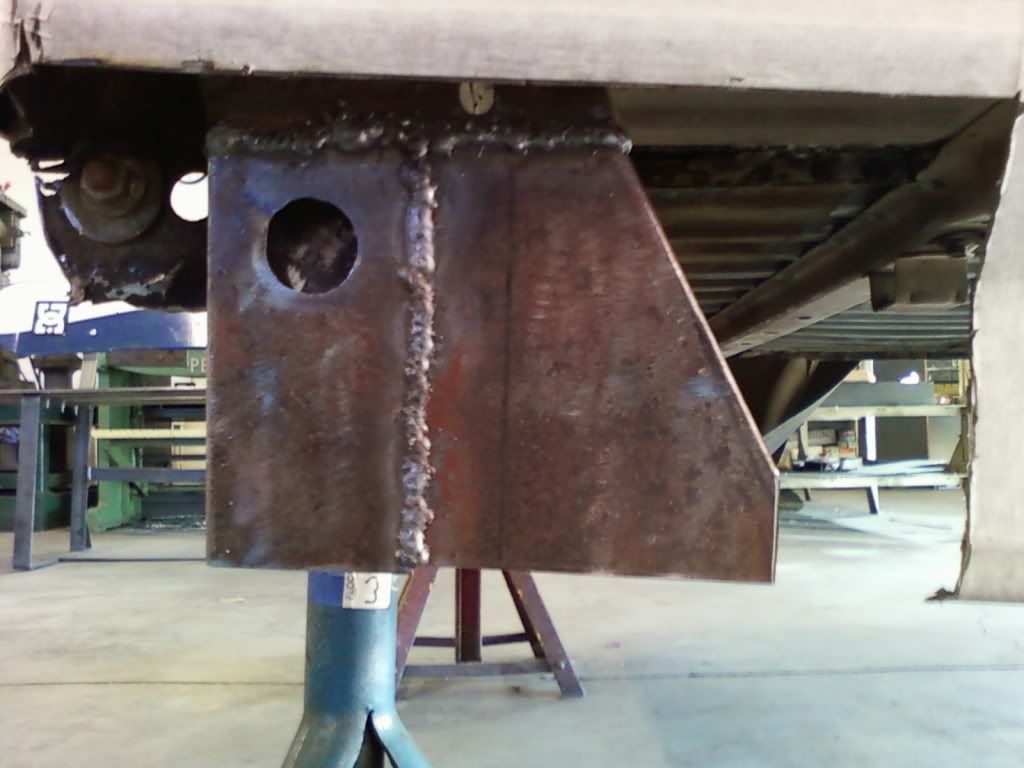
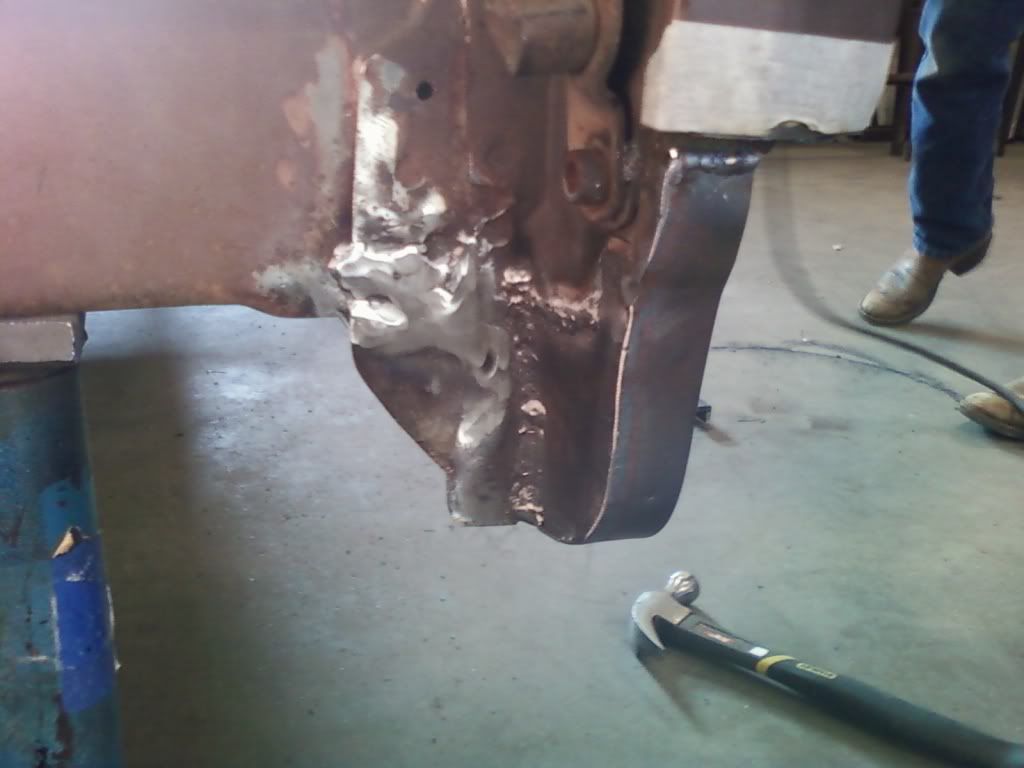
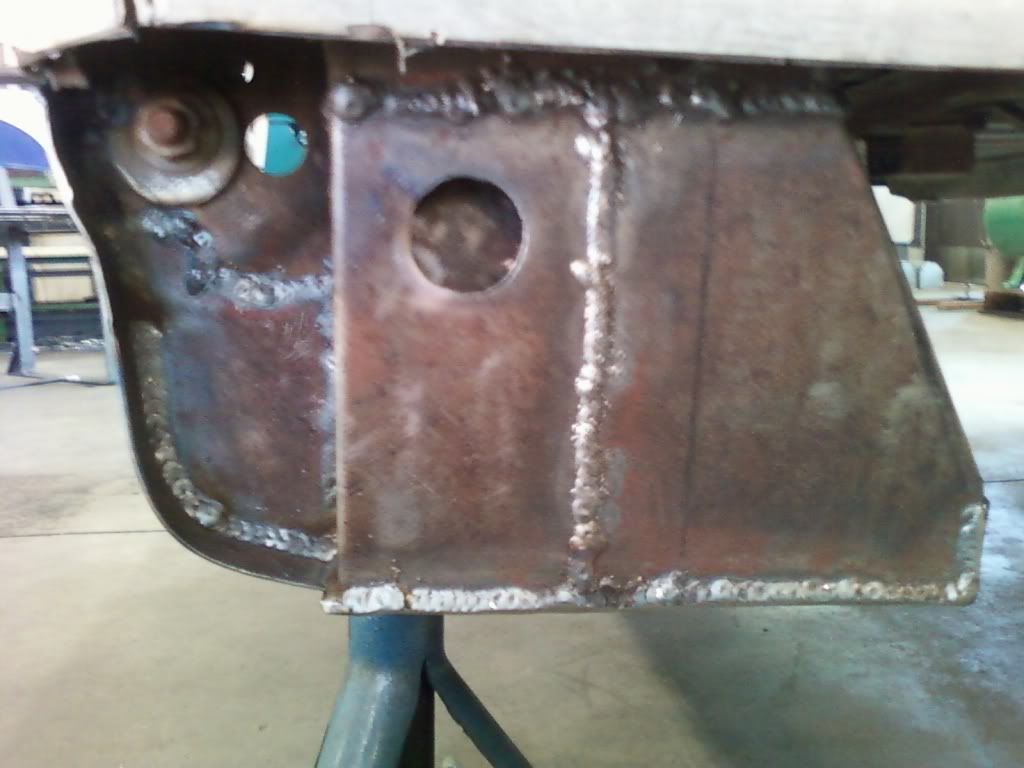
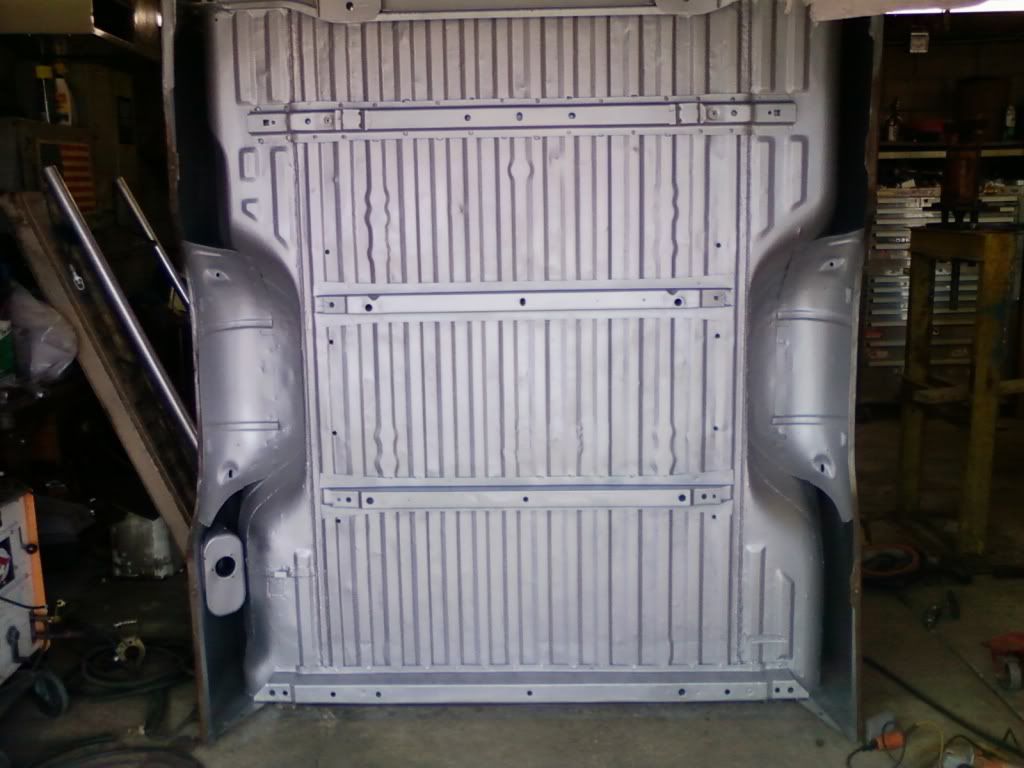
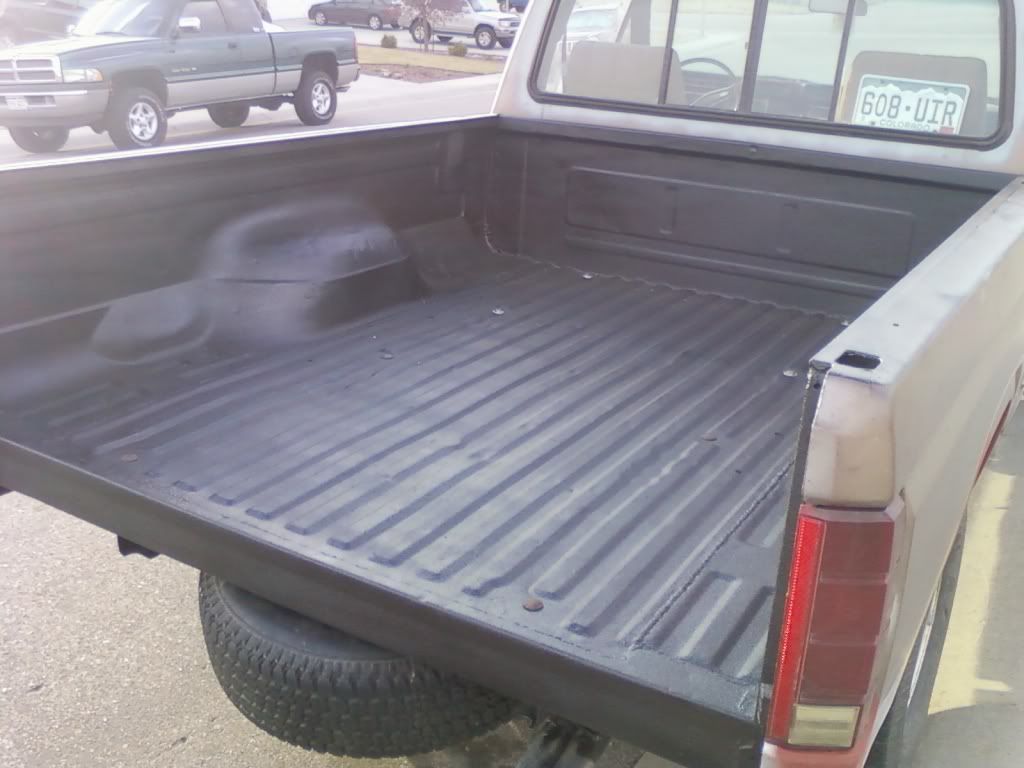
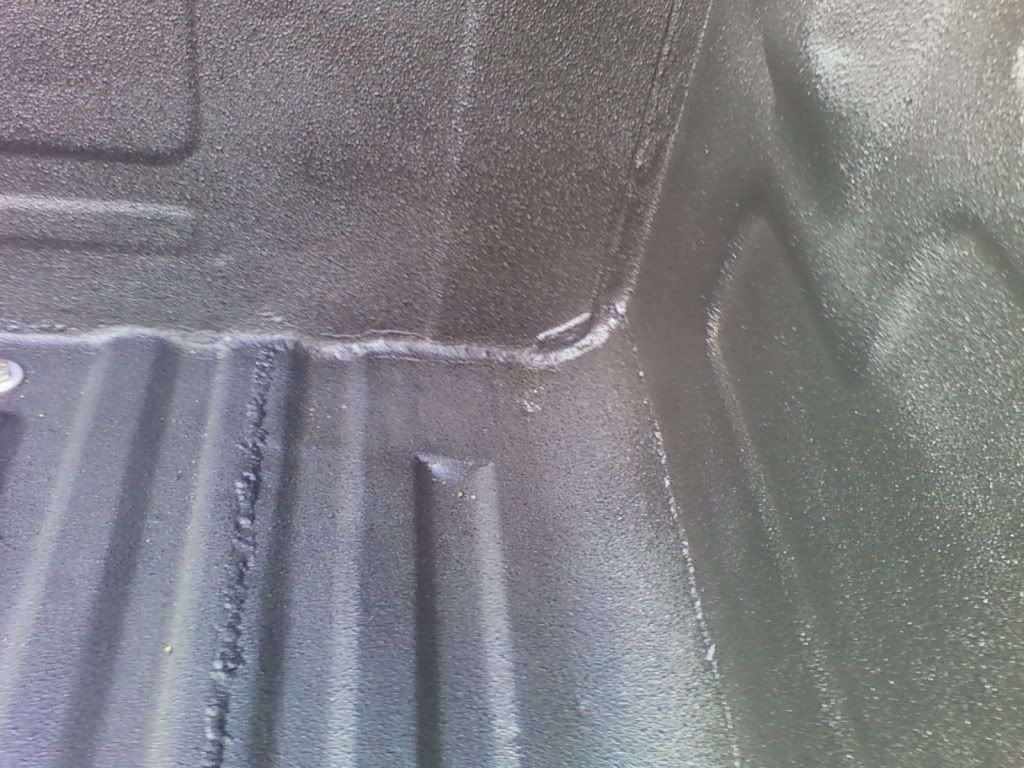
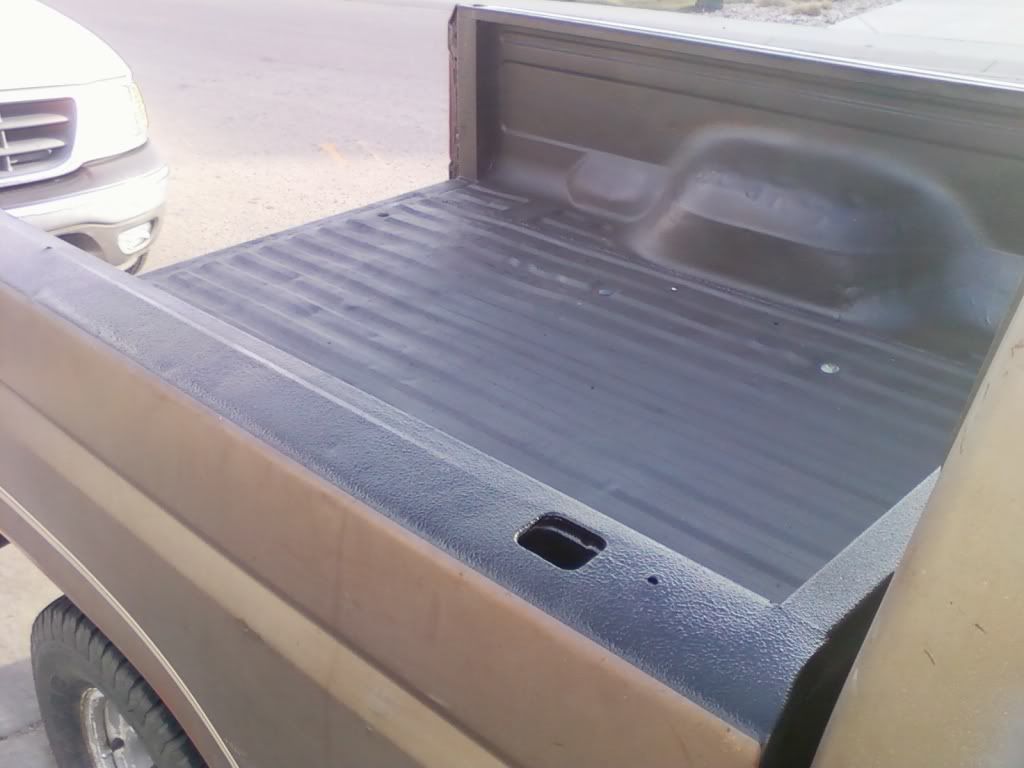
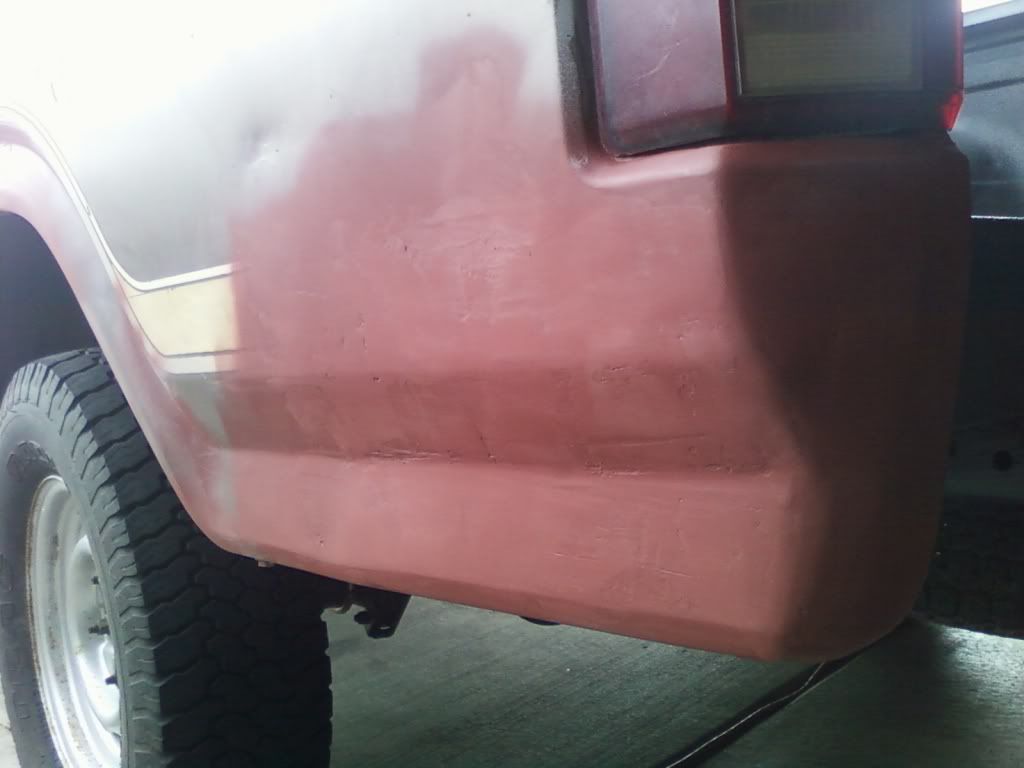
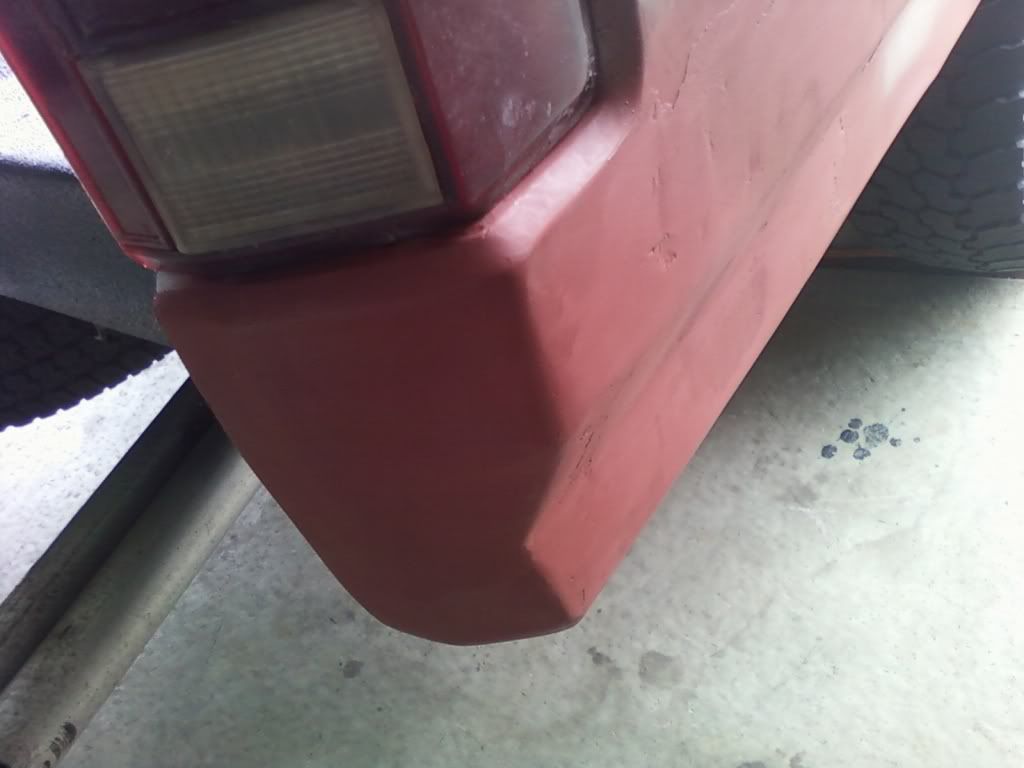
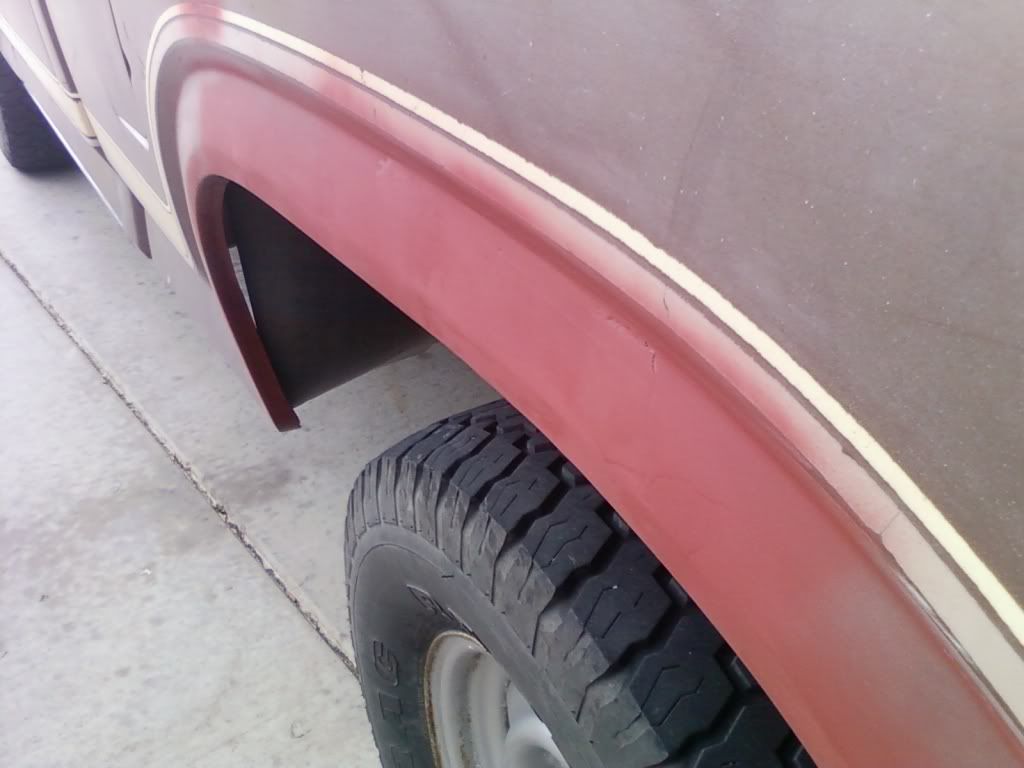
I finished up the outer skins last week, just in time to take the bed home for break. Being the cheap ******* I am, I couldn't afford the $80 for two new patch panels, so I just made the corners out of several sections. Just need to grind them down a bit.
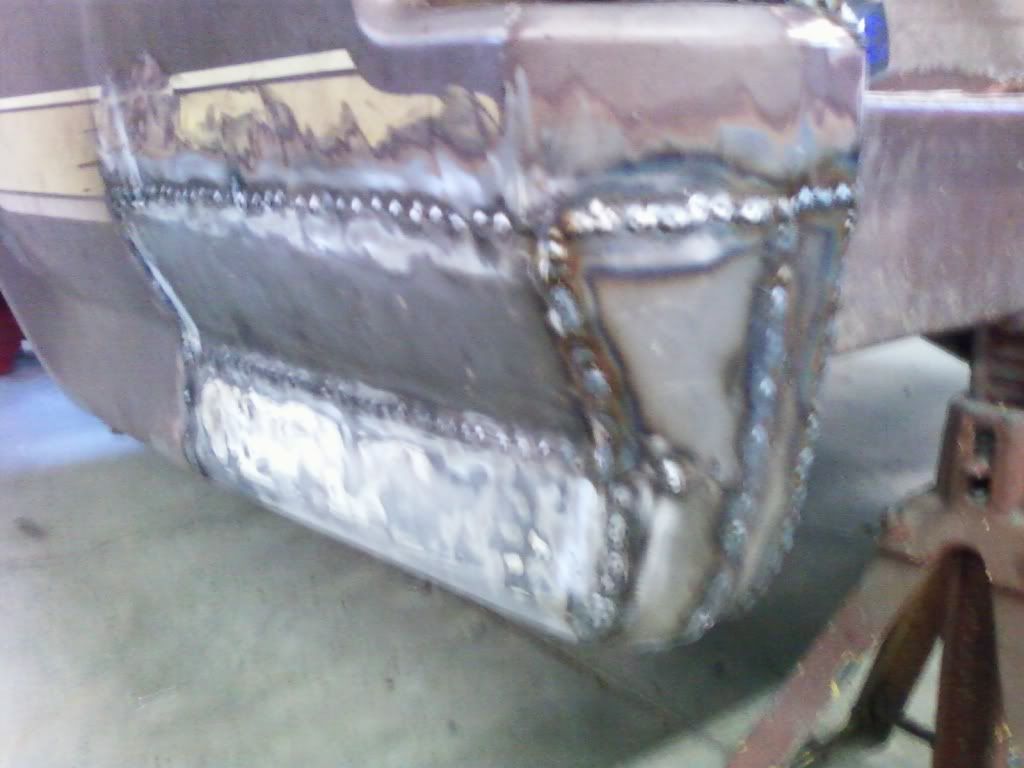
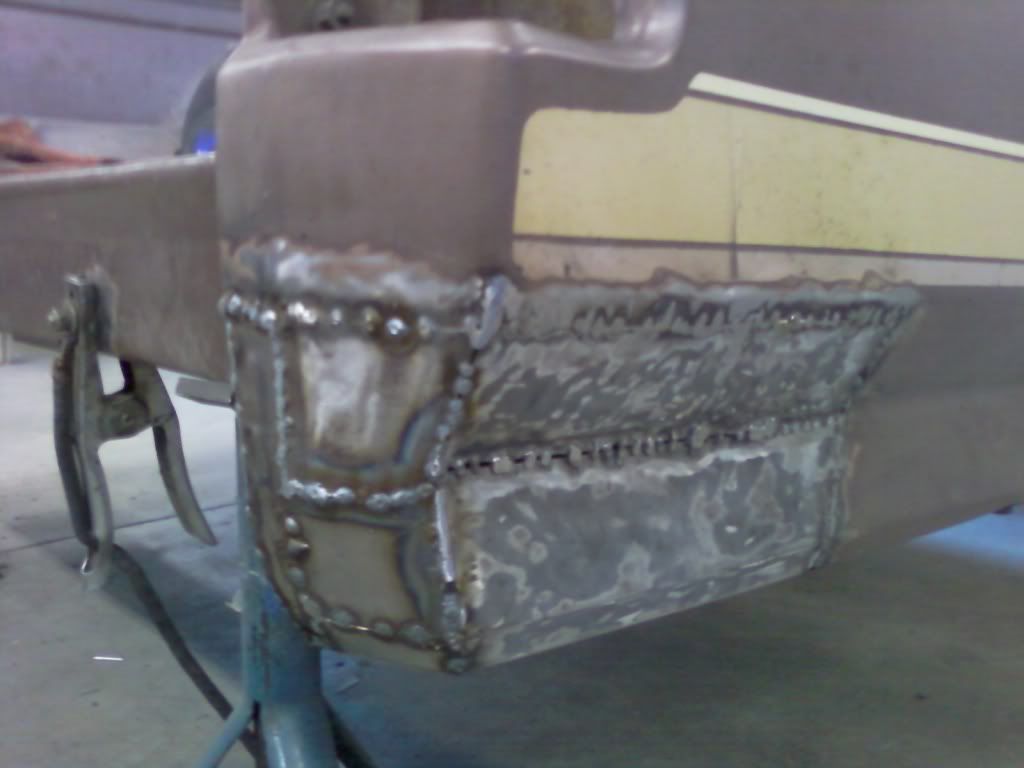
Taking the bed back off with only two people is a bit harder than putting it on with six people...
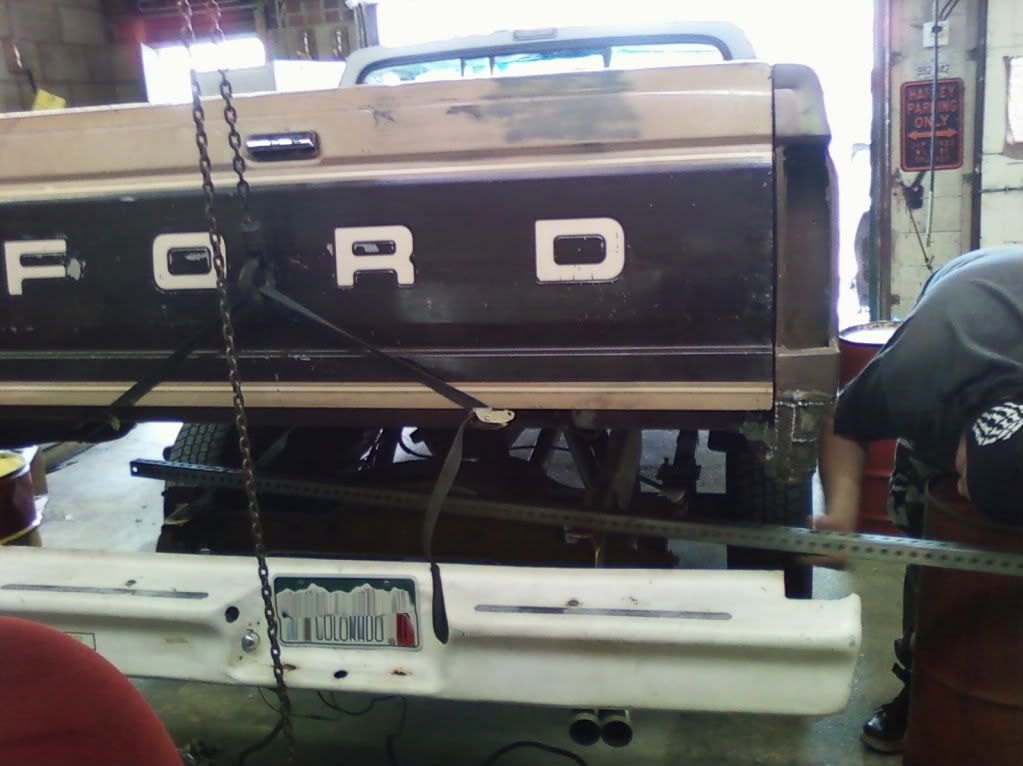
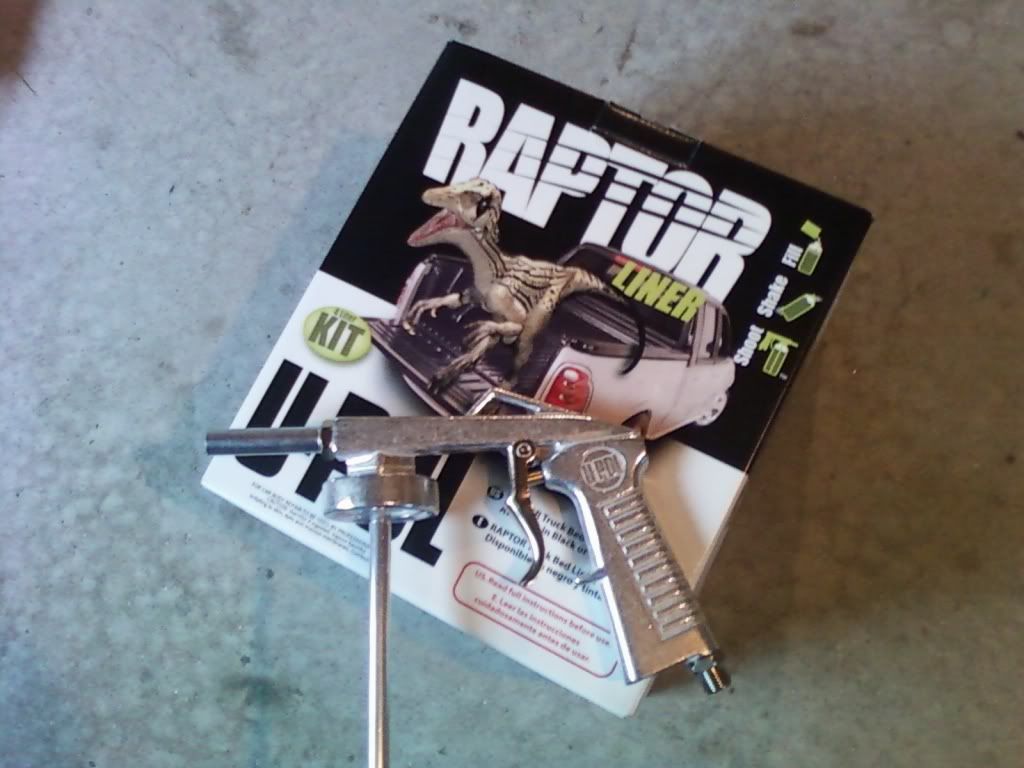
About to place an order for some MasterSeries to protect the new steel, and some Raptor Bedliner to undercoat the bed...
.
Taking the bed back off with only two people is a bit harder than putting it on with six people...
About to place an order for some MasterSeries to protect the new steel, and some Raptor Bedliner to undercoat the bed...
.
#82
03-27-2011, 05:04 PM
Fleet Mechanic
Join Date: Jan 2011
Location: West Valley City
Posts: 1,479
Likes: 0
Received 0 Likes
on
0 Posts
#83
03-27-2011, 06:03 PM
Post Fiend
Somehow, I missed this. I'll likely do the same thing for my bed. It had minor rust issues on the lower corners when I bought it 13+ years ago. Hasn't got much worse though....
I finished up the outer skins last week, just in time to take the bed home for break. Being the cheap ******* I am, I couldn't afford the $80 for two new patch panels, so I just made the corners out of several sections. Just need to grind them down a bit.
Taking the bed back off with only two people is a bit harder than putting it on with six people...
About to place an order for some MasterSeries to protect the new steel, and some Raptor Bedliner to undercoat the bed...
.
Taking the bed back off with only two people is a bit harder than putting it on with six people...
About to place an order for some MasterSeries to protect the new steel, and some Raptor Bedliner to undercoat the bed...
.
#84
03-28-2011, 10:21 PM
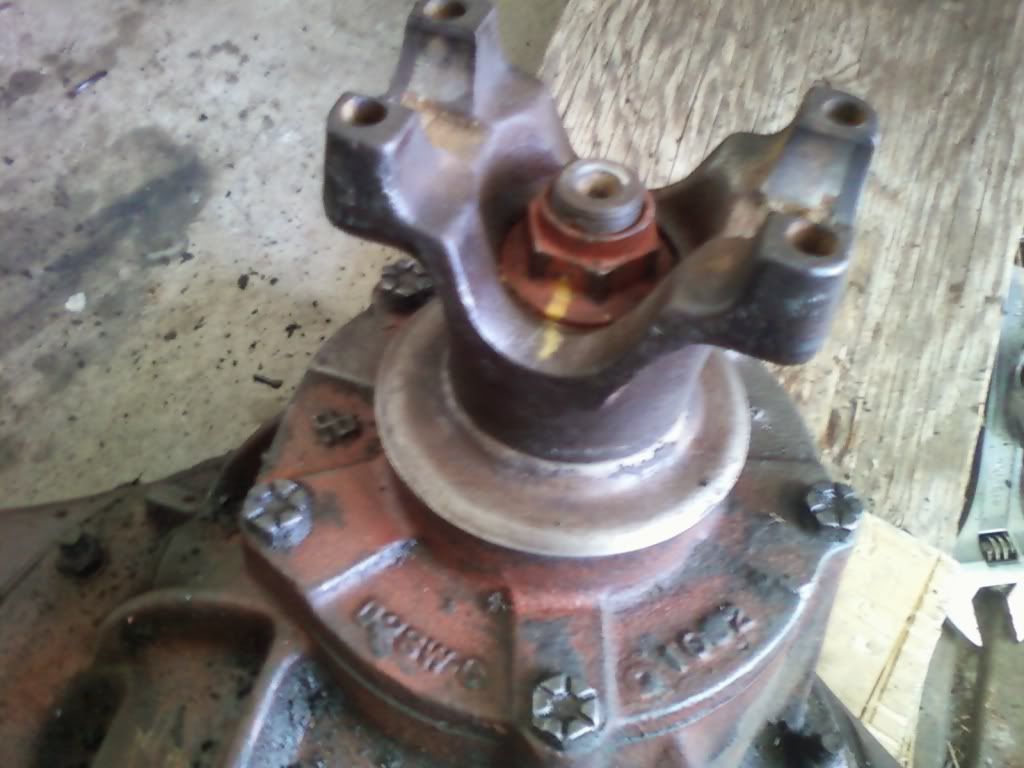
Got my rear brakes back together, was originally just going to replace the shoes, ended up needing wheel cylinders too.
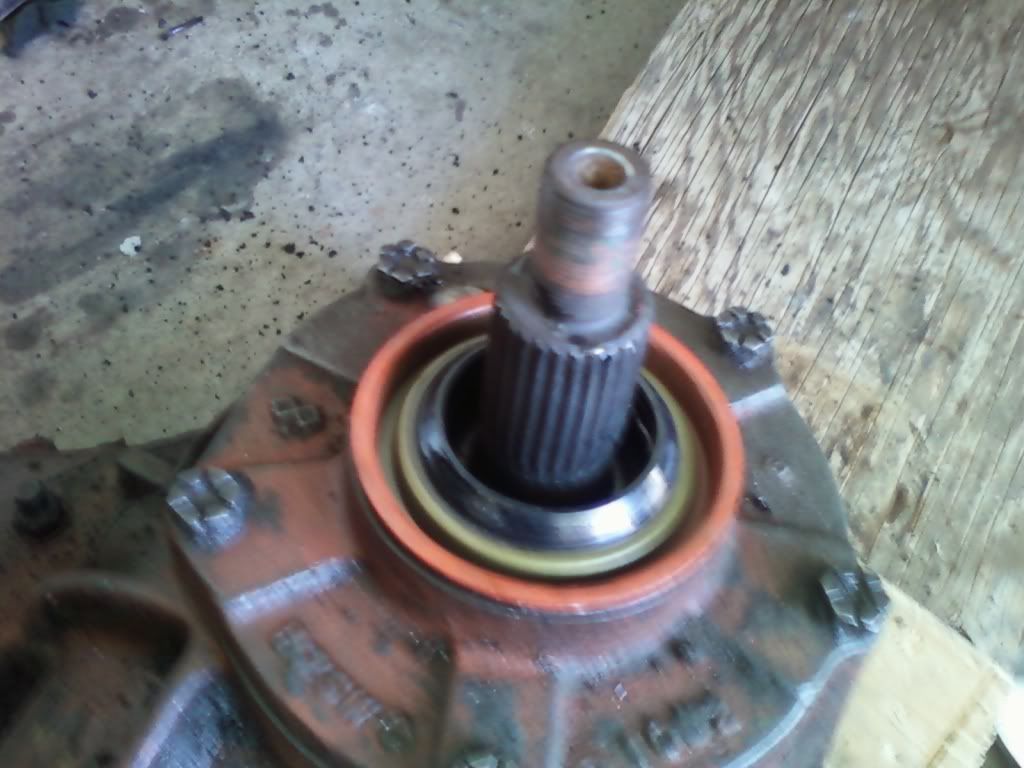
Also got a new pinion seal installed in the rear end.
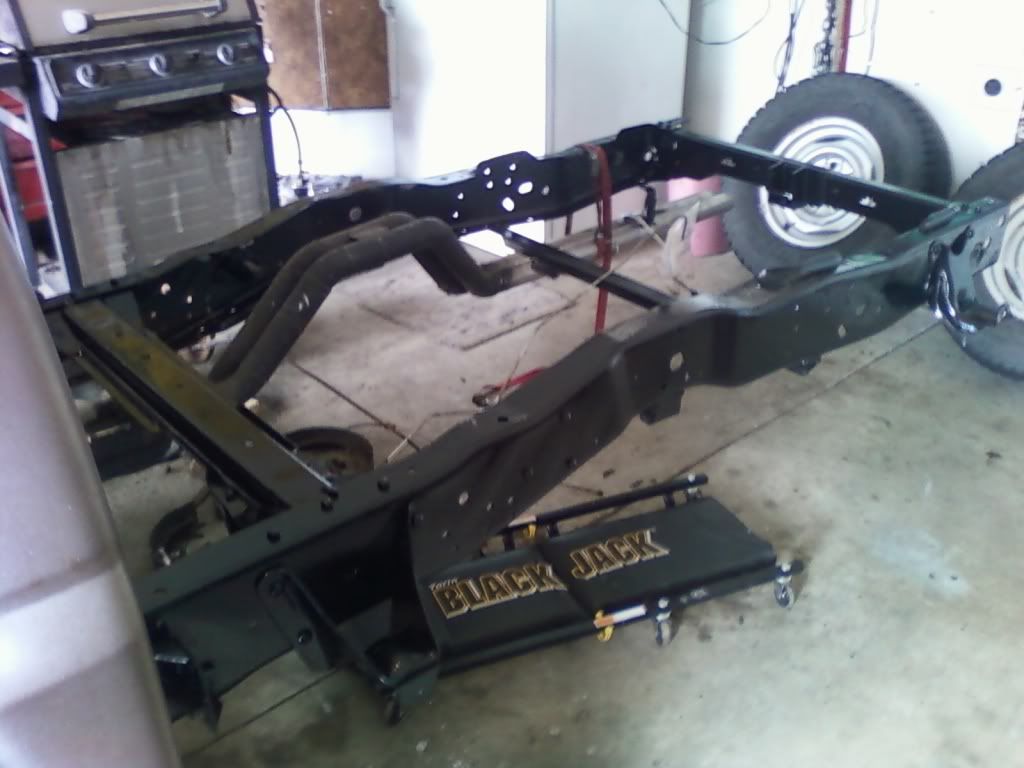
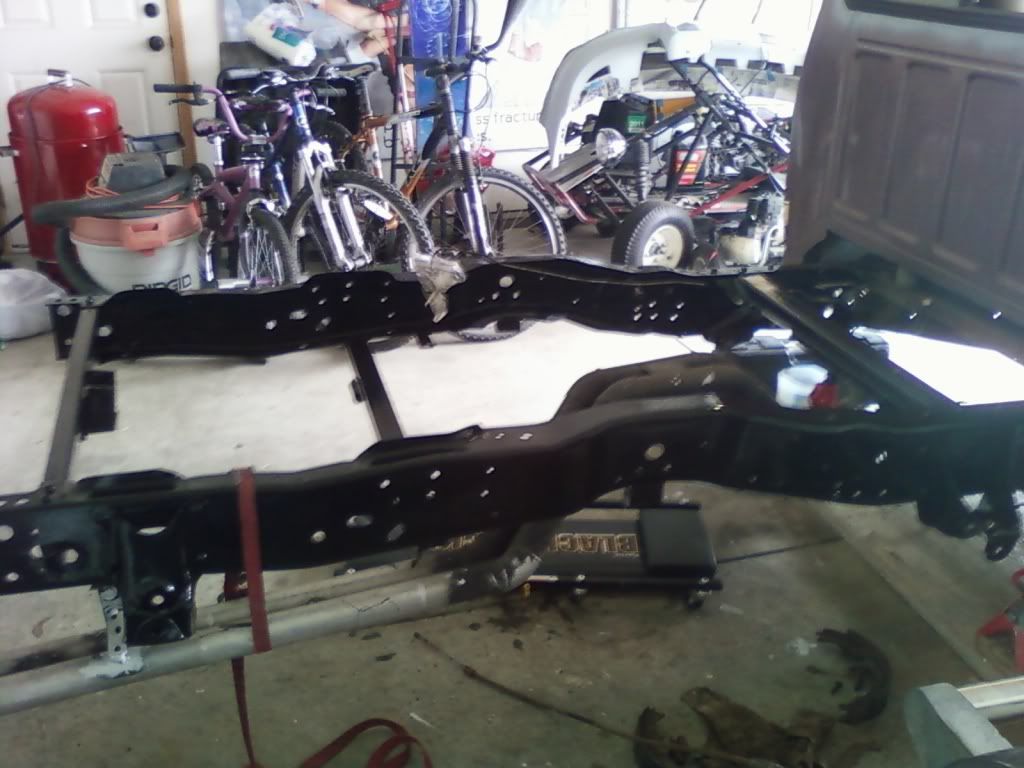
Also got the final coats of paint on the rear of my frame. Two coats of MasterSeries silver, then two coats of straight Rustoleum oil-based enamel. It had better last for at least the next 30 years.
Also got a new pinion seal installed in the rear end.
Also got the final coats of paint on the rear of my frame. Two coats of MasterSeries silver, then two coats of straight Rustoleum oil-based enamel. It had better last for at least the next 30 years.
#85
04-08-2011, 09:54 PM

#87
04-09-2011, 07:51 PM
#88
04-10-2011, 07:43 PM
#89
04-10-2011, 07:50 PM
#90
06-21-2011, 10:17 PM
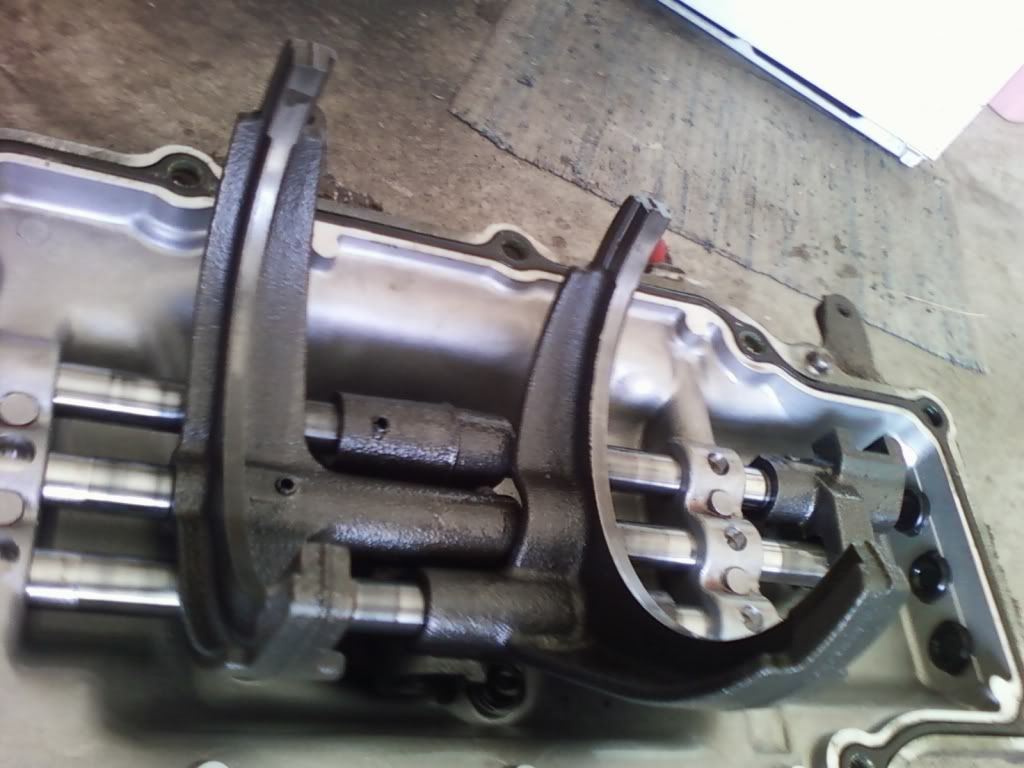
So I picked up a M5R2 to swap into my truck yesterday, and I cracked it open to check out the internals today. Was thinking of installing at least a new set of synchros before I installed it, but changed my mind:
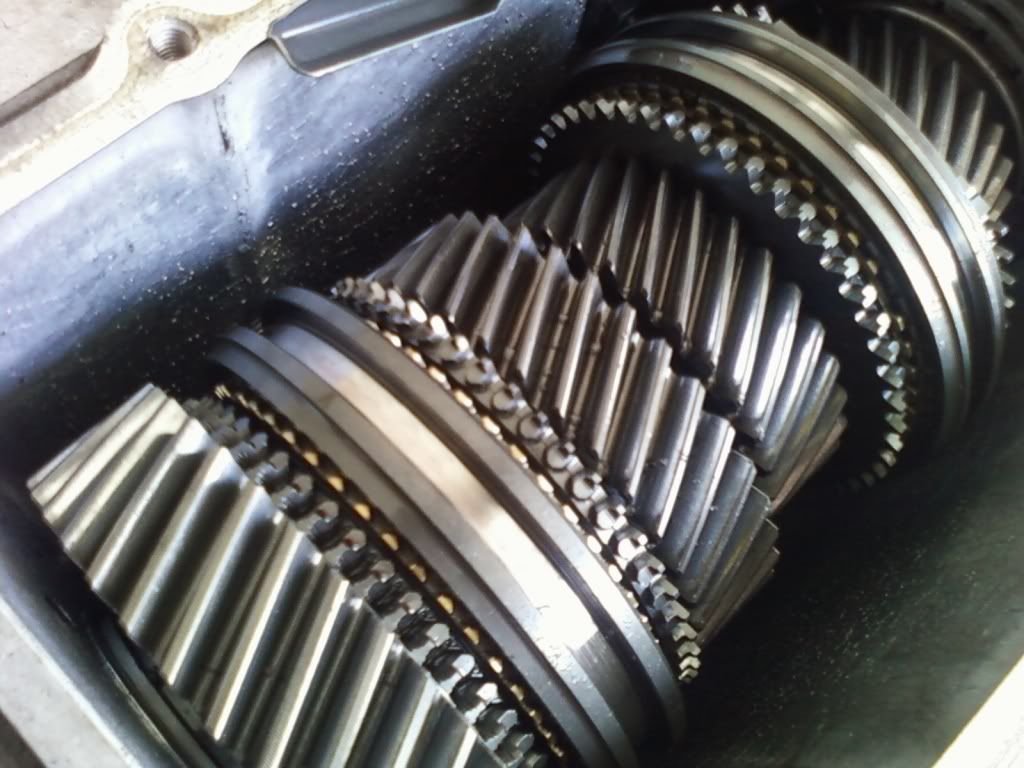
All the gears and synchros look brand new (the stuff that looks like junk between the teeth is water droplets). The shift forks also have minimal wear:
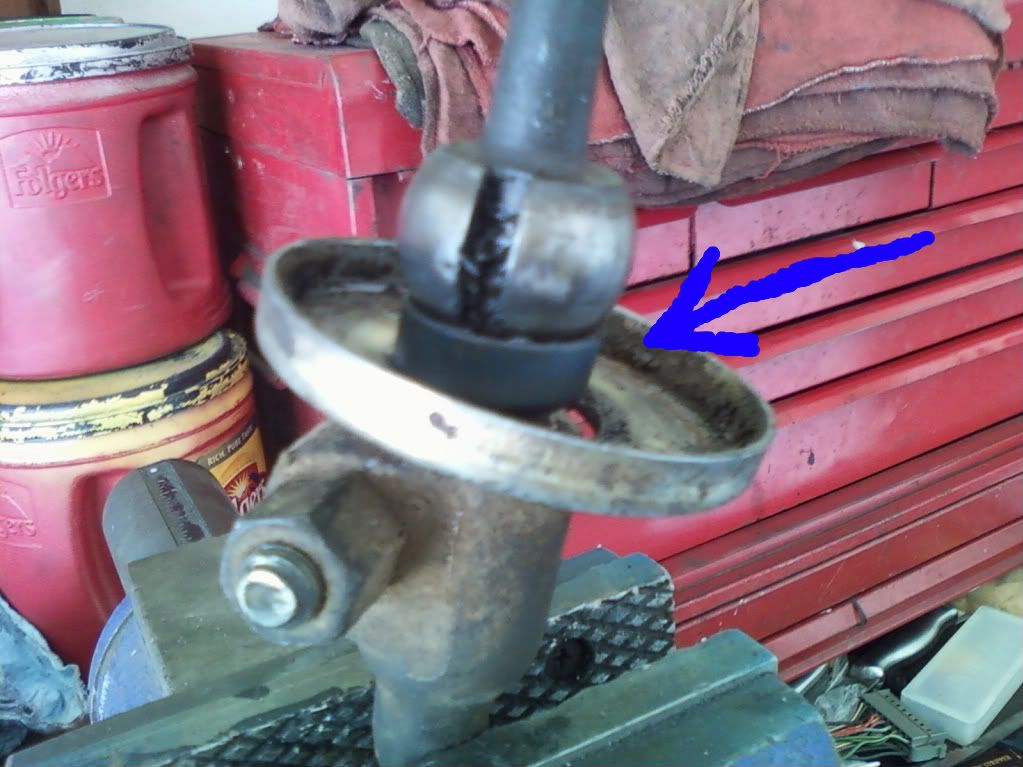
The only issue was a disintegrated bushing/retainer for the shift lever.
Does anyone know the proper name of this part, and where I can get a new one?
All the gears and synchros look brand new (the stuff that looks like junk between the teeth is water droplets). The shift forks also have minimal wear:
The only issue was a disintegrated bushing/retainer for the shift lever.
Does anyone know the proper name of this part, and where I can get a new one?