When you click on links to various merchants on this site and make a purchase, this can result in this site earning a commission. Affiliate programs and affiliations include, but are not limited to, the eBay Partner Network.
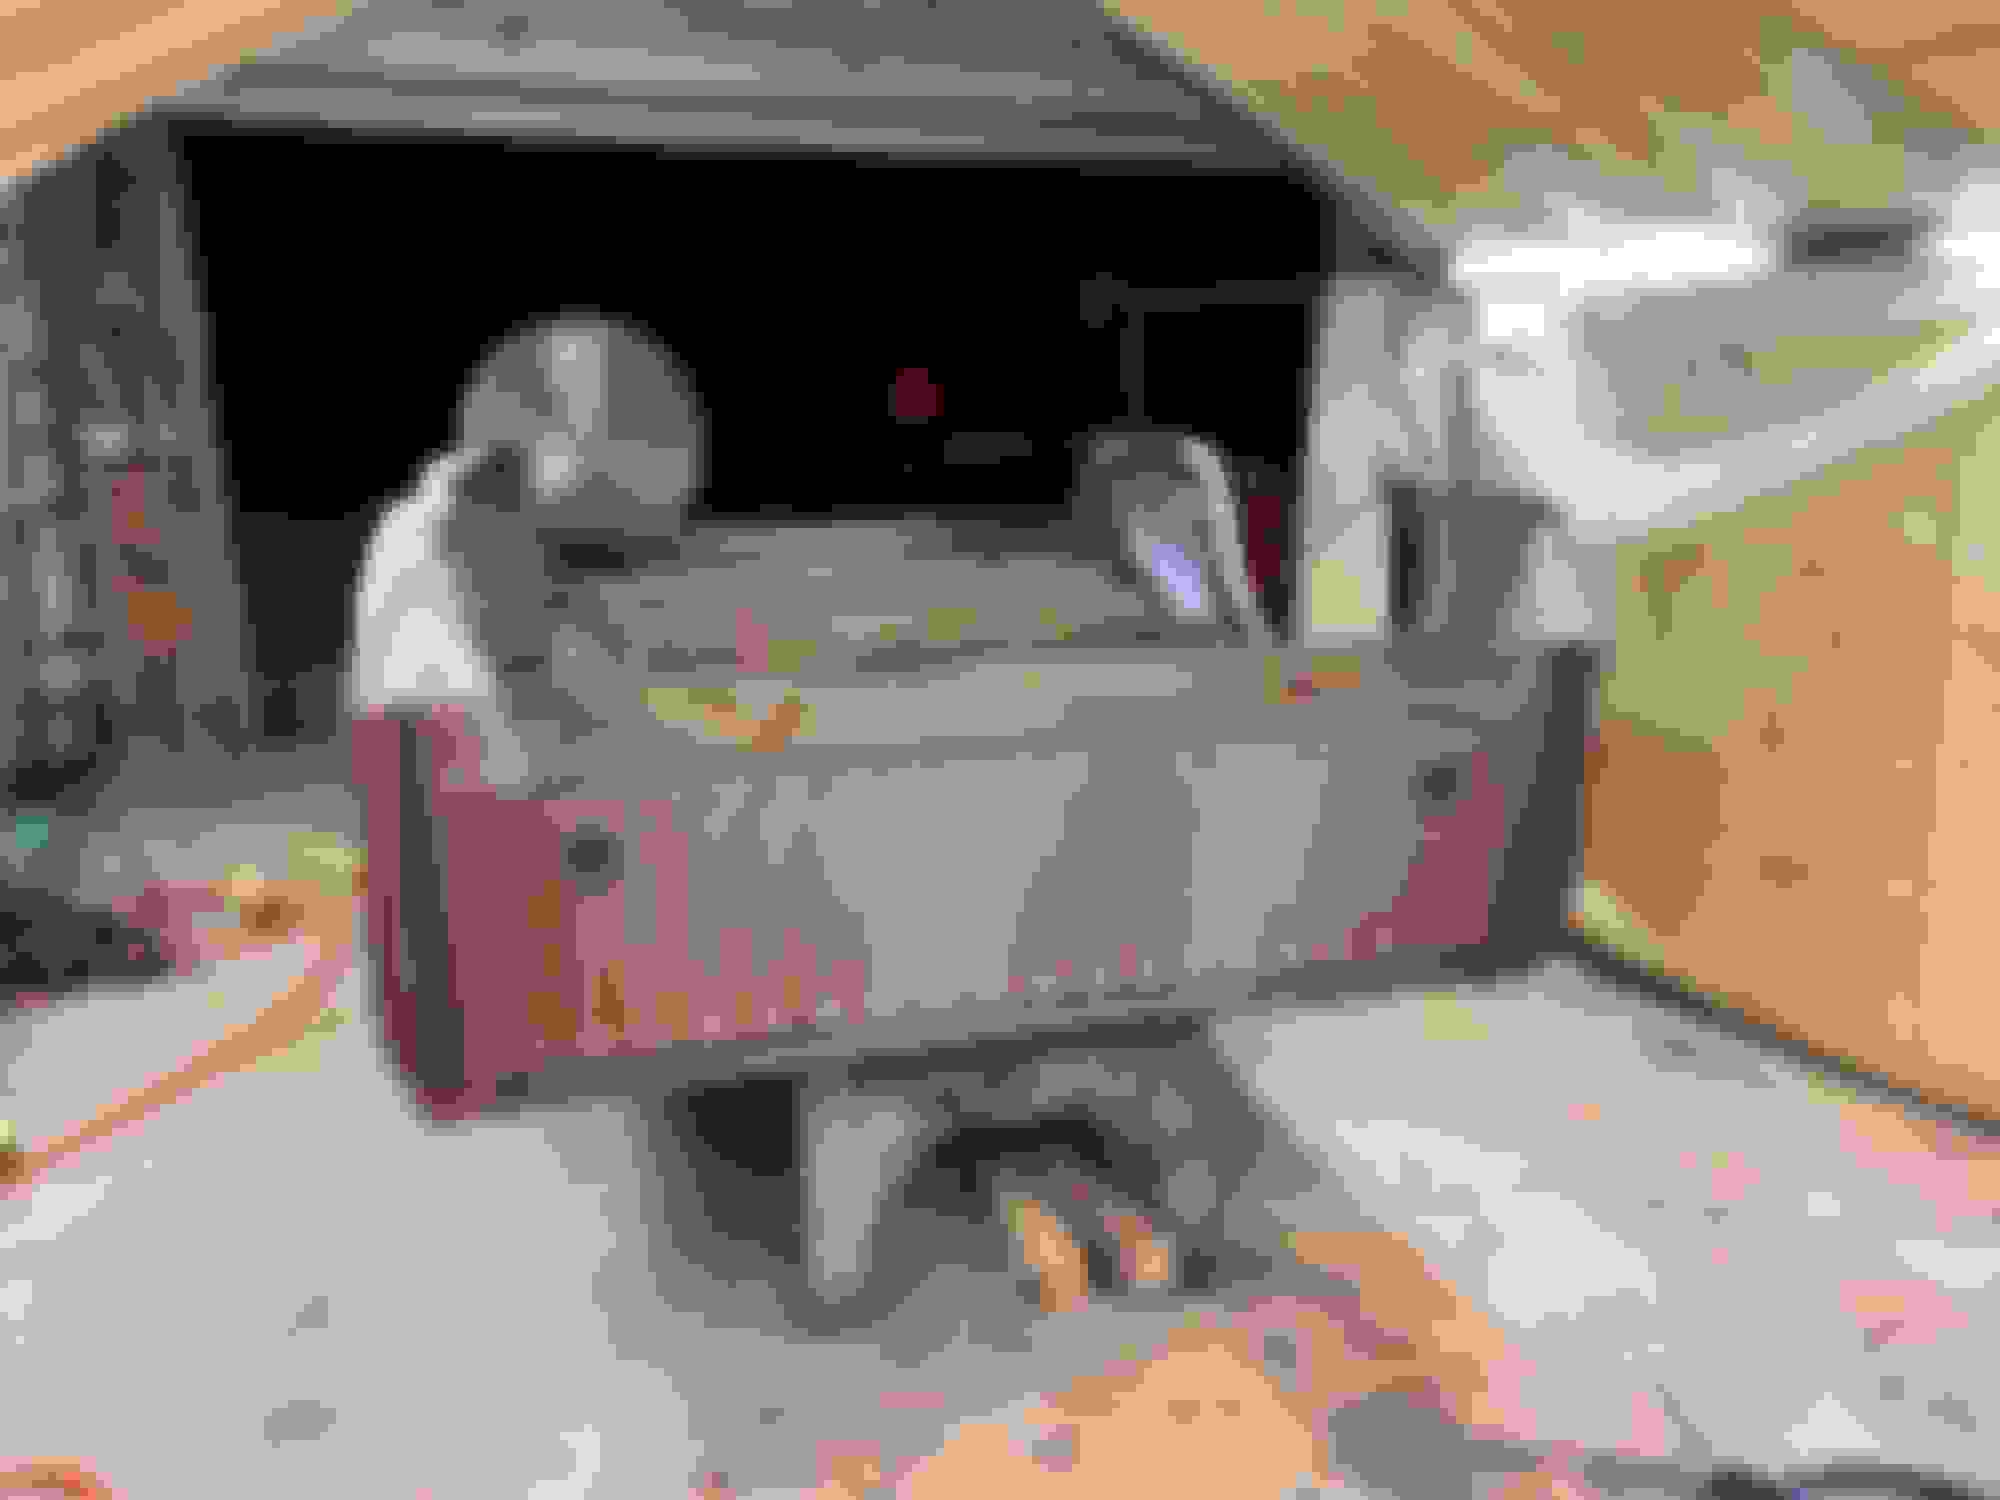
Last year when I pulled the 5th wheel out for storage so I could use the truck for other truck things, I found a rot spot under the right front leg of the 5th wheel hitch. Turned out to be a rot hole the size of a melon. I pulled the bed last Thrusday, flipped it over and started doing repairs. So far the front cross member has been replaced, the rot removed and new panels welded in place, and with a little more work, have the second from front cross member replaced, then move on to the last two. The rear is not bad enough to require replacement, just rust Mort, primed and sealed. I had to remove the plastic flares to get at a couple spots at the rear quarters and discovered the drivers side has holes, so have a replacement wheel well patch, along with both inners on order. I was hoping to avoid body work, but not going to happen. I already have the paint for the lower trim since the bumpers need repair and paint, just need to pick up a quart of the bronze upper paint.
I am undecided on what to coat the underside with, Herculiner or .....
I will Herculine the bed so I wont have to beautify it for painting, just a little filler to smooth the welds and give it a rolling.
I was planning to replace the entire floor, but thats another $1000 when shipping is added. I am still on the fence on whether or not we are keeping this long term, but going to do what I can to preserve it for as long as possible, afterall it did take 10 years of Wisconsin weather to get to this point. I will know more when I finish wire brushing the rusted area on the far end, and getting the next cross member removed to see if I need to do any more patching.
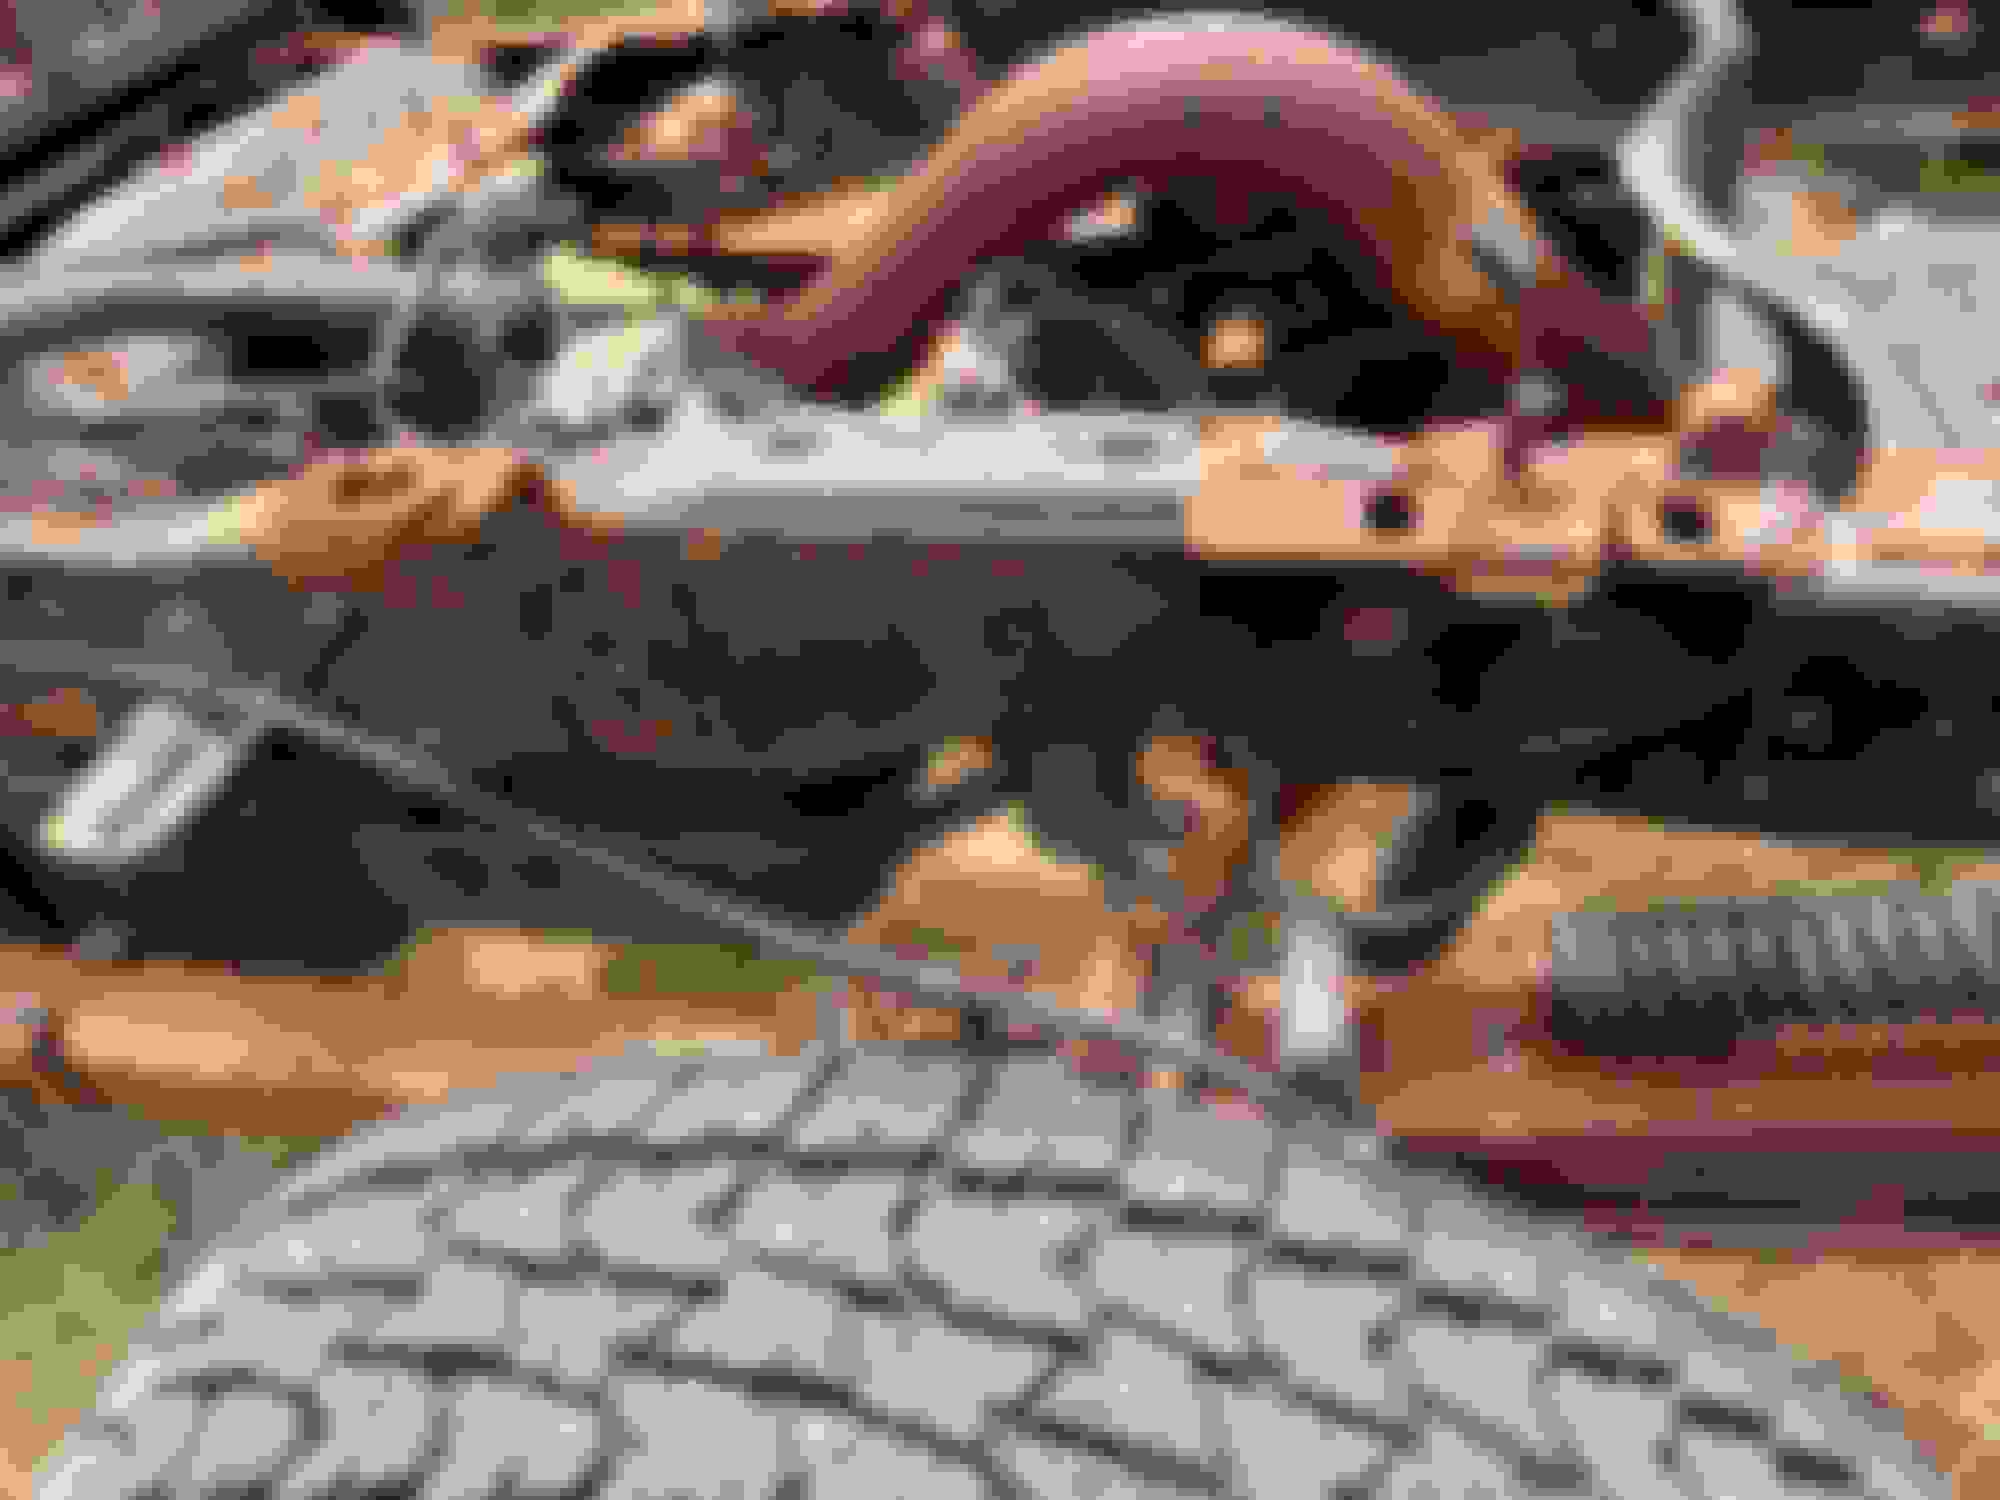
The spot welds on the front one look like crap because I was trying to use Flux Core wire, but it was too hot and burned through, or laid on top and the slag was causing poor conductivity to spot stitch with. I broke down and bought a 125 CT cylinder and .023 wire and it made a huge difference as you can see by the welds on the flange where I stitched in the new metal.
Nice work, considering price of new trucks some tlc will go a long way. BTW where are you getting your sheet metal from? And do you like the quality of it.?
I�d spray CRC over everything that isn�t original paint in good condition, then fluid film the heck out of it. Don�t ever use a coating that covers the metal.
Here�s a picture of the bed rail of my 2013�
I would think that finding a used bed at Salvage yards would be less expensive and less work. I found a bed for $500 in Central FL> No rust and in good shape. Unless you've got the tools, time and tech skills, sometimes it's just a tad easier to get a used one. Plenty of take off places around too. Mine is a 2002 F-250 XLT 4WD CC LB
I used Fluid film, but once rust sets in, even fluid film has it's limits. Now I am fuzting around trying to get the Fluid Film OFF so I can paint. That stuff grips pretty good.
Originally Posted by PJWhelan
I would think that finding a used bed at Salvage yards would be less expensive and less work. I found a bed for $500 in Central FL> No rust and in good shape. Unless you've got the tools, time and tech skills, sometimes it's just a tad easier to get a used one. Plenty of take off places around too. Mine is a 2002 F-250 XLT 4WD CC LB
That was my first thought, but, being a short bed, takeoffs are not as abundant as long beds. Not many have a short bed taken off to put a flat bed or construction beds on. There is a company near my office that specializes in truck box beds and majority they get in are long beds. I did find a few short bed boxes, but they were not cheap and while rust free, required a crap ton of body work to come close to mine. Then it would require a full paint job to match the truck, I don't want a Frankenstein. Add to that, most places will not ship a bed due to how easy they are to be damaged, which would require me to drive to where ever it is and get it myself, I don't have the time for that since I would have to take time off work.
The only body rust I encountered is between the inner and outer fenders where Ford put some foam like stuff. One side just has rust on the inside, which I am removing and converting, the other is getting a skin stitched on and inner as well. The rest are spots of rust between the E coat and steel, probably from rock impacts against the paint creating a void. I ground the paint off those areas and will etch prime, build, block and repaint.
The worst part, being a two tone is the sticker Ford puts between the paints to hide the line, and there is a line with a ridge there, and those stickers are over $30, EACH! There are 4 on the bed. I am going to remove those, wet sand the line out, bring the base for the lower color up to where the top of the sticker is, mask off and run the red line, then clear the entire side. The red paint is a LOT less expensive than the 4 stickers. I also have to repair the lower left corner of the tailgate, rust is popping up there as well, and will soak Rust Mort inside the tail gate while I'm at it.
I may or may not replace the 4x4 stickers, depends on if I can get them cheap enough or not. Besides, will have to let the paint cure a while before adding stickers. Needs a good 30 days of sun baking to fully harden the clear since I don't have a heater paint booth, just a shelter I convert into a paint booth with some fans and filters.
I'll get a picture tomorrow, I'm beat. Got all the middle cross members out, the new ones has the paint removed that was flaking off, and are sitting with primer coats drying. Along the flange that goes against the bed I ran two coats of weld through, and the inner channels I got as much of the flaking paint off and etching primer coated.
Tomorrow I go get some paint mixed, some Rust Mort, and a few other items, and will soak al the rusty spots I can't get with rust mort as well as any areas where there is some rust still lingering that the brush can't remove. Once that stuff cures I can weld up the cross members, wipe it all down and prime the bottom of the bed. Still waiting on the inner fenders and the one wheel arch. In the mean time I can herculine everything I can reach except under the inner liner since it needs to be tight to weld in.
I am hoping to have it all ready for paint next weekend and back on the truck by the end of the following week.
Yikes, these new trucks are THIN eh? There is no excuse for a 10 year old truck to be getting that soft in only certain spots. I can see if the whole truck is a rotten pile but when only certain spots are junk and the rest is in really nice shape it seems like more of a design or quality problem from the factory.
I will go with a Design issue. The rust through occurred right above where a fiber backed heat shield was applied, directly above the right shock. What is most disturbing is how the cross members all rot out, and is quite common on all years apparently until they went aluminum. The areas where it rusted through on the fenders, again, Ford has some type of foam between the inner and outer wheel well and the rot happens at both ends where salt water and grime gets sucked in and accumulates.
What I also discovered is the E-coat is very fragile. Where ever a rock hit the paint, regardless if it chipped it or not, it left a cavity under the E-coat and allows the metal to get oxygen and start to rust. Both rear quarters where stones can hit it had at least a hundred marks under the paint that were invisible on the surface. The under bed has thousands of pits from rocks hitting it and even more with no impact marks that had spots.
Off to Napa to get the materials I need to move forward, and once I get the Rust Mort applied, I think I will tackle getting the bumpers off and prepped for paint so I can do all the painting at one time
Well, today was a bust. Napa no longer carries Rust Mort. I did order the paint, and one quarts costs $212. I better not waste it. Between primer sealer, a half pint of the red for the pin stripe, the paint, reducer, activator, and a couple rolls of tape and masking paper, it was over $500. I went to a couple other places and they all carry the same stuff, AND all but one place was out of Herculiner, none had a single gallon, only found one kit. Since the paint wont be ready to pick up until Wednesday, I ordered some rust more and other products from Eastwood. They have a rust killer system that I will try out on the frame since that takes the beating the most. They also have Rust Mort which I will use on the bed before I use the sealer primer and herculine it.
The drives side panel and both inners arrived today and wow, LMC has some nice products. That fender patch is a perfect match, though the inner will take a bit of finesse to get installed correctly, partially due to the fender not being supported by anything. Once the cross members are in I can attach the support brackets which will help align the panel so the inner can be welded in.
Tomorrow is welding day, I got everything prepped today. My goal is to have it ready for paint for next weekend, and back on the truck later that week.
Alright, before I begin for the day, here are pics from yesterdays progress.
I tried three different rust converter/encapsulator, or whatever they wish to be called, to see how they do.
The first is duplicolor Rust Barrier. It is supposed to encapsulate the rust and put a rubberized costing over it to seal it. It feels tacky after it cures, but it's the rubberized coated that feels like it. I doubt it will hold up to pressure washing, and may collect a layer of dirt/dust, but that might actually be a good thing as it adds impact resistance to prevent rocks from piercing it. Time will tell. All those marks are potential rust spots that were under the E-Coat. They are fully covered, the light reflection makes it look otherwise.
The other one I tried is from Harbor Freight, called Rust Reformer. It sprays on clear and etches into the metal to convert it to a hardened barrier. I took a wire brush to it, didn't make a mark. I had a bottle of the Permatex stuff that you brush on, did two coats of it, let it cure and a wire brush took it all off leaving behind a rusty surface as if I didn't do a thing to it. That bottle went in the trash.
The part I sprayed it as the bottom of the photo covering the first rib of the panel and up to the second rib. You can see a small patch of rust that had some over spray with no penetration that easily brushed off, so it has to saturate to work. I have Rust mort on the way to flood these areas after they are welded since this coating may interfere with a good weld or burn up and be useless, but from the looks of it, will do good for the frame itself and areas I don't have welding going on.
And finally, my starting point for today.
Weld in this brace I made to stiffen up the rotted one. Then weld in all the crossmembers starting with the rear most.
BTW, like my paint booth? Still coming up with a plan for filtering and exhaust, and to seal it, I lower the garage door to a foot high, install the two roof pieces and the center piece and roll the cover over to the front and then hang the front and rear panels. I just have to figure out the best way to secure filters at the back end, and a way to get my centrifigal blower to suck the air out. I need some 6" flexible hose to connect it to the panel along with a stack of filters to catch over spray. It will have filtered air in and out, and the blower is outside, and is in an explosion proof housing, its what came with my Laser. It did pretty good, but is Loud AF.
Then remove these 5th wheel mounts and clean them up for paint, and if time, attack the rust and remove the old bed bolts I torched with the plasma cutter to remove the heads. I will just take the plasma cutter and slice the bolts at the threads and then slice the nut cage at the end and they will just drop right out.
A guy has to go to town on the now exposed rear end. What are those springs mounted to the leaf springs? I WISH I had a place to remove the bed and do the hard to reach stuff!! I am going to replace my rear leaf springs and all hardware on my 2002 Ford F-250 5.4L 4WD CCLB, hopefullly in the fall-ish. Money is going to determine that.....
Are you going to sand down the rails?
Looks like your doing it right.
I’ve been using Eastwoods Rust Encapsulator platinum for treating frame and sheet metal. Have been using various hammers to knock of the sheet rust, then following up with wire wheels or flapper wheels on a grinder. Before application have been wiping down with acetone until a clean rag comes still reasonably clean. The Platinum paints out nicely, particularly so on surfaces that are not super smooth. Time will tell how it holds up, Maine DOT applies liquid salt to winter roads as if it was if there was a race to use it all up…..
on my 2000 VW Golf I’ve used regular spray on bed liner to top coat repairs on rockers, lower doors (from trim down to lower edge), and the leading edge of the hood. 2 years in northeast so far and it has weathered the winter road slop and gravel (many local towns use salt sand(which seemingly has ALOT of 1.5” minus in it)) and it still looks like the day I applied it.
What model Kubota do you have, is that an LX, Grand L, or regular L? curious if my LX can lift off my bed the same way you did.
A guy has to go to town on the now exposed rear end. What are those springs mounted to the leaf springs? I WISH I had a place to remove the bed and do the hard to reach stuff!! I am going to replace my rear leaf springs and all hardware on my 2002 Ford F-250 5.4L 4WD CCLB, hopefullly in the fall-ish. Money is going to determine that.....
Are you going to sand down the rails?
Thats the Roadmaster Active Suspension. It really helps smooth out the ride. I originally installed when to help the stock springs as the truck had a bad sag when hitched, and was level when empty, but didn't help the sag any. I replaced the springs with 4400# ones and put the RAS back on since I had it. That was last year. Look haw bad the salt attacked it. SMDH
Originally Posted by Mech644
Looks like your doing it right.
I�ve been using Eastwoods Rust Encapsulator platinum for treating frame and sheet metal. Have been using various hammers to knock of the sheet rust, then following up with wire wheels or flapper wheels on a grinder. Before application have been wiping down with acetone until a clean rag comes still reasonably clean. The Platinum paints out nicely, particularly so on surfaces that are not super smooth. Time will tell how it holds up, Maine DOT applies liquid salt to winter roads as if it was if there was a race to use it all up�..
on my 2000 VW Golf I�ve used regular spray on bed liner to top coat repairs on rockers, lower doors (from trim down to lower edge), and the leading edge of the hood. 2 years in northeast so far and it has weathered the winter road slop and gravel (many local towns use salt sand(which seemingly has ALOT of 1.5� minus in it)) and it still looks like the day I applied it.
What model Kubota do you have, is that an LX, Grand L, or regular L? curious if my LX can lift off my bed the same way you did.
I have an L4060HSTC-LE with the 805 loader. Picked it up with ease since it only weighs a couple hundred pounds, not much more than the bucket for the tractor. The tricky part is balancing it. I considered getting a set of long forks, but for one job I decided not to, however, looking forward, there are times long forks might come in handy for when I have to unload a pallet from my trailer.

 06-29-2022, 10:09 PM