When you click on links to various merchants on this site and make a purchase, this can result in this site earning a commission. Affiliate programs and affiliations include, but are not limited to, the eBay Partner Network.
Clean it up and get it back on the road? It's already blown apart into a gazillion pieces!
Yeah, I was going to do a clean-up, get it safe, and get it back on the road. As I got into it, I wanted to go further. I’m having fun.......right now anyway ‘
I haven’t posted anything lately as there is nothing significant to report. I’m about done stripping it down to the frame, and have been cleaning it as well. I need to create some space to pull the motor. Received a large order fro Mid-fifties.........many boxes. This is going to ruin my diet with all these tootsie rolls! Haha
I need to pay more attention when dismantling stuff! Last night I was removing the front springs in order to do a quick clean-up and then install poly in between. While dropping the front axle, the wedge on each side fell out.......though one was completely broken apart. I assume these are the wedges that are used to adjust camber........is that correct? My problem is that I'm not sure which direction they were installed in. From other's experiences, where did you start relative to these wedges? Do you start off without them, and then find out where the camber is? I see where Mid-Fifties sells 2 and 4 degree wedges.
I did some additional reading on this site, and answered my own question. Those wedges are to adjust the caster angle (shown below). And the thicker end goes towards the rear.
Looks like you have some pretty good metal to work with. I would lean toward swapping the rear end, due to around the hole in the picture it appears it may be badly pitted. One thing I found out during my build you can never think too far ahead. Your pre-planning will really help in the long run. If you waste a little money alone the way believe me there's not a person on this site that didn't waste some money during their build.
Actually, what appear to be putting around the hole on the differential is really caked on oil. It came right off.
The truck does have minimal rust. I am finding some cracks in the frame that are in need of repair, but that shouldn’t be too big of an issue.
I'm starting to put the front end back together after replacing the bearings, tierod ends, kingpins, brakes, removing 2 each leaves, and installing poly spring liners. I need to get some new shocks, but will do that shortly. Before I finish things up, I thought about anti-sway bars, which leads me to the following questions:
Has anyone installed anti-sway bars on their trucks?
Do they really improve handling?
Are fronts adequate enough or are rears also warranted?
Note: my suspension and steering are all stock (except for removing two springs in an attempt to slightly lower it).
Hi folks,
I need some help regarding my engine.
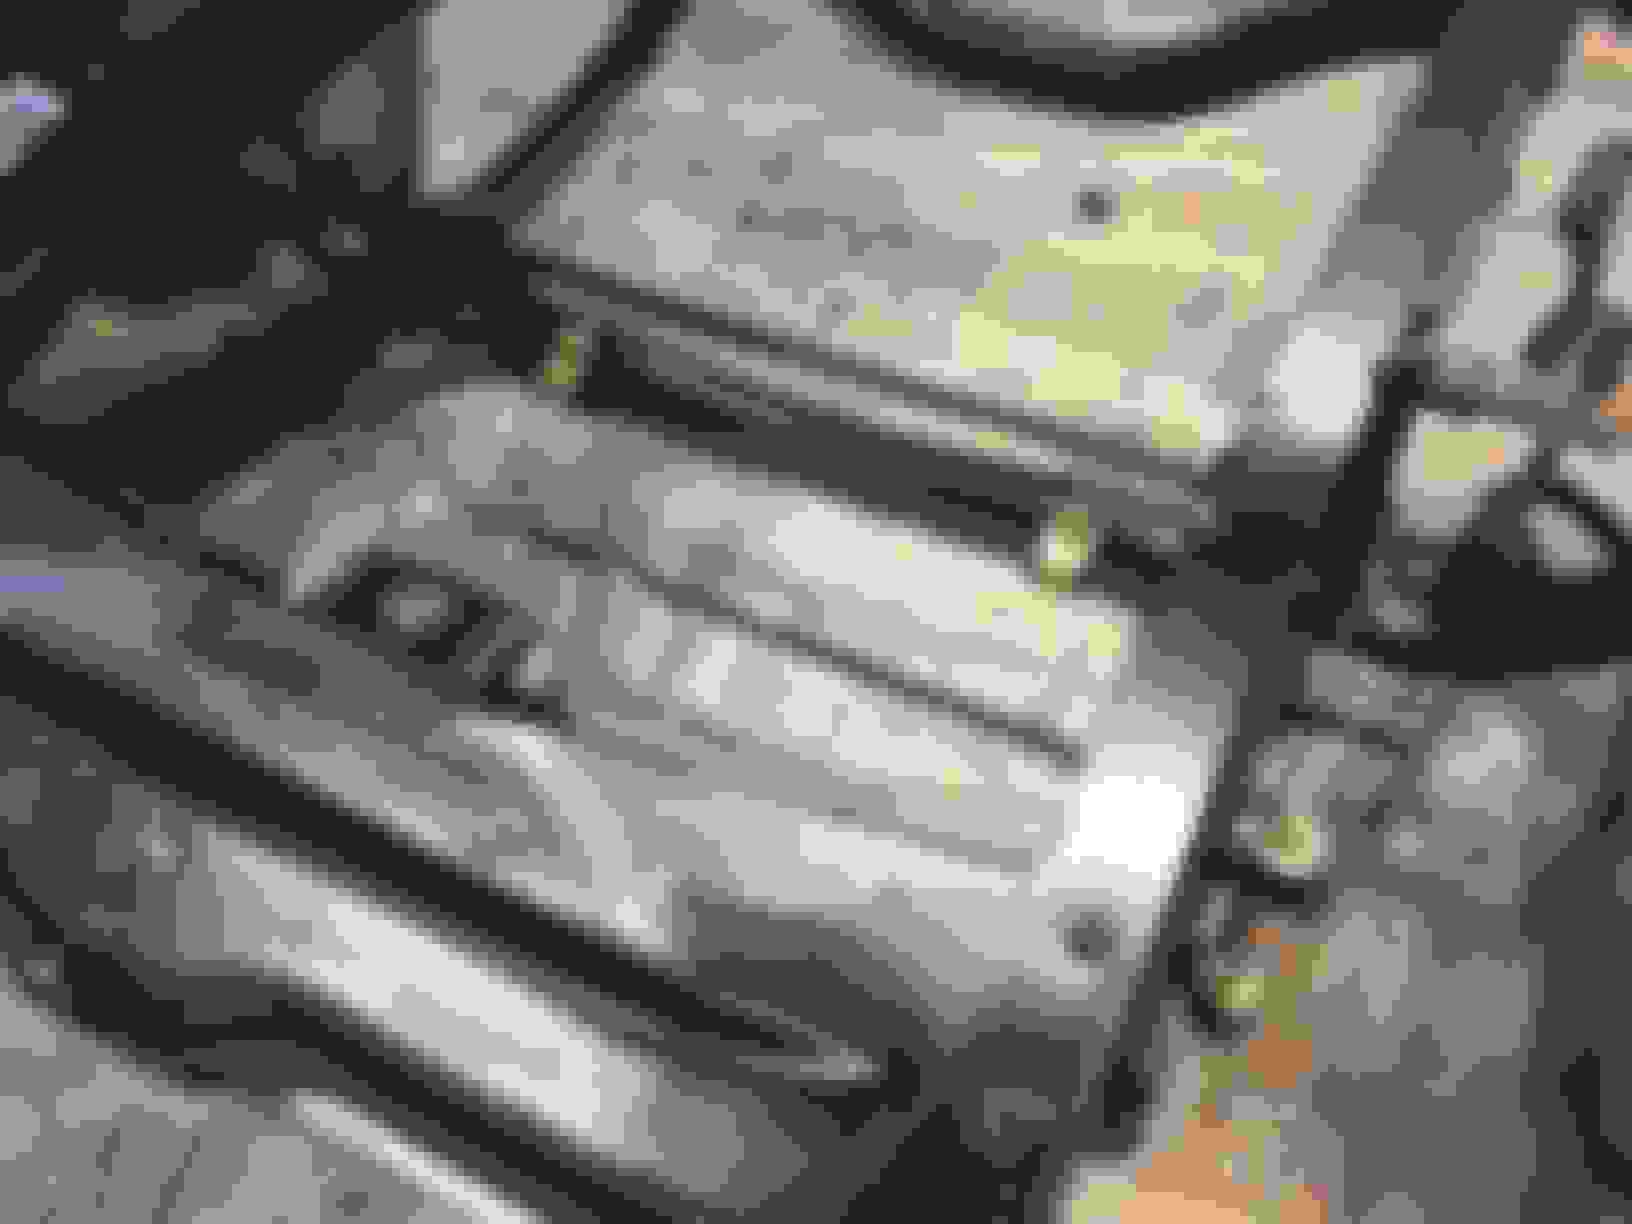
I completely disassembled my 223 with the intention of measuring and evaluating it. It was extremely dirty inside and out, with some plugged coolant passages.
To my surprise, the cylinders looked great and the cross-hatching was still very visible.
I purchased a dial bore gage, and I discovered that my cylinders were round and straight, but were previously bored to the max of .060 over. I have not checked the crank or cam journals yet, but the cam bearings do not appear to be clocked correctly, as I can’t see the oil passages. I will install new bearings, and a new oil pump.
My question though is regarding the cylinders. Should I do a light honing, then install new rings......or a light honing and re-install the existing rings?
Any comments or suggestions would be greatly appreciated!
Thanks
If you waste a little money alone the way believe me there's not a person on this site that didn't waste some money during their build.
3Golfjack so true. I am wasting a bunch it seem like. TomCT55 it is fun to get some stuff done and then stand back and take a look. If my project takes to long my intrest wanes a little and that can be scary with thoughts of selling occur . Keep us up to date with photos.
So true.....a lot of wasted money along the way! And many new tools along the way as well! Some of these tools....hydraulic press, engine hoist, engine stand are one time use tools, but invaluable in the whole process. I might have to do this again to take advantage of them!
I am enjoying this whole process though. I look forward to going out and turning some wrenches.
I haven't taken many photos lately, as there really is nothing interesting to capture. I have a clean rolling frame, and everything else is disassembled.
Plan for the weekend is to test my welding skills and repair some cracks in the frame. Once that is done, I will paint the frame with Chassis Saver primer and top coat. I'll hopefully post some photos in several days.
I finished what I wanted to this weekend on my truck. After reinforcing some cracks on the frame, I did a final frame cleanup before priming and painting it.
This first picture is after the primer. I kinda like the silver color..........but it didn't last for long.
This last picture is after the finish coat.
Sorry for the incorrect orientation! I saved them in the correct orientation, but this program somehow reverts to the pre-saved image.
Started installing the Anti-sway Bars from Mid-Fifties last night. This first pic is the completed front end. Pretty easy install.
This second pic is of the rear end. I still need to attach the End Links to the frame. There is some slight interference between the Bar end and the Leaf Spring clamp which may necessitate an alteration via the grinding wheel.
 04-29-2019, 05:08 PM