1966 F100 Short Bed Styleside Metal/Body/Paint Work
#16
 04-12-2019, 01:13 PM

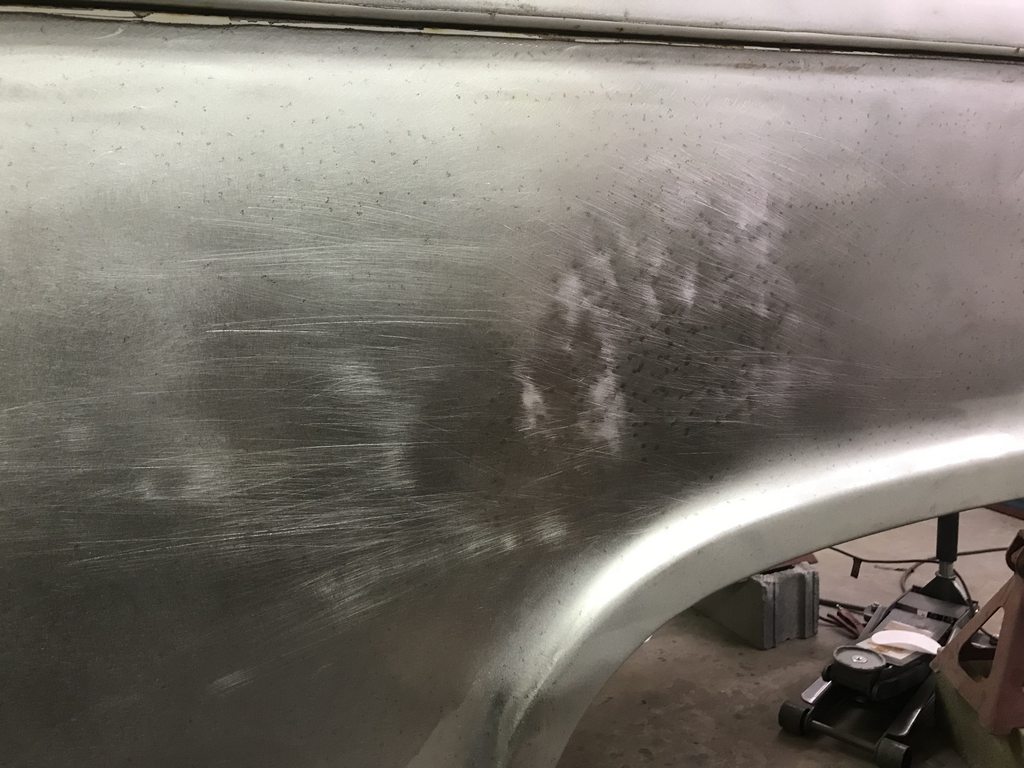
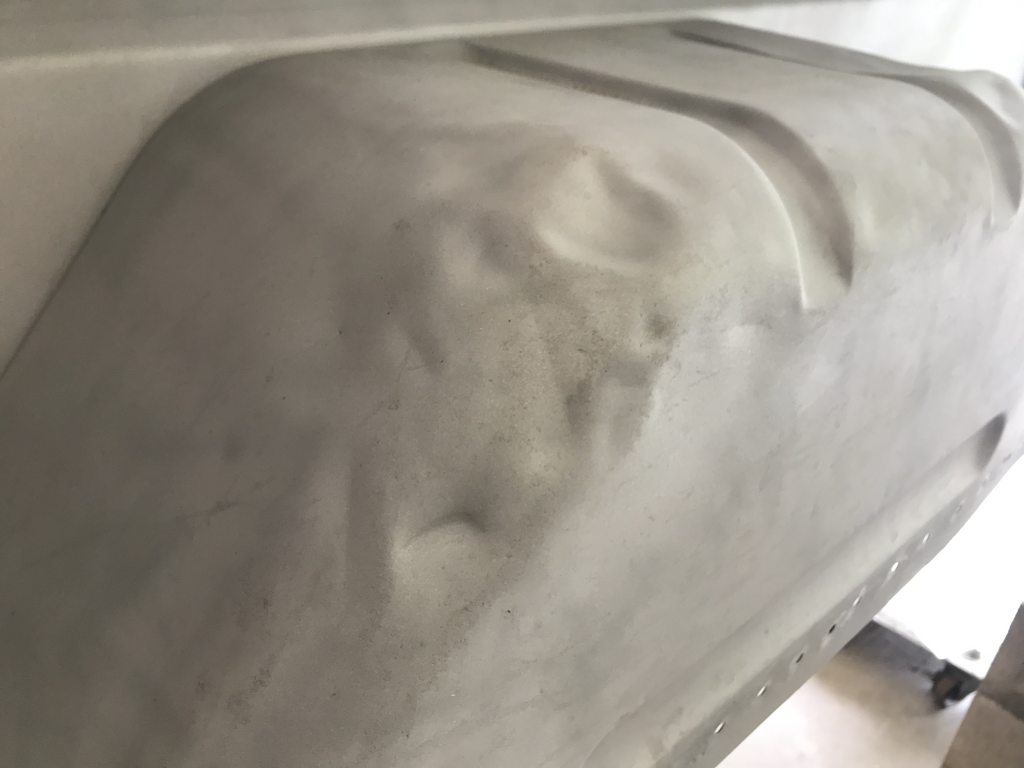
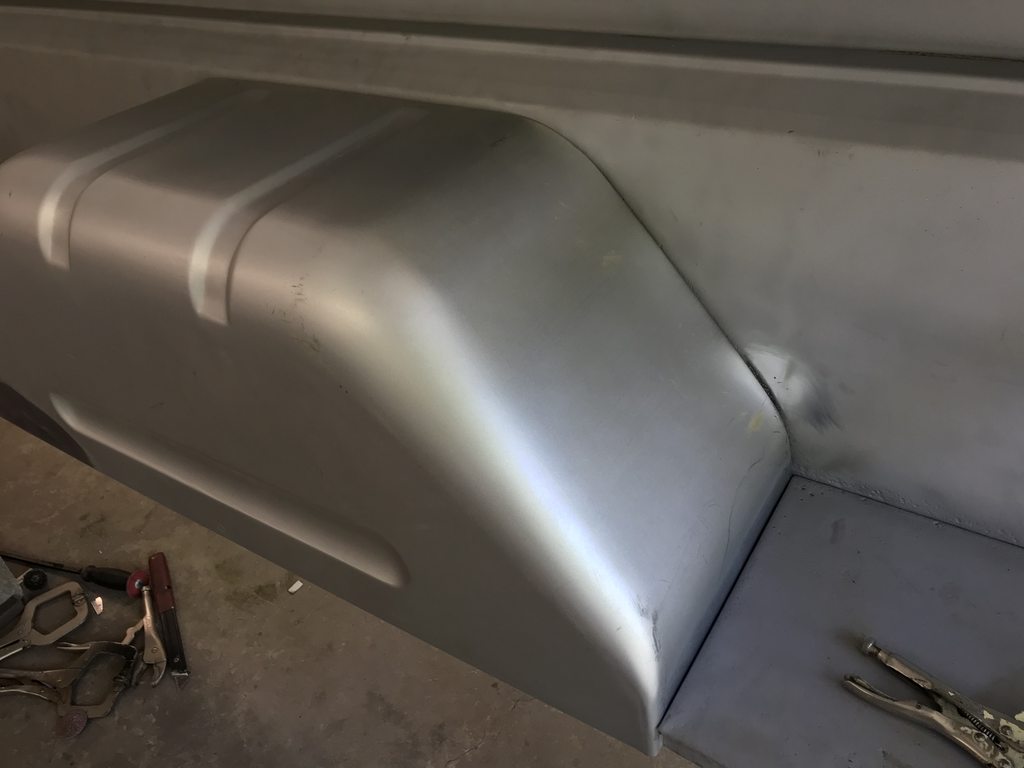
The four corner panels were all bent and sunk in so I started straightening those this morning. This was the driver side rear panel.
I started with the flange, then used a socket and hammer to shrink the panel back flat. The socket "traps" the metal and lets the hammer push the metal into itself, shrinking the panel. The socket has to be bigger than the hammer head and you have to keep the hammer in the dead center of the socket or else you'll hit against the edge of the socket and stretch the metal. MP&C has info on the "donut dolly" technique in his '55 Wagon thread, post #973. 55 Wagon Progress - The 1947 - Present Chevrolet & GMC Truck Message Board Network

I started with the flange, then used a socket and hammer to shrink the panel back flat. The socket "traps" the metal and lets the hammer push the metal into itself, shrinking the panel. The socket has to be bigger than the hammer head and you have to keep the hammer in the dead center of the socket or else you'll hit against the edge of the socket and stretch the metal. MP&C has info on the "donut dolly" technique in his '55 Wagon thread, post #973. 55 Wagon Progress - The 1947 - Present Chevrolet & GMC Truck Message Board Network


#19
04-14-2019, 09:52 AM
Tuned
Maybe I can Learn Soemthing
I will follow closely. I'm doing my 62 and am having great difficulty with the body work on the top of the cab and the hood. I can't figure out how to get the "fine" waviness out of the metal. Used dollies and body hammers, tried a thin coat of filler but nothing seems to work. My first body work and have done the rest of the truck so far but these two areas are killing me.
#20
04-14-2019, 02:22 PM

#21
04-15-2019, 08:44 AM
I will follow closely. I'm doing my 62 and am having great difficulty with the body work on the top of the cab and the hood. I can't figure out how to get the "fine" waviness out of the metal. Used dollies and body hammers, tried a thin coat of filler but nothing seems to work. My first body work and have done the rest of the truck so far but these two areas are killing me.
You need to start with rough paper to shape the filler or high build primer. Worry about the shape first (making the panel straight and ripple free) then go back and smooth the panel with finer paper once it's shaped. Smooth paper (around 120/150 and higher) doesn't cut aggresively enougth to shape a panel properly, you're mostly just smoothing at that point.
The True Blox website has a lot of good info on block sanding and it'll help even if you're not using plexiglass blocks.
https://www.trueblox.com/pages/true-tips
Jeff Lilly's website has some info on blocks and techniques too, but I'm not a fan of how they add foam to the surface of the block.
https://www.jefflilly.com/build-tips/block-sanding/
Robert does exceptional work and I've learned a ton from his posts. Definitely check out his thread if you're into this type of work!
#22
04-18-2019, 09:53 AM
The inside of all the panels were shot with undercoating so I scraped all of it off to prep for blasting.

After:
The two center floor braces were bent so I used our tubing roller to straighten them.
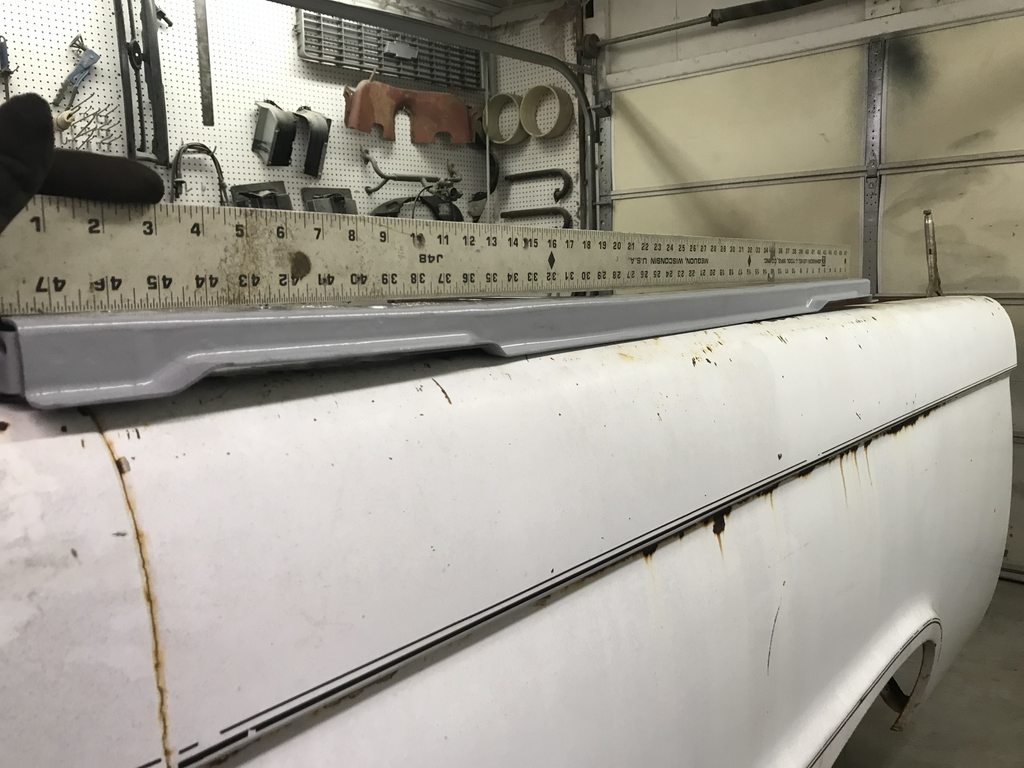
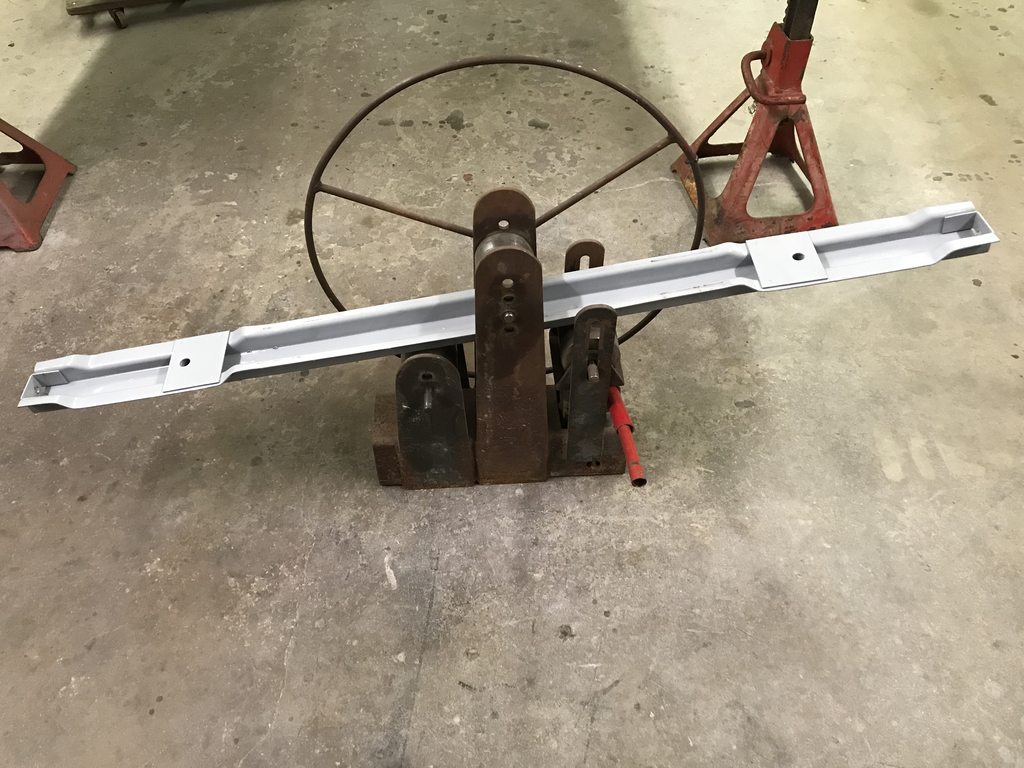
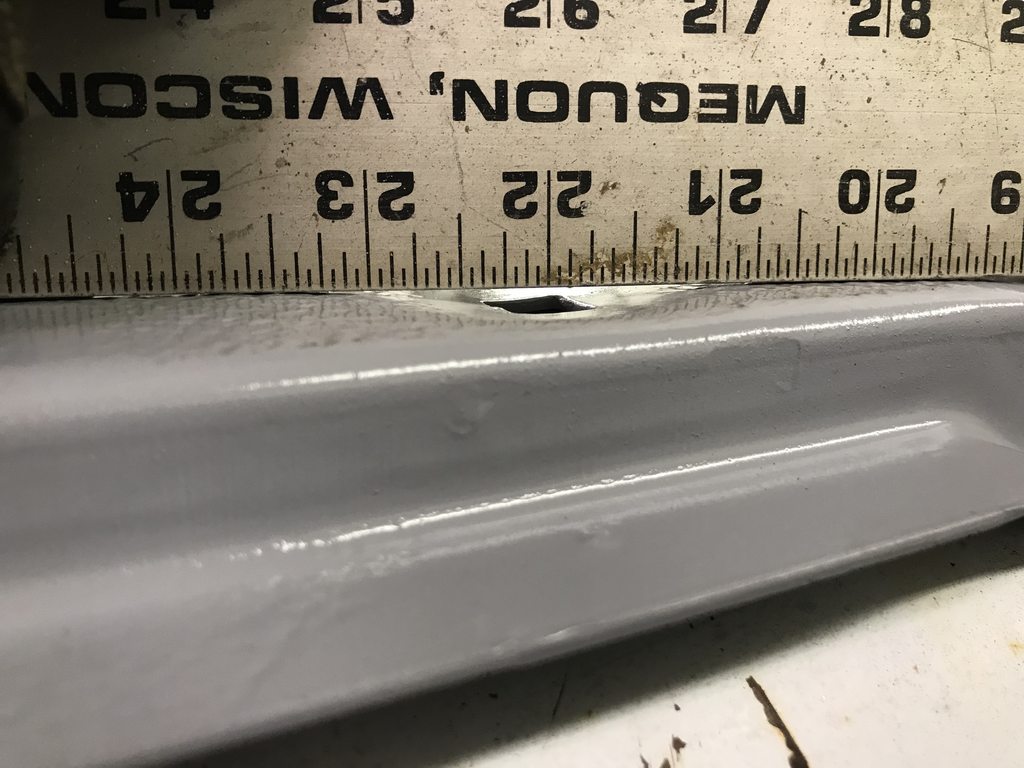
They were also dented around the mounting bolt holes.
The truck was stripped and repainted at some time. The paint strips easily and quickly with a razor blade leaving a thin coat of primer and some spots of filler. I'll strip the primer/filler with a DA sander to avoid blasting and warping the bed sides.
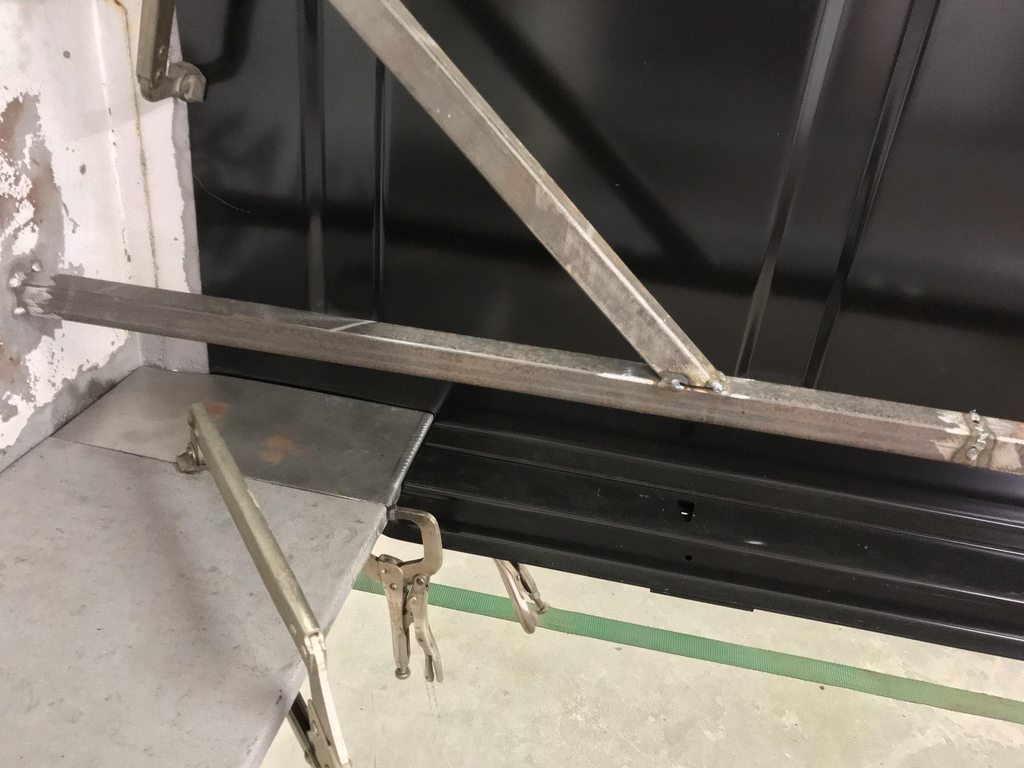
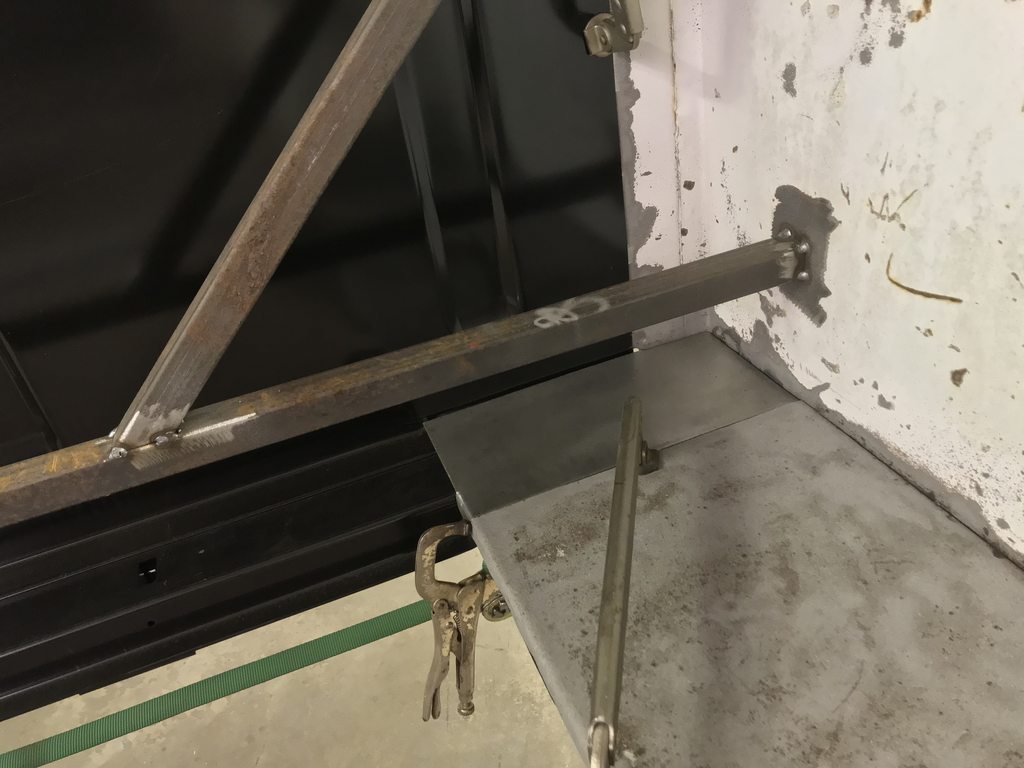
I test fit the front header and cross brace, the filler panels I made, and the center braces.
Also cut out the rust that was on the flange that the bed floor spot welds to and welded in new metal.
After:
The two center floor braces were bent so I used our tubing roller to straighten them.
They were also dented around the mounting bolt holes.
The truck was stripped and repainted at some time. The paint strips easily and quickly with a razor blade leaving a thin coat of primer and some spots of filler. I'll strip the primer/filler with a DA sander to avoid blasting and warping the bed sides.
I test fit the front header and cross brace, the filler panels I made, and the center braces.
Also cut out the rust that was on the flange that the bed floor spot welds to and welded in new metal.


#25
04-24-2019, 12:22 PM

#27
05-02-2019, 03:38 PM
Thanks guys!!
It works best with a softer round dolly, like delrin, but I like the added mass of the socket. But if you miss then you end up stretching the metal due to the metal getting pinched. A soft-faced dolly prevents that. I'll buy or make a better dolly eventually, but for now I used what I had.
Been working, just not posting.
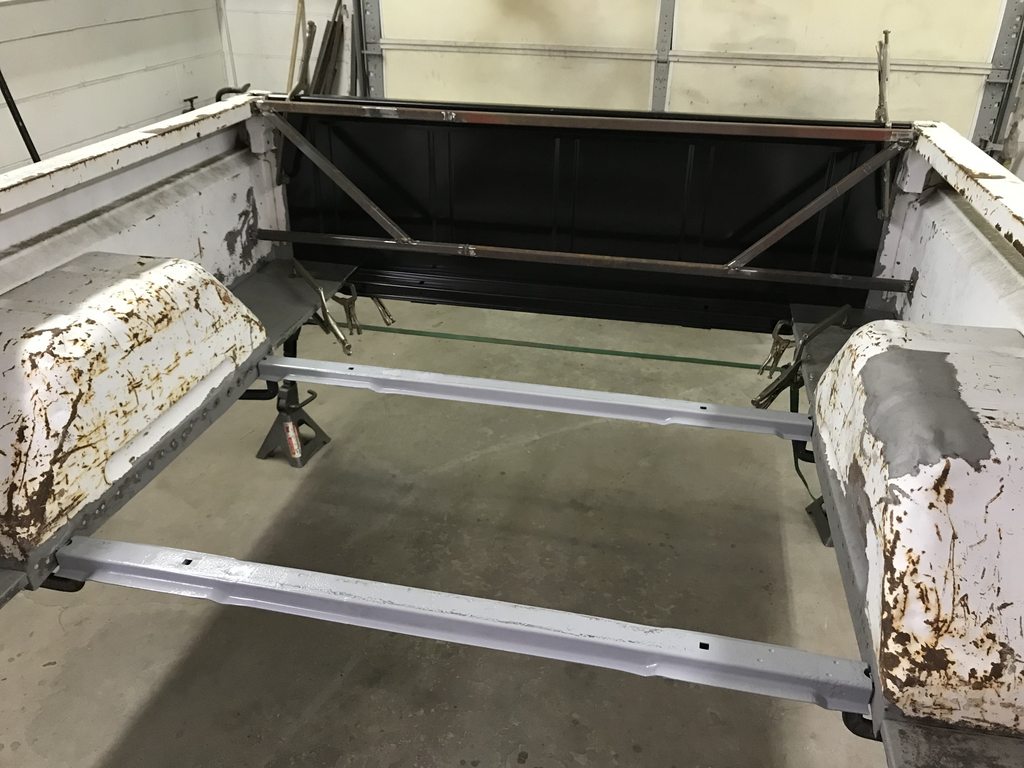
I've been working on blasting the bed, inside and out and underneath, that's about 95% done. I'll work on straightening and repairing as much as I can while it's in bare metal before going back over the areas I missed with the blaster and then shooting epoxy.
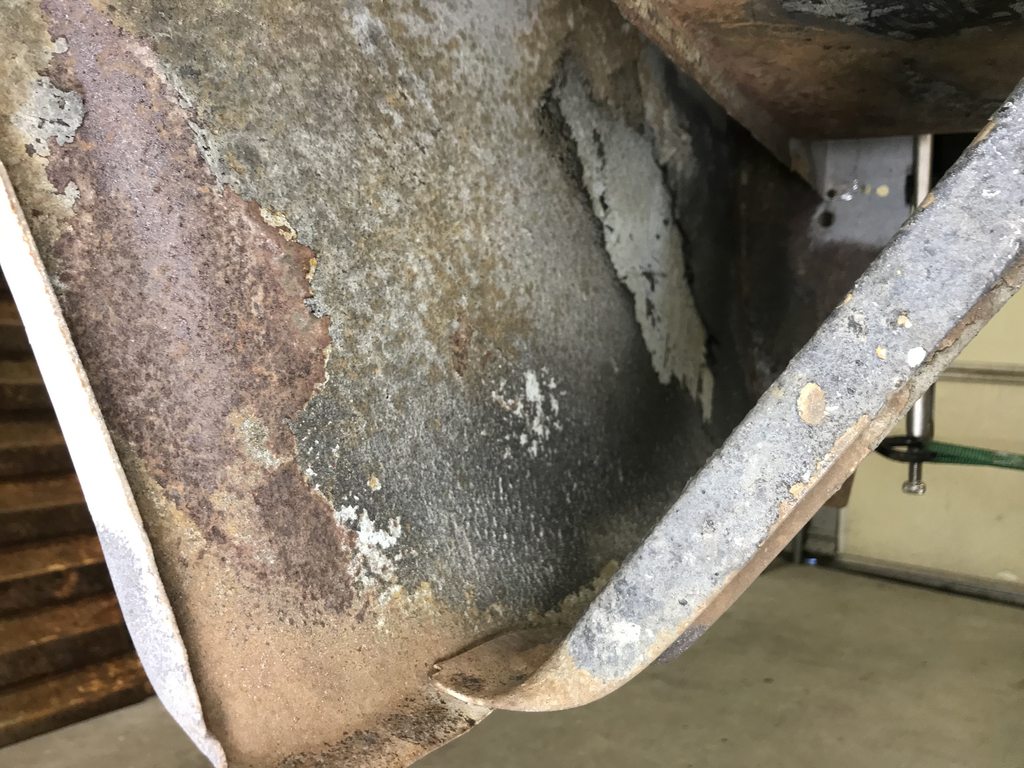
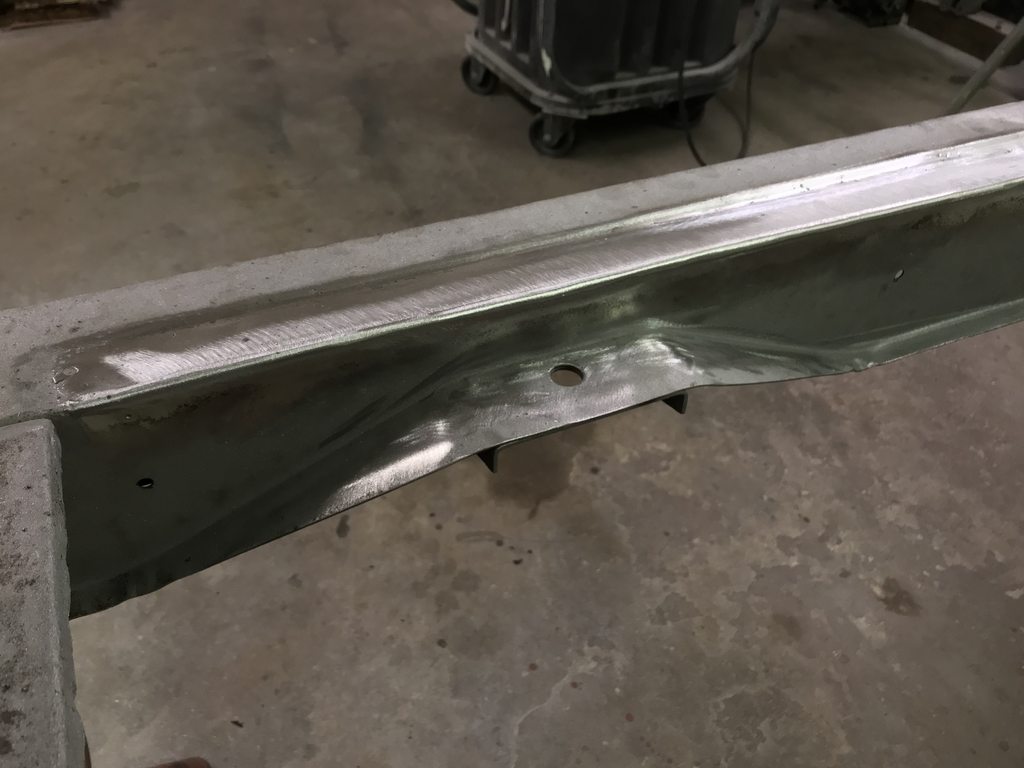
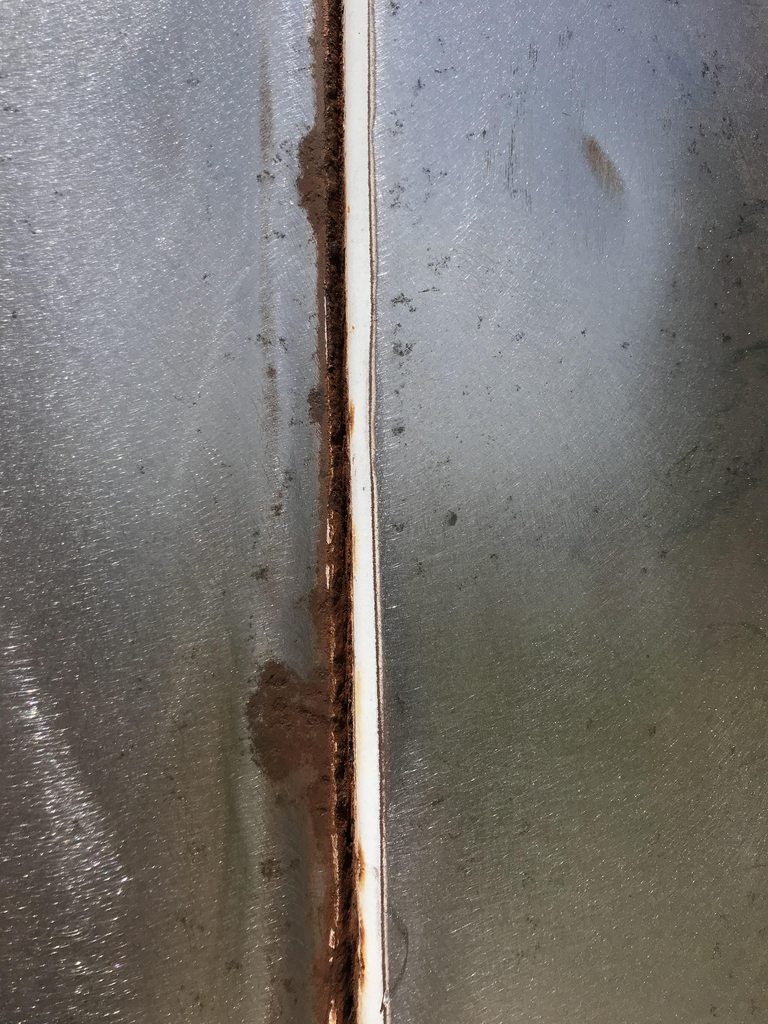
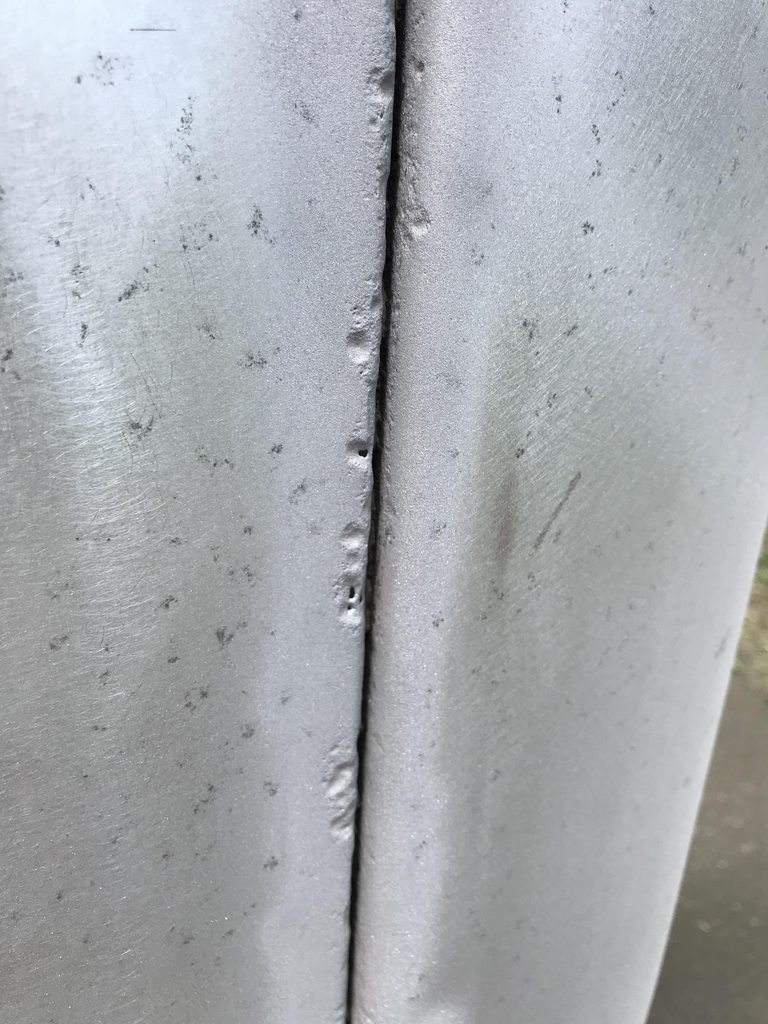
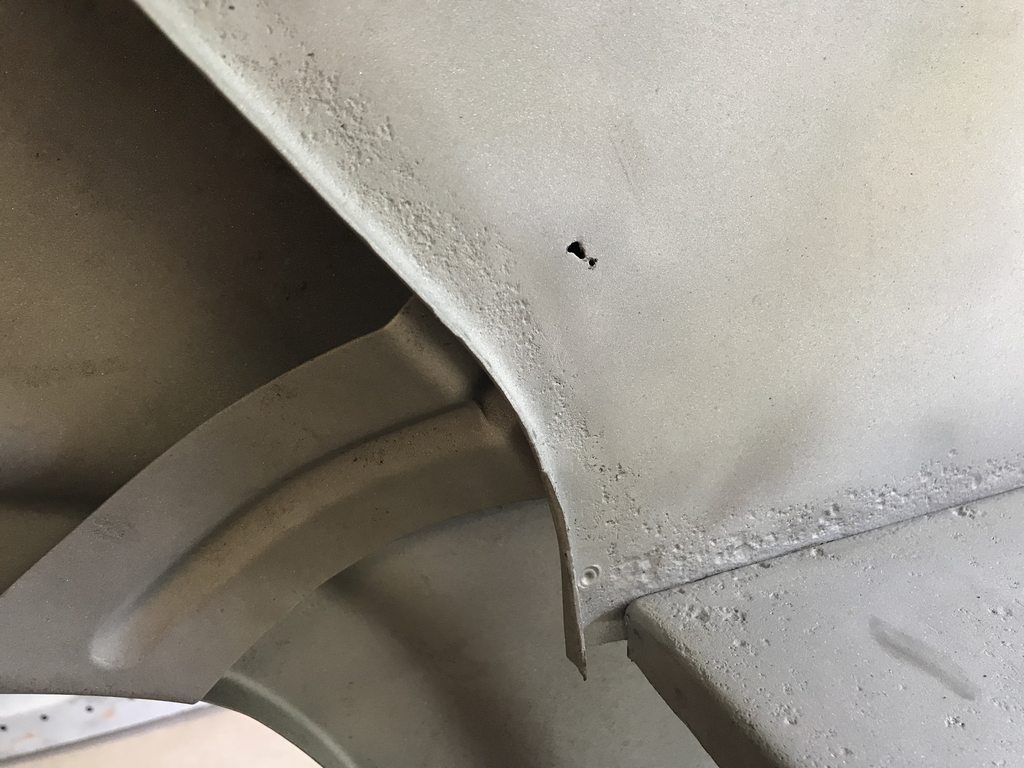
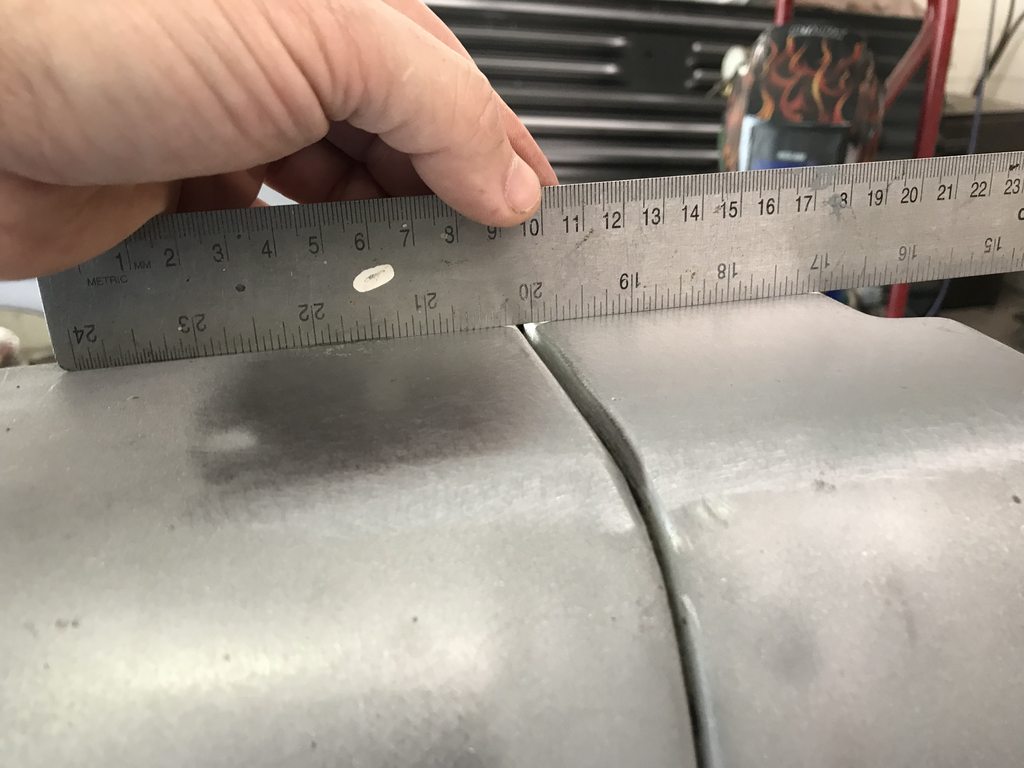
The seam between the upper and lower passenger side bedsides was pretty rough so I spent extra time cleaning it out with the blaster.
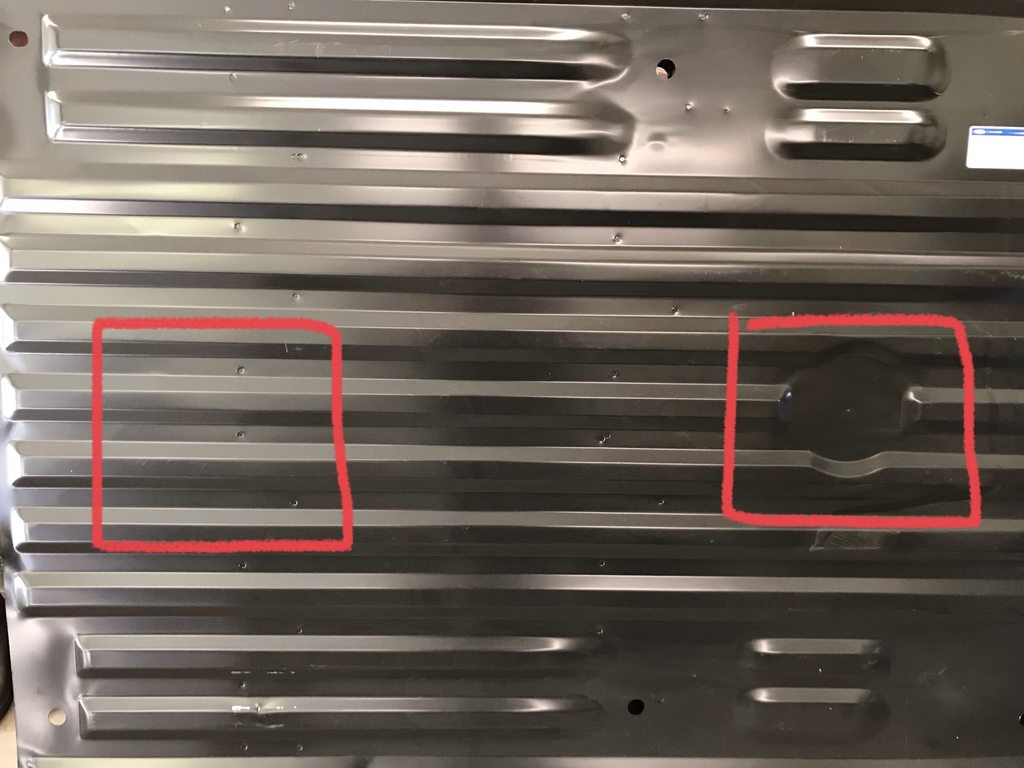
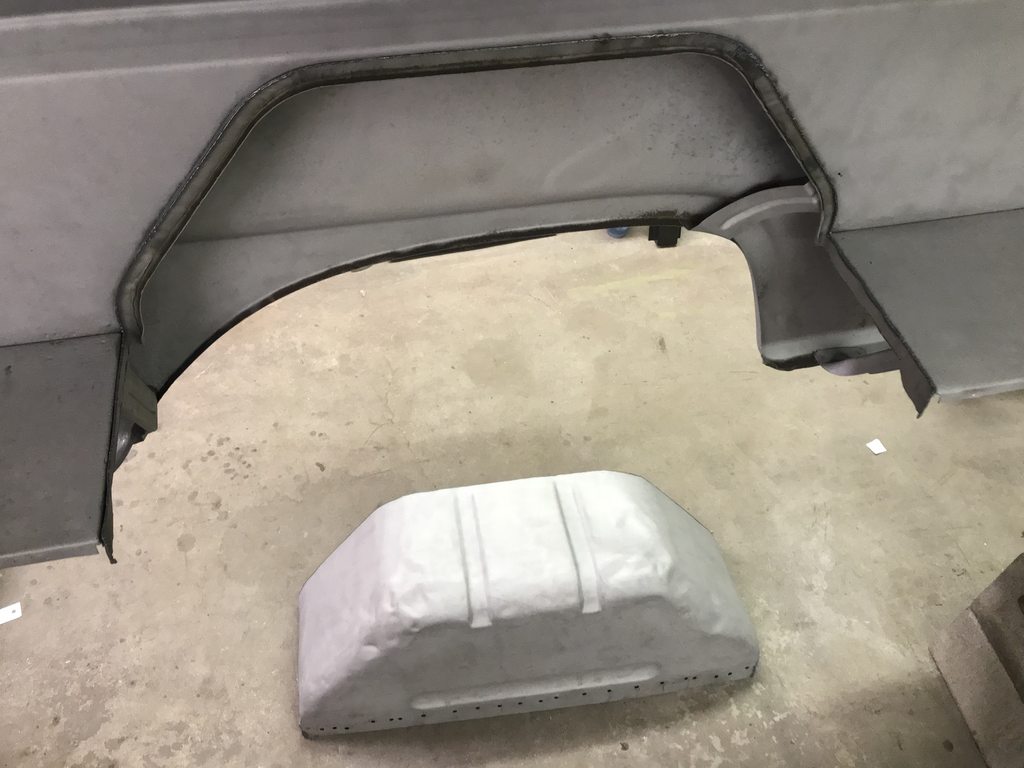
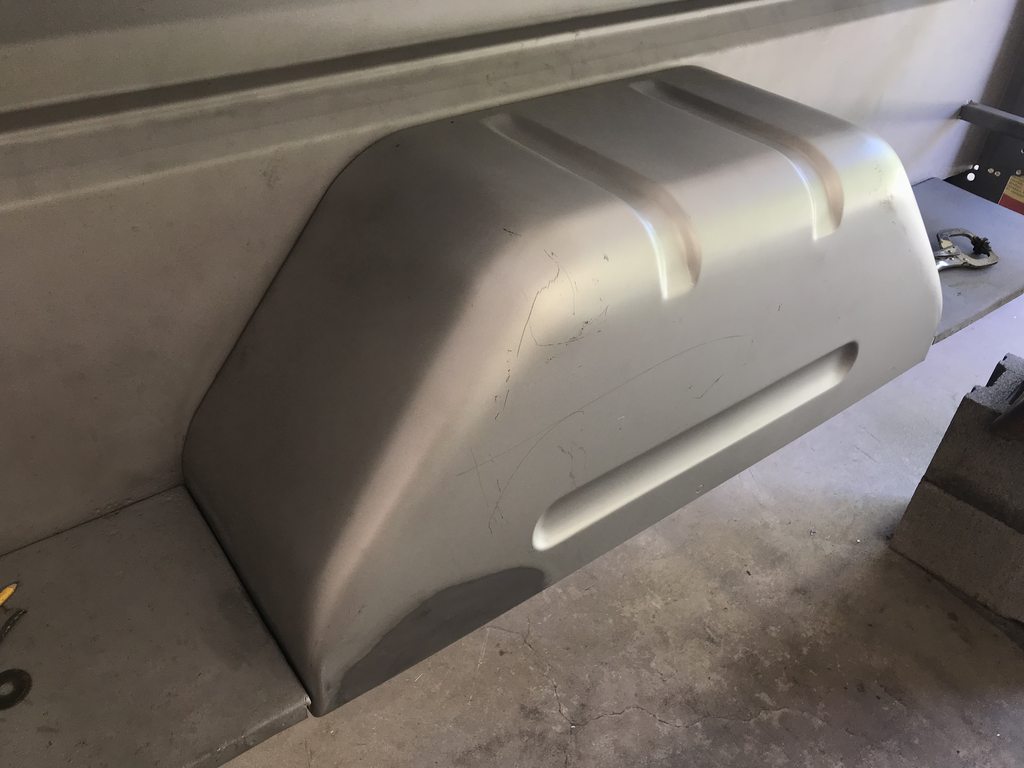
The new F250 bed floor has stamping for a fifth wheel ball, and the owner wants to add a fuel tank under the bed with the filler cap in the bed floor. I'll cut out two sections and swap them to make the center smooth and have a stamped area around the filler cap.
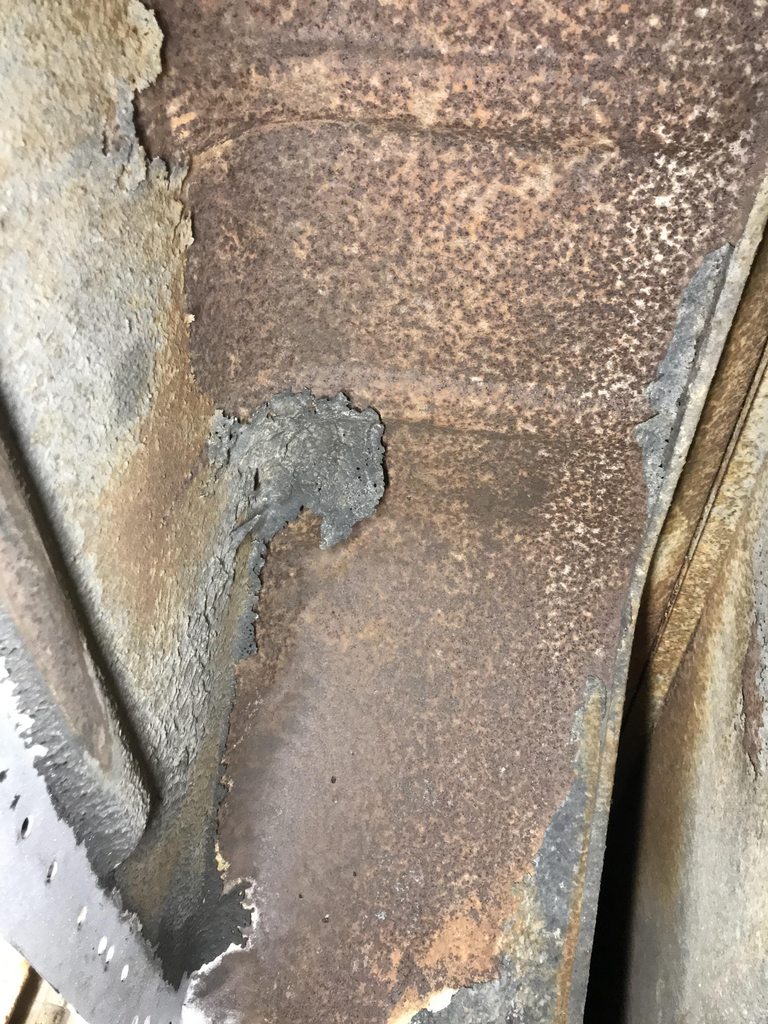
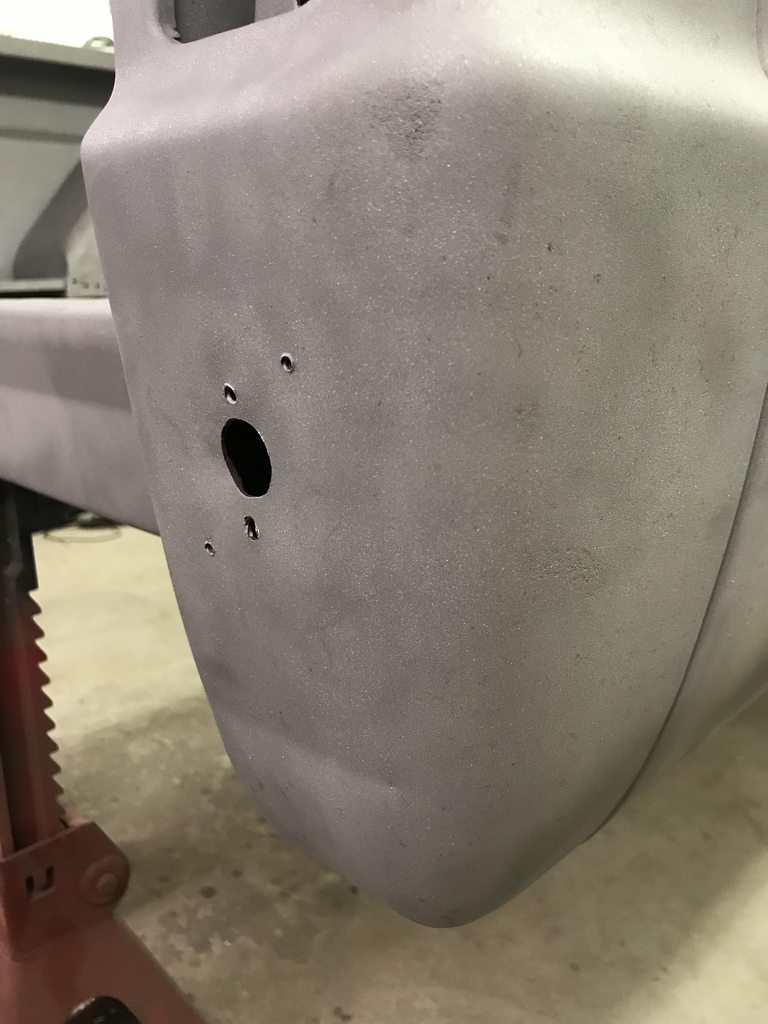
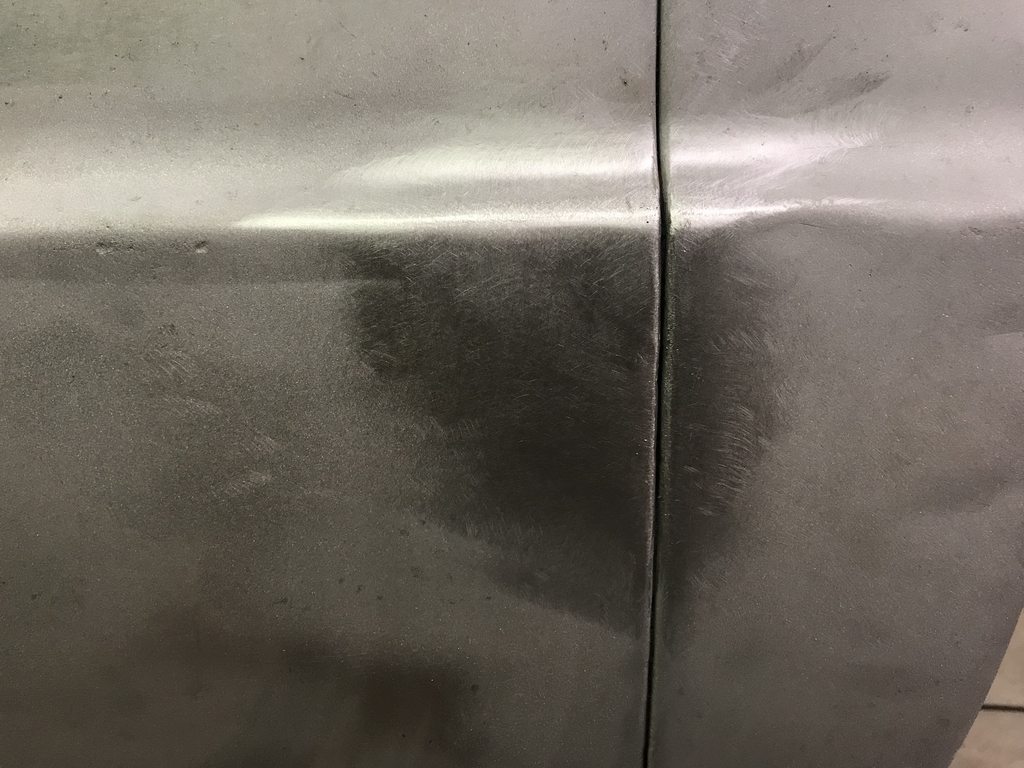
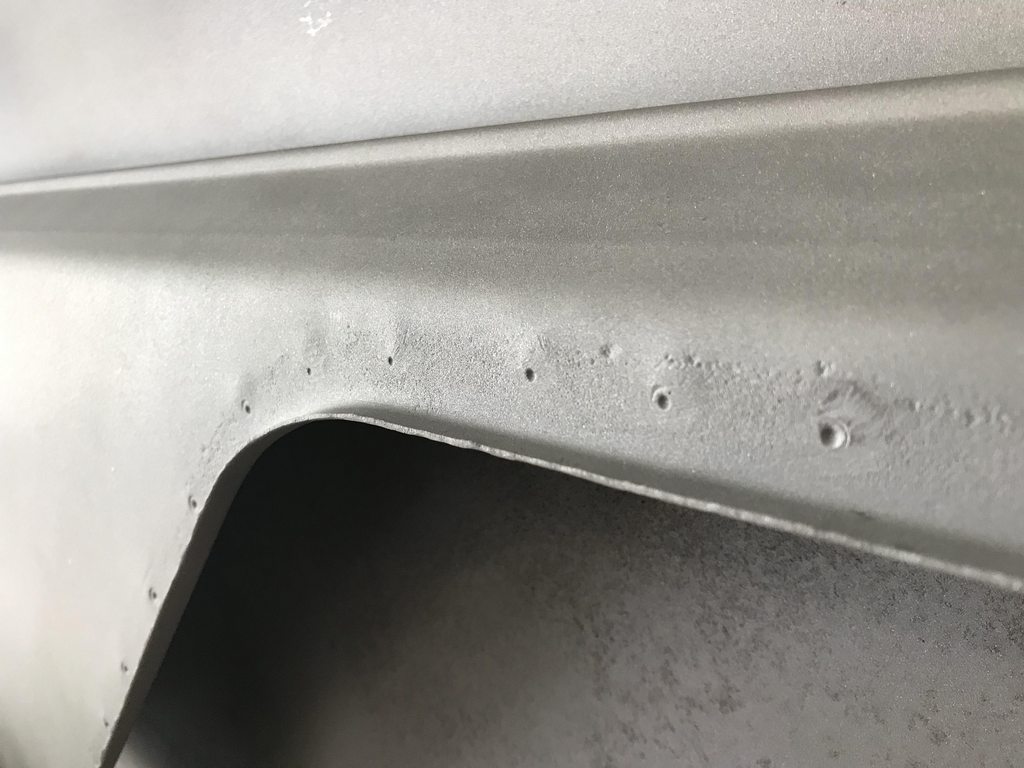
The rear corners had back up lights added, so I straightened the area and welded up the holes.
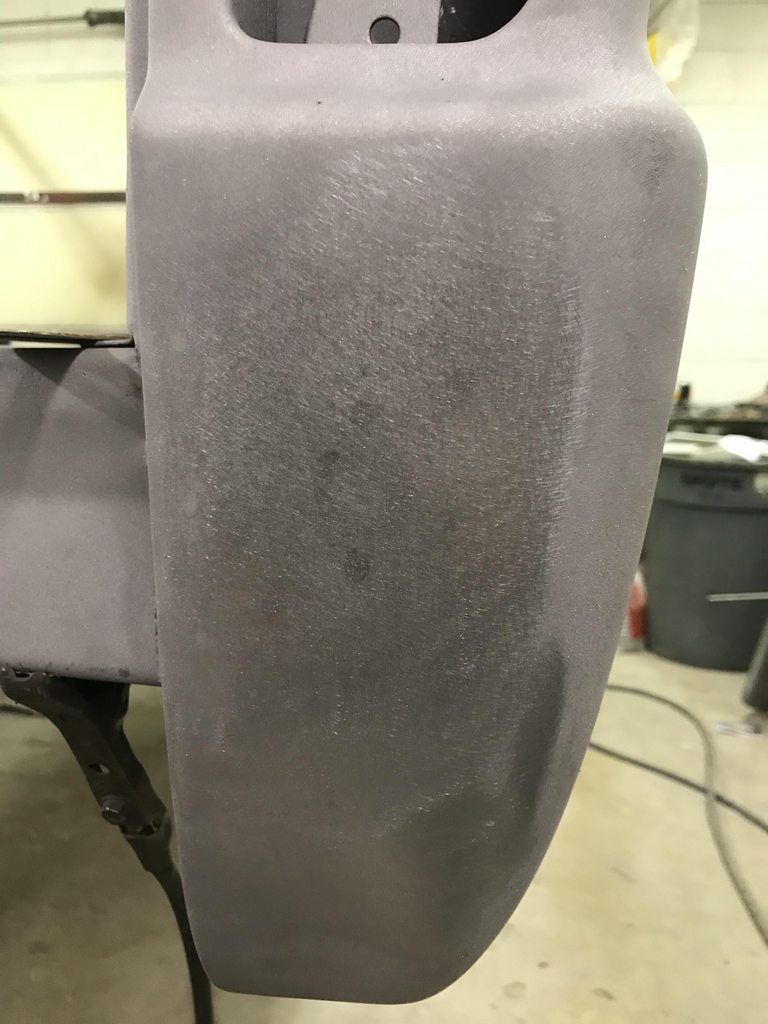
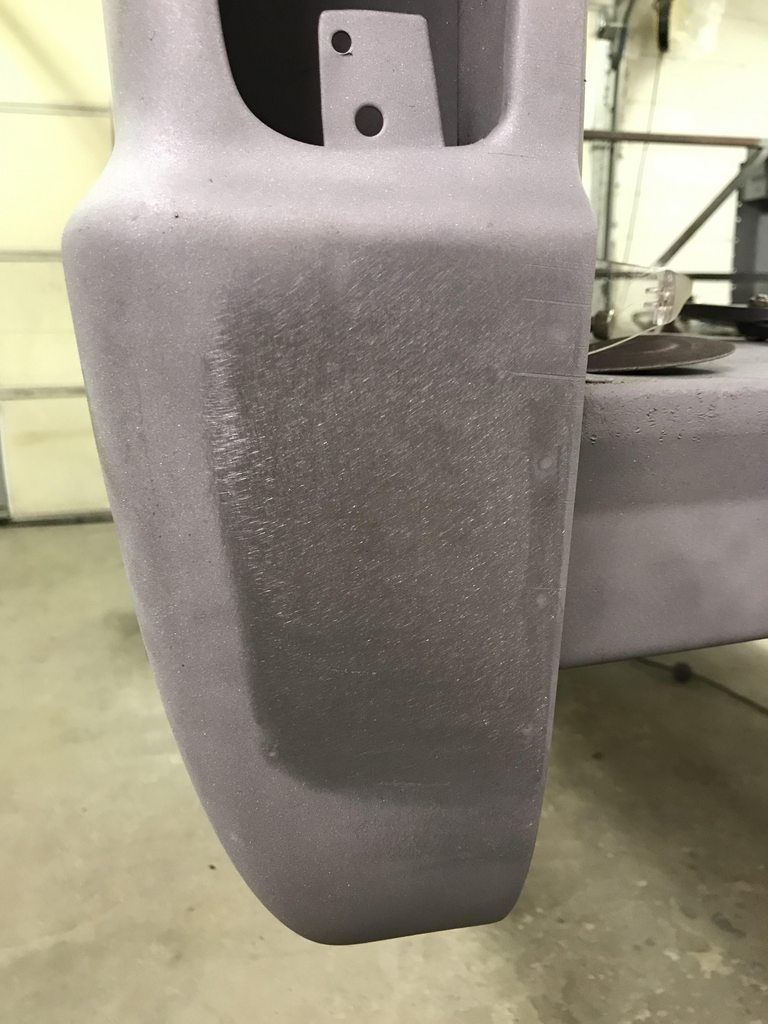
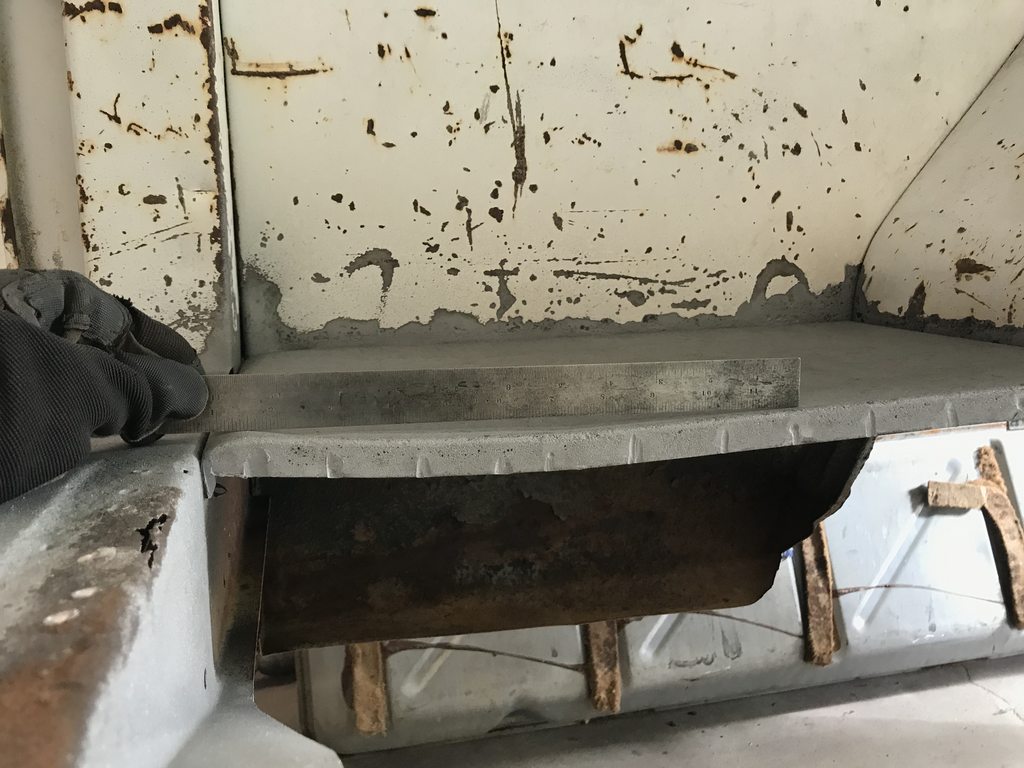
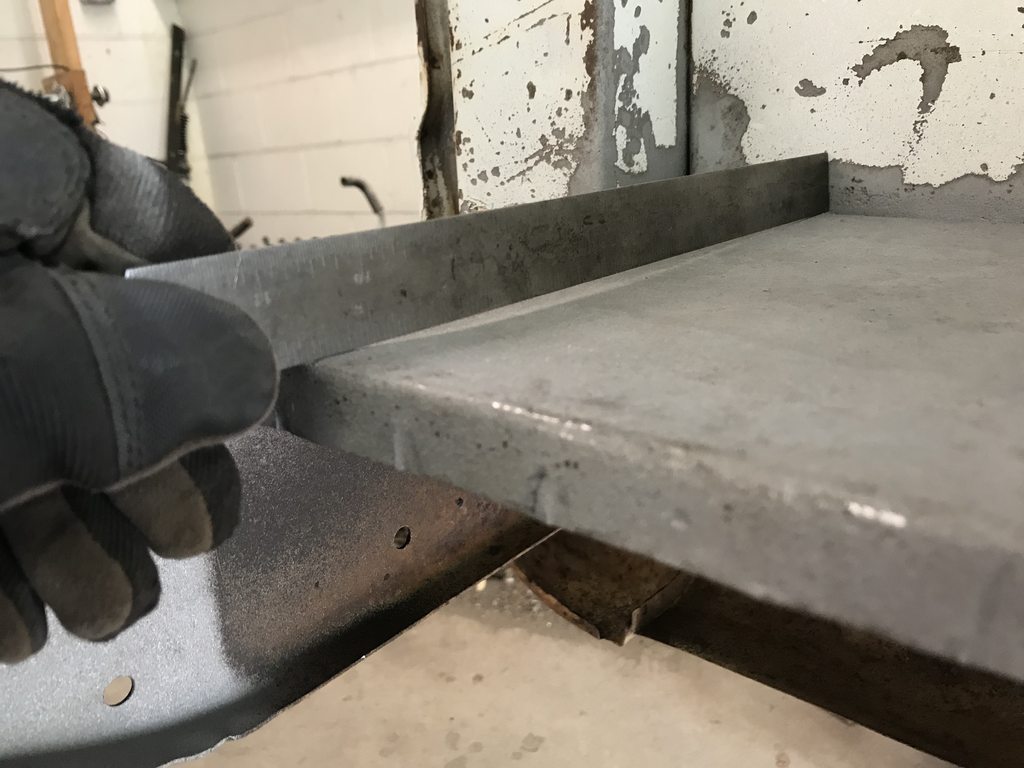
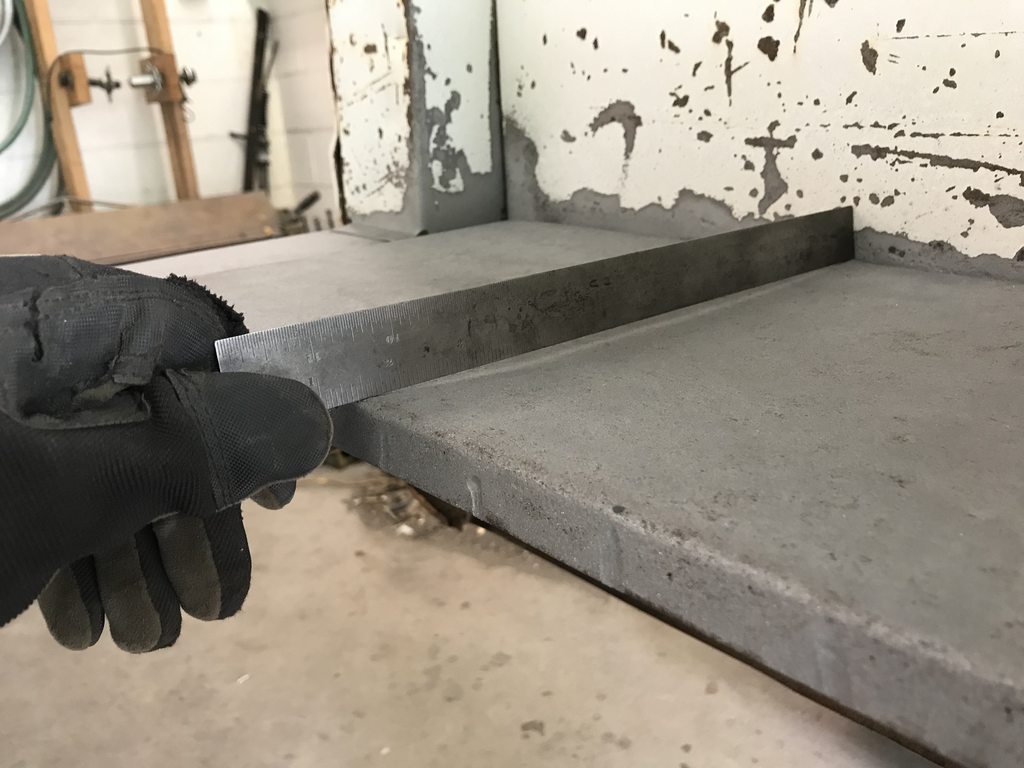
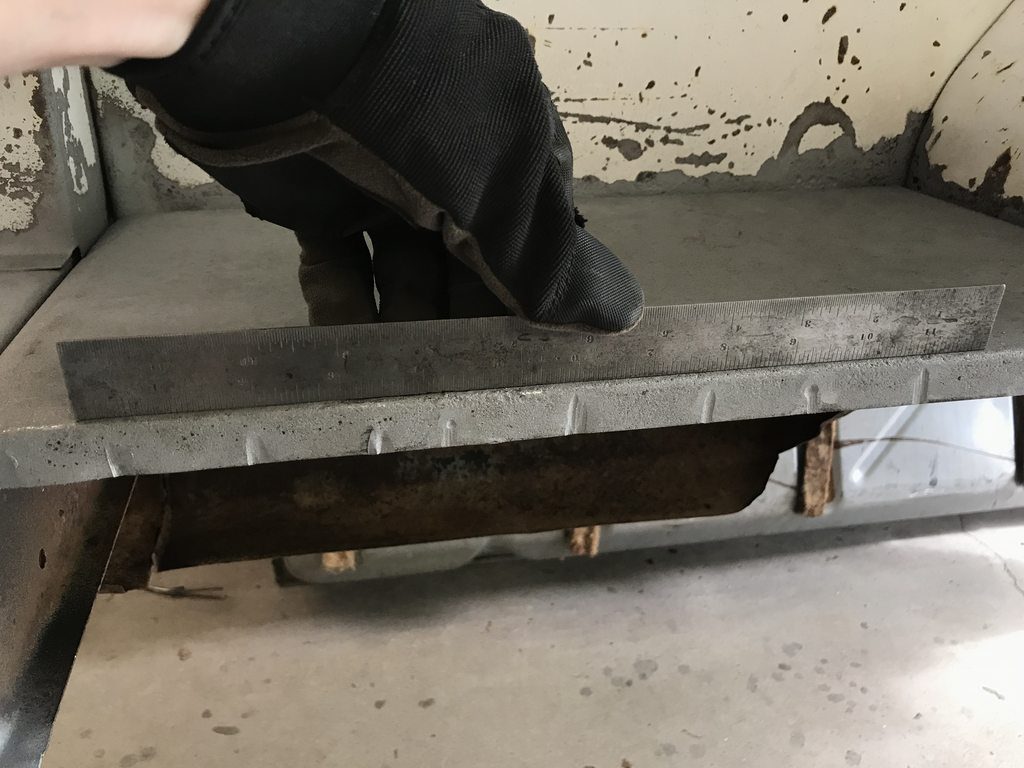
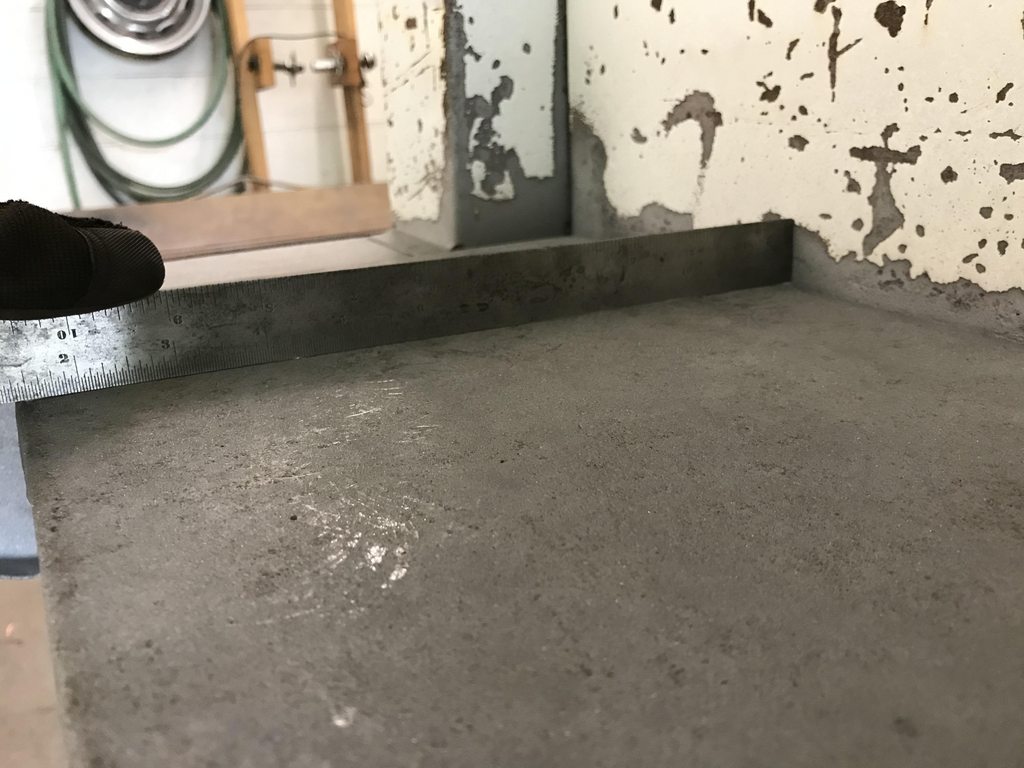
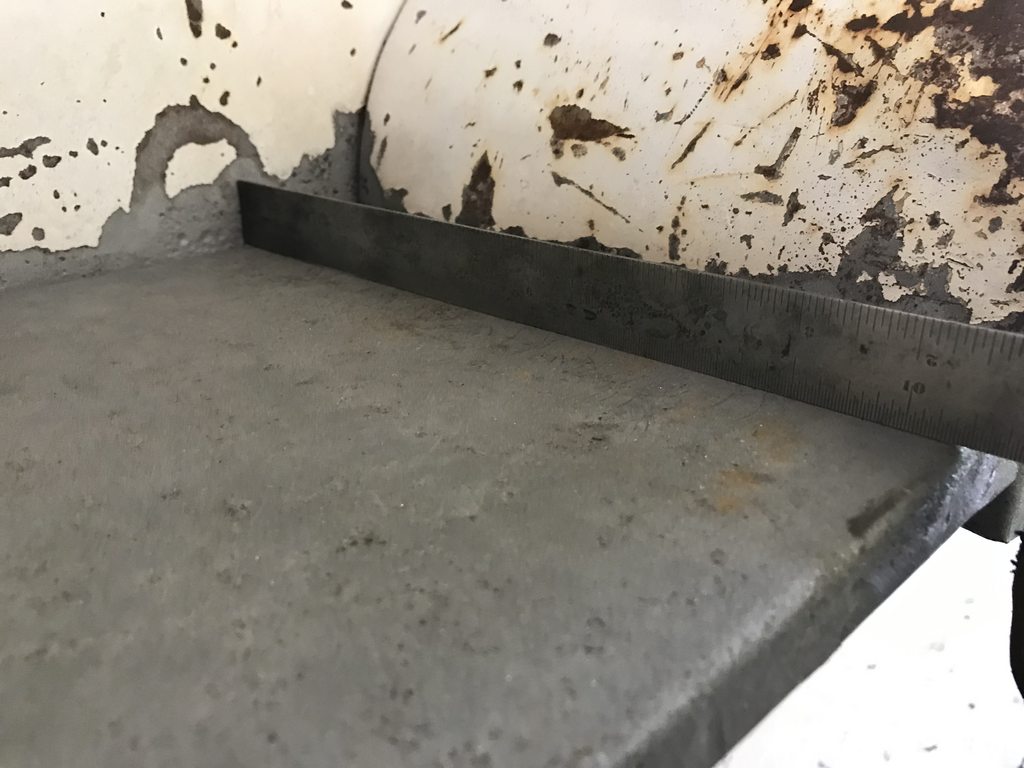
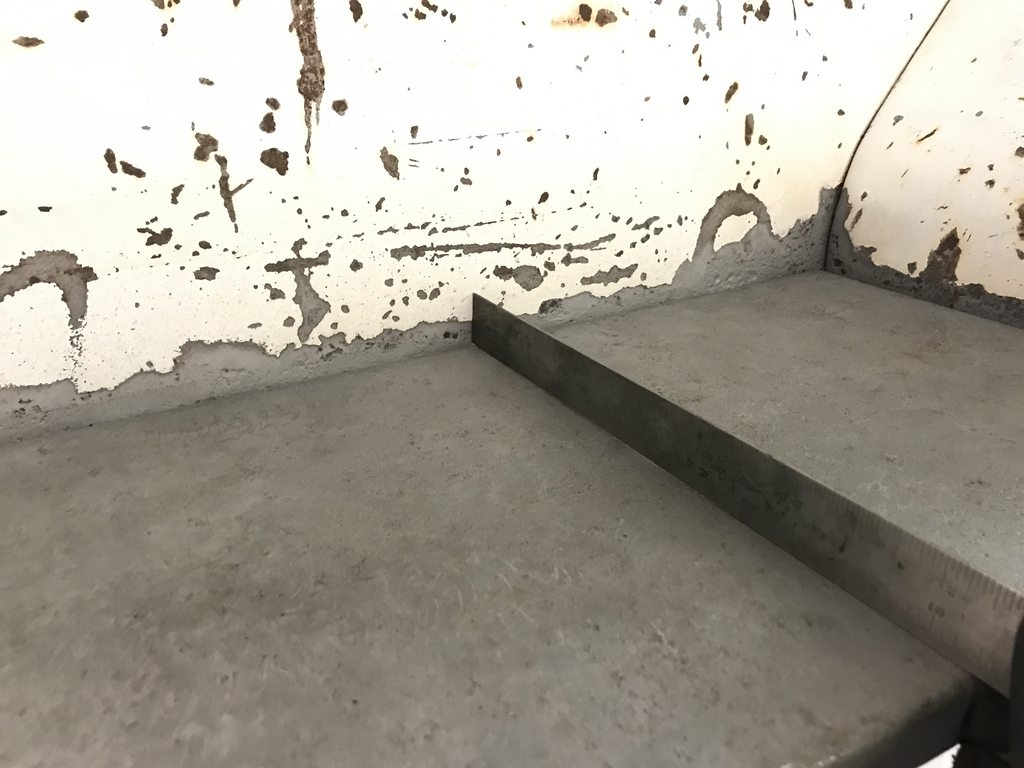
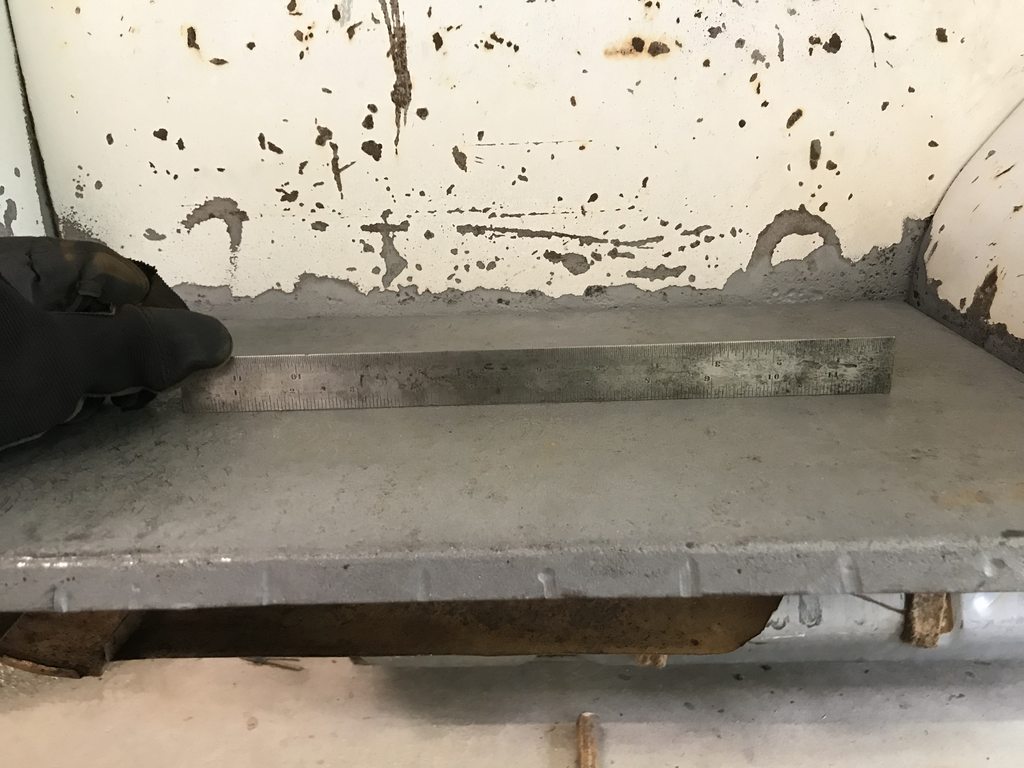
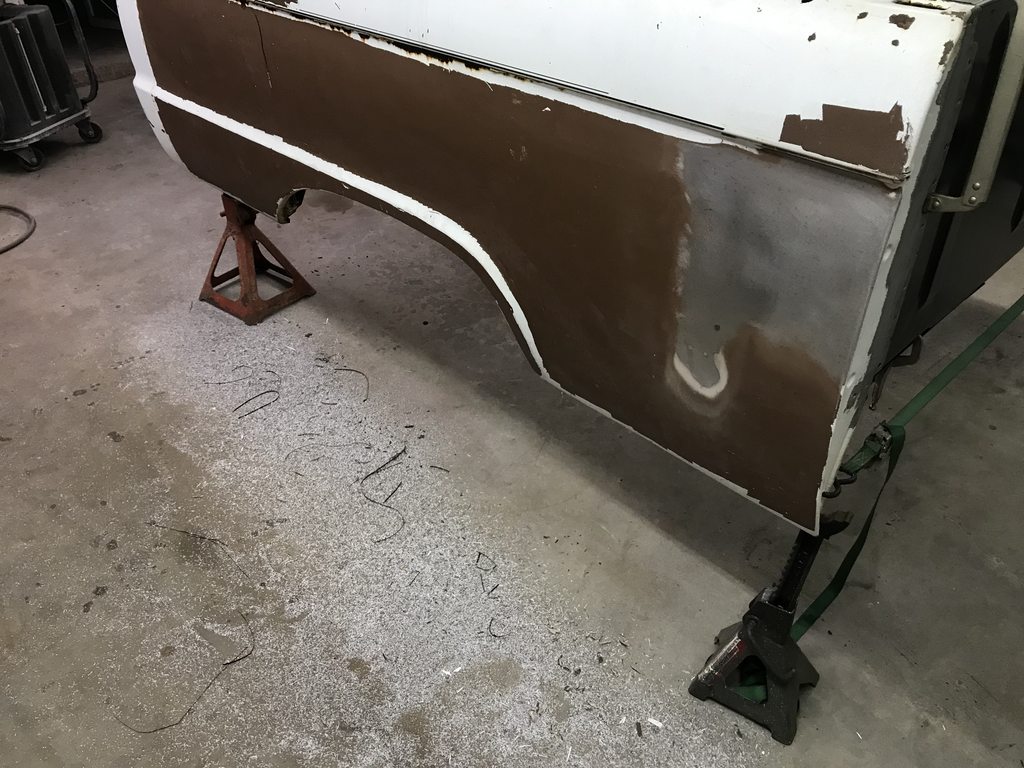
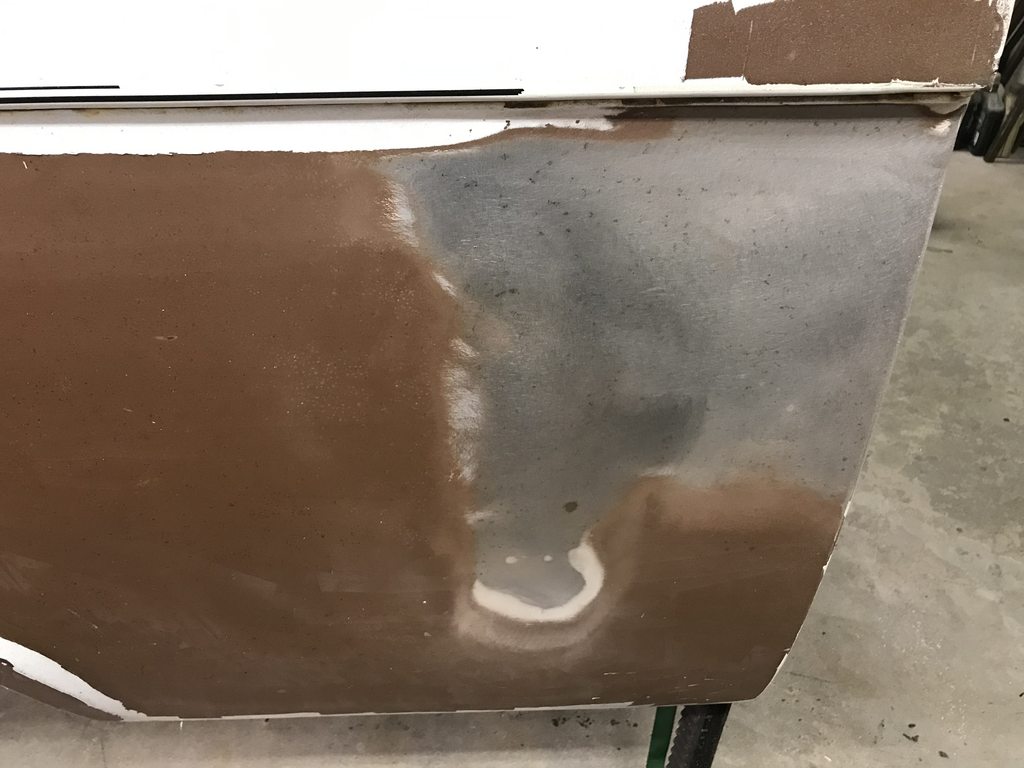
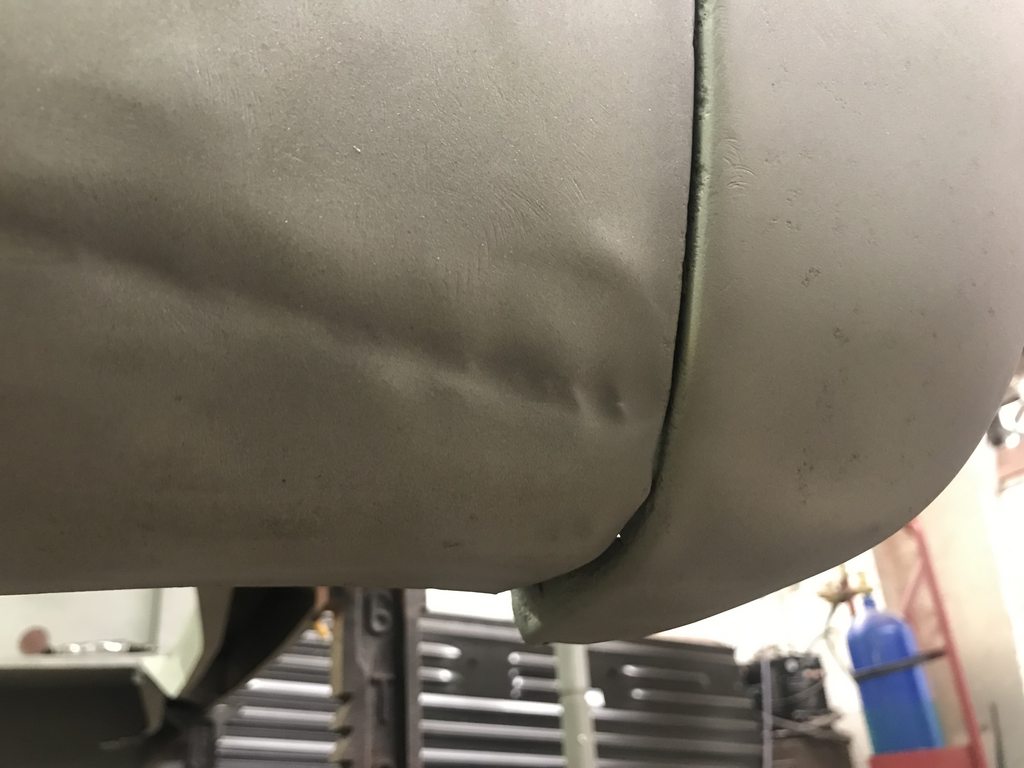
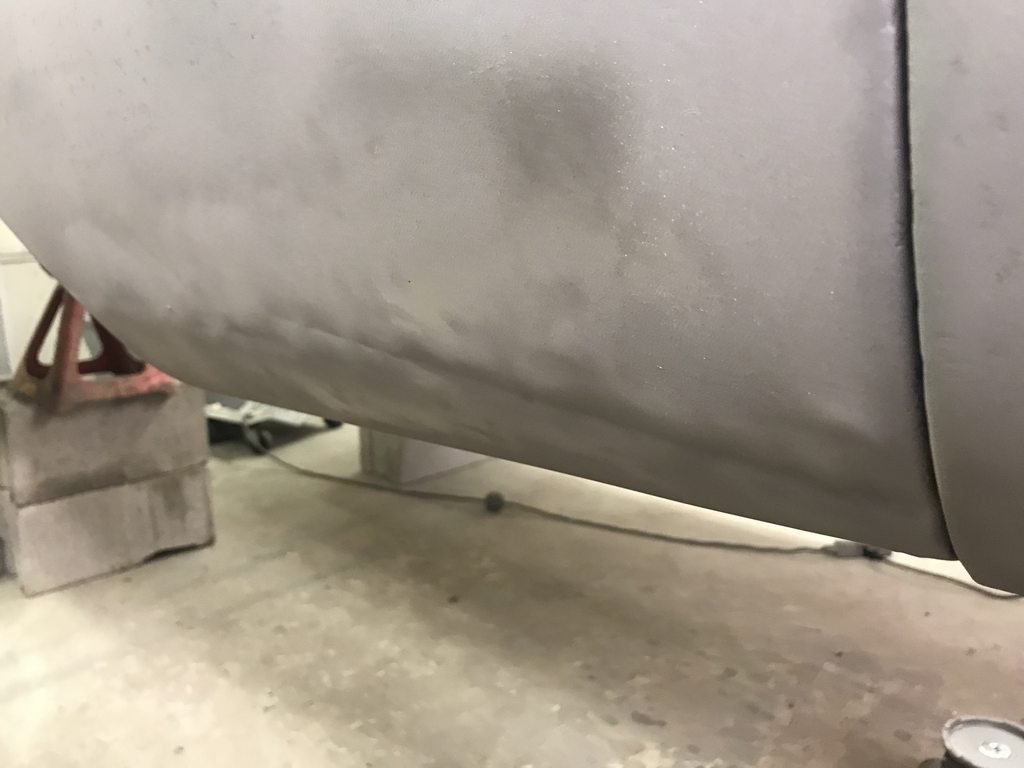
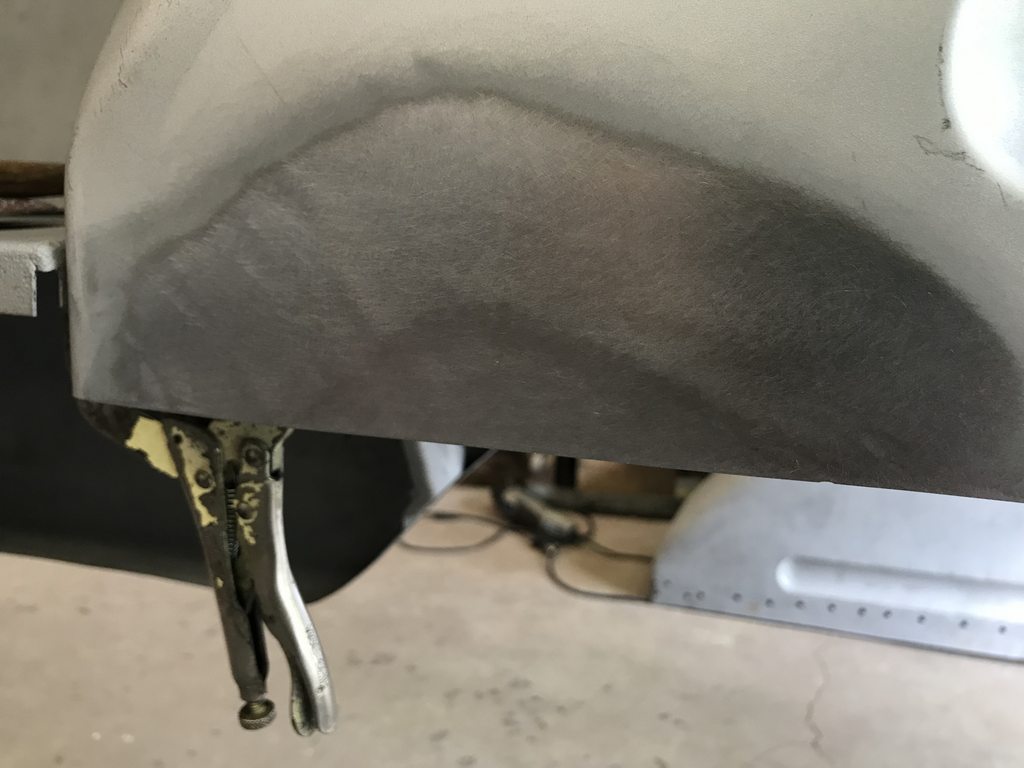
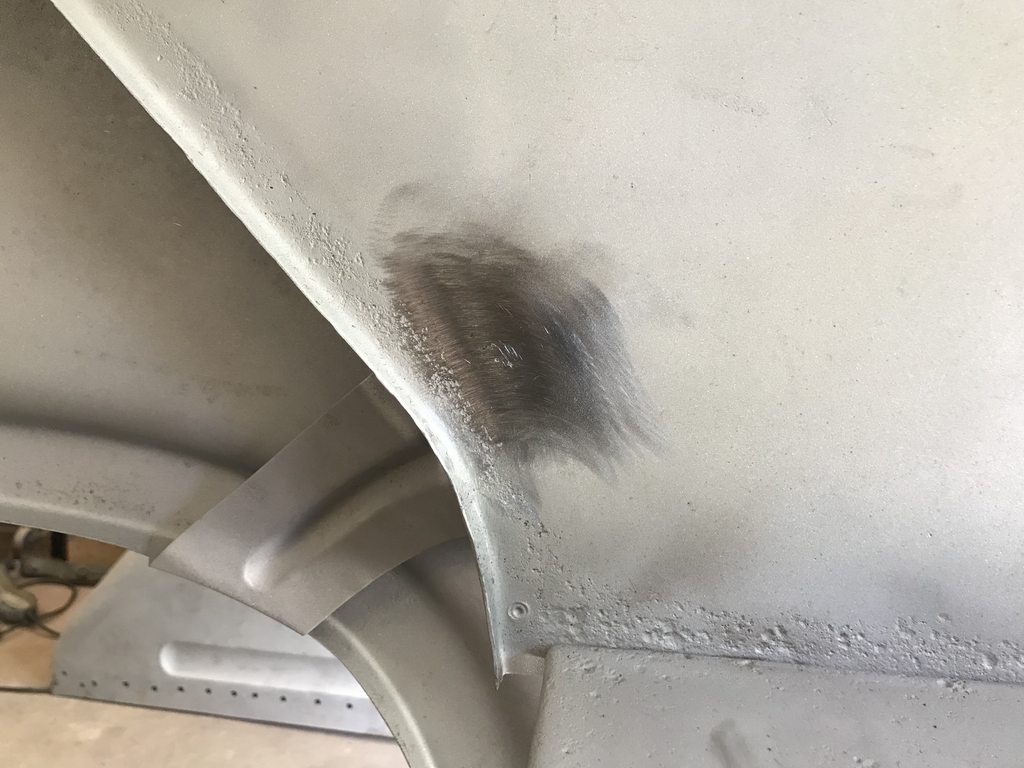
The bedside is wavy and sunk in over the front of the wheelwell so I've started stretching the area by hammer-on dolly plannishing the area to raise the low spots.
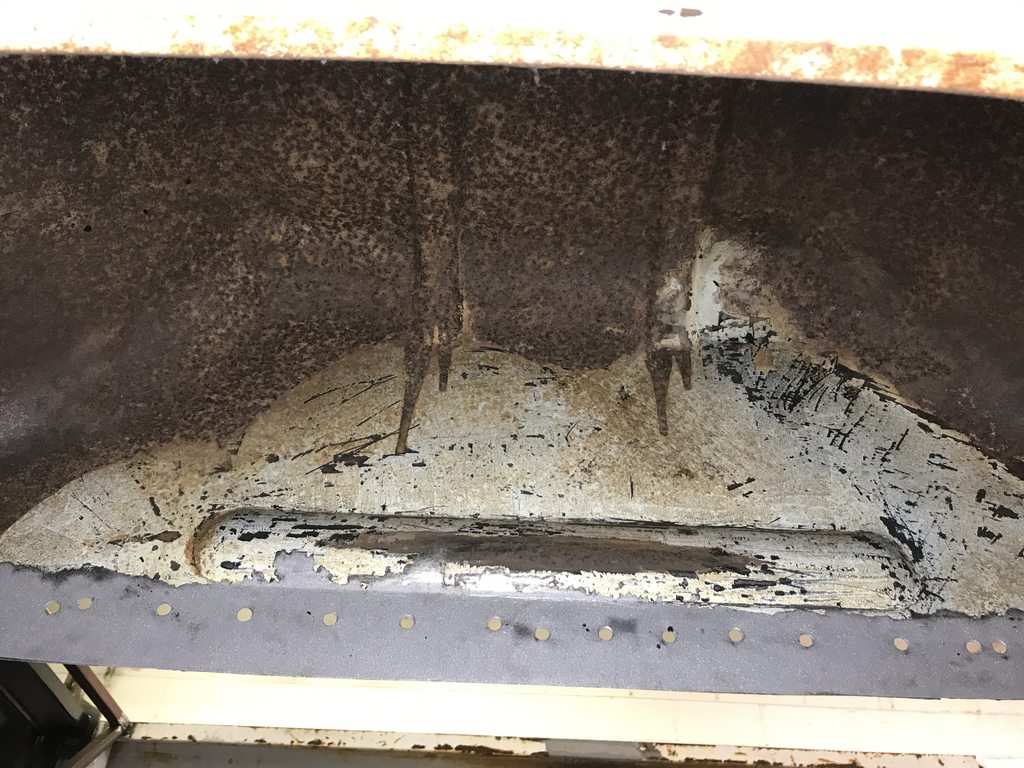
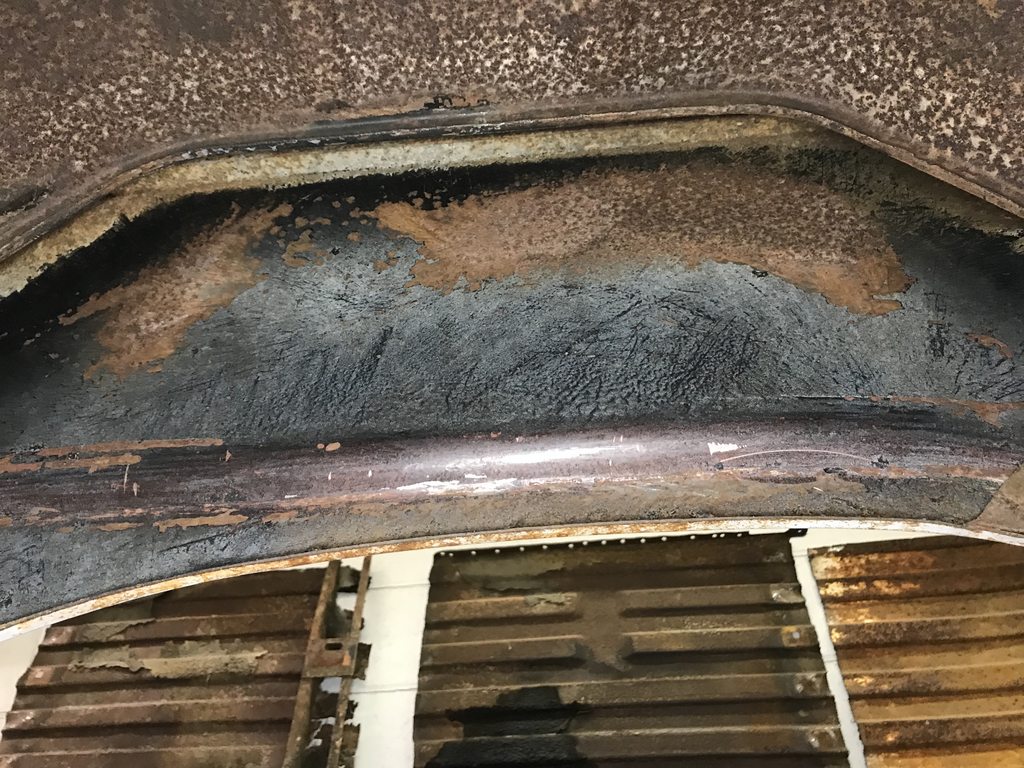
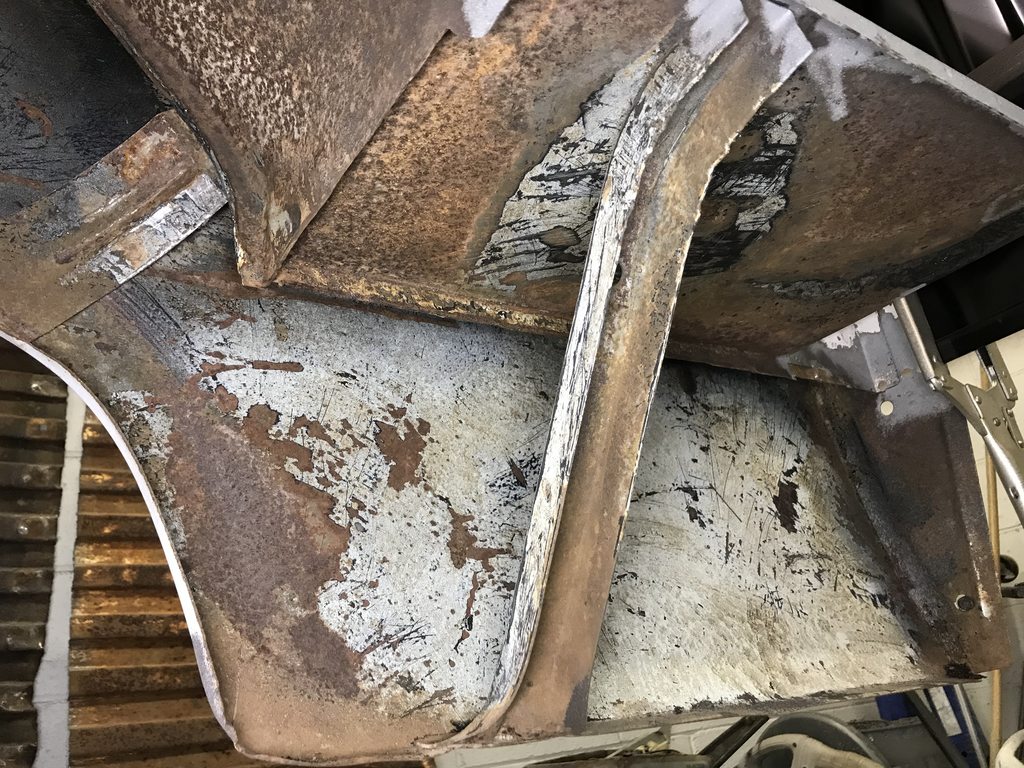
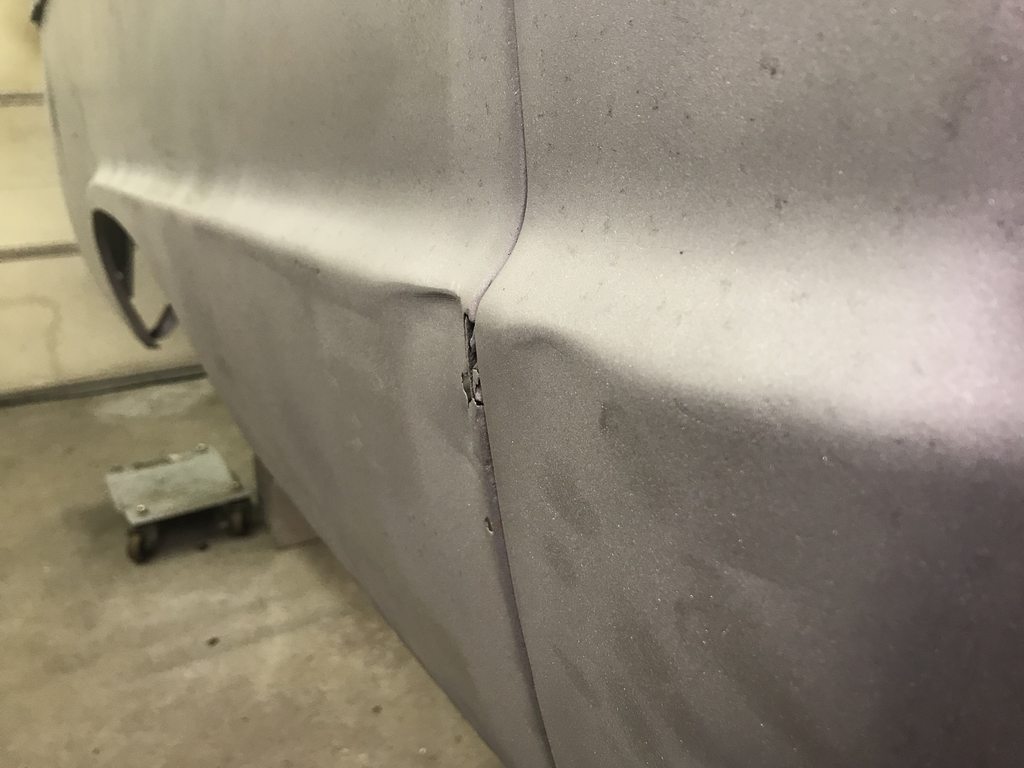
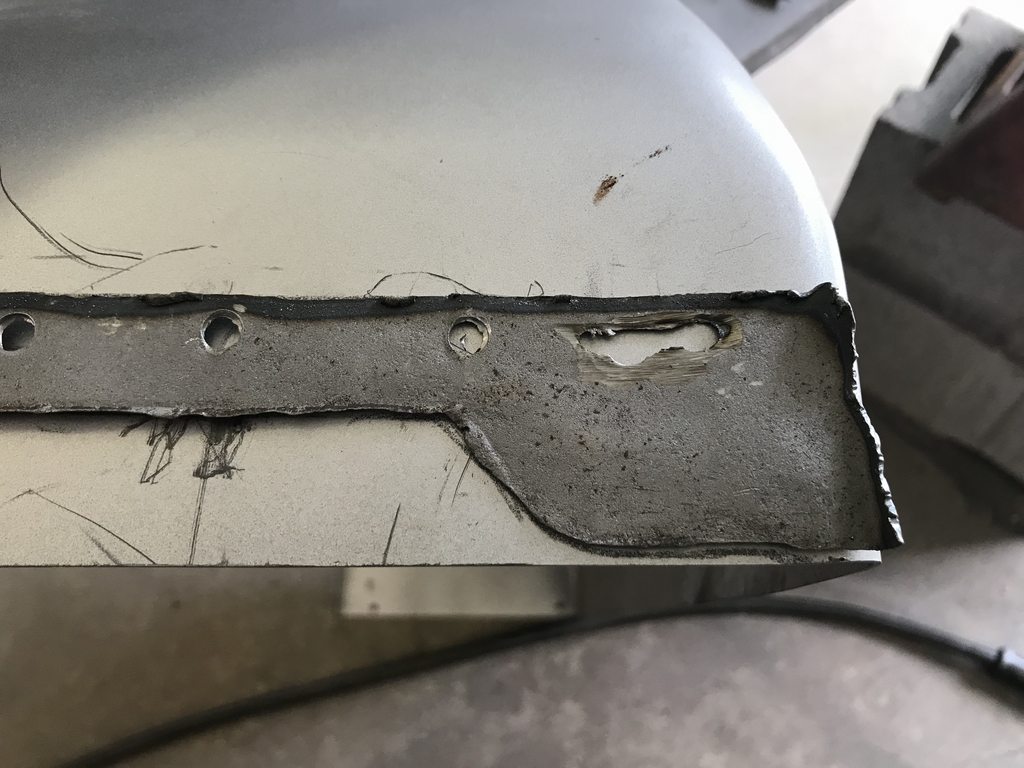
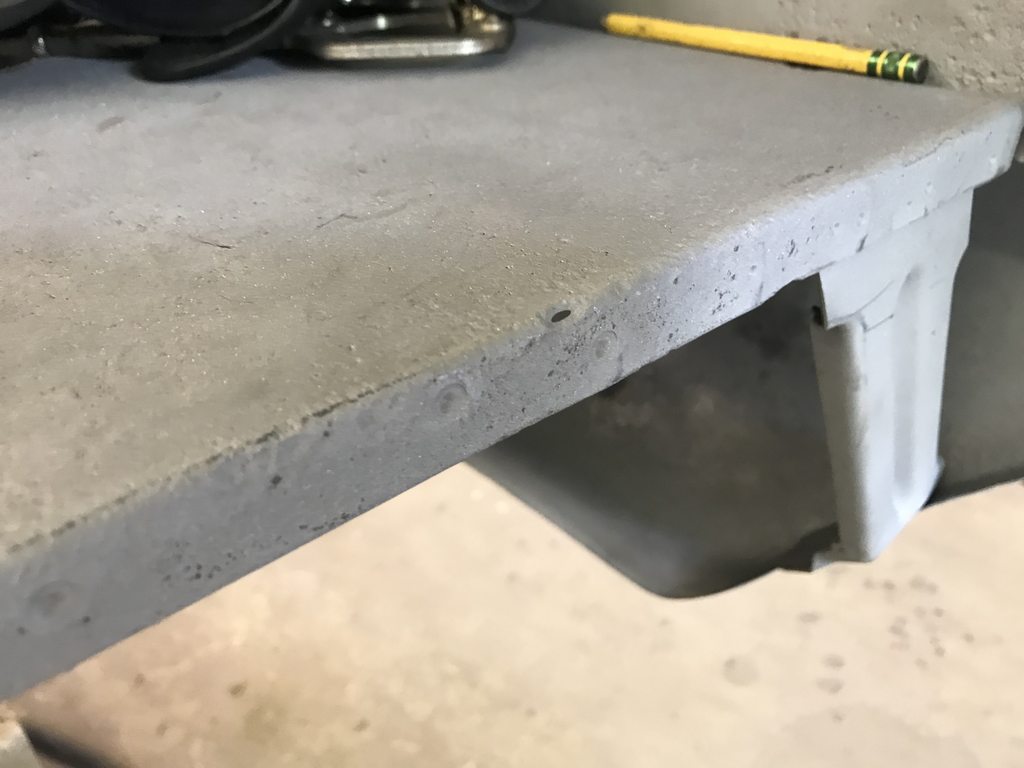
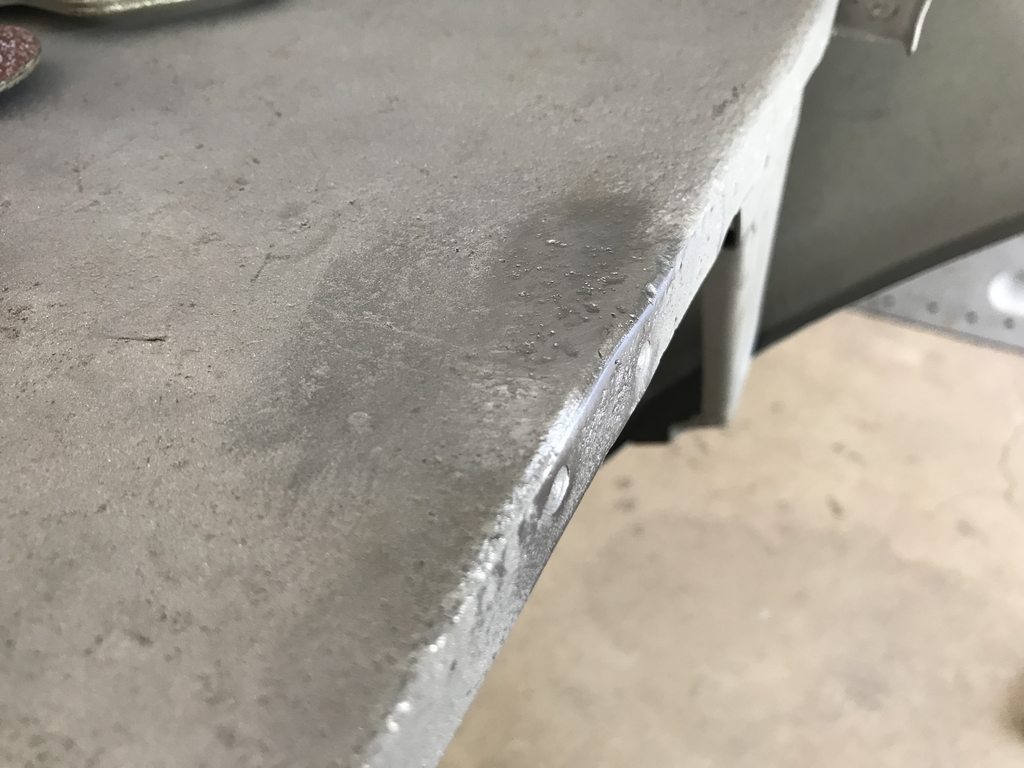
The bottom driver side behind the wheel opening had a couple creases, dents, and a torn spot on the edge of the flange.
I have straightened a lot of metal and had to shrink a lot of stretched metal over the years and I've never seen the socket and hammer technique. I am definitely going to have to give that a try!
Great work as always, I have adopted several of your techniques, thanks for sharing here!
Great work as always, I have adopted several of your techniques, thanks for sharing here!
Been working, just not posting.
I've been working on blasting the bed, inside and out and underneath, that's about 95% done. I'll work on straightening and repairing as much as I can while it's in bare metal before going back over the areas I missed with the blaster and then shooting epoxy.
The seam between the upper and lower passenger side bedsides was pretty rough so I spent extra time cleaning it out with the blaster.
The new F250 bed floor has stamping for a fifth wheel ball, and the owner wants to add a fuel tank under the bed with the filler cap in the bed floor. I'll cut out two sections and swap them to make the center smooth and have a stamped area around the filler cap.
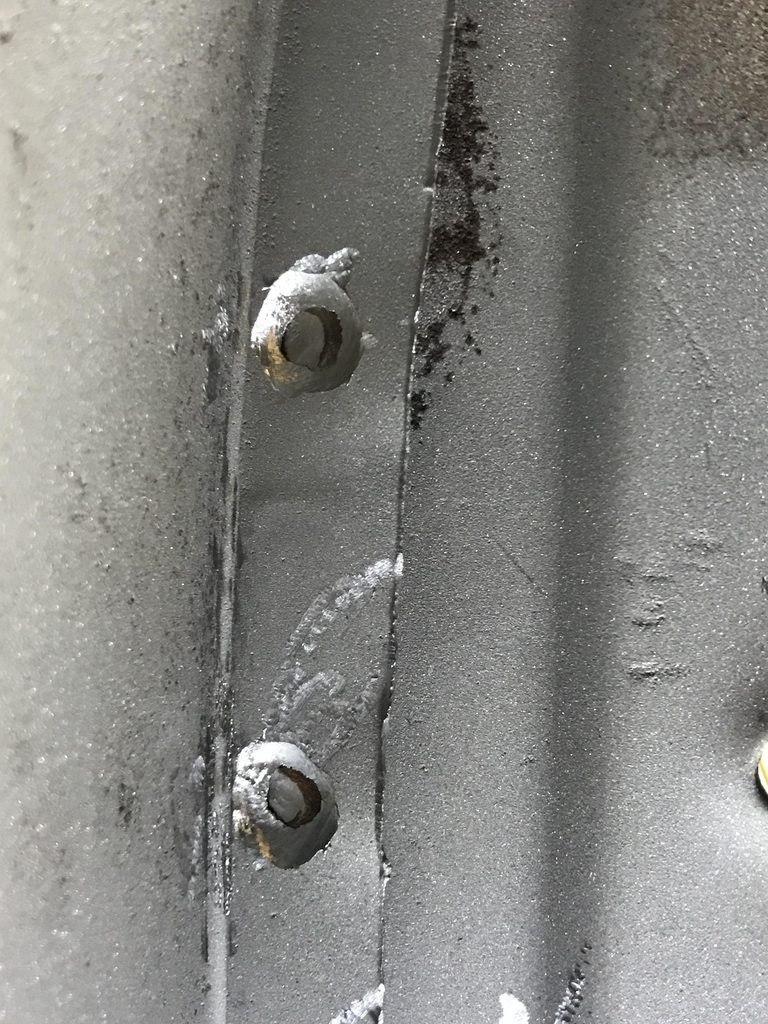
The rear corners had back up lights added, so I straightened the area and welded up the holes.
The bedside is wavy and sunk in over the front of the wheelwell so I've started stretching the area by hammer-on dolly plannishing the area to raise the low spots.
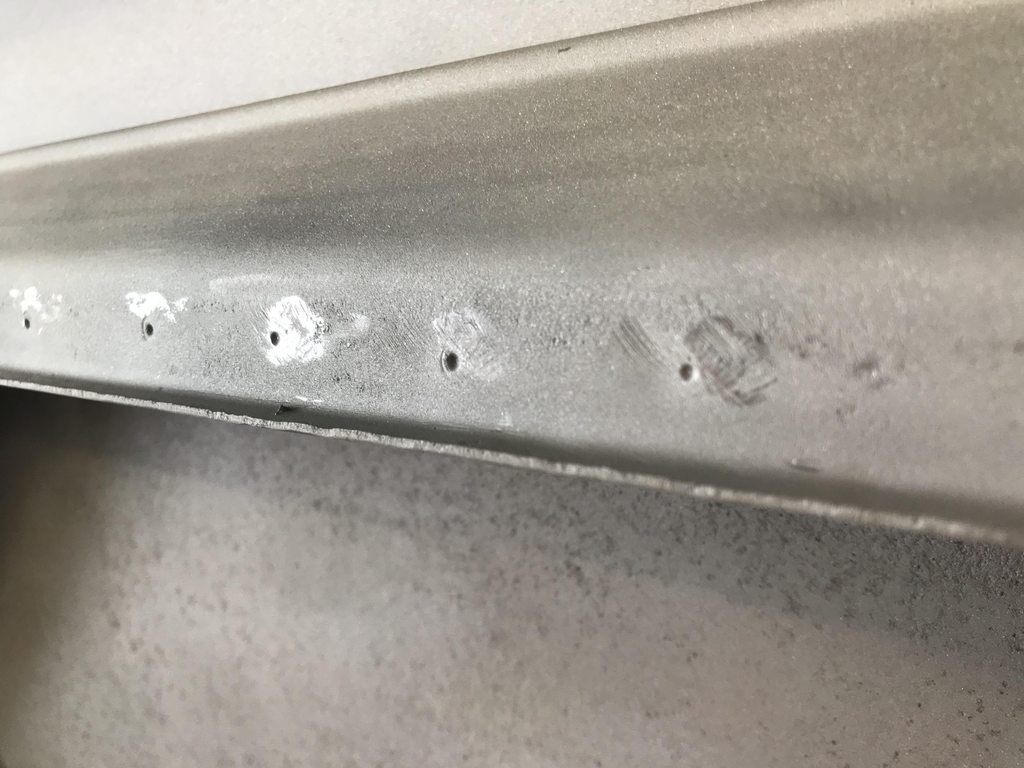
The bottom driver side behind the wheel opening had a couple creases, dents, and a torn spot on the edge of the flange.
#29
05-09-2019, 01:30 PM
I've seen people use Bronco wheel tubs to widen the factory tubs, and to use for trucks with raised bed floors but not for stock tub replacement so I wasn't sure that they'd work. They were only $70 shipped each so we bought one to try out and the stamping ended up being identical with only a couple details that needed attention.
The stock tubs were pretty rough so I cut them out with the plasma to get to the inner flange.
For Bronco applications they had a notch cut out for the shock mount. I welded that up since the bed floor will be welded to that area of the flange.
Test fit.
Trimming the bottom edge to match the original shape.
Couple of pinholes welded up.
There were dimples in the flange area from the original spot welds so I straightened those so the new tubs would fit flush.
The following users liked this post:
#30
05-09-2019, 01:30 PM
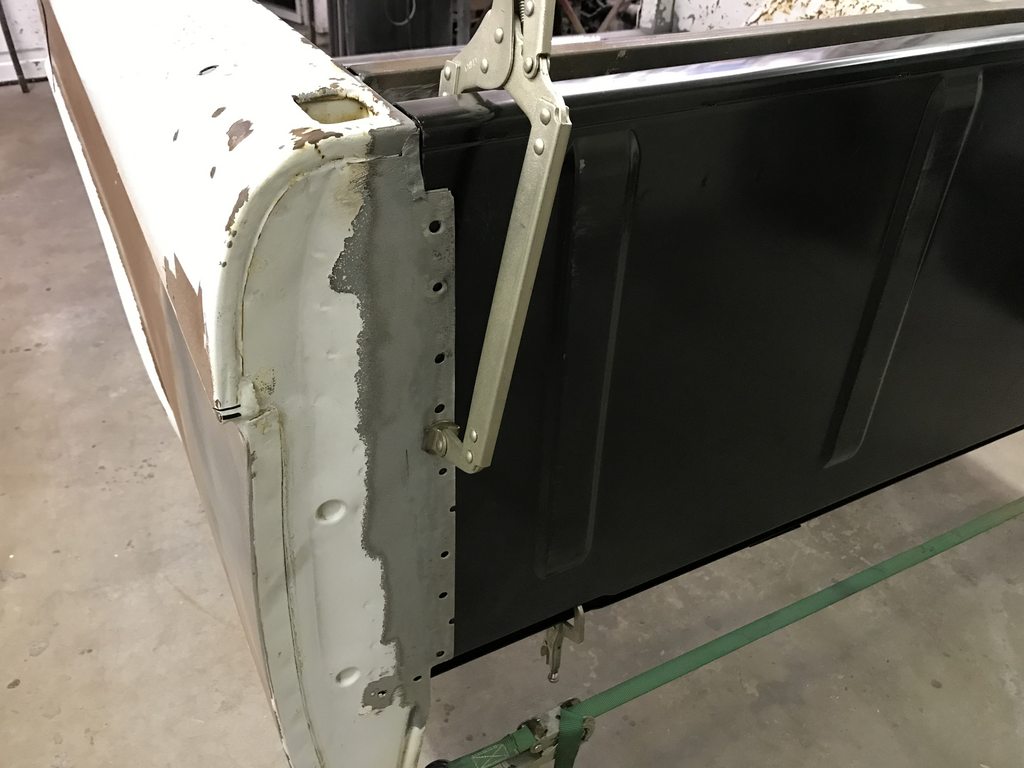
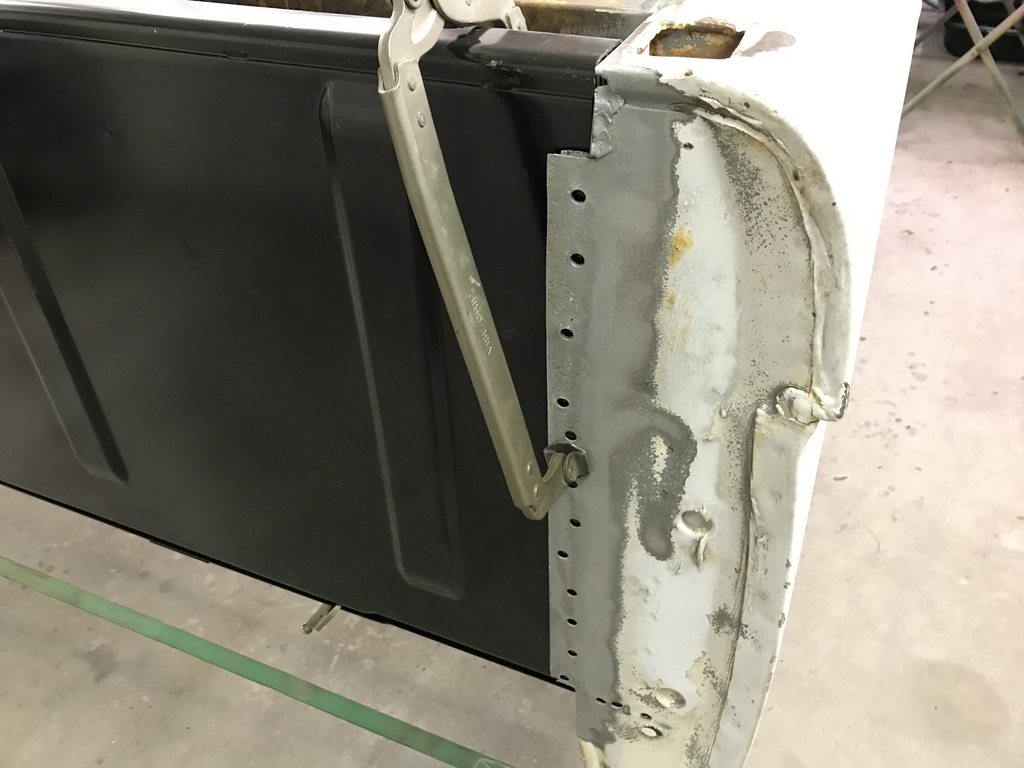
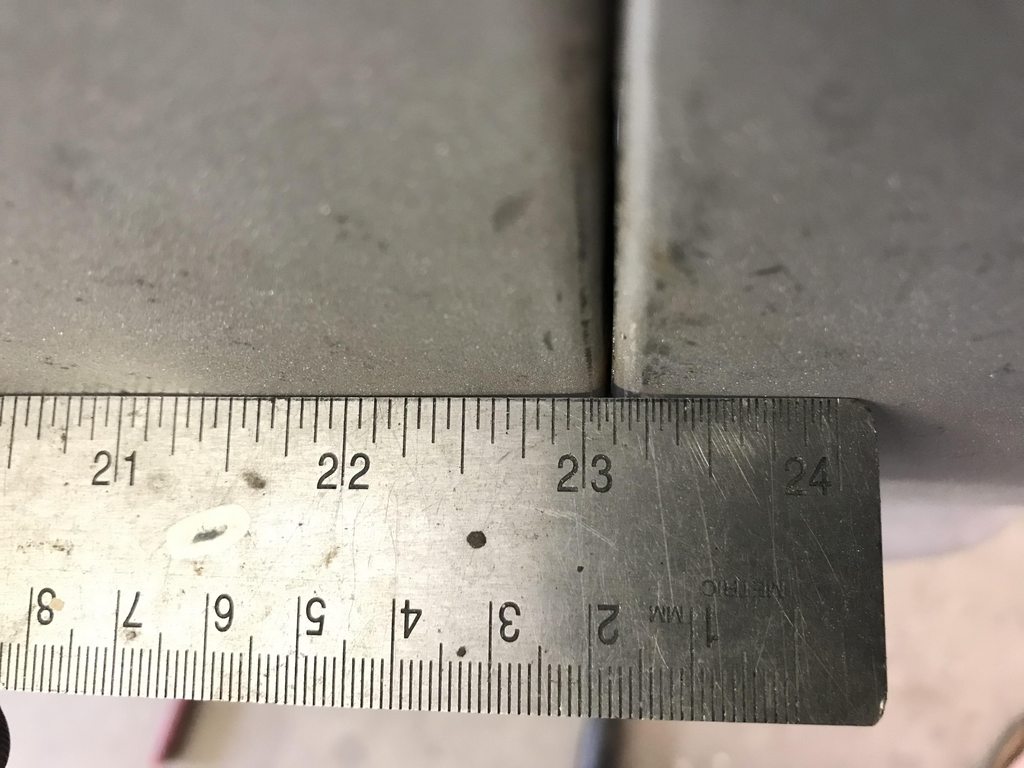
The driver side bed corner fit pretty well at the bottom but stuck out past the bedside towards the top.


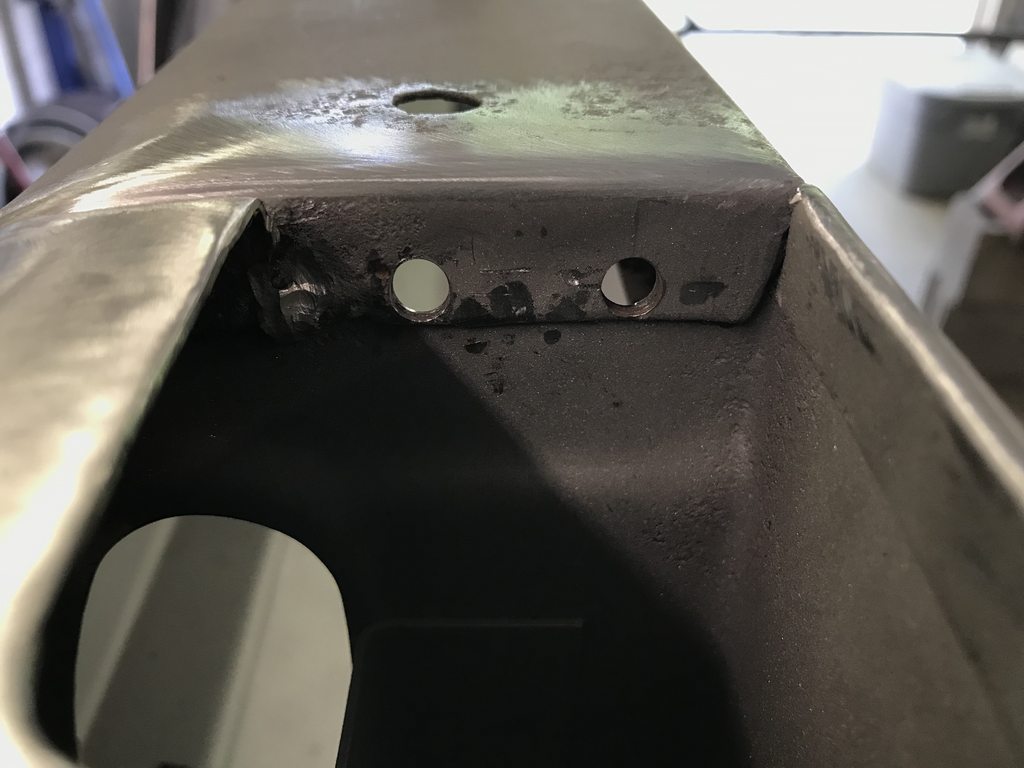
I was able to reach the spot welds through the taillight opening with an extended nose grinder and carbide burr. You can see how much I moved the panel inward to make the two flanges flush.
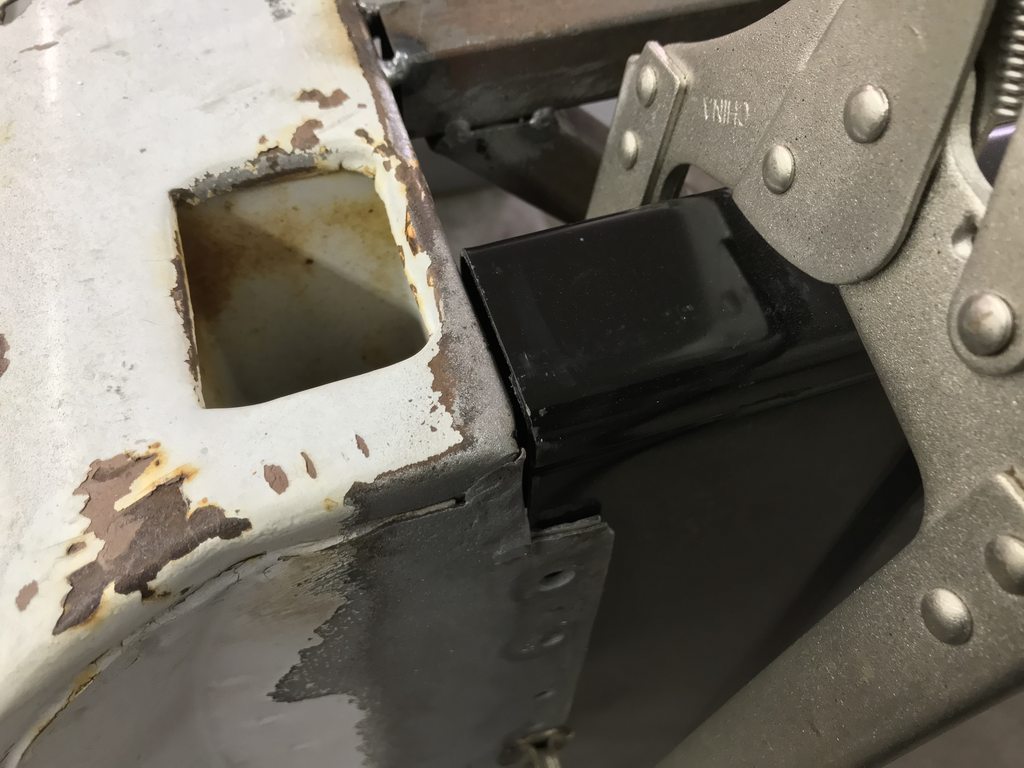
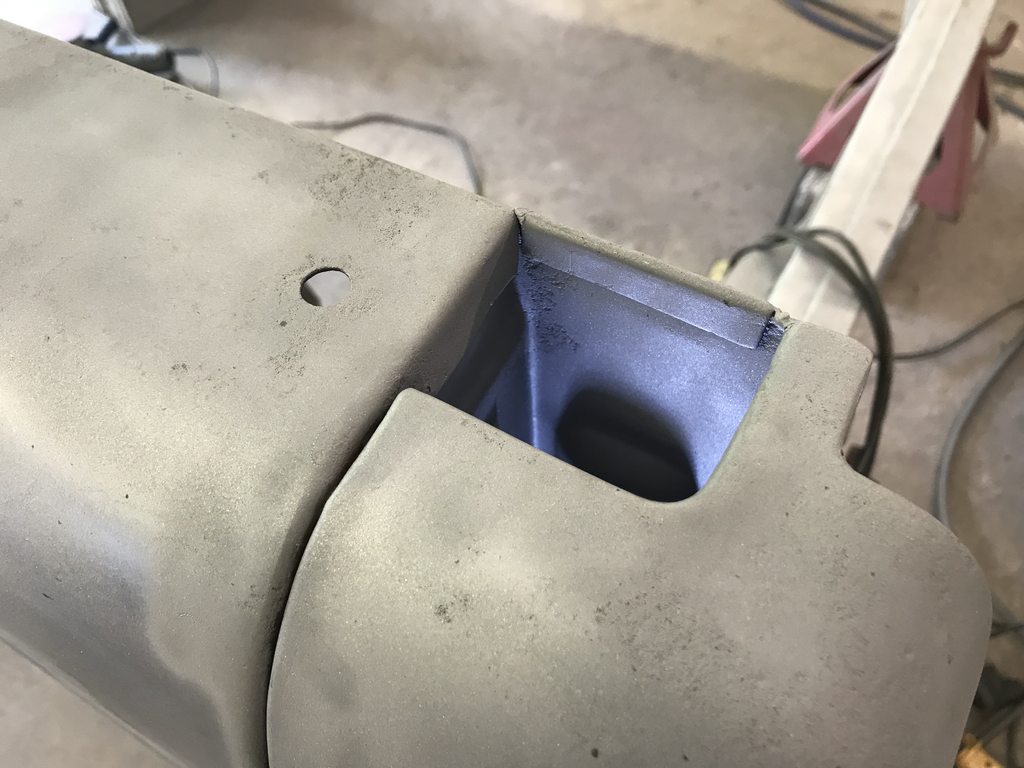
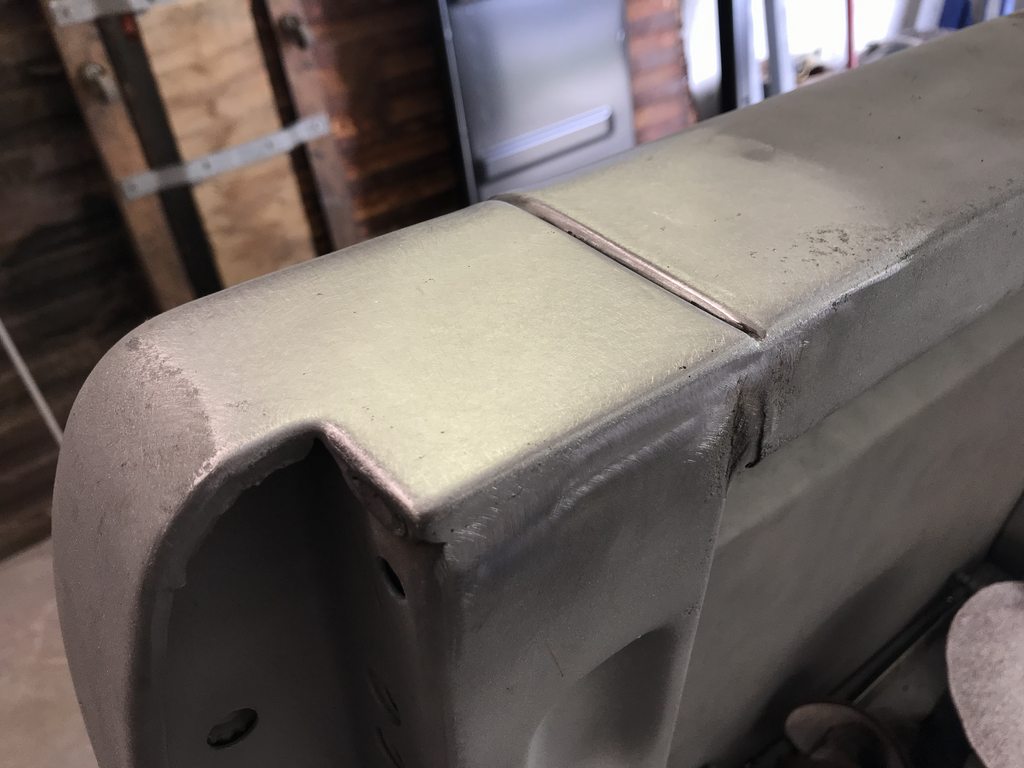
We decided to shave the stake pockets, so I cut out the flanged lip and made a filler panel that keeps and extends the seam so it looks like a factory panel.
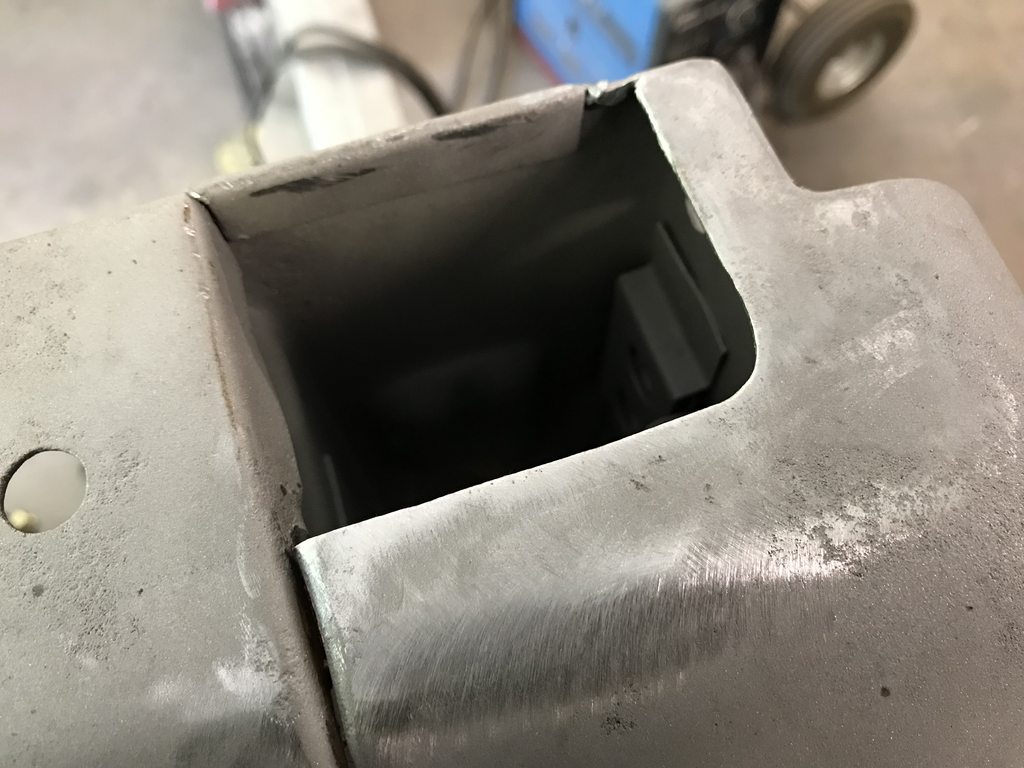
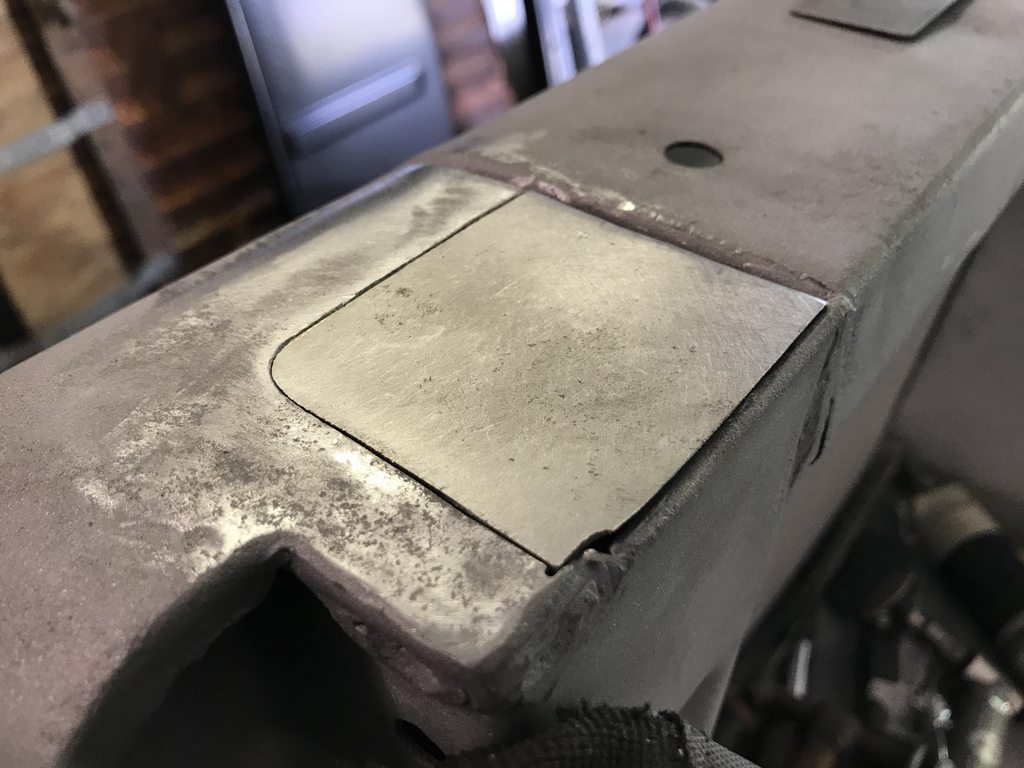
I drilled a couple holes to plug weld the filler panel's flange in place like the rest of the corner's flange.
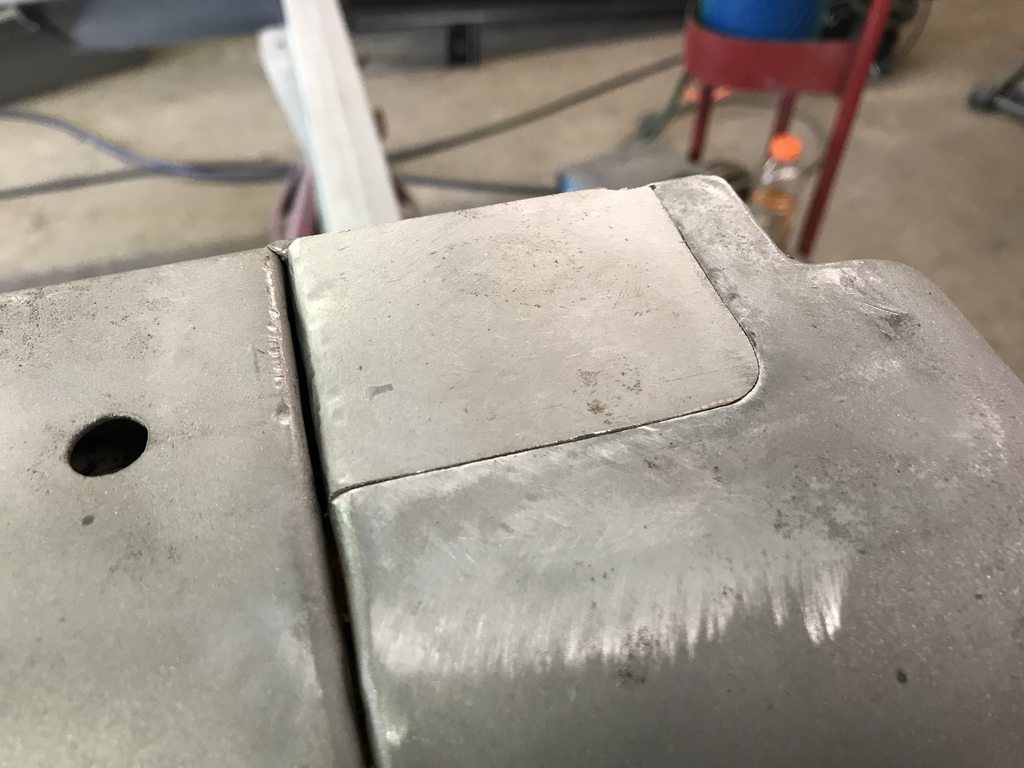
Coated the inside of the corner with epoxy before welding it shut.
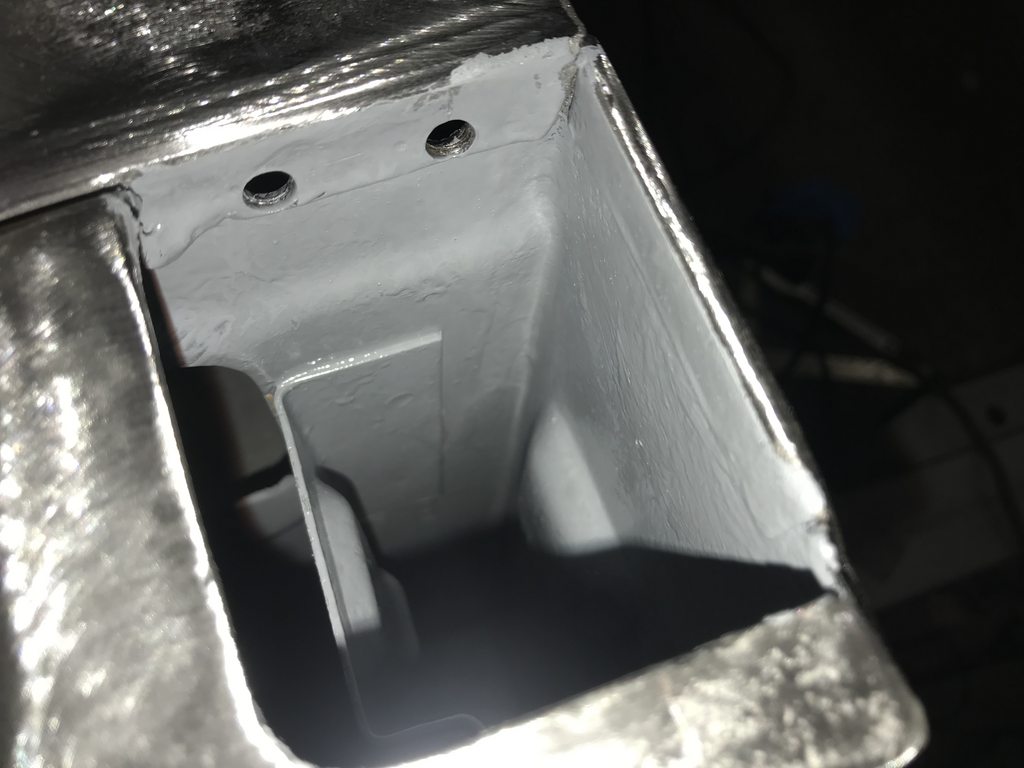
Finished.
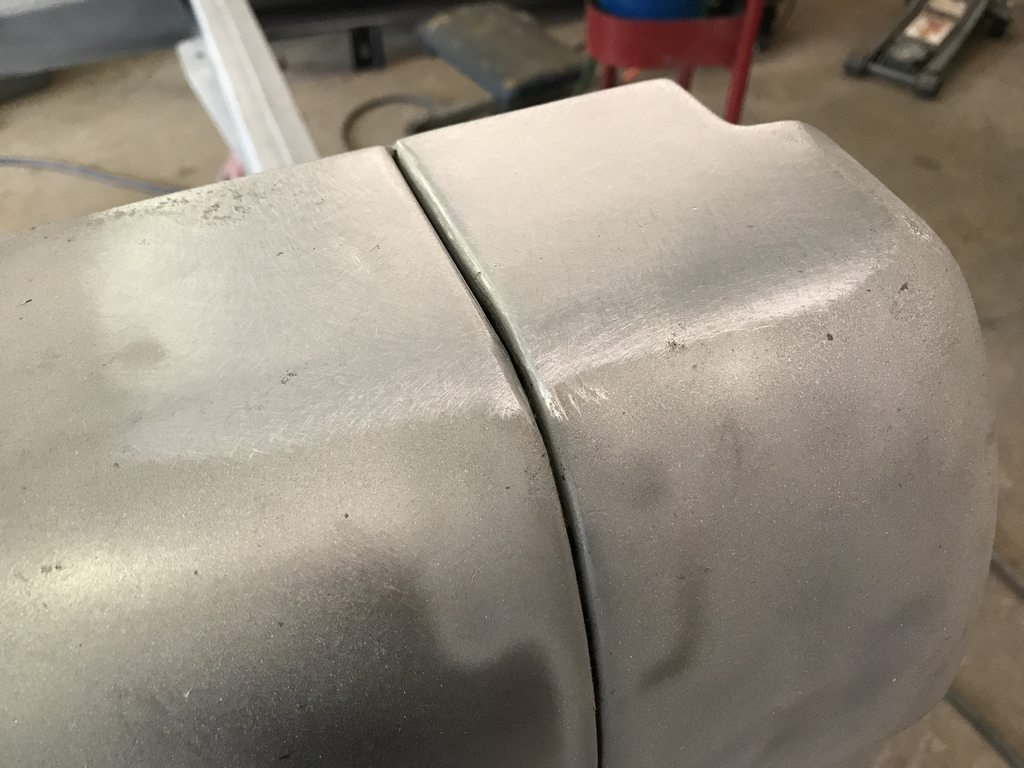
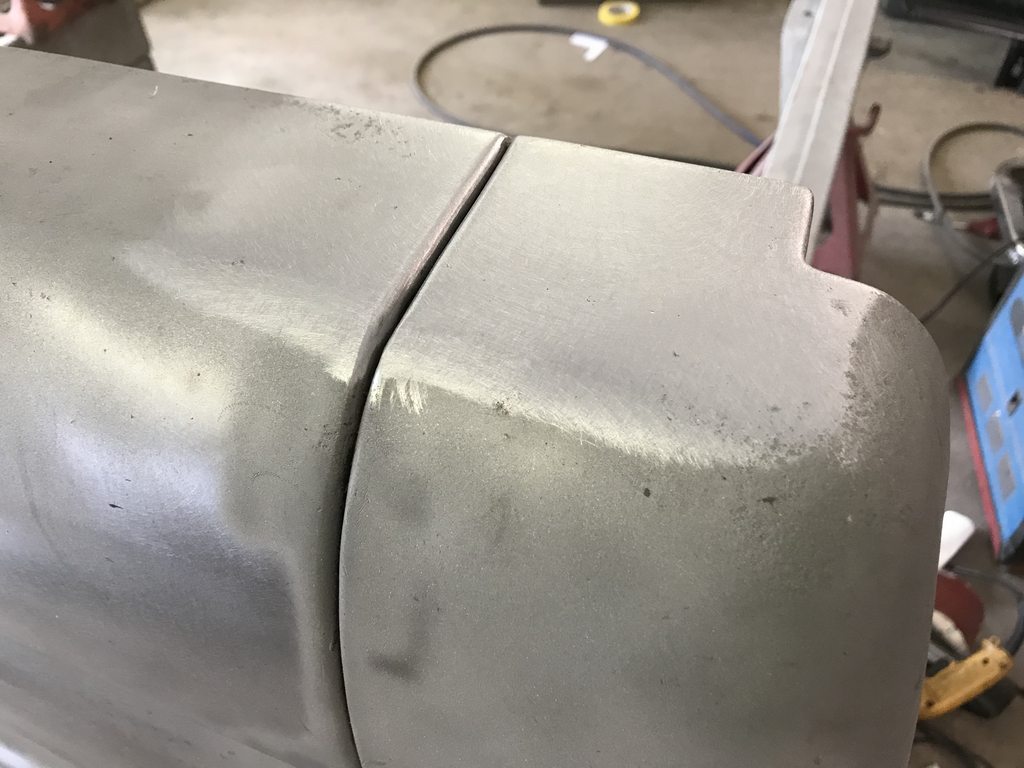
I was able to reach the spot welds through the taillight opening with an extended nose grinder and carbide burr. You can see how much I moved the panel inward to make the two flanges flush.
We decided to shave the stake pockets, so I cut out the flanged lip and made a filler panel that keeps and extends the seam so it looks like a factory panel.
I drilled a couple holes to plug weld the filler panel's flange in place like the rest of the corner's flange.
Coated the inside of the corner with epoxy before welding it shut.
Finished.

