When you click on links to various merchants on this site and make a purchase, this can result in this site earning a commission. Affiliate programs and affiliations include, but are not limited to, the eBay Partner Network.
So, I finally decided to start a build thread for my truck. I would like to say that it will involve cutting edge upgrades, and state of the art build techniques, but... nope. Like a lot of people, I have a shoestring budget, limited tools, and a small garage. I will try to post things that I think are interesting and/or informative. This is going to be a real slow thread, but I'm excited to start it. At the very least, I can use this thread to keep track of my progress over the next few years or so. I really hope that you all will enjoy my posts, and hopefully I'll have information that will help other people.
So first, Some info about my truck. Here is my Marti Report
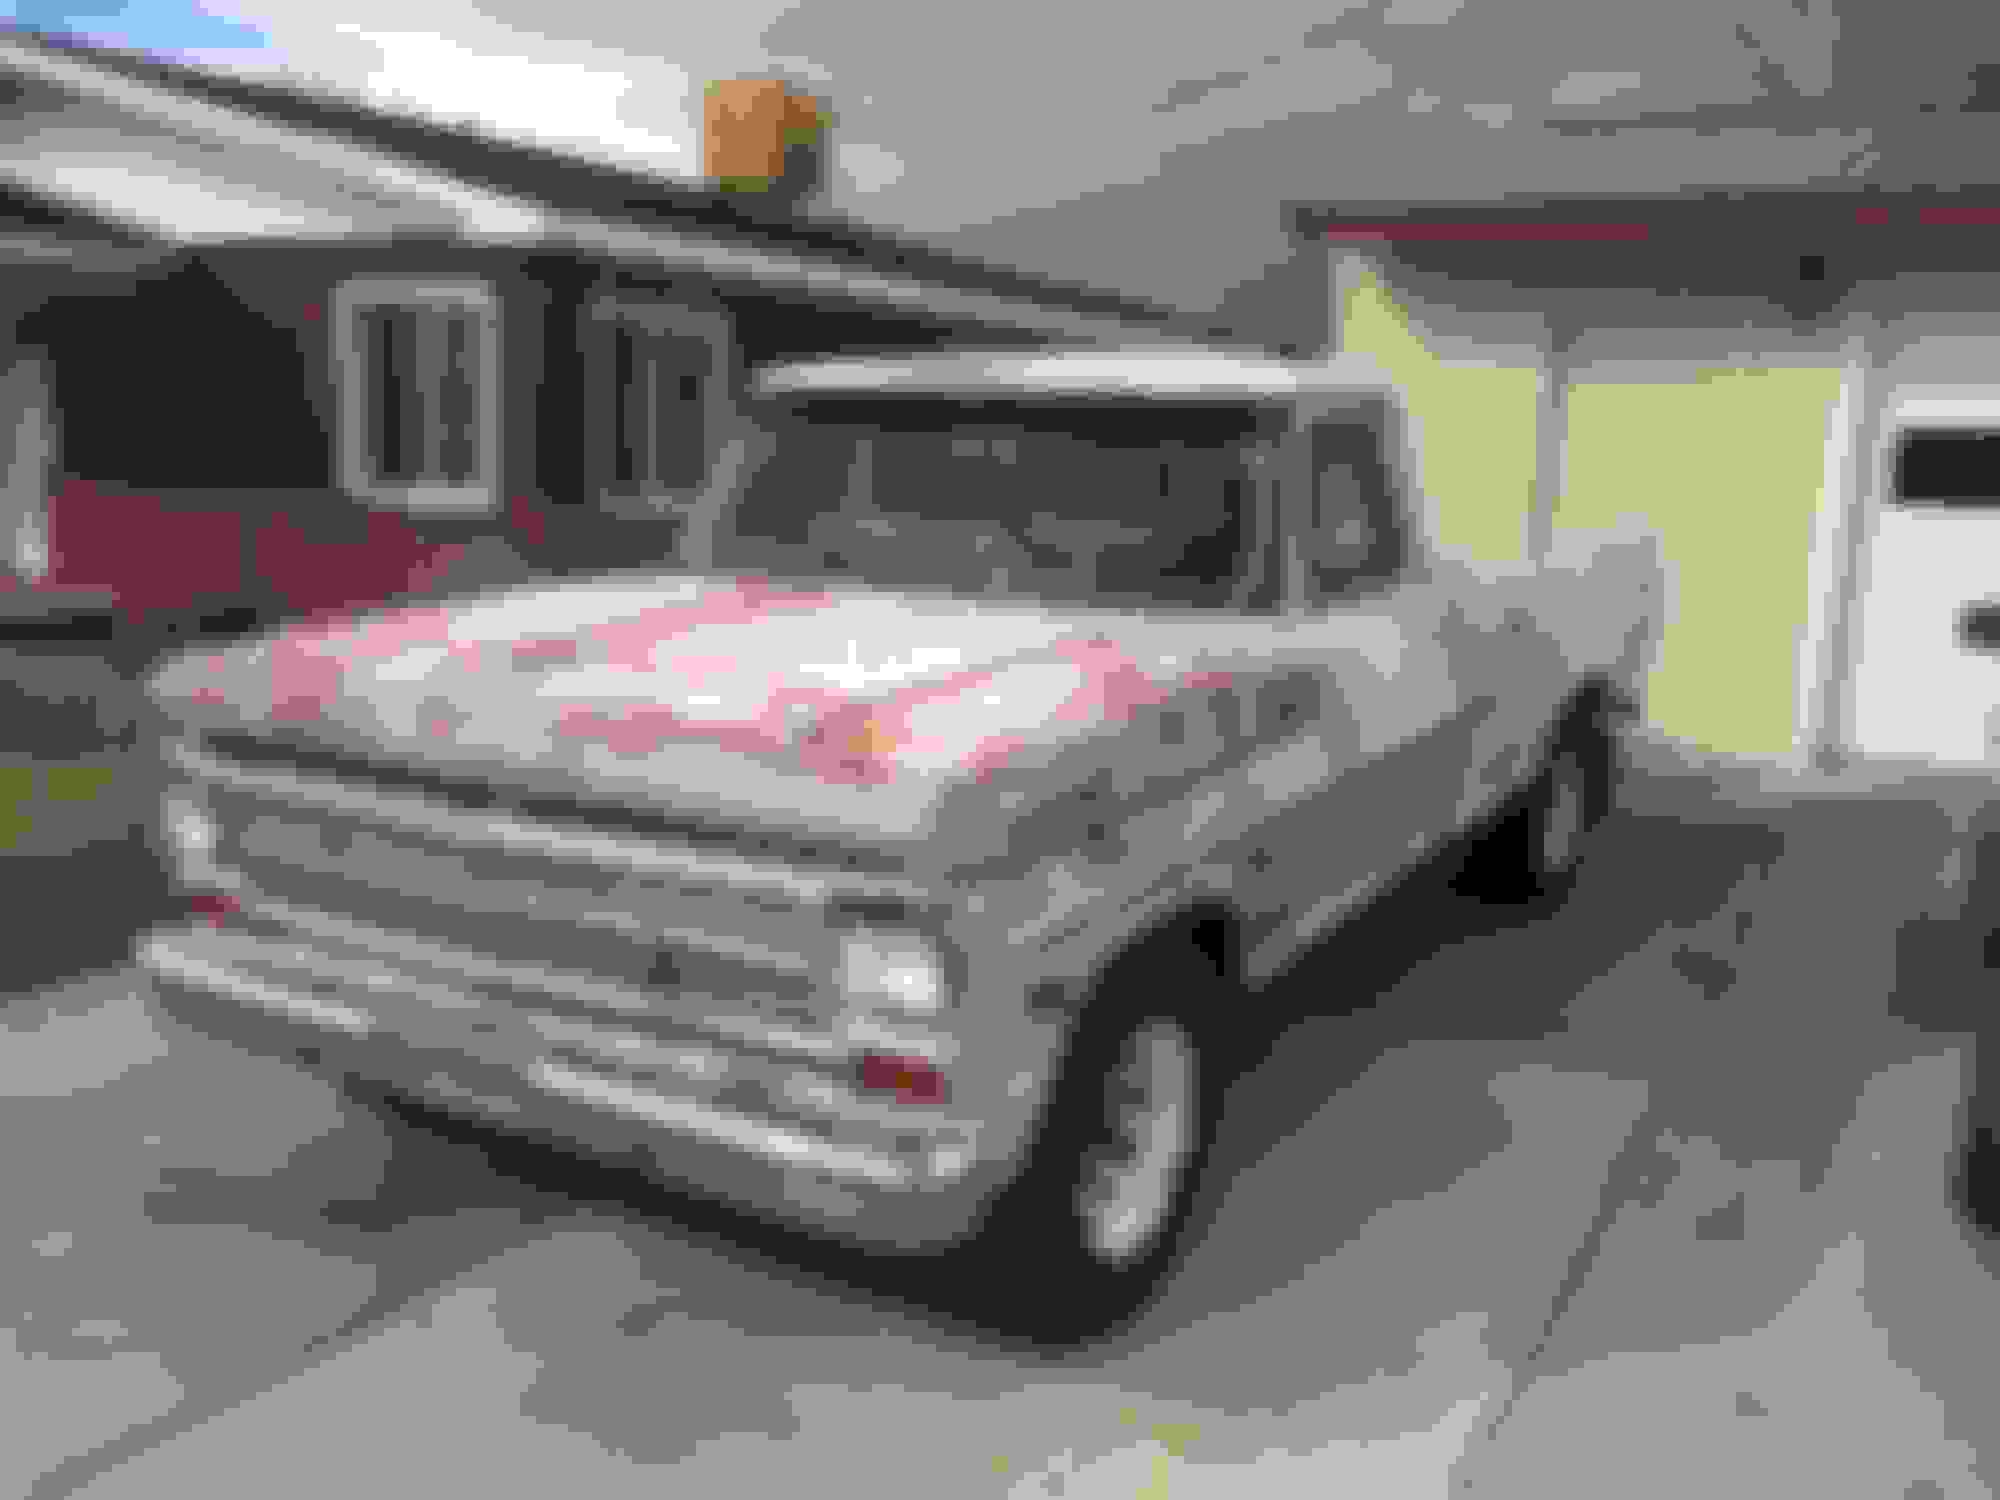
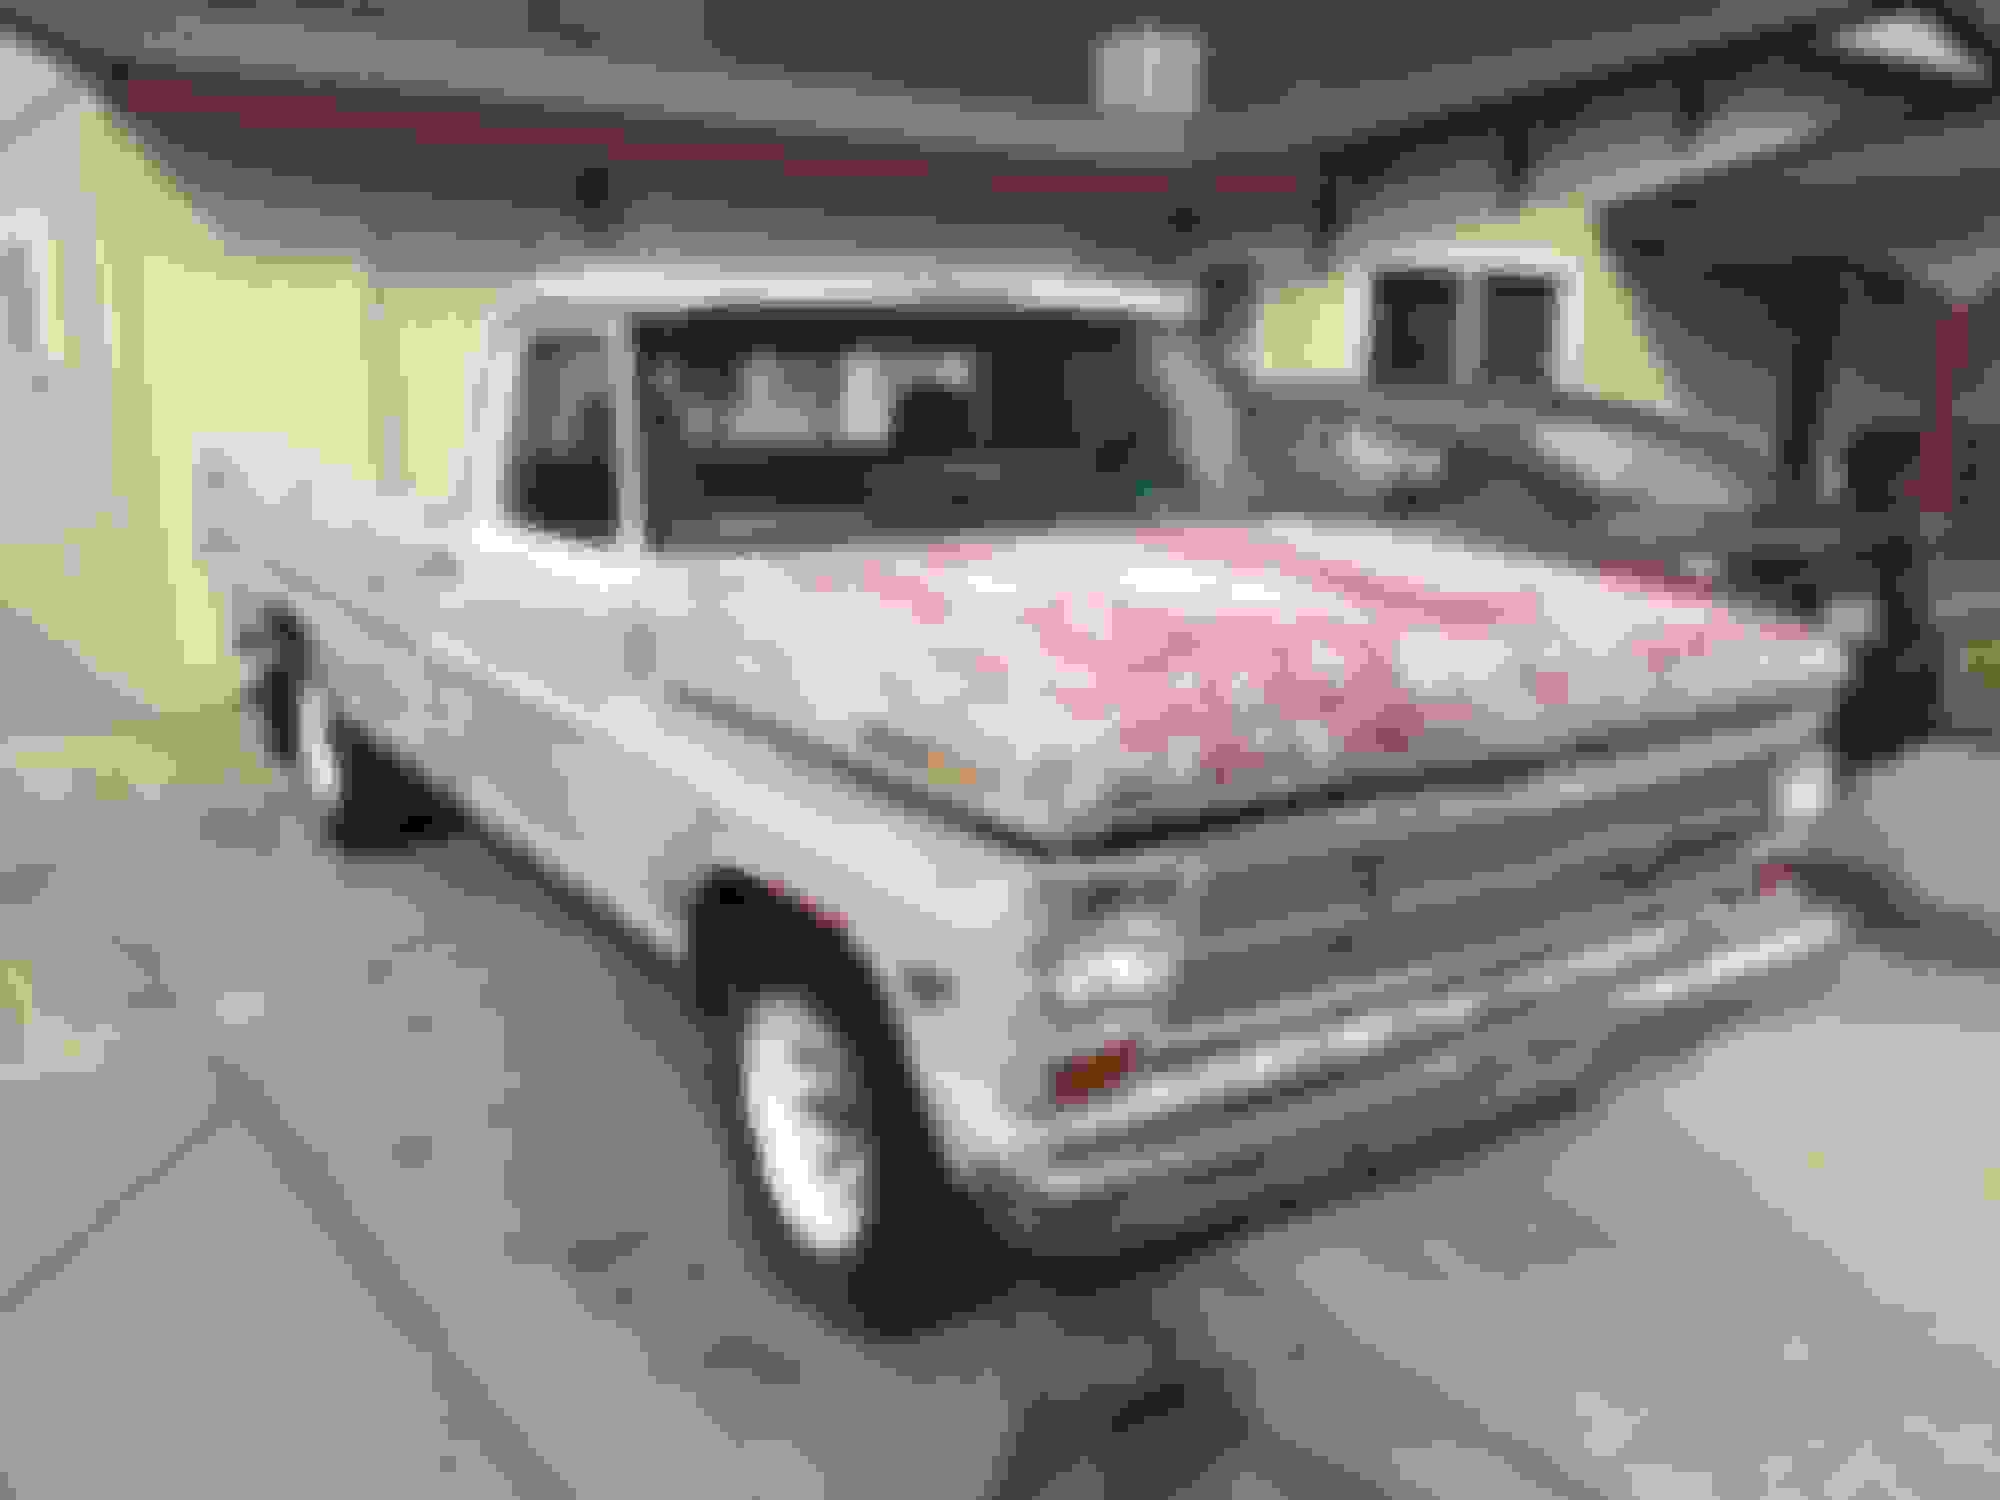
Here is my truck as it sits now. It's ugly, but the ugly is only skin deep. I have a solid rust free body without too many dents.
Those square headlights make me sick, and I wish the PO wouldn't have painted it with gray primer. I think the original Candy Apple Red, and Wimbledon White would have looked pretty good. I might try to go back to the original colors eventually. I have all of the bottom moldings, and some of the spear moldings. The interior was pretty much gutted when I got it. According to my Marti Report, my truck had A/C, but that's all gone now. The P/O even took the heater box out. There was some nasty transmission oil soaked seat out of an 80's ford truck that I removed and replaced with a seat out of a 90's ford. What really sucks is there were speakers installed in the door. They cut the hole in the door, and not the removable panel. I have a lot of work ahead of me, but at least the teardown was pretty much done for me. The tailgate is from a '73-79 ford truck. I installed it and It fits, and is usable, but the body lines don't match, so it is temporary for now.
There are a lot of "modifications" that the previous owner did that I have to fix. The windows were tinted with mirror tint at one time. I guess they tried to remove the tint, and it left a residue all over the windows. I have mentioned the square headlights several times, but I cannot over-state my disdain for them. I don't even know how that happens? there was a flame sticker on the front fender. Those add about 15hp, obviously. and all of the Ranger stuff on the inside has either been removed or painted over. Basically it looks like a teenager said to himself, "I wonder how much cool stuff I can do to my truck for $15" and then just tore into it.
It doesn't look too bad. The body is straight and very little rust is great! Looks like the PO removed the in cab fuel tank too. But the members on here have seen a lot worse. And the end result came out as good or better that a brand new truck. UltraRanger once said something about how he restored his truck. He basically bought a few parts at a time (when he could afford them). If they came from a donor or junkyard, he would clean them all up, then paint them, so they were ready to install. When he had all the parts for that project, he would put them on. Then start collecting for the next project. I've been collecting for about 2 years now, and if I can ever finish all these "Honey-Do" home improvements. Maybe this summer I can start on my truck. (Or as she calls it,"That Rust Bucket") You just have to pace yourself and the budget.
It doesn't look too bad. The body is straight and very little rust is great! Looks like the PO removed the in cab fuel tank too. But the members on here have seen a lot worse. And the end result came out as good or better that a brand new truck. UltraRanger once said something about how he restored his truck. He basically bought a few parts at a time (when he could afford them). If they came from a donor or junkyard, he would clean them all up, then paint them, so they were ready to install. When he had all the parts for that project, he would put them on. Then start collecting for the next project. I've been collecting for about 2 years now, and if I can ever finish all these "Honey-Do" home improvements. Maybe this summer I can start on my truck. (Or as she calls it,"That Rust Bucket") You just have to pace yourself and the budget.
Thanks Gary. That�s pretty much my plan, slow and steady. I�ve already had the truck for 2 years now, and I�ve just started to dig into it. I�ll get it done just like Johnny Cash said, One piece at a time. I also have my �wish list� of plans for the truck. I�ll post that up for everyone�s consideration and ideas.
Lambchop,
Look at least you have a truck! And I like it. A very good place to start, and every one says rust free is the way to go! Great project. Good pictures!
Regards,
Chris
Lambchop,
Look at least you have a truck! And I like it. A very good place to start, and every one says rust free is the way to go! Great project. Good pictures!
Regards,
Chris
Yeah, I'm real happy about it being rust free. I only paid $400 for the truck, which I don't feel is too bad for a rust free truck that runs and drives, (even if just barely so).
If you don't like the primer sometimes the spray can paint stripper will remove cheap paints and leave the OEM. If you try it do it is a small not noticable place first.
I have built shiny cars... The the rough patina ones are way more fun since you can use them like you want and not worry about it.
Looks like a great truck to build!
I agree with you on the patina. I just don't like cheap gray spray paint patina. I've thought about using a soft scotch brite pad, or even the green side of a sponge and lightly scrub off the primer. It comes off pretty easy.
I agree with you on the patina. I just don't like cheap gray spray paint patina. I've thought about using a soft scotch brite pad, or even the green side of a sponge and lightly scrub off the primer. It comes off pretty easy.
If you take your time (probably a lot of it) you might be able to remove the primer wet sanding with 1000-1500 grit sandpaper then give it a light buffing. It will be shiny but that would only last for a few months at best. Then it would dull and slowly oxidize.
People can get spray can primer crazy sometimes!
I bought a bench seat out of a mid 90's ford truck from a Pick-N-Pull to replace a nasty 80's seat that was in my truck when I bought it.. It's pretty rough looking, (as you can see in the previous pictures), but the foam is still in decent shape and is comfortable. This is what the factory seat tracks look like for, I believe, 1980-1996 F series trucks, (and 1997 F-250 and F-350 trucks).
As you can see, These tracks are not correct for 67-72 trucks. They will bolt on, but not very securely, the seat alignment will be off, and it will damage the floor.
This is how a correct track will sit. Much better.
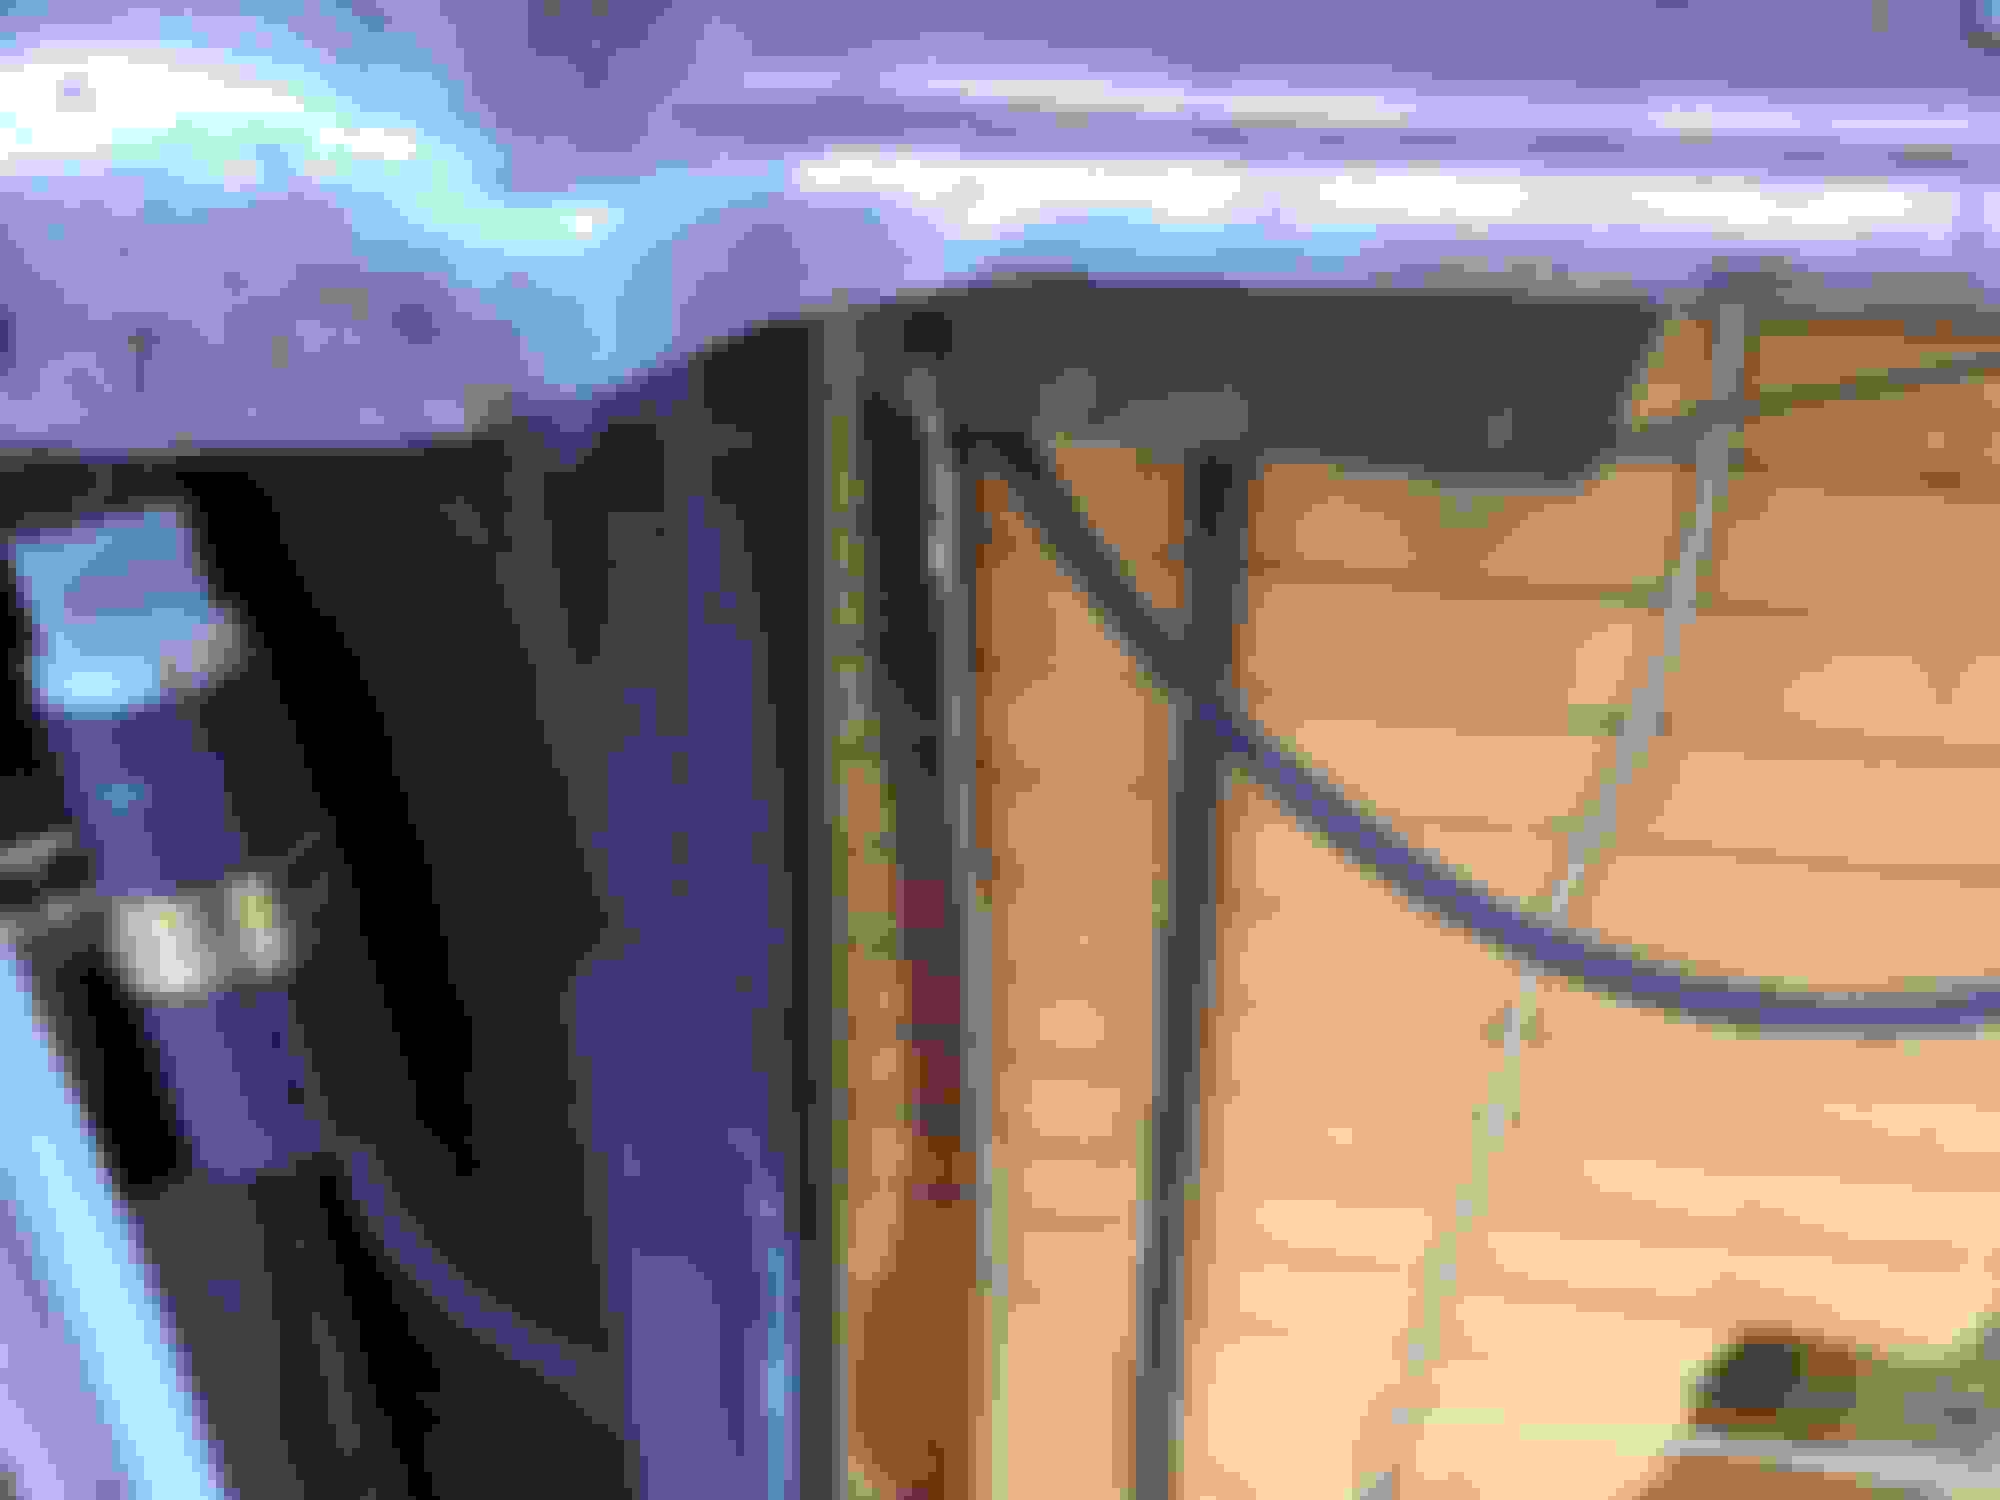
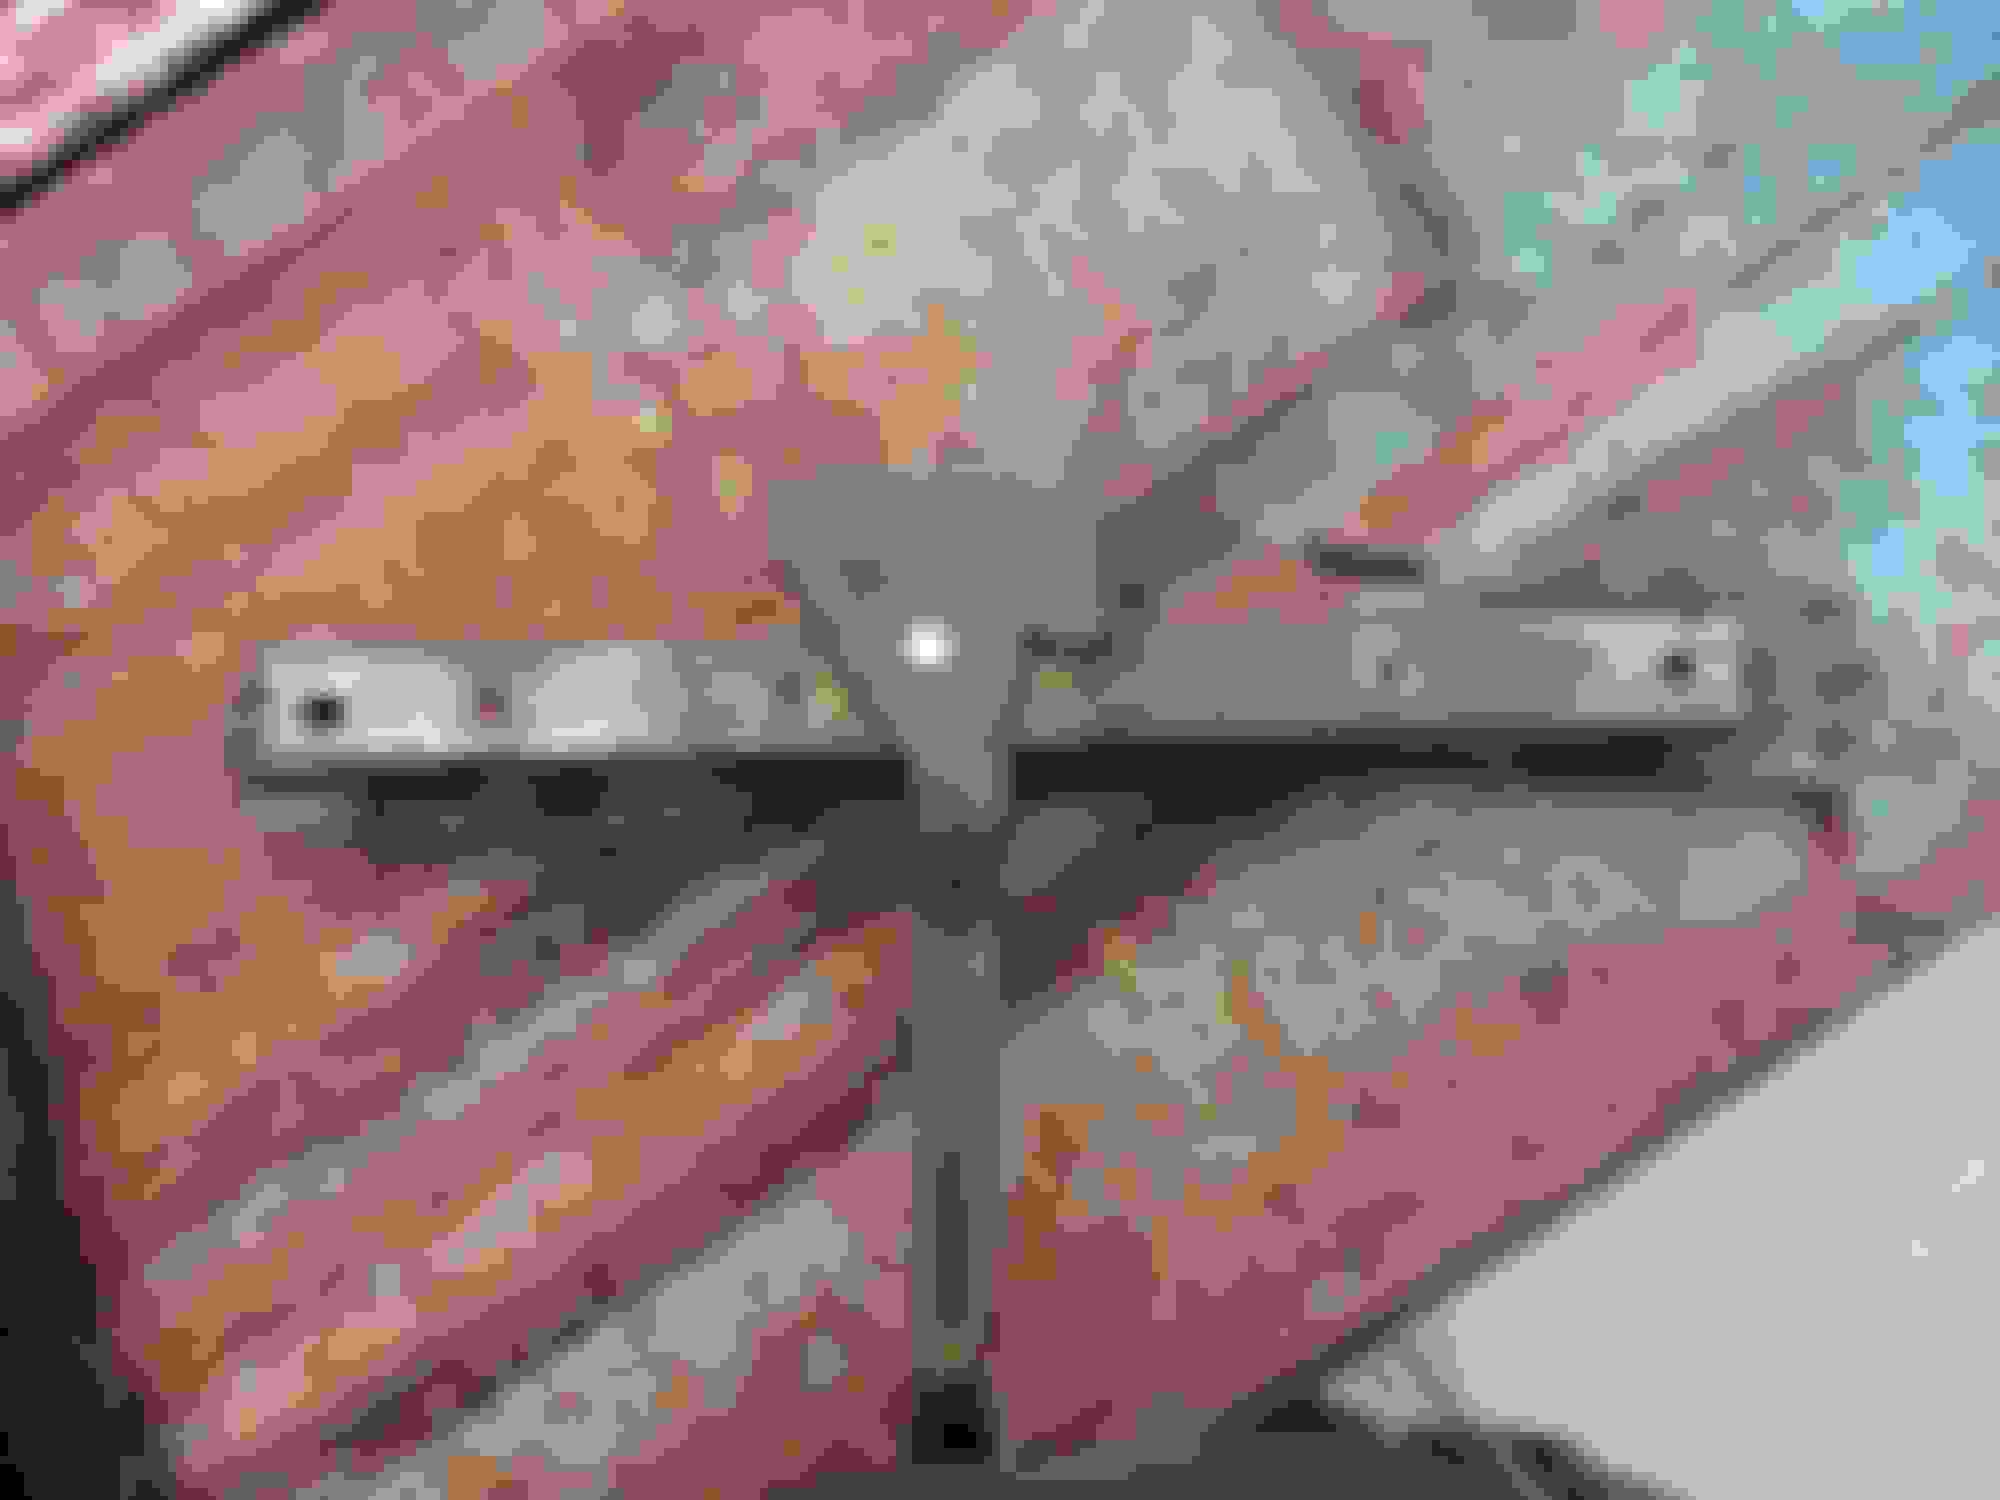
Since I didn't have an original seat, I had to purchase a set. I found a set online that had them listed as a 1967 thru 1972 seat track. I don't think the ones I got are from '67-'72. It's my understanding that the seat tracks for bumpsides have two studs on them. These do not. They have holes just like the tracks that came on the seat. It actually worked out great. It made the swap super simple, and completely bolt in. I think the tracks I bought are actually from a '73 to '79 truck. Maybe NumberDummy can confirm or deny that.
Here you can see the holes instead of studs.
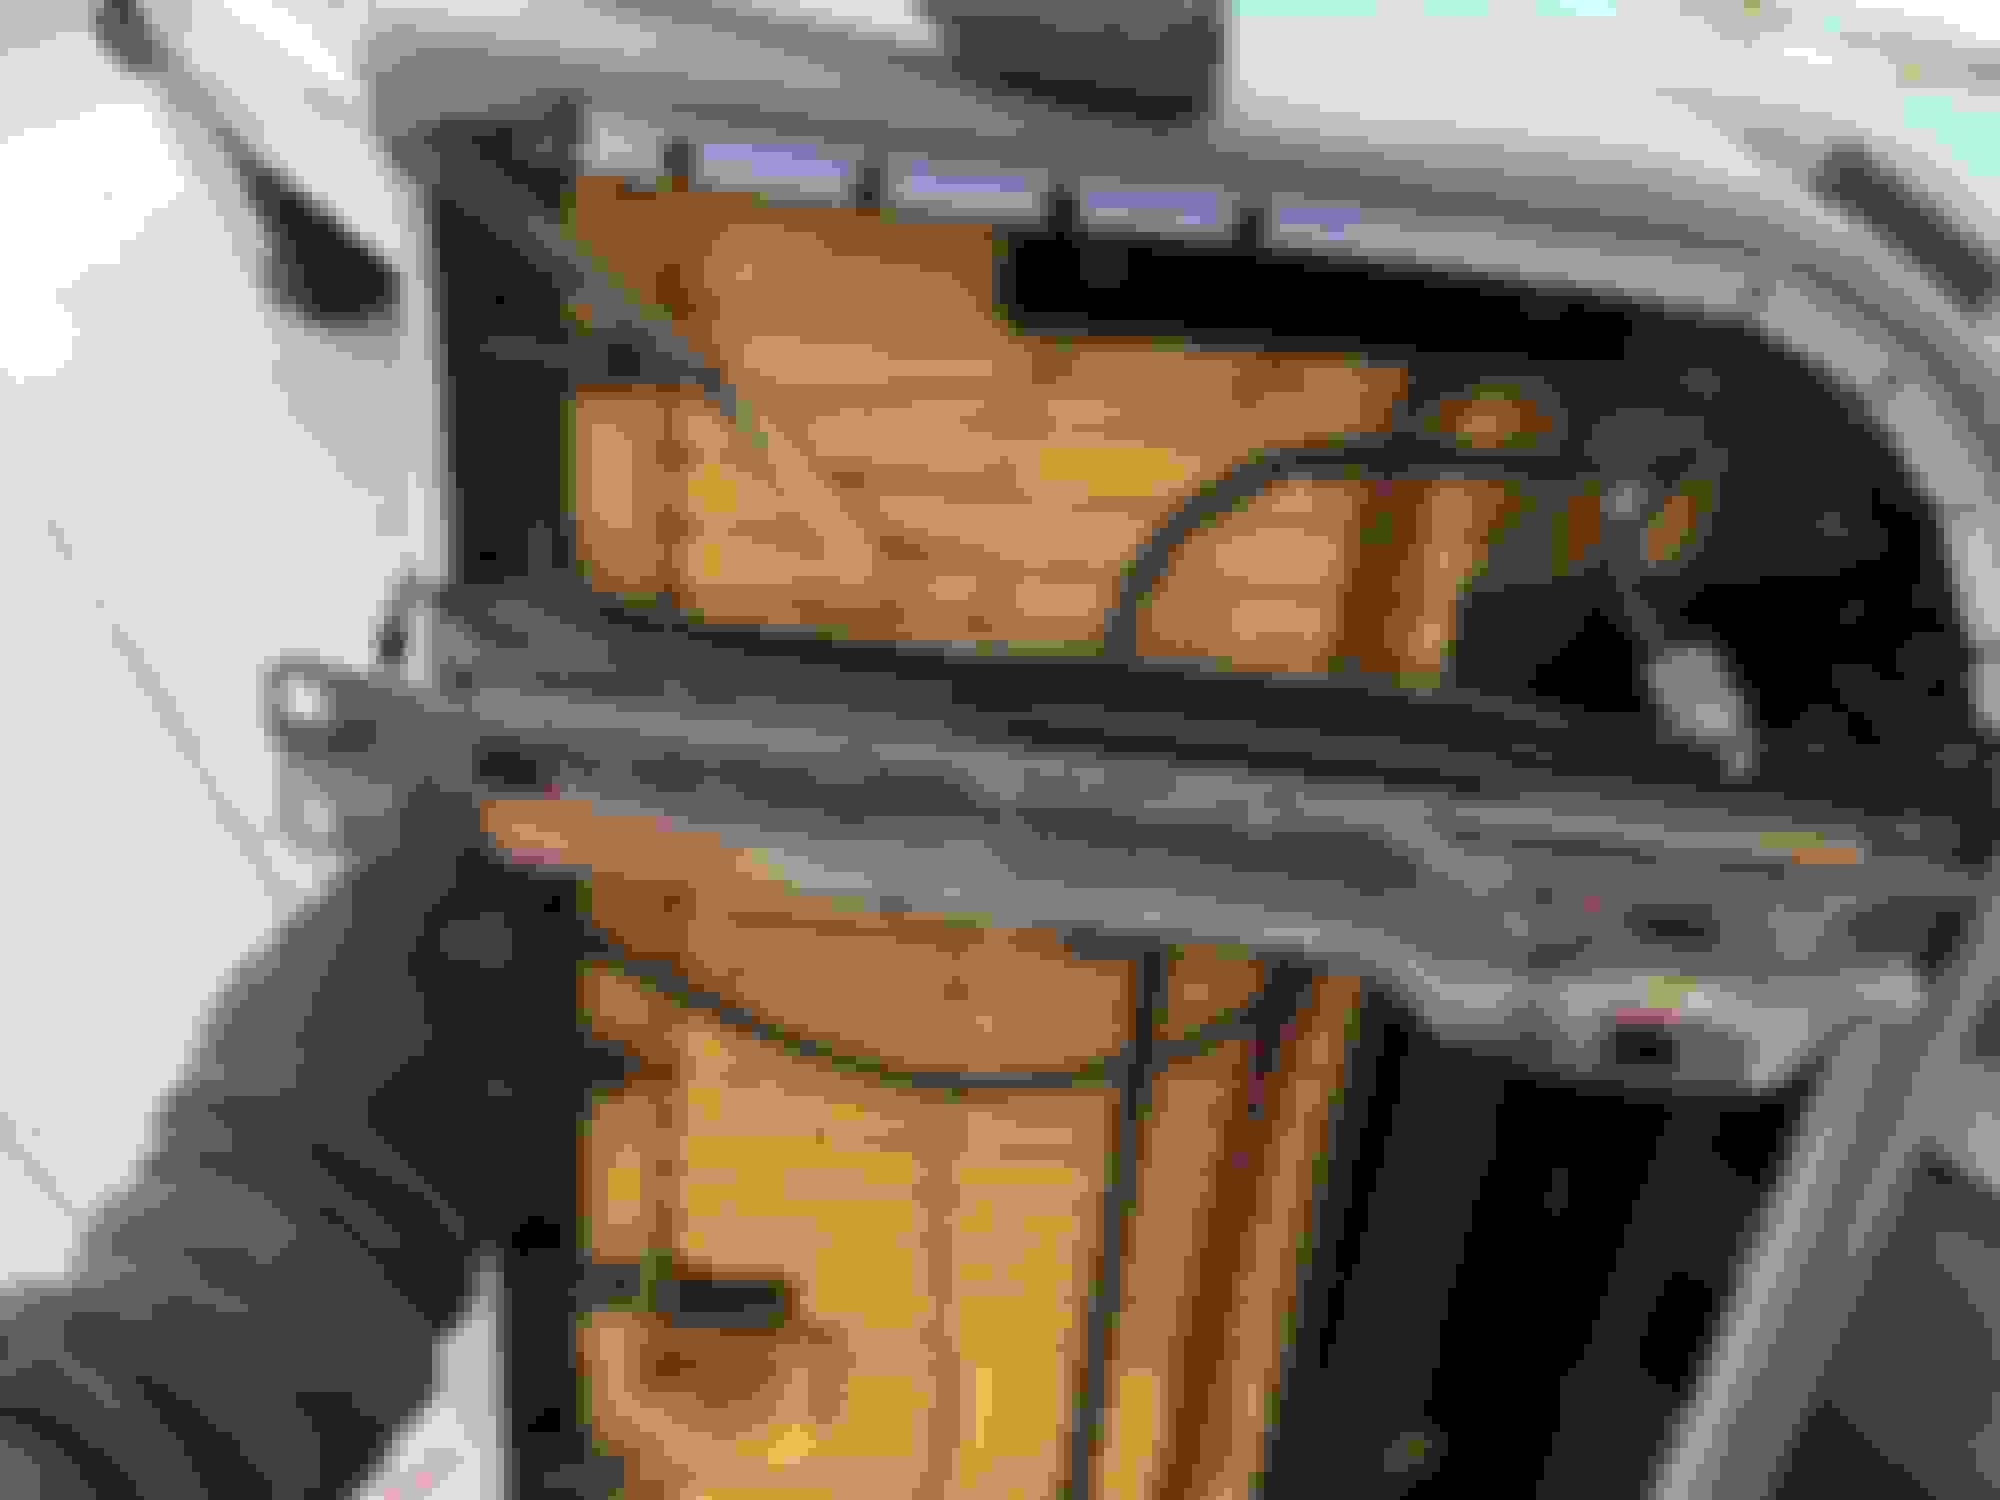
This is what it'll look like attached to the frame. If I was smart like UltraRanger, I would have painted them up and made them look nice. But I was cold and tired and just wanted to get it done. I'll have to pull the seat out again in the future. I'll try to clean them up them.
Here you can see that the holes match up beautifully. The tracks even come with a hole already in the bottom so you can access the bolt.
The seat adjusting wire from the new seat will not fit the older tracks. At least that's how it was in my case. I actually tried to straighten out, and re-bend this wire, but it broke.
For the time being, I just used some mechanics wire. It seems to work fine for now. I eventually want to get a wire with a turnbuckle on it.
I don't know what the correct name is for these square bolts that the seat bolts to in the floor, but mine were pretty rough. I was able to get 4 out of the 8 bolts in, (one in each corner thankfully), but I want to replace all of these. Does anybody know what these are called, and where to get them?
This is the seat correctly bolted in. I'm super happy to get it done. Just one step closer to getting it on the road. By the way... never mind the ugly incorrect steering wheel. the original one was broke, and I just needed something in it's place. Thanks.
 03-04-2019, 07:37 PM


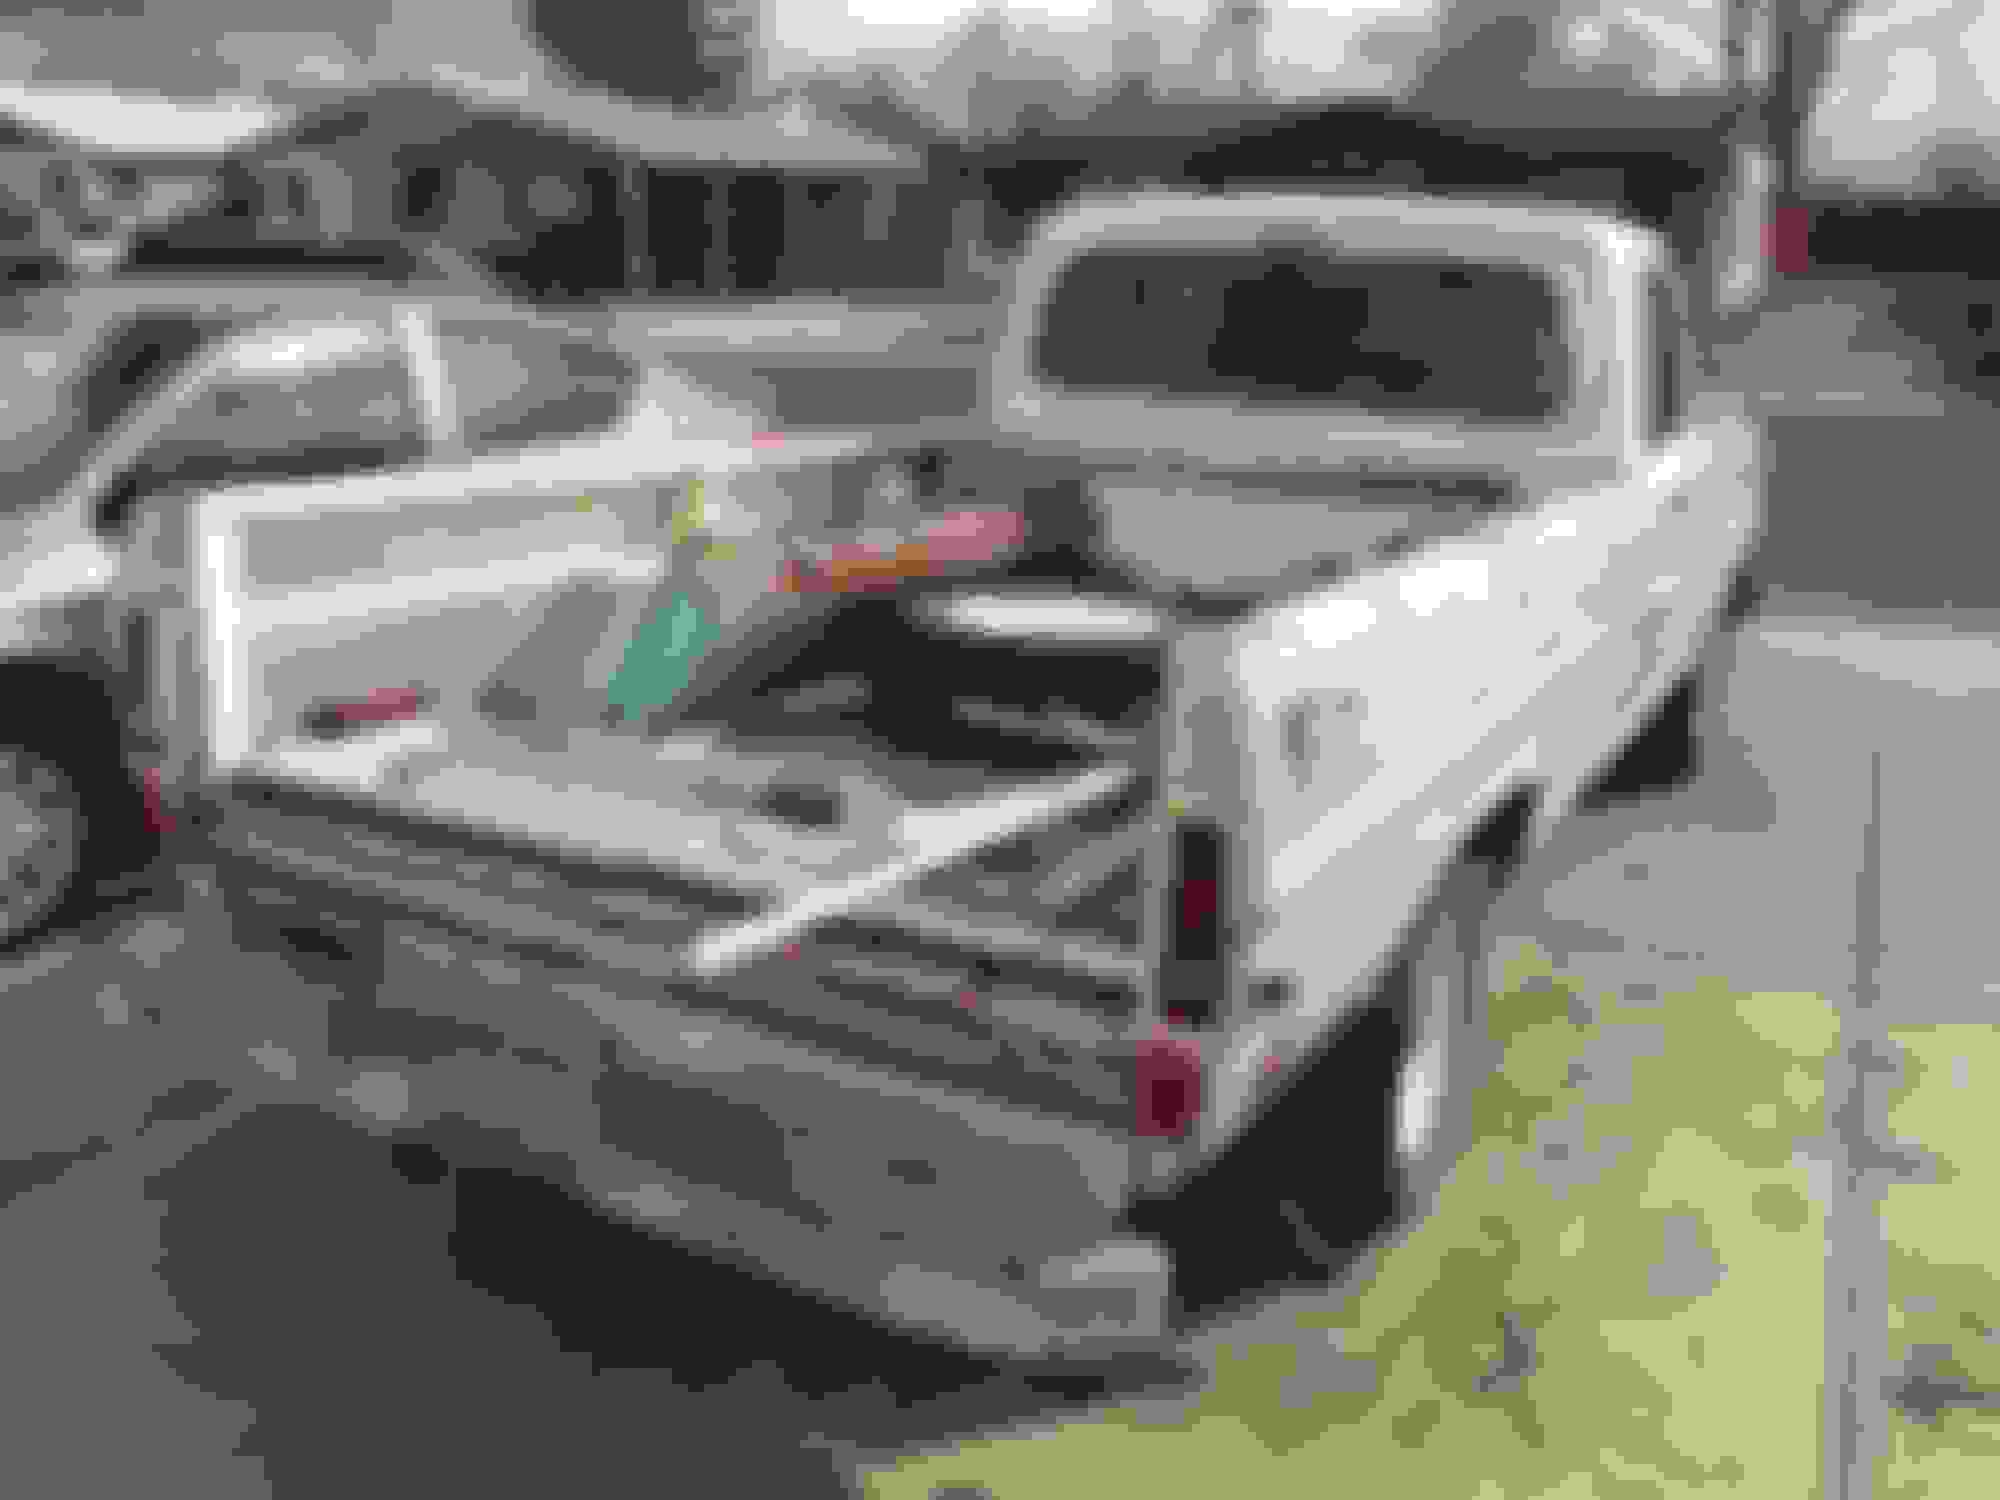


 The tailgate is from a '73-79 ford truck. I installed it and It fits, and is usable, but the body lines don't match, so it is temporary for now.


 I'll have to pull the seat out again in the future. I'll try to clean them up them.