When you click on links to various merchants on this site and make a purchase, this can result in this site earning a commission. Affiliate programs and affiliations include, but are not limited to, the eBay Partner Network.
Do you have way too much extra play in your clutch linkage?
Does your clutch make crunchy noises whenever you push on the pedal?
Have you lost 2/3 pedals, and had your steering wheel fall in your lap while driving?
Wherever you are on this scale, it may be time to take a look at or replace the aging pedal assembly bracket in your Ford bullnose!
This guide is most relevant to '80-'83 model year trucks with a mechanical clutch. '83 to '86 hydraulic clutch models are more likely to break the firewall itself than the pedal assembly, due to clutch forces.
My apologies for not posting this write-up sooner; I completed the job in May and never got around to getting all the information organized!
-----
My clutch pedal was making an awful series of clicks and crunches every time I pushed or released the pedal.
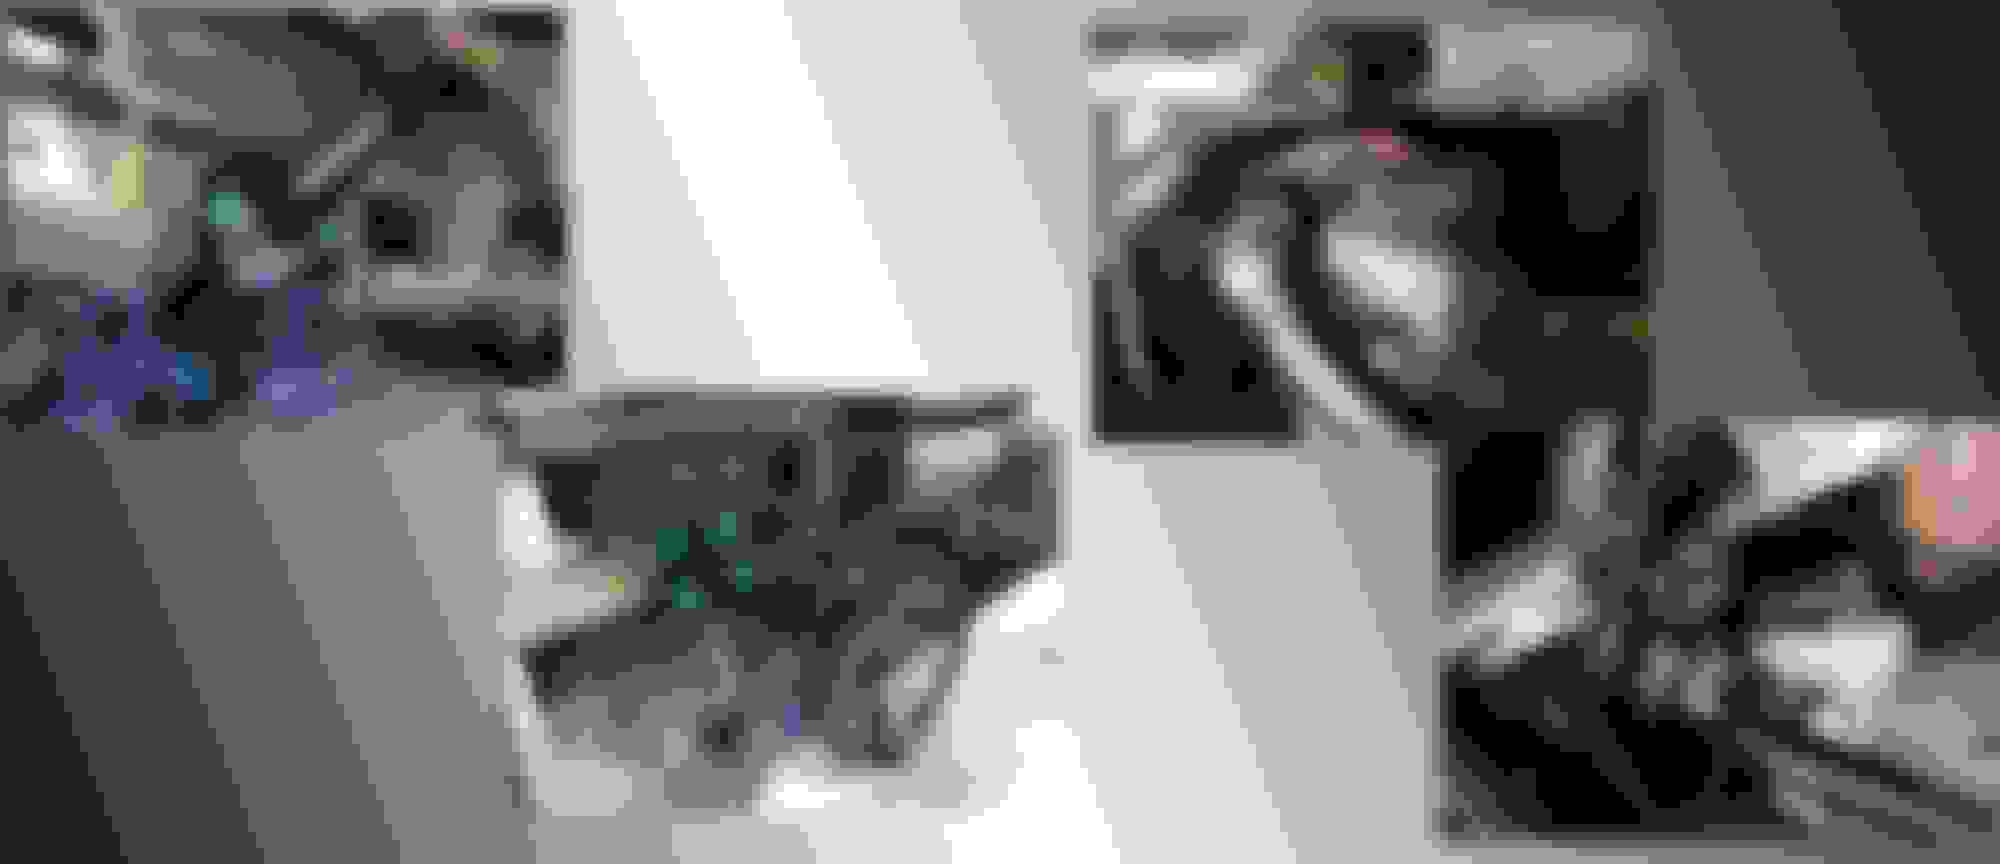
I finally tracked it down to a couple big cracks going most of the way through the passenger side of the pedal assembly! They flexed open and shut whenever I pushed on the pedal; not good!
I went to the junkyard and was lucky to find an intact pedal assembly from a 1985 Diesel F-350.
All manual pedal assembly brackets are interchangeable.
The automatic bracket is different.
Manual and power brakes have different pedals.
Mechanical and hydraulic clutches have different pedals as well.
And the return spring that mounts in the bracket is different for most years. Use this link to find which one you need: Link to picture
Brake light switches appear to be universal
'84 and up has a clutch safety switch mounted on the driver's side of the pedal.
Pedal pivot rod bushings are universal
Pedal rods have a one-way slotted key for mechanical clutch models, and splines for hydraulic models.
Pedal pivot levers (attaches between the pedal rod and the rod thru the floor) are made to accept slots or splines to match the pedal rods.
Here's a picture of the bracket I found. It came with an extra hydraulic clutch pedal, power brake pedal, and yellow spring.
My original spring is purple, and I re-used it as the yellow was the wrong length.
If anybody wants more pictures or information about the pedal assembly components, just ask! I have lots of pics from when I took it apart.
---
Okay, now that we've got a new pedal assembly bracket, let's get started!
Make sure you're ready to leave the truck out-of-order for a while. If you work quickly, it could be done in a day or less. But don't rush yourself and break/forget anything.
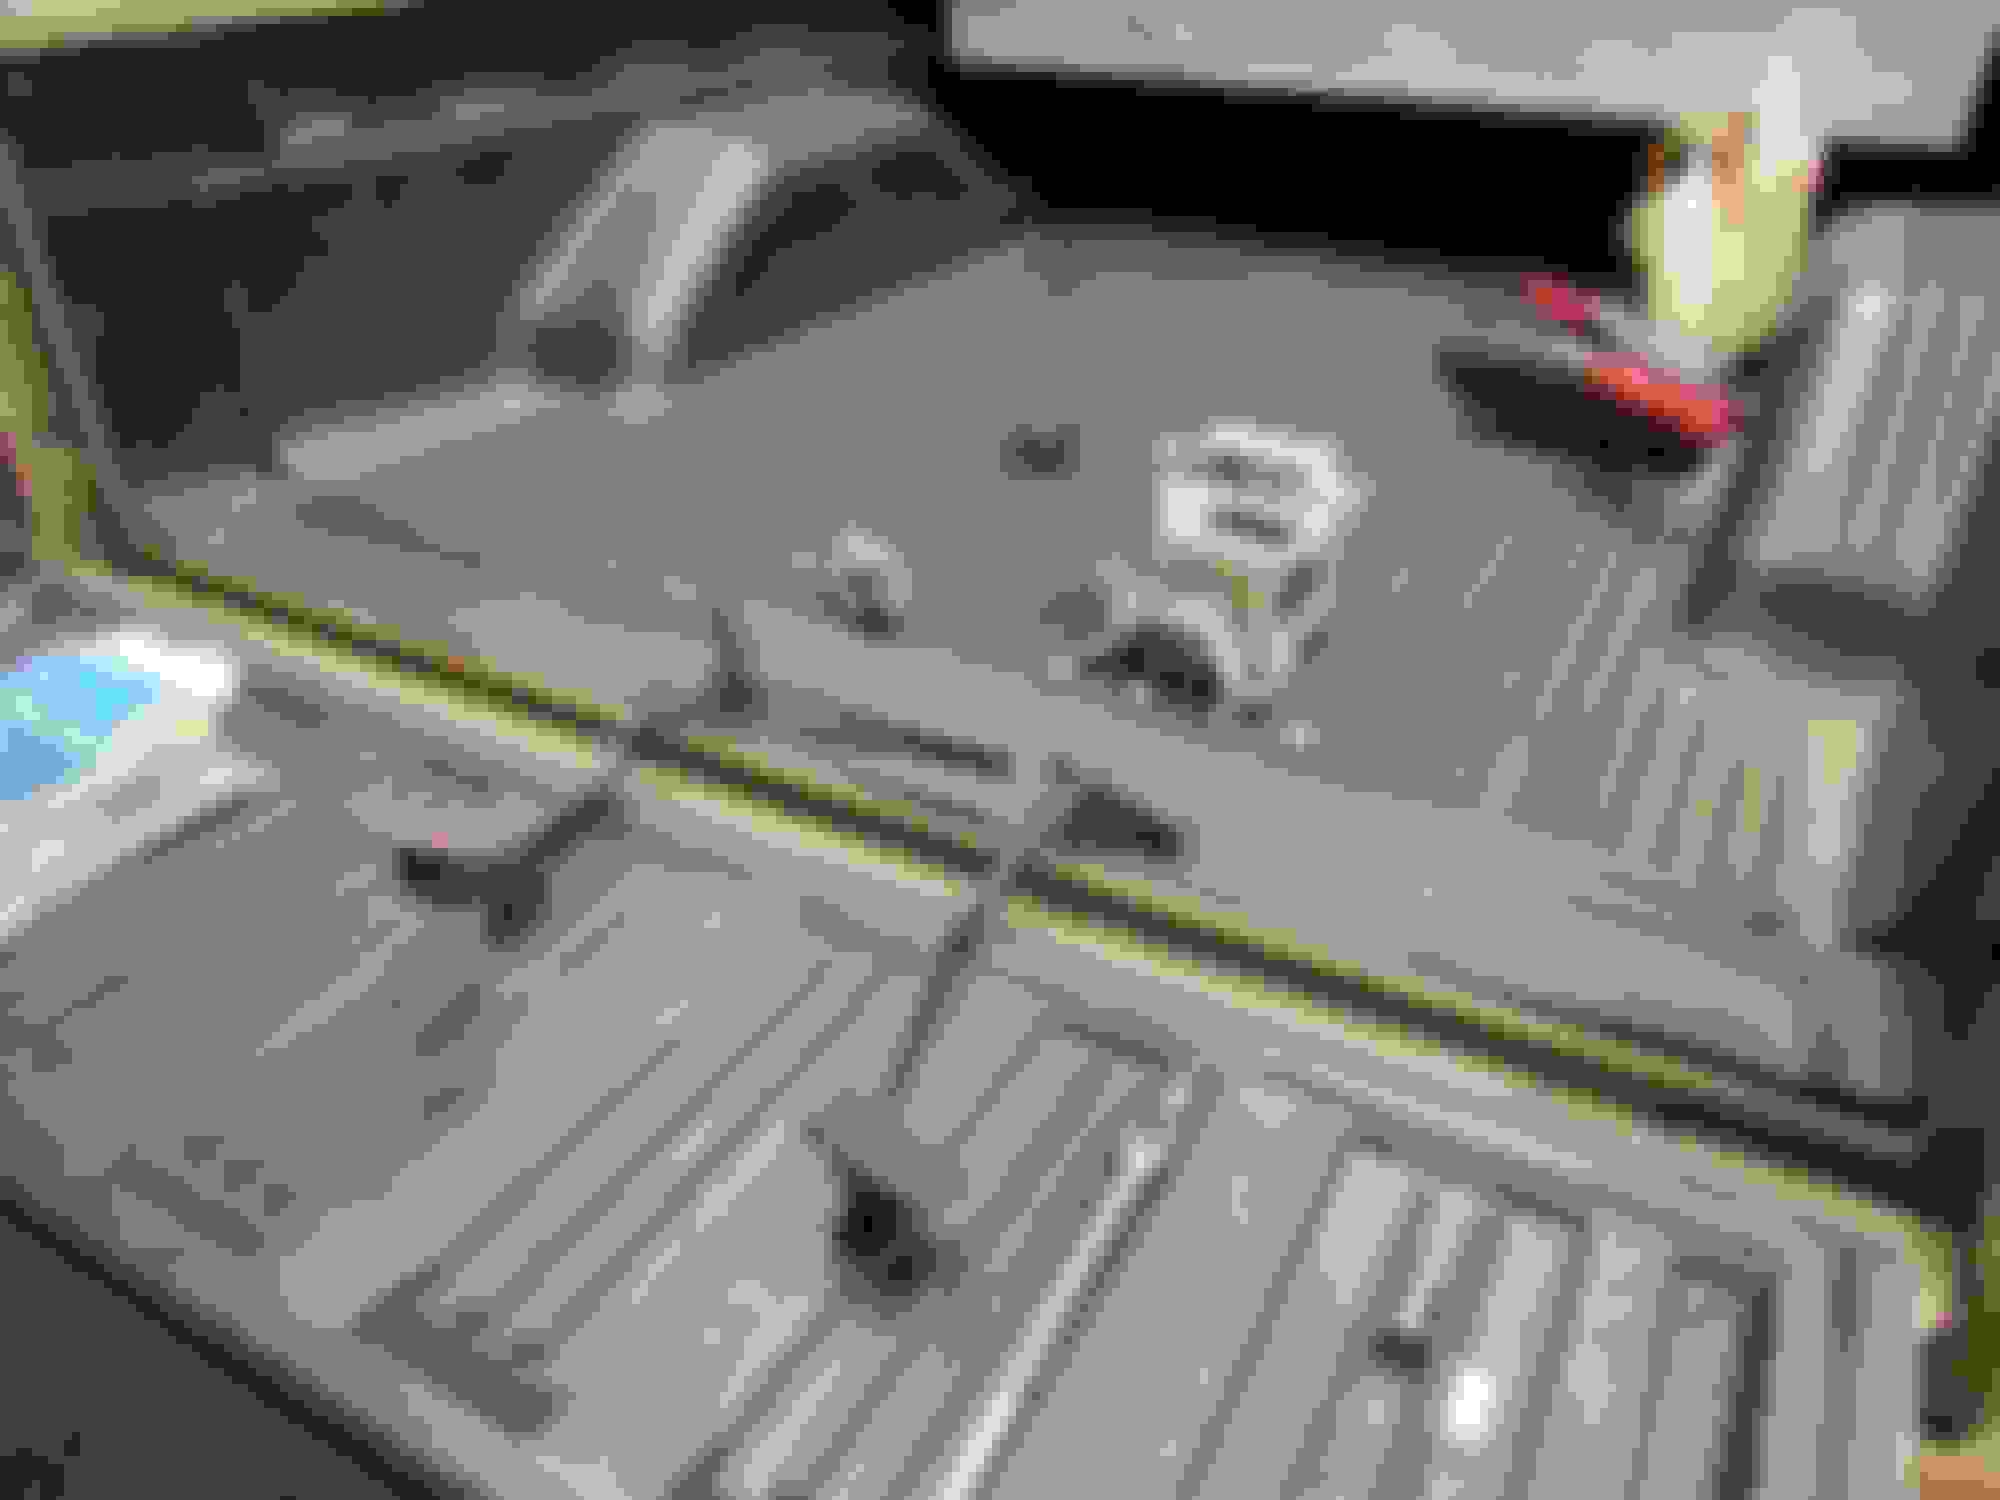
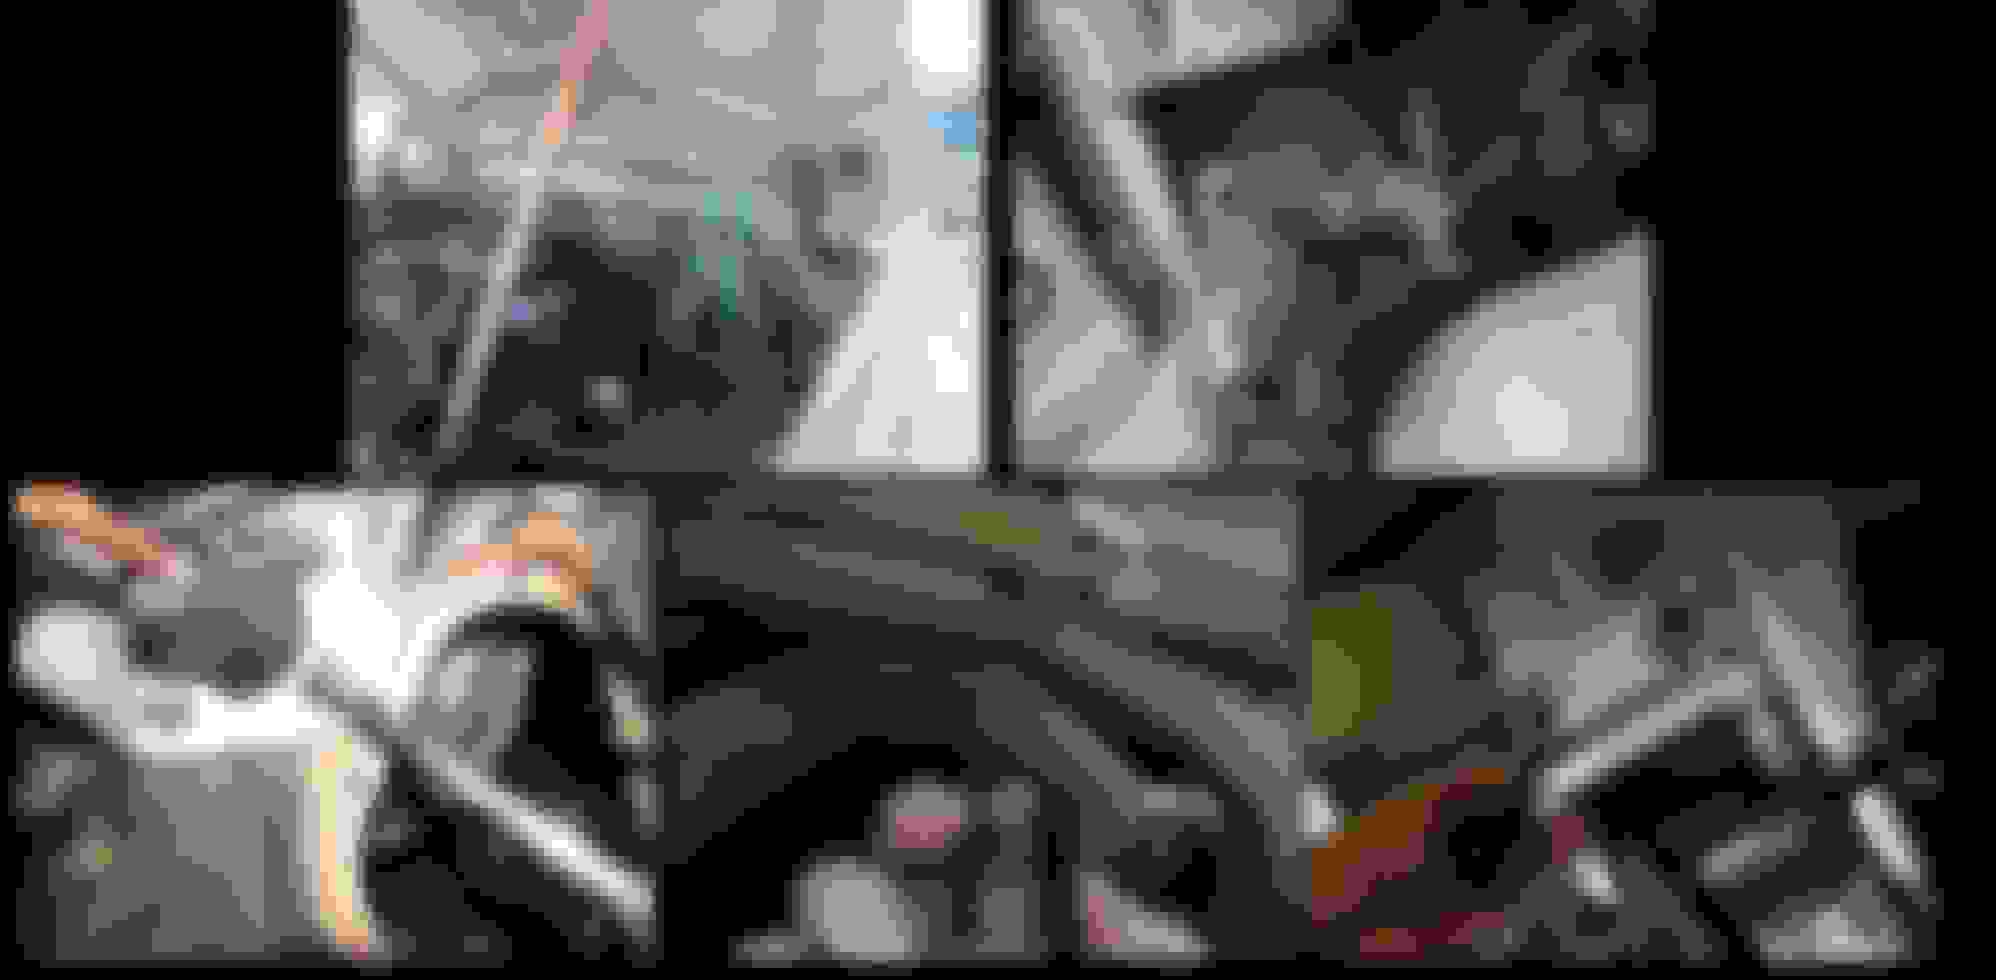
Here's the starting point. My dashboard cover was already off when I started. If you need to remove yours, it's held on by a bunch of screws on the bottom front lip and a few screws around the defroster vents at the top.
First step is to take your headlight and wiper ***** off. You need to use a thin pick to get behind the **** and pull on a little metal latch. The ***** will then pop right off.
Can be very frustrating. Take your time and feel for where on the back the notch is.
Make note of the orientation of the ****, so that the notch will be at the same spot if you ever need to pull it off again.
Next step is to un-seat the gauge cluster bezel. This is held in at the top with three screws, which should have been removed when you pulled the dashboard cover off.
The bottom is held in with a few plastic tabs. Take your time and work the piece around GENTLY until it pops up and out of its seat. Turn it 90 degrees and let it rest on the steering column for now.
Take the screw out of the bottom of the rubber/plastic trim on the steering column, and split it open so it can be removed. Now, the bezel should also be able to slip off the column and out of the way.
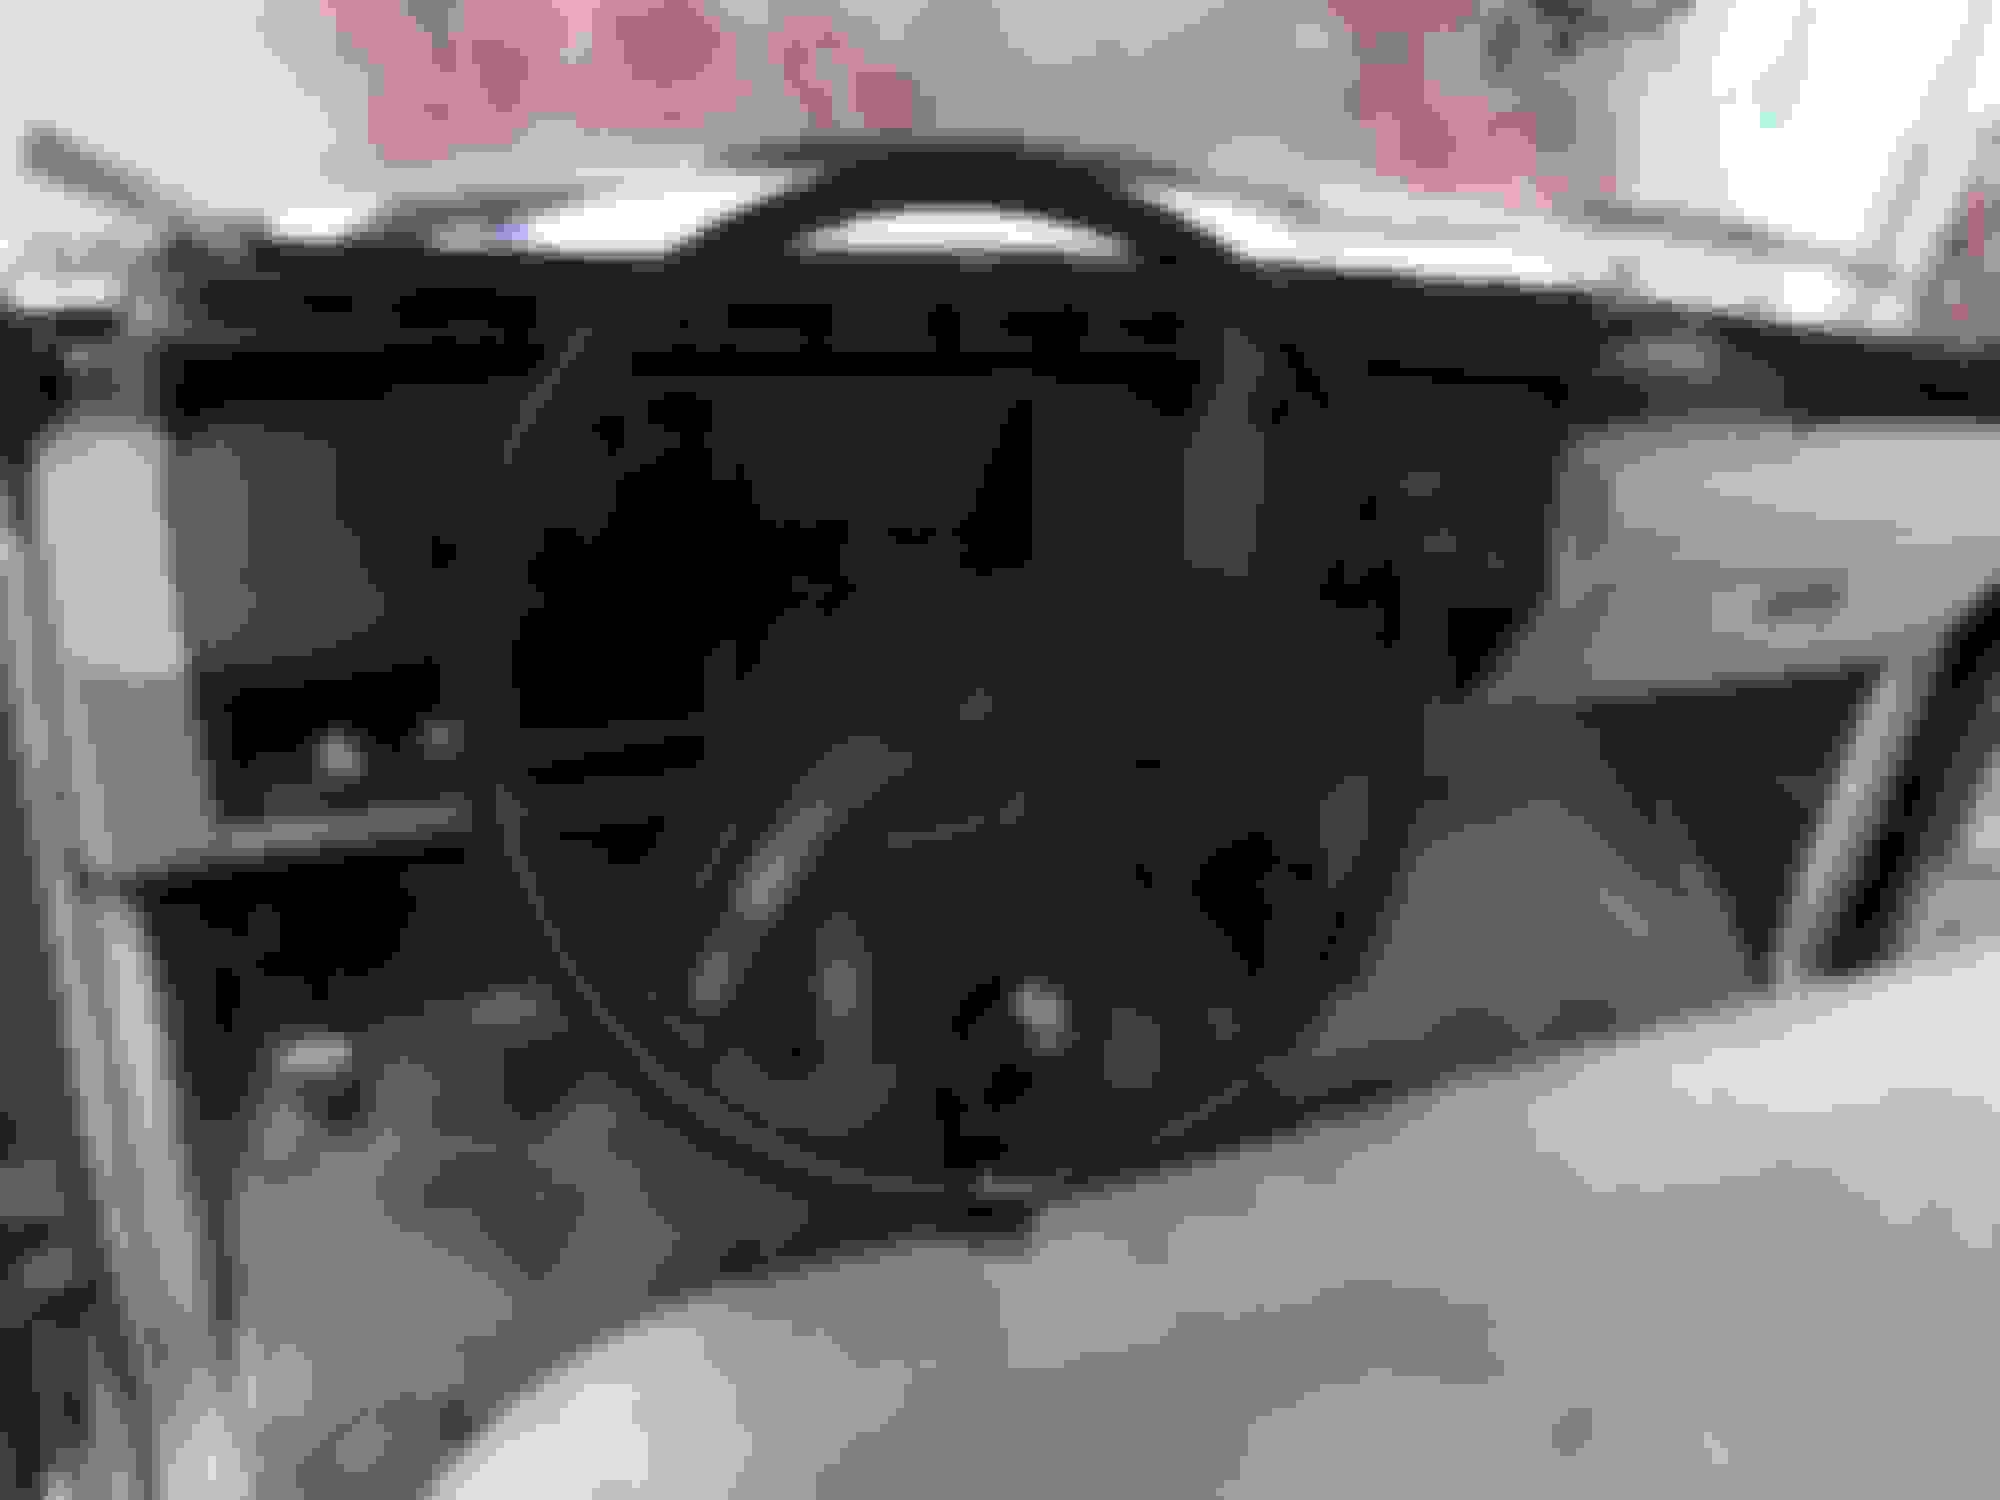
There is a small plastic piece below the steering column. This should be held on with a couple screws on the bottom.
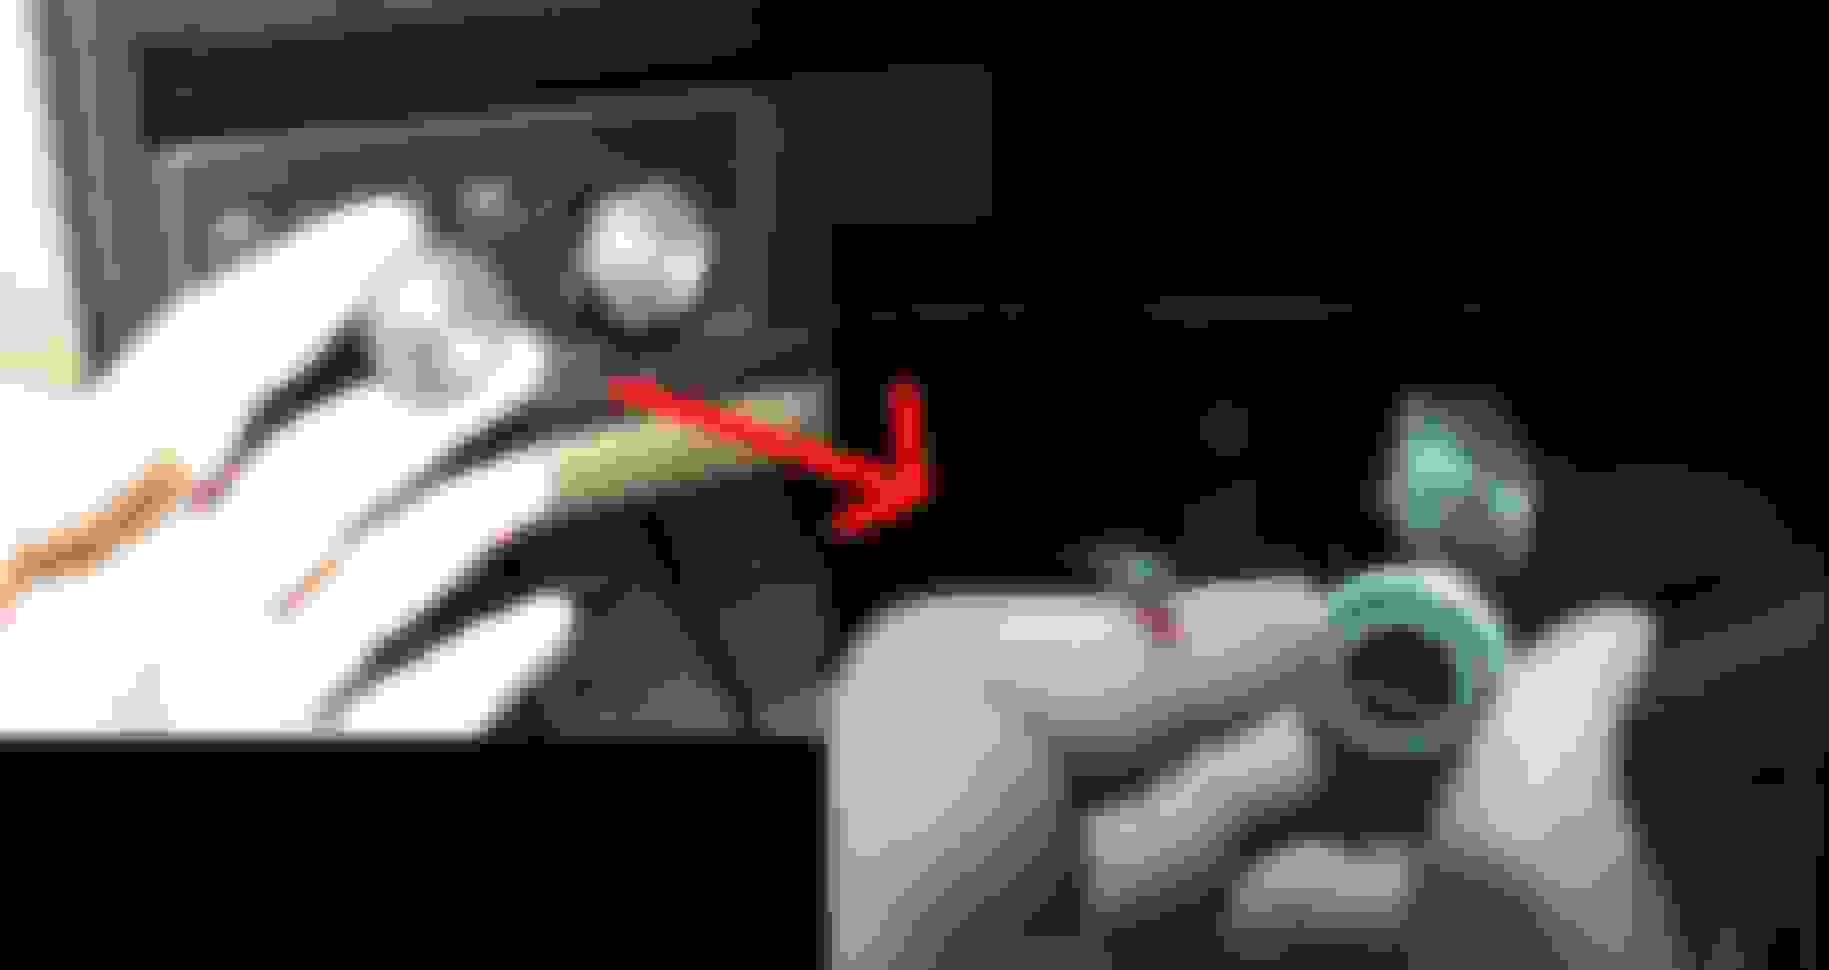
Now it's time to disconnect the joint at the bottom of the steering column. Make sure your steering wheel is turned so that the pictured nut and bolt are easily accessible.
Once you have this link disconnected, try not to move your steering wheel, to ensure it will be easy to reinstall it correctly (don't put it back on upside down!)
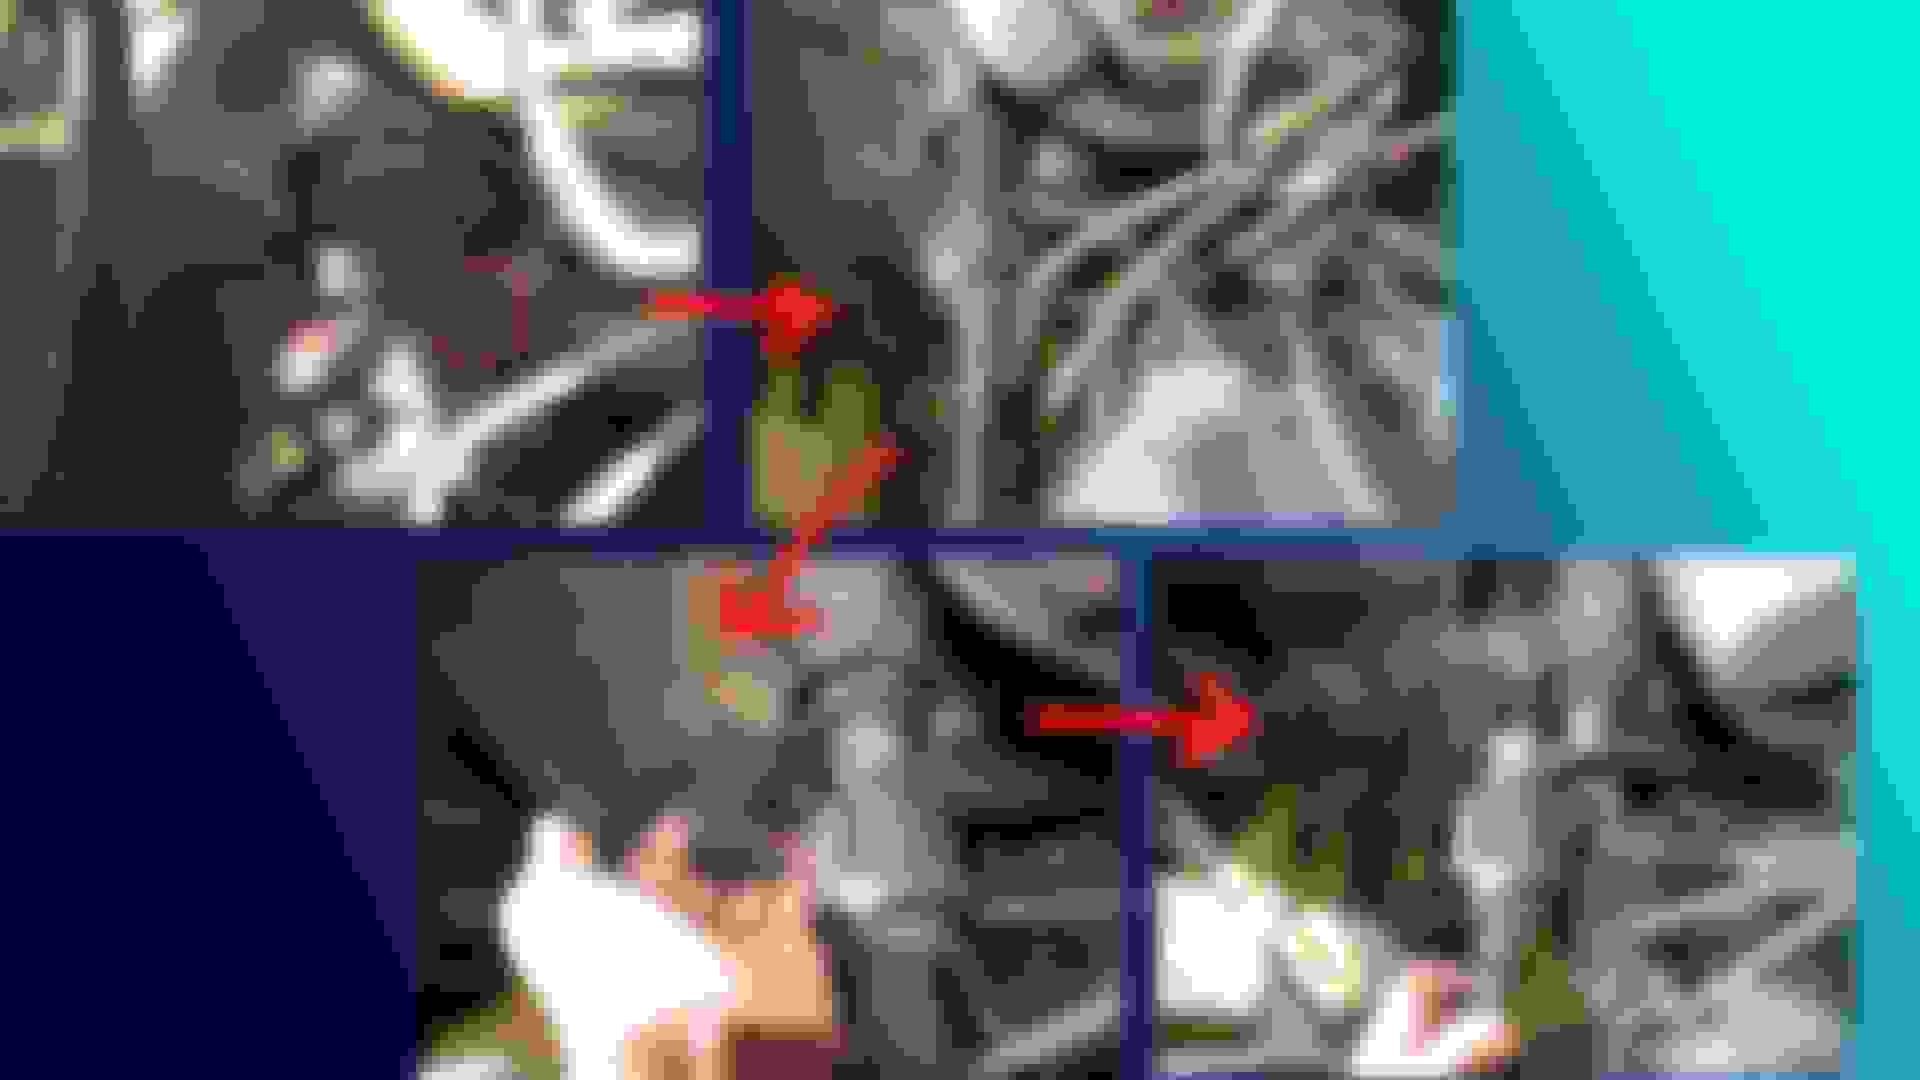
Now, you have to undo five tiny bolts in the driver's footwell. They are hard to get to due to the amount of $#%! mounted right next to them. Different length extensions or swivel joints will help you get them out. They are metric, but I don't remember what size.
From this step on, it may be easier to remove the seat from the truck. I didn't want to mess with the seatbelts, so I just slid mine all the way back, and I had enough room to access everything in the footwell.
You do not have to take the pictured circular clamp off the steering column.
In order to have room to take the column out, you have to get the clutch rod out of the way. It's the brownish rod in the above pic, that goes through the floor.
You need to remove your lower clutch return spring to relieve enough tension to get this piece out. My truck didn't have a return spring when I took the pics, so it's not pictured.
The spring in question runs from the clutch fork to a point on the frame.
To get the clutch rod out, remove the cotter pin at the top where it hits the pedal pivot lever, and remove the pin at the bottom where it hits the Z-bar, and wrestle with it until you can get it to drop partway thru the floor and out of your way.
Next is the exciting part. Undo the two bolts on the aluminum bracket that holds the column up. These bolts go directly into the pedal assembly bracket. The other four angled bolts do not need to be removed unless you are going to work on the column separately.
The steering column should now be able to drop down and sit right on the seat. Watch the black seal piece at the bottom, so that you don't flex and damage it when you set the column down.
On top of the steering column are two electrical connectors. Take your time getting them un-done. Chances are, they've never been taken apart before. Both connectors use two (brittle!) (plastic!) clips to hold them together.
Once again, take your time with those connectors! You do not want to plug the column back in later to find you have a few new electrical problems and you can't start your truck.
I'd recommend using some dielectric grease on the connections, before you put the column back in. Leave it better than you found it!
Now, you should be able to pull the whole steering column out of the truck and set it aside for later.
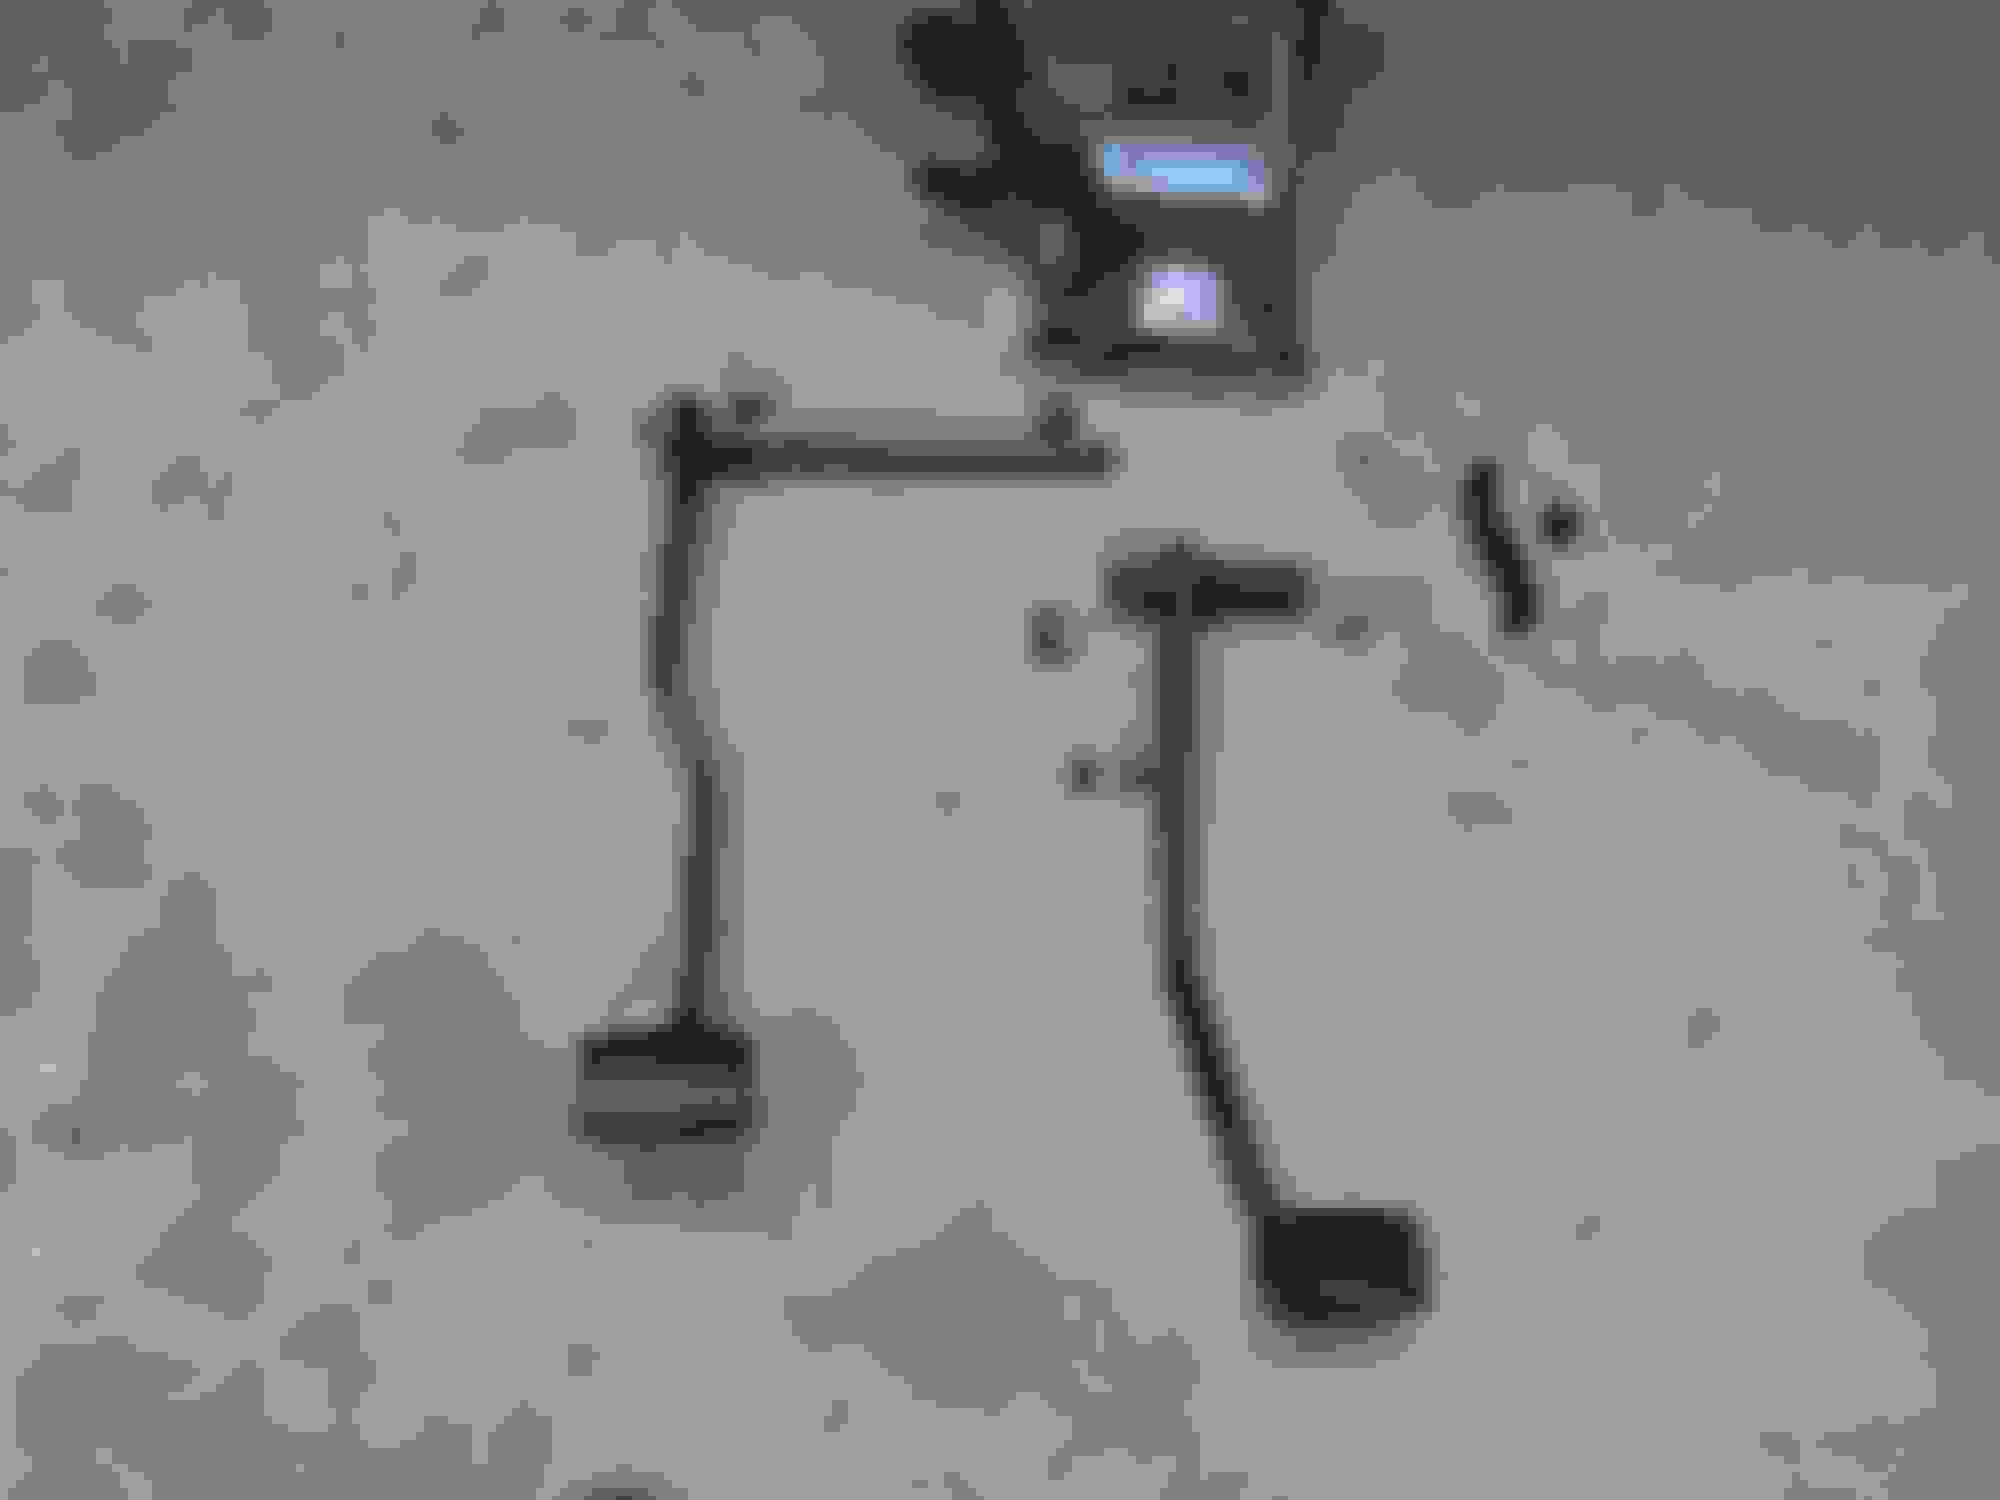
Get under the dash again, and unplug the connector to the brake light switch on the brake pedal. Note its orientation.
Take the cotter pin off the brake pedal, and remove the switch along with its two bushings. Once again, carefully note the orientation of the brake light switch.
The brake pedal can now slide off the master cylinder pushrod and get out of your way.
Now, you should be ready to remove the pedal assembly! Your clutch pedal is free, because the pushrod from the pedal shaft to the z-bar has been disconnected. And you brake pedal is free, because the pushrod to the master cylinder has been disconnected.
Before you unbolt everything, make sure you support the master cylinder from under the hood! The same bolts that hold the pedal assembly into the firewall also hold the master cylinder in position.
I used a length of wire through the hood holes to hold it, with a hoe to prop the hood open.
When you unbolt the bracket, you will have four obvious screw locations at the back, which go through the firewall and master cylinder. These can be very tight and hard to get to, especially with the pedals in the way. Use an extension and penetrating oil.
There is one small bolt in the front of the pedal assembly, above where the steering column used to run.
There are two bolts in the ceiling of the pedal assembly, which run straight up and behind the instrument cluster.
Take these all out and you should be able to yank the whole pedal assembly out!
The last step before reassembly is to switch the pedal assembly components over to the good bracket. This should be pretty easy to figure out.
The return spring is not held in by anything other than its own tension. If you hold it compressed with wire and move the pedal, it'll fall right out. Use the same trick to install it, and then cut the wires so it'll hold itself in.
The pedal shaft is held on with a nut on each side. Make sure you get this tight when you reinstall it.
Reinstalling everything should be straight-forward.
The most important thing to do is get the pedal assembly mounting bolts tight before you put the steering column back in. There is a torque spec for the pedal-to-firewall-to-booster bolts. I think it's in the Haynes manual.
The bolts in the ceiling of the bracket are not accessible with the column installed, so get them nice and tight. Hook up the clutch and brake pedals and make sure you don't have any major deflection or popping noises when you push either pedal. If so, your bolts are not tight enough or even enough.
Don't forget to plug in the brake light switch and both steering column connectors.
Also, while the interior is disassembled like this, this is a great opportunity to replace your master cylinder, rebuild parts of your mechanical clutch linkage, change the bulbs in your cluster or install a factory tach/gauges, or rebuild your steering column!
That's about it for this guide! I hope this will help someone else in the future. I haven't seen much visual information about replacing this part.
Let me know if you have any questions or if you want more pictures and information on anything!
Nice work, canofspam. Thanks for the guide, it partially helps with my problem where the key won�t go as far as it needs to to start the truck. Steering column tear-down imminent.
 09-19-2018, 09:40 PM