When you click on links to various merchants on this site and make a purchase, this can result in this site earning a commission. Affiliate programs and affiliations include, but are not limited to, the eBay Partner Network.
Looking to upgrade my 49 F1 instrument panel gauges, along with the speedometer and need some info. I want to keep the stock look, I see where some folks here used gauges from 70-80's Ford trucks or used after market gauges to fit in the stock location. Would appreciate your input on what you did and are you happy with the results. I know this subject has been post here in the past but my search here and on the web didn't provide me with detailed info I'm looking for........Thanks!
If you're wanting to upgrade but yet "keep the stock look", I would recommend something like this. https://www.ebay.com/i/311814874177?chn=ps
Somebody will hopefully correct me if I'm wrong, but seemingly the "Dolphin" brand gauges were all the rage for resto-mods a few years ago. Some other manufacturer may have taken the lead, but that is where I would start. I would not recommend just using random speedos, oil gauges, etc. from the salvage yards. I owned a 50 with a cluster of "homemade" transplanted gauges, and they looked terrible.
I completely rebuilt my instrument cluster. New repop and NOS gauges are available as well as used/rebuilt ones. Don't know how much of a purist you are but the rebuilt gauge clusters lack the cross hatching of the originals. https://www.macsautoparts.com/ford_t...lt-pickup.html
I like the stock look with the rectangle gauges vs a round gauge set-up, that's why i was thinking about the 70-80's Ford gauges......my options are send the cluster out for restoration, replace the gauges & speedometer with after market knockoffs, or adapt gauges from another vehicle. I could also upgrade to a Dakota Digital unit that looks "similar" with rectangle gauges but costs a lot more......maybe stock replacement is what I'll end up doing. I know the have replacement gauges, face decals, speedo but do they have any of that cross hatching material available?
I know the have replacement gauges, face decals, speedo but do they have any of that cross hatching material available?
And therein lies the rub. The cross hatching is not a material, it's a painting process that has yet to be duplicated. And there have been countless discussions about it. That's why none of the rebuilt units has it. If you have one, clean with soap and water only.
Well, I disassembled the instrument panel yesterday, i washed the cross hatch painted surface like you suggested Bob and it didn't have any effect on making it look "newer"so i think I'll lightly scuff and repaint it to match original......your panel looks new, nice job. Also notice that the stock gauges are round but have a rectangular face, so I guess round gauges can be modified to fit the panel, like what you did Nick..... can you provide me with more info on what you did to make it all work? Tried your build info but couldn't find specifics on the work you did to make the Autometer gauges fit the stock panel. Looks like any standard 2" style gauge might work, I like the light tan background that the Dolphin gauges offer, but like you mentioned Doc they might not be as popular now that there's more to choose from. Trying to stay away from the Chinese stuff if possible but not sure how thats going to work out.
Thanks for your input guy's.
First I popped the bezels and lenses off of the gauges and cut the lip off of the gauge can. I had to cut the can down a bit as well so that the gauge face was outside of the can.
Then I had to file the opening a bit on the original housing to get the cans to fit in the housing. They are very close to two inch holes, but slightly undersized.
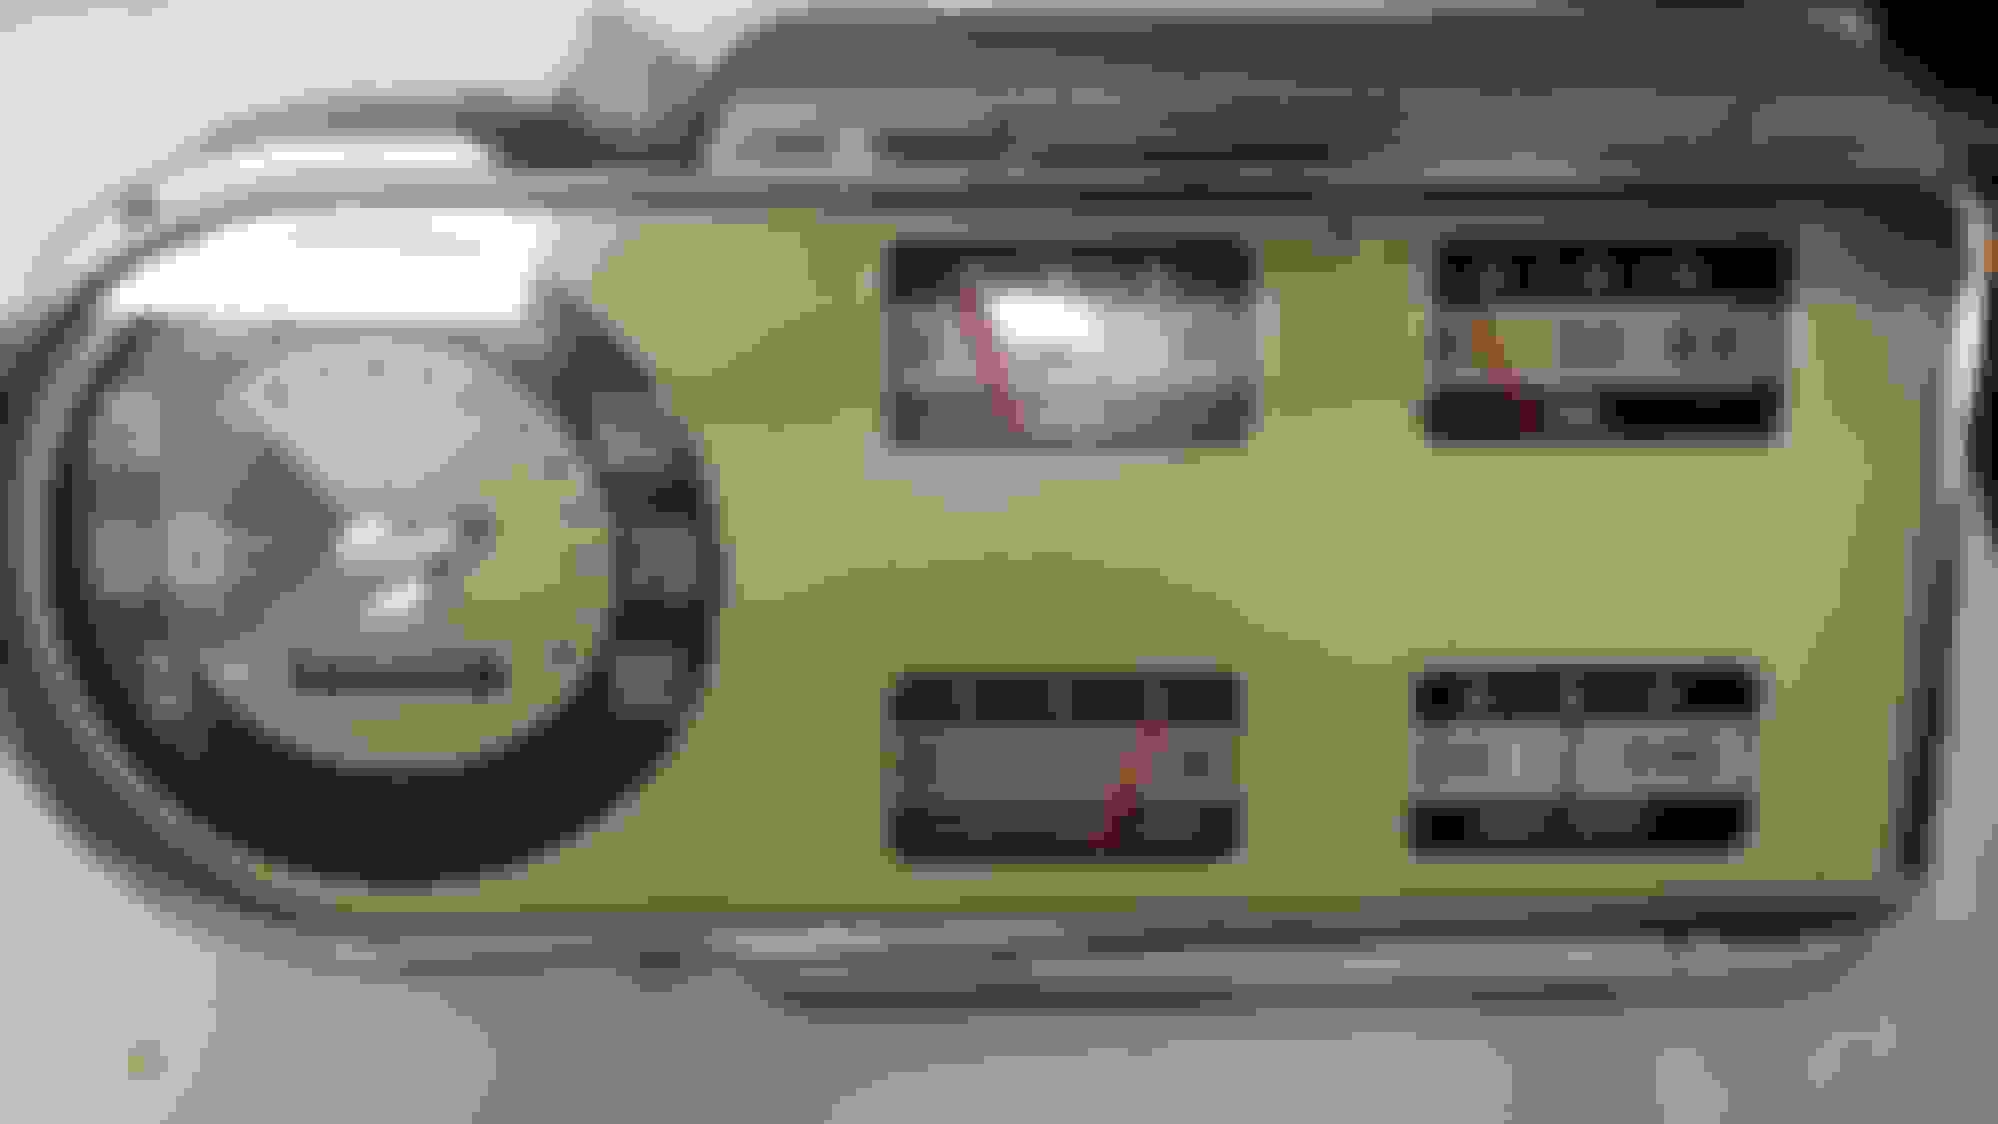
I made my gauges faces with the same angles as the original autometer gauge faces. I used thin plexiglass as the main base of the gauge face. Then I used two layers of transparency paper and a layer of normal paper glued together to create what you actually see. I ended up having to really vut a lot out for the speedometer to fit, but I should have just gone with a smaller gauge. I used a 5 inch, and I think I could have gotten the same thing in like 3.5 or 4 inches. That would have fit much better.
Then I just used some simple brackets either screwed or welded to the housing to hold everything together.
Let me now if you have any questions. I used cheaper autometer gauges since I was modifying them so heavily. The thing I didn't like about that is that the gauges are not linear. You can see that in the fuel gauge, where the half tank mark is passed halfway across the gauge. The more expensive gauges would have been linear. You could probably get the gauges to fit in with out too much modification, but you will end up with a round gauge in a square hole. I had tossed around the idea of making a new face plate with semi circle holes instead of square holes, but I wanted to keep the stock square gauge look. One of the more frustrating parts about my project was putting the needles back on in the correct place. Some were easier than others. The speedo was easy, just put the needle at 0 with the key on. The volt meter was easy, jut put it just past 12 with the key on. The oil pressure wasn't bad, just put to 0 with the key on. The temp and fuel were harder. For the temp I had to get the motor up to temperature, then use an IR gun to read what the temp was at the sensor, then put the needle on at that position. The fuel gauge has been the hardest since the sweep kind of goes past full when you have a full tank. Mine doesn't really read very accurate, so I kind of gave up on that and just go by my odometer reading.
Well, I disassembled the instrument panel yesterday, i washed the cross hatch painted surface like you suggested Bob and it didn't have any effect on making it look "newer"so i think I'll lightly scuff and repaint it to match original......your panel looks new, nice job.
Yes, that's what I did. I used a wadded up tee shirt and scrubbed using toothpaste. Thoroughly rinsed and dried, then painted with epoxy appliance almond which very closely resembles the stock color. Caution - there are several shades of almond, but I don't remember which I used.
Thank's Nick, that's the info I was looking for, lot's of planning & work went into "remodeling" that project.....what speedometer did you use? Gauges clear the brackets / wiper motor under the dash ok?
Keep in mind that you should match your senders (including fuel sending unit) to the gauges to keep life easy.
I used a early to mid 90's GM van cluster and some black and clear acrylic and modified the original housing. Total cost, less than $20
Bob, that paint job ya did looks better than factory! I recall a search, that addressed the correct paint and how to apply it, I'll poke around the web see what i can find.... I definitely want as close to original as possible.
I’m not sure the amount of money you want to put into them.... I was going for cheap yet operational.
i took the original gage out and then the 1986 Mustang gauge popped the faces off and mounted them on the 86 gauge and then mounted on the original plate that mounts in the original insterment cluster.... complicated to explain here’s a few pictures.
original gauge
Removed gauge from plate
Removed front face off gauge
1986 gauge
Removed face, swapped with stock face and then bolted back into original interment cluster.
Hope that helps explain what I did. Any questions just ask, cost me nothing and works with the 5.0L senders I have installed.
zac
I kept the stock Speedometer. After I took the Mustang speedo And made a bracket and installed it, It fit but I didn’t like the look with the odometer and new looking numbers. I really want a stock looking set up. So I modified the original speedo cable to fit in the aod trans, up on jack stands it works but until I get it on the road I couldn’t tell you if/ how much it’s out. I might have to change the trans gear to a different size.
As for the gauges I just swapped the coolant and oil pressure sender. I’m using the factory gas gauge to work with factory sender and the amp meter.
Sorry I don’t have a picture, I can see if I could get one tomorrow but to be honest the only way know the difference would be the gauge bolts are a little longer. The back looks just like original.
zac
 09-18-2018, 11:51 AM