When you click on links to various merchants on this site and make a purchase, this can result in this site earning a commission. Affiliate programs and affiliations include, but are not limited to, the eBay Partner Network.
So I discovered a crack on driver side and in front of the leaf spring shackle mount. I didn’t notice the crack after removing the old leaf springs or when I test fitted the new posie drop front springs (mainly because I didn’t completely remove the old schakle brackets) However, after completely removing everything for paint and heck while I’m at it splash a little paint on frame my heart sank a bit. My first thought, drill, weld, paint and forget it. I don’t think the crack was caused by stress but more by something that was broken for a long time and rubbed the area thin. However it looked like the parts were all original and nothing was ever replaced, I didn’t notice anything that was touching. The only out of ordinary thing I could find was the eyelets of the original leaf springs were not rounded. Any thoughts or concerns beyond how I plan to repair?
Theodog I am going to subscribe to this as I did what you are doing and my left side (driver) sits lower than right side. I have changed the springs form side to side and no difference. I used the lower and forward springs from Mid Fifty. On the fixing of the frame I would take it to a frame shop and have them make sure it is with in specs and then weld. Good Luck.
I would just weld it, grind it smooth and paint it. Throw it back together and call it good. These frames are mild steel so you should have no issues.
I agree. There's no weight or stress ahead of the damaged area. It was caused by something hitting it hard or rubbing for a long time. Weld it up, grind it smooth and paint it. It will be fine.
Probably from either very worn springs or a lot of overloaded miles and missing bump stops. If it were mine I'd grind it flat, drill a small hole at the end of the crack to stop it then open up the crack slightly with a cutoff tool and bevel the edges before welding. The vertical portion of the frame carries the load, the horizontal parts stabilize the vertical.
Thanks for the feedback, I feel better about the situation. I won’t be able to make the repair until after the weekend is over, but I will update you guys when I get to it.
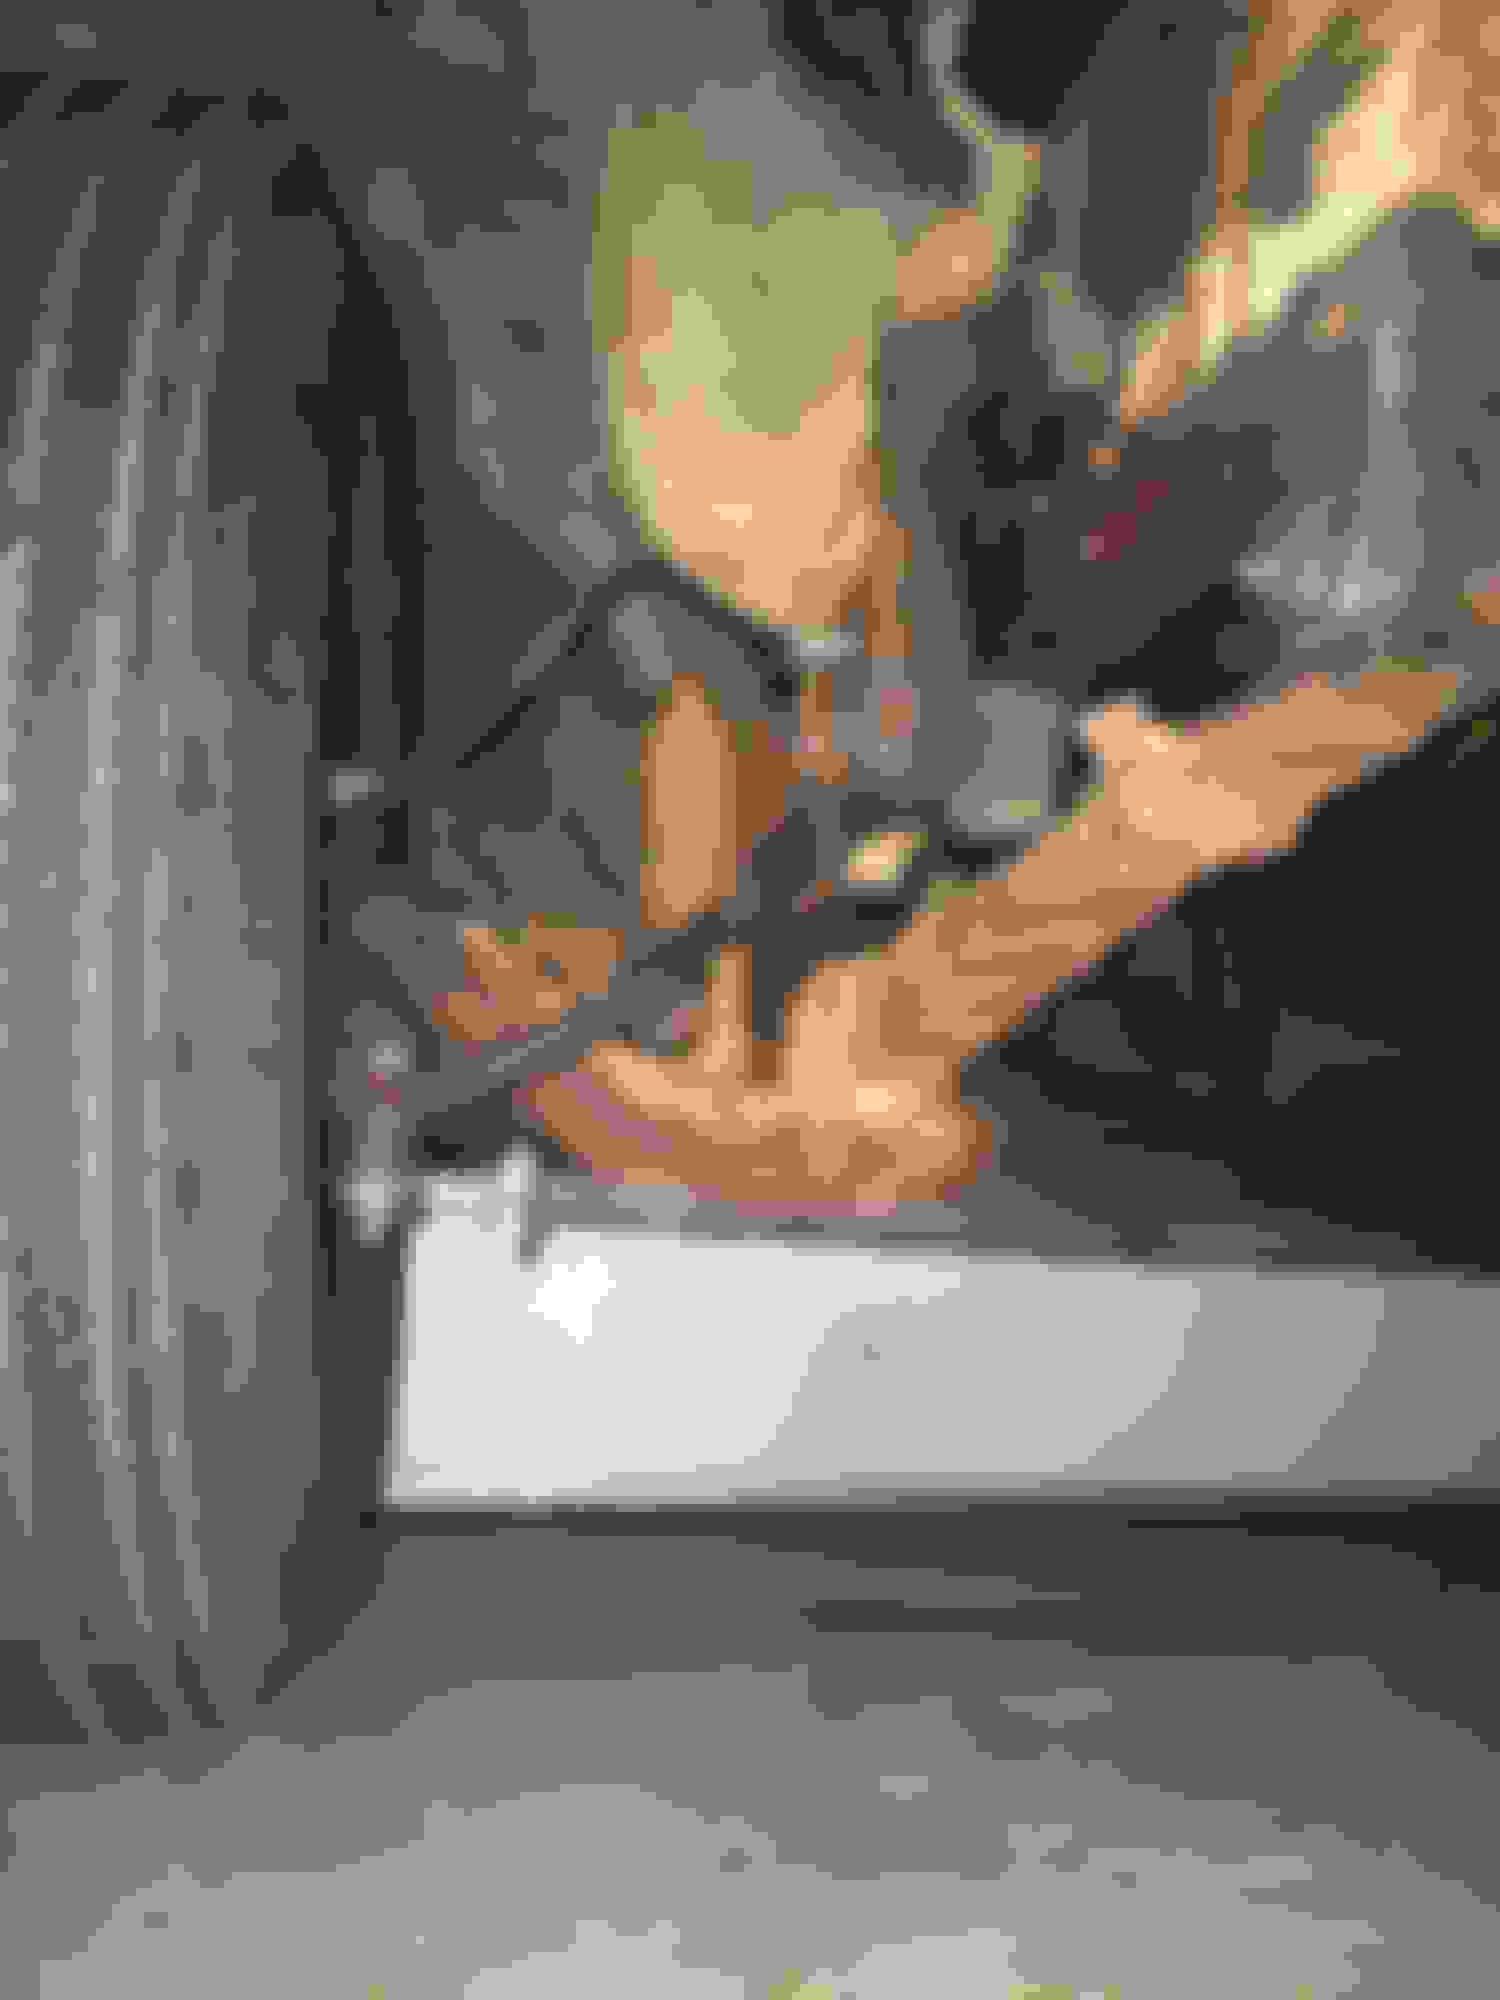
Update. She is Zeus’ed back together and looking good. I just drilled at the head of the crack, v-groved and thoroughly cleaned and the grease both sides and mig welded up. I ground down and lightly sanded the weld and then primed. The job turned out great.
That was gonna be my advice as well!....... and presto !....... it's done. Great job......what crack?....... what are you even talking about?....... lol
That looks great! I would sand the edge of the frame to remove the little nick from the edge of your weld. That would be a good place for another crack to start. Beautiful welding job!
Mark
I had an FTE member come down an buy a few parts from me and he pointed out a crack in my frame between the front driver side cab mount and the cross member. He said they were all cracked there. I haven't fixed it yet but it's on my to do list. You may want to check there also.
I had an FTE member come down an buy a few parts from me and he pointed out a crack in my frame between the front driver side cab mount and the cross member. He said they were all cracked there. I haven't fixed it yet but it's on my to do list. You may want to check there also.
When welding in such a spot, I would prefer to place a small piece of 1/8" (maybe 1" wide) on top of the weld area. With the frame ground out in order to make a gap, weld the 1/8" to one side of the gap and then to the other side.
Continue with additional welds until the crack is filled.
The 1/8" forms a heat sink and allows for a 100% weld without any weak areas.
Be sure to sand both the bottom and top of the weld areas.
 09-08-2018, 08:51 AM