When you click on links to various merchants on this site and make a purchase, this can result in this site earning a commission. Affiliate programs and affiliations include, but are not limited to, the eBay Partner Network.
Well, it would not be a true adventure if something didn't go wrong.
I was about 20 miles from the campground when shifting into a lower gear. I let up on the clutch pedal as I always do a there was a loud bang. I said "WTF", but the real words.
After I looked around I realized the clutch pedal was twice as high as it normally is and well above the other pedals.
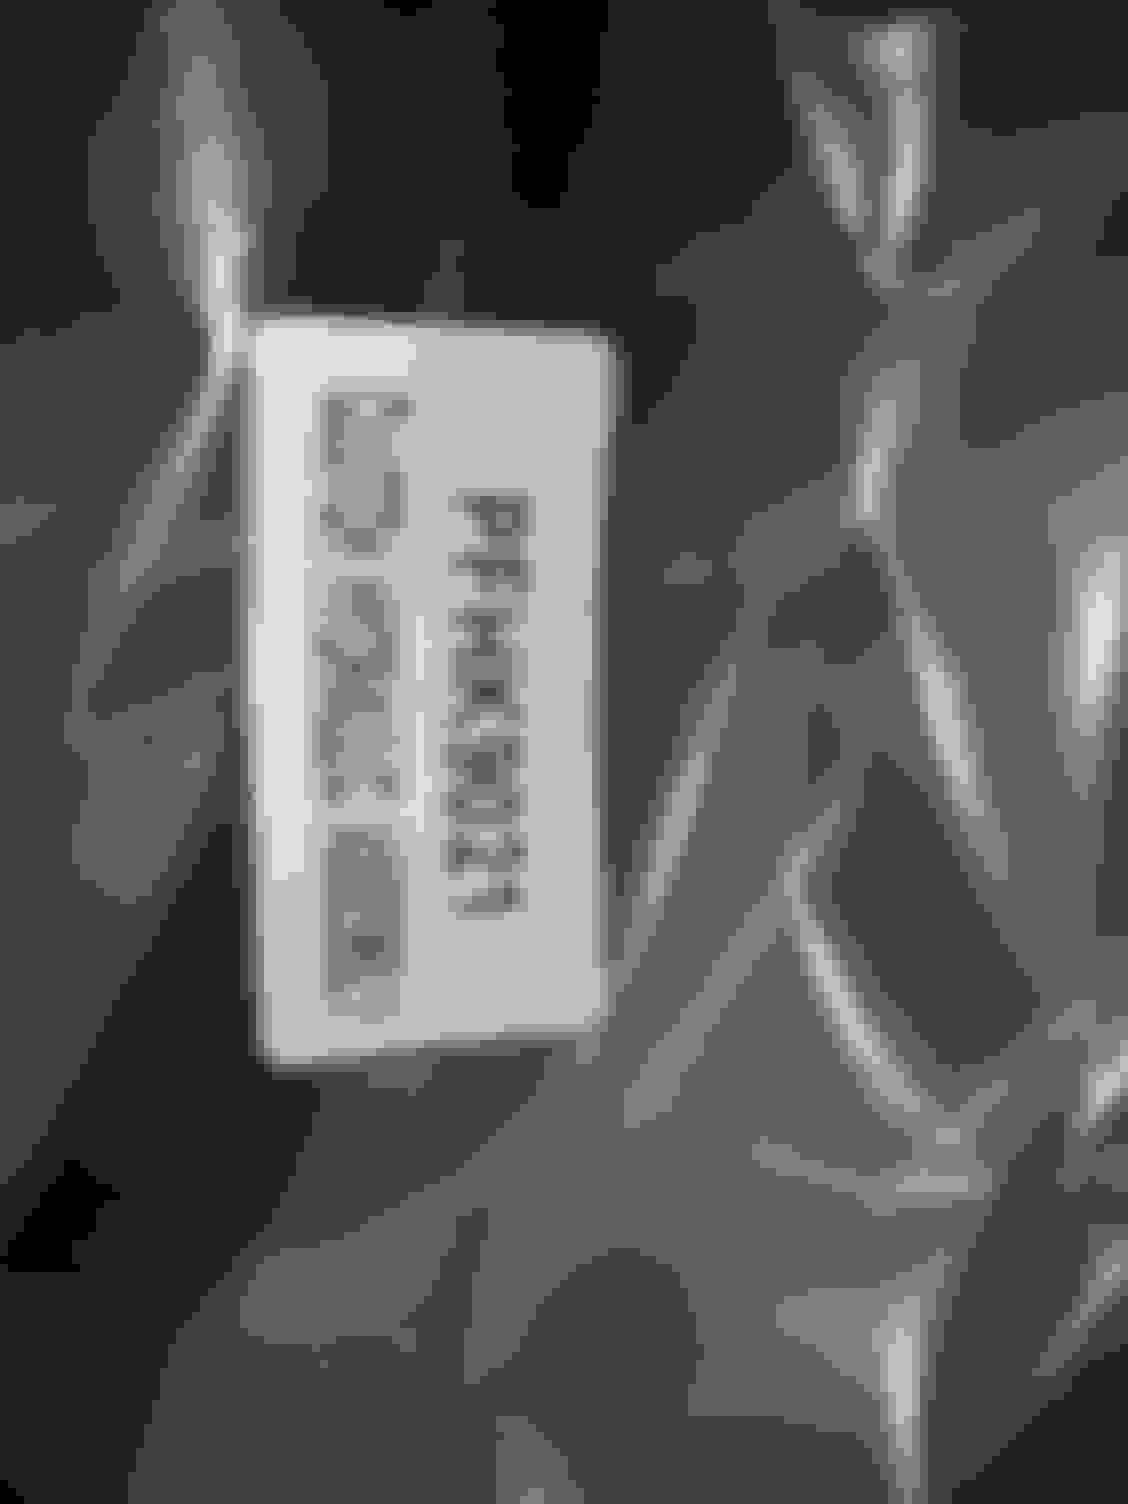
We drove the rest of the 20 miles and after setting up camp I took this picture.
Now, what think has happened is that the black plastic piece came loose from the metal piece, but I would like some opinions.
The spring and joint are still intact, which is what I was hoping to see broken.
Does this plastic piece just need to be reconnected or do I need some parts?
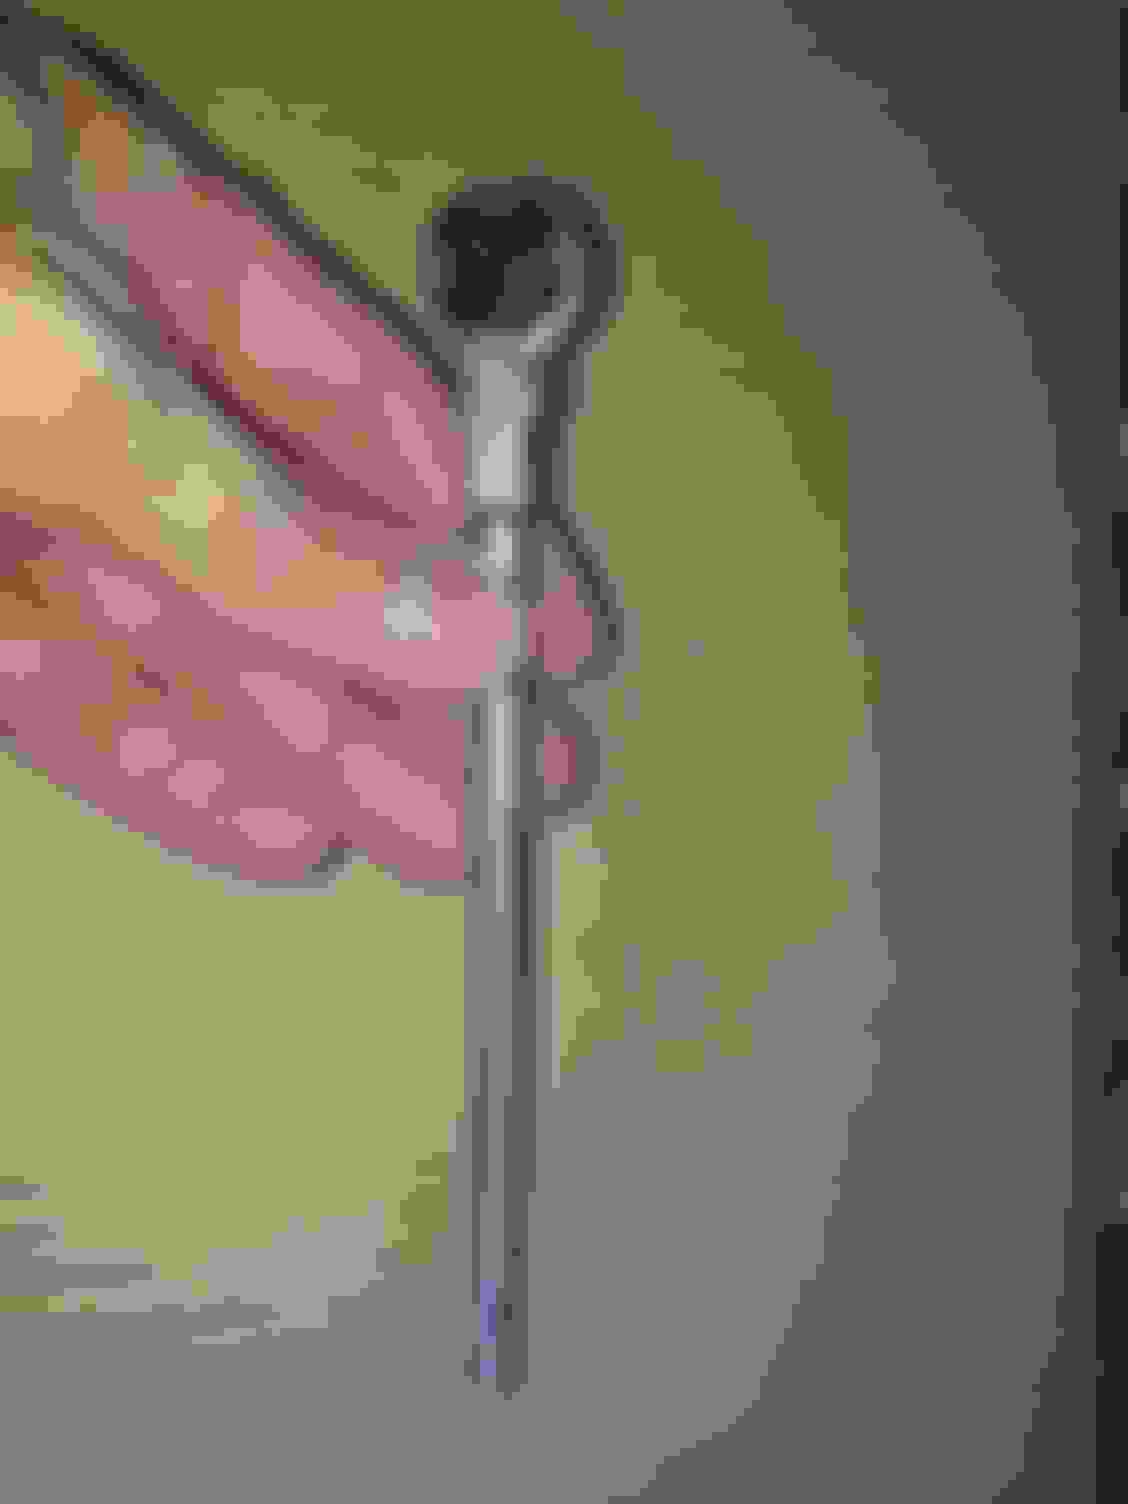
Here is another picture with the safety switch off the rod. It seems something let go between the rod watched to the pedal assembly and the cylinder it pushes.
you'll want to replace the unit as a whole...master/slave assy. if your close to Advance Auto, i recommend theirs..(pf9021). All aluminum construction.....
1) with hand holding clutch pedal, the other hand holding a flathead screwdriver, pop the metal rod from the clutch pedal.
2) crawl under dash and remove the electric devise thats attached to clutch rod. Leave it hanging outta the way
3) open hood
4) reach down and turn master assy 1/4 turn counterclockwise and remove from firewall
5) crawl under truck and again, 1/4 turn on slave assy and remove it from bellhousing
6) feed master assy to the ground. Much easier that way, then to feed slave up through engine bay
.......Install time....
1)feed slave thru enfgine bay to ground
2) attach slave to trans
3) attach master assy to firewall. DO NOT INSTALL METAL ROD YET
4) inspect master assy fo proper alignment in its location, from inside/under dash.(you'll see "notches" for the teeth to sit in)
5) install rod into master
6) attach rod to pedal
7) attach electric devise to rod
8) sit in seat, and push clutch pedal
9) listen/feel for pop, from slave
10) THE POP YOU HEAR, IS THE ROD BREAKING THE TABS FROM THE SLAVE ASSY. DO NOT REMOVE TABS FROM IT. LET CLUTCH PEDAL BREAK THEM WHEN DEPRESSING CLUTCH....
11) pop a beer
GOOD LUCK. After the first go around, you'll switch them out in 15min, tops!
Looks like you can get the entire kit from $65 to $250 depending on where you get it. I'll be getting one to keep on hand.
The "fingers" let loose from within the master, slick...see if both master rods are identical from new unit. If not, clean up the old one and use it..ive heard/read about using the original one..why, somehing about the "throw" is shorter with new. Ive been using whatever comes with new unit since oem saw the bottom of a trash bin..anyway, pay attention to orientation when removing that plastic collar and white spade underneath....advance auto anywhere, get p/n pf9021...when installing slave, leave tabs attached. Theyll brake at first depress
Typically once those fingers let loose of the rod, it will continue to do so. You can pop the rod back in place and try gently letting off the pedal so it doesn't come out, but I wouldn't hold my breath. When that's happened to me, I just replaced with a new prebled hydraulic set.
I tried sticking the rod back in at first, but it kept doing the same thing over and over.
The safety switch case is just spinning freely on the now loose rod.
I plan to replace the safety switch, master and slave cylinder set and do the hiem joint mod.
Luckily I can still operate the clutch and just have to bring my knee up higher in order to get it above the pedal surface. Wesley and I were trading text messages and he ID'd that the spring returns the pedal to the up position and the rod limits the travel while being held back by the fingers.
I think I cursed myself because I was asking Wesley for details on how to change the clutch hydraulic set and then this happened.
Brandon, thanks for posting instructions from Timmy. Those instructions and the ones from Wesley, will get me through this I'm sure.
EDIT: I do have one quick question though, does the safety switch get attached to the firewall or master cylinder in any way? Or, does it just slide back and forth until it finds a happy place?
Mine just "slides"
The notch on the switch lines up with the notch on the MC. I think the shoulder on the pedal side of rod and gravity keeps it in place. Whether or not that's correct idk But that's how mine is
edit:
comparing your first switch photo to mine, rotate your switch 90* clockwise on the rod to for the notches to line up

 08-27-2018, 03:39 PM


 But that's how mine is