When you click on links to various merchants on this site and make a purchase, this can result in this site earning a commission. Affiliate programs and affiliations include, but are not limited to, the eBay Partner Network.
So I have added the rusted out radiator support and gravel pan (apparently a front bumper stone deflector in Ford MPAC speak) to my replacement parts search. I heard that the radiator support was not reproduced, confirmed by my previous searches... or is it? I found this on DC's site today. I can guarantee at least one order on January 9th if this is accurate before they go out of stock again.
However, I am completely striking out on the stone deflector. I waded through the manual and finally found the part number of C1TZ-17A862-C. (This part was not easy to find!) Are these reproduced or available anywhere? If so, I am not finding anything so far.
^ Applications for C6TZ-16138-C .. Radiator Support = 1965 F100/250 2WD & 1966 F100 4WD
C1TZ-17A862-C .. Front Bumper Stone Deflector / Obsolete ~ Not reproduced AFAIK
1961/66 F100/250 2WD & 1966 F100 4WD // No Ford dealer or obsolete parts vendor has any.
So I have added the rusted out radiator support and gravel pan (apparently a front bumper stone deflector in Ford MPAC speak) to my replacement parts search. I heard that the radiator support was not reproduced, confirmed by my previous searches... or is it? I found this on DC's site today. I can guarantee at least one order on January 9th if this is accurate before they go out of stock again.
However, I am completely striking out on the stone deflector. I waded through the manual and finally found the part number of C1TZ-17A862-C. (This part was not easy to find!) Are these reproduced or available anywhere? If so, I am not finding anything so far.
Edit: Figures. As soon as I post the question, I find one at Eckler's, but it does not look the same at all.
LMCTruck.com shows both parts for the 1965 available.
Stone deflector LMC part # 49-8760 for 61-66 is $169.95 (I purchased this part for my build and the quality was good)
Radiator support LMC part # 43-2857-T for 65 F100/F250 2WD is $299.95
I forgot to check LMC. Thanks Jim! I don't always trust their stuff after a couple mediocre quality parts I have received from them, but if you have used one without issue, that helps a lot to know. I tossed one in the ol' virtual shopping cart to check how bad I would be gouged for shipping and was pleasantly surprised at only $27.75. I have paid more than that for a pretty small box from them before!
I spent a good part of the morning at the wrecking yard again and this time I got the disc brake spindles...with the bent I-beams unfortunately. However, the guy behind the counter finally caved when he saw how ugly they were. He just asked me to bring them back to the scrap metal pile once I get them separated, but do it on a weekend when he would be working so he didn't get in trouble for not charging me, lol. Deal! I also picked up a power steering gear, the other brake line bracket (had to drill it or would have got it the first day), and a couple other odds and ends.
My first major victory in the Battle of the Kingpins!
It took a combination of several techniques gleaned here on the forums, but I finally got one of them separated last night. I took the two biggest hammers I own and placed the bigger one on one side of the I-beam and smacked the bejesus out of the other side with the 2nd hammer. Swap sides and repeat step one. I then drilled out a 1/2" hole in one of the grease caps that conveniently fit a 1 1/2" long bolt I had laying around. Commence with the pounding on said bolt with a 4lb hammer. It bent the bolt, BUT the kingpin moved! Yes, I know a brass drift is the preferred tool, but ugly sometimes works too! I removed the bent bolt and substituted some scrap all-thread I had and continued flailing away. Bent that one too, cut another slightly longer piece, rinse, repeat until finally it eventually submitted to my stubbornness. I know what you are thinking- I could have just paid a shop to do it. True, but then I would have had to pay for a gym membership as well because I would have missed out on a free workout and I would still need several visits with the shrink to deal with all my pent up aggression. I figure I saved like $1000.
Pay no never mind to the shiny ding spots on the top of the spindle. It turns out large hammer accuracy with improvised tools is not as easy as it looks. I'm sure my painting skills will hide my shame later. Also, I had noticed the broken caliper retaining bolt earlier at the wrecking yard, but upon closer inspection last night I realized that someone had tried to drill it out...badly. The only thing they did right was quit before they did too much damage. It looks like I can save it without a helicoil, but I won't know for sure until I get the remnants out. For now a good bath of PB Blaster and I'll deal with it later.
A little more progress. I got the other spindle removed and the junk I-beams returned to the wrecking yard. I went and bought some new jack stands as this thing may sit on them for a while and I needed a taller set anyways. I got the radiator support, grille, stone deflector, and upper valence all separated. The grille has a small bend on the bottom, but I think I can straighten it. It is better overall than the aluminum one I picked up. She wants to keep the 65 look, so the plan is to try the chrome paint or have this one plated. I plan to try the paint out on the winch bumper for my truck first and see how well it works. Looking at something like this: http://alsacorp.com/easy-chrome/
I started prepping a few things to pull the engine, but got side tracked and started scraping the undercoating off the front cab corners/ door hinge pillar and firewall. Slow going and as expected, I found some pretty good rust underneath. Drivers side is pitted pretty badly, but should be able to save it. Time will tell if pinholes start showing when I am doing the cleanup. It's a pretty good possibility. The passenger side was much better overall except at the bottom where a big blob was hiding a nice little hole.
A few updates lately. Mainly, I have been saving up for a couple of big purchases- namely a welder and the radiator core support. Got a Lincoln Weld-Pack 180 HD welder last week and got the 25 foot extension cord a couple days later, but got too sick to fire it up. Stupid colds. In the meanwhile I also ordered a weld cart and assembling that is as far as I have gotten on that part. Mainly because the repair metal for the frame is not a common thickness that I can just pick up locally. I also still need to get a tank for the shielding gas, so I'll probably just use the sample spool of flux core on the frame for now. Once I get around to ordering the metal that is.
I also ordered a radiator core support when it finally came in stock at Dennis Carpenter in mid to late February and it arrived last week as well. Honestly, it wasn't worth the wait. I was hoping for some of that advertised DC "original Ford tooling" magic, but instead got a box marked "made in Taiwan". I went back to the site to look it up and see if maybe I missed something in the description. Well now they now have a "new and improved" website (yes that was sarcasm- I instantly hated the layout), so I spent a few extra minutes trying to navigate and find it again. Can't find a core support for a 65 on their site anywhere. Finally found it with a part number search and it is now marked as OS** in the description. What the heck is that supposed to mean- overseas? Come on DC, seriously just admit it in plain English when you are remarketing overseas stuff. Seriously, I am OK with repops if that is all that is available or I am trying to save a buck. But when I wanted American made and near original quality....
OK, rant over. It's not really a bad piece overall, as much as I was hoping for better. It appears to be a correct replacement with all the 65 unique brackets and such. As with most, the Taiwanesium they make it out of is thinner gauge metal than the original (appears to be 18 ga. vs. 16 ga.) and comes out of the box with the standard bent corner. The bend is fixable, just annoying. It's on the shelf for now until I have all the front end pieces to test fit and tweak accordingly.
So that's what they look like when they are not half rusted out...
Some straightening required...
Yes, that little white sticker does say, "Made in Taiwan"...
Last weekend I had to shuffle the garage around and now that Stitch has a semi-permanent stall, I started on the front end tear down. I have the kingpin set and a full set of polyurethane bushings to get that started. I still need to order quite a few more steering and braking components to finish, but one step at a time right? Got the driver side torn down tonight. These kingpins have the plastic bushings, so I know they have been replaced at some point but were still a bit sloppy. Three solid whacks with not even the big hammer and it popped right out. WAY WIMPY compared to the fight the disc brake spindles put up, but I'm honestly OK with that. Everyone deserves to hit the E-Z button every now and then. And I'm pretty happy that I don't have to take the whole I beam in to the machine shop to have the old pins pressed out. I'll clean up the mess tomorrow. For now, it's bedtime.
I had the same core support and frame rail rust issues. I got my core support from Rockauto which it's a Goodmark part. It was cheaper too. I patched my frame rails with some 1/8th inch mild steel and drilled new bolts holes once I had the inner fenders and core support mocked into position. The only thing with the Goodmark part was that the small spot-welded flange that the inner fenders bolt onto weren't on the new part. Luckily I still had the old core support and just had to transfer them to the new one.
If that new core support is truly a (65') support, who the H??? cares where it came from. Count your self lucky to have the correct configuration. A 65' support is 65' ONLY. DC listed it as (65'-66'), but it was configured to the 66', not the 65'. There are a few differences but the main 2 are how the battery tray mounts and how the radiator mounts. Compare it to the old core. If you have a welder, you can modify it easy enough. But than you'll need to repaint it.
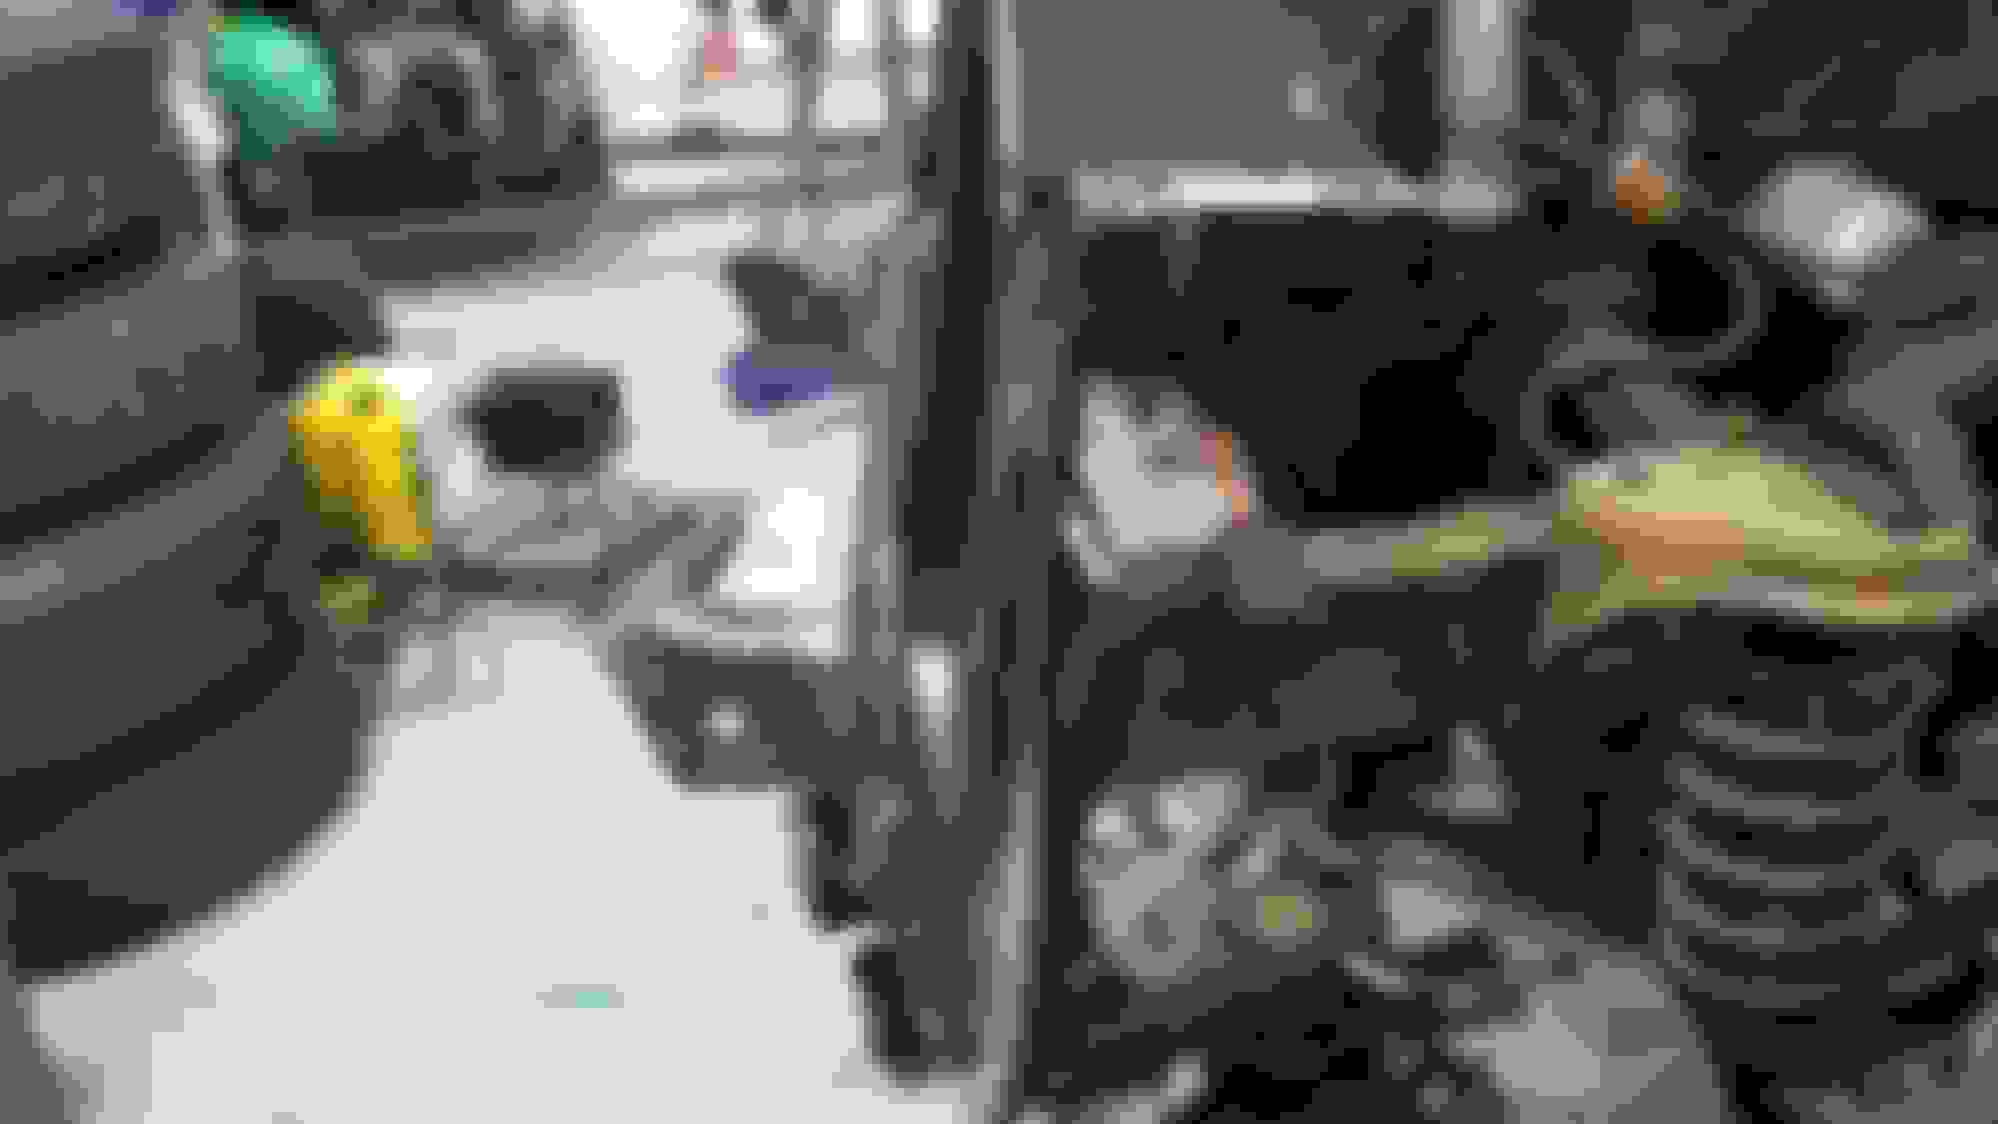
I tried blowing up the pic of the radiator side of the support to get a better look see. But no joy.
BUT, if indeed they are now making a 65' support,,,
COOL...... :-)
The original DC page when I bought it said it fit a 65 and had to have minor modifications to fit a 66. But you got me curious so I went out and did some careful comparisons. I am starting to think now it is actually the reverse of what they originally stated. Probably why the same part page now has no references to fitment issues with either the 65 or 66 and oddly no longer comes up when you search by 65 model year. I guess the first clue should have been the part number (C6TZ-16138-C does decode to a 66). It will still work, I now know I will just have to tweak a few things.
The radiator mounting holes look like they are OK, not a perfect match, but I think the bolts will fit as-is. If not, it should be only minor elongation of the two top holes. It's kind of hard to see in the picture, but they are just a bit off. Also, I don't have the engineering number cross reference, but that looks like a 65 date code on the radiator tank, correct? Either way, what I have fits- just didn't want to mislead anyone else if this turns out to be a wrong year radiator. I have not got that far into the radiator part just yet.
Turns out there are is only one of the battery tray mounting holes. (At least I think the one will work- I did not measure to 100% confirm.) This should be an easy enough fix, but again, not a true 65 replacement part. Original four battery tray mounting points No holes or nut-zerts Only one hole on side- looks like it is in the correct spot to work
I did notice a few other discrepancies, but most are just different size holes or slightly different locations. The only ones that I see currently that will be an issue are where the wiring harness goes through for the support for the headlights (will have to be enlarged or put new pigtail on for the headlight connector). The only other major issue I found was the lowest mounting point for the inner fender is missing on the reproduction piece. I'm sure I will find more issues during test fitting...
Flashed on the radiator and was pretty sure it was for a 6 cylinder. SO, I went back and looked at the pics you posted, and sure enough ,it's a 6 banger. I say this because of the fill in panel on the left side of the radiator frame. That IS a 65' radiator. On the 66' models, I believe they changed the frame and no longer used the type with that panel as part of the frame. I say this because I have a 66' support that I pulled out of a 66' that had a 6 banger. The support has a panel that is bolted on and NOT part of the radiator frame. I have only seen 2 others with this bolt on type panel and they were also 66's and they also had 6 bangers.
If you do indeed plan on moving up to a bigger motor, you most likely will need a larger radiator. Just a thought...
 11-18-2018, 02:56 AM