When you click on links to various merchants on this site and make a purchase, this can result in this site earning a commission. Affiliate programs and affiliations include, but are not limited to, the eBay Partner Network.
I've made progress, but nothing exciting that needs pictures. Got the rear main seal changed. It was a rope, and those suck to change. I highly recommend a sneaky Pete tool to remove. That $12 tool saved a ton of frustration! Oil pan is painted and reinstalled with a new gasket. Have to dump some oil in it yet, then the motor is buttoned up.
Have to finish painting the front axle and put fluid in it yet. Next I think I'll change to body work for a bit while the parts budget recovers!
Still have to figure out front springs, order u bolts shocks,brake lines, fuel lines, u joints, calipers, tie rods, drag link, dampener.... and the list goes on and on. Ugh. It's never ending!
Well, bodywork has officially started. First repair spot is the passenger crew door lower post. To be up front, I'm not a body guy. I consider myself an accomplished amature. What I do is to the extent of my skill level and as long as I'm good with the finish result, I'm happy! The first fix I did progress pics, but unless it's requested, I'll just do before and after of the rest. All of the patch panels came from LMC, and so far the quality is descent.
Start:
Once I cut it out, there was a bad spot inside to fix first:
Little hole fixed:
Patch fitted, welded, and ground. A little filler and primer and it'll look good.
The panels I have to patch are: driver's crew pillar, same as I just did, both cab corners, both front floors, drip rails, 1 box wheel arch, and inner and outer lower skins on all 4 doors. Let me know if anyone wants progress pics of any of them. It's more work to stop and snap, but if it'll help someone I can.
Well, I got the lower door jamb and the cab corner in on the passenger side. Once I got done I realized that I didn't take a before pic of the corner. Oops! I've got a little more filler, seam seal and sanding to do, but I'll do that later.
The passenger side wasn't too bad, the driver's side is horrible. That's definitely going to take some work, I'll remember to get pics on that side!
Well, I had to take a break from body work, it's time for some fabrication! The driver's side brace for the front crossmember to mount the bed is junk. I couldn't find a replacement anywhere, so I guess it's time to make one.
I went to my local welding shop and got a piece of 12 gauge steel. Using what measurements I could get off the junk piece and the other side, I laid all the measurements out on the sheet. My original plan was to heat and beat it for shape.
Heating and bending 12 gauge wasn't going to happen, especially with the complex bends that are in it. I decided to dig out the jigsaw and cut the pieces out, lay them up, and weld them back together.
It's done, and it was a *******. When I marked it out I didn't take into account that the top was straight to fit into the bracket, then tapered. Took a little massaging aka cutting, beating, welding, and grinding to get it right. Got it all painted now and bolted back in.
I have been steadily working, just haven't been big enough things to do updates on. I ordered a bulk roll of ni-cop brake line and am going to be bending/making all new lines. The rear axle is done so far. To run the rear brake line and fuel line, I had to clean up and por 15 the frame, and that was today's project. It's not perfect, and I'm going to spray the underside of the cab after I get the floors and other cab corner fixed, but it's about the best that I can do without pulling the cab.
I also finally got the rest of my parts for the front axle, new calipers and tie rods, and so it's all back together. Trying to find some super duty front springs so I can swap them in and put the axle back in.
The good: I got the new hard fuel line and brake line run to the rear and mounted. Also got a new fuel pump in and a new line bent to the carb. Dumped some gas in the tank, and it fired up!
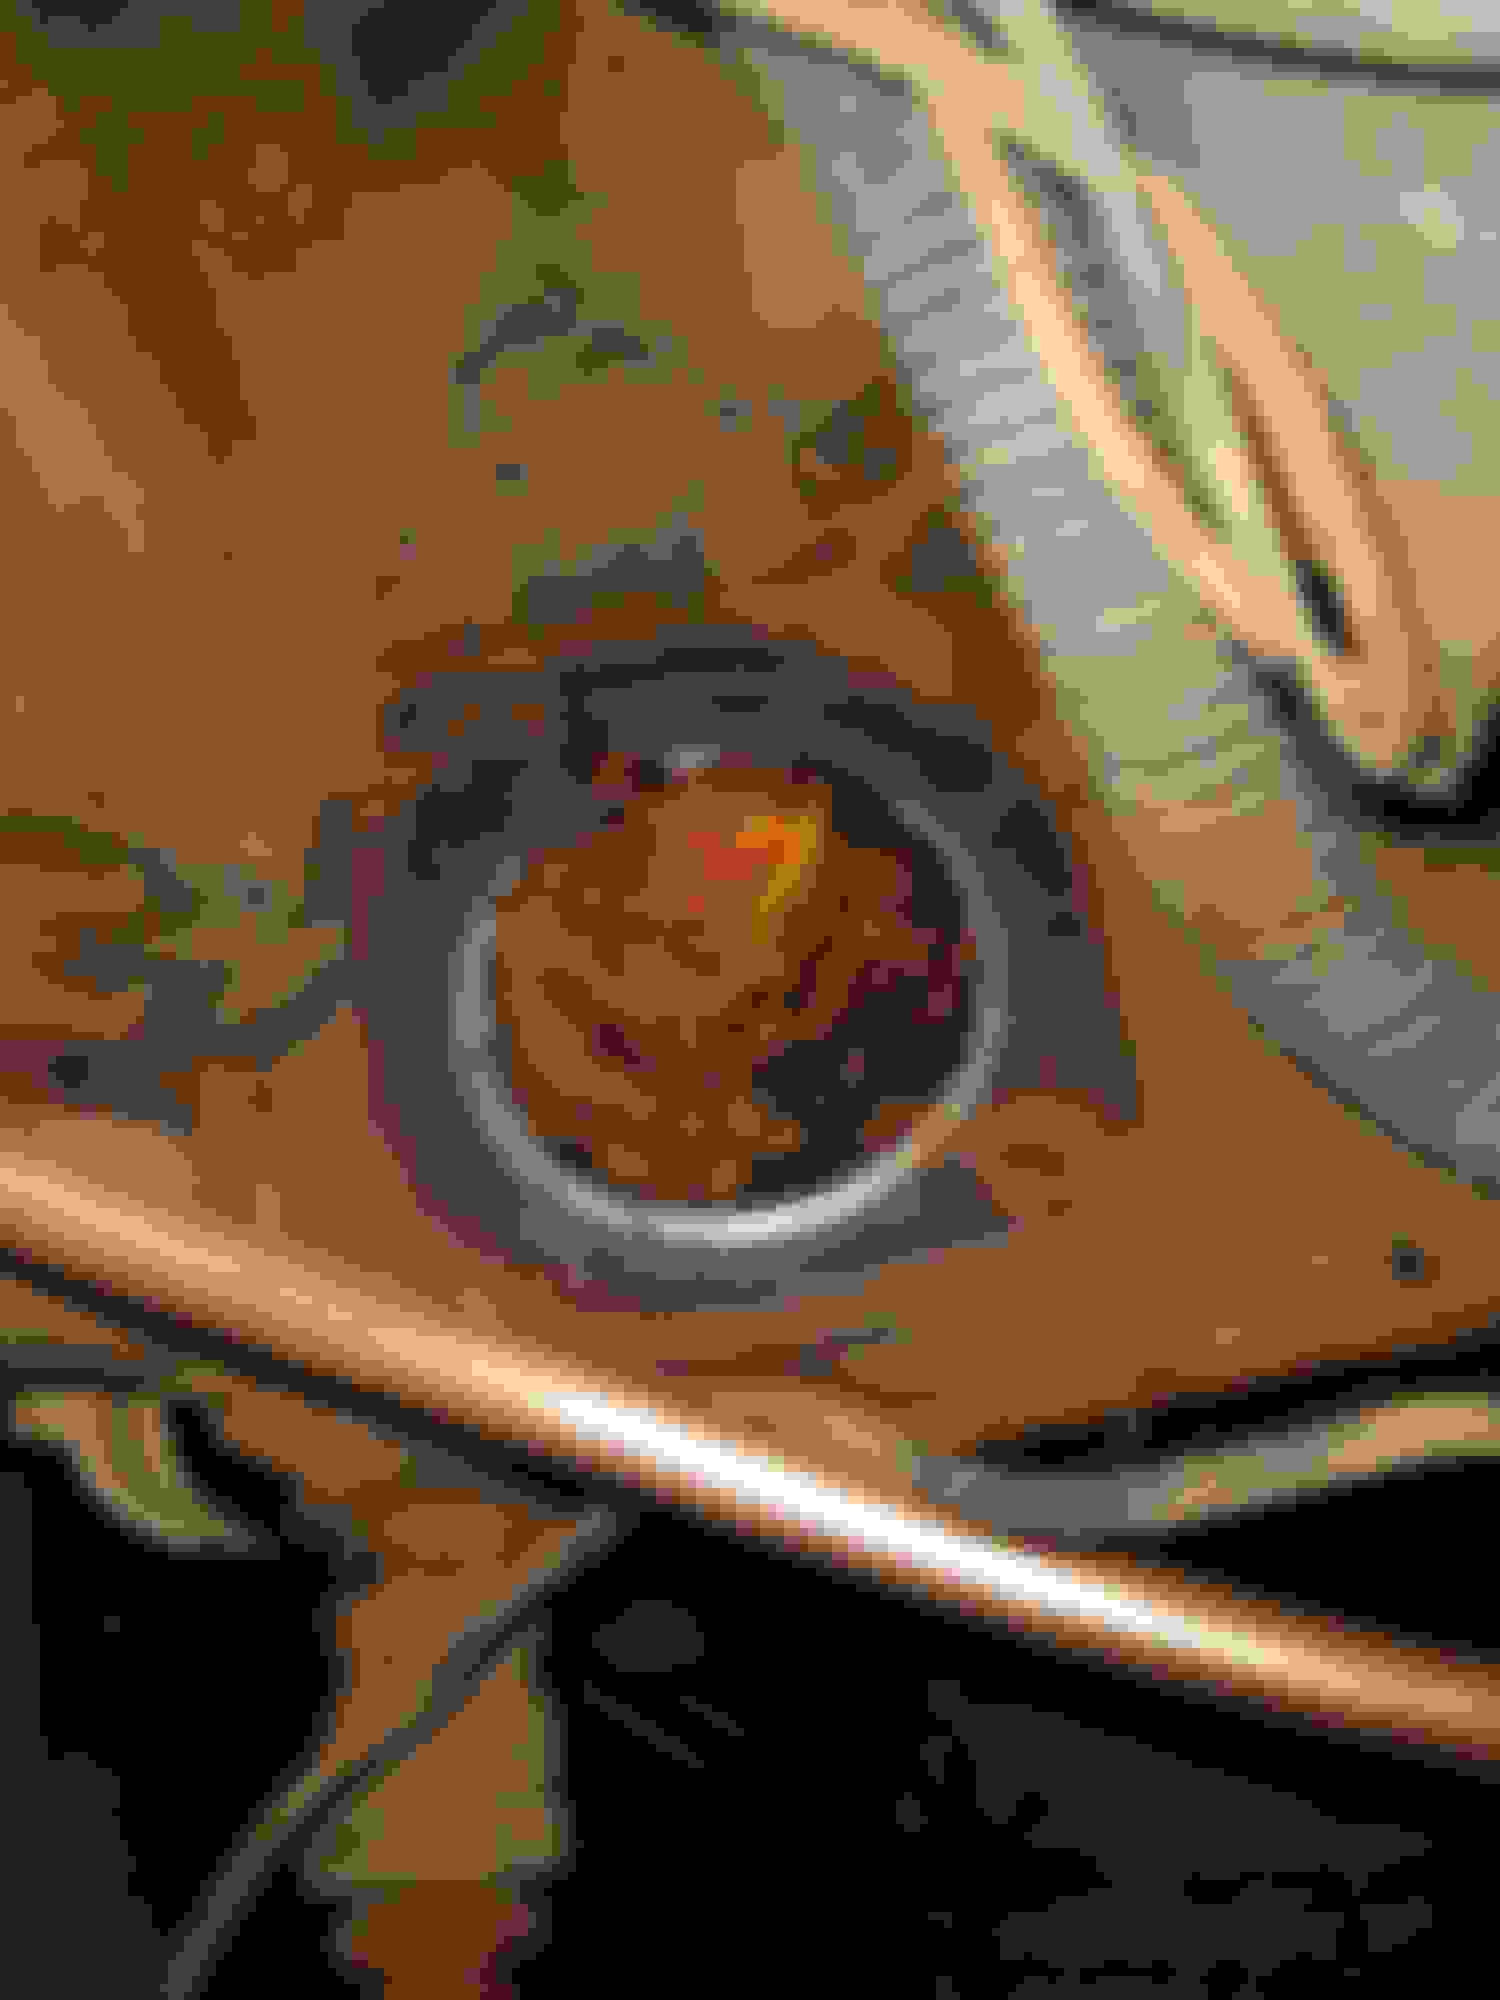
The bad: I decided to change the water pump just as a precaution since it's been sitting for 15 years. When pulling the fan I managed to poke a hole in the radiator. Oops. Now I had to pull the radiator. When I pulled it, it's got a lot of crap in it. The water pump was nasty, and the thermostat and neck were nasty. I think the pics speak for themselves! I guess I'm in for a serious flush and a new heater core are in order. Taking the radiator in tomorrow to hopefully get boiled out and fixed.
while the coolant is drained and (I think?) the front clip is still off.....might be a good idea to smack some new freeze plugs in there wtih that much corrosion going on.
I bet with a good rad boil and a couple flushes with the hose in the block...you will be a-ok. (of course new thermostat and water pump while you are at it.)
With as much junk that I could see in the radiator, I decided to just orderor new aluminum one. Hate to spend money fixing something that may just give me problems later. The block looks ok, but I'm going to flush the heck out of it anyways, got a Robert Shaw thermostat coming,new heater core coming, new water pump is waiting to be installed along with all new hoses. The clip is still on, so I'm not touching the freeze plugs, but I'll definitely keep an eye on them.

 12-23-2018, 06:54 PM