When you click on links to various merchants on this site and make a purchase, this can result in this site earning a commission. Affiliate programs and affiliations include, but are not limited to, the eBay Partner Network.
Just noticed this and would like to welcome you to the site, pretty decent truck...
Thank you very much, I am new to tinkering with vehicles and this site is a wonderful knowledge base.
I didn't disappear, just been kinda slow on the progress, I am at the point where I am near the end of the engine repair. At this point what I don't know about repairing engines/cars/trucks is starting to bite me in the ***. I am working on something then all of a sudden BAM, I am missing a part. I then need to go research what part I need, if I can source a generic or if I have to get an exact replacement. The I have to find the part, find a place that sells it and then wait for it to be shipped. If I know more I would order the next few parts I am going to need also but I don't even know I need them! But I digress.
Looking back to my previous posts I guess I did get a lot done. I installed my new fuel pump. I also started on the wiring for the truck shortly after my last post and now the engine bay is 99% done. Just need to hook up the temperature sender and battery cable. The cab still needs work but that is next for the wiring project. I don't have a picture of it but the headlights and park/turn lights have been terminated and cut to length, the connectors are dangling in the empty headlight buckets right now.
It has started
Wiring runs
Working on the headlights and park/turn signals
Picture with the valance in place
I even got my alternator mounted. Please don't lynch me
Looks crooked
I may have to switch the lower mount to fit both sides of the mount
I finally go the last part I needed before I could charge the radiator so I installed it and started filling the radiator. But I found that the waterpump and upper thermostat return thingy were leaking. The upper thermostat leaking was because the thermostat fell out of the slot and was pinched between the head and return.
I hope that the thermostat is still usable
Another sad thing that happened is I ruined the pain on my gauges cluster face. I thought there was something on to of the paint. it was discolored so I took a paper towel and some water and rubbed at the spot, I realized to late that I was rubbing off the paint. Anyone know someone who can repair this or if I can repaint it myself?
That is about all for today, next time I will have good news ....... or more bad news
Can you tape off the black part and paint it argent silver?
Now that I know the paint color I can. Thanks abe
A quick update today. No pictures though.
Yesterday was the first day in the last week that was below 95 so I got a lot of work done I remounted my water pump thermostat and fitted my Temp sender. I put two gallons of antifreeze in the radiator and no leaks so far. I also got my manifold put back together and mounted on the engine. That thing is hard to get mounted by yourself. Unfortunately I snapped one of the exhaust dump pipe bolts trying to remove it, Don't know what I am going to do about that yet, Do muffler places drill out bad studs for you? I remounted the alternator with a new mount and attached the fuel lines to the pump ...... It was good to step out of the house and not feel like I was swimming through the air.
Another couple of awesome days of work! Yesterday I got the engine running as a self contained unit again. It drew gas from a container into the carburetor and ran for a few minutes, I an still running with no muffler so I didn't run it for to long.
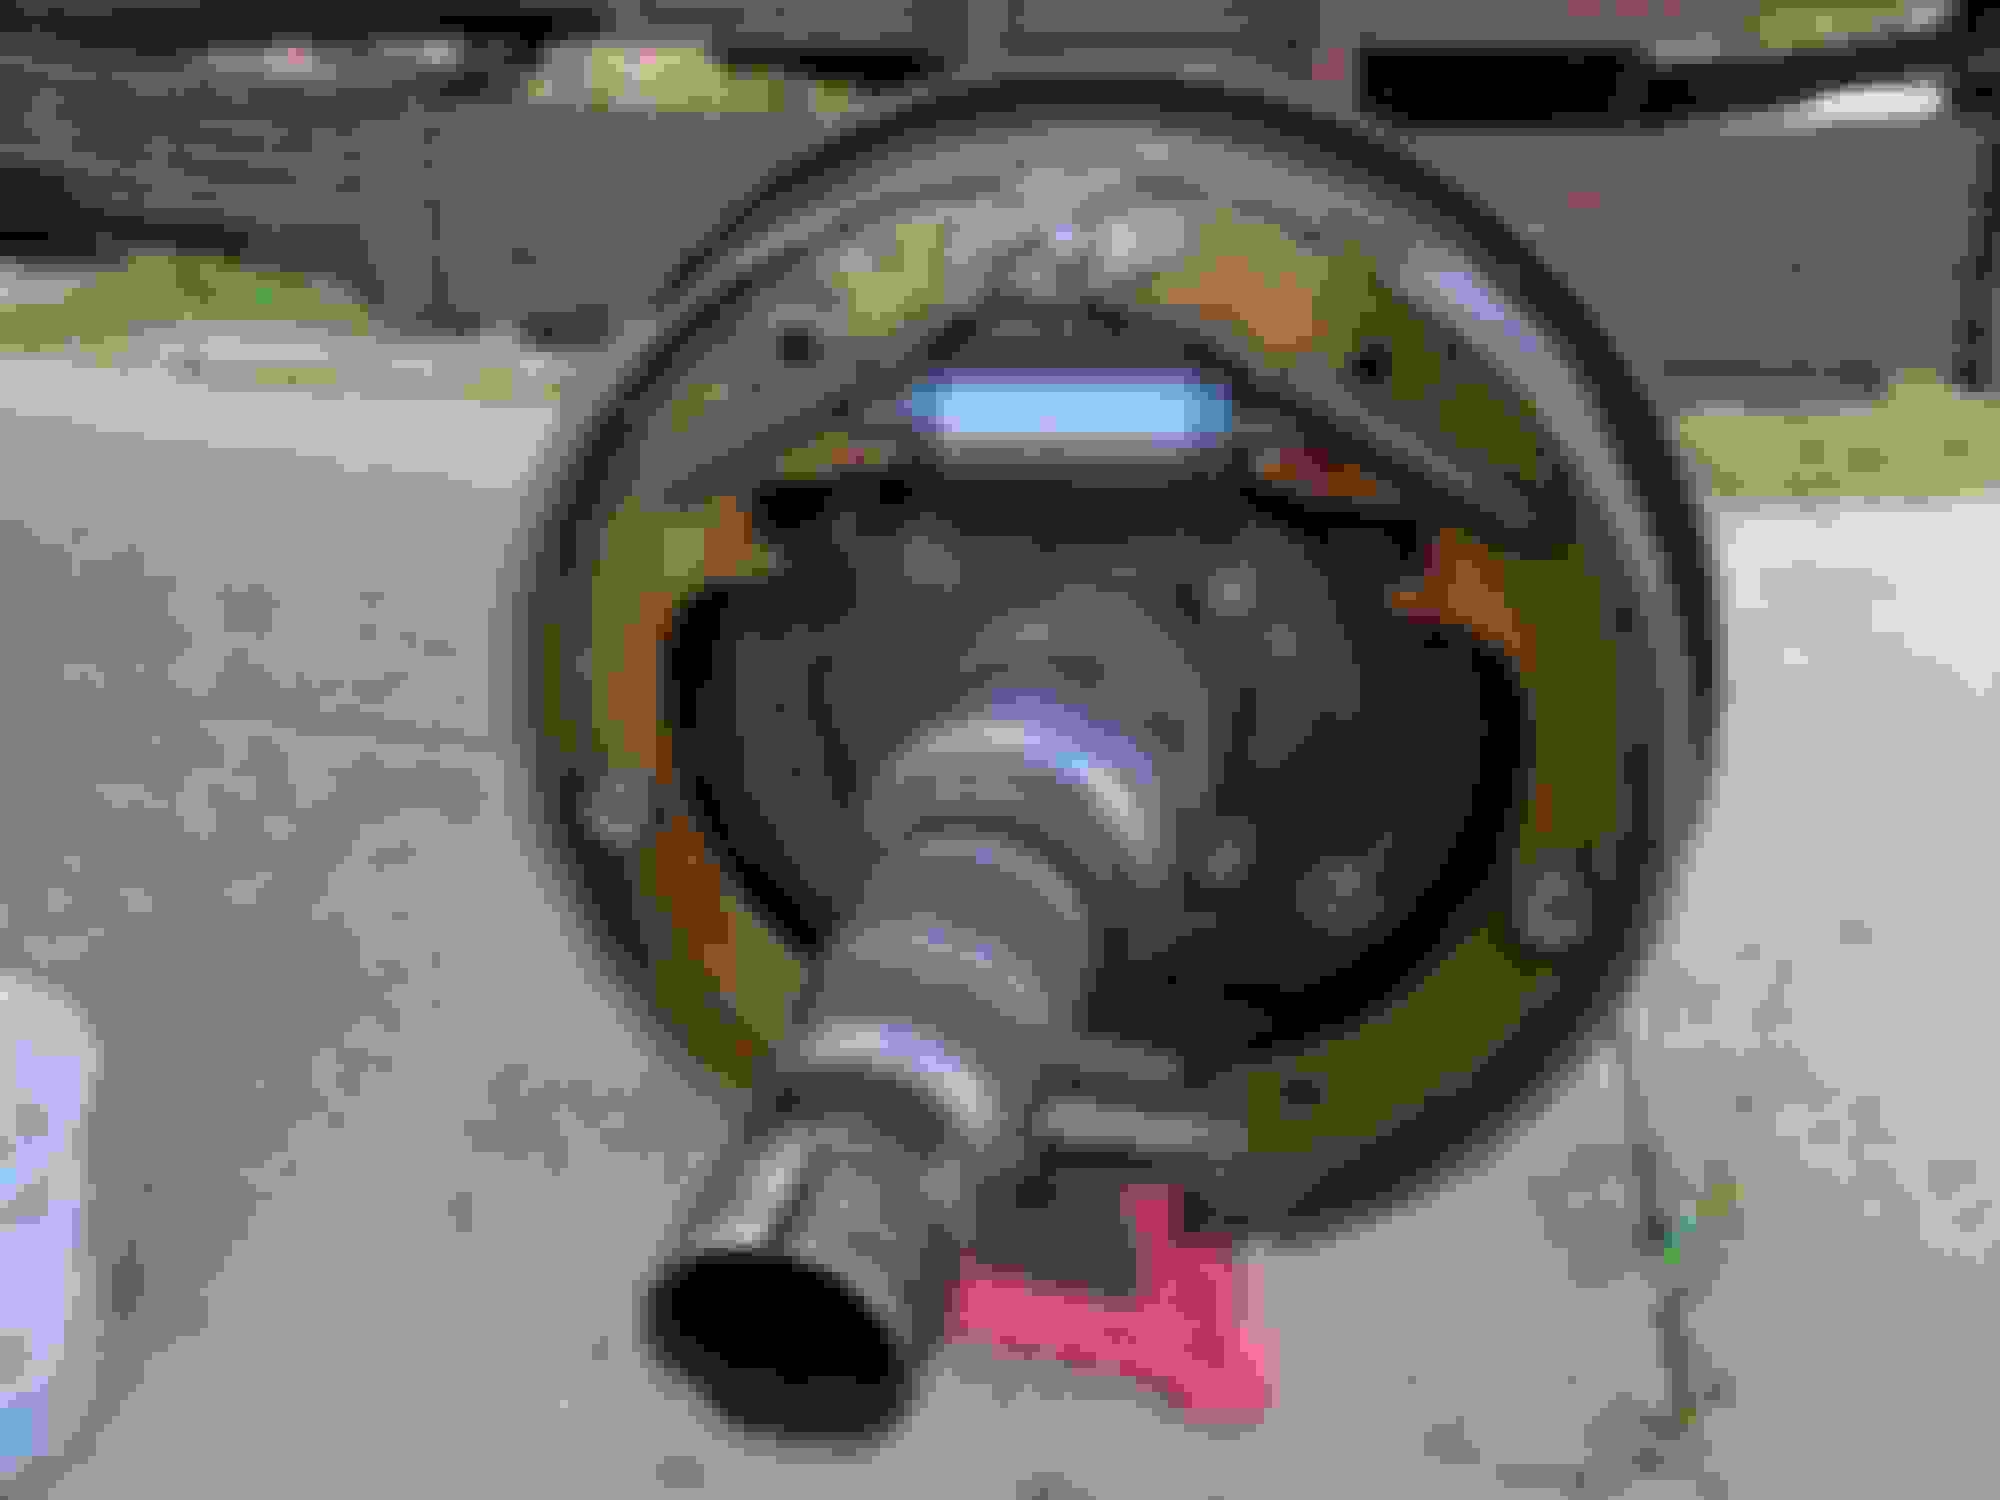
Today, I started on the brakes. Pulled the front passenger tire off and disassembled the hub. Once off I took apart the brakes and tore everything down to the spindle. I am officially adopting the name snowball for this build, ad things keep snowballing for every part I touch. When I took off the hose from the wheel cylinder to the frame I twisted the hard-line around and off. My fault, but snowball things did
The inner part of the wheel cylinder is frozen in place, Even if I can get the piece unstuck I don't know if I can clean out the inner part of the cylinder. Since break fluid is hygroscopic, and I am pretty sure the fluid that was in there was the original brake fluid, my guess is the inner part of the cylinder is rusted pretty badly. I am thinking I should just outright replace all four cylinders instead of trying to rebuild them. What do you all think?
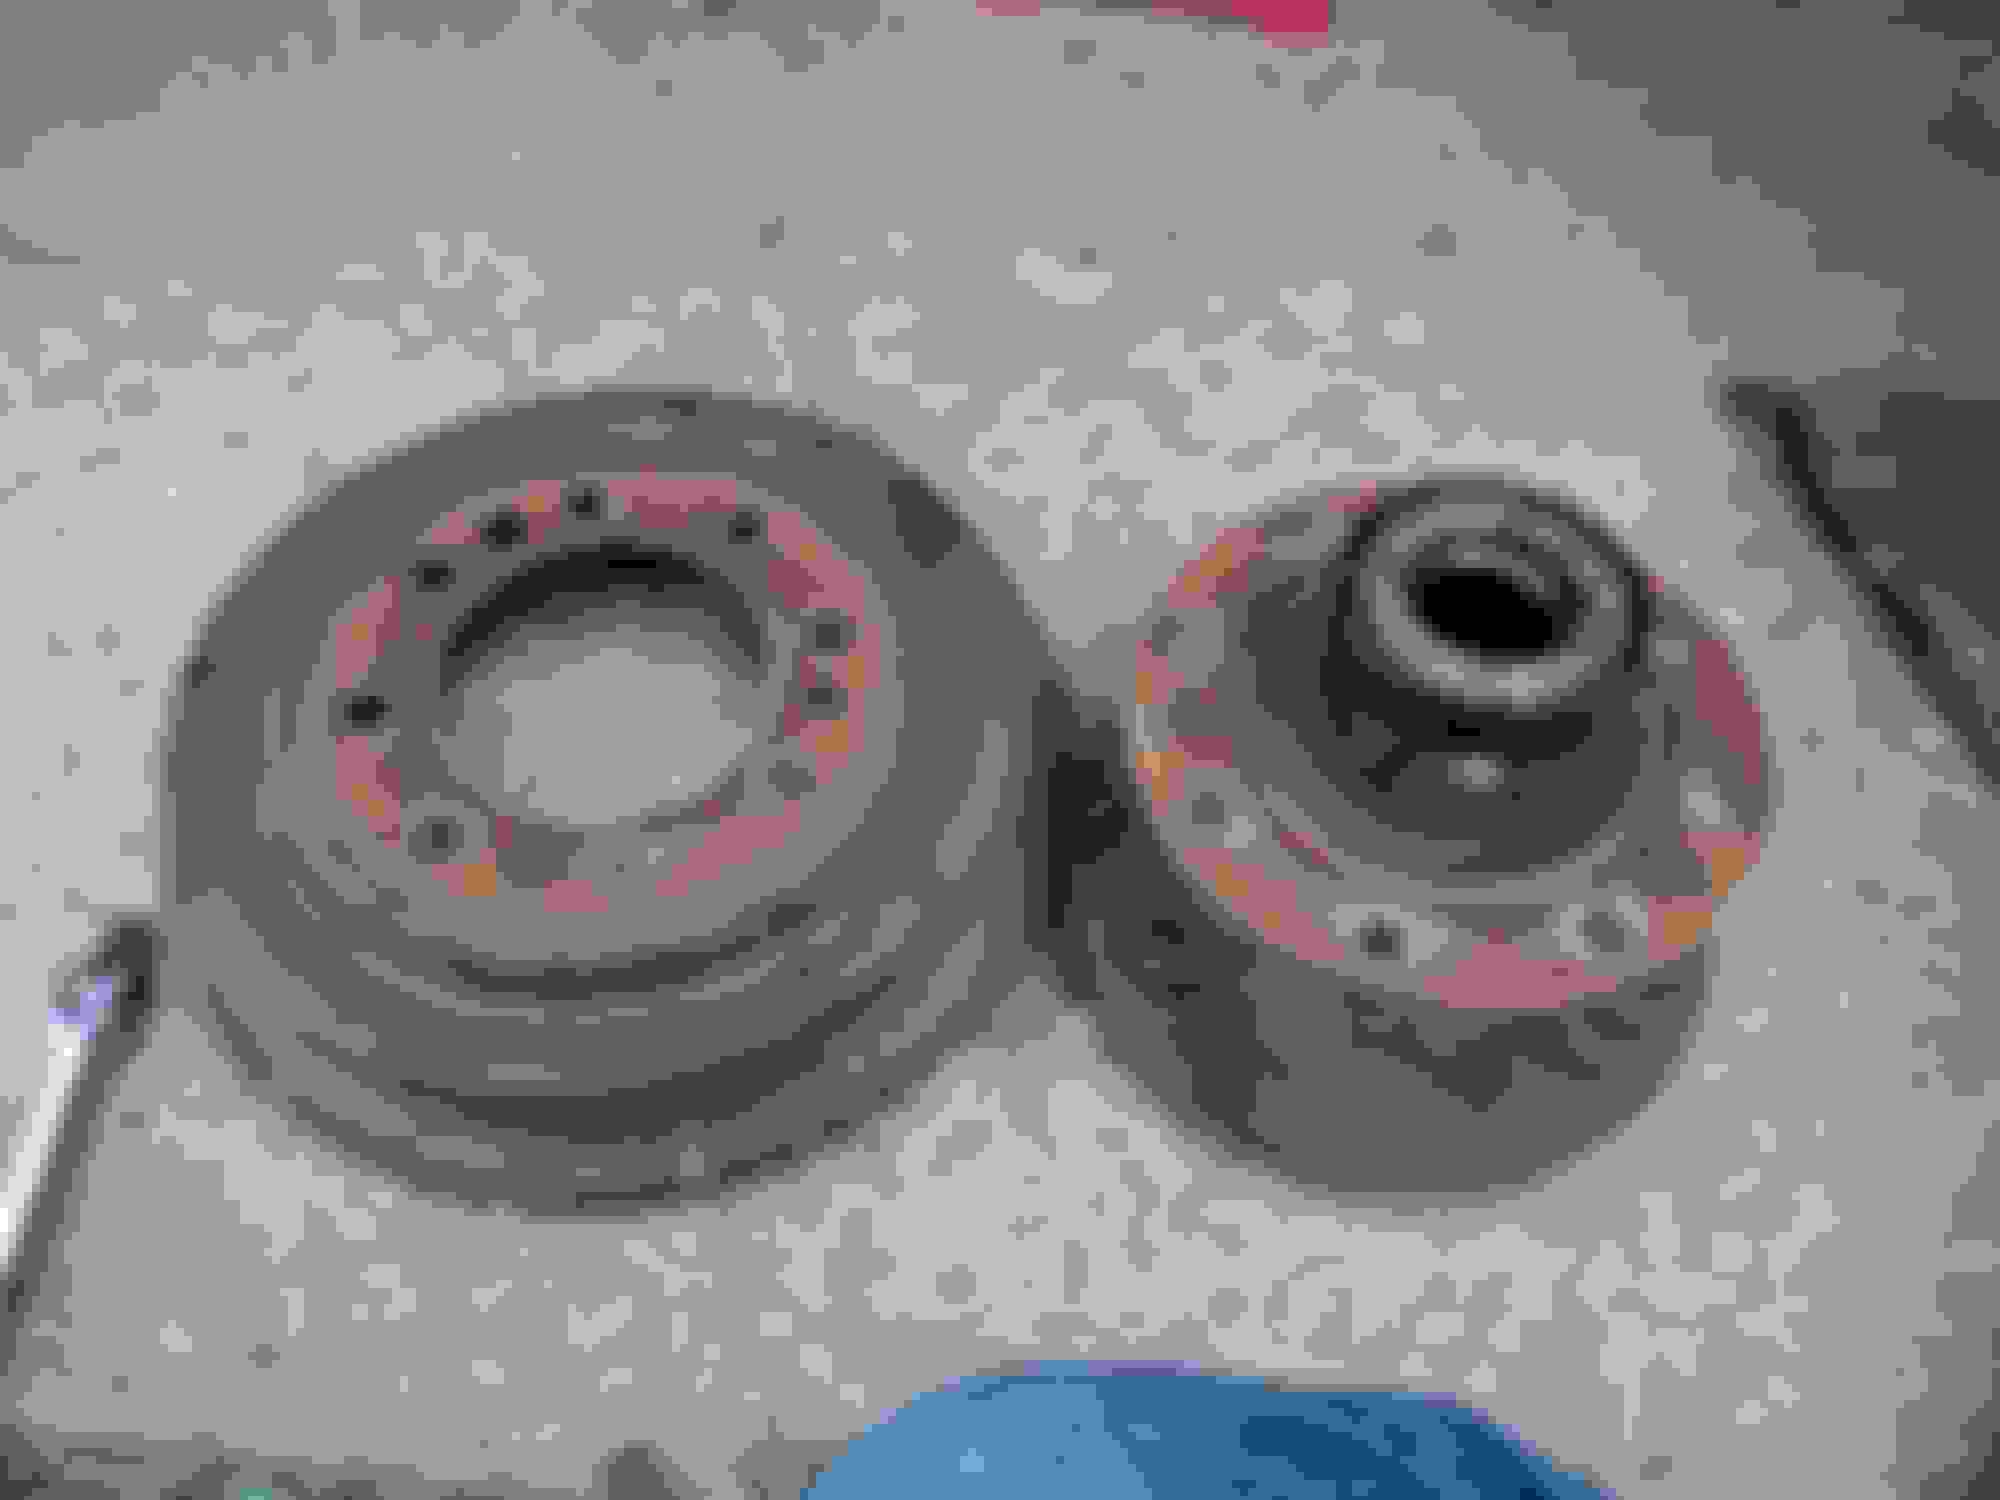
Brakes Brakes and Brakes, I am currently obsessed with brakes. I removed the drums from the hubs for my front wheels and am getting those turned down. The were grooved so I am hoping that there is enough meat there and I don't hit the discard diameter. I started to install my new master cylinder and got the bracket from CPP mounted. I noticed while mounting the bracket that the OE push rod location and new push rod location were much different, and that the new location would hit part of the clutch assembly. I found the clutch conversion bracket that mid fifty sells, I have that on order so maybe sometime this month I can finish my brakes
This is how all the pros do it right?
Might have a line on converting this to disk brakes.
Too close clutch, need my personal space.
My fear is that by stripping away the dirt I am going to let it rust now
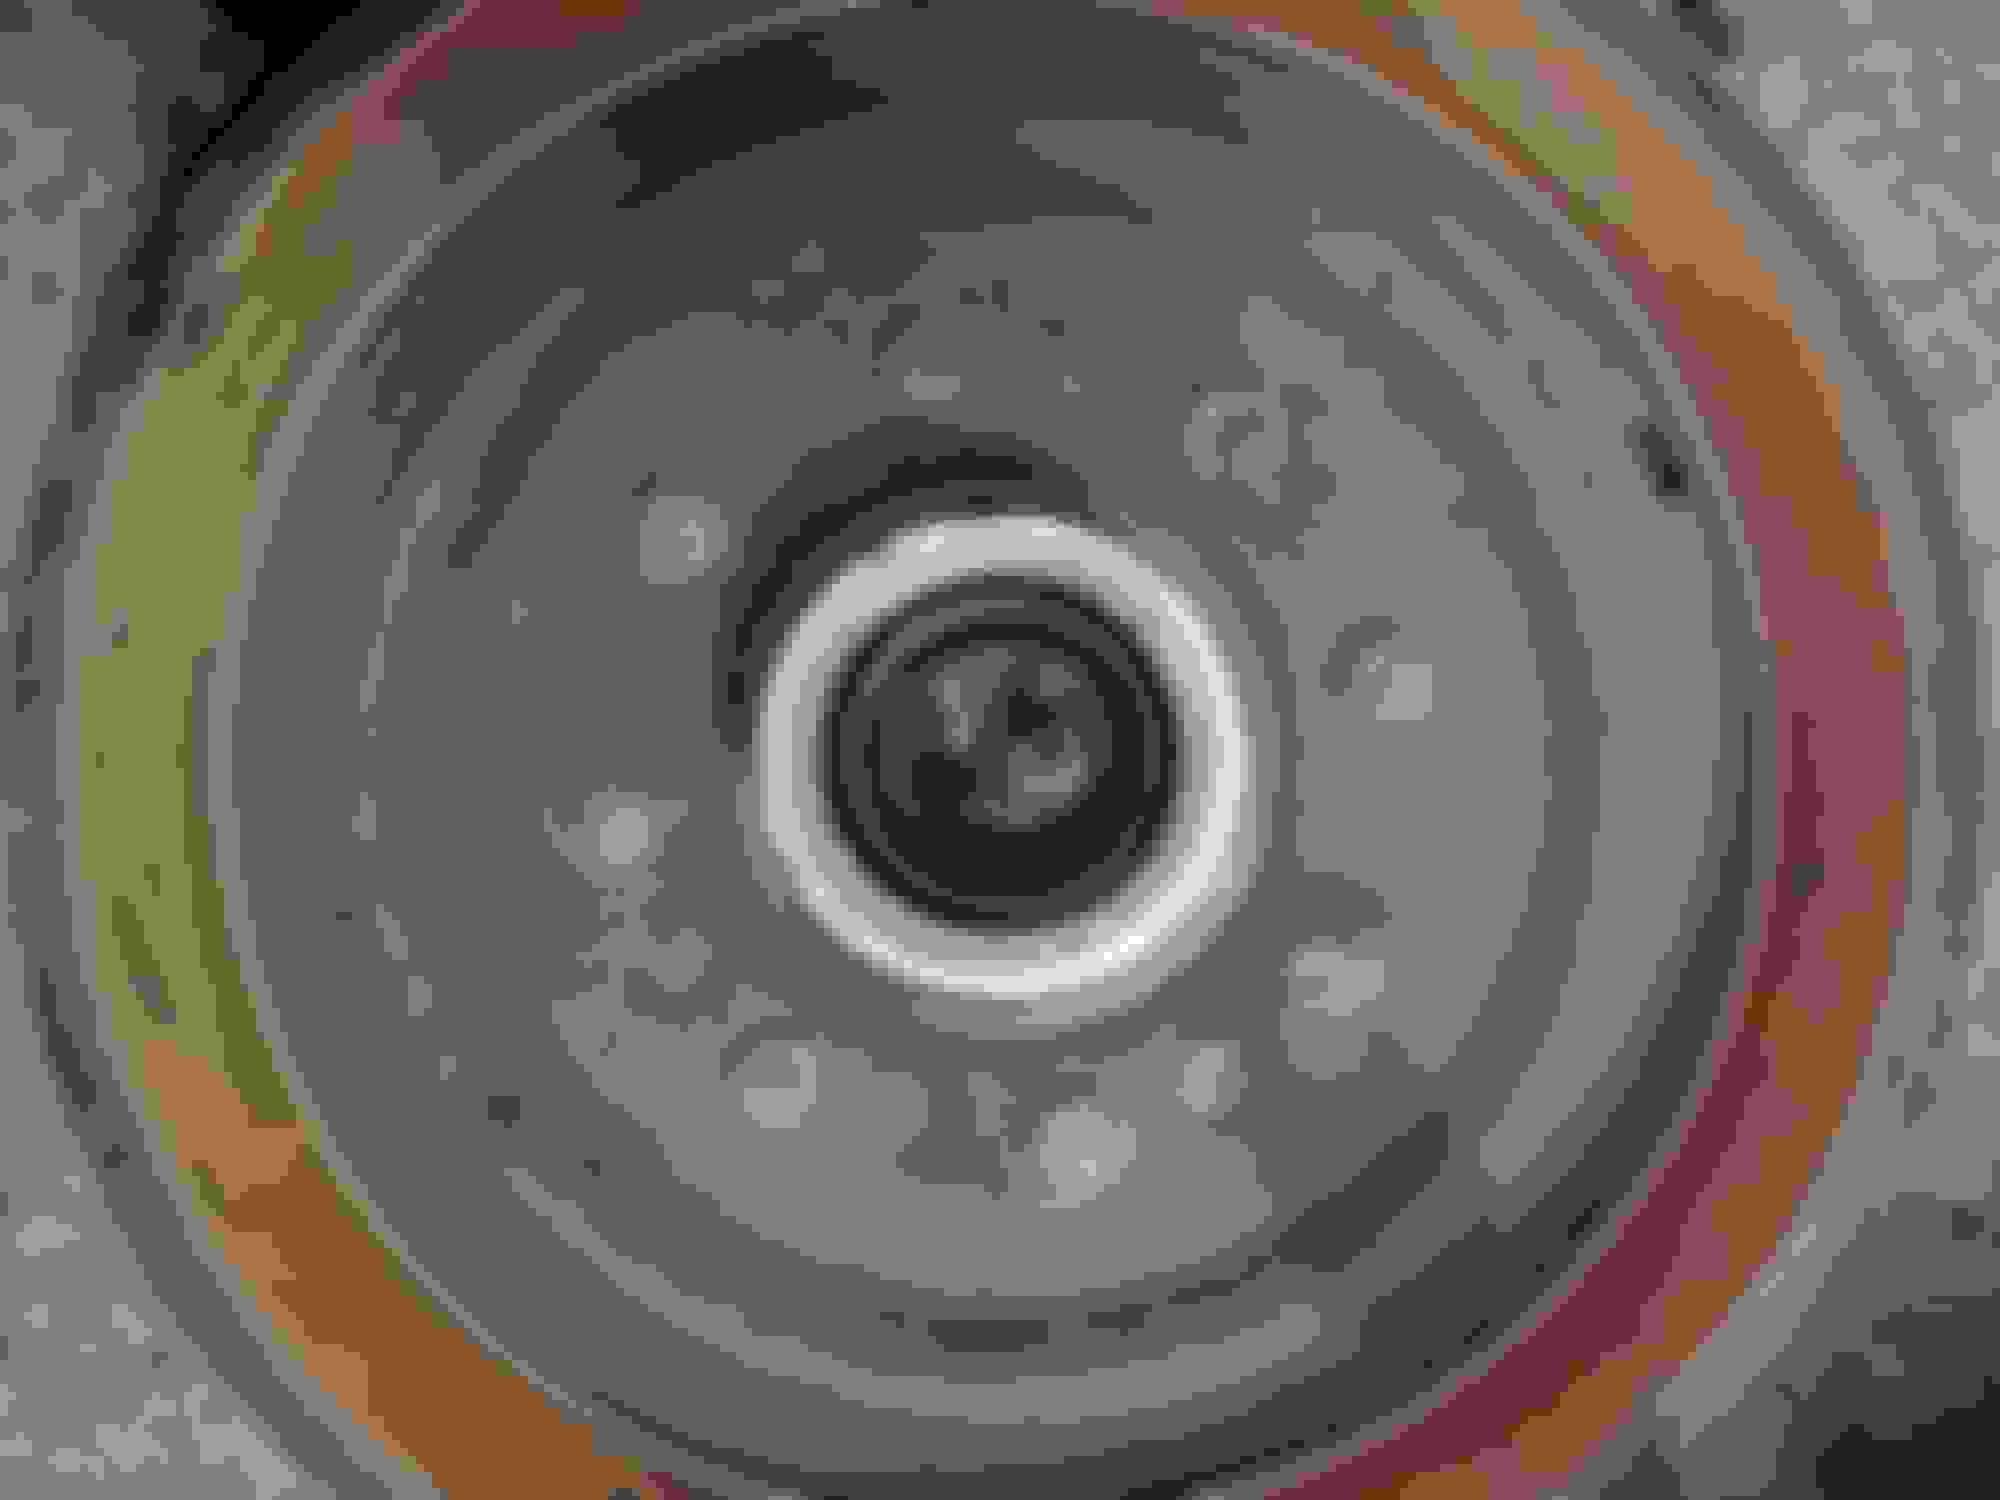
For the past two weeks I have been struggling with the clutch and its linkage. So recently I switched gears (pun intended) and worked on finishing the install of the brakes. Which I installed wrong ..... So I had to do it again. But on the good side my front wheel seals came today and I was able to clean and repack my bearings. I got the driver side done before I had to pack it in for the night (again pun intended). I think these may be the original bearings. If so they almost look brand new.
Almost look brand new.
Probably the original race.
MMMM I like some jelly with my bearings.
I think it may have been as effective if I dropped the bearing in the grease.
You`re making good progress Kevin, I like the shinny stuff.
Thank you
So after struggling with my clutch linkage for three weeks I replaced my motor mounts and everything fell into place. PROGRESS!!!!!!! Now I get to move to the next step. Mounting my master cylinder and bleeding the brakes. Then rear axle..... Then I can drive it
Zipping right along. My clutch is assembled, Master cylinder has been mounted, Remote reservoir mounted. I need to plum the brake light switch and rear brakes then I can bleed everything ... After I refresh the rear end .... I should make a list.
Started in on the rear end today and got the brakes complete on one side. I started punching out the studs on the hubs, unfortunately I got freaked out halfway through so I am going to find a machine shop and get them pressed out there.
Finished replacing the brakes on the rear end today. All I have left in the brake system is to attach the hose from the frame to the axle and I can start priming and bleeding the brakes. Found a shop to press out my wheel studs, going to drop off the assemblies tomorrow and hopefully get more progress on those. One step closer to the test drive that I was hoping to make two months ago.
 05-24-2018, 06:39 PM

 But I digress.


 Found a shop to press out my wheel studs, going to drop off the assemblies tomorrow and hopefully get more progress on those. One step closer to the test drive that I was hoping to make two months ago.