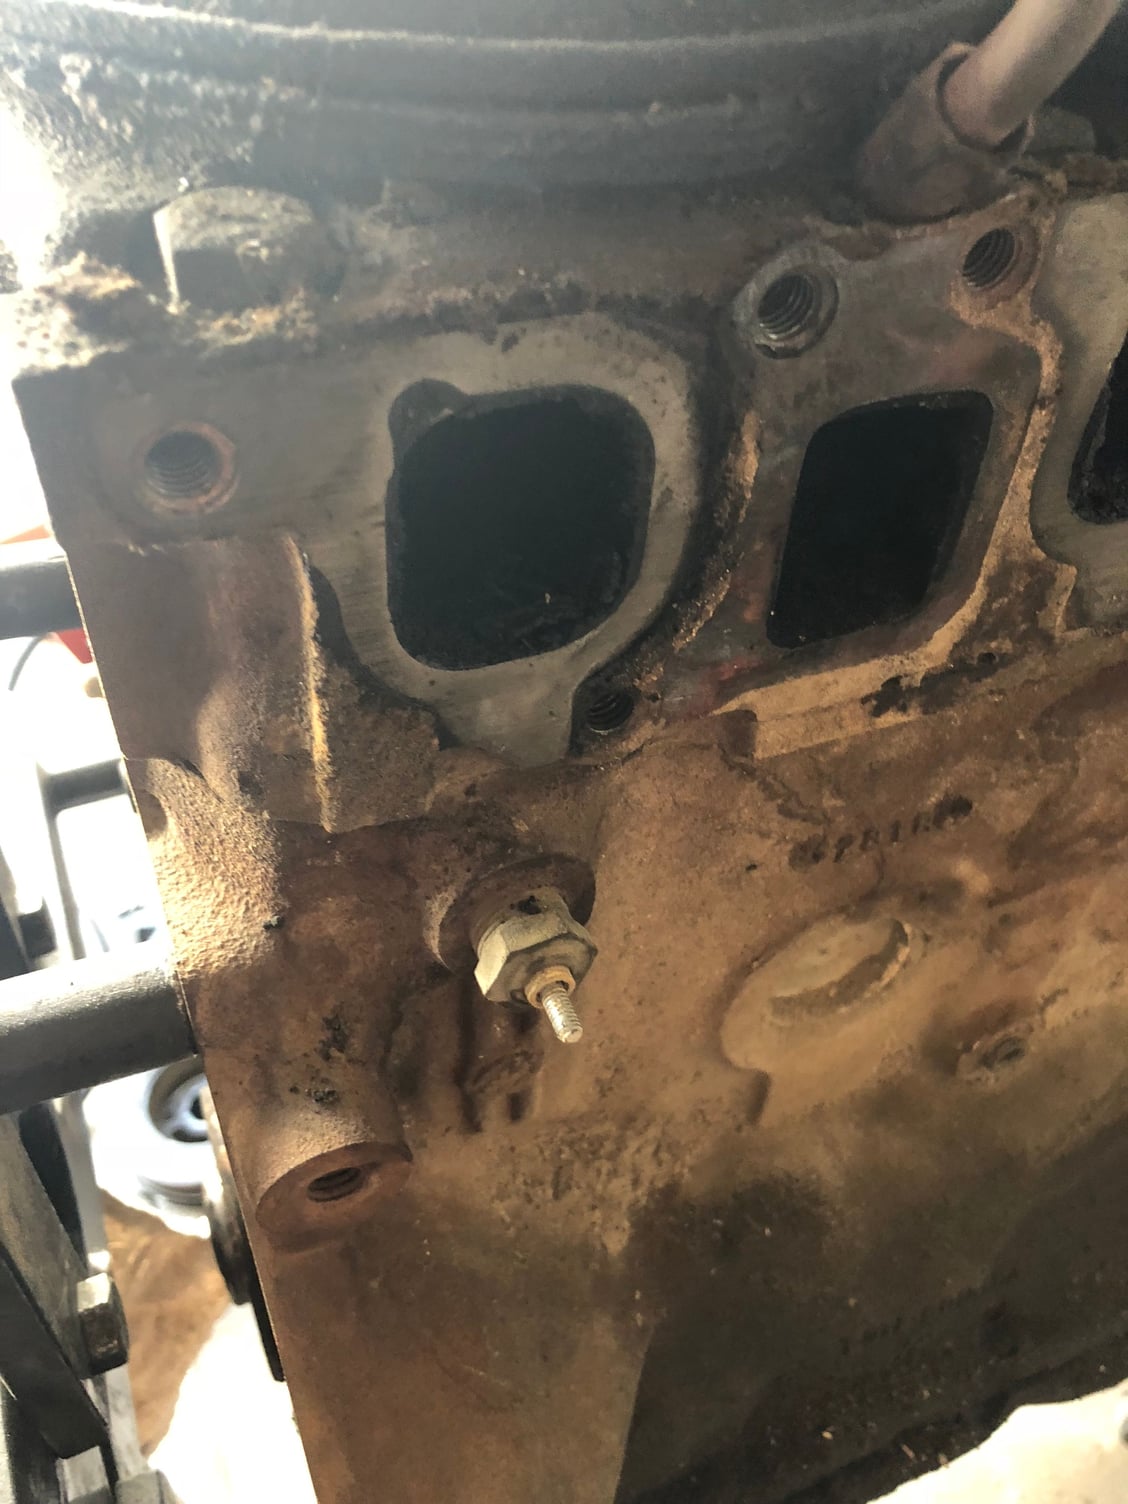
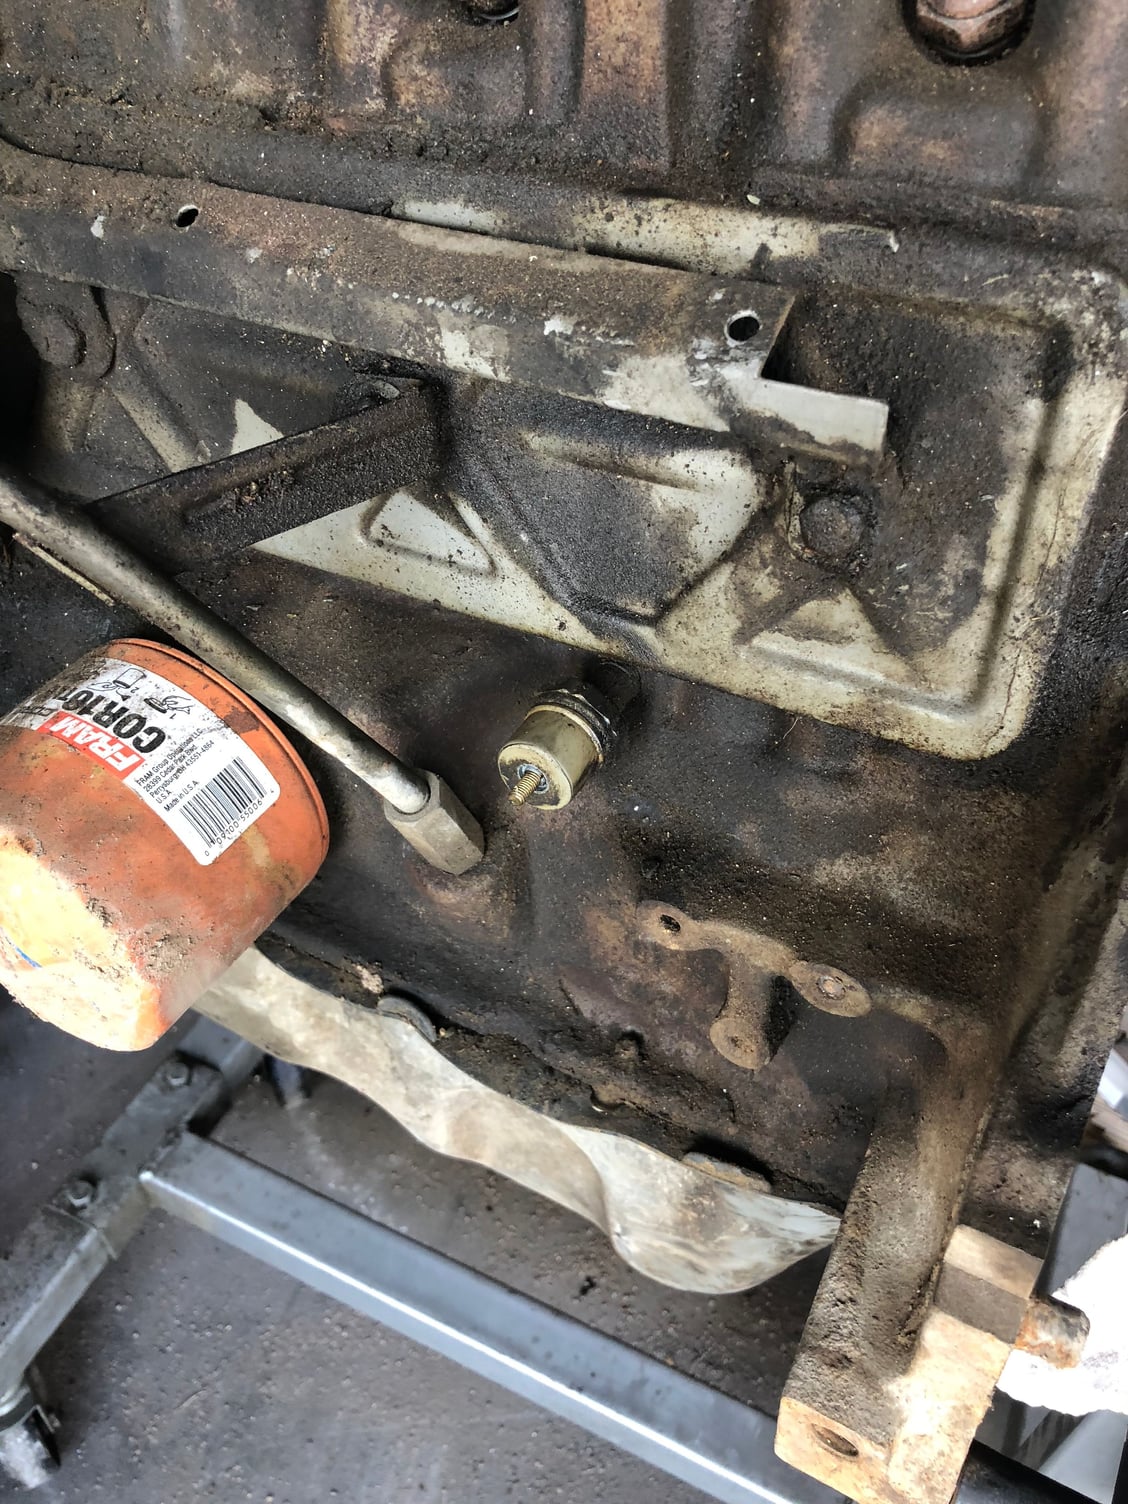
My First Engine Swap. Lots of simple questions
#16
Awesome, just take your time and you'll be fine. I thought it was going to be overwhelming the first time too, but it ended up being no big deal.
Just a tip, if the engine doesn't want to move, find out why before you do anything. Chances are, something's still hooked up, and last thing you want to do is to just keep cranking on the engine hoist and break it. Because it will break. Forgot a power steering line once and my whole plastic pump housing exploded.
Oh, and don't ever get under the engine when you're moving it around on the hoist.
Just a tip, if the engine doesn't want to move, find out why before you do anything. Chances are, something's still hooked up, and last thing you want to do is to just keep cranking on the engine hoist and break it. Because it will break. Forgot a power steering line once and my whole plastic pump housing exploded.

Oh, and don't ever get under the engine when you're moving it around on the hoist.
#17
I forgot to undo the bolts under the engine mounts lol. go me. But shes out. And boy did the rod i throw put some holes in it.Spilled oil and antifreeze everywhere because I was stupid and didnt drain it. Now to just transfer the last parts.
Engine has 150000m. I am doing the oil gasket. Valve Gaskets. I am not touching the head. I will compression test when I get the motor in before Finalizing anything so I know I am good to go. Throw out bearing looks good. But my flywheel is rusty. My starter had lost a bolt. And my engine only had 5 bolts not 6... Just missing bolts everywhere. But now I have a nice collection of bolts an just need some antiseize to install.
Engine has 150000m. I am doing the oil gasket. Valve Gaskets. I am not touching the head. I will compression test when I get the motor in before Finalizing anything so I know I am good to go. Throw out bearing looks good. But my flywheel is rusty. My starter had lost a bolt. And my engine only had 5 bolts not 6... Just missing bolts everywhere. But now I have a nice collection of bolts an just need some antiseize to install.
#18
Way to go on getting it out!
Lol, and yes, not unbolting the engine from the body does have a tendency to keep it in place.
Overall, not too bad of a job. Getting it in is a little more frustrating since you have to line things up instead of just pulling them out. Two tips on reinstall: Head bolts have the same thread as the transmission to block bolts, but are much longer. Getting some of those threaded while getting the transmission to line up with the clutch/engine can really help. Second is completely loosen the bolts that hold the motor mounts to the block (but leave some threads in) so the motor mounts flop around freely. Makes it much easier to attach them to the frame.
But sounds like you have a good lineup to just freshen the engine up and make it driveable!
#19
I highly recommend at least cleaning off the backside of the valves, lapping them in, and replacing the valve stem seals. It is not uncommon for the valves to have 3/8" of cruddy carbon build-up on them, further restricting an already restrictive head. You can probably borrow a valve spring compressor from a local auto parts store and many youtube videos will show how to do the valves.
#20
I highly recommend at least cleaning off the backside of the valves, lapping them in, and replacing the valve stem seals. It is not uncommon for the valves to have 3/8" of cruddy carbon build-up on them, further restricting an already restrictive head. You can probably borrow a valve spring compressor from a local auto parts store and many youtube videos will show how to do the valves.
I am planning to just swap the engine for now as I need the truck real soon. I am low on cash too. So now that I have swapped an engine pulling for a rebuild seems easy enough. I ripped apart the other engine to inspect. My crank and cam both look good. I am going to take both to a shop for examination but when I swap in the crank I will do rebuild to get the crank in. I will do the valves and everything else then. I just need a runner for now. Plus after pulling the other apart and seeing all the parts first hand I think I can definitely rebuild with fresh parts. And have a machine shop do all there work
#22
#23
#24
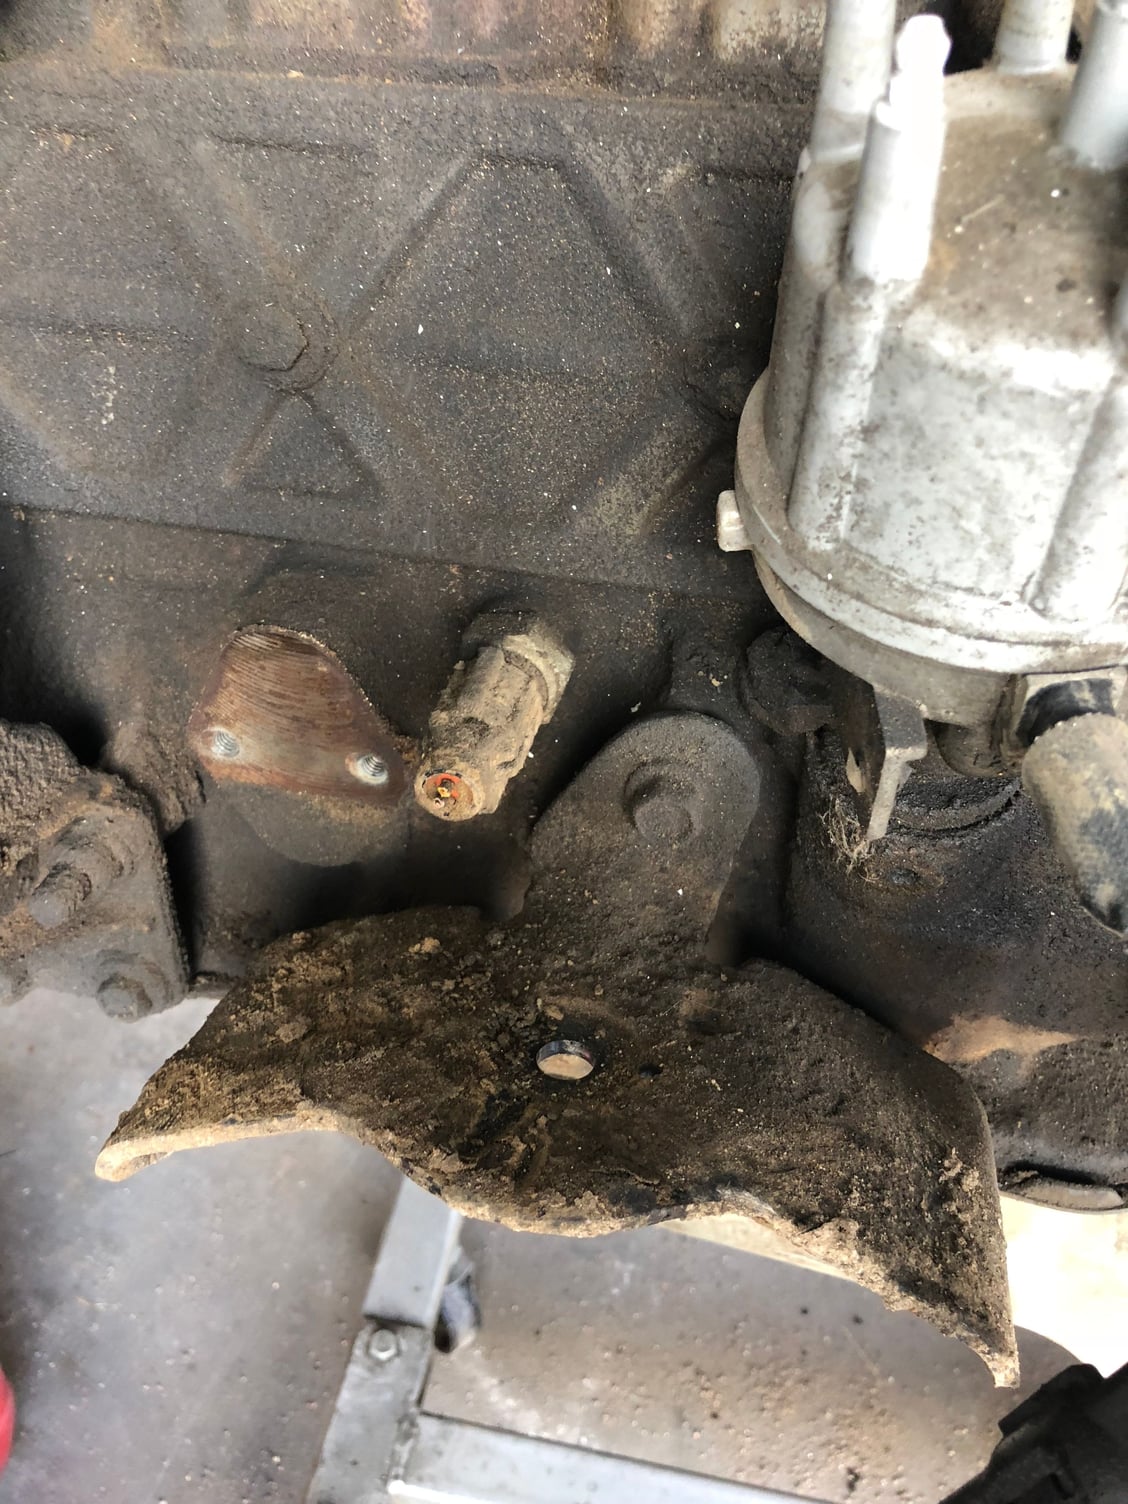
Not trying to mess with your thread, but I would like to ask a question that may help us and others.
My 300 motor build is based on a 1992 EFI block and I will have to see if there is a place for the knock sensor hole to the left of the distributor base? If there is what activates it in that threaded hole?
My 300 motor build is based on a 1992 EFI block and I will have to see if there is a place for the knock sensor hole to the left of the distributor base? If there is what activates it in that threaded hole?
#25
Not trying to mess with your thread, but I would like to ask a question that may help us and others.
My 300 motor build is based on a 1992 EFI block and I will have to see if there is a place for the knock sensor hole to the left of the distributor base? If there is what activates it in that threaded hole?
My 300 motor build is based on a 1992 EFI block and I will have to see if there is a place for the knock sensor hole to the left of the distributor base? If there is what activates it in that threaded hole?
There is a big challenge to isolate the knock signature from other frequencies in the engine - valve train hash, bearing noises, etc can interfere with getting a clear signal. Much experimentation goes on to select a spot on the block to get the signal-to-noise ratio high enough to send a clean message to the computer.
#26
So I spend a 14 hour day getting pissed at this engine. I pulled all covers. Checks all gaskets. Replaced plugs. So on and so forth. I could not get the engine to mate to the tranny. My front bumper sticks out a good 18 inches. So with your average cherry picker I put the jack itself on my bumper and the engine does not make it to the tranny. About 3 inches shorts. I am going to pull tires. Place the axle on jack stands and try coming in from the side.
Is there any other things I can know to make this happen. It is mainly me doing this and don't have any friends to help.
Is there any other things I can know to make this happen. It is mainly me doing this and don't have any friends to help.
#27
Sorry to hear about your frustrations. Definitely been there myself. I have almost always, invariably, done my engine swaps solo, so I feel your pain.
Also, my front bumper has a few good gouges in it from the cherry picker having to be butted right up against it to get the engine to fit. I have a stock bumper, so it doesn't stick out. If yours does, you might need to remove the bumper, or get a longer armed cherry picker.
Once the engine's in, I have rested the engine, disconnected the hoist, and then moved the chain forward. It can make the back of the engine tip backwards, but it does get the engine to move back further.
Otherwise, yeah, remove the tires and drop the front of the vehicle down further.
Good luck. I do wish the standard hoist had a longer arm, as they just don't seem to reach.
#28
Sorry to hear about your frustrations. Definitely been there myself. I have almost always, invariably, done my engine swaps solo, so I feel your pain.
Also, my front bumper has a few good gouges in it from the cherry picker having to be butted right up against it to get the engine to fit. I have a stock bumper, so it doesn't stick out. If yours does, you might need to remove the bumper, or get a longer armed cherry picker.
Once the engine's in, I have rested the engine, disconnected the hoist, and then moved the chain forward. It can make the back of the engine tip backwards, but it does get the engine to move back further.
Otherwise, yeah, remove the tires and drop the front of the vehicle down further.
Good luck. I do wish the standard hoist had a longer arm, as they just don't seem to reach.
Also, my front bumper has a few good gouges in it from the cherry picker having to be butted right up against it to get the engine to fit. I have a stock bumper, so it doesn't stick out. If yours does, you might need to remove the bumper, or get a longer armed cherry picker.
Once the engine's in, I have rested the engine, disconnected the hoist, and then moved the chain forward. It can make the back of the engine tip backwards, but it does get the engine to move back further.
Otherwise, yeah, remove the tires and drop the front of the vehicle down further.
Good luck. I do wish the standard hoist had a longer arm, as they just don't seem to reach.
#29
You might want to worry about the clutch ball last since that'll pitch the engine to one side.
To get the engine to line up, you'll need to come in straight. You can also get a 15/16" socket on a breaker bar and put it on the harmonic balancer. That'll let you rotate the engine back and forth to mate up the teeth. It's simply a splined shaft going into a splined hole so there's no real trick to it. Once you have it lined up right, they should slide together easily once it's lined up.
Did you try using some longer head bolts to keep the engine and trans together? I found that very useful since it gives you an inch or two longer reach. Once you get a few of those in, it'll continue to help line the trans and engine up.
#30
Go to the hardware and buy a length of 7/16 - NC threaded rod - allthread.
Make sure the pilot holes on the bell are free of corrosion.
Cut two (or more) lengths a few inches long and thread them in to the back of the block.
Slide them into the bell bolt holes.
As you slide the engine back do it so the axis of the crank is in alignment with the axis of the input shaft, i.e., evenly on both sides so the input shaft finds the pilot bearing on the end of crank. (Insert 'dirty joke' reference here).
Replace the threaded rods with bolts.
[EDIT] AB beat me to it with essentially the same solution.


