When you click on links to various merchants on this site and make a purchase, this can result in this site earning a commission. Affiliate programs and affiliations include, but are not limited to, the eBay Partner Network.
I did #1 & #2 then part of #3 the fuel lines then brake lines a s they run behind the side tank and frame then did the 2 tanks.
I had 2 trucks to pick the best parts from to use. If the part looked questionable it was replaced.
Same for all the clips that held lines and wiring so the frame may not have all the clips/holders for them.
Dave - - - -
Okay an update on the frame. I used an angle grinder and got pretty much all the surface rust off, leaving the bare metal the best I could. It was looking pretty shiny and smooth:
Then, I used the "Metal Ready" solution to etch the metal, which I believe is phosphoric acid? After rinsing with water, it left a white residue that had a rough texture:
And finally, 3 coats of POR 15! Pictures don't do justice to how smooth it looks and feels. It really brings the frame to life. This pics are just after the last coat.
I started disassembling the truck. This might be the last pic I take before its in pieces:
Took the fuel tank off:
And finally, attempting to drill out the bolts on the bed:
It was very satisfying to coat the frame. The most frustrating part is every single bolt on this truck is a huge time suck to remove. On each one, the bolt is rust-welded into a single piece, and I need to drill them through to remove. Only on the ones that are out in the open do I have a shot at using a torch and PB blaster to break free of the rust.
I'm going to salvage what I can from the suspension of this truck, and try to get the rest cheap from online or junkyards. My next steps are to swap over the axles, wheels, and suspension. There is a Ford Bronco/Truck swap happening near me this weekend that I'm trying to make.
Couple questions for you guys:
1. I have left over POR 15. Is there anything I shouldn't use this stuff on?
2. Thoughts on the fuel tank. Can I remove the rust, coat with POR 15, and good to go? I've seen newer thanks that look much more updated and i'm wondering if there's a benefit to those.
Also, should I look for 4-leaf or 5-leaf springs?
How come the LMC truck catalog only says I need one spacer?
Did the stock 1980 F150 4x4 have auxiliary springs?
Nice job on that frame. I have a POR-15 sample kit here that I've tried on a couple small items and it seems to work well. I found it a little runny to use on vertical surfaces, but that maybe the stuff I have is a little watery, dunno. I know the product is well liked and used on frames fairly often. I remember seeing guys doing Toyota frames with it on forums 15 years ago.
The frame looks good, I am glad it went to a good home LOL
I have not used POR15 so cant say. I use Eastwood rust encapsulator on items like the fuel tanks if they had rust on the outside then painted over with an oil base black paint.
I find the Eastwood stuff works best on a little rust where if it clean metal it does not stick too well.
On my frame I also used the acid and yes it turned white in places so I washed it before painting again with the oil based paint with hardner in a spray gun.
On the springs I don't think I would go thru LMC unless it was the last place to go.
Look into a local place like a truck shop who they may use. When I lived in CT we had a spring shop a few towns away. If they did not have the springs in stock they would make them along with the Ubolts. They even had a set (3 sets) in stock for my 70 AMC Javelin when I was building my drag car 10 years ago.
If no local place there are other on line places to get them from that is all they do unlike LMC, we can get that for you.
As for 4 or 5 leaves what do you plan on using the truck for? If you will be loading it up then I would go with the 5 other wise 4 if not going to load it up all the time.
As for the spacer I would use what is on the truck after a cleaning and paint. I don't see the need to replace them as they don't go bad.
Dave ----
Thanks Rembrant. I can't say how it'll hold up, but I like POR 15 so far. It is a bit watery... there's a few places where excess dripped because I didn't even it out in the vertical places. I lost patience for evening it out after hours of brushing lol. But if you take your time or do small parts, it bonds well and seems very hard.
Dave, yes it's coming along pretty good so far! Good call on the springs. I've found a different spring supplier... and they were actually cheaper! I went with the 4-leaf since I'm not gonna be doing heavy loads very often.
Next steps: Take the bed off. Transfer all usable suspension parts, install new parts where needed. Remove axles (and change fluids/rebuild?) and put on new frame, then wheels and brakes.
POR15 is a little runny on smooth surfaces. It actually 'bites' into the rougher areas and smooths out nicely. We ran across this when we did our frame. It is a great product and widely used for frames and suspension pieces. It is not UV resistant, so it will gray and dull over time, but frames rarely see a lot of UV. Great progress on everything, be sure to keep the pics coming.
Reminds me of a Toyota frame swap. And you thought you were one of the few who had frame problems because it's an old rusty Ford truck. What if you have a newer Toyota and had to do the same thing?
Yeah I decided to not paint on top of the POR 15 since the frame won't be seeing much sun. I don't mind if it turns a little gray anyways.
Franklin2, that video reminds me I have a lot to do still! Wish I had a full garage shop and a ton of help...
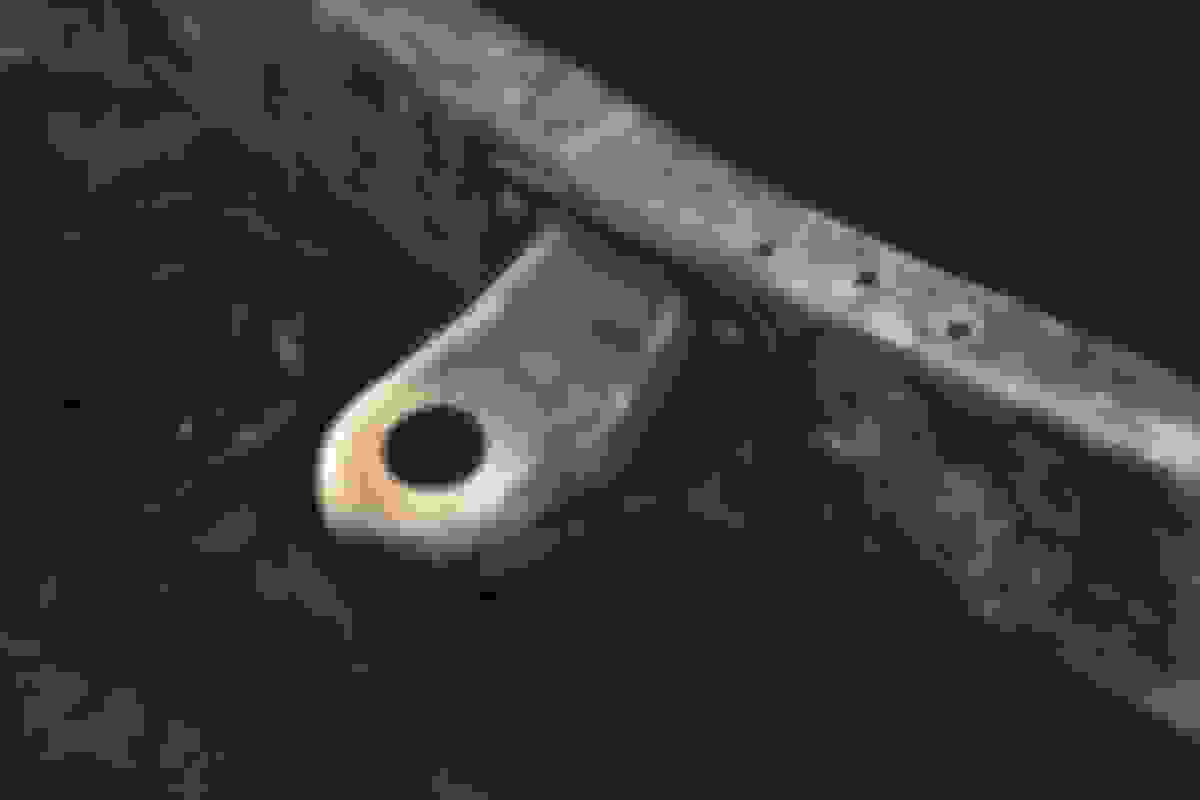
I ordered some suspension parts and realized that the F100 (donor frame) did not have 4x4 like my F150 does... so I needed to remove the hangers and order new ones. That involved drilling out the rivets:
I'm so tired of drilling out rusted bolts (bed bolts, rivets)... I've needed three sets of drill bits because they kept getting dull or broken. As you can see, at least 10 are missing because they broke on the steel:
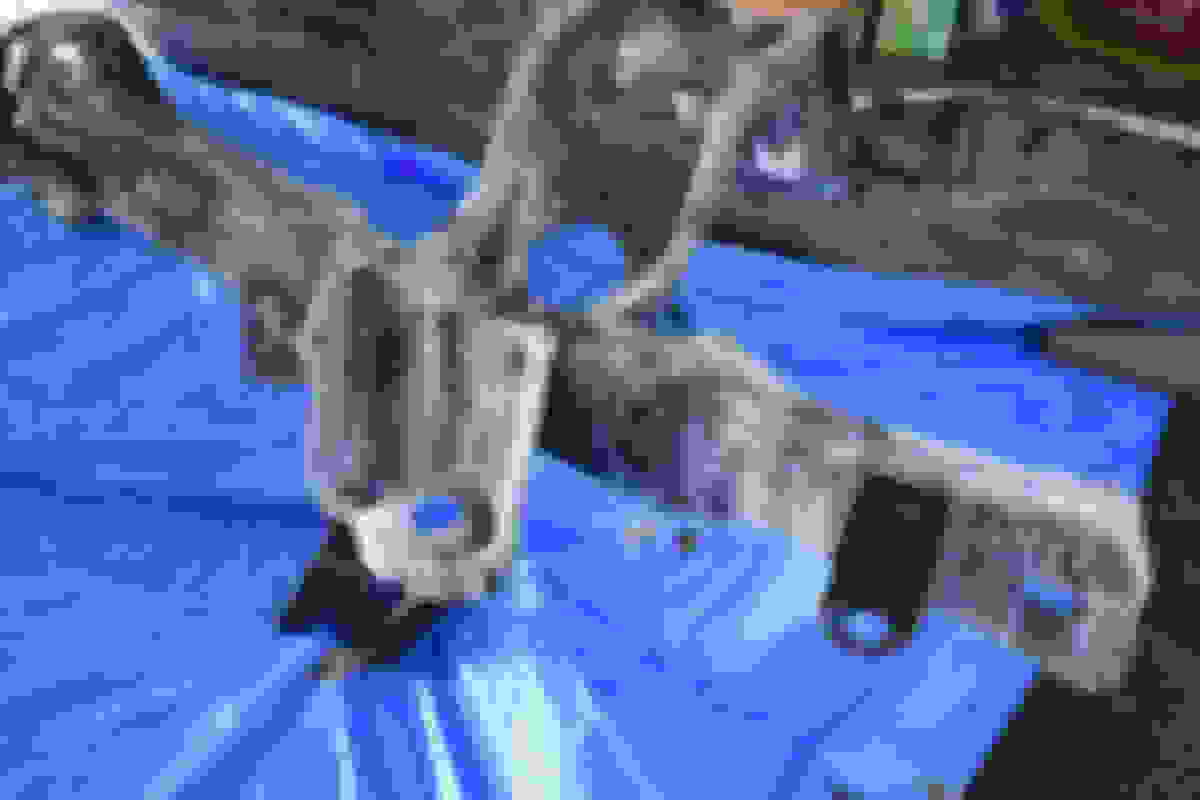
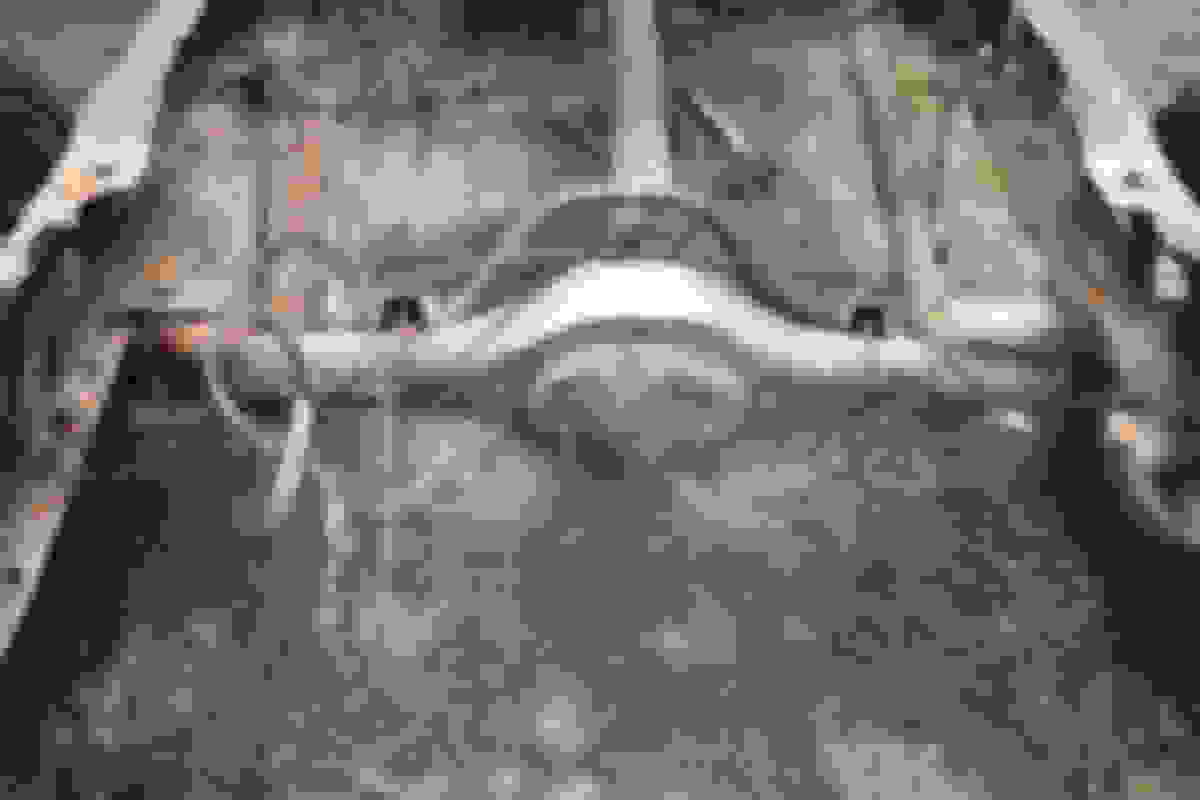
But I managed to get the bed off with some friends. This thing is RUSTED! Take a look at these pics!
There's a piece of metal someone put in there to bridge the gaps that were forming due to the rust, and to bolt things on. Crazy...
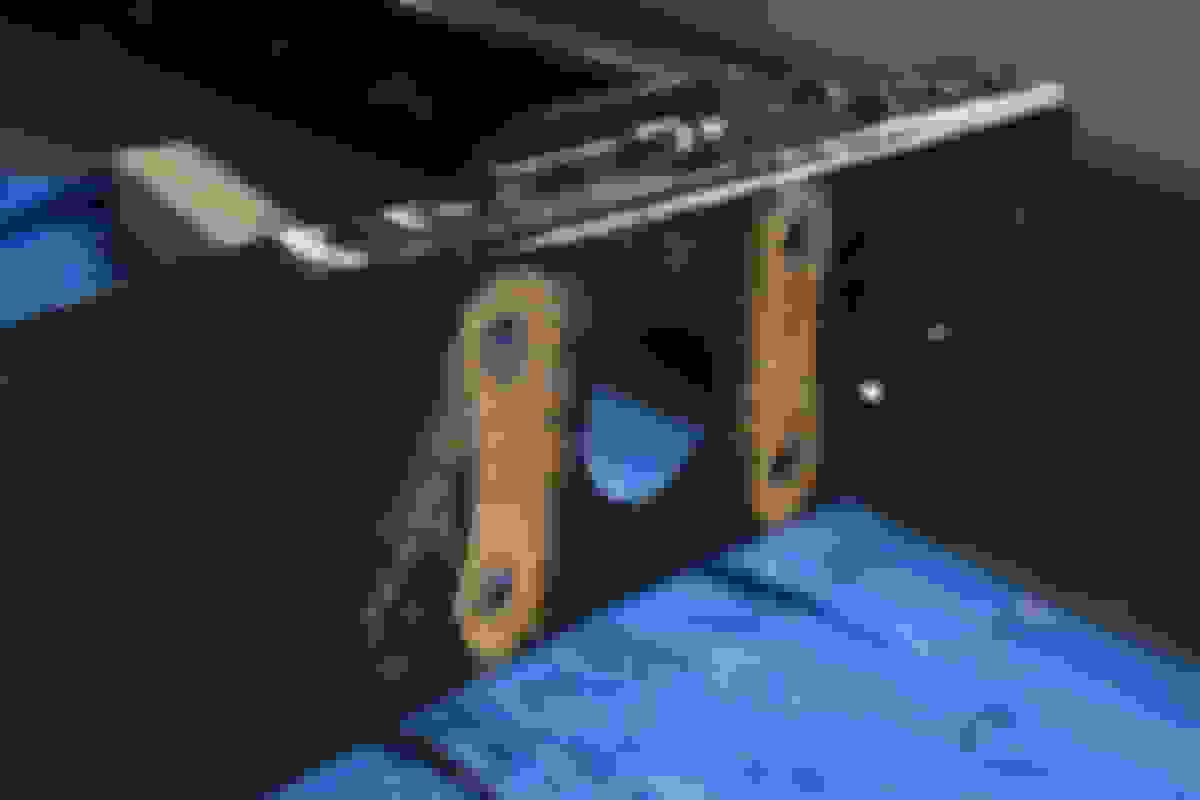
I think the axles are still useful though... they are about the only thing I'm going to save:
I think the old shocks are useless... lol
There's some fluid leaking under where the drive shaft connects to the rear axle. What could that be?
When I disconnected it, a cap fell off showing some pinkish fluid. If anyone knows why or what is leaking, please let me know!
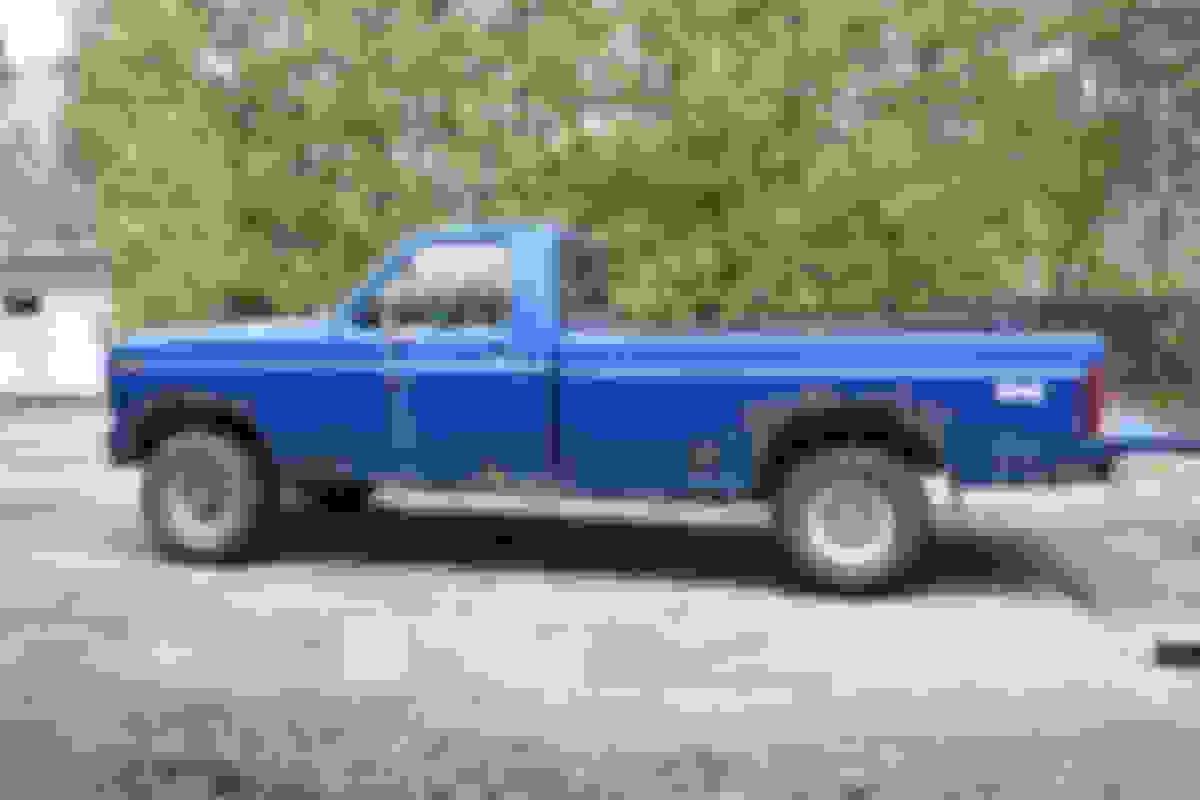
The 31" wheels bring the frame above my jackstand height:
So the next thing I'm going to do is remove the axles. I've got some questions of course:
1. How to remove the rear axle when the wheels lift the frame higher up than my jackstands? I was going to raise up the axle with a stand, remove the wheels, then lower the frame onto jackstands.
2. Are there any safety issues since the bed is off and the cab is still on (e.g., tipping over)? If I raise the rear end to remove the wheels, or work to remove the front axle, what should I be careful of?
3. Axle rebuild/tune-up: What should I do to tune up these axles while they are out and easy to work on?
4. Are there more issues I'll run into putting F150 4x4 parts onto the F100 frame?
Do you have a engine hoist? Just hook it to the rear of the frame to pick it up. I would leave the tires on it, it will be easier to roll around like that, the rearend is pretty heavy.
Yeah I decided to not paint on top of the POR 15 since the frame won't be seeing much sun. I don't mind if it turns a little gray anyways.
Franklin2, that video reminds me I have a lot to do still! Wish I had a full garage shop and a ton of help...
I ordered some suspension parts and realized that the F100 (donor frame) did not have 4x4 like my F150 does... so I needed to remove the hangers and order new ones. That involved drilling out the rivets:
I'm so tired of drilling out rusted bolts (bed bolts, rivets)... I've needed three sets of drill bits because they kept getting dull or broken. As you can see, at least 10 are missing because they broke on the steel:
But I managed to get the bed off with some friends. This thing is RUSTED! Take a look at these pics!
There's a piece of metal someone put in there to bridge the gaps that were forming due to the rust, and to bolt things on. Crazy...
I think the axles are still useful though... they are about the only thing I'm going to save:
I think the old shocks are useless... lol
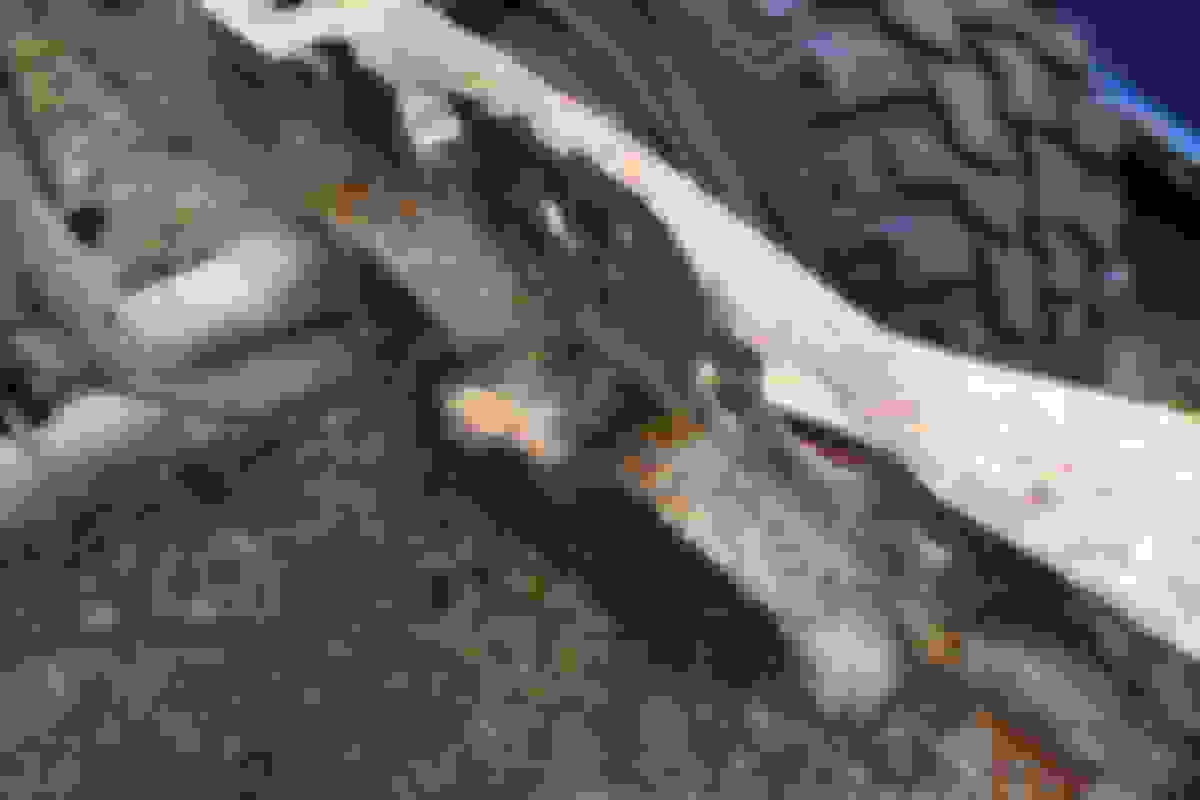
There's some fluid leaking under where the drive shaft connects to the rear axle. What could that be?
When I disconnected it, a cap fell off showing some pinkish fluid. If anyone knows why or what is leaking, please let me know!
The 31" wheels bring the frame above my jackstand height:
So the next thing I'm going to do is remove the axles. I've got some questions of course:
1. How to remove the rear axle when the wheels lift the frame higher up than my jackstands? I was going to raise up the axle with a stand, remove the wheels, then lower the frame onto jack stands. See Franklin's answer. I don't remember how I did mine but I think I removed the wheels and when I dropped the axle I put it on wheel dollies so I could roll it around.
2. Are there any safety issues since the bed is off and the cab is still on (e.g., tipping over)? If I raise the rear end to remove the wheels, or work to remove the front axle, what should I be careful of? With the bed off and as bad as that frame is it may fold in half! LOL It will not "tip over" just make sure you have a good solid set of stands, not them bent sheet metal ones, and they are on firm ground you should be ok. Just remember when under it yanking on things it is on stands and can fall off. I like to place the wheels under the frame so if it does fall it can only go as far as the wheels.
3. Axle rebuild/tune-up: What should I do to tune up these axles while they are out and easy to work on? The rear I would clean it check the spring mounts to see if they are rusted they can be replace then paint. Once back bolted to the frame so it does not move around I would maybe replace that pinion seal. I have not looked into (yet) changing the oil on a 9" but I would do that and then full rear brakes.
4. Are there more issues I'll run into putting F150 4x4 parts onto the F100 frame? I cant say as I have never done this maybe some one that has will post. Did your truck have a rear tank? I ask because a member just posted the cross member just in front of the rear tank the straps go to is different between having a rear tank or not. Also I just remembered I took that CM for my rear tank install and did not put the non-rear tank CM back in. I came across it the other day when I thought it was the spare tire carrier mount. Never found the mount but did not look too hard it was too hot in the garage.
Originally Posted by Franklin2
Do you have a engine hoist? Just hook it to the rear of the frame to pick it up. I would leave the tires on it, it will be easier to roll around like that, the rearend is pretty heavy.
I may have used my hoist to do just that, but don't remember now.
Dave ----
Oh if you need to remove any more of them rivets a cut off wheel on a 4" grinder work good. Cut an X then a little hammer & chisel to knock off the rest of the head and a punch to knock it out.
It also works great following a tape line to cutting straight lines in sheet metal panels.
Dave ----
Rust will quickly dull your drill bits. I re-sharpen mine on the grinder. With a little practice you can get good at it and save some money. Not sure why you are breaking them off. I just use them to hog out most of the rivet head till I get to the frame depth, and then use a chisel to knock the head off. No reason to drill all the way through the rivet, you just want to get the head knocked off, and then punch the rest of the rivet through with a punch. That's why rivets work so much better than bolts, the shank of the rivet swells inside the hole as they are pounding on them at the factory.
Yeah I decided to not paint on top of the POR 15 since the frame won't be seeing much sun. I don't mind if it turns a little gray anyways.
Franklin2, that video reminds me I have a lot to do still! Wish I had a full garage shop and a ton of help...
I ordered some suspension parts and realized that the F100 (donor frame) did not have 4x4 like my F150 does... so I needed to remove the hangers and order new ones. That involved drilling out the rivets:
I'm so tired of drilling out rusted bolts (bed bolts, rivets)... I've needed three sets of drill bits because they kept getting dull or broken. As you can see, at least 10 are missing because they broke on the steel:
But I managed to get the bed off with some friends. This thing is RUSTED! Take a look at these pics!
There's a piece of metal someone put in there to bridge the gaps that were forming due to the rust, and to bolt things on. Crazy...
I think the axles are still useful though... they are about the only thing I'm going to save:
I think the old shocks are useless... lol
There's some fluid leaking under where the drive shaft connects to the rear axle. What could that be?
When I disconnected it, a cap fell off showing some pinkish fluid. If anyone knows why or what is leaking, please let me know!
The 31" wheels bring the frame above my jackstand height:
So the next thing I'm going to do is remove the axles. I've got some questions of course:
1. How to remove the rear axle when the wheels lift the frame higher up than my jackstands? I was going to raise up the axle with a stand, remove the wheels, then lower the frame onto jackstands.
2. Are there any safety issues since the bed is off and the cab is still on (e.g., tipping over)? If I raise the rear end to remove the wheels, or work to remove the front axle, what should I be careful of?
3. Axle rebuild/tune-up: What should I do to tune up these axles while they are out and easy to work on?
4. Are there more issues I'll run into putting F150 4x4 parts onto the F100 frame?
That frame looks like a death trap, good thing you're changing it
I don't have an engine hoist yet. I think I'll raise up the rear by the center of the rear axle slowly and then put jackstands under the axle ends. Then take off the wheels, then lower the frame onto the jackstands. I don't care about rolling the truck around at this point... I'm trying to move all parts to the frame in my garage ASAP.
Most of my drill bits snapped when I was drilling out the large bed bolts... those were super hard to drill into and dulled them quick. That led to me putting more pressure on them, which ended with them breaking. The rivets were actually much easier to drill out... I did the X-cut like you all mentioned.
vicp21 - yeah it's in very rough shape. Too bad I didn't know better before I bought the truck... but then again, I wouldn't have this sweet project to work on
 04-04-2018, 09:02 AM