When you click on links to various merchants on this site and make a purchase, this can result in this site earning a commission. Affiliate programs and affiliations include, but are not limited to, the eBay Partner Network.
Thanks Sous,
All the B+ extensions I've seen for the 3G- 6G alternators look the same. Even went to the link you provided. Don't know about making the hole larger on fuse plate as it's already about 3/8" in diameter from looking at it. B+ stud which looks to be about only 3/16" to 1/4" in diameter. I may just put a small copper washer over the stud 1st to make up for the size difference and then set the fuse mounting plate on that. I doubt I can compete with your OCD but I'll try . Going to make new upgraded battery cables this weekend, just waiting for the rest of the parts to come in this week. 4/0 between batteries, 2/0 to block grounds, 1/0 from alt to batt's, and 1/0 ground from alt to battery neg. If enough 1/0 left, maybe take from block to frame ground. Undecided still on 160 or 200 amp alternator.
Your plan sounds like a great way forward. I am confident you will do a good job.
I had my cables made at a local auto electrical shop, but have since installed an entire solar charging system in our 5th wheel. I learned a lot about wiring and over engineered most of it due to the distance between connections at times.
I am still very happy with how the truck turned out, but may shorten a couple of the cables now that I have the lugs and 20 ton crimper.
Post up your pictures when you finish, we love pictures.
@steelandspeed , the engine bay on my truck has changed quite a bit since creating this thread, but the wiring is mostly the same that is being detailed here.
I was originally using the flow meter since buying the AIS intake several years ago. The flow meter actually cracked and broke though leaving a 3/4" hole in the side of the box where the flow meter was normally installed. I ended up using a short bolt that had to be squeezed into the rubber grommet where the flow meter had been previously.
Here is what the engine back looks like now. Obviously a little different, but I think the wires still fit quite nicely. I could probably take a bit of slack out of the additional ground wire from the alternator bracket to the driver side negative battery terminal. Other than that, I am happy with the routing and how they stay in place.
Ahhh got it tks!
The AIS is what I'm planning to go for. I support your idea of modifying the truck "efficiency, reliability and longevity"... this is the where I'm at.
Ahhh got it tks!
The AIS is what I'm planning to go for. I support your idea of modifying the truck "efficiency, reliability and longevity"... this is the where I'm at.
The AIS is and was a great intake for me and many others around the world. It is sturdy, well built, fits like OEM and then works much better than OEM. I reluctantly replaced it with the Donaldson blue 6637 type filter due to the air flow requirements of the SXE turbo. Simply put, the AIS might have done a good enough job of air flow, but based on my research I think it would have fallen just short. The very last thing I want to do is starve an efficient and top performing turbo (SXE) with air.
The SXE runs much quieter than say a GTP38R with a 6637 intake. So far I am very pleased with the combination of the SXE and 6637 and think it was the right call. The AIS went to a good home in Florida to another FTE'r, so I took some peace in knowing that.
I was not interested in the overpriced intakes available due to their physical appearance and seemingly fitment issues. I did have to "fabricate" a little bit of the CSD intake tube to the rubber OEM intake tube and then to the 6637, but it was not a big deal after I figured out how I wanted to accomplish the task.
The hard part is knowing when to say when after you start modifying the truck. I had a supercharged Pontiac Grand Prix GTP many years ago and I modified that thing so much that I was constantly keeping after it and monitoring it. When I sold that car, I told myself never again would I do that.
As you can probably see from my signature, I get pretty good MPG's towing or unloaded and hope my truck is around for another 20 years.
I was looking at the little shelves placed in between the studs in your garage, with lots of stuff organized and accessible. That's a nice way to do it, vs. deeper shelving that can take some digging to find stuff in.
Very nice work on the cabling - I learned alot. Didn't know there was red liquid electrical tape and red wire loom - I need to shop outside of HF for this stuff. It finishes the install nicely and visual reference for what-carries-what in electrical wiring is useful.
I have limited experience with large DC wiring, having installed a larger glow plug relay and associating wiring, as well as dual 6V golf cart batteries and an inverter in the Host camper. Had a local Napa put together the cables for that install. If I ever do that again, I'll remember the tips learned here.
Thanks for the compliment on the shelves. We don't really need the insulation in our garage due to our climate in north GA, so shelves within the walls seemed like a good idea.
I am glad that I could lend a hand and help provide some ideas to you.
Liquid tape is good to have for the hard to protect places. Although, on sharp edges like the bolt on the fuse plate, it serves as more of a marker, like you indicated. A rubber protective cover would be better, but this works well for me and has in the past. There are several different colors of the liquid tape. I have red, black and white on hand for projects.
I love to use wire loom at every chance I get. I worked in electronics and IT for 22 years in the military and am a firm believer in protecting wiring as much as possible. You can get wire loom in many colors, but the prices go up by the foot when you start looking at colors other than red or black.
I had limited knowledge with DC power as well other than don't touch the red and black. I have learned a lot over the years. I recently upgraded our 5th wheel camper with 400w of solar, charge controller, inverter and four 6v batteries. I spent many hours hand drawing diagrams, then drawing them on my laptop, then figuring up distances, bends and gauges of the wires. Calculators are online to help with amperage requirements and distances. I made a list of materials and started at it.
I have included a picture of what the front storage looked like after I was done wiring, then another with a protective stand off wall so we could still use the space for storage.
The upgrades I performed this winter allow the camper to be 100% self sufficient in power requirements and for us to camp where we want for however long as we want.
Protective cover so we can still use the space as storage. Also, holes appropriately sized to quick and easy access to circuit breakers and cut off switches.
Your plan sounds like a great way forward. I am confident you will do a good job.
I had my cables made at a local auto electrical shop, but have since installed an entire solar charging system in our 5th wheel. I learned a lot about wiring and over engineered most of it due to the distance between connections at times.
I am still very happy with how the truck turned out, but may shorten a couple of the cables now that I have the lugs and 20 ton crimper.
Post up your pictures when you finish, we love pictures.
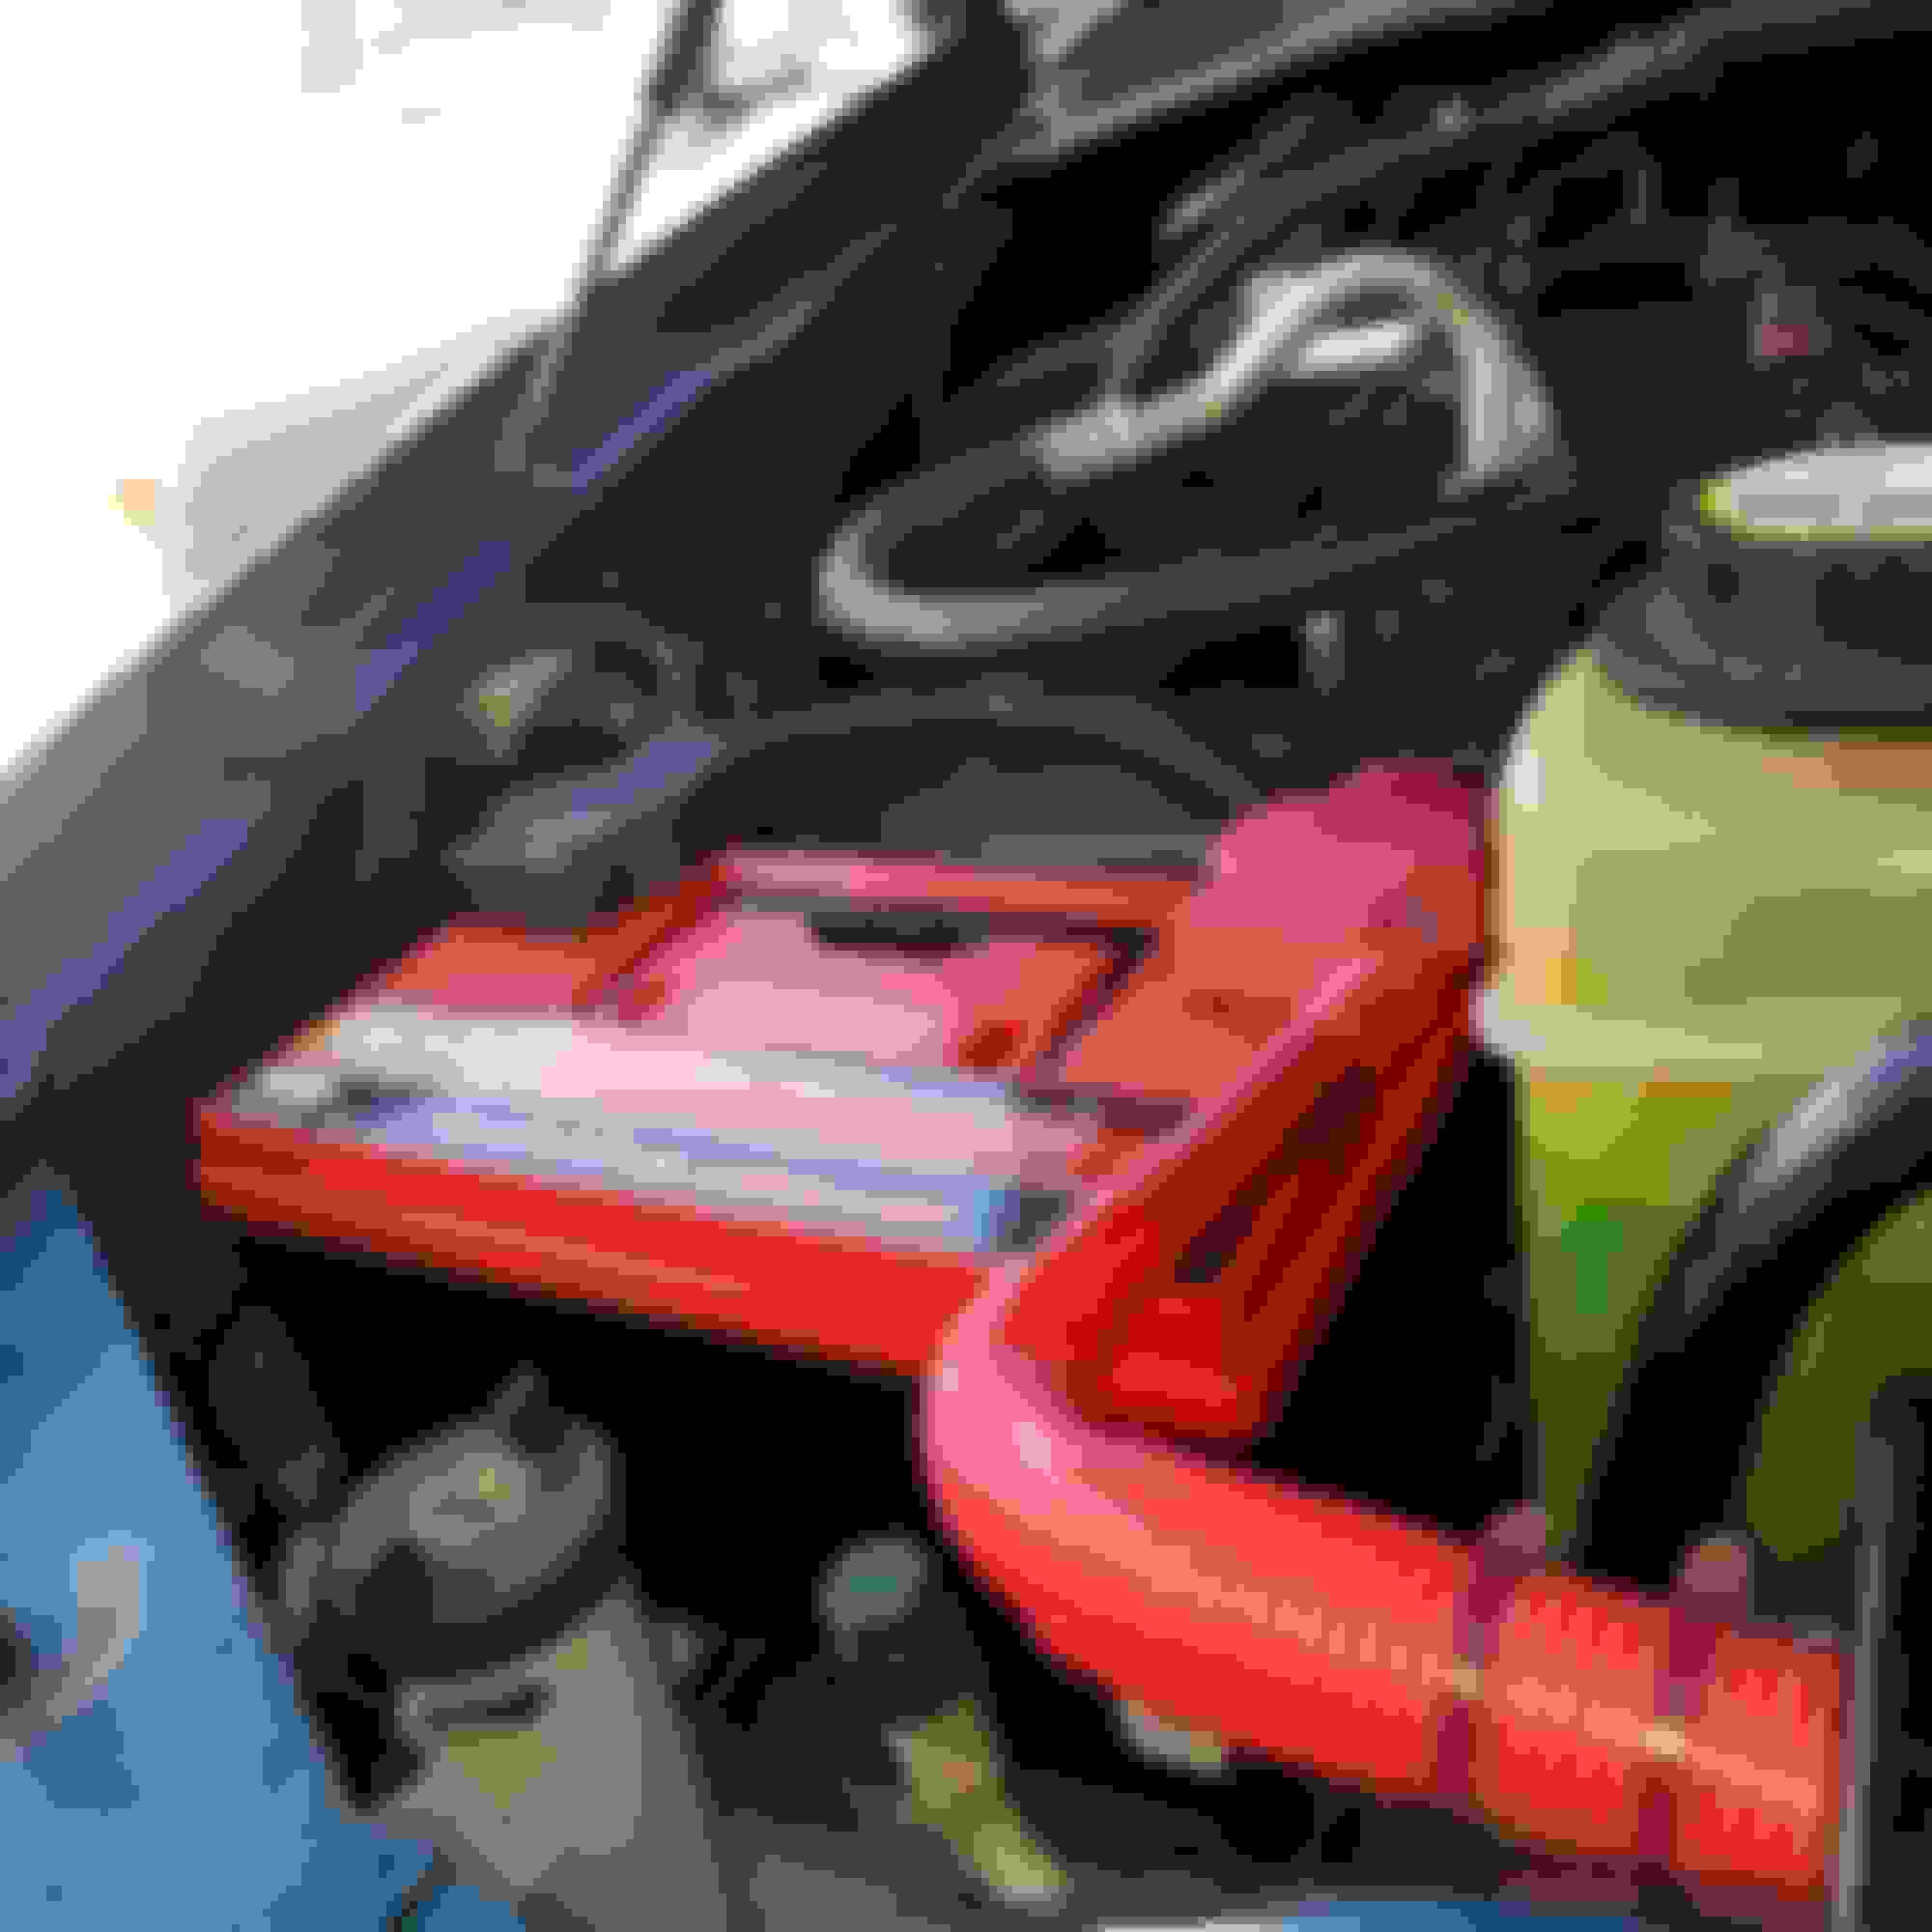
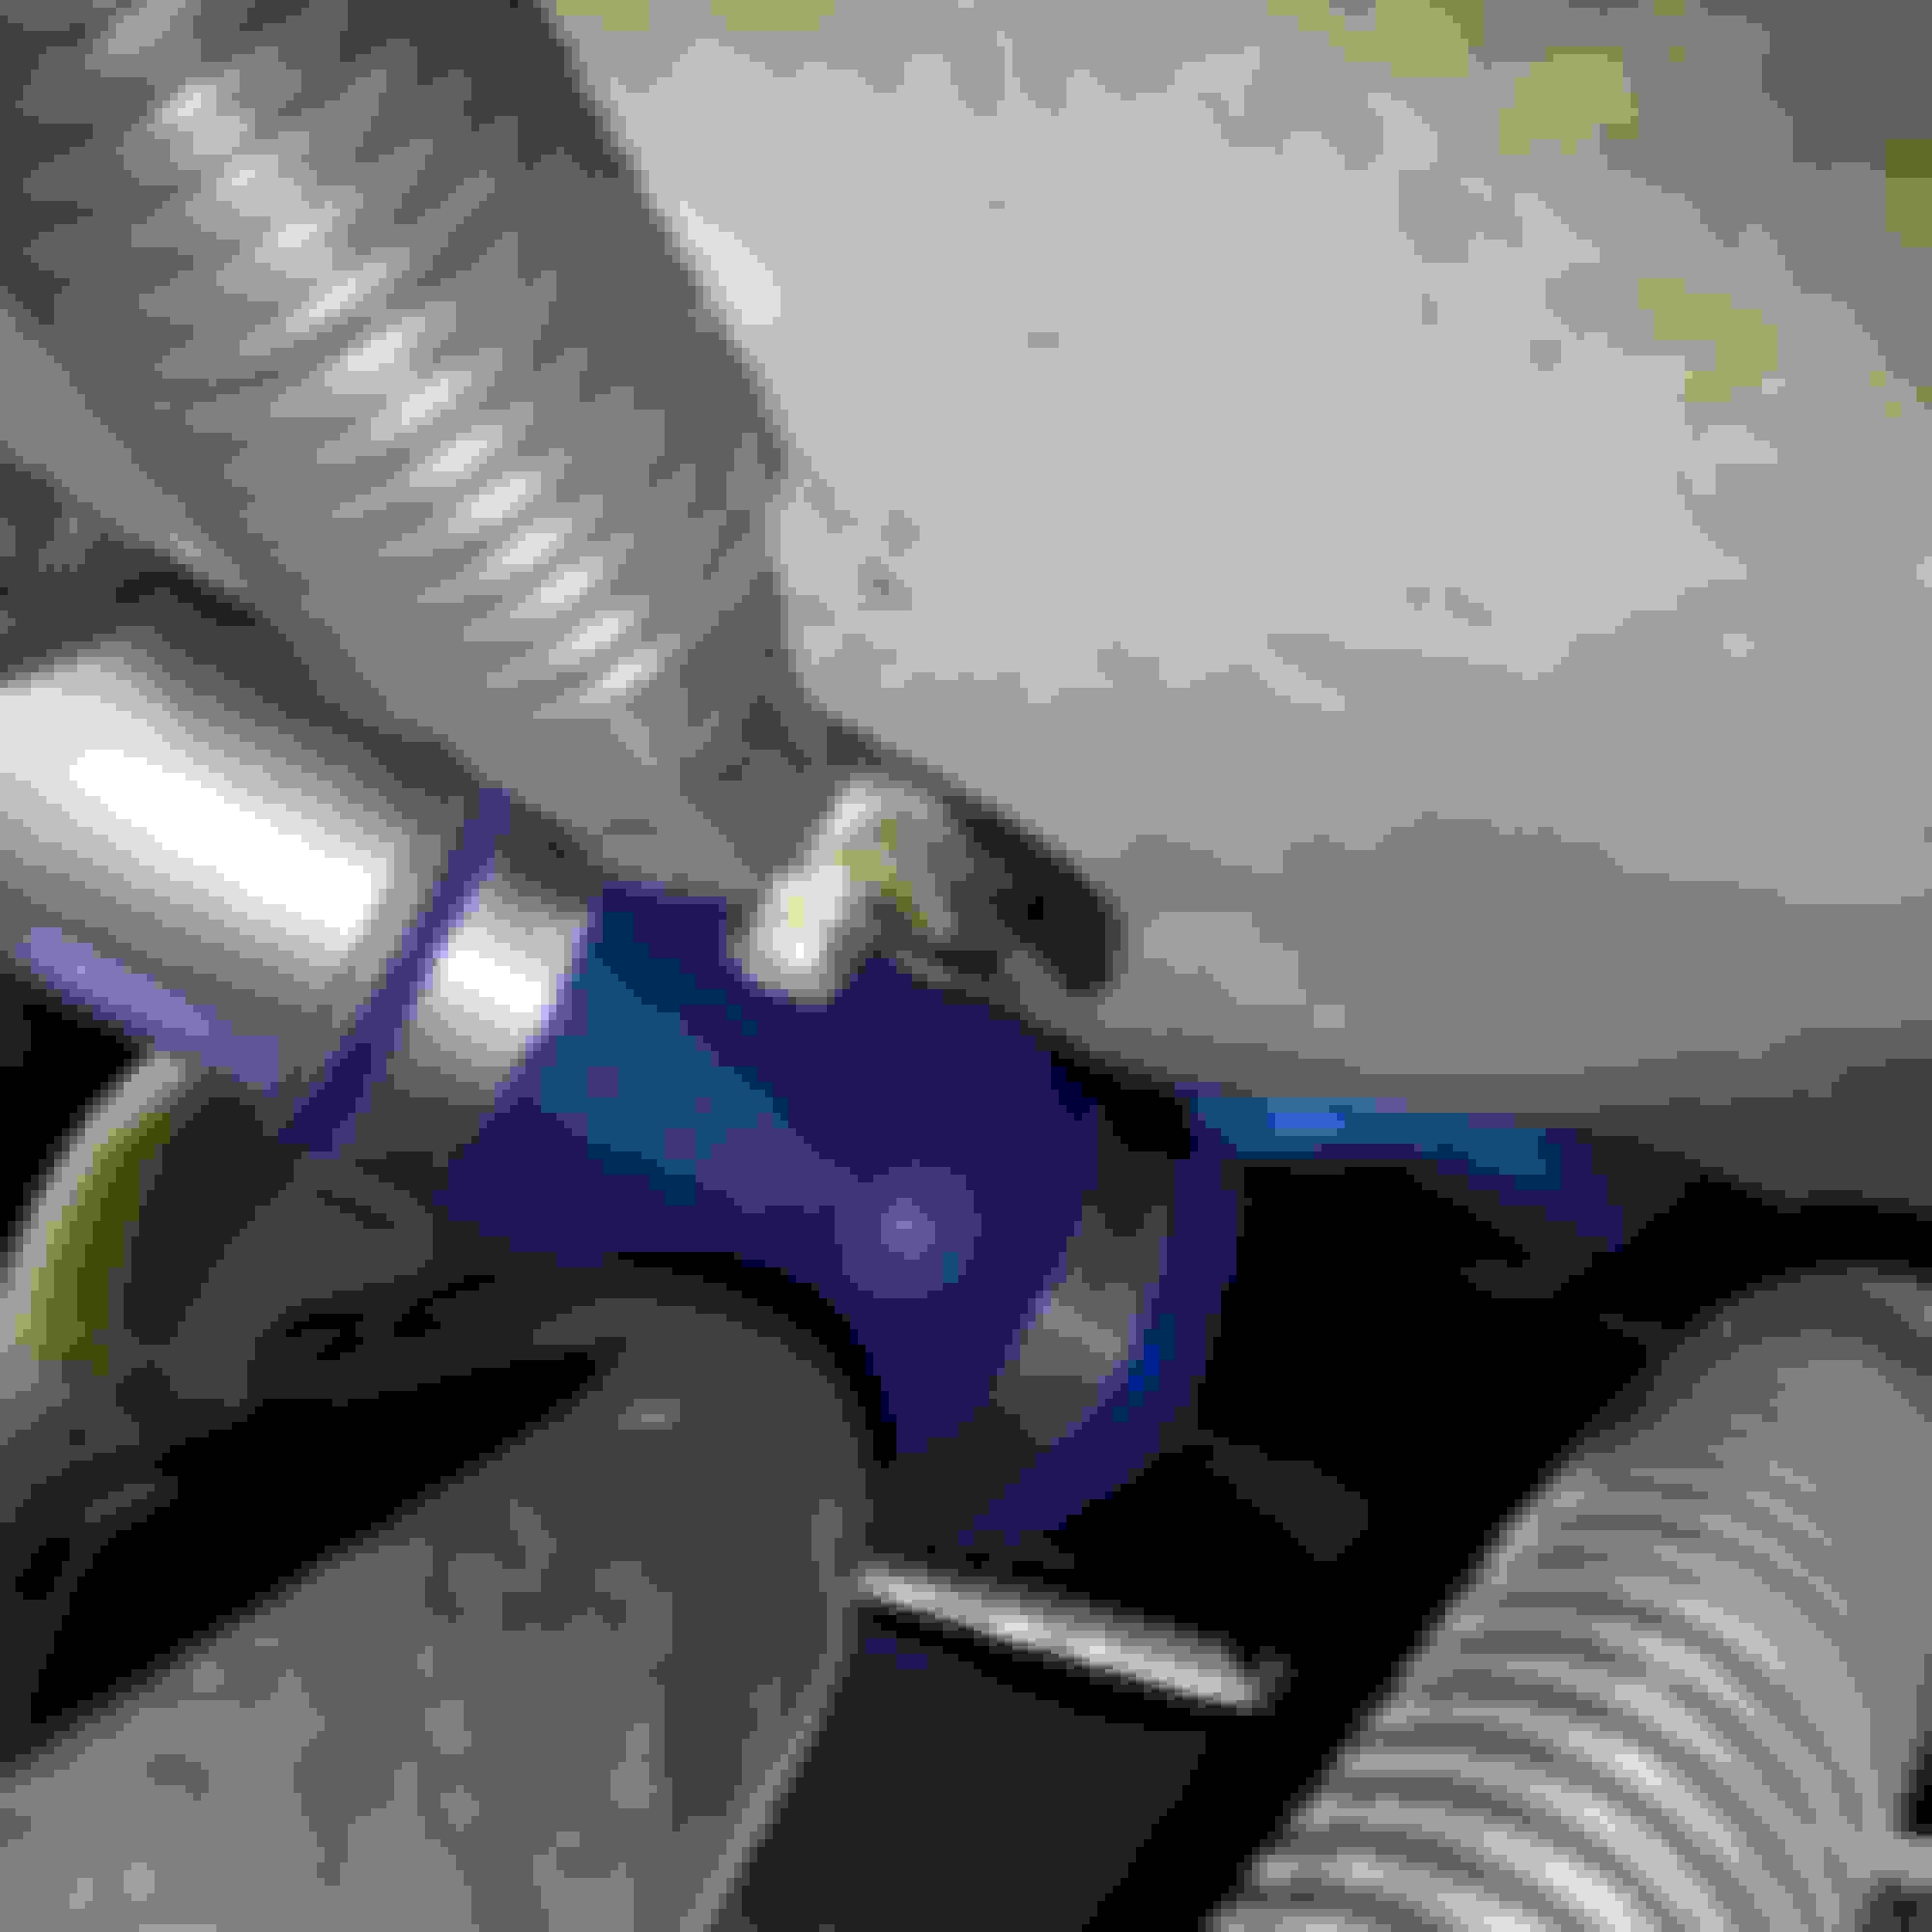
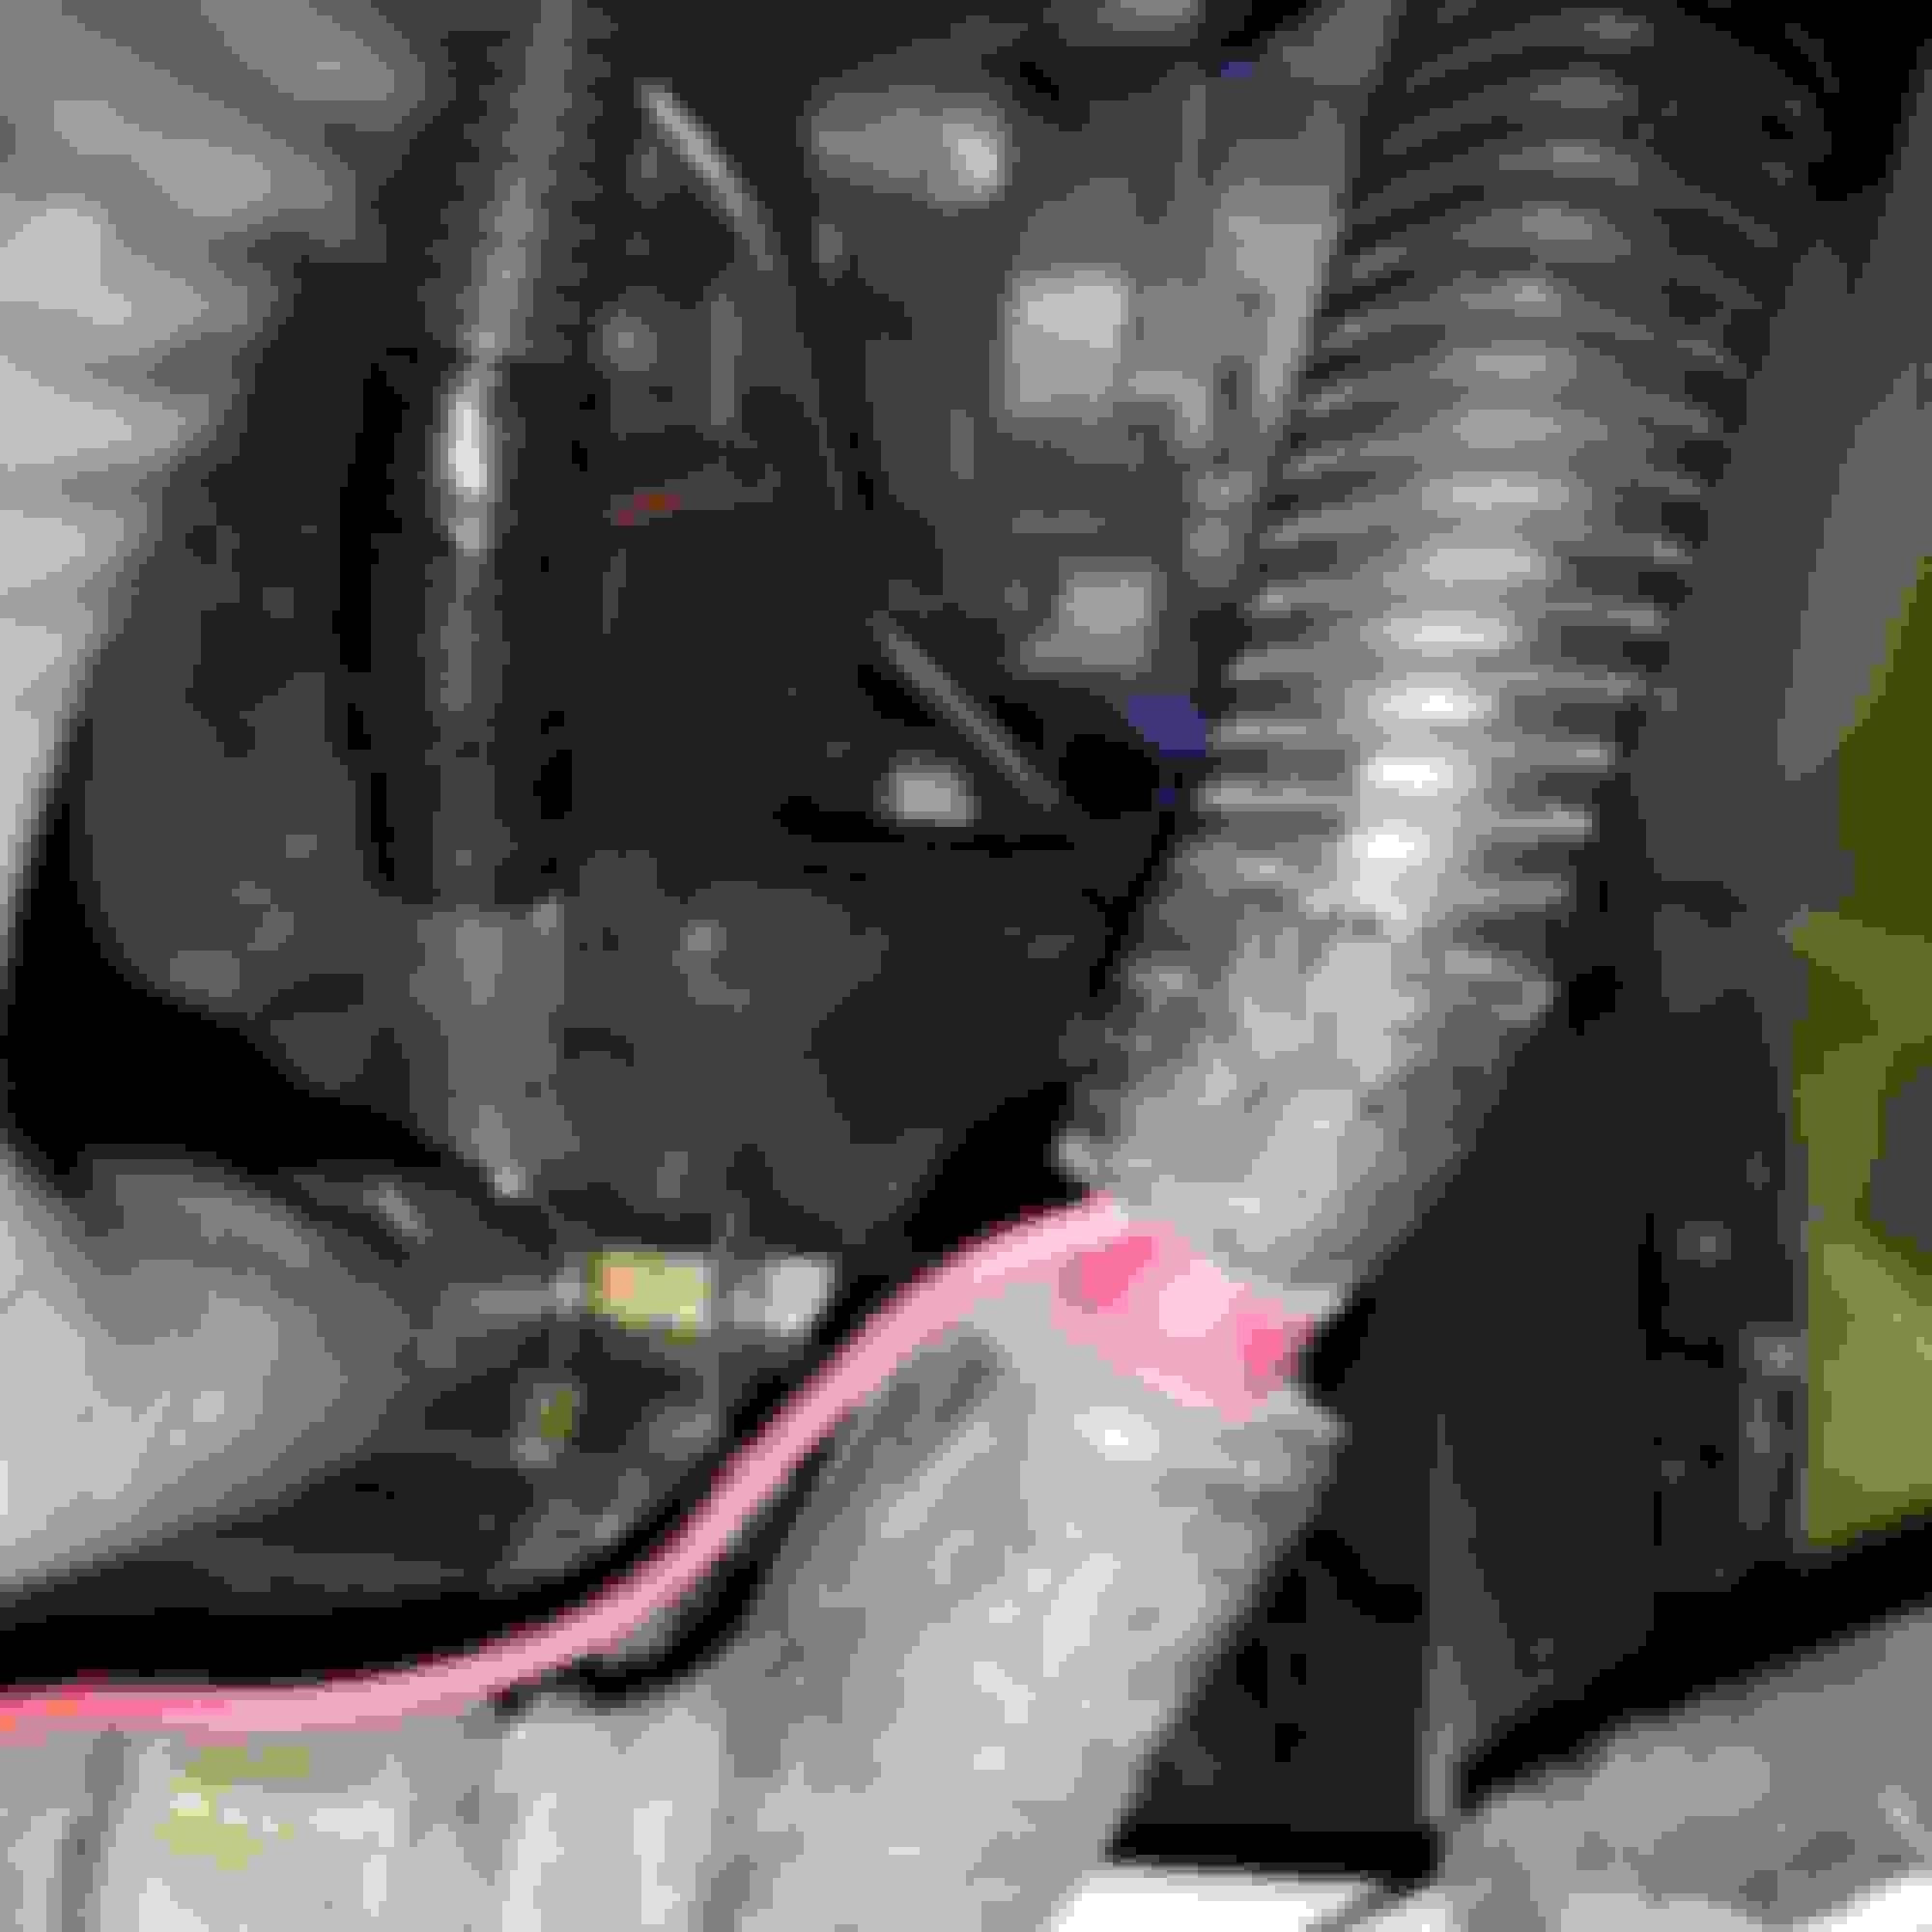
Made new battery cables today with 11 ton crimper. Running the 4/0 between batteries was tight but got it in there. Had plenty of 2/0 left over so went from block to frame, and added another block to frame on driver side. Still need to tape some ends of wire loom but wanted to finish. Will probably do it when I get a new upgraded alternator. All grounds were cleaned good with wire wheel on drill and put NO-OX-ID A special on the connections. Military Spec Battery terminals. Still debating on 160 or 200 amp alternator and with upgraded battery cables, I should be good with either one.
New batt to batt pos 4/0 cable, 2/0 to block , 6 awg to chassis
Thanks for the compliment, but I thought it was dirty due to my OCD. I almost didn't post the pictures because I haven't had a chance to clean it well this winter.
How do you clean it, if you don't mind sharing..
I'm used to work on Helicopters and racebikes that are usually spotless
I'm used to work on Helicopters and racebikes that are usually spotless
@Hootr nice job and it looks like a clean and secure install. I might have to use some of my leftover solar project wire to make my grounding links more robust. Thanks for sharing the pictures.
I do have a question though... The "Pass side block to frame 2/0" link, was that an existing ground link you improved or did you add that as an entirely new wire?
@patineto I use Simple Green as a degreaser, then low pressure water like a shower setting on a garden hose nozzle. I only spray the engine off when it is cold. Then I let it sit for 10-15 minutes to drip and then I start it up and let it idle for another 10 minutes or so. Once the engine is warm I take it for a short drive to burn off the rest of the water.
Then I usually use something like Aircraft 303 on the plastic pieces and hoses.
I used to use Pledge furniture polish on the fairing of my 2008 Suzuki Hayabusa I used to own. That that was spotless!
@patineto I use Simple Green as a degreaser, then low pressure water like a shower setting on a garden hose nozzle. I only spray the engine off when it is cold. Then I let it sit for 10-15 minutes to drip and then I start it up and let it idle for another 10 minutes or so. Once the engine is warm I take it for a short drive to burn off the rest of the water.
Wow amazing, fully concentrated or diluted...??
I just got a new Van (7.3) and just replacing the bowl orings, I can rake the crap by the pound, like nobody ever got in there..
Then I usually use something like Aircraft 303 on the plastic pieces and hoses.
love it,
I used to use LEMON Pledge furniture polish on the fairing of my 2008 Suzuki Hayabusa I used to own. That that was spotless!
"Honda Polish" is so good even the harley guys use it..
Hayabusa, incredible freaking engine, I don't have the $#@% to ride it even at 50% power on a twisty road, but admire the architecture, they do lend them selfs really well to BigA$$ Turbos too..
I just got a new Van (7.3) and just replacing the bowl orings, I can rake the crap by the pound, like nobody ever got in there..
love it,
"Honda Polish" is so good even the harley guys use it..
Hayabusa, incredible freaking engine, I don't have the $#@% to ride it even at 50% power on a twisty road, but admire the architecture, they do lend them selfs really well to BigA$$ Turbos too..
Thanks for the simple green tip....
Full strength Simple Green is what I use.
Aircraft 303 is great for a lot of surfaces and compounds, I us it a lot.
I was familiar with Honda polish, but if I recall correctly it was pricey for what it was. That 1340cc engine was amazing and would me well north of 100 MPH in seconds. I installed a vacuum controlled cruise control on it for long rides, that was great to have.
I am not sure the fastest I ever had it going, but I remember I stopped looking down at the speedometer at 180 MPH one time and kept on the throttle. I loved that bike and could throw it into a turn as easily as the GSX-R 600 I had before that.
I ended up selling it though because people were constantly distracted and I was spending so much energy trying to stay alive I couldn't enjoy the ride.
Now I hope to have an Audi R8 Spyder one day as a toy.
@Hootr nice job and it looks like a clean and secure install. I might have to use some of my leftover solar project wire to make my grounding links more robust. Thanks for sharing the pictures.
I do have a question though... The "Pass side block to frame 2/0" link, was that an existing ground link you improved or did you add that as an entirely new wire?
The block to frame on pass side was existing, looked to be 6 or 8 awg. The driver side I added new.
Sous, I just wanted to thank you and the others on here for the great write ups and pics on the wiring. I was able to upgrade everything on my Excursion a few weeks ago, finalized yesterday with the addition of a 140 amp alternator. I found the likely source of my problems - the passenger side main ground wire was worn through and probably doing something it shouldn't. Replaced that and everything else except the starter cable and now I have no hard starting problems like I've had over the last couple of years. I can't say my engine is as clean as yours, but the wiring looks very similar... .
Sous, I just wanted to thank you and the others on here for the great write ups and pics on the wiring. I was able to upgrade everything on my Excursion a few weeks ago, finalized yesterday with the addition of a 140 amp alternator. I found the likely source of my problems - the passenger side main ground wire was worn through and probably doing something it shouldn't. Replaced that and everything else except the starter cable and now I have no hard starting problems like I've had over the last couple of years. I can't say my engine is as clean as yours, but the wiring looks very similar... .
@Scoob5555 , you are very welcome! I learn by seeing and reading, then seeing again and that is what I try to provide to some of the FTE'rs on the interwebs. I have to give the credit to the ones before me though like @Y2KW57 , @Jesser02EX and many others that inspired me to make changes to my charging system.
Good to hear you got your issue resolved and improved the electrical system at the same time. The gauge and wire was adequate 20 years ago, but now it sometimes needs updating and refreshing, especially since we like to add on loads and install higher amp alternators.
Post a picture or two if you get a chance later, we love pictures!

 04-02-2019, 10:52 PM

 . Going to make new upgraded battery cables this weekend, just waiting for the rest of the parts to come in this week. 4/0 between batteries, 2/0 to block grounds, 1/0 from alt to batt's, and 1/0 ground from alt to battery neg. If enough 1/0 left, maybe take from block to frame ground. Undecided still on 160 or 200 amp alternator.


 .
.