Having tough time with injector install
#1
Having tough time with injector install
So Iíve just walked in the door at 10:30 at night after starting to install injectors on the passenger side of my truck, and although I made some pretty good headway today Iím in a jam concerning injector number five. Really hoping to tap into the brain trust here for some tips because Iím at a loss. Iím a service writer at a Volkswagen dealer and was a technician for another brand years ago, so I have decent mechanical skills. Iím also doing this job in the shop at work so I have access to a good selection of tools.
On the passenger side of the truck Ineeded injectors number three, five and seven. When I left work tonight number three and number seven are installed and torqued down but I have no idea on earth how Iím going to be able to get number five out because of that darn AC box! After doing number three I moved to number five and after seeing that it was going to be a bear I went ahead and skipped over it and did number seven. How are you guys getting that Torx bolt out for injector number five?!?! The T 40 socket I am using is half-inch drive and I canít see enough room between that metal cover on the AC box for the ratchet and socket to fit. Thereís got to be a trick to this and Iím really hoping that when I wake up in the morning there will be some replies here with some ideas. Certainly people arenít removing that AC box to do this injector. My guess is that there is some special combination of a very specific socket that gives you enough room or something. I certainly canít see how you would fit a torque wrench in there when it comes time for that.
As always through the years here, I appreciate the assistance. Iíve done a lot of searching through threads here in the days leading up to starting this installation but have seen nothing specific mentioned about the passenger-side installation other than random comments that it was very tough. This is why I chose to start on the passenger side. I also have to change injector number two which will obviously be a breeze compared to what Iím going through now. Iím just really hoping to get some tips on how to knock out number five so I can at least get that side of the truck back together tomorrow night.
Thanks so very much for any assistance provided.
#2
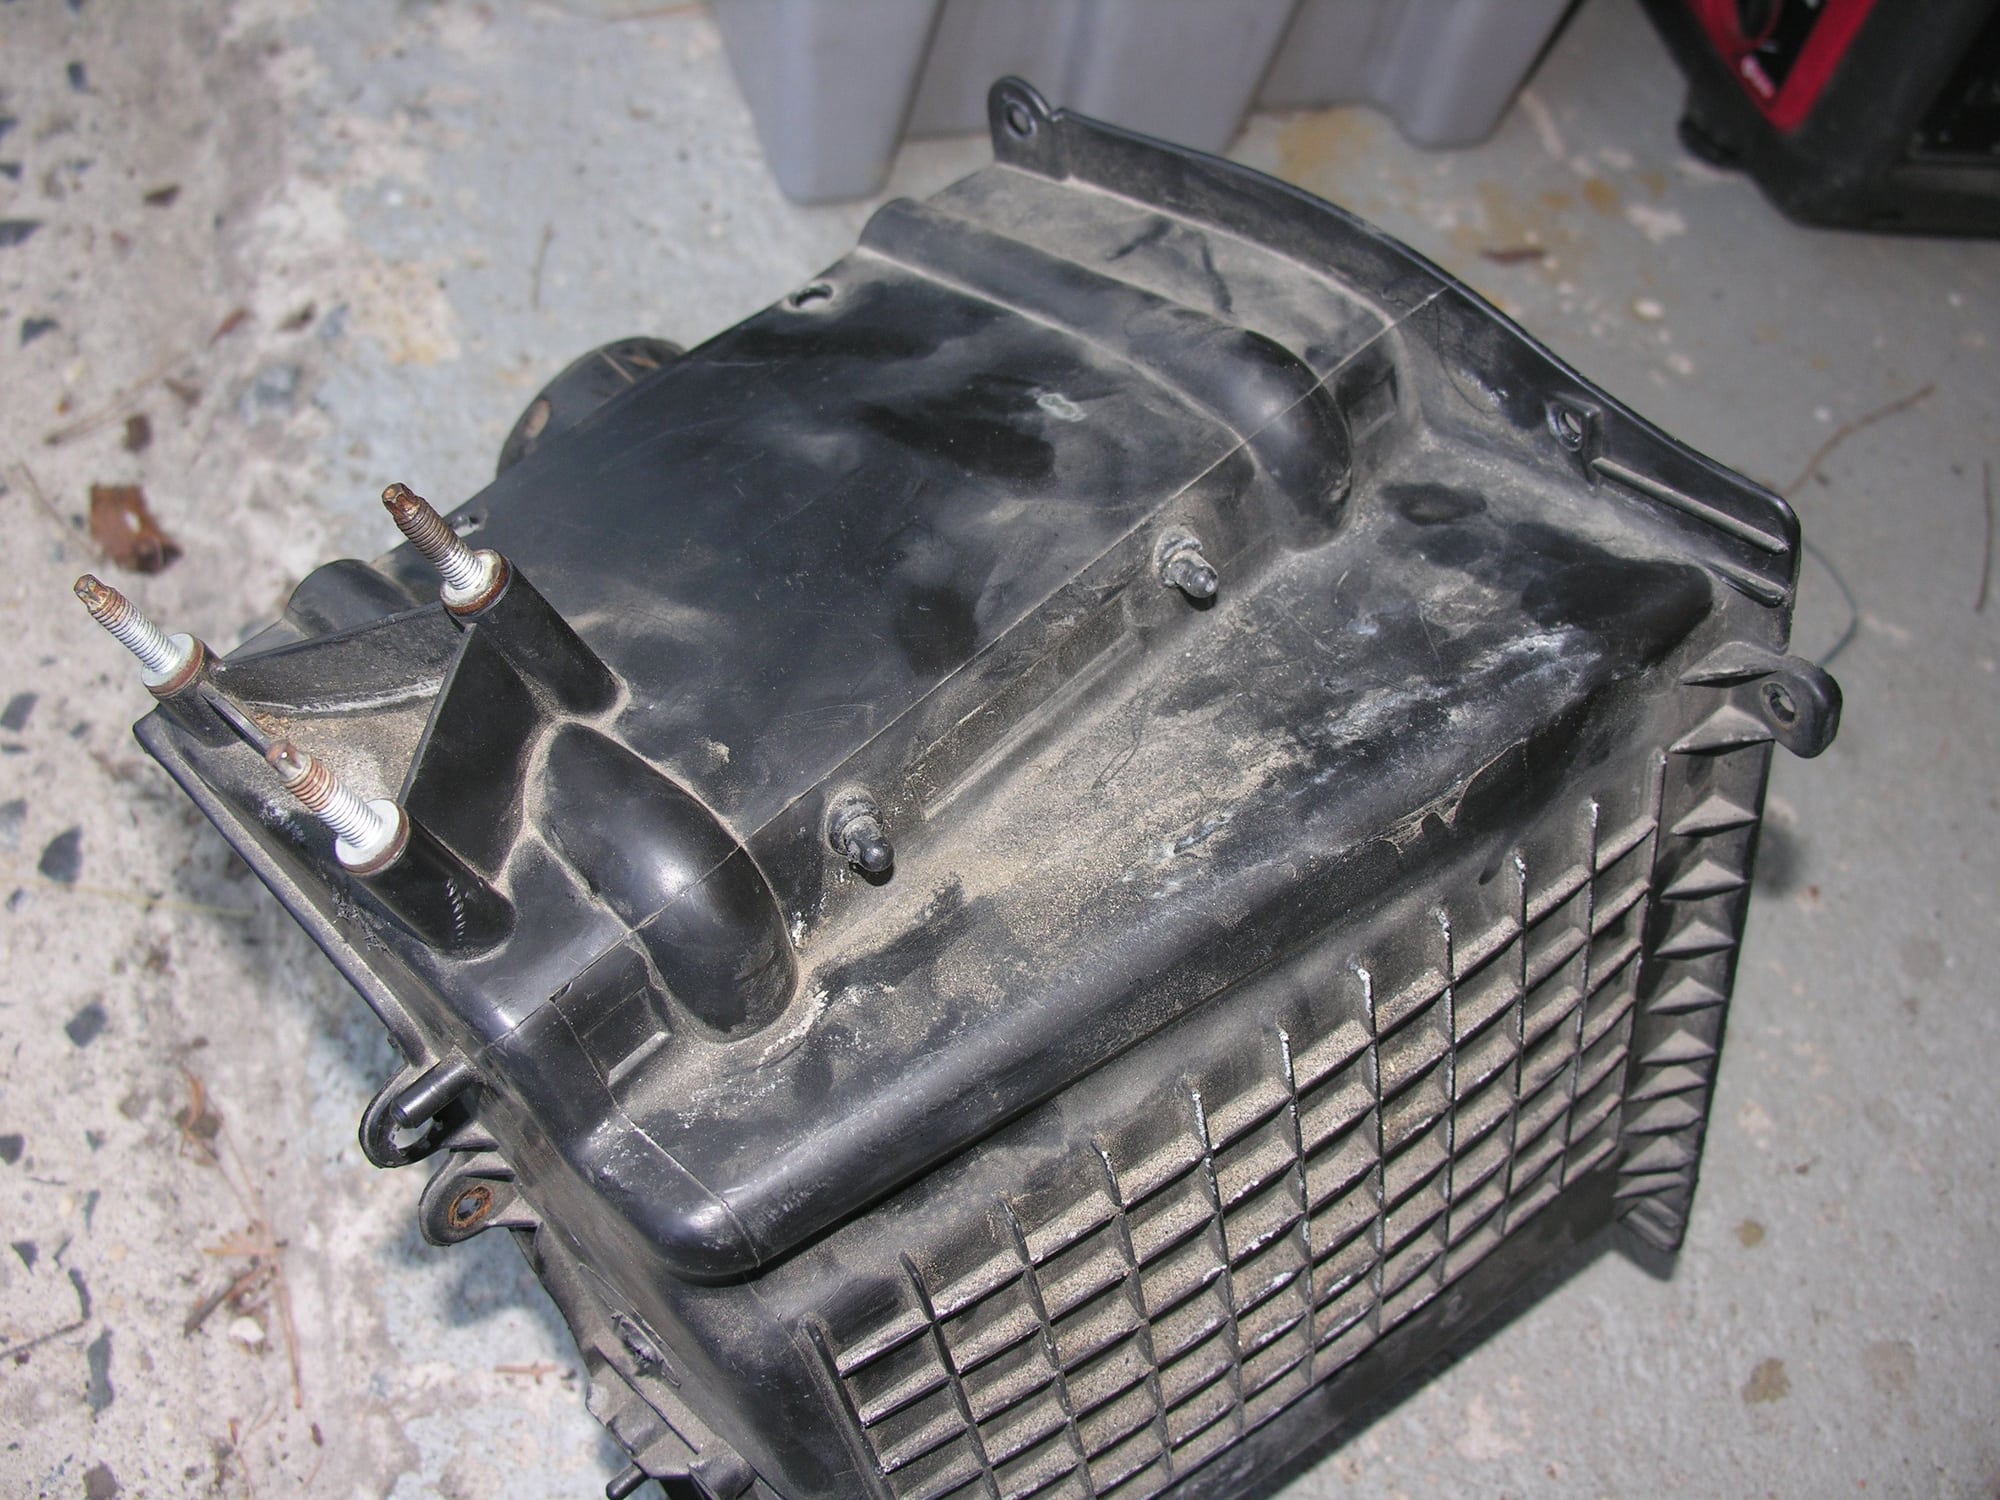
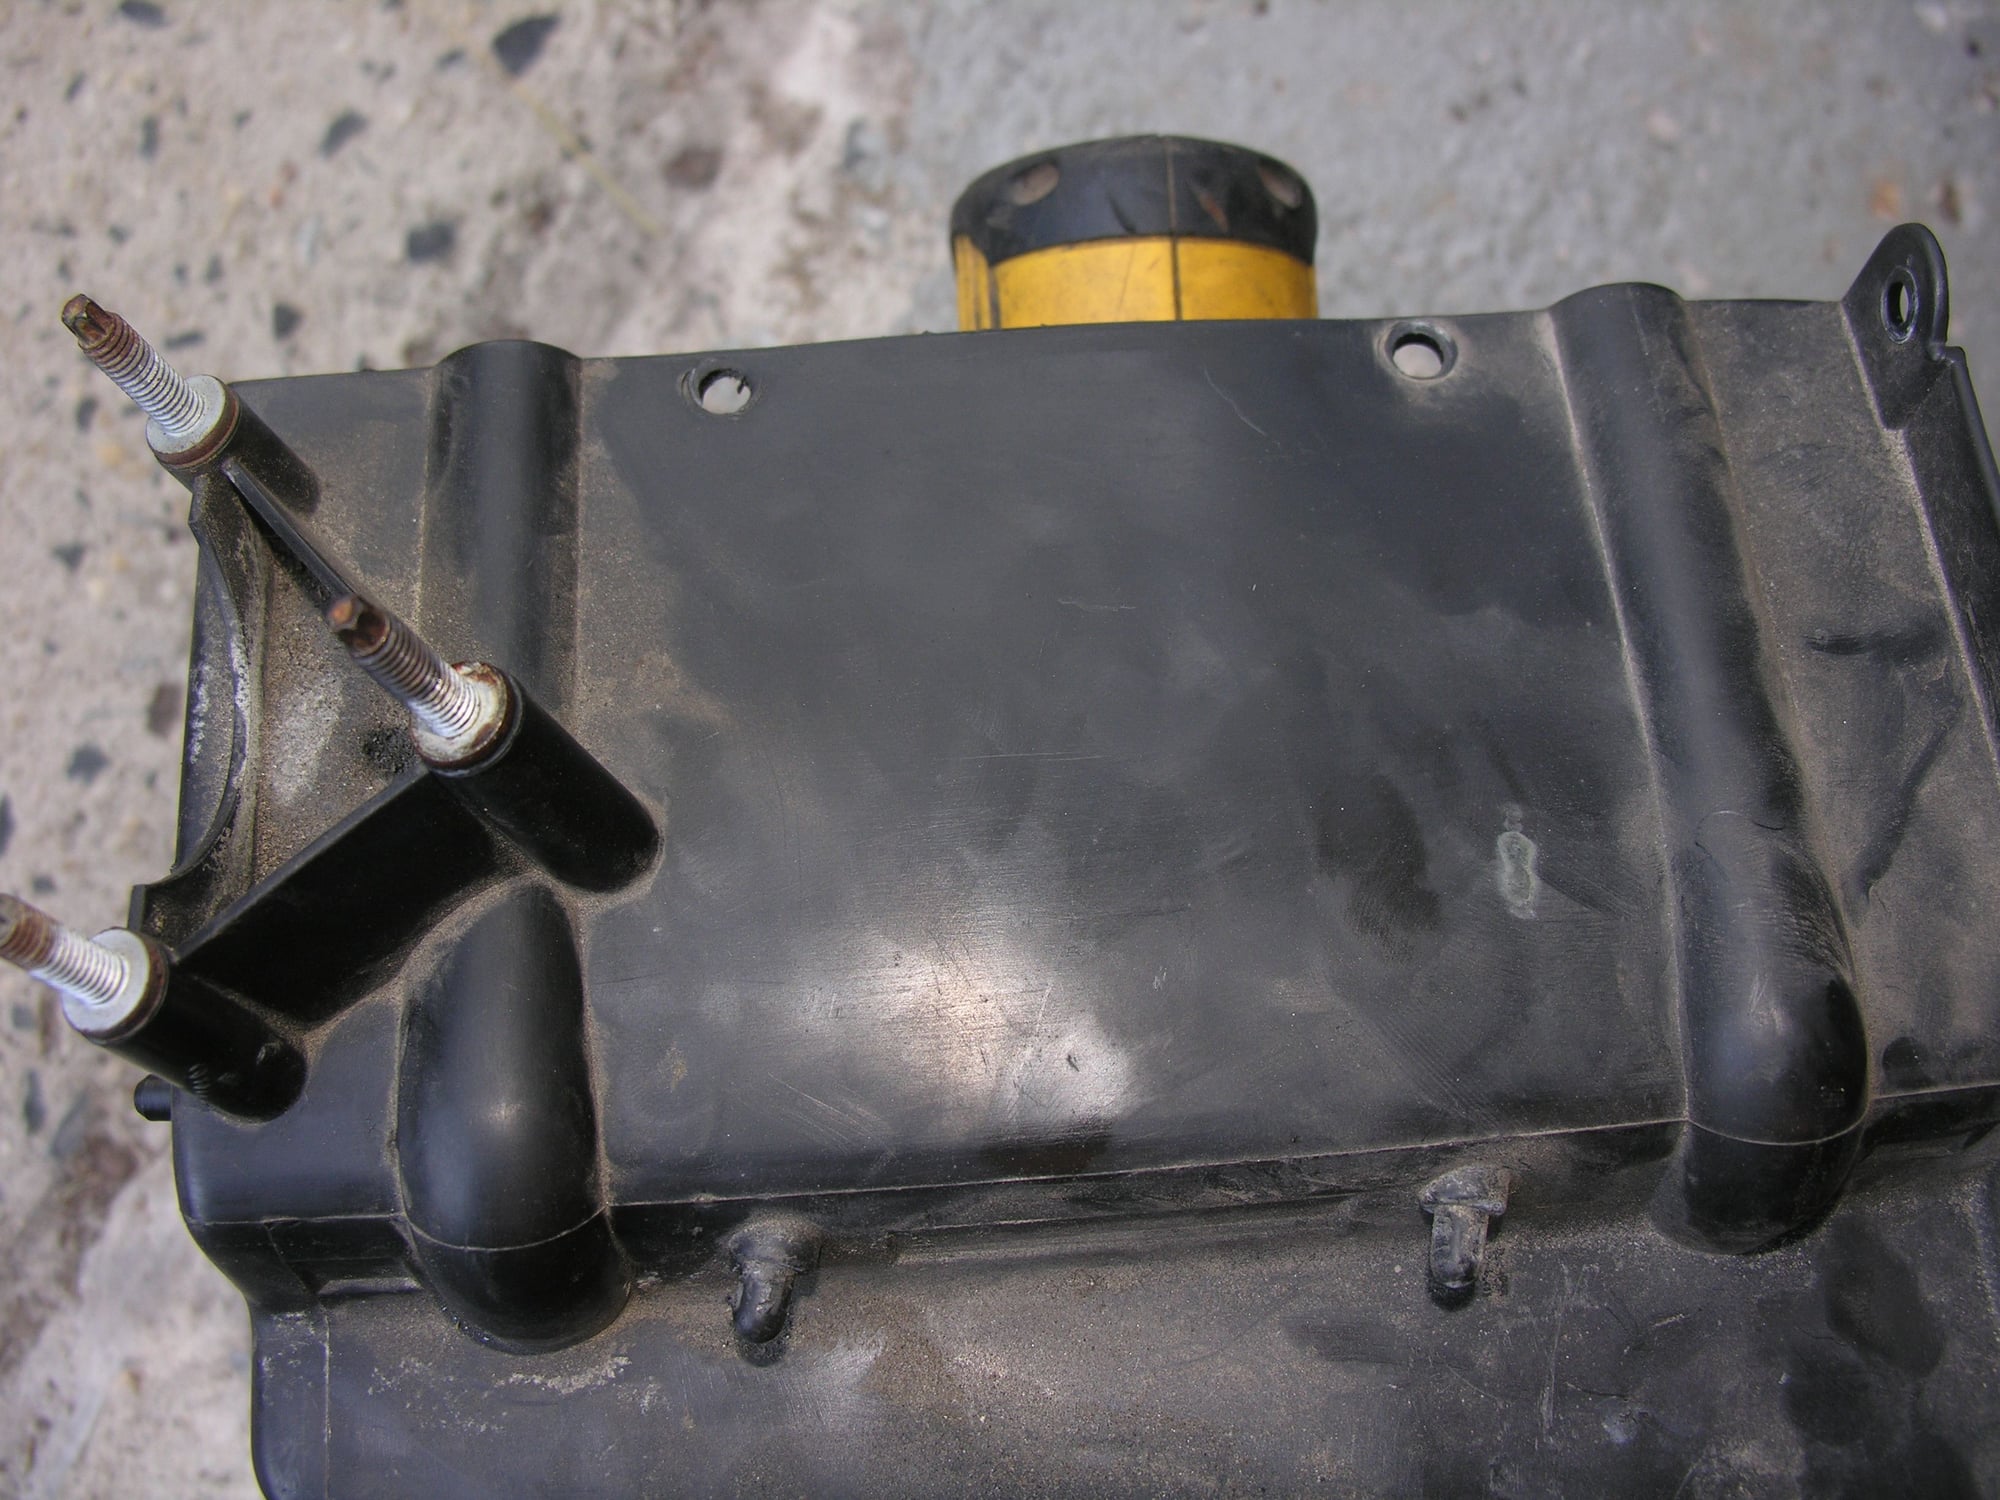
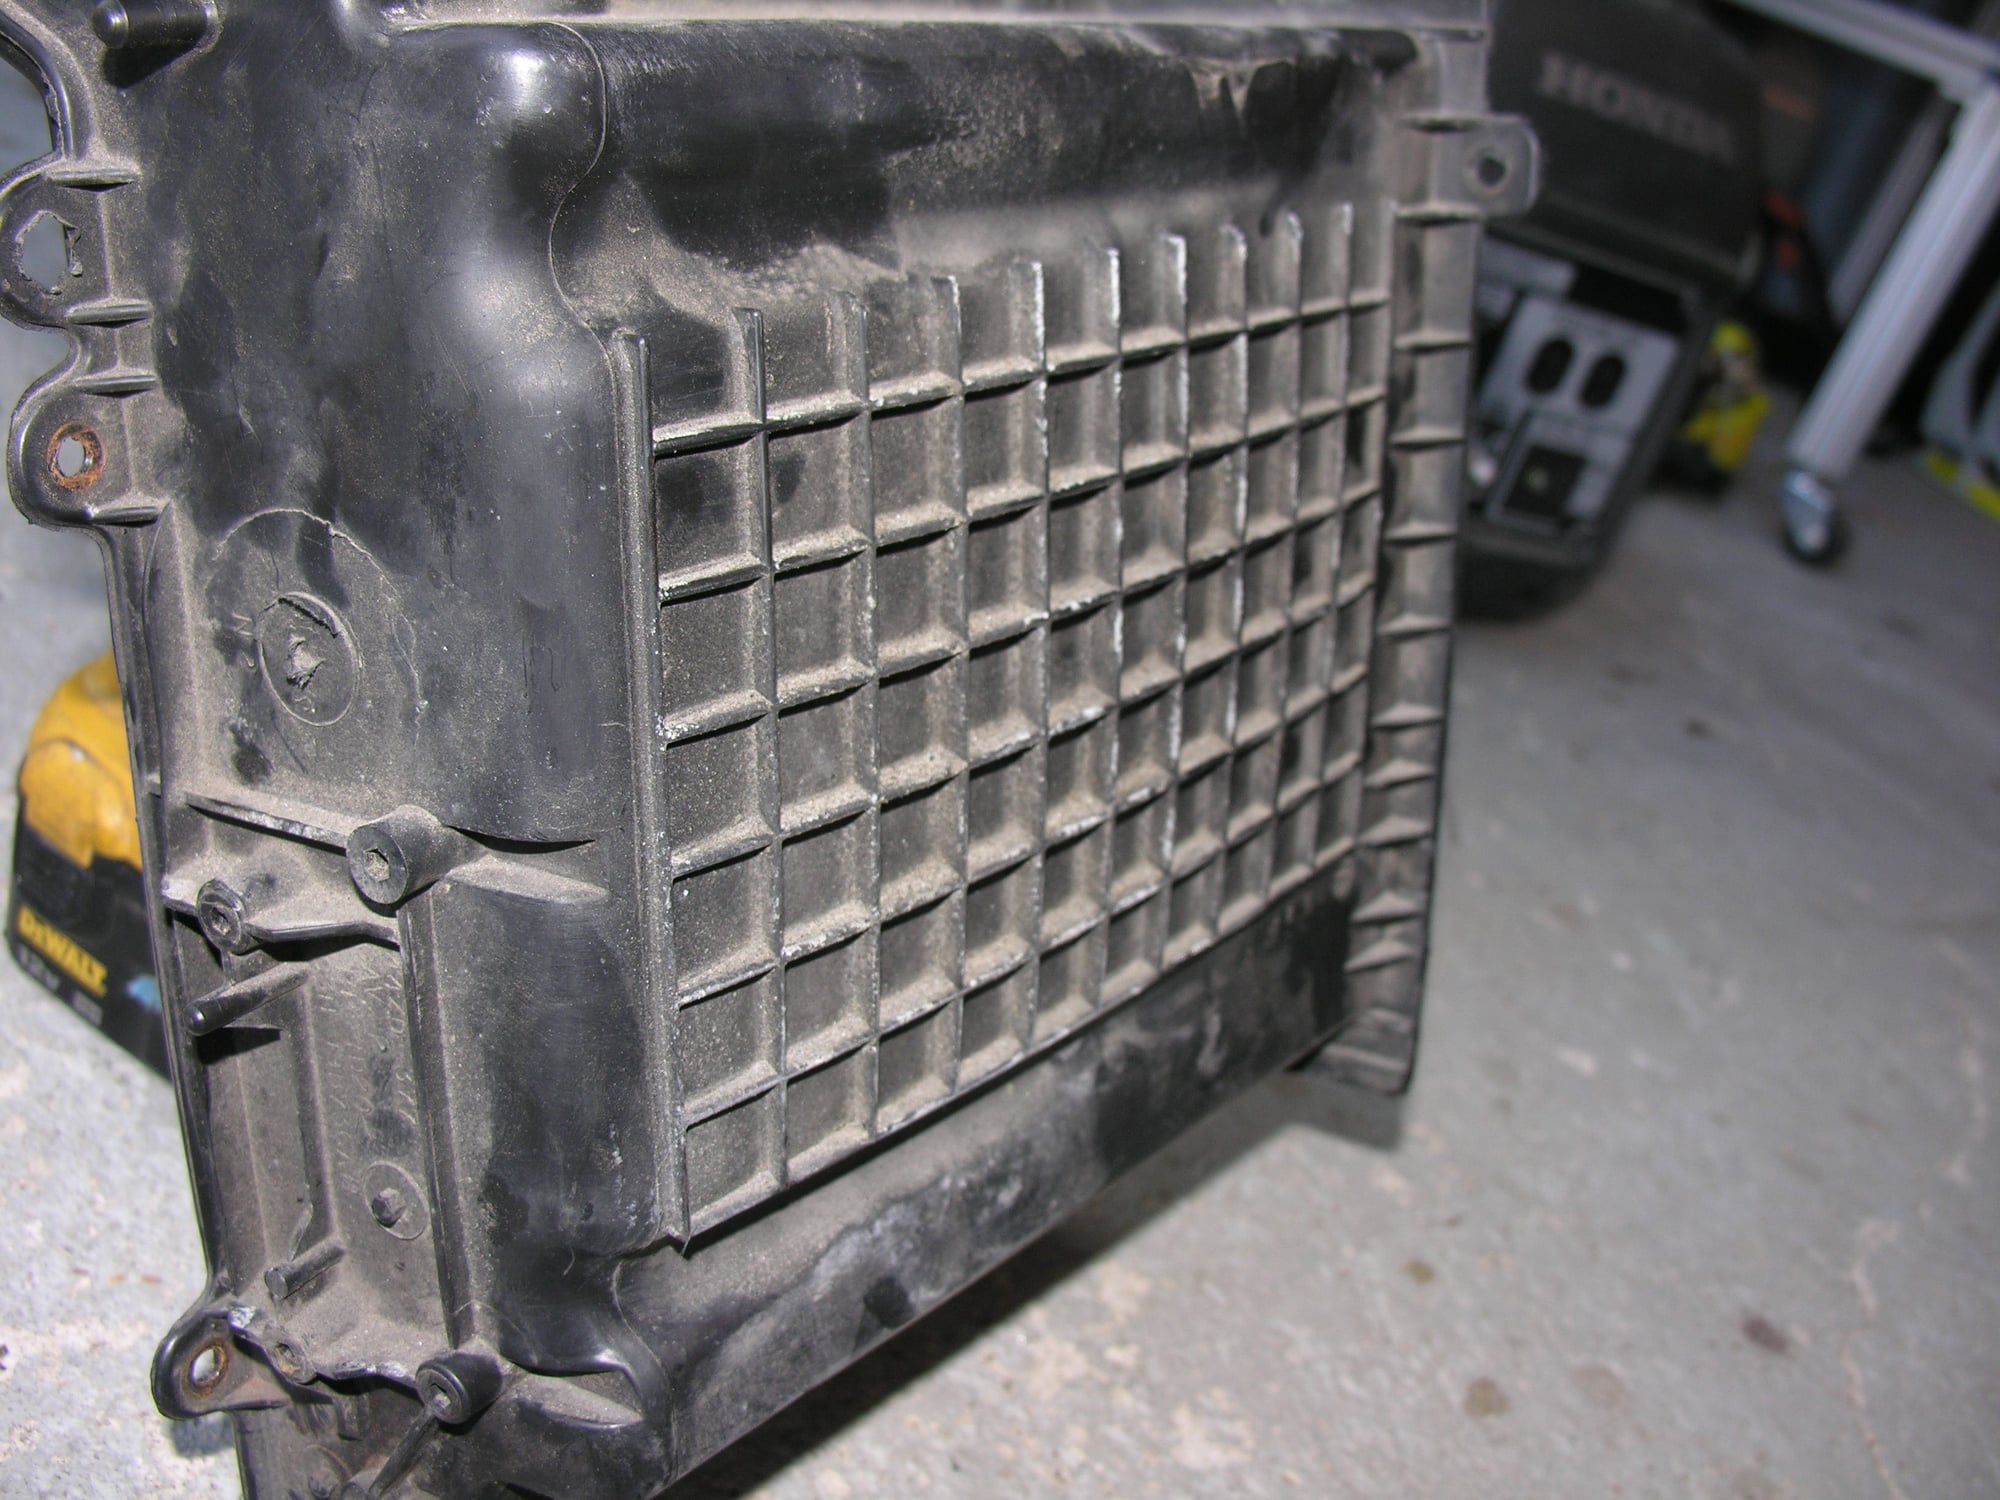
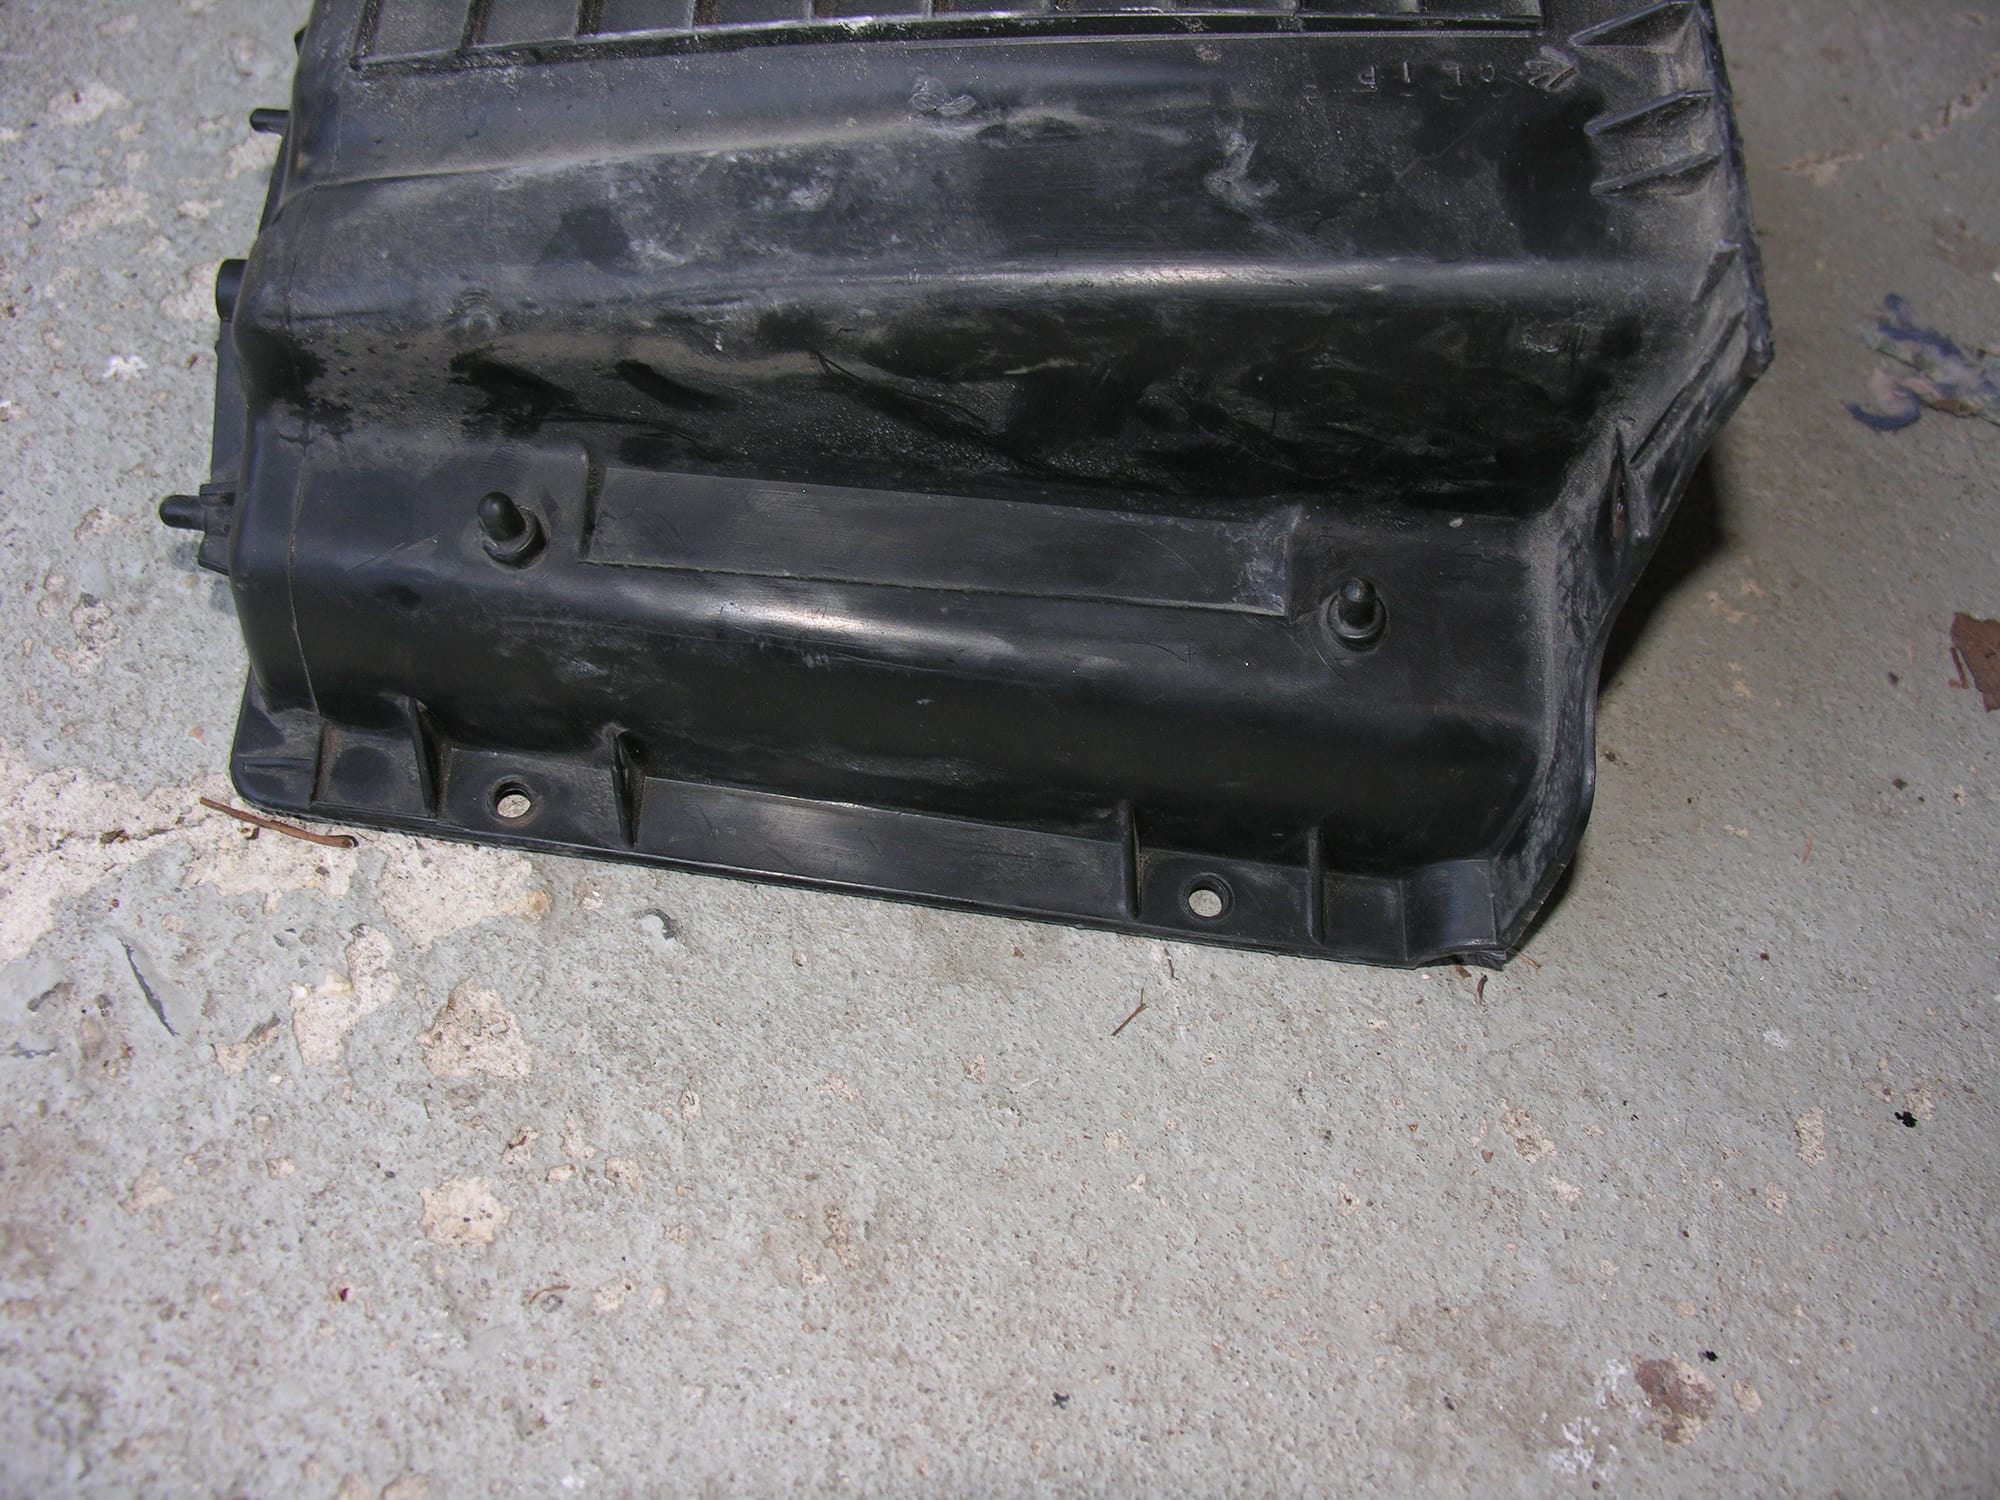
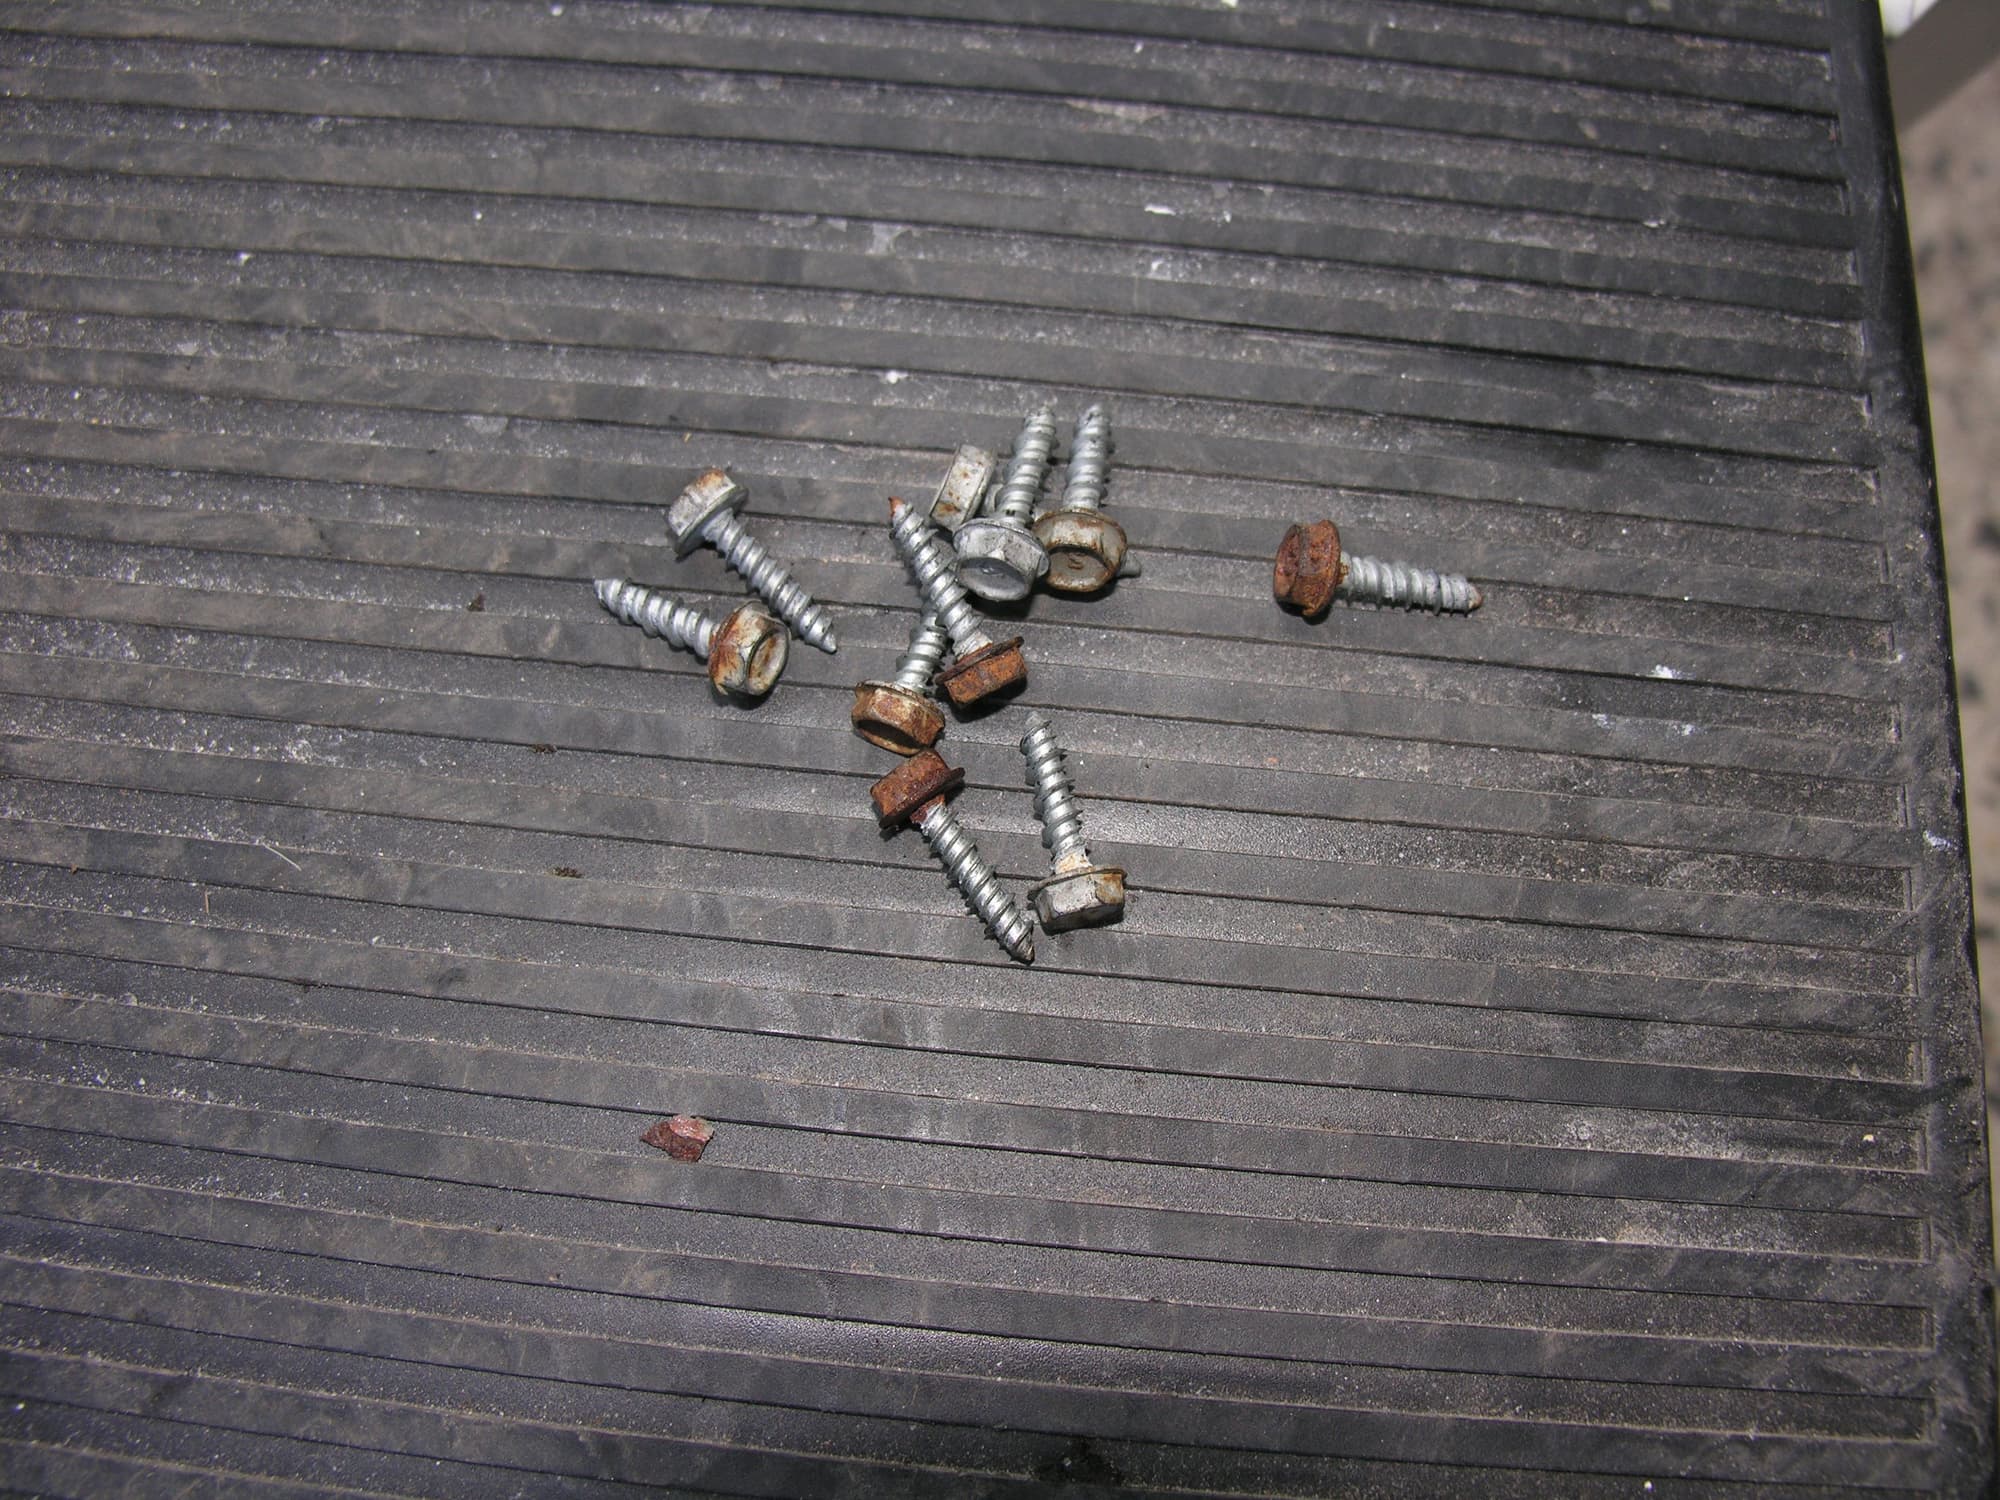
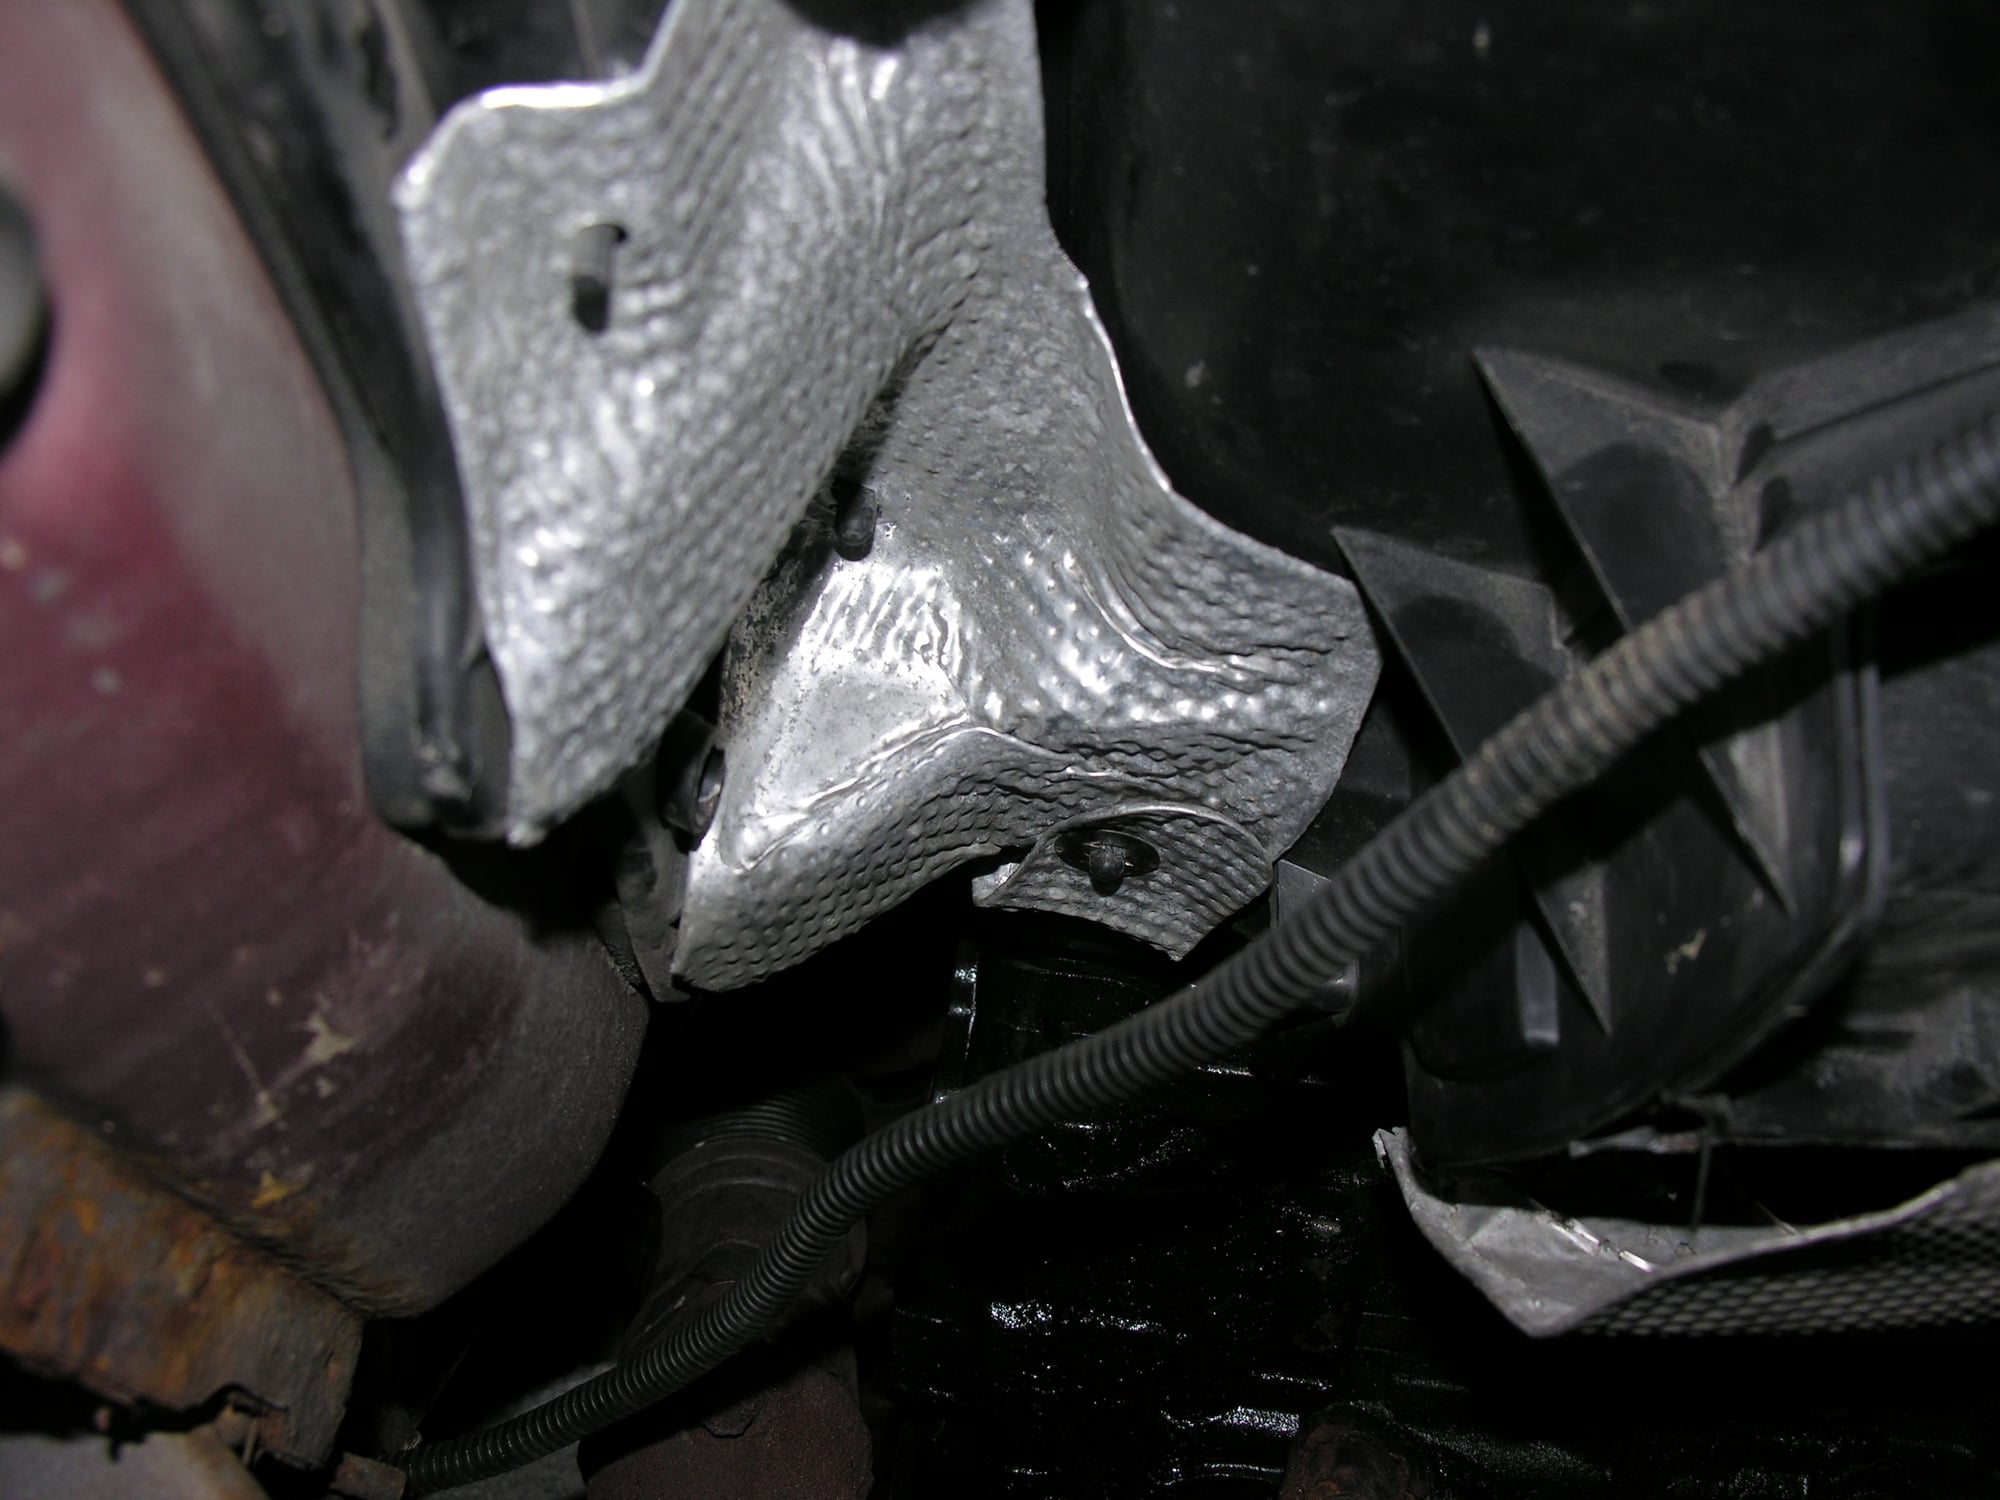
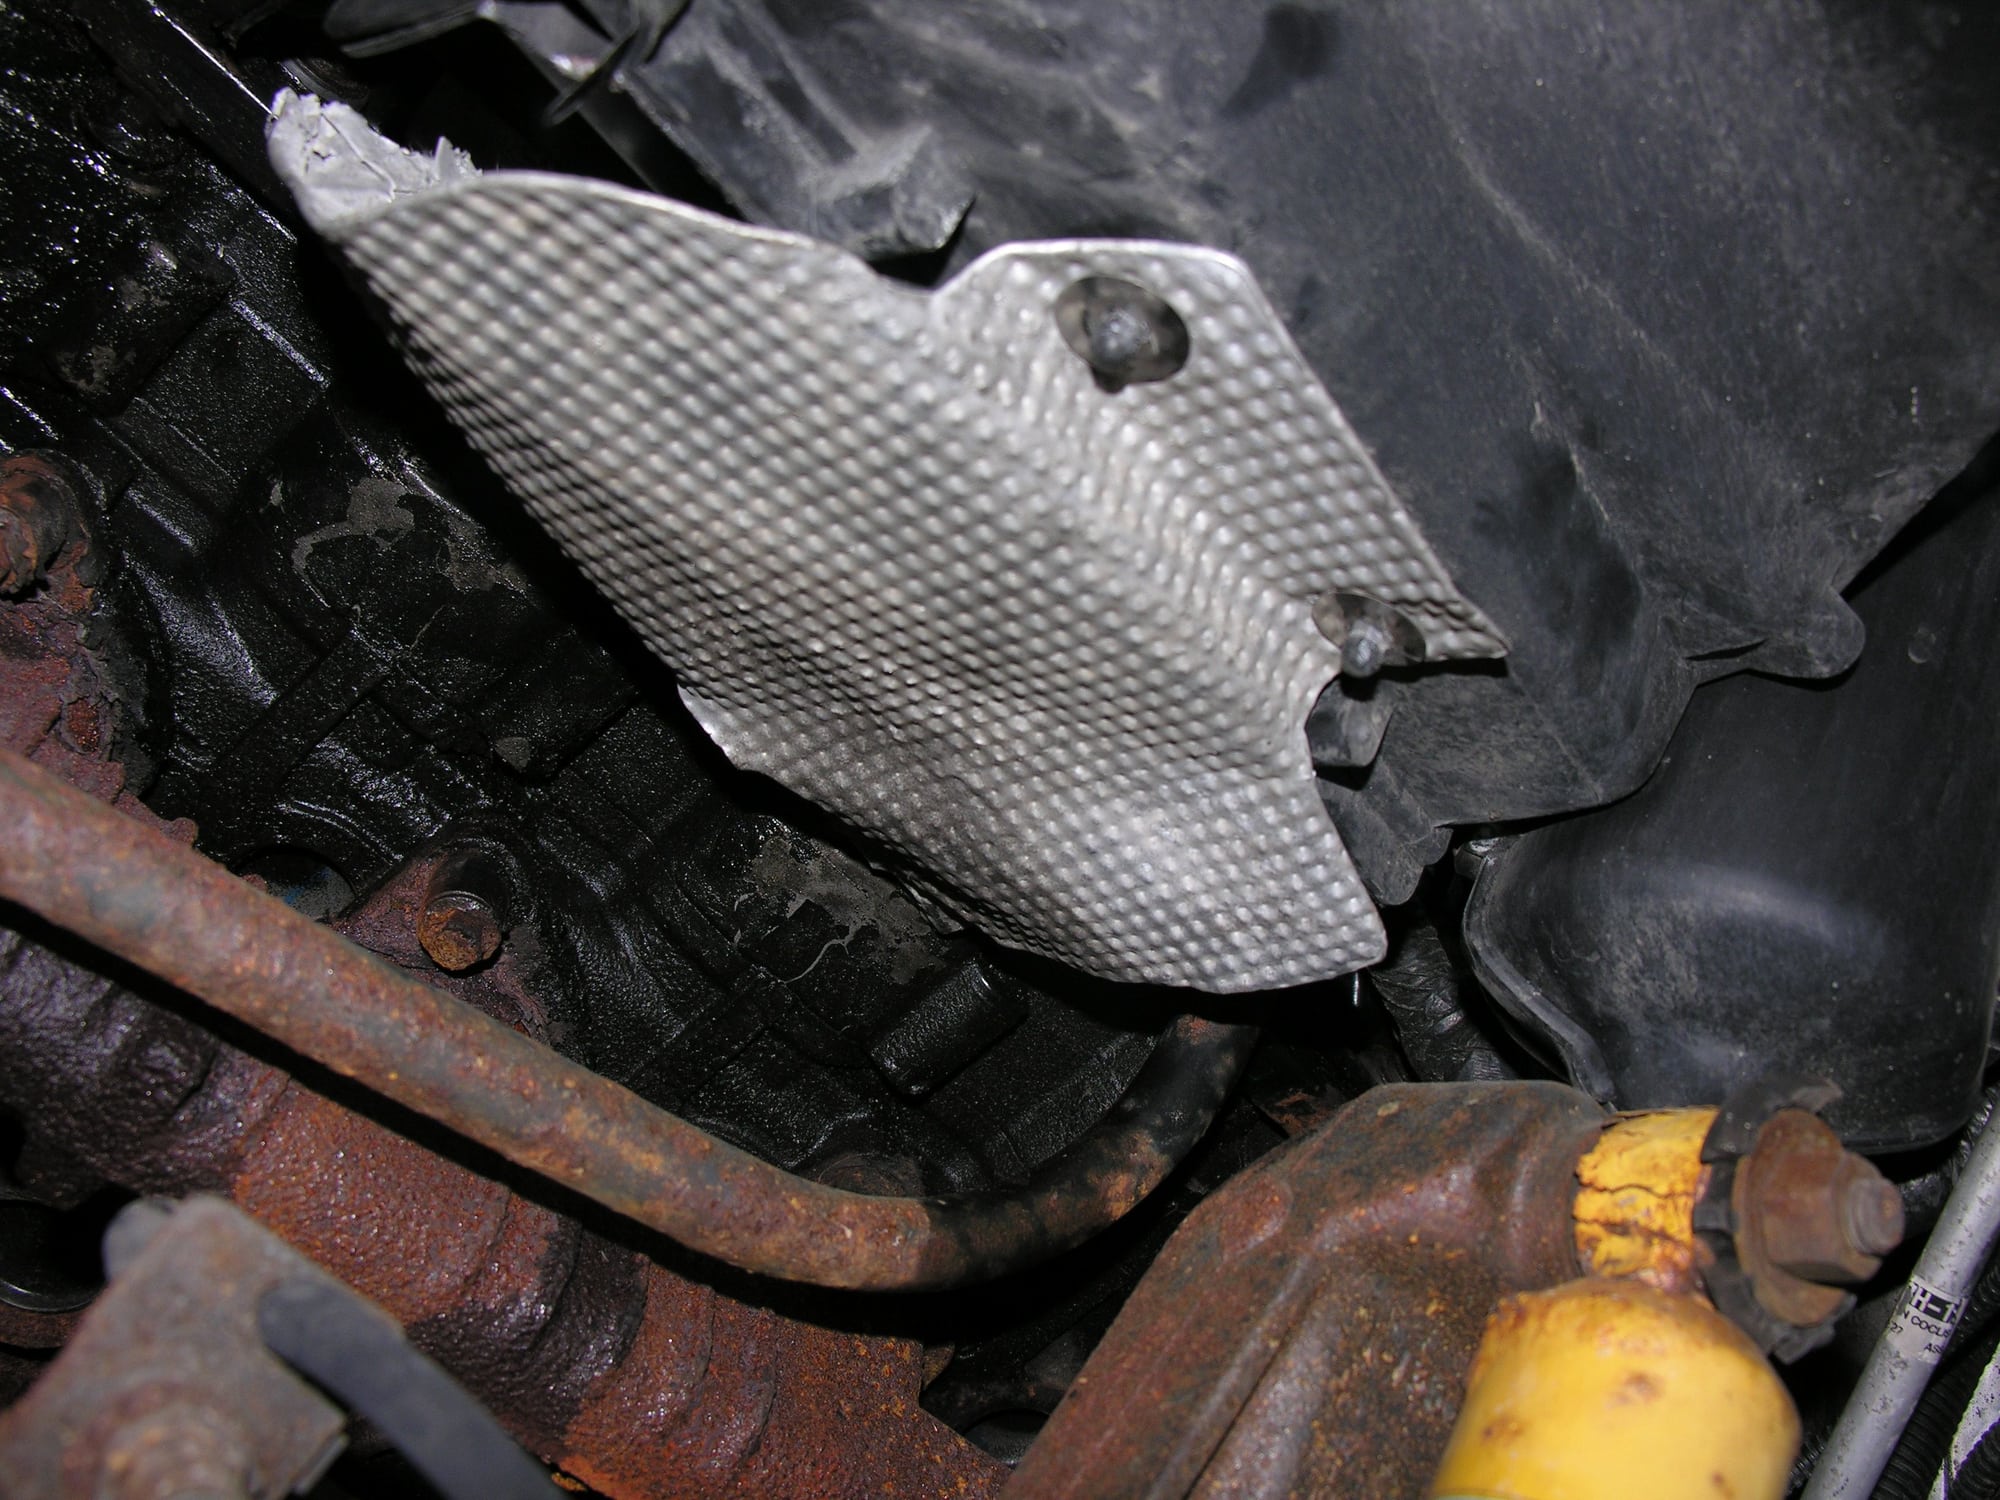
I’ve pulled the box cover, leaving the A/C alone. I’m about to hit the pillow, but you have sheet metal screws around the parimeter along with some speed nuts, but it gives you more room. Some have pulled the driversengine mount and the engine rotation gives more room. There are some threads here about using specific length tools, I just dont have time to hunt tonight.
I should have some images of the box screw locations.
I should have some images of the box screw locations.
#3
#4
I can't find that thread that Randy did last year, had some good info.
IIRC when I did mine I actually had a combination of extensions with a proper sized torx that I cut the shank down a little bit. You don't have to take the box off.
Torque wrench is doable, just don't be chewing any gum and leave your tongue in your mouth.
Seems to me I used a 1/4" set up though.
I can't get that link to work Mark?
#5
#7
Great vid Mark.
Here is the thread Randy did on his truck.....very well presented.
https://www.ford-trucks.com/forums/1...-for-it-3.html
Here is the thread Randy did on his truck.....very well presented.
https://www.ford-trucks.com/forums/1...-for-it-3.html
Trending Topics
#8
#9
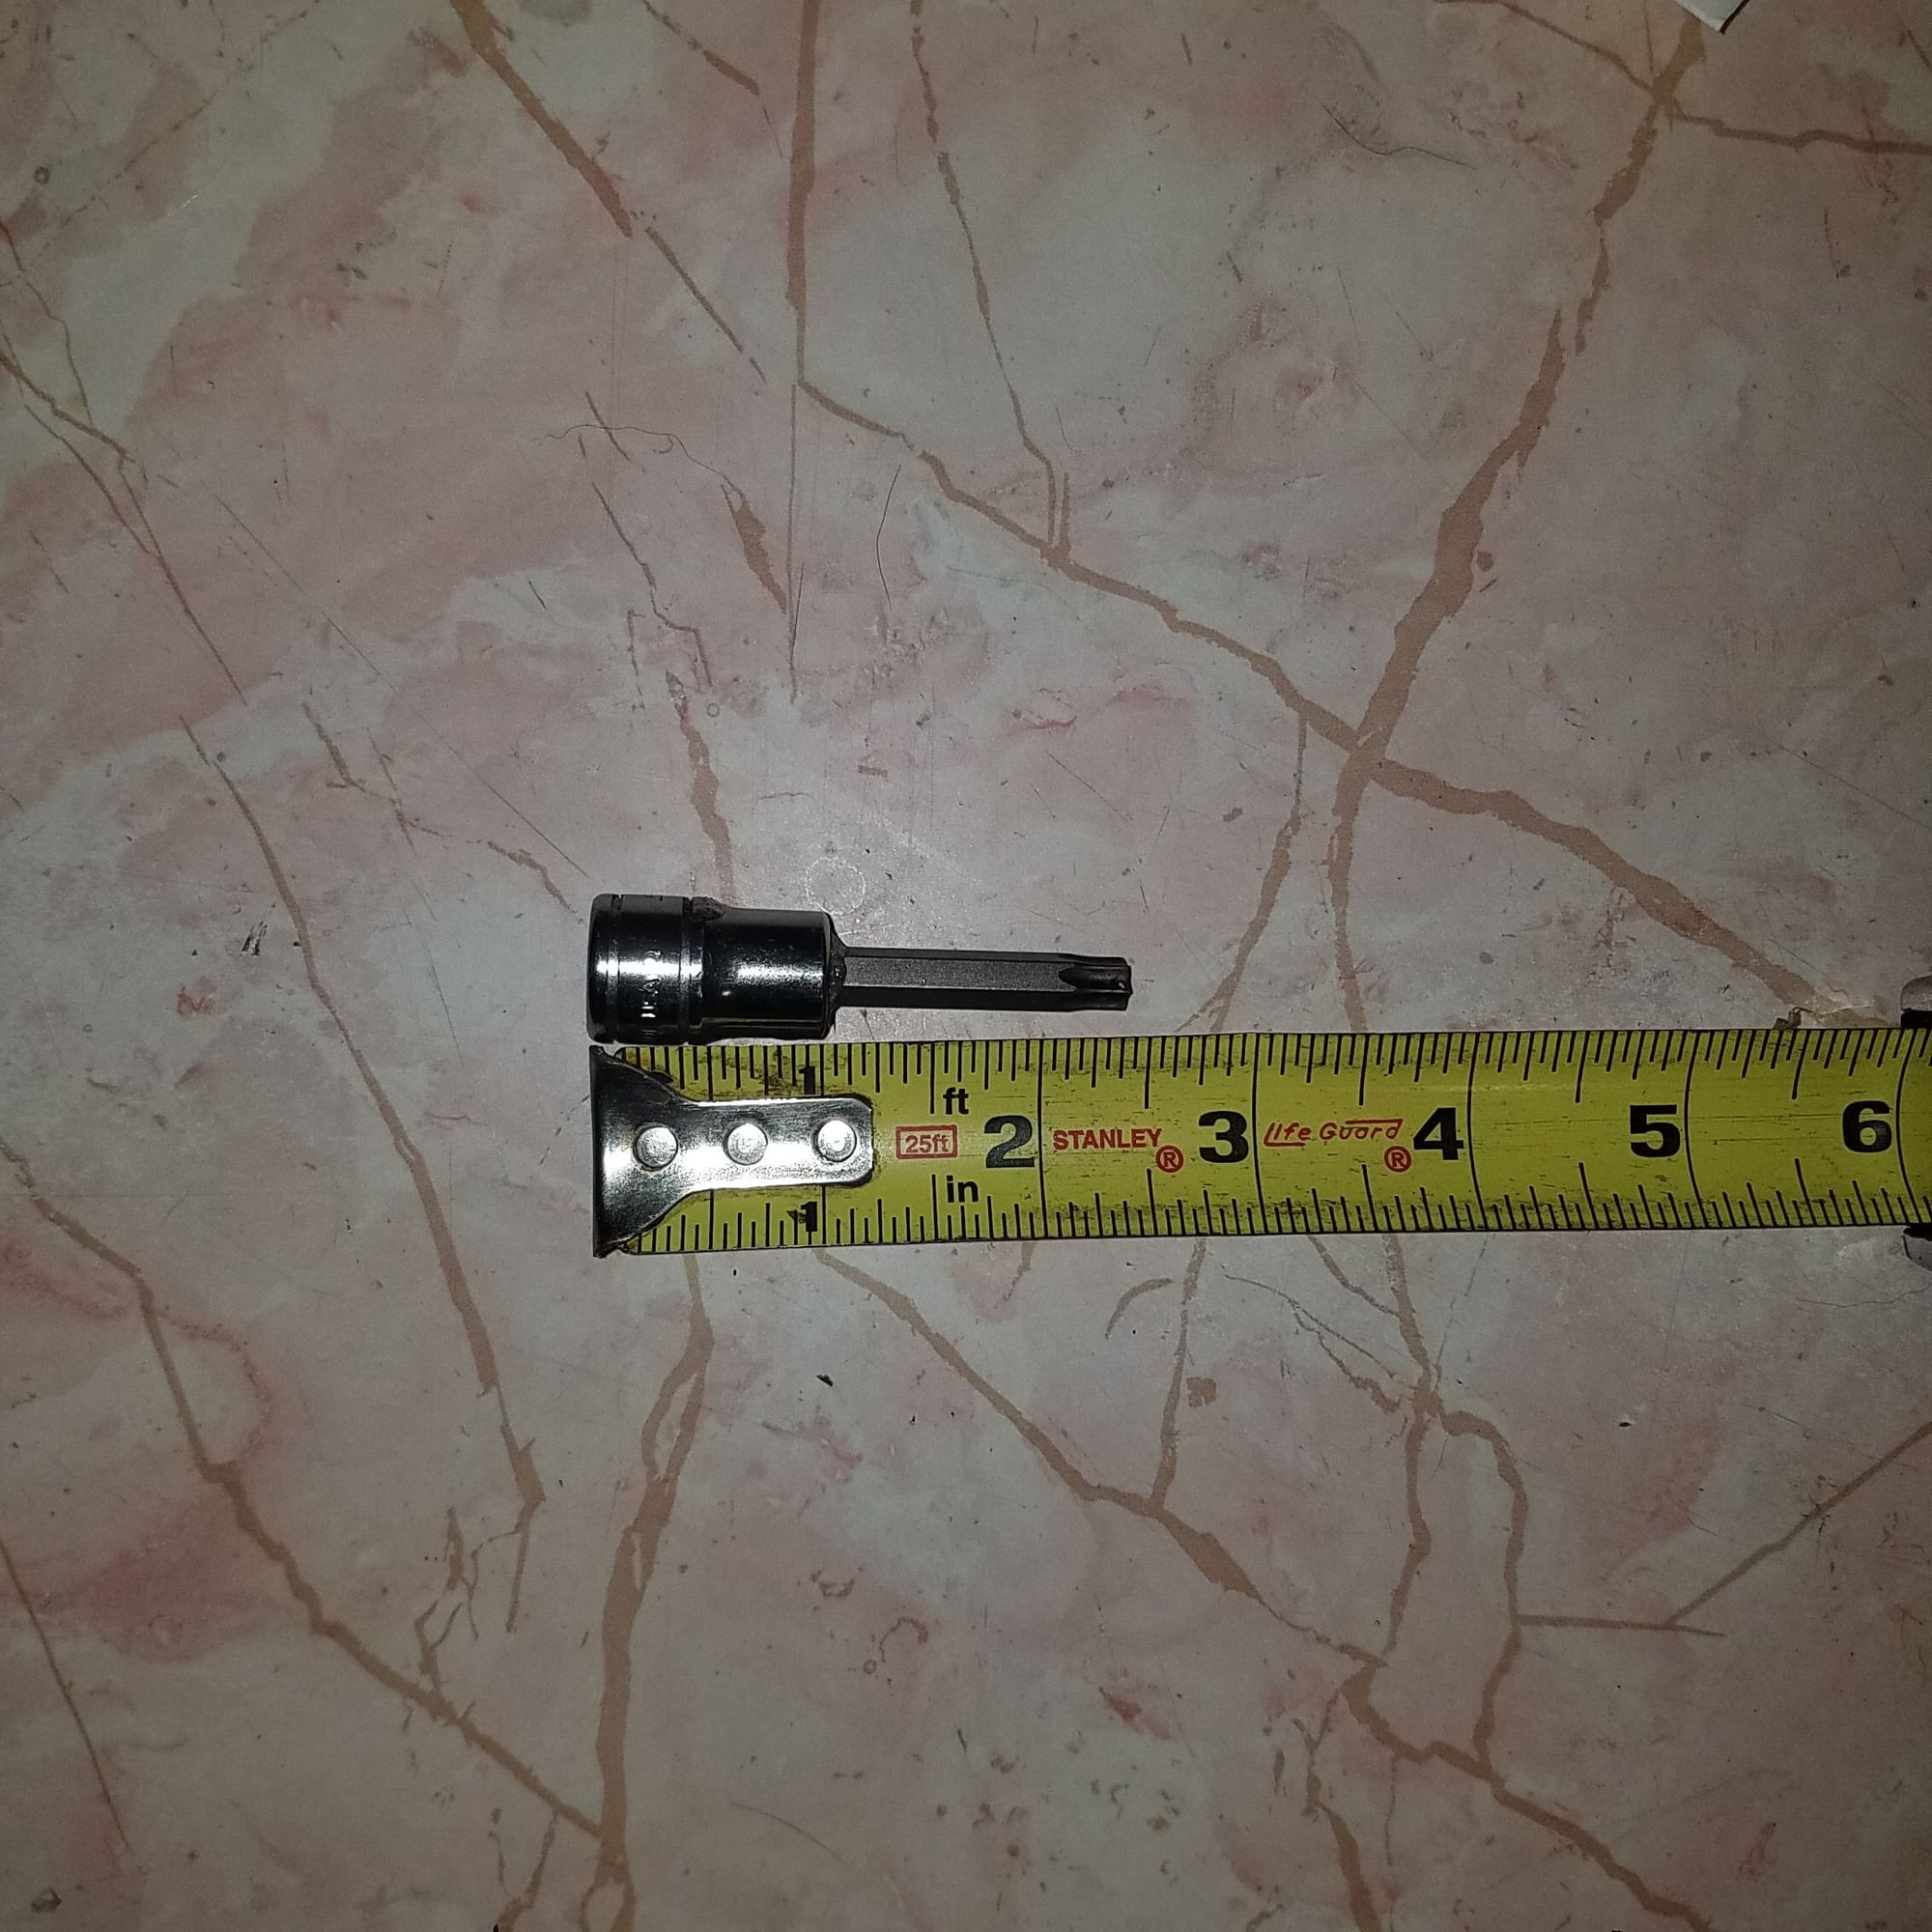
Thanks for the replies, gentlemen. I'm at work again this morning and have the Harbor Freight socket I was using in front of me so we could compare dimensions. This is a 1/2" impact style socket with an overall length of 3.25". Since it's a one-piece socket design and gradually curves outward to the 1/2" drive portion I can't accurately measure the shank length of the T40, but it is between 1.75" & 2" in length before it flares out at the base. What Mustang309 has pictured looks much sleeker than what I'm holding here.
I'm really hoping to resolve this socket issue during the first half of my workday so that I can get back out in the shop as early as possible this afternoon and get over this hump. My issue is that, being a service advisor, I'm in slacks and a long sleeve dress shirt which isn't too conducive to jumping up on my tire and seeing what my clearances need to be. The boss is being really cool about letting me work on the truck here and end my shifts early, but I don't need to be in and out of there all day. Mustang309- have you used that custom socket you made to change the #5 injector specifically? I ask because I'm wondering if your setup is just the right length to work in that tight area or if it just works on the injectors on other cylinders in general. In other words, if I need to cobble up something similar today I need to know if I would be copying your dimensions exactly or if there is any room for me to shorten it some and still be able to have enough length for a ratchet to get on there and be able to have range of motion with no interference from anything. If I have to go custom, I'd want to make it just long enough to clear everything for it to work properly with a ratchet. THANK YOU for your help.
I also thank the rest of you. And ideally I'd like to get pointed to a ready-made, readily available socket that I can pick up somewhere here in Tampa so if any of you have a part number for something like that I'd appreciate it! Also, if there are any forum members in the Tampa area that might have something like this perhaps we could work something out.
#10
#12
#13
#14
Also, I missed that you asked which oil rail style I have. Mine is an early "log style". I wasn't too sure how that came apart and I'm deathly afraid of creating a HPO leak, so I've just been moving it around as I access the various injectors. I must admit it would be nice to have that thing out of the way.
I appreciate your input at my time of need!
#15
Although I hope I don't have to take things that far, I sincerely appreciate you taking the time to put that informative post together. This place really is great- something I saw early on in my now 14+ years of ownership of this truck.


