When you click on links to various merchants on this site and make a purchase, this can result in this site earning a commission. Affiliate programs and affiliations include, but are not limited to, the eBay Partner Network.
These pics may or may not help. I deleted my side tank in favour of replacing my rear tank with the 38gal. All the straps you see are from the original tank, aside from the extensions and longer bolts to accommodate the increase in depth of the new tank. I don�t have the lower bracket you show there. There is a cross member on the front and rear of the tank, with holes for bolts to the bottom strap. The rear cross member is notched for the top straps, that get pulled across the tank to the forward crossmember and bolted down.
I have a bed floor covering it right now but I could get some better pictures if you�d like. Nice project by the way!!
Displacement4me, killer looking project you have there! Did I miss your build thread?? Thanks for the props!
Originally Posted by FuzzFace2
Monkey, Yes that rear cross member is different between rear tank and no rear tank trucks, I just used everything from my parts truck with rear tank.
I also have the bed on my truck so cant get good pictures other than what I have posted here.
The money shot:
IIRC the non-rear tank cross member is a shorter one as it does not run from top to bottom of frame rails. Then again you have the non-rear tank CM so you know.
Dave ----
Fuzzface, thanks again for the pics!
Originally Posted by Alderonn
Loving this build
Alderonn, Thanks man. I was beginning to think that Fuzzface and Franklin were the only 2 following along.
Looks like the cross member I have is not going to work and will likely be in the way. I looked at another frame that we have in the pasture and it has the same rear cross member as this frame. It will slow us down a little, but we will have to fabricate one for this frame. It will likely be quicker than trying to chase one down and we can keep the project moving. Our new tank and straps will be here this week. Thanks to all that posted and the pics were very helpful. That is why I love this forum.
Huge few days in the shop and some real progress on some smaller, more time consuming projects to report. First off, the rear replacement tank arrived as well as the tank straps and hardware- so we had to get the old (wrong) crossmember out of the frame and start fabbing a replacement. We came up with something that will more than support both the frame and the fuel tank. We started with some 3 inch channel and some flat strap and it bolts in with grade 8 hardware. The rear brake hose bracket was also moved and modified to work:
We then started to focus on the front of the truck. This frame narrows and widens where the older frames are straight, so we had to make some brackets for the front swaybar to mount on the frame. Nothing too fancy here, just some flat plate with holes in the proper place for the swaybar and some on the frame where it was 'flatter'. May swap these for grade 8 hardware, but this is where it will live.
We then needed to figure out how we are going to mount the 'cooling assembly' out of the Mercury. We are going to reuse this assembly as it is compact and complete with the electric fan, fan shroud, radiator, condenser, trans cooler and power steering cooler all mounted together as well as overflow/reservoir tanks. We started out by mocking up the old core support in the truck and then placing the radiator in place to see what all we would have to trim on the new core support. After hacking up the old one to make sure that the radiator would fit, we started looking at how we would mount it. I have said it before and I will say it again- buying a donor car is the way to go. We have reused so many pieces off the donor car and this project is no different. The cooling assembly is rubber mounted on the bottom in 2 places and on both sides. We figured if Ford though that was good enough, we did too. So in the above pic, you can also see the lower radiator mount that has been shortened and modified to be mounted on the F150 front frame support. This mount locates the radiator and also places the radiator in almost the same exact position as it was in the car. This means that all of the hoses will be the right length and in the proper orientation to match up with the motor. We then had to get a little creative on the upper mounts on each side. We reused the rubber mounts and the factory brackets from the car and then fabricated mounts that bolt to the F150 frame. This is all out of scrap metal, but will be shaped up with a flap wheel to round the corners, cleaned up, and coated in POR15 before going back in for the final time. These frames are shaped so different on either side, the brackets are different, but they are almost perfectly level!
We then used the old core support that we had hacked up to mark and cut up the new one from LMC. Nothing like cutting up brand new parts!
We cut all of the bottom brace out of this support, so we will have to make a bracket that ties them back together and goes across the front before final assembly. I think we have enough clearance around everything, but may have to tweak it a little more as we re-assemble the front end.
Nice work both the fuel tank & radiator supports.
I was wondering about the trucks core support as the fenders / grille hang off it then the last picture I see how you did it.
Are you going to add rubber between the support and the condenser to close the gap and air has to go thru the coolers?
Dave ----
Yes, we have the plastic pieces that came off of the car that we are going to install.It will 'funnel' the air across the cooling fins.
Good job on the build guys. I am going to try and use a Crown Vic frame complete with everything but the body. Can not wait to see the finished product
Good job on the build guys. I am going to try and use a Crown Vic frame complete with everything but the body. Can not wait to see the finished product
Little hi jack
Will you be also using the CV fire wall & floor to replace the trucks fire wall & floor like they do on the older trucks?
You have to start a post on this as I know others will be following it like me.
Dave ----
Little hi jack
Will you be also using the CV fire wall & floor to replace the trucks fire wall & floor like they do on the older trucks?
You have to start a post on this as I know others will be following it like me.
Dave ----
I have seen on other builds that they cut the section where the steering column/brake booster is and graft it into the original firewall. I myself am figuring out how to make the shift linkage work with the crown vic trans. I may have to get a 90's up steering column or try and make the crown vic one work
Good job on the build guys. I am going to try and use a Crown Vic frame complete with everything but the body. Can not wait to see the finished product
Originally Posted by shaneandsarah
I have seen on other builds that they cut the section where the steering column/brake booster is and graft it into the original firewall. I myself am figuring out how to make the shift linkage work with the crown vic trans. I may have to get a 90's up steering column or try and make the crown vic one work
Sounds like a cool project. TMI Products did the same thing and that truck came out sweet.
Full write-up here. They did a great job of seamlessly adding the CV dash/Steering column into the F-150 Cab. I hope we can do something similar with the digital dash from the Mercury Grand Marquis donor we are using.
Update from this weeks progress-- We were able to clean up and paint the brackets we made for the cooling system and I think we have the fuel system all figured out. Since the 1985 F-150 was available as a EFI truck from the factory, we ordered up the EFI fuel pickup that goes with our factory replacement tank. This will fit in the tank without having to modify anything. Then, we mounted the Mercury fuel pump onto this pickup (it is PWM powered for a returnless fuel system). I still need to get some of the in-tank PTFE corrugated hose to hook it up and may need to trim the fuel outlet some. This will allow us to have an 'all Ford' solution and not have to cut or modify the tank at all. I will put the correct sending unit on this pickup when we are sure what gauge we wind up using. Both tanks have 4 wires that enter the tank, so I ordered a new plug that will be wired into the harness and it will all be plug and play and easy to remove if the need ever arises.
Here is the tank mounted for the final time, with the Russel AN-6 adapters and the stainless PTFE fuel line all secured with cushion clamps. The green vent/rollover valve is the one from the donor car and fit right into this tank. I will extend the vent line to a charcoal canister before final assembly.
Summit 10 micron billet fuel filter mounted inline on the frame:
Then we decided we would lay out the engine/transmission harness we got from Hot Wire Auto. This thing really is plug-and-play. All of the harness connectors are labelled and the correct length to fall where they go on the engine and transmission and heat shrinked to protect the wires. Here is a cell phone video of it plugged up:
I did not get this on the video, but the harness also has all of the needed relays for the engine control-all labelled:
Here is a comparison picture of the Mercury drive-by-wire pedal and the one we used from a 2006-2010 Mustang. This pedal has the same 7 pin configuration, but it a lot smaller.
I am going to order all of the small in-tank hoses we need from APE to complete the fuel system and after the Easter weekend, I hope to hear this thing fire up. Slowly but surely we are getting there.
A few smaller projects are now complete as we continue to chip away at this project. We had a rusted bed crossmember that needed to be cut out and be replaced. This was a lot more work than I had imagined. There are a lot of spot welds that needed to be drilled out before welding in the replacement from LMC. I will say that I was impressed with this particular piece we received from them. Nothing really picture worthy with that.
Once we had the bed crossmember repaired, we decided to put it back on the truck to start fabbing up brackets for the new Sport Bumper we also ordered from LMC. It amazes me that these bumpers are available everywhere but no one makes brackets. I wanted to make this bumper fit as snug as possible, so we first started at the bumper side. Once we had these like we wanted, we made the truck frame brackets. Mating the 2 sides was easy once we got everything level and plumb. I think we nailed the fit we were after.
We need to clean them up before hitting them with a coat of Por15, but they are done. Not bad for a few pieces from the scrap bin.
We we also have everything needed for the fuel system now. I�m hoping to pull the bed back off next Saturday and get all of that installed and maybe try to fire this thing up.
We had a rusted bed crossmember that needed to be cut out and be replaced. This was a lot more work than I had imagined. There are a lot of spot welds that needed to be drilled out before welding in the replacement from LMC.
I had to move 1 when making the style side bed floor fit my flare side so I know what you say on the spot welds!
Nice work on the bumper brackets.
A lot of little jobs adds up to a finished project.
Dave ----
We missed last weekend in the shop due to a storm coming through and knocking out the power, but today we made more progress. My dad pulls a trailer with everything he owns, even his trike, so we needed a receiver hitch. We thought about ordering one, but wanted it to be tucked up as close to the bumper as possible, and tucked under the truck far enough to not be seen until needed. We dug through our scrap pile and found a tube receiver hitch that was actually made for a 2001 Silverado (Part number 78179). The arms were almost perfect, but the hitch was too wide overall. We cut the center section out of the hitch and mounted the 'arms' onto the frame, 3 bolts on each side. Then we measured in between the arms and found that if we took an inch off of each side of the tube, it would fit perfect. After getting it positioned under the truck where we wanted it, we welded it up. Came out like a factory job:
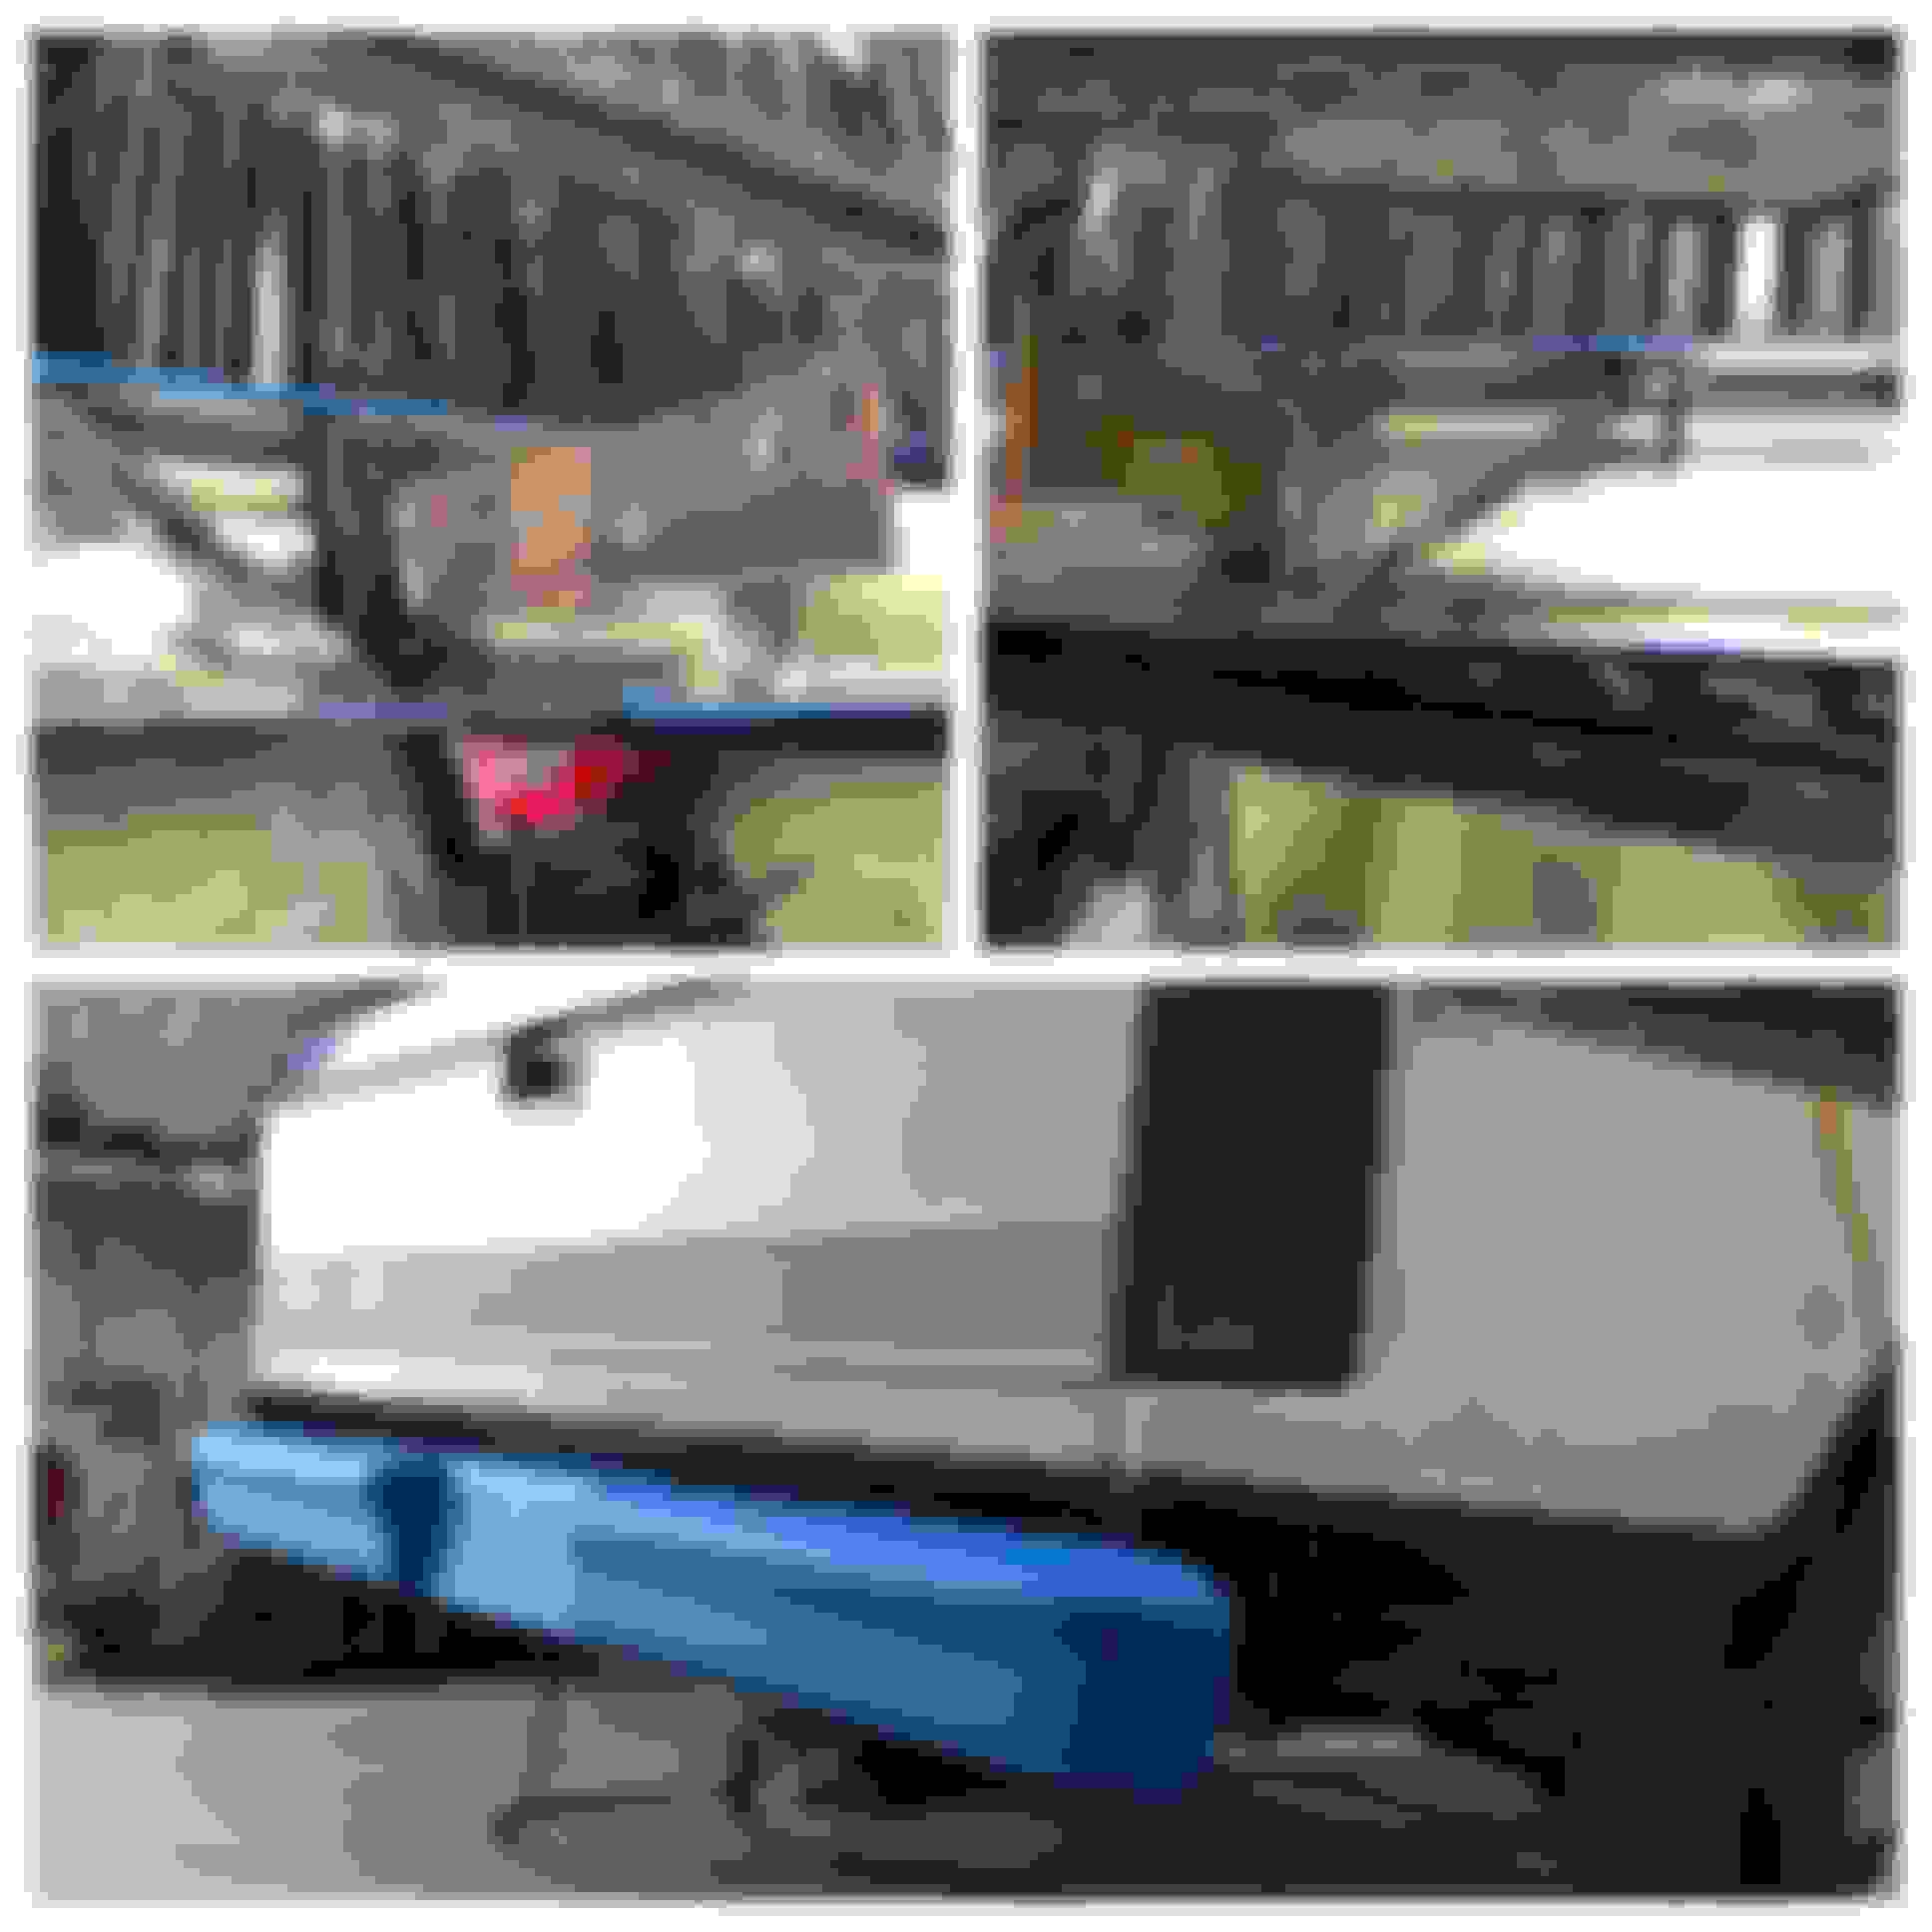
Then after looking at the rear bumper- and all of the trucks that run this bumper, there is a gap between the bumper and the bed that is pretty unsightly:
And keep in mind that we made these rear bumper brackets with only 1/4 gap on each side between the edge of the bed and the bumper.
I wanted to close this gap somehow, or atleast make it less noticeable. I have seen where some people have cut the bumper to make it fit better and tighter, but I did not want to risk messing up a new bumper. When my dad had disassembled his donor car, he saved everything he thought we might use. On each side of the car, there are some black plastic trim pieces that cover the seam of the side of the car where it meets the floor pan. It is shaped like a channel iron, but is black plastic and is pretty thick:
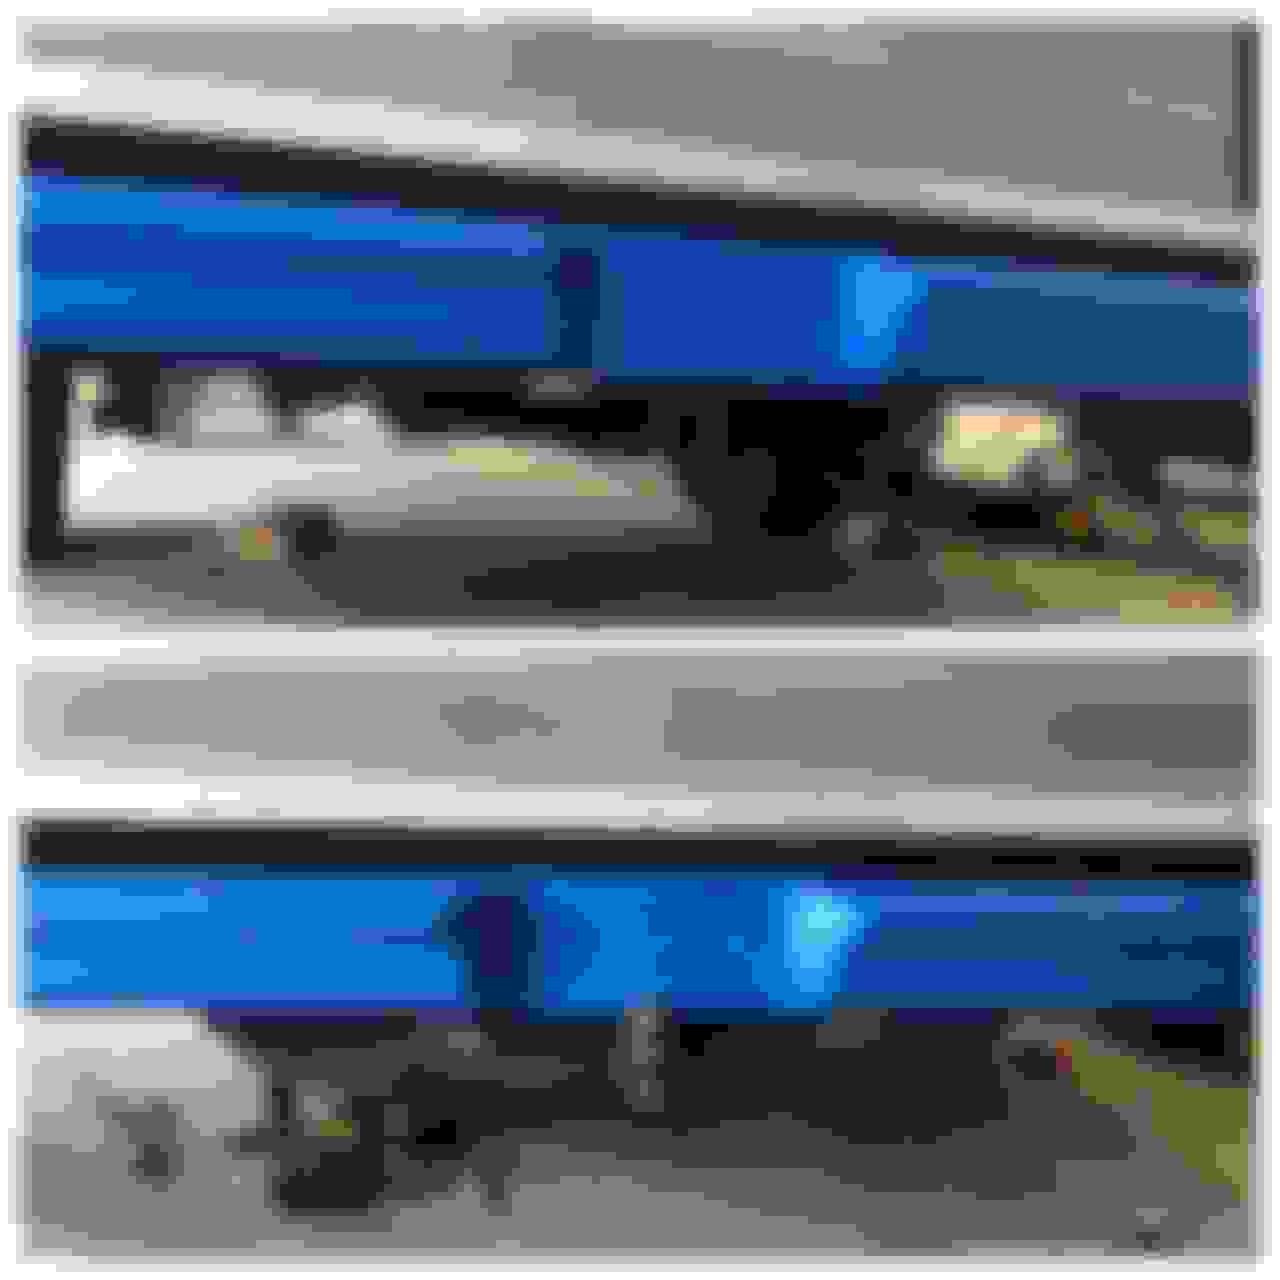
We cut this down, notched it for the bed corners and the bumper brackets and slid it in place.
I think it made a big difference in the way the rear end looks and makes it look way more finished.
This is all we really got done today as we had a few people stop by and check on the project as well as a guy that came by and bought the motor and transmission out of my '77. We are not as far as we would like to be, but every little bit of progress adds up.
 03-05-2018, 07:55 AM