When you click on links to various merchants on this site and make a purchase, this can result in this site earning a commission. Affiliate programs and affiliations include, but are not limited to, the eBay Partner Network.
Having a crappy time drilling the 3/4" holes in the original bumper braces. Its thick and very hard. I got a friend at work to grind me some bits that hopefully will work better then the ones I've been trying, but we'll see.
Having a crappy time drilling the 3/4" holes in the original bumper braces. Its thick and very hard. I got a friend at work to grind me some bits that hopefully will work better then the ones I've been trying, but we'll see.
use a hole saw. I use the good ones on stainless steel and they work nicely; when they are new and run at proper speed.
Here's some pics of the front clip bracket. The radiator support will come up off of the cross brace. This way it won't rotate with the rest of the front end.
So far I have narrowed it down to this combination for cooling.
I tried to see if a magnetic base drill would fit in there but once again it did not work. I did end up finding a way to use a ratchet strap to apply pressure with my hand drill and not have to rely on my poor weak muscles. I'm on day 3 now of drilling but there is an end in sight. Only less than half of one to go before I'm done.
Now to get a shop around here to commit to lengthening the frame 24"....
I got more of the rusty floor pans out today and the cross braces welded in. The original rear u-channel fits a square tube perfectly nested inside it. It will help support the new storage/battery compartment going under the seat.
I got the frame mounts made and welded on and access holes cut through the floor pans. Now I need to finish the frame mount supports and new holes for the rubber mounts on the chassis. There were already mount holes in the frame for the rears that were unused with the E350 cab. Thanks Ford, ti was very helpful.
Soon the cab will be heading out to have some sheet metal and interior work done at a local shop here that I like. I've decided to go with the bench seat instead of buckets. I'll be customizing the original frames so that they sit 2-3"lower and 4-6" back more. I need to cram my 6' 5" body in here somehow...
Got the cab framed up with new mounts welded into a custom sub frame. Its now heading over to a local shop here for some sheet metal work and custom headliner and bench seat.
While it's there I am freshening up the engine and front suspension components. I added a pic of the cab after wet sanding it a little and wiping it with water to see how it looks when it gets a satin clear coat.
The cab is still at the fab shop getting the floor pans and firewall made. They will also be doing the custom bench seat and head liner while its there. I've been working on the doors while the cab is out. I have the glass out and all new felt, rails, and rubber on them. I stripped the interior side paint and repainted it black and left the exterior it's sexy rusty look.
Once the weather clears up and I get the cab back I'll be putting it all on the frame and start fabricating the step rails and get the wiring finished up.
After some drama with the shop that was working on the sheet metal I finally got the cab back. The two owners split ways and were pointing fingers at each other about everything. Not super happy about the sheet metal work but it's nothing I can't correct. The seat, in my opinion, looks pretty good.
Now to move forward with the rest of the chassis mounts and interior.
Cool project---without megabux in the wallet these sorts of things take a looooooooong time to finish.
If you've not yet found someone to lengthen the frame try a local outfit specializing in big truck frame/spring work. This shouldn't be any trouble for them at all--and they'd do it properly too.
I have a shop lined up...... My job will be fairly simple compared to the stuff they work on normally.
And that's the big benefit to using such a shop---bring 'em the easy stuff. They typically don't do it for any less money but you know its done by experienced people.
With quarantine and better weather I have been able to make some really good progress. I got the front of the engine torn down and replaced the front main seal and timing set. I got it corrected to the earlier style timing chain so it's not 4 deg retarded at the cam. I got it all back together and built a radiator support, got it all mounted and fabricated hoses to fit.
I also got the wiring harness installed (all but front and rear lights connected). I used a Universal 22 circuit kit that has way more than I need but it's better to have extra circuits than to need one and have one. Got the starter solenoid mounted and wired on the firewall. Bought a new battery that would fit under the seat and got it wired up and installed.
After some modifications to the firewall and floor I was able to get the clearance I wanted for the driver side valve cover. It had about 1/4" before and now it's got about 1.25". Once the modifications to the floors and firewall were done I wire brushed it all down (with help from my two good workers) and coated it with rust converter, then installed sound deadening mat all over the cab insides.
Once the wiring was mostly in place I started on prepping and painting the dash and other interior metal parts. I got it all painted and installed the gauges and new steering wheel. I was able to get the 1986 e350 steering column to mount up and out of the way for my crazy long legs and use the starter switch and key in the column. I think it turned out nice and the tilt column and shifter make the leg area much simpler and cleaner.
I've since installed the gas pedal and electronic e-brake system but these pics give you an idea of the layout. I am contemplating whether to do carpet or a vinyl on top of the dynamat. I had to mess around with the transfer case a bunch to remember the exact procedure to get it to go between neutral and 2WD high. I finally figured it out and it requires me to turn off the engine while in drive, go from N to 4H, then 4H to 2H, put it in park, start engine, then go to R or D. Stupid, but it works. If anyone knows what to do to make it work better than that please chime in.
I was able to pull it out of the shop under its own power and raise the bed to work on it today. I need to clean up under the bed and coat it somehow. Here's the e brake setup. So far I like it. It's not the fastest device but it does the job.
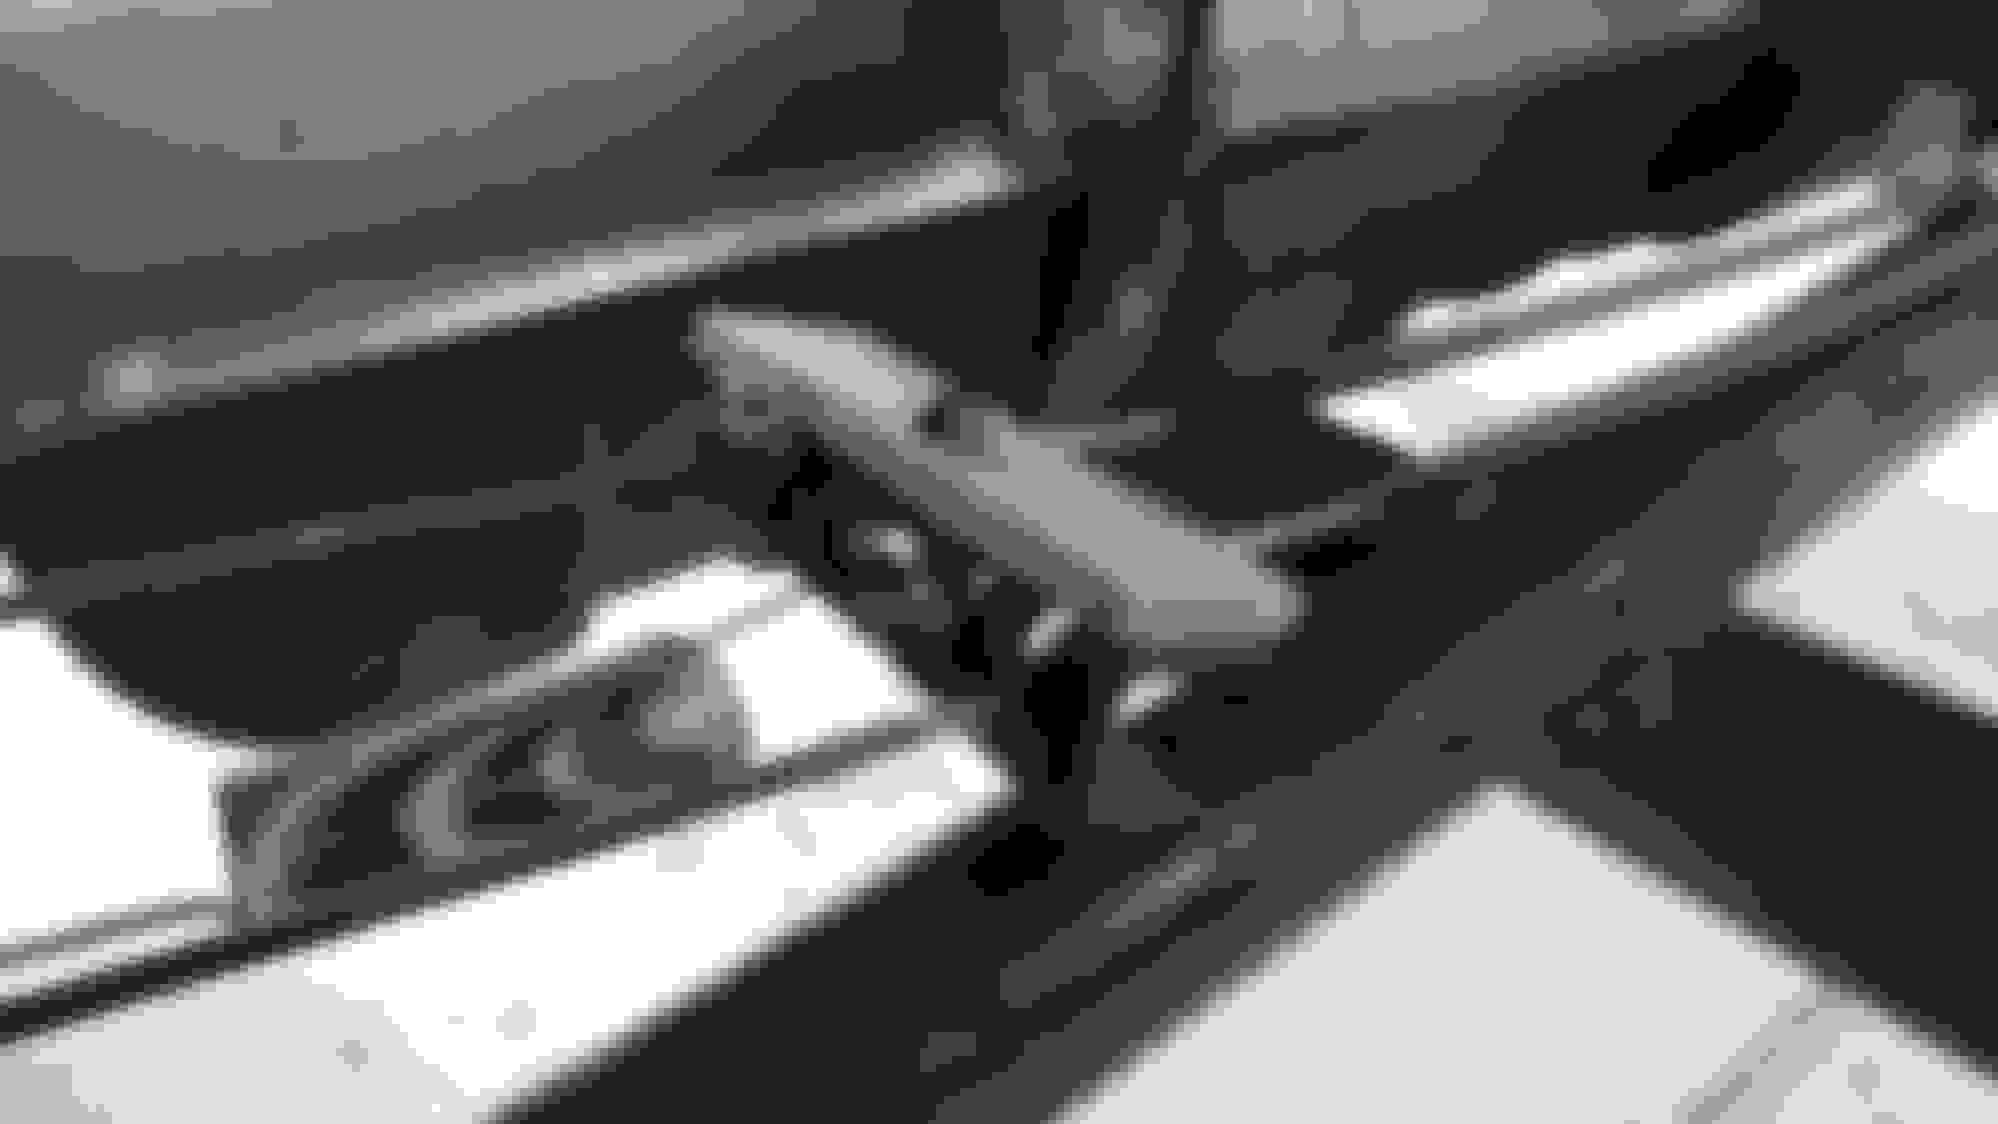
Got a bit more done on the truck the last couple months. I replaced all the steering linkage and ball joints. The old ones were so shot that they had almost 3/4" of play in them. I don't even know how they stayed together. Got the interior painted and sound mat installed. Gauge cluster and gas pedal are installed now. I also was able to fabricate mounts for the side steps that came out pretty nice. I need to modify the steps so they can lock (and unlock) the fender in place so I can use the front clip as intended. As of now it's just bolted together with 3 bolts and takes a bit of time to unbolt to tilt the front clip back.
I somehow lost the glove box handle. I found all the rest of the pieces but the handle is gone. I can't find a replacement online that looks like the original. I might have to 3D print one.
I was able to pop out the dent on this fender pretty good. The following image shows the fender with the dent. I'll have to upload a new pic later.
Next I need to finish putting in the headliner and floor covering. I also need to make a switch panel to run all the lights and stuff for the bed, finish the bed wiring and headlight wiring. It's getting close! I can't wait to get to the point when I can load my 65 mustang on the back of this and go to a car show or track. Can COVID be done already?!
Nice work and this will be a fantastic tow rig when complete---nothing like the style and pizazz of the 40's vehicles.
Best thing is the bodies were so thick (by modern day standards) there's plenty of metal to work and shape back into place. Of course the really motivated body repairman would use lead as filler. (Honestly the modern day body fillers are great products and work perfectly when applied according to instructions.:
 07-25-2017, 04:14 PM