My latest Craiglist score
#1
 07-20-2017, 08:23 AM

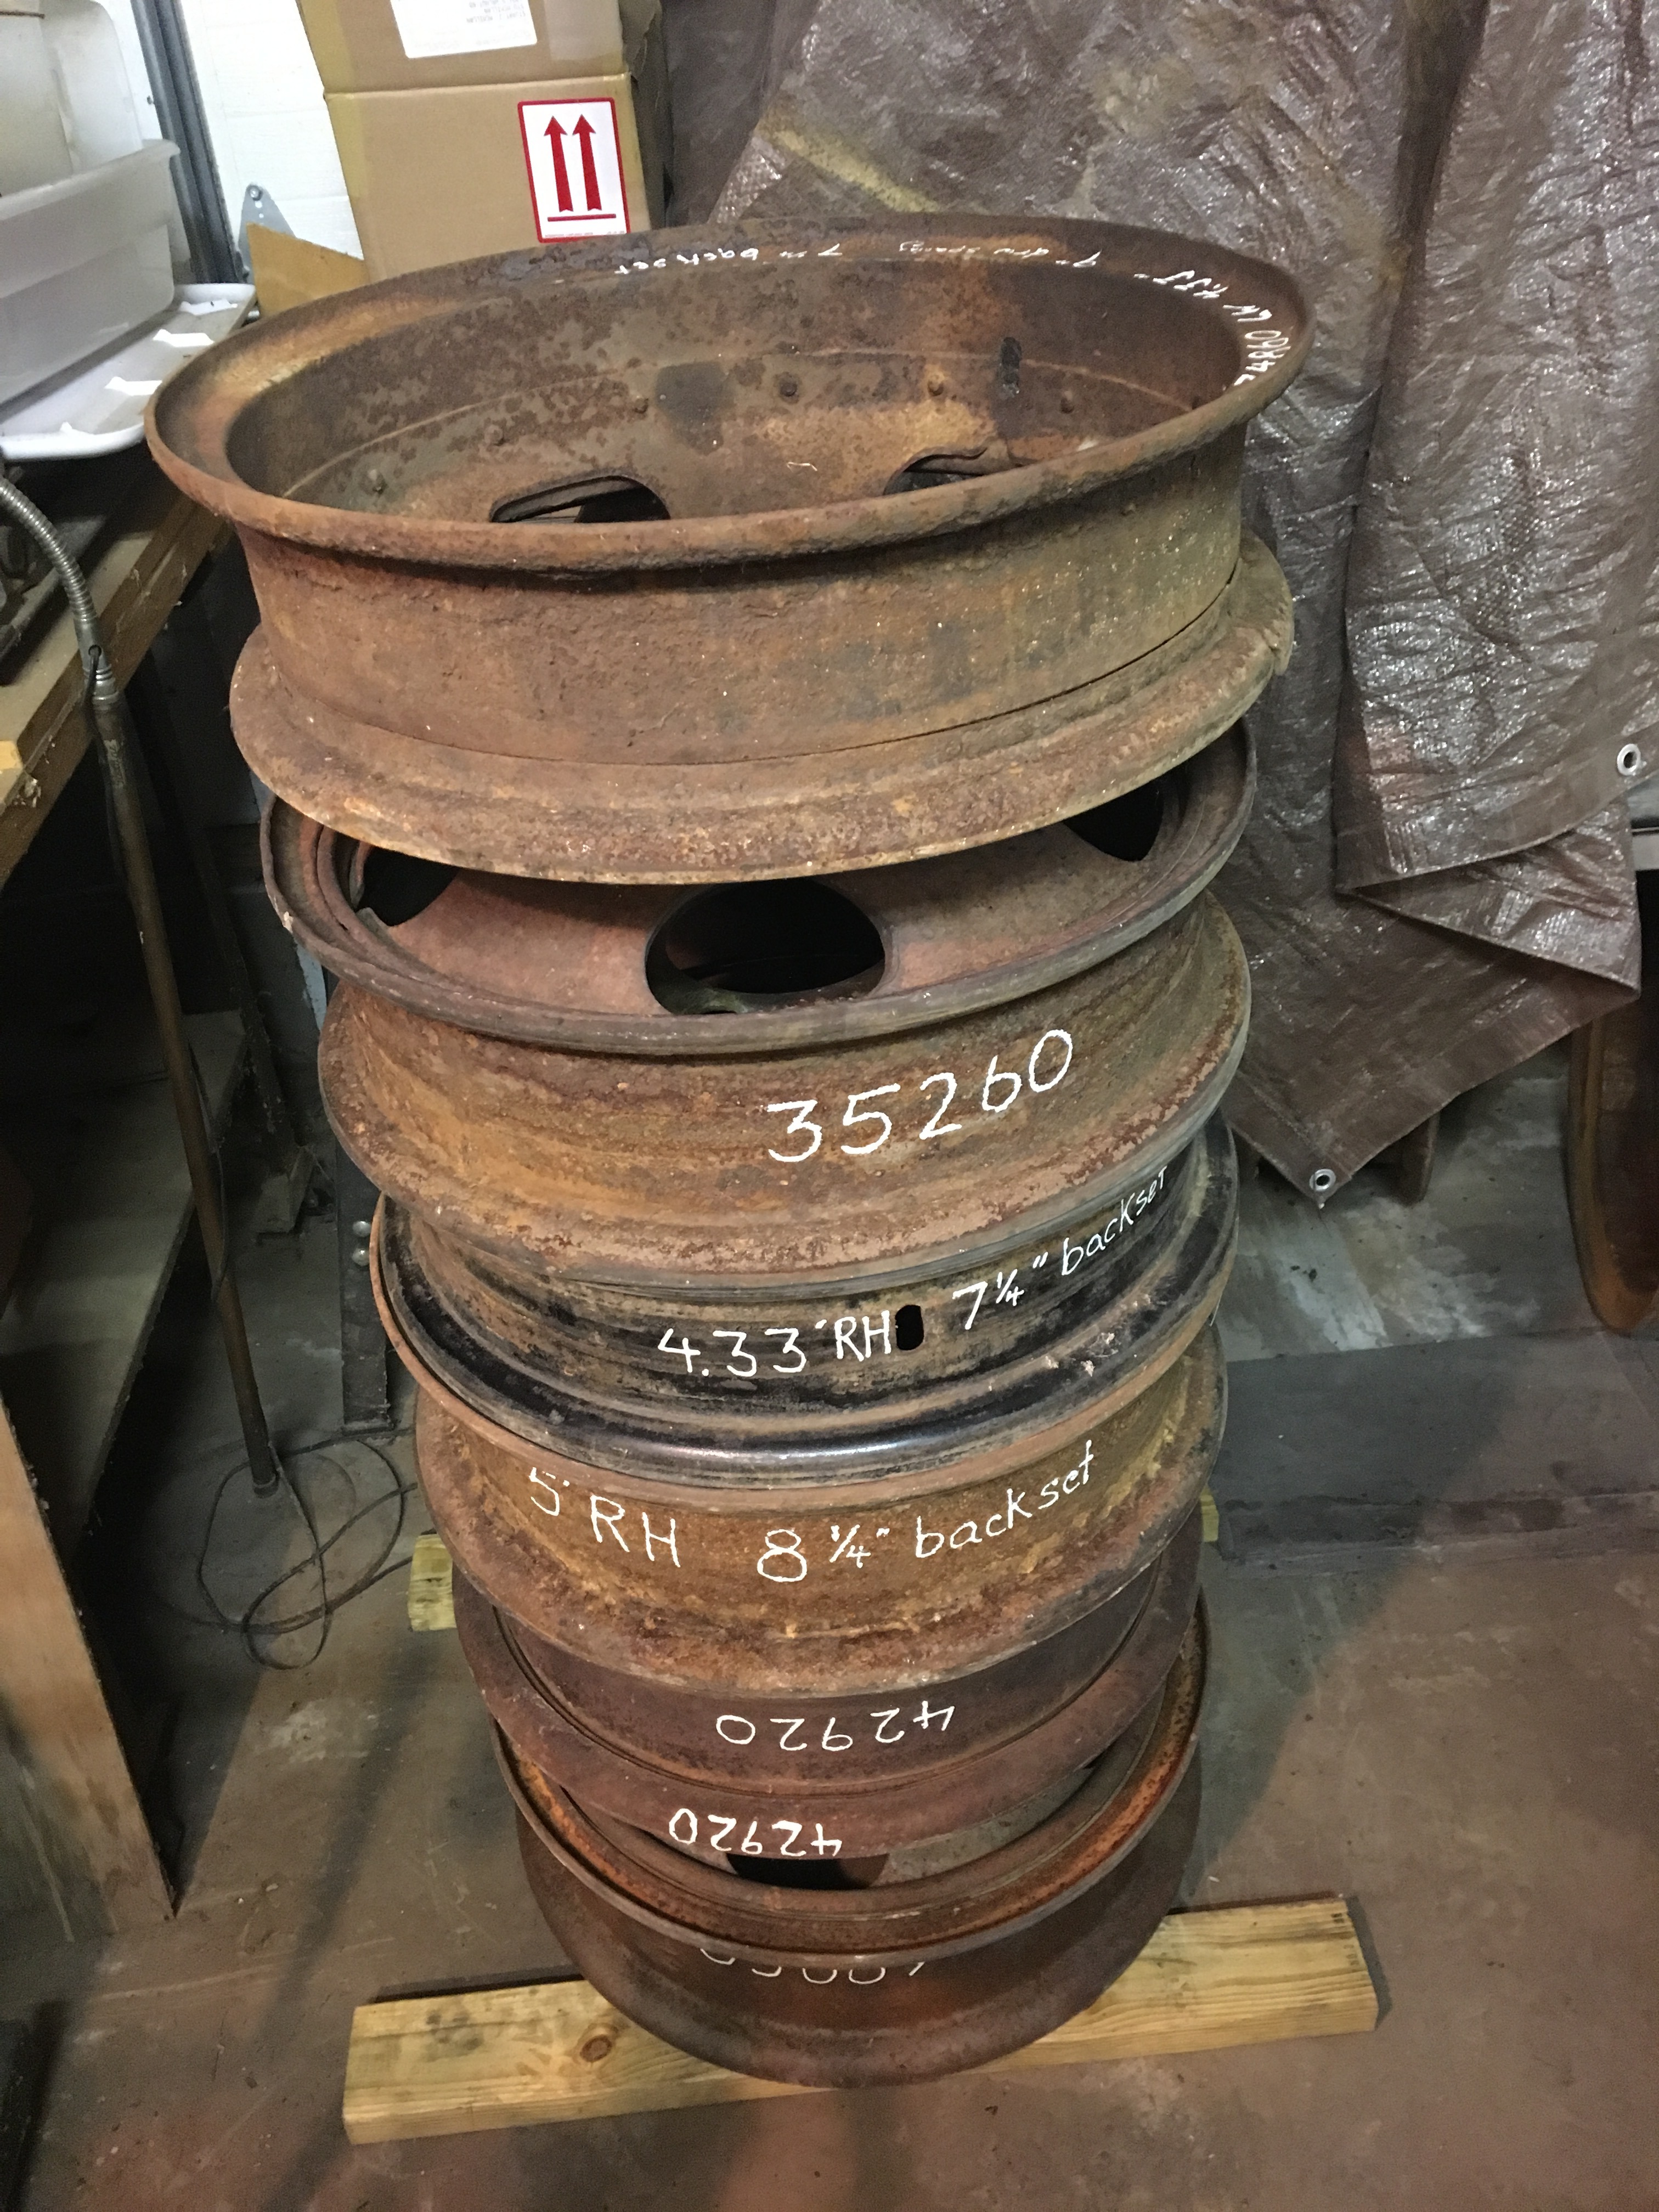
My latest Craiglist score
I bought these from a farm in southeastern New Jersey. $60 for the lot. While having the discussion about these being rare the guy says, "Oh I can call at least three places for a few more sets without any issue." I saved his number.
Now I can go and search for another big truck to bring home even if it's got widowmakers. I might get divorced, but hey...
Now I can go and search for another big truck to bring home even if it's got widowmakers. I might get divorced, but hey...
#2
07-20-2017, 08:30 AM


#3
07-20-2017, 08:44 AM
I should have built a bigger barn Stu! You should've warned me!
#4
07-20-2017, 08:57 AM
On a second note, if I do remove the tires I'll more than likely have these media blasted and then I'll either paint them with my leftover Eastwood single stage urethane or have them powder coated. But I've always been curious about this little lip here. It's too narrow to get any kind of paint in there and it just collects water and crud. Anyone ever seal it and then paint over it to protect it? I'd like to make sure these are taken care of appropriately. This is one of my old wheels. See pic.
#5
07-20-2017, 09:54 AM
That seam is the area where these wheels are at their greatest risk of failure. Trapped crud and moisture allow rust to do its work. I've used an old sawzall blade and small mallet to dig the crud out of some of them. On some I've found the damage allowed the rivets to move which to me renders them junk. And sand blasting never has done a good enough job removing that crud.
I've got some that I'll be using electrolysis on to remove rust. A kid's wading pool seems a reasonable container. The below link shows the process. Once I've got the rust removed I've used one of the rust converter products like Ospho then filled the seam with red oxide primer. Unless I powder coated, but have one set that I had blasted and powder coated years ago then have had rust return in that seam. I dribbled Ospho in their seams.
Rust removal by electrolysis
I'll also suggest that you might keep track of what wheels you have by part number if found. Budd, Motor Wheel, and Accuride will have numbers, but K-H won't. If no numbers I at minimum record them by width, rim design, and back set to allow them to be combined into sets, and to give guidance on appropriate tire sizing. I also use a paint pen to label each wheel and ring. And beating the dead horse once again, keeping the rims and rings together as sets is essential for safety. If you find your numbers I can help by looking them up for you. Stu


#6
07-20-2017, 11:09 AM
Thanks Stu! This is great information for me, as well as for the group. I thought that little crevice looked "off." I literally scan the web for these wheels and pick them up if feasible to add to the pile. This latest batch required a pickup truck rental and 560 miles of roundtrip driving. Lucky for me the truck was free (perks from traveling for work so much and collecting rewards) and I had a business meeting half way into Jersey anyway. They weren't advertised as your typical "5 lug budd wheels" either so it took some special keywords to find them.
#7
08-13-2017, 05:19 PM
Smart battery chargers won't work
CAUTION: Watch for overheating of your power source. Mine got very hot after several hours.
So if you try this and you don't get immediate results something is wrong.
It did a pretty good job of cleaning the parts up, not perfect like a tumbler but a very significant improvement. I even threw in a church key (old beer can opener) that I found in the left rear corner pocket when I cleaned it out for repair. It was pretty grossly rusted and heavily pitted and it cleaned it up pretty well. Didn't remove the pits obviously but an amazing improvement. Sadly I did not get any before pictures but I will add some after pictures once the Eastwood rust converter coating dries.
Trending Topics
#8
08-13-2017, 09:16 PM
Lead Driver
Newer chargers have internal safeties in them that will shut them off under certain conditions. I first tried a newer battery charger and nothing. I got an old one and it works fine. It works great.
I just wish I had a tank that I could put my new(to me) running boards in. But they are too big for anything I have.
I just wish I had a tank that I could put my new(to me) running boards in. But they are too big for anything I have.
#9
08-14-2017, 06:21 AM
Newer chargers have internal safeties in them that will shut them off under certain conditions. I first tried a newer battery charger and nothing. I got an old one and it works fine. It works great.
I just wish I had a tank that I could put my new(to me) running boards in. But they are too big for anything I have.
I just wish I had a tank that I could put my new(to me) running boards in. But they are too big for anything I have.
Joe, you could build a tank out of plywood then line it with a plastic sheet like a pond liner.

#11
08-14-2017, 03:41 PM

Thread
Thread Starter
Forum
Replies
Last Post

