When you click on links to various merchants on this site and make a purchase, this can result in this site earning a commission. Affiliate programs and affiliations include, but are not limited to, the eBay Partner Network.
I've been a member on the site for a few months now, but haven't posted my truck yet. There have only been some sneak peeks here and there. This is my first classic truck and the members have been extremely helpful. I am finishing up some interior projects, but thought I'd make a proper introduction now that it back on the road. (These are just a few cell phone photos but I hope to take some proper photos soon.)
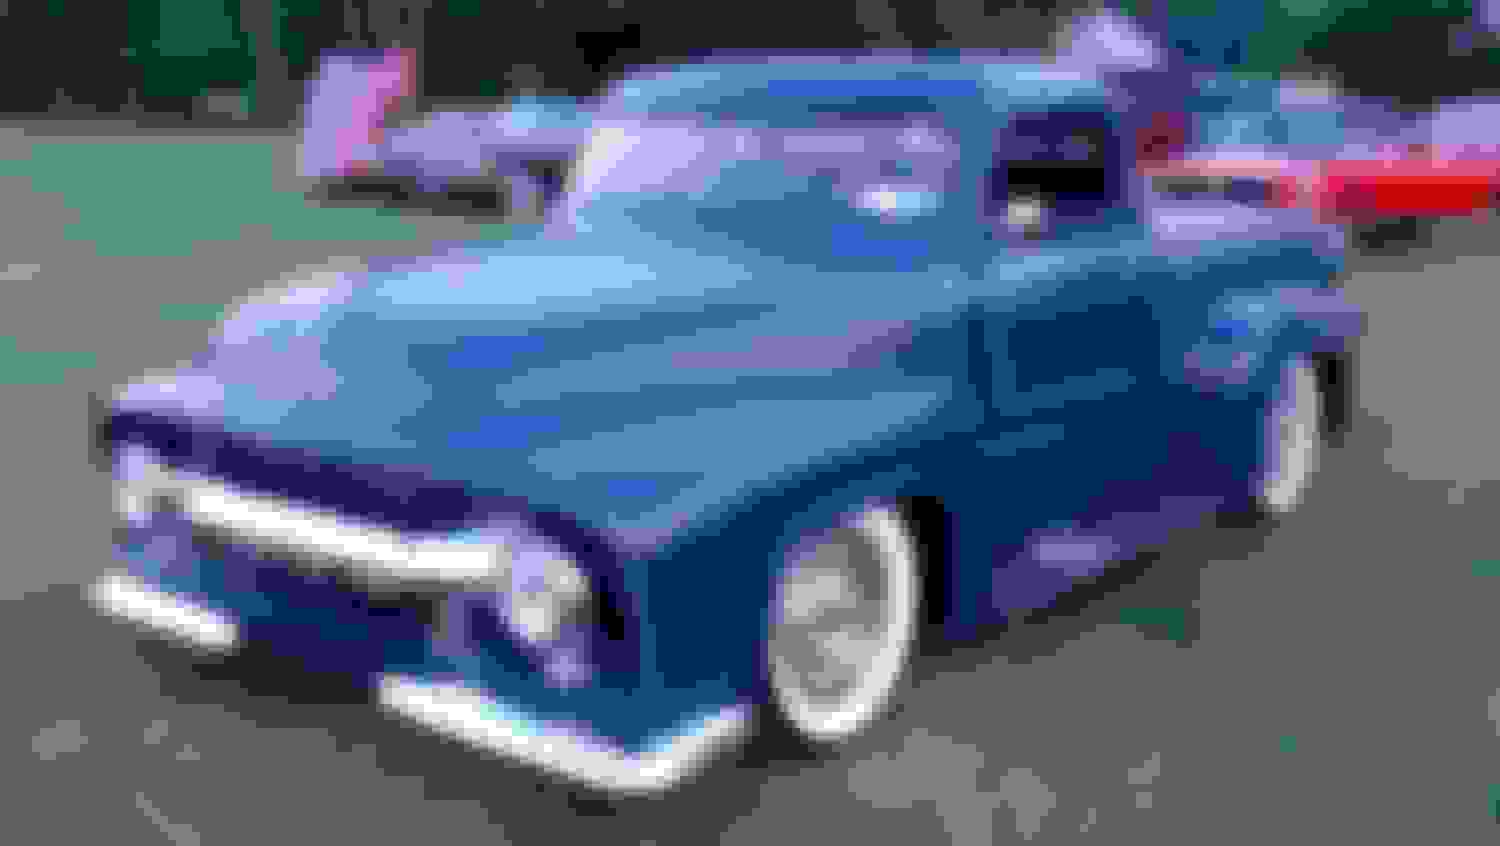
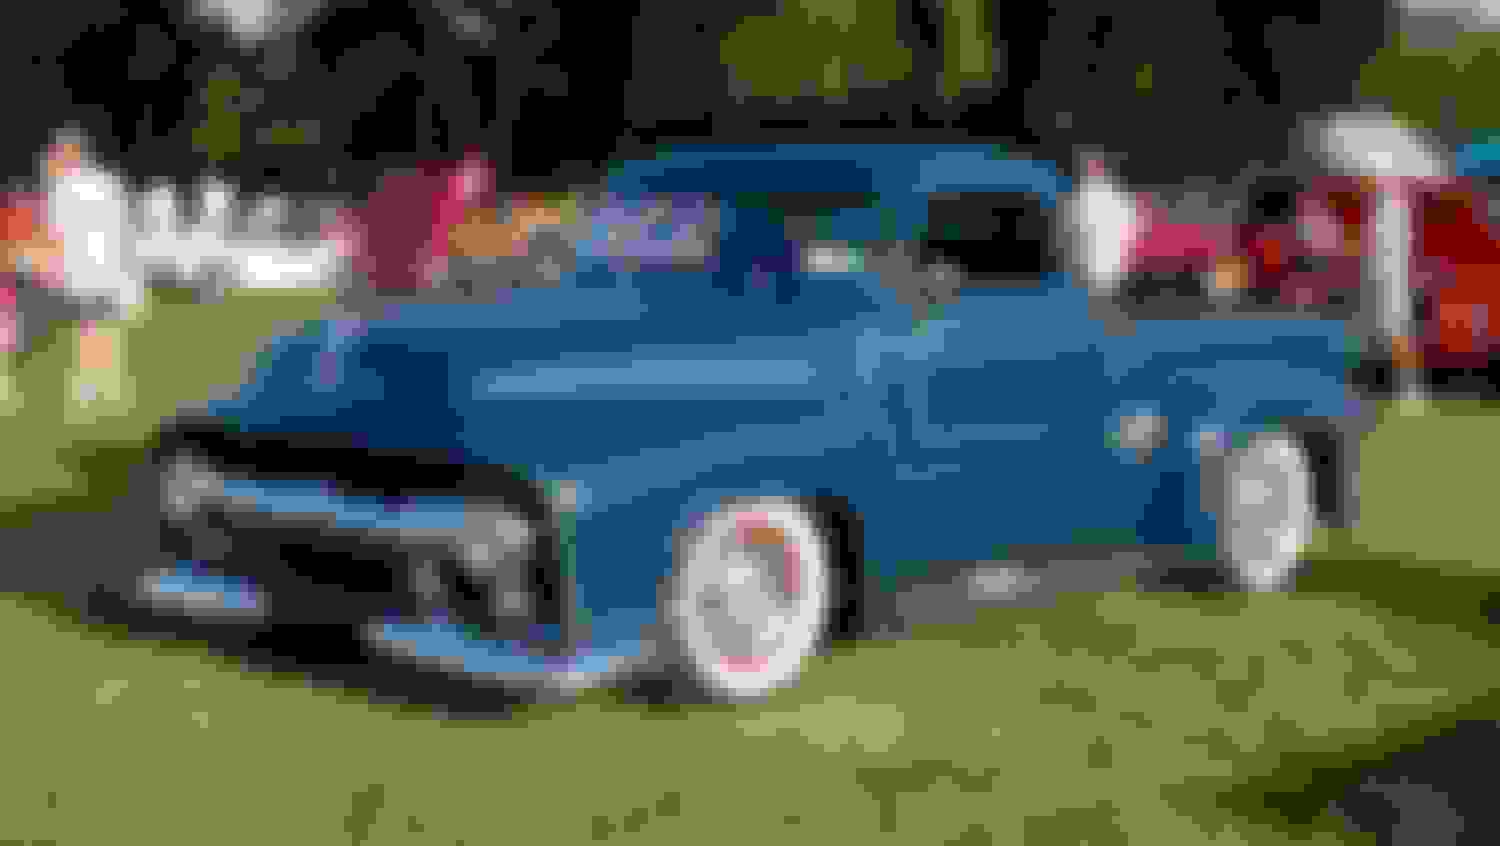
1954 F100 done in a 1960's traditional Kustom style.
I bought the truck in January 2016 as a driver. I have a never-ending mopar project and wanted something fun to drive in the interim. Well, I think it only got driven once last year! Turns out there were a bunch of things wrong and I've been working to get it back on the road. Just some things I've done include engine work, wiring, brakes, side windows conversion, some paint and body work, tonneau cover, new chrome, door handles, lock, steps, custom gas tank sending unit, custom gas fill, cleaned up the suspension, etc. Let's just say there has been a lot of time and parts involved for something purchased with the intent just to get in and go!
Here are just some of body modifications done:
The roof has been chopped 5 inches
Shaved driprails, emblems and trim
Front bumpers are Chrysler Imperial that I had rechromed
Grill that I drilled and had chromed
Custom front valence
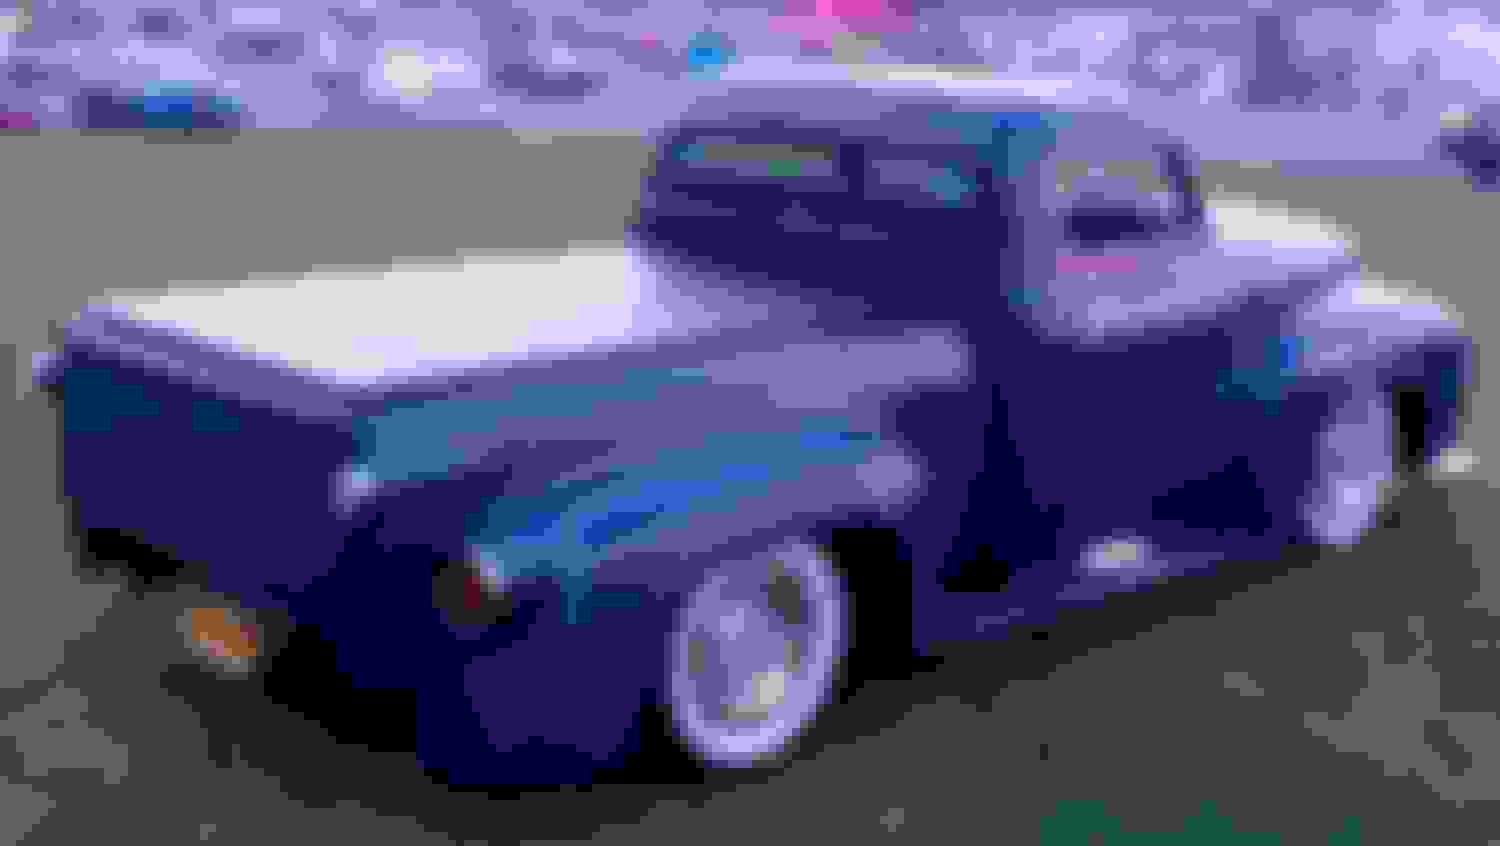
Custom bed and hand-built tailgate
Custom running boards
Jaguar flip top gas cap
Hood reverse hinge kit
Molded 1955 Thunderbird tail lights that I modified with LED turn signals
1958 Impala backup lights
Full LED conversion inside and out
Tribar headlights
Solid side windows
The paint is a Hot Rod Flatz midnight blue with darker navy blue scallops. Just had some new pinstriping done. The 15 inch steel wheels were blasted and repainted. I found the hubcaps at a swap meet, took them all apart, polished and hand painted the white squares. Tires are new wide white wall radials from Diamond Back Classics to replace the vintage Firestone bias ply white walls. Suspension is DJM Dream Beams dropped front I-beams with disc brakes. The rear is an 8.8" Ford with DJM flip kit and c-notched. Thrush welded exhaust. Fuel injected 244 ford, custom cold air intake, overdrive transmission, PS, PB, and AC. Designed as a driver with a more traditional look.
The interior is customized as well. I'll post pictures and details when that is completed. I still have to make door sills, kick panels and a headliner.
I'm still looking for a suitable rear bumper. (Looking for suggestions!)
Thanks Jake!
The tail lights were a project of last resort. Was having some wiring issues so I finally decided on separate turn signal lights. Instead of adding another housing, I looked for a tail light that already had a backup light but I couldn't find anything with the correct size. Ended up modifying the t-bird lens by adding a turn signal with amber LEDs and clear lens.
They look great, did you fabricate the housings yourself? I want to French my tail lights into my rear renders, I'm just not sure of my fabrication skills with sheet metal.
Also, where did you get that bed? That thing is sweet
They look great, did you fabricate the housings yourself? I want to French my tail lights into my rear renders, I'm just not sure of my fabrication skills with sheet metal.
Also, where did you get that bed? That thing is sweet
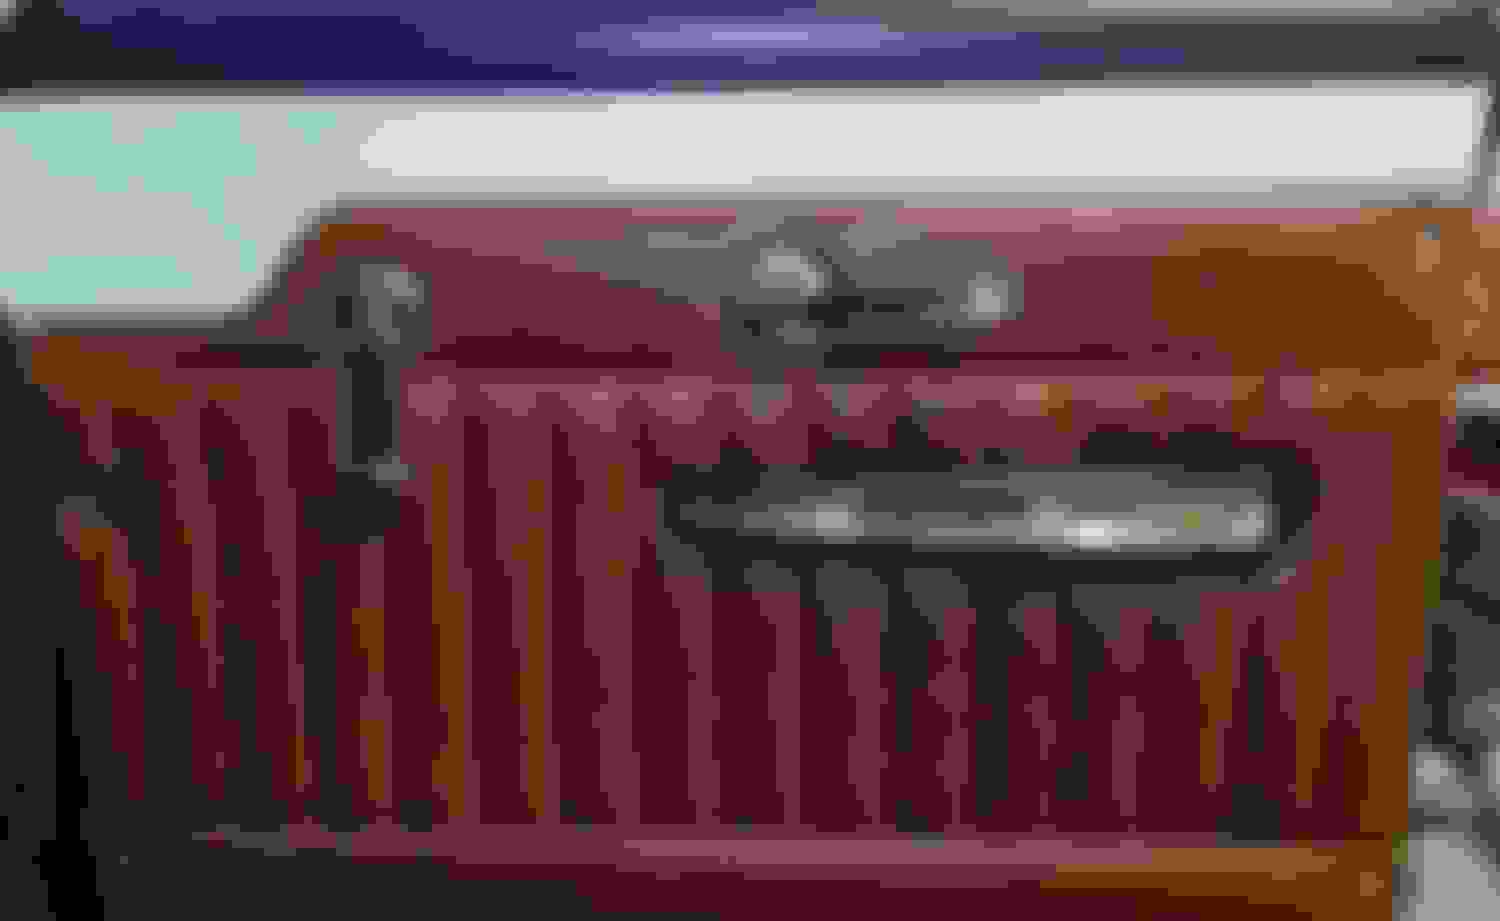
Unfortunately I can't take credit for any of the body styling. (I don't have experience with body work beyond minor repairs.) The truck was chopped back in the 1960's, but the builder discovered a lot of body filler and re-did the chop in 2013. He was also the one that fabricated the running boards, bed and tailgate. The rear fenders are F100 but this is what the truck looked like at the start:
Originally Posted by 56panelford
Hey I really like what you've done. Waiting for more pictures..
This was today's project - installed a tach. I was bidding on a vintage Moon full sweep tach (different than the common half-sweep) but it went for a bit more than I wanted to spend. Wanted the black dial with white needle/ numbers to match the ones in the custom Pontiac gauge pods (I'll show those later).
I can take a picture of the engine soon. Unfortunately it wasn't detailed when it went in. I've been tempted to pull it, but remind myself it is a driver! I'd love to drop a Coyote or Lightning engine in if the budget would ever allow. I've also been contemplating a paxton supercharger but it would involve at least a battery relocation if not more.
Re: Charlie - slowly! Still some things to iron out.
On to the next project - Finishing up the door panels. May add some interior pinstriping but haven't decided on what yet.
I also built some kick panels out of this plastic/ fiberglass wall panel and will cover with carpet.
This was my first attempt at making some custom kick panels. Kept them simple with matching carpet.
I used some waterproof wall panel from a home improvement store. It is the same material I had leftover from building the carpeted rear wall panel. It is fairly thin and flexible. If I was mounting speakers, I might choose a different type of material or reinforce the mounting area.
I made cardboard templates first before cutting them out.
I used a heat gun to help form the panels and did some test fitting/ trimming.
Used instabind on the visible edge and then used 3M 90 hi-strength adhesive spray to attach the carpet to the kick panel. On the passenger side I also had to install a grommet for some heater/AC wiring that couldn't be relocated. The driver's side was built to clear the emergency brake pedal.
Attached the panel with some high performance velcro (heat and moisture resistant). I may eventually add some kick panel lights. The bottom of the panel and binding will be finished once I make some aluminum door sills.
 06-16-2017, 05:29 PM