When you click on links to various merchants on this site and make a purchase, this can result in this site earning a commission. Affiliate programs and affiliations include, but are not limited to, the eBay Partner Network.
A few things on this truck are more "modern" than my F1s, so that will cut down on build time and some fabrication. It has a bolted on plate as a master cylinder mount and already has swing pedals, so all I will have to do is adapt the new power booster and master to the plate and existing pedals.
Also has a 12v wiper motor, so no fabrication needed there.
Engine compartment is huge, so much that I considered dropping a BB chevy in there, but I think I will just stick with the fuel injected small block to avoid the inverse gas mileage.
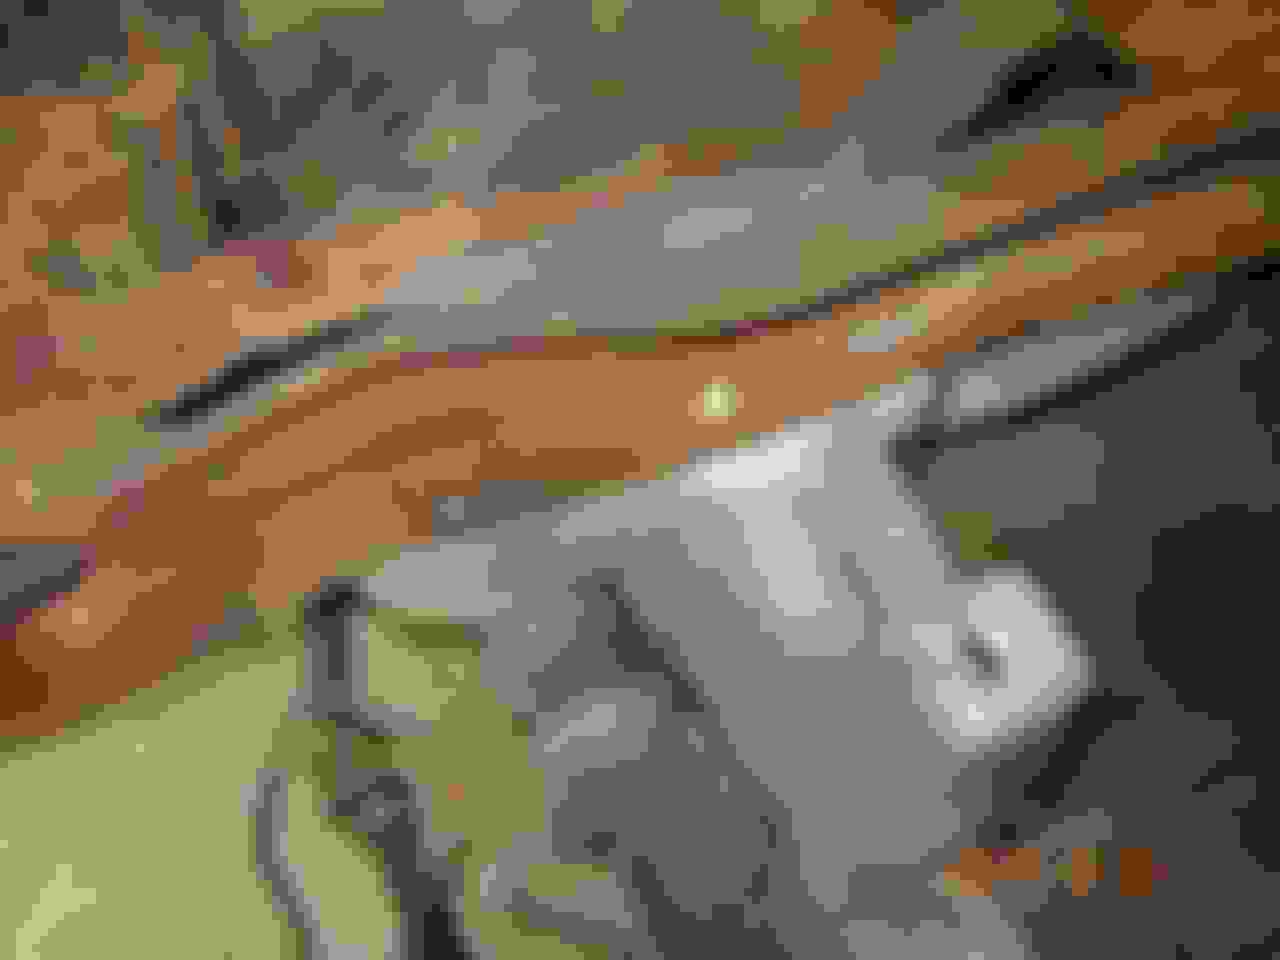
Reference picture, rocker is about 13 1/2" off the ground, that will be coming down at least 5".
While you are doing this build keep in mind what we can change over for our F1 like the floor pedals and wiper motor. It looks like they were ahead of ford on some of this.
While you are doing this build keep in mind what we can change over for our F1 like the floor pedals and wiper motor. It looks like they were ahead of ford on some of this.
I will do what I can, I think IH was ahead of the game on these old trucks. It seems they were designed to be stylish and functional rather than just being a tool to haul stuff on the farm, even if their style is "different" . Kind of like today where pickups are used for everything and not just to haul hay.
First work to be done will be the crown vic IFS install, this one is from a 2006 P71 police car.
I met a guy who was selling a few crown vics, and I made a deal to buy a stripped out roller once he was done taking what he needed for $200. I got $75 in scrap for the shell, and I think the rear axle is easily worth $125, so for free I got the IFS, brake booster, brake pedal, and the 16" wheels and tires.
Stock front axle coming out. Everything cut off, shackles loosened, and then set on jack stands for shackle removal. Lifted the body up and axle is out.
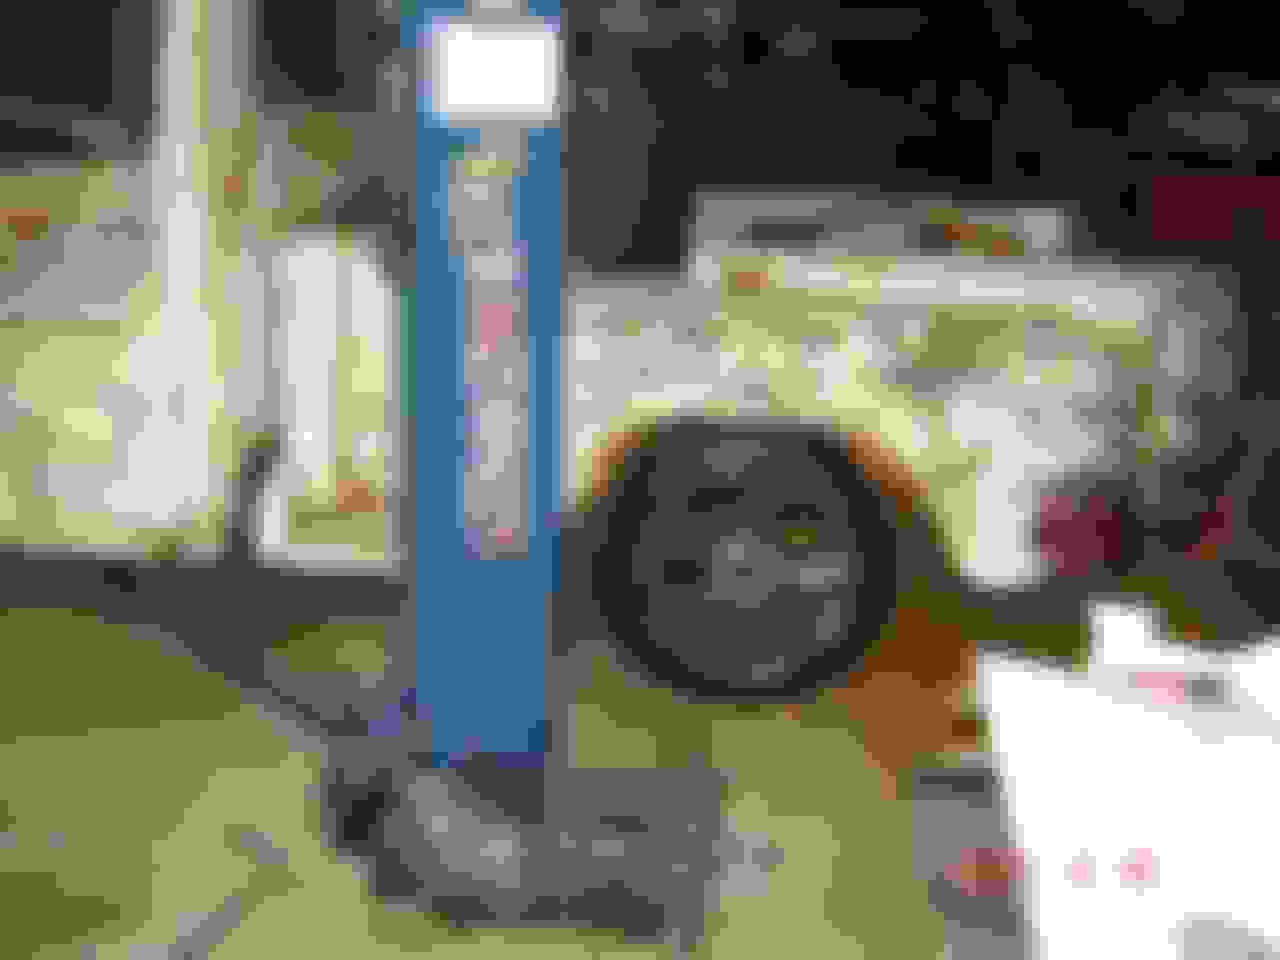
I put some 3/4" plywood spacers on the IFS cradle so I could sit the truck frame on the cradle and move the IFS around without dragging on the alignment pin.
Rolled under to find the wheel placement. I had marked the frame with the original front wheel mounting point (to do this hang a plumb bob to the center of the lower king pin or lower ball joint and mark the frame, using the axle hub is not a good reference). I dont trust the original axle placement, it seems most of these olds trucks had the wheels offset to the front or rear so I wanted to do it by eye. This is about 1" behind the factory mark.
The wheels in the picture are ones I am going to use, takeoffs from a mustang, purchased for $400. Fronts are 18x9 and the rears are 18x11, I will have to double check tire size.
I think I blew through $5 in cutoff wheels so with those and the wheels / tires we are now at $2930.
Dave with your skills and experience . . . the question that comes into my mind is why a corn binder? Maybe a K or L series (pre-1953). Sorry, different I guess and I'm sure that you got it cheap.
hey Pete sorry I missed your post, I like the KBs a lot but finding a solid one up here is not easy! Anything different than the norm is cool with me. I also have a 1956 S100 to build as well, but one at a time...or two!
With the IFS where I wanted it the frame was marked with alignment marks for the IFS alignment pins. Then the lines were drawn on the bottom of the frame and marks made on the frame rails for the pins. Holes were drilled from the bottom and the body lowered back onto the IFS.
The crown vic install has been done a zillion times so I am sure you are all famliar with the install, but basically once the pin holes are located the mouting bolts are pretty easy to install. The holes for the tubes can be marked from underneath and on the top can be marked after lowering down the upper IFS bracket and using the holes as a guide.
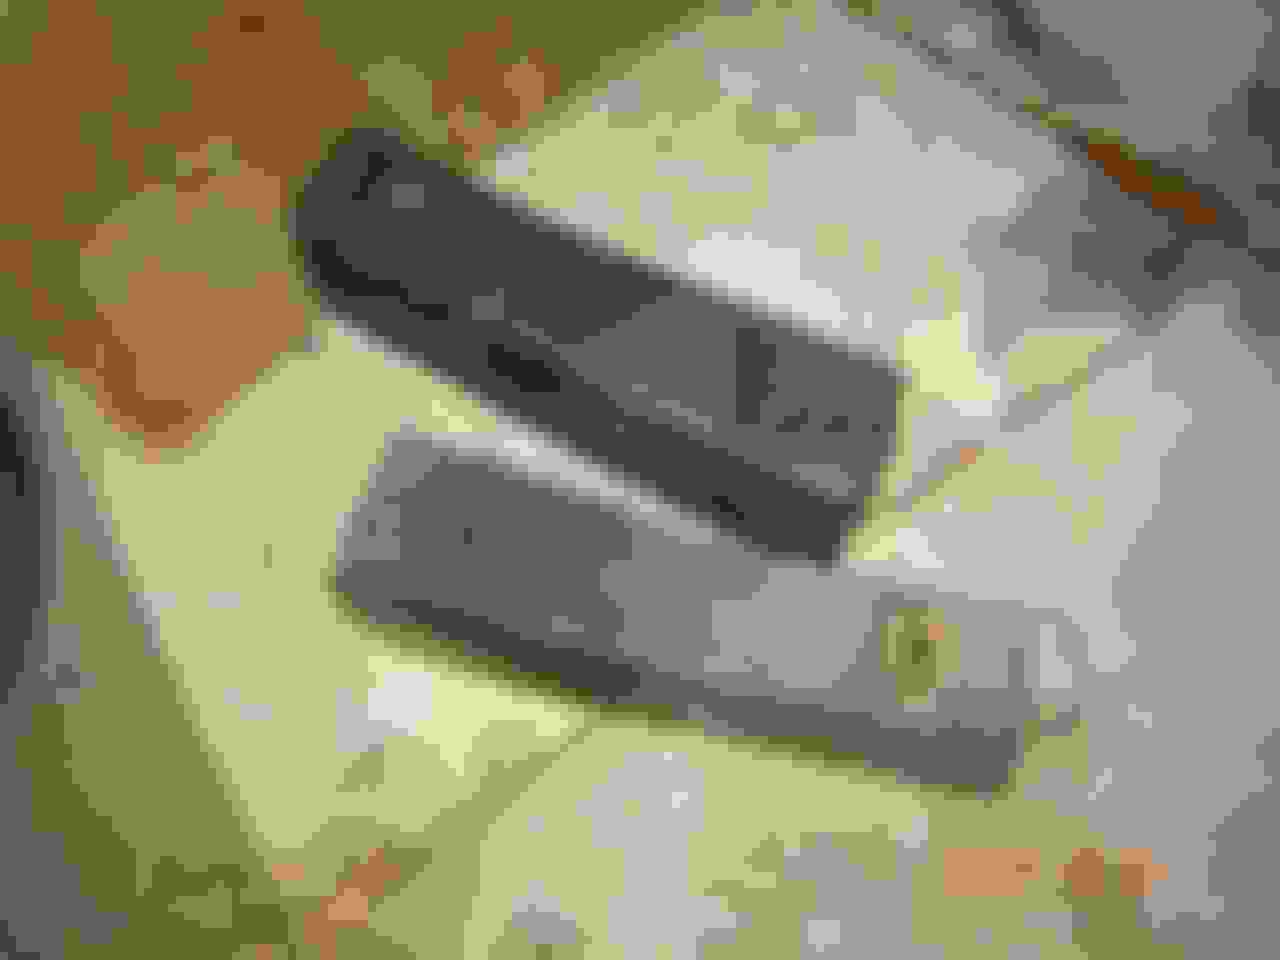
These are the tubes, I cut out the frame sections from the donor car to save them.
Tubes cut out, cleaned up, and set in the frame. Bolts were installed from the bottom and tightened up.
Welded in with a bunch of tack welds to keep the tubes from warping or moving. The frame on this truck is not as tall as the typical F100, so I plan on coming back to this area and raising the frame rail height and boxing it all in. I will try and make it a gradual height rise so it doesnt look like an ugly box stuck in the middle of the rail. I just want to get the rough work done now and when the body comes off I can do all the final work.
Next is front sway bar mounting, the end links should be straight up and down.
Then swing up the front bar and locate the bushings. Super simple. Mark the holes with the bushing mounts and drill the holes.
I bolted up the bar with some 3/8" bolts through the frame for now, before I box in that section I am going to put 1/4" plates with nuts welded to the inside of the frame rail to give some reinforcement for the forces on the frame from the bar. All of that will be done when the body comes off the frame.
Rear axle out and a quick lookie how the rear tire will fit. It fits but barely, about 1/2" on either side. 275/40/18 on an 18x10 rim.
So far we were at $2930, sold the IH engine and trans today for $250, so now at $2680.
To finish up the CV install I had to make the rear control arm mounts. First thing is to reclock the bushings, the slot has to be horizontal in order to mount the bushings flat to the frame and be able to adjust the caster.
Bushing mounting plates cut out of scrap 1/4" plate after tracing the bushing base
Plates had to be notched into the frame because of the sweep of the rails, so far all the Fords I have seen had more clearance here than I had.
That is pretty much it for the IFS install, all final frame boxing and welding up will be once the frame is stripped down.
If anyone is still following this oddball next will be cutting down the original steering column to work with the crown vic rack.
So far still at $2680 cash out of pocket. By the time I am done consumables will probably add $200, but I will add that at the end.
$4820 left of the budget!
Cool, thanks guys, work will continue, but I just got my repaired gas gauge back for the F1 so going to try and finish up that truck over the next few days in between 4th of july parties
 06-07-2017, 09:10 PM


 . Kind of like today where pickups are used for everything and not just to haul hay.