When you click on links to various merchants on this site and make a purchase, this can result in this site earning a commission. Affiliate programs and affiliations include, but are not limited to, the eBay Partner Network.
Hello fellow van fans!
After a few months of (re)searching I recently bought a 2003 E150 XLT, 4.6L, 3.55 Traction-Lok, 12-passenger van with 168k miles from Craigslist
Not the prettiest on the outside (yeah, that is gorilla tape on the turn signal lens) but very little body rust and only some light surface rust underneath, at least compared to my '94 F150. The inside is much better, the rear seats almost look new.
Center console was removed for deep cleaning...
When I bought it, there was a flashing MIL for a P0316 misfire on startup, and P0306 misfire on cylinder 6. The PO had put a piece of tape over the light so god knows how long it was really on.
The culprit was water and rust in the plug hole.
The coil boot was full of rust nasty water and the spring and spark plug were quite rusty. I cleaned the boot and spring as best I could. After some paper towel and compressed air action I got a lot of the crud out and removed the spark plug.
The plug gap measured near, maybe a little over .056". After a bit of light brass wire brushing on both ends I reduced the gap to just over .052" and reinstalled. There was still some crud in the hole from what I can tell in the pictures and on the socket but the miss was gone. I ordered some new Motorcraft plugs and coils from the amazon so I will clean out all the holes much better before I do this again.
Unfortunately they didn't arrive before the road trip I had planned to St. Louis but the van did spectacularly on the 330 mile round trip.
Thanks to Wallymart I did manage to change the oil beforehand with all Motorcraft supplies.
The bugs on the return trip didn't fare so well, gross.
The to-do list now:
Change all coils/plugs. A bit of misleading info on the plugs, the owners manual says a different part number for each side. I couldn't find anywhere that had those and all the sites I checked (autozone, rockauto, others..) said SP-493 A crown vic forum said something along the lines of an update to the materials and waste spark systems
Tires, probably Michelin. I believe the front passenger is the original spare...
Coolant, Thermostat, maybe water pump? I could use some input on this. I'm not sure on the service interval for the water pump but there only about $35 new Motorcraft on amazon. Also, the coolant is discolored, reddish brown? I plan on flushing that out but none of the local Wallymarts stock any motorcraft coolant or the Zerex G-05. Can or should I change to green when I flush? The owners manual says Gold or Green but I have read it's best not to mix the two. Any insight would be appreciated.
Thanks for reading! More to come...
Thanks wiskeyVI, I have a habit of falling in love with red Fords.
Just for fun, an odometer pic!
Today I decided to dive in to the coils and plugs... what a trip.
I read all the threads I could find on this site to help me out.
First step on this job is to disconnect negative battery terminal (8mm)
Tools I used:
Spark plug gap tool
Air compressor (to blow crud out of holes)
1/4" drive:
7mm socket for rear hose clamp on part of the intake and coil hold down bolts
8mm socket for for front hose clamp on intake and battery terminal
Extensions, the more the merrier. I had 2" and 6"
Swivel is a requirement unless you plan on removing the fuel injector rail.
For the easy access hold down bolts, I used a nut driver to thread them in/out and the extension with a socket for the not-so-easy ones
3/8" drive:
5/8" spark plug socket
2x 6" extensions made it easier for some plugs
2 or 3" extension used with a 6" to clear the injectors, etc.
Swivel helped with a few
Materials:
8x SP-493 Motorcraft Platinum spark plugs
8x DG-508 Motorcraft Coil on plugs with springs and boots
Anti-sieze, used on plug and hold down bolt threads
Dielectric grease for boots and any electrical connections
Paper towels, a few cotton swabs for tidiness
200lbs Zen-like patience (optional)
Time: 6.5 hrs. I've changed spark plugs on my '94 F150 before, no experience with COPs.
!!Disconnect battery!! coils can pack a punch, plus it resets something in the computer.
Next, remove most of the intake. Circled is the MAF sensor connector (press tab and disconnect) and the arrow points to the 7mm hidden hose clamp that needs to be loosened.
I started on bank 2 (5-8) because I read #7&8 are difficult, plus #6 was the one with the misfire and rust.
The process for me was; press tab on bottom and disconnect wires to coil connector, remove hold down bolt, wiggle coil (and hopefully boot+spring but not always), blow all crud out of hole, remove plug.
Gap new plug (my sticker and manual say .052"-.056"), dielectric on plug connection, anti-sieze on threads, then very carefully thread plug into head using only extension and socket till finger tight. I had a problem when I did the first one, my spark plug socket was too deep to let the plug thread in when it was fully inserted. At first I thought I had the wrong plugs! The solution was to pull the plug out a little bit and try again. Torque to about 12 ft-lbs.
Then dielectric grease on connection for coil, inside and out of boot, and on connections to wires. Anti-sieze on hold down bolt threads, tighten so they don't move much, connect wires until click.
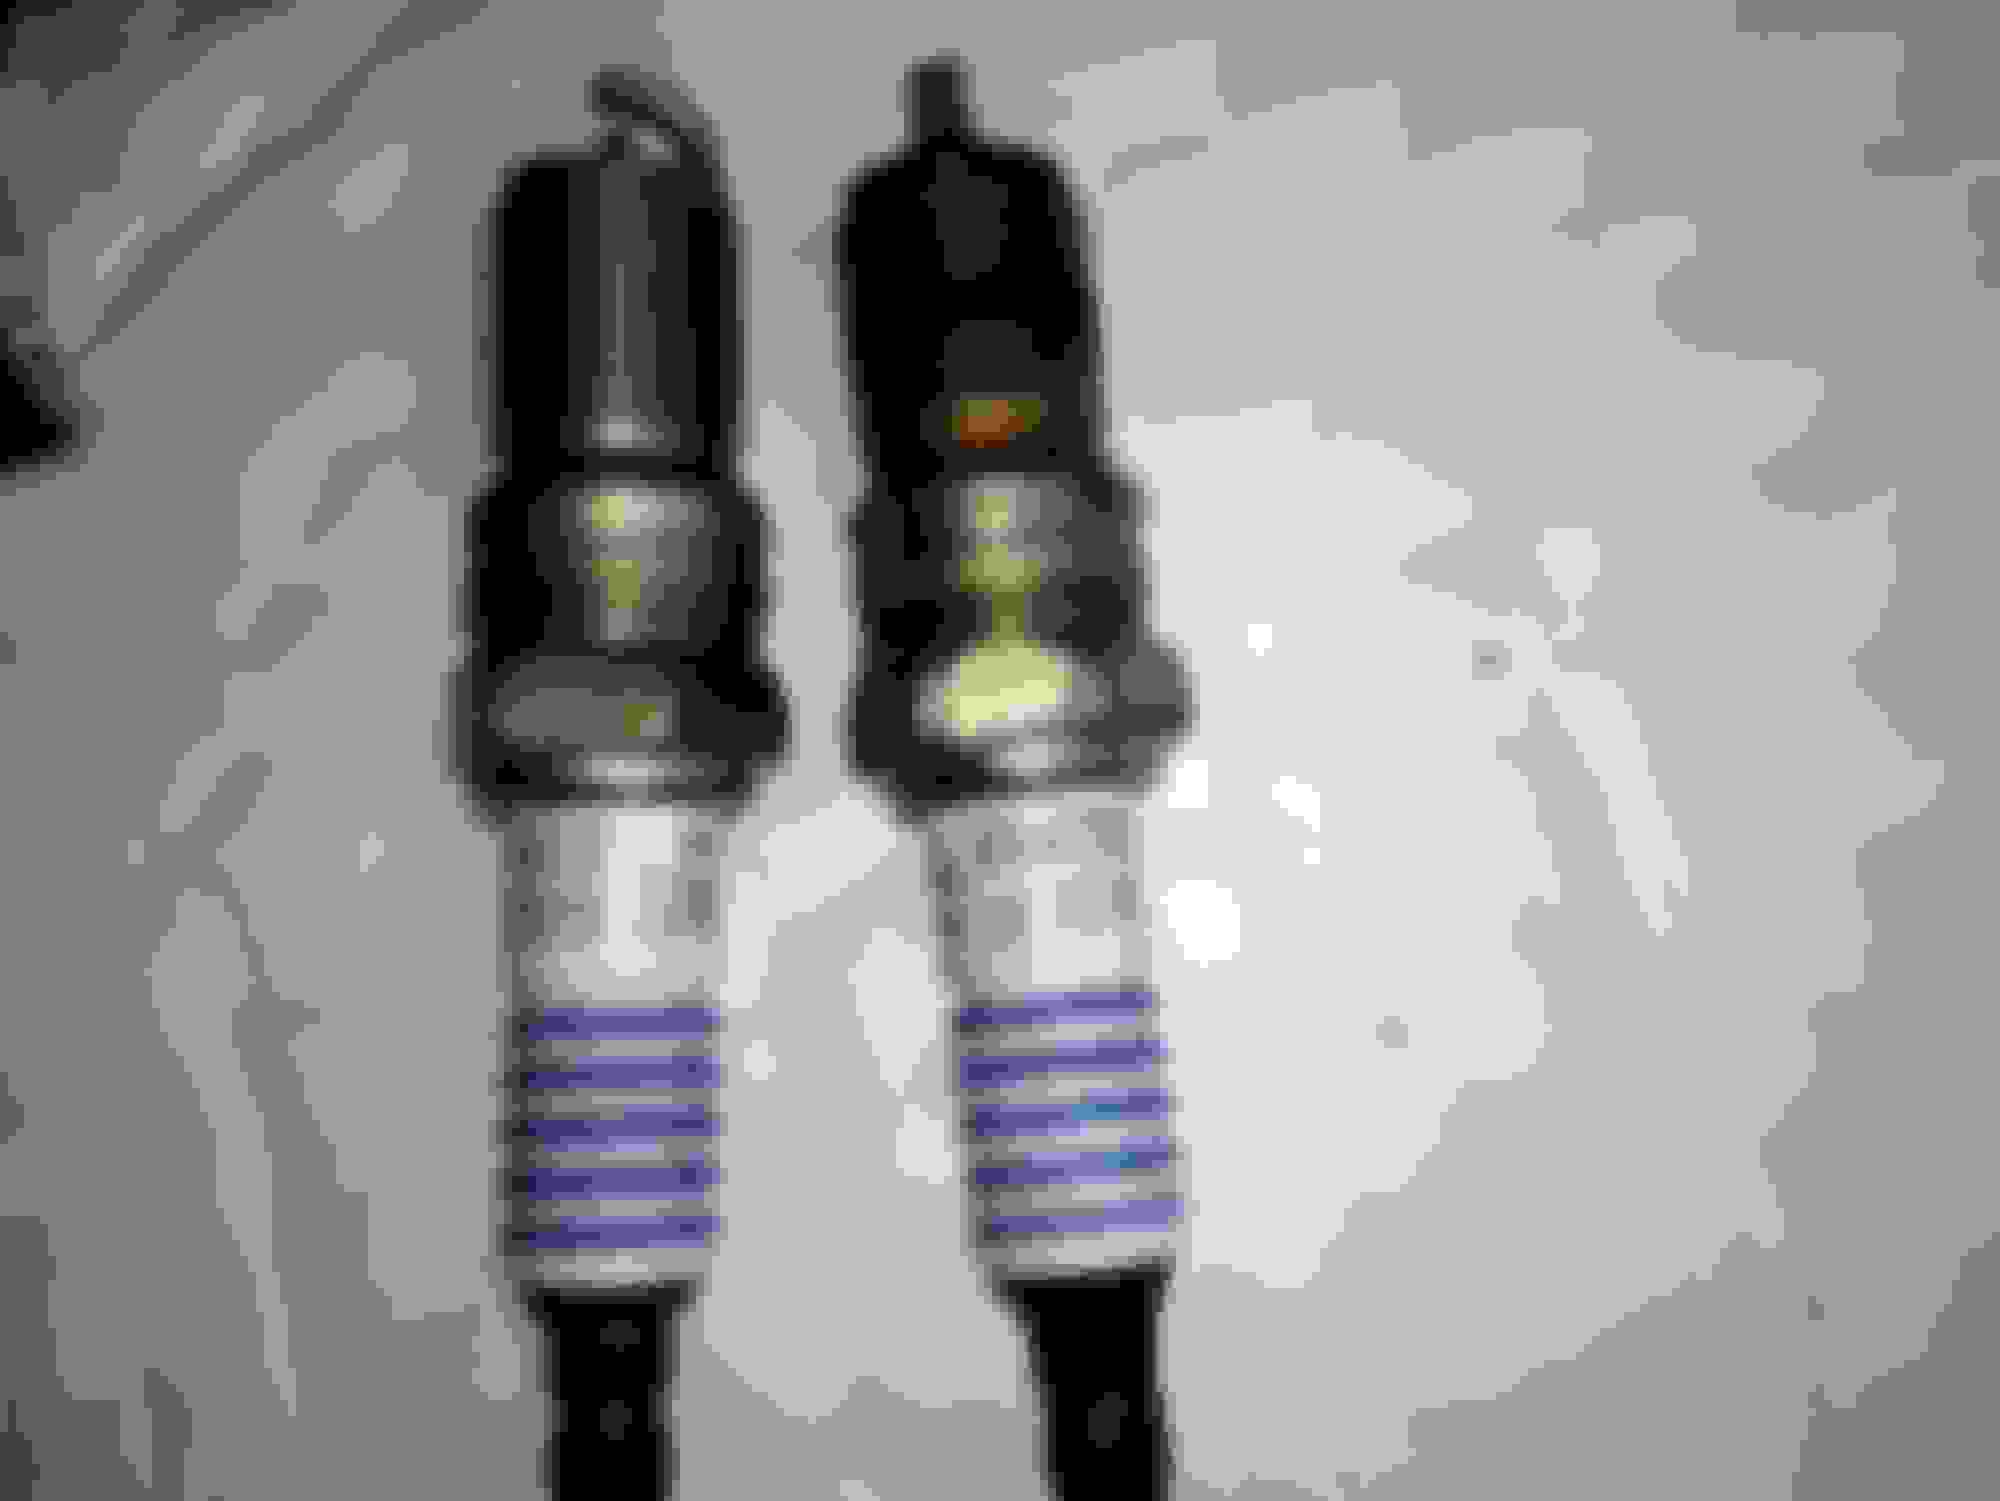
The old plugs had the same number on the ceramic as the new so I was in business.
Removing crud from the hole was quite a challenge for my rusty #6 problem child. I spent over an hour, first with a shop vac with little effect, then with air, finally a paper towel (soaked in brake cleaner) wrapped tight around a long screw driver. At some point it was "good enough"
A "before" pic is in my previous post.
Note the corroded end on the left of the plug, rusted away I assume.
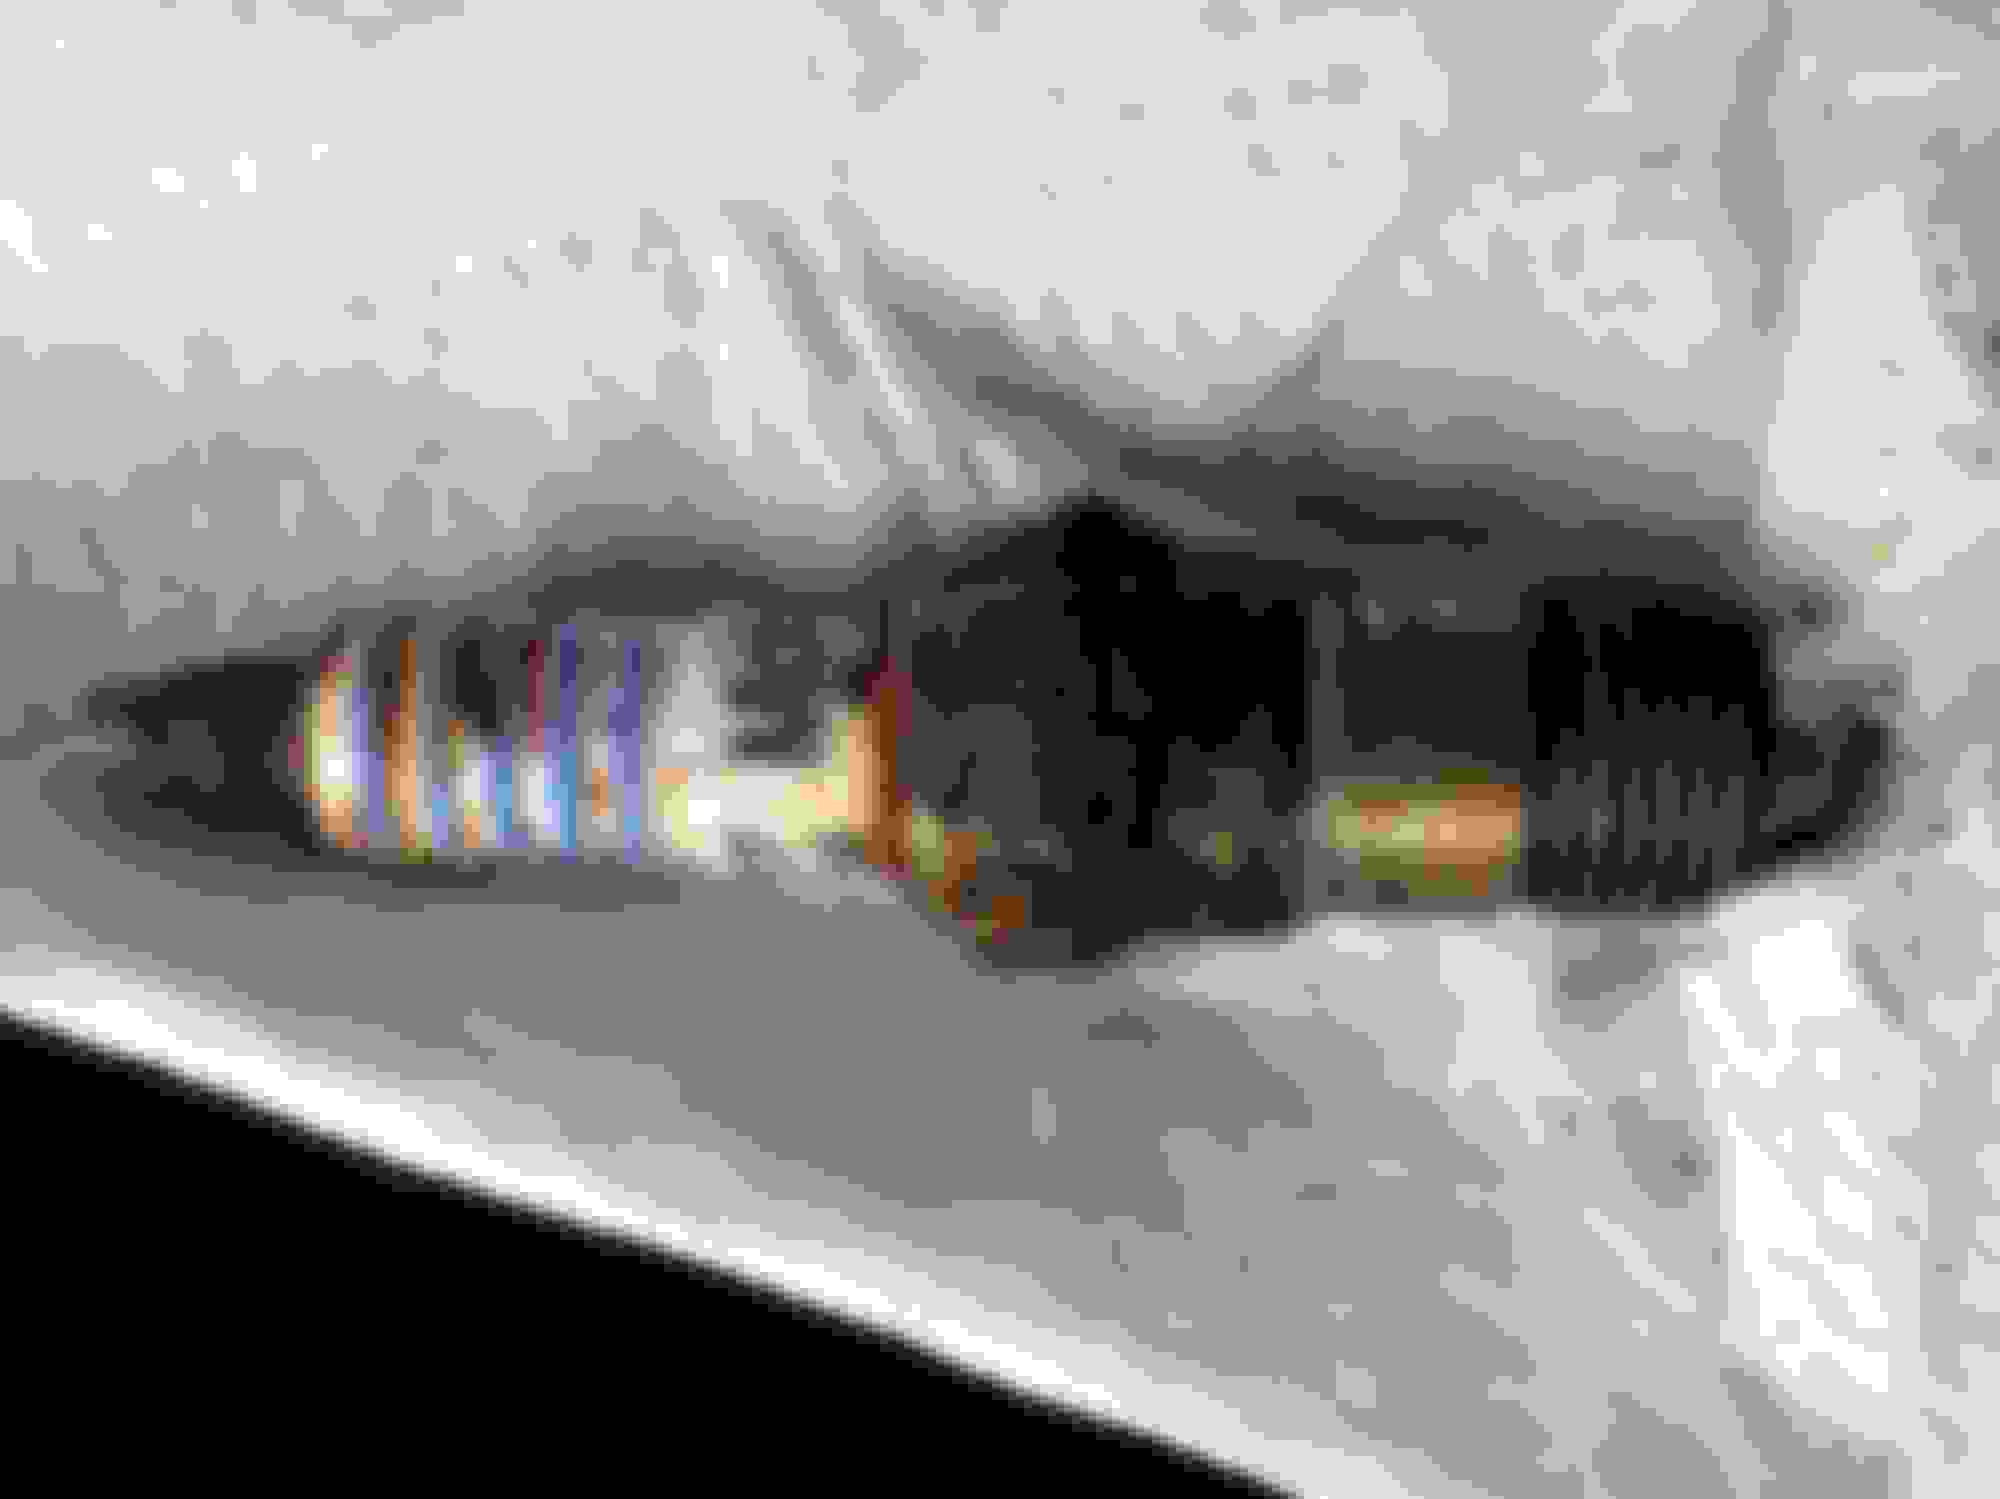
#7 hold down bolt required the swivel attached directly to the socket and the long extension to clear the mess of wires around it.
An example of accessing spark plug (#7) with a new coil in the foreground and random Accel in the back. I love the low arc swing on these ratchets, invaluable in these quarters. Just remember to be patient, take your time, it can be done.
Things were going well but the 1-4 side seemed harder because of the trans dipstick and the oil fill tube.
Then, out of nowhere a rouge Autolite plug showed up! It seemed to have destroyed the coil boot as well. Also note the threads and base are different than the Motorcraft plugs.
Strange, it was in #3. Enough reason to NOT use those plugs?
Another thing I noticed was the gap on the old plugs varied a lot. I expected some to be bigger from deterioration, some up to .065" and still working. The weirdest thing was a few were only .045", one being the autolite but at least one Motorcraft too. I can only guess some previous monkey did not set the gap on new plugs or dropped it into the hole and didn't check it again.
Also note I had some grey boots, not sure where they came from and all but one of the old coils probably weren't Motorcraft, no names or numbers.
Reassemble the intake, reconnect the battery and fire it up!
For some reason, the van shot a big cloud of exhaust smoke on the startup but did great on the 20+mile test drive. The new parts seemed to eliminate the slight stumble on hard acceleration and smoothed out 70mph a bit. Before MPGs were about 14 highway and I will update when I know.
Thanks for reading!
More to come...
Last edited by Zoidberg; 06-06-2017 at 05:57 PM.
Reason: Clairity
I've been busy making this van more adventurous. New tires and new windshield set me back a few dollars, for safety!
With the suggestions I found on here and the excellent reviews, I decided on some Michelin LTX M/S 2 Defender in the stock 235 75 15
These tires are great so far, road noise is basically non-existent. I can hear tires from other people passing me more than my own.
Headlights and turn signals are on the way so I can get rid of that Gorilla tape...
I also removed all the back seats, carpet, and most of the brackets to start the queen sized bed platform. My lady helped with making templates from cardboard and cut Reflectix to insulate the windows. It made the interior dark and cooler.
I did find a spot of rust between the rearmost seat brackets, but it was otherwise clean! I left those brackets for securing some cargo later. Plus my hands were sore from the 8 bolts before.
I found some bolts at the hardware store that worked great, 12mmx70mm fine thread IIRC. I used those and some washers to make a foundation to build up from.
It took just over 1 sheet of plywood and about 9 2"x4"x8' studs to get this far. From floor to bottom supports is 12" which is enough for gallon jugs/3 gal buckets underneath and still enough room to sit up in bed.
I did finish the platform but I'm debating about a small shelf for phones/glasses in the back corner.
Next up inside is a "kitchen" cabinet and some flooring. I did see some great stuff in the "Camper-van ideas" thread that I'll probably steal.
Im new to these vans. I have 2 captain chairs in the middle and a 3 person seat in the back. When you took out your seats did you also remove any brackets from the floor.The reason Im asking is because I would like to install a fourth seat in the back of mine and Im not sure about all the different options
When you took out your seats did you also remove any brackets from the floor?
Yes, all but the back set so far. The bolts were too rusty and out of the way to worry about them yet but the seats are all for sale!
I've been busy on many projects
Big hole in my roof!
Fan-Tastic! 3 speed with reverse
200 watts of Renogy panels hooked to one Trojan T-1275 12V 150ah battery.
Charging and monitoring by the combo SC-2030 and TM-2030 by Bogart engineering. So far so good!
Are you planning to put your rear headliner back in to help with ceiling insulation? You have a part number on that roof vent? And I guess that is what you meant by 3 speed with reverse, not the van? lol
Are you planning to put your rear headliner back in to help with ceiling insulation? You have a part number on that roof vent? And I guess that is what you meant by 3 speed with reverse, not the van? lol
The headliner was looking a bit rough from the previous owner, plus the rear HVAC vents cut down on headroom by 3 inches so I'm cannibalizing pieces to make my own. Insulation became a "must" after touching the scorching roof metal a few times. Just under 3 sheets of 1/2 inch foil faced "polyiso" insulation have been installed and make a huge difference. Pics will follow when I get a chance.
Fan-Tastic 801250 RV Roof Vent is what I used, 3 speeds and reverse airflow. On low you can't hear it outside, on high and "exhaust" mode it makes the door weather strip whistle a bit if you don't open any windows. Truly fantastic.
Good stuff.
I'd like to have something similar but make it easily removable.
PS. When you are done will you change the plugs on my van?
It wouldn't be too hard to make a bed easier to remove if you didn't put supports over the wheel wells. I may change your plugs when I'm "done" but that could take decades.
Progress, first person to drop the pan in 172k miles? Looks pretty clean from what I've seen from others.
You can see some of the foil faced polyiso on either side of the vent frame. The 1/2" fit nicely between the roof support x members.
Thin hardboard sheet over the insulation and denim wrapped headliner trim made things prettier. I managed to reuse the original headliner retainers (PItA)
More projects on tap!
Thanks for reading!
Last edited by Zoidberg; 08-13-2017 at 09:42 PM.
Reason: Because I can
 05-24-2017, 12:05 PM


 Any insight would be appreciated.


 Just under 3 sheets of 1/2 inch foil faced "polyiso" insulation have been installed and make a huge difference. Pics will follow when I get a chance.


