When you click on links to various merchants on this site and make a purchase, this can result in this site earning a commission. Affiliate programs and affiliations include, but are not limited to, the eBay Partner Network.
It's interesting how they are only utilizing one of the motor mount bolts on each side and then one off each block back when on the stand. When the dealer replaced my motor I know they did as in your posting using that setup and going out through the missing grill.
Sean, I love the first one. Wow! What a great stand!!!! Also notice the center line height where the engine rests. Mmmmmm more cutting and welding for my buddy.
Just thought I'd share an action shot of my engine stand. I love the fact that I can rotate the engine and not be locked in like the traditional motor mount stands.
Maybe about a year ago in some thread Bill (Per4mance), maybe Sean, and I were discussing tables to use while working on the trucks. I mentioned at some point I would pull apart a table I use for woodcutting and mod it for this type of work.
This is mostly 8020 aluminum stock, 15 series, and I use it as an adult erector set, reconfiguring parts for different things and tables. Its real easy to do as most times it just screwing things together. There are brackets and I have many, but bracketry is expensive and if you don't need it, then ......
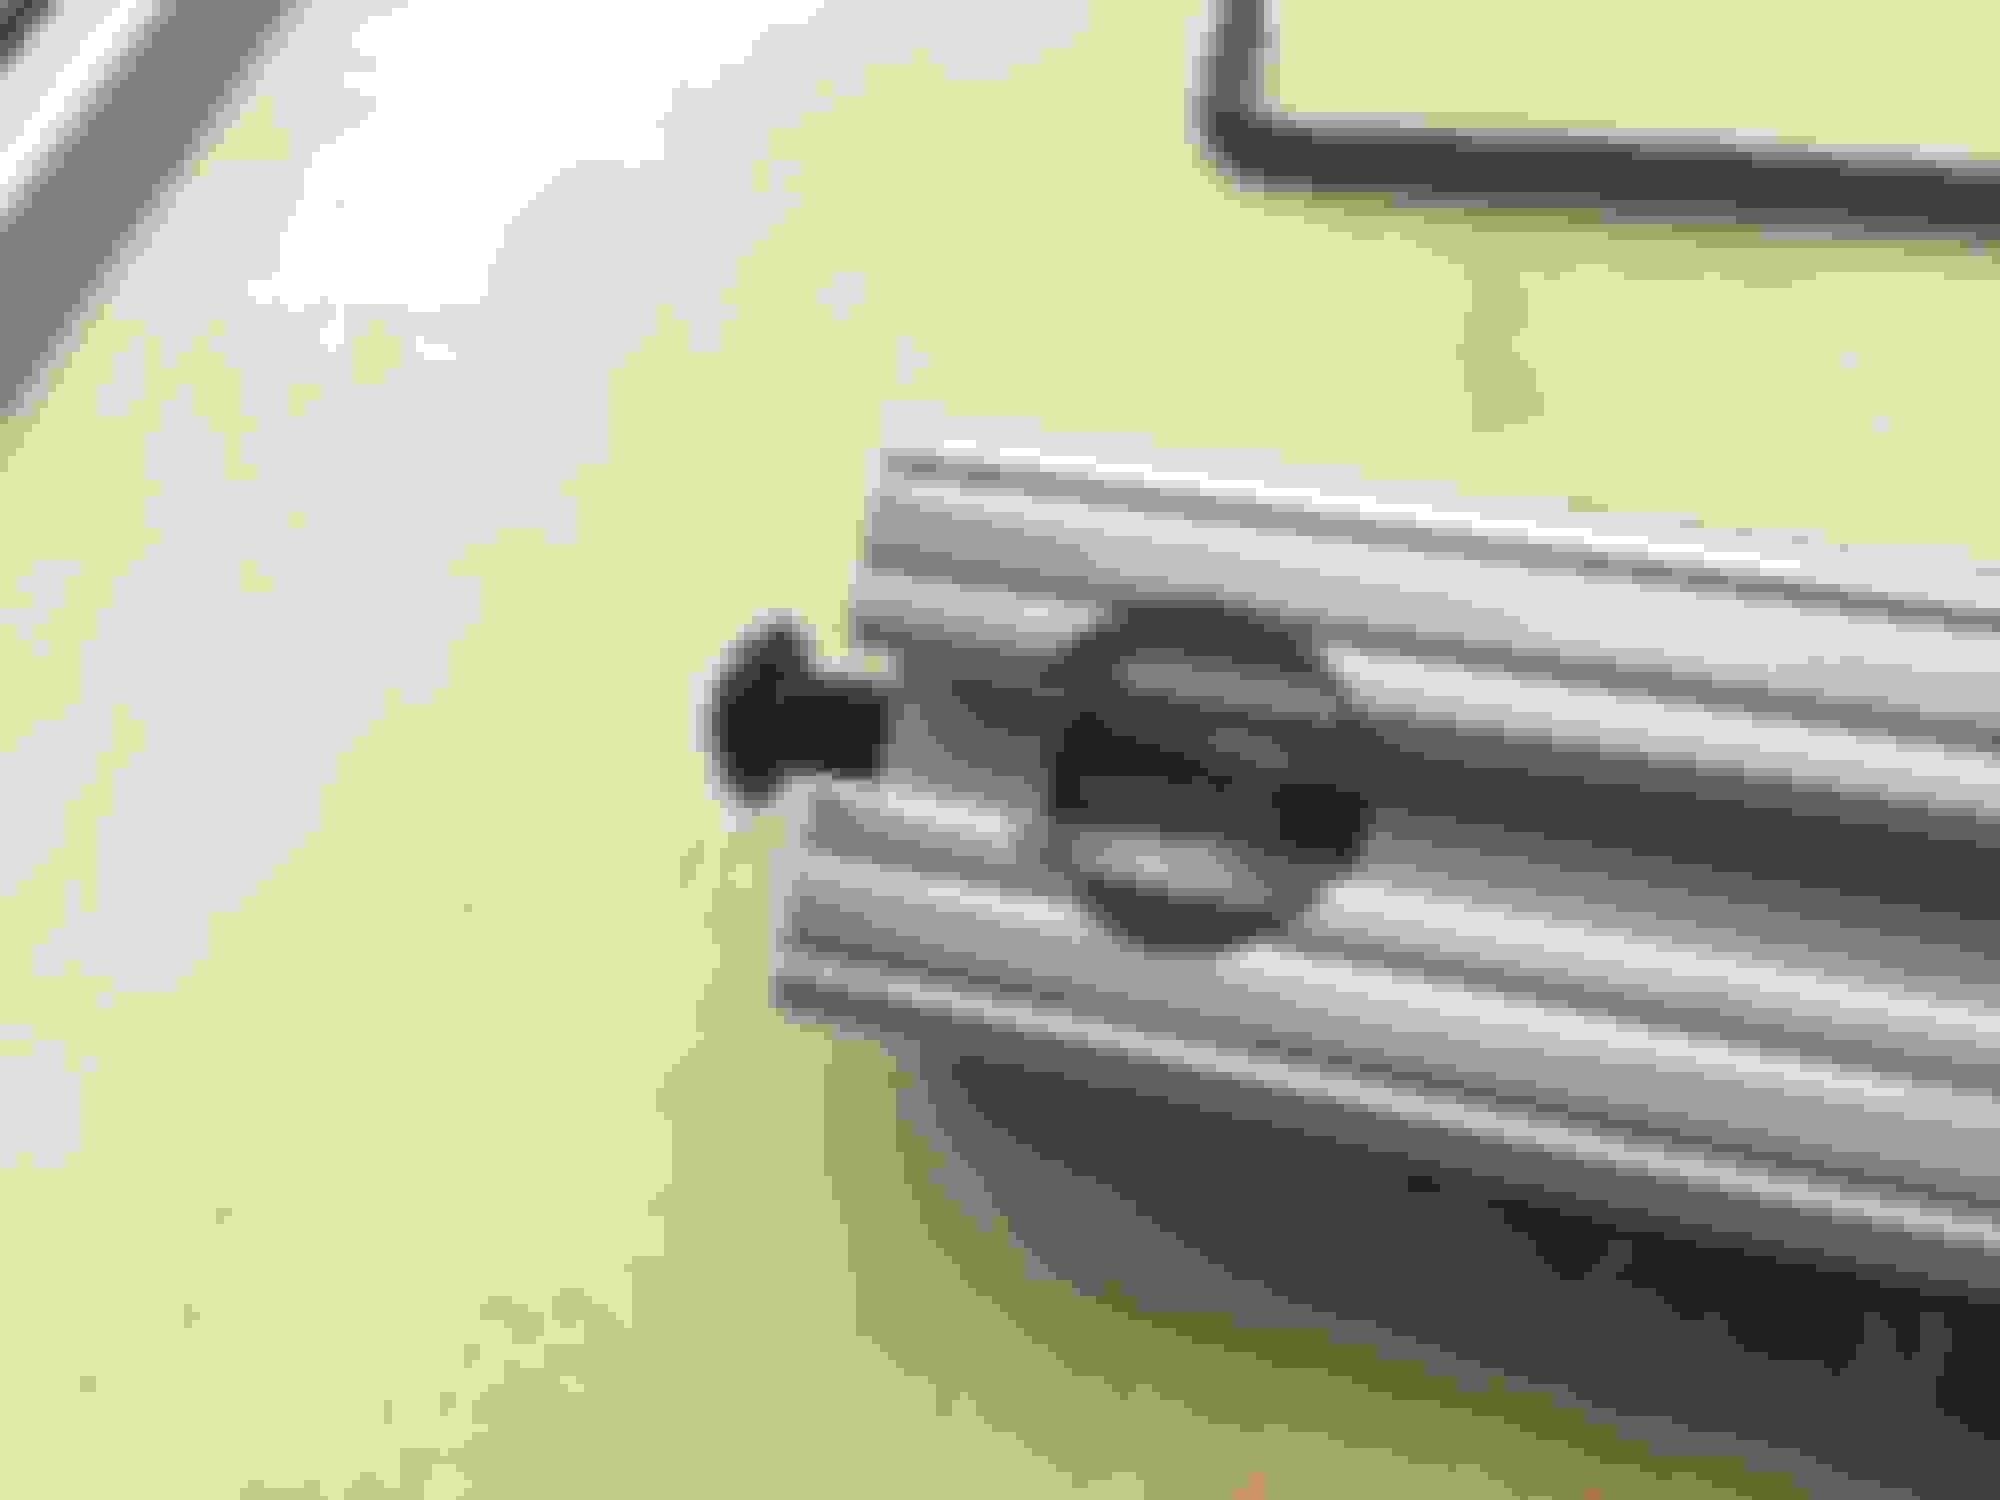
In this image I've moved the table top so it's more centered over the legs, again easy to do with the holes in the bars. Loosen the screws to the anchors, slide the table so the next hole is above the screw, tighten the screw with the hex wrench.
The bolts are used like a pin to stop the tubes from sliding, the anchors and screws are added to minimize sideways movement.
Using the perforated telescoping tube (McMaster) the height can be varied for vehicles. On the SD, the hood strut is in the way, but it could easily be removed for more clearance but the hood would need support. With the strut out of the way, the table could be moved back and the way I put the legs, the rear leg could go behind the tire.
Screws are used at the ends of the bar to connect, with only the need for a 5/16" hole through the center section for the hex wrench. Screws and anchors are used within the bar's ways.
If I was going to put heavier weight on it then a L-N alternator and other things I would have used 3/4" ply and routed for the groove rather then 1/4" ply, and I would install my brackets that I have for another table at the stress points.
I plan on installing swiveling adjustable feet at the ends of the bar feet for more stability and adjustment to my driveway surface. The other nice thing is when Im done I can unbolt it and it becomes a small package for storage, or use the components in my next project. As I said, it's all components of an erector set.
Last edited by TooManyToys.; 05-24-2017 at 01:22 PM.
Reason: Added Pics
If you hunt and have time you can save a few dollars by getting mis-cuts off their eBay site. Ofter they have "lots" which are good deals.
I cut my 8020 bar stock so it has square ends with my carpentry cutoff saw using a carbide blade. The center hole is easy to thread with a tap, often at low speed with my drill, although the ultra light is harder for this.
The holes through the center sections are drilled to 5/16", and if you don't have a drill press, this guide is great.
 05-13-2017, 01:44 PM


 tools.