When you click on links to various merchants on this site and make a purchase, this can result in this site earning a commission. Affiliate programs and affiliations include, but are not limited to, the eBay Partner Network.
I searched this forum and couldn't find an answer so I gotsta ask. I've decided to replace the original timing set on my Ford 400 engine (1979 F150). I already have a replacement timing cover, front crank/balancer seal, all steel timing set, gaskets, etc. The motor is in the truck and I really hope to not have to pull it. Is it possible to install this new timing cover without lowering nor loosening up the oil pan?
I will start the remove the pulley to begain with. replace the sceal and gasket.
i think ita possible. i rebuit mine a lots of years ago so i dont remember. just try it.
You can do it but beware of bungin' up the crank seal when you install it.....it'll have to be at a slight angle to go over and on top of the oil pan.
Put a generous (0.25" bead) amount of RTV on the pan. Let it skin over - about 10 minutes - then work the cover over it.
Hope you kept track of the different lengths/sizes of the bolts, and where they want to be, too.
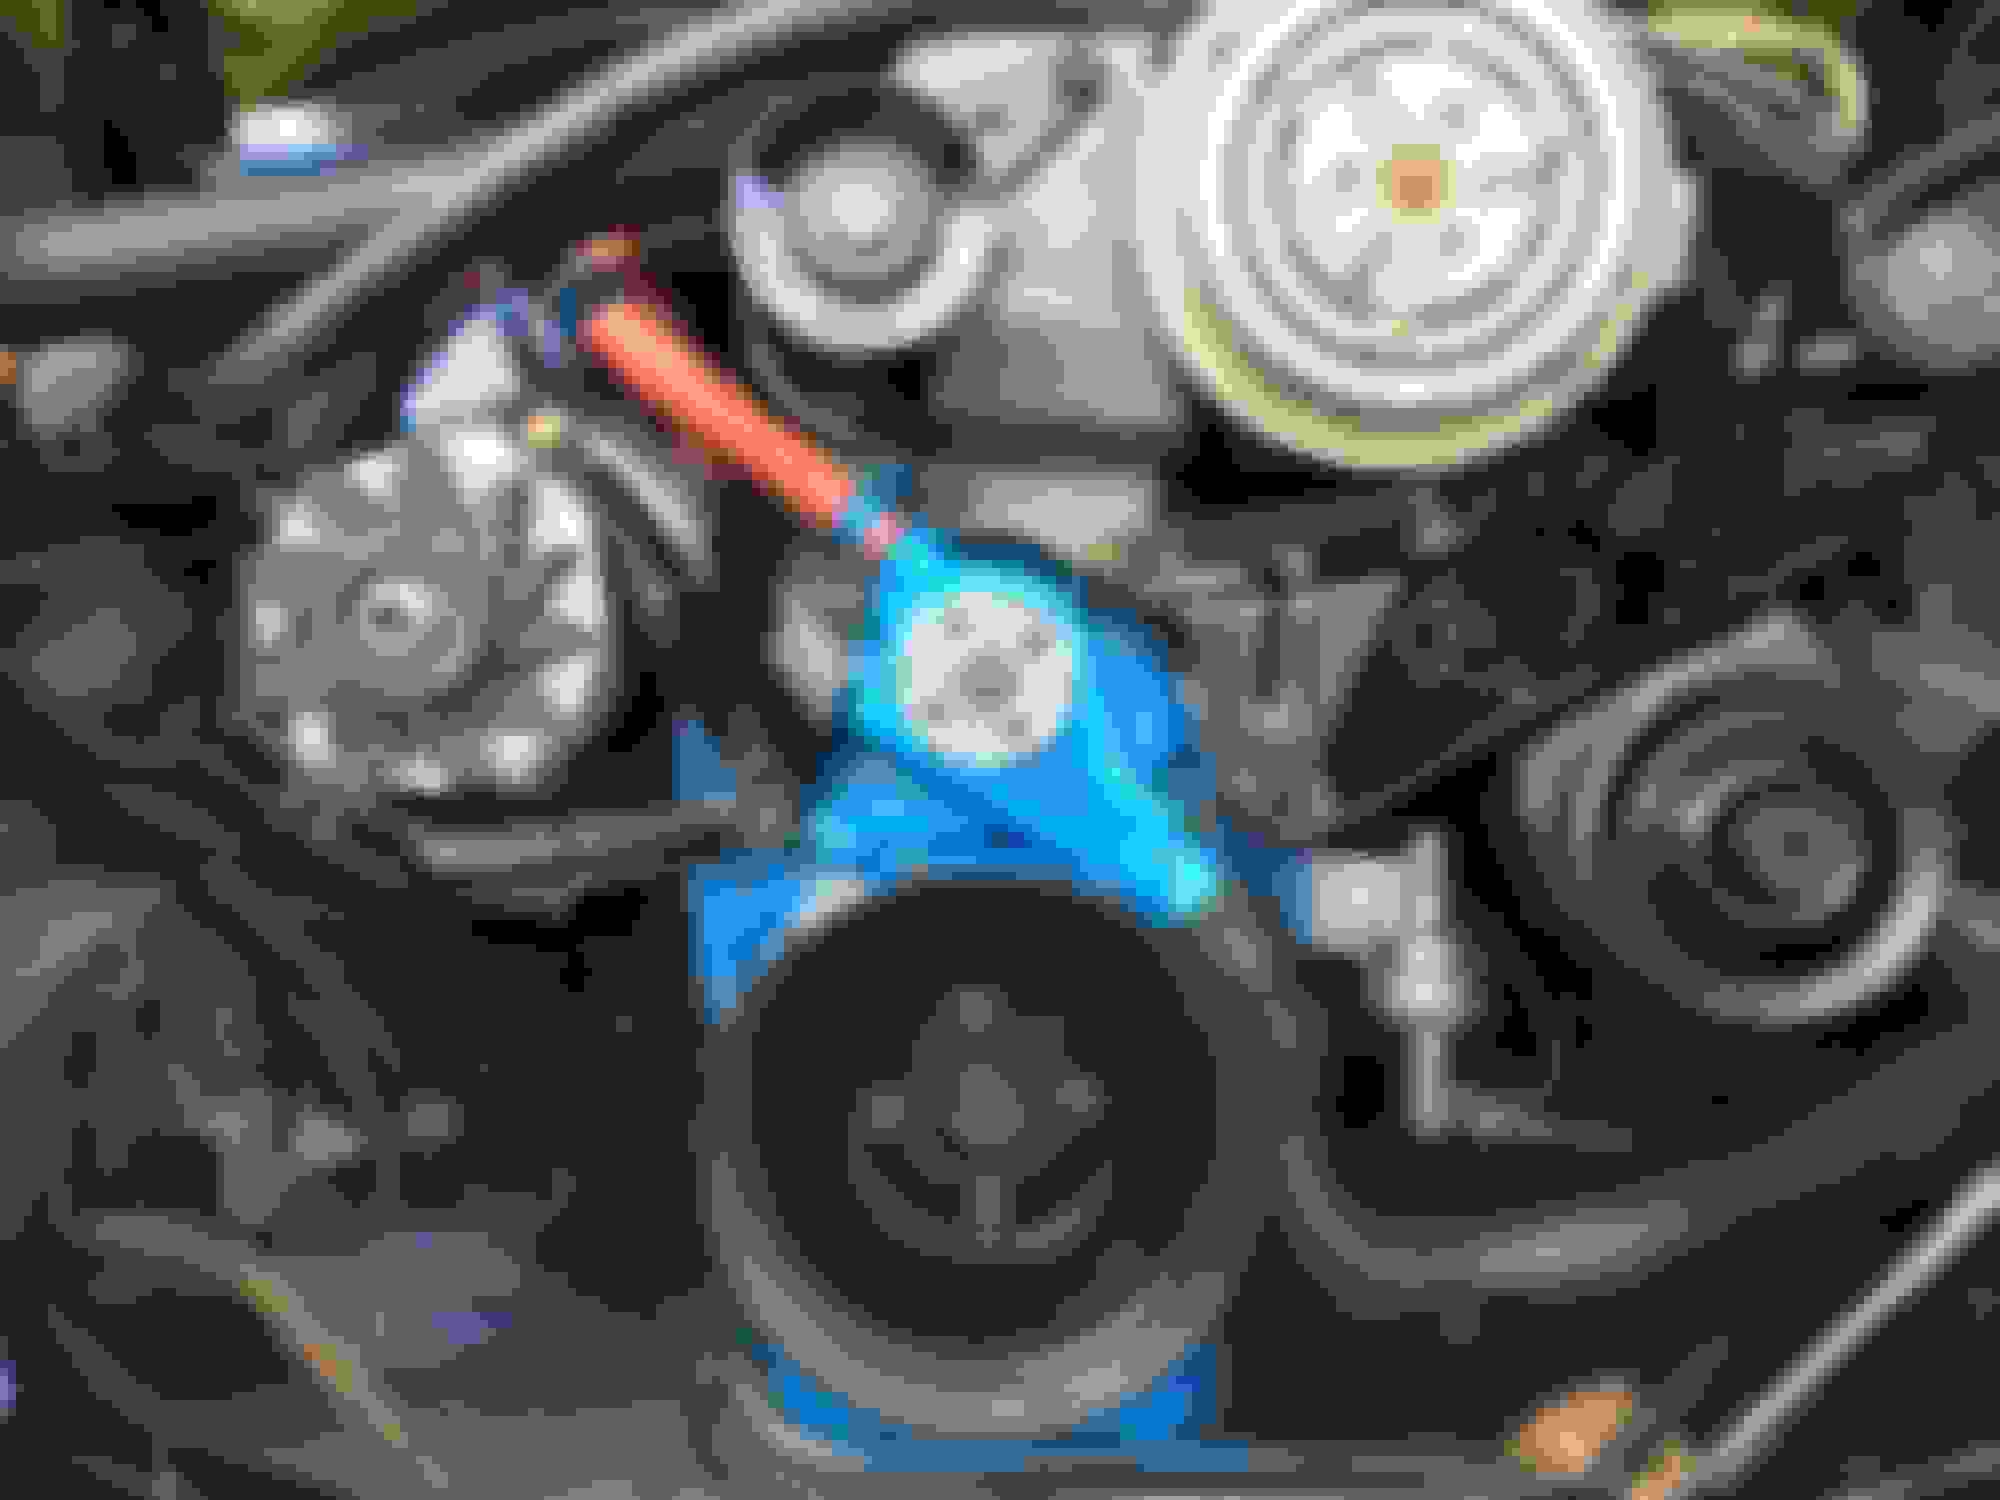
Is that a Fram filter I see? If it is, do your engine a favor and dump it for a Wix 51515 or a Napa gold at the next oil change. Don't ferget the ZDP either.
Thank you Filthy Beast. That's a big 10-4 on the Wix oil filter! This is the first Fram filter I've ran on anything in many years & I'm still not sure why I did that. I think Vato Zone was out of the Wix brand at the time & I was desperate. Oil wise, I've just been running Rotella T 5w/40 for the past several years in my old rigs. ZR1 has gotten scarce around here.
About the timing cover: Your method with the 0.25" bead of RTV sounds just like what I've been doing on small block Chevy motors with the ends of the intake manifolds. Since I posted this question I discovered the right way to use the Search feature & I've gathered some more info on installing that timing cover. What say you about lnstalling the timing cover, with your 0.25" RTV bead method, but leaving off the crank/damper seal until the cover is bolted down and then using a PVC pipe or something over the crank to carefully seat the crank/damper seal (obviously, after the RTV has had lots of time to dry)?
I did it without loosening a single oil pan bolt! I removed my timing cover on Saturday. Lo and behold, my 400 had the infamous nylon toothed camshaft sprocket. I said, "You're coming out now, mister!" I then replaced it with a good aftermarket steel set. Easy breezy! Since buttoning up the motor I started and warmed it up fully, drove 24 miles, parked and let it idle. No leakage!
Okay, after a few dry runs just setting the bare timing cover into place to get a feel for how it has to go in, here's how I did this:
I used a Dremel cutting wheel to carefully cut away 1/8" of material from each side of the two lateral edges of the lower timing cover saddle (where the timing cover to oil pan seal rests) so as to allow me to lay in the timing cover without lowering the oil pan (otherwise, I couldn't really lay the timing cover in without hitting the edges of the lower timing cover saddle on the opening of the block); carefully removed the original timing cover to oil pan seal without damaging it; cleaned and inspected I lightly coated the timing cover to block gasket (both sides of said gasket) with RTV Grey & placed it on the perfectly cleaned engine block face; applied slightly more RTV Grey around the edges of the three coolant passages on the face of the block (again, both sides of gasket); completely and generously coated the original timing cover to oil pan seal with RTV Grey and set it back into place, including placing each side tab back into its little recess between the edge of the oil pan and block mating surface; applied slightly extra RTV Grey to the lower 1/2" of the timing cover on each side where it meets the block face; I rested the bottom of the timing cover on top of the oil pan seal at about a 10* angle and carefully pressed the cover down as I leaned it against the block and easily slipped the passenger side of the cover right onto the metal dowel pin & slipped an 11" long 3/8" drive extension through the driver side water pump passage, for leverage, to slip the driver side of the timing cover down onto its metal dowel pin (I didn't have to **** down on it much; maybe 10 pounds of force). Then I simply installed the timing pointer and lower cover bolts finger tight; installed the water pump with new gasket (lightly coated with RTV Grey on both sides) and tightened the bolts finger tight; torqued the bolts, in sequence, to 17 ft./lbs. The last step was installing the harmonic balancer/crank seal in the timing cover. I removed the seal from the freezer, placed it squarely onto the front of the timing cover and used a f*#$%@g really big socket that fit neatly over the seal, then carefully tapped it into place with a brass mallet.
Sorry for the extreme wordiness. I like detail and hopefully this will help some poor miscreant soul replace his timing cover without lowering the oil pan. Yes, it can be done!
Really good info on this thread. Thanks for posting up words of wisdom everyone.
I just bought a water pump from rock auto. Looks like I should have added a double roller steel timing set to the list as well. Time for another parts order
I'll be doing this exact same thing in a month or so. The "wordiness" is appreciated!
Just about to do this but I have a quick question. Is there any way to peek at the timing chain without taking the cover all the way off? Just looking at it from the top and resealing if it is in good shape? I have no history on the engine but don't want to pull this off if the timing chain is in good shape. Have that water pump to replace and I'm pretty much at the point of the top picture.
Any reason the locating pins HAVE to stay in the block? Seems like if the pins can/could be removed, it would be easier to install the cover. The bolts hold it place not the pins. Maybe this is a noob question.
Any reason the locating pins HAVE to stay in the block? Seems like if the pins can/could be removed, it would be easier to install the cover. The bolts hold it place not the pins. Maybe this is a noob question.
This is a pretty old thread but if you are planning on replacing the front seal. Ford had a special tool just for that. Your shop manual spells out how to do it. And no, you cannot remove the pins. This is what the tool looks like. You get the seal started then press it in with your balancer installer.
This is a pretty old thread but if you are planning on replacing the front seal. Ford had a special tool just for that. Your shop manual spells out how to do it. And no, you cannot remove the pins. This is what the tool looks like. You get the seal started then press it in with your balancer installer.
Looking to replace the timing chain and gears with I believe with a cloyes straight up set. I was looking at a thread from the 73-79 trucks and someone asked about the timing chain and cover. Someone linked to this thread. I know it was old but has good information.
 02-15-2017, 08:54 PM