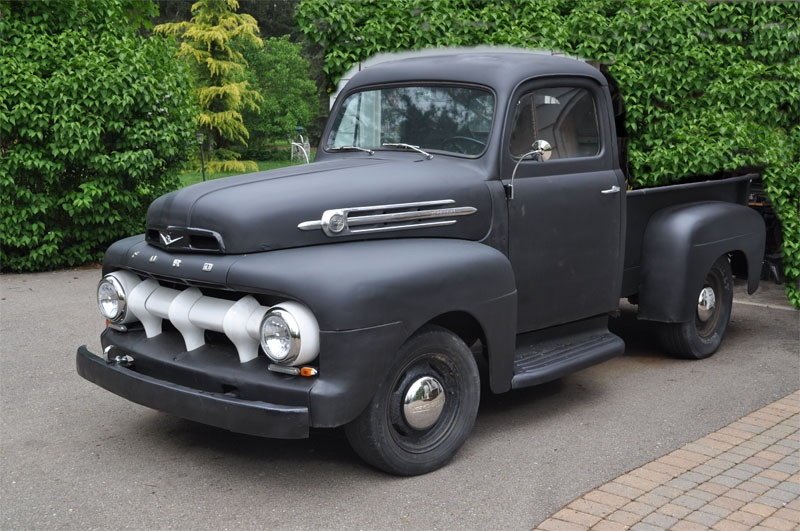
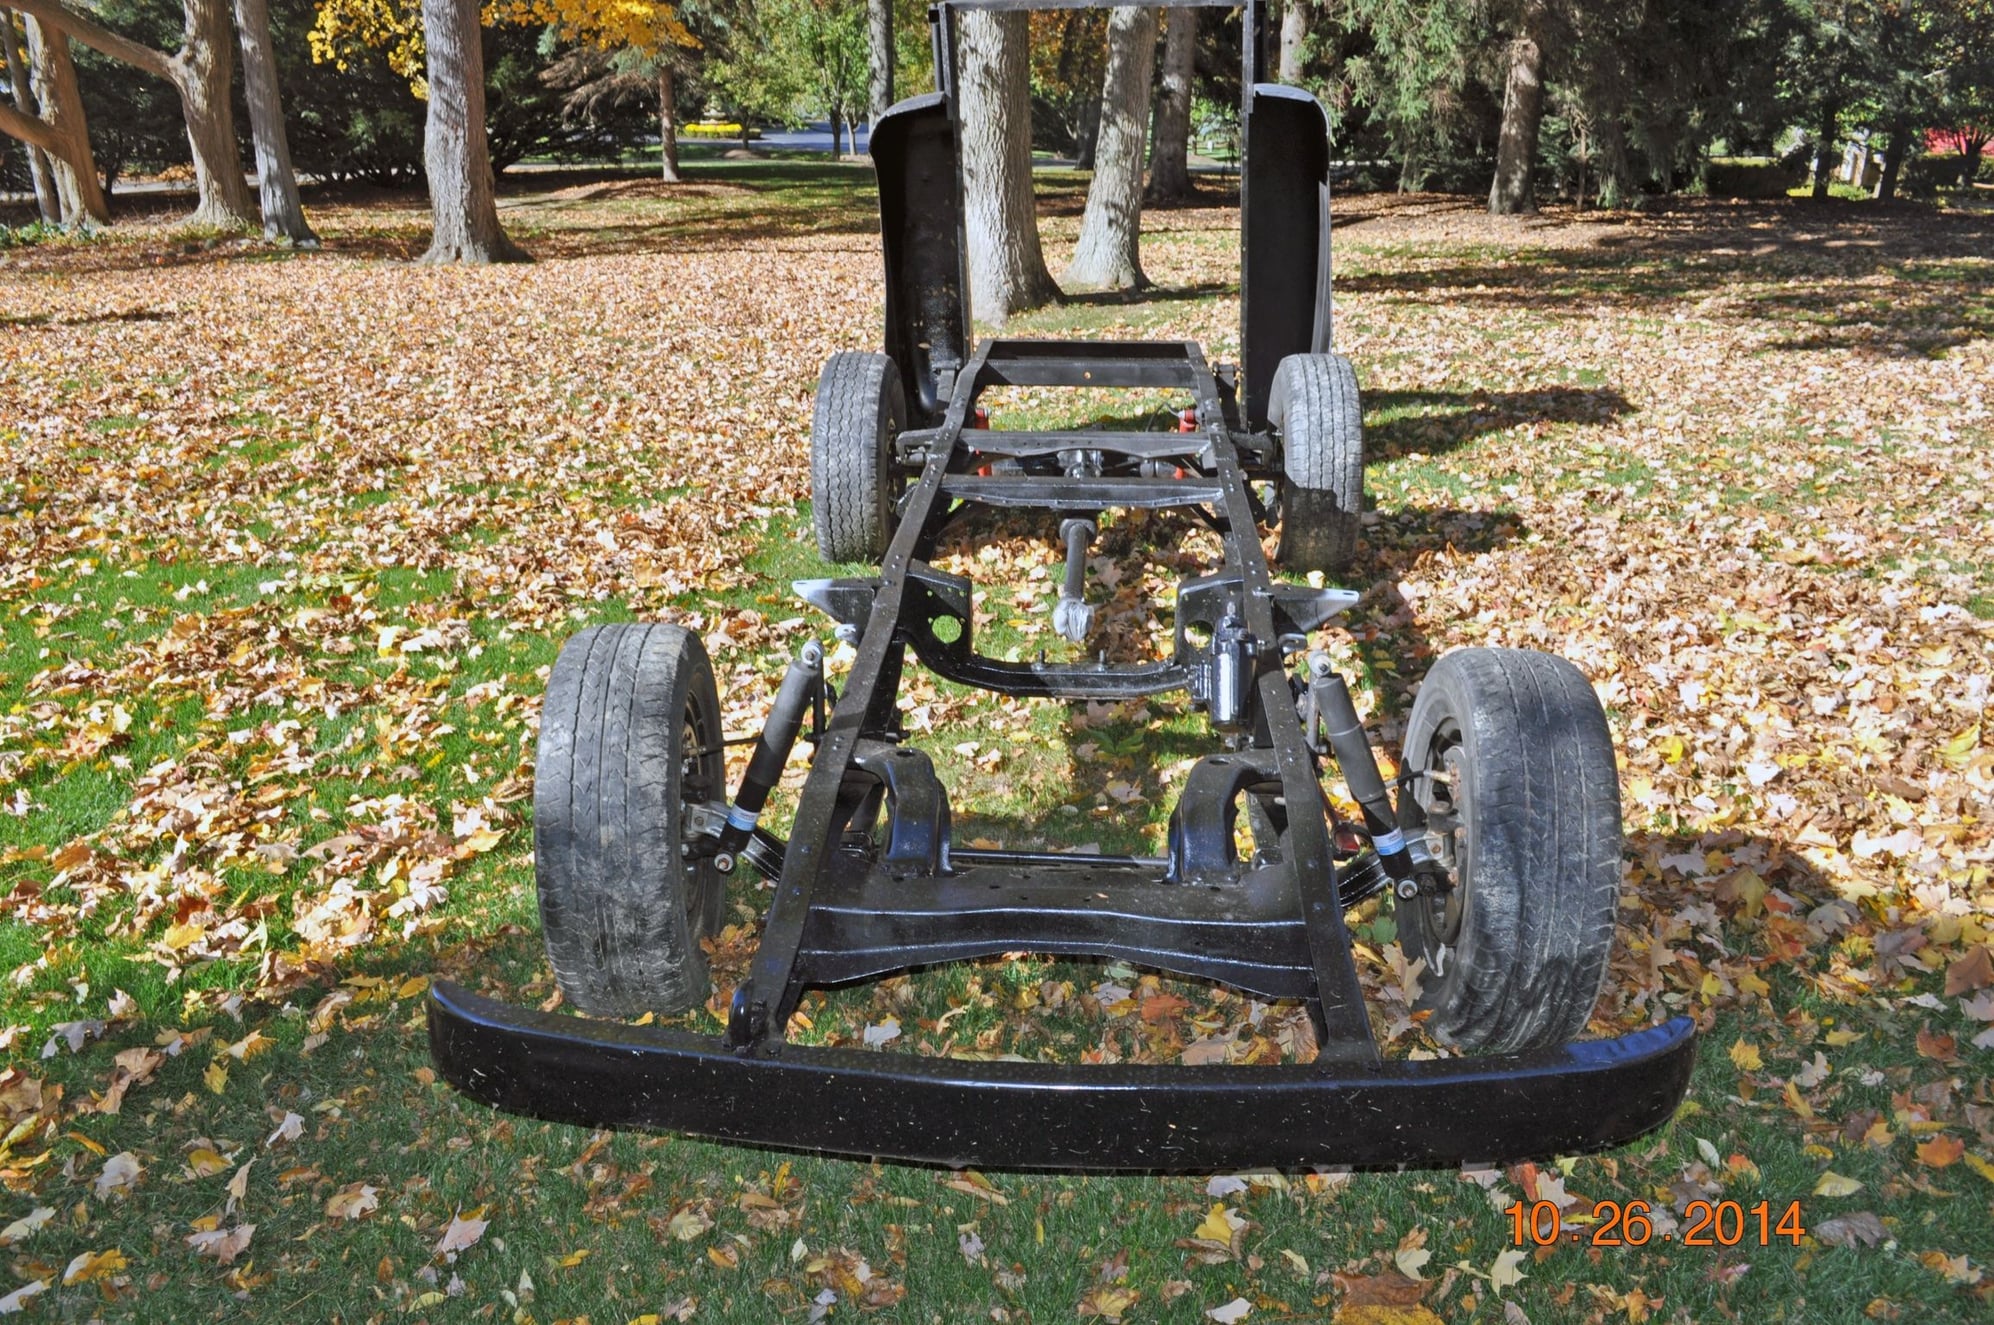
56 F 100 basket case build
#33
This won't be pretty... I hope.
Well I have done a lot of work on the 56 in the last couple weeks but it doesn't seem like a lot of progress. I don't have any new pics. I have been looking thru a bunch of threads here on the site and I believe this thread is going to be a whole new animal. I am fighting the MAWs (Might As Wells)- as in since I have the engine out I might as well replace the valve cover gaskets. Now that the valve cover gaskets are off I might as well do a valve job. Oh heck since the heads are off I might as well rebuild the engine. Since the engine is going to be rebuilt' I might as well......
I am planning to do this build as someone would do to a 20 yr old truck back in the 70's. I want it safe and I will have to repair the floorboards but I dont plan to paint things,etc. It's not going to be a Rat Rod- just a usable old truck.
I am planning to do this build as someone would do to a 20 yr old truck back in the 70's. I want it safe and I will have to repair the floorboards but I dont plan to paint things,etc. It's not going to be a Rat Rod- just a usable old truck.
#34
#36
Enjoying your thread so far, keep up the momentum! You might want to consider a gps speedometer if you plan on using aftermarket gauges, might be easier if you can spare the cash. Also, you shouldn't worry about the rear diff not being centered. The output shaft of the transmission and the rear pinion don't have to be lined up, just let the u joints do their thing. The pinion angle in relation to the engine angle is what you need to focus on. Google Driveline phasing and it'll all make sense!
#37
Enjoying your thread so far, keep up the momentum! You might want to consider a gps speedometer if you plan on using aftermarket gauges, might be easier if you can spare the cash. Also, you shouldn't worry about the rear diff not being centered. The output shaft of the transmission and the rear pinion don't have to be lined up, just let the u joints do their thing. The pinion angle in relation to the engine angle is what you need to focus on. Google Driveline phasing and it'll all make sense!
#38
Installing speedometer drive in a non speedo M5R2
I thought I might be able to just drill out the tailhousing from the 92 trans but then i found a drilled/machined housing from a 88 or so M5R2 on ebay so I bought it. We figured out where the speedo gear would sit on the output shaft and attempted to drill it. It was too hard. You couldn't even punch it w/ a center punch. So we tried a straight 1/8 " die grinder. Then once there was a indentation, tried a drill bit- No Way!! Then used a round die grinder. Slowly but surely it worked. Trail fitted the gear on the shaft and took a little more each time until it fit, Then marked where snap ring needed to go and cut the grove w/ a die cutter. then put on a snap ring. It all fit!!! So put the housing on and plugged in the speedo gear and it works... I think, the jury is still out. We'll see!!
#39
I got the rear transmission crossmember a few days ago so I set the engine/transmission back in the truck in a close enough position to see where I can mount the master cylinder/ booster/ pedals. I had cut out a piece of the firewall of the donor 92 to use as a template. I finally settled on a place and marked and then cut out the firewall. Looks like everything will work but I think I am going to have to heat and bent the clutch pedal about 1/2 inch to the left to clear the steering column. I am also going to flatten the firewall so its all flat. I quit for now. The wife and I are going on a long cross country trip so I won't be back at it until sometime in May. I plan to go to the F 100 Supernationals in Tennessee. Any of you guys going??
#40
Got back from trip and getting back to truck. I bought new rear shoes, cylinders, drums and seals for the rear end. After putting all that on I found a lot of play in the rear end. I wish I had looked it over before buying the new parts! Anyway I found that the small pin that drives in and holds the differential pin broke, allowing the bigger pin to partially drop down. The bigger pin then wore into the differential case. Lots of slop. Last weekend I went to a swap meet at Fowlerville at bought a dana 44 rear end out of a 54 F100. So now I have replaced the entire rear end using the new brake parts. Now I can get get back to mounting the engine/trans.
#41
Disc brake conversion
I ordered the 4856 DBK 5.5 kit from CPP off ebay for $95.00. In the instructions it says to use calipers off a 80's Chevy pickup, Rotors off a 79-93 F150 and a-2 and a-13 wheel bearings. I ordered all that from O'Riellys except the used rotors I had from my donor truck. I ordered calipers from a 85 Chevy C10 2wd. They wouldn't fit!! Long story short I needed the HD brakes for the Chevy. Now It all fits. I have removed the kingpins and and awaiting the new pins and tie rod ends. So now I am done with the rear end and soon will be done with the front end and can set it level on the floor. Then I should be able to get back to mounting the engine/transmission. Then on to the pedals, master and clutch cylinders, etc.
#42
#43
setting engine/transmission
I was pretty sure I was going to get rid of the fan on the 300 6 and go with a electric fan but after looking a little more I wonder if the water pump driven fan would work. If I raised the engine and lowered the radiator in the mount it might just work. I put the Radiator mount on the frame temporarily and it looks like I could lower the radiator about 2". Then maybe I could raise the engine 1 1/2 - 2" and use the fan. What do you guys think??
#44
I was pretty sure I was going to get rid of the fan on the 300 6 and go with a electric fan but after looking a little more I wonder if the water pump driven fan would work. If I raised the engine and lowered the radiator in the mount it might just work. I put the Radiator mount on the frame temporarily and it looks like I could lower the radiator about 2". Then maybe I could raise the engine 1 1/2 - 2" and use the fan. What do you guys think??
#45


