When you click on links to various merchants on this site and make a purchase, this can result in this site earning a commission. Affiliate programs and affiliations include, but are not limited to, the eBay Partner Network.
I finally got around to changing my pivot arm bushings today. I decided to go a different route than normal, and was finished in under three hours, including rounding up tools, adding hydraulic fluid to a jack, and putting away all tools. I had never done this job before, so I took my time and still finished quickly.
I ran the truck onto ramps, jacked up the truck just enough to barely put weight on the jack stands, this is important. More than an inch high will limit needed movement.
I used black Energy Suspension bushings. I bough the full kit just in case, but I ended up using my cups instead of changing out to the new ones.
Truck on ramps and stands:
Instead of removing the springs, wheels, radius arm, and all the hard stuff, I just placed my floor jack under the pumpkin and jacked up enough to take the pressure off the pivot bolt. The bolt threaded right out, then I lowered the jack enough for the bushing to be free of the bracket.
I used a drill and a 3/8 spade bit to drill out most of the rubber, then used a screwdriver and knife to get the few remaining rubber chunks. After that I used a drill with a coarse wire brush bit to clean out the inside and a cup brush to clean around the flange. The wire brush made short work of the leftover rubber in the cup.
Using plenty of the supplied lube I installed the busings. I also put some of the lube in the bracket where the pivot attaches.
Next I jacked the axle back up to where the bushing eye aligned with the bracket hole. I had figured the axle would move out just a bit when lowered, which it did about 1/4". I used a come a long to pull the axle back in line, and the bolt slid right in.
Tighten the pivot bolt and one side done.
Now the rear is where not jacking up the truck more than an inch is important. 1/2" or less is better. When lowering the back axle you have to be very careful not to lower too much and bend the half shaft axle on the opening in the axle housing. The higher the truck is jacked up, the less the axle can be lowered. You can see what I'm talking about on the left side of the above picture.
I left enough room when lowering so the axle didn't touch the housing, and barely had enough room to drill the old bushing out and brush the old cup. When installing the new bushings I lowered the axle more to where the axle housing just touched the half shaft in order to give me extra room when putting the new bushings in.
I jacked the axle back up, used the come a long to pull the axle in about 1/4", same as the front. Slid the bolt in, tightened everything up, cleaned up the mess, removed all jacks, and now the truck has its old ride height and the camber is back where it should be.
I just went to the end of the driveway and back. I will set the toe tomorrow and road test. I know there will be a lot of toe in with the new bushings putting everything back in place.
I am going to just drop the radius arm brackets and do those at a later date as they are not very bad yet. I have a new set of Moog rubber bushings for that and a new set of sway bar end links. I didn't want to go through all the work and straining to remove the axles and do it all at once. At one time I wouldn't have thought anything about it, but now I am over 60, no help, have a bad back and hiatal hernia I need to protect, so this quick easy way is fine with me.
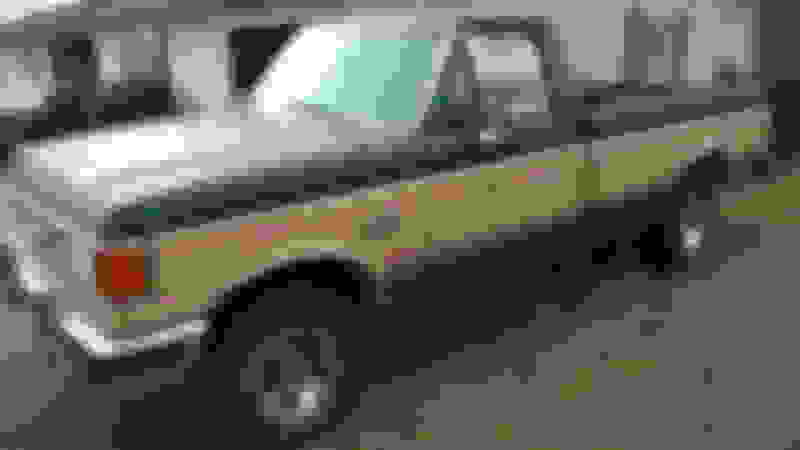
I guess you can see I need a new pan gasket. It's bulging out on both sides of the pan. The engine is a 4.9 and the truck is a 1987. It's time for a few things to need attention. I have owned this truck since 1992, and have spent less on it than what 2 new truck payments would be.
Hopefully this helps someone that doesn't have a lot of tools or time to do an axle pull. This way would be a complete breeze on a 2wd truck.
I drilled out the old rubber bushings and left the outer sleeve in the axle instead or removing it and pressing in a new one. That's why I used the wire brushes on the drill to clean up the residual rubber left in the old outer shell. Very fast and easy to clean up that way.
I did the radius arm bushings a few weeks ago. I drilled out and air chiseled the old rivets and went back the one original bolt on each side, drilled out the front bottom bolt to 1/2", and used 7/16" on the other holes. All grade 8 with grade 8 lock nuts.
For a 1987 truck, the radius arm bushings were still in great shape. I could have went several more years, but all is none now, and it rides and drives great. Better than I can remember.
Mine were so bad that the bolt had ate it's way thru the inner sleeve, thru the rubber, thru the outer sleeve and was starting to eat into the axle beam itself. Lol. I had to build the metal back up before installing new sleeve/rubber assemblies.
I drilled out the old rubber bushings and left the outer sleeve in the axle instead or removing it and pressing in a new one. That's why I used the wire brushes on the drill to clean up the residual rubber left in the old outer shell. Very fast and easy to clean up that way.
So the new bushing didn't have a new outer sleeve?
So the new bushing didn't have a new outer sleeve?
The Energy Suspension bushings can be ordered with or without the sleeves. I ordered mine with the sleeves in case I needed to change them out. Mine were perfect, so I didn't, and saved myself a lot of time and trouble.
The Energy Suspension bushings can be ordered with or without the sleeves. I ordered mine with the sleeves in case I needed to change them out. Mine were perfect, so I didn't, and saved myself a lot of time and trouble.
So do the new bushing just spin in the old sleeve? I am pretty sure that is Not how it is supposed to work
The new bushings went in very tight. I had to use a wood block and a hammer to get them to seat. They were tighter than when in the new sleeves, though I'm sure they would have tightened up after the new sleeves were pressed into the axle.
I used black Energy Suspension bushings. I bough the full kit just in case, but I ended up using my cups instead of changing out to the new ones.
Hopefully this helps someone that doesn't have a lot of tools or time to do an axle pull. This way would be a complete breeze on a 2wd truck.
Hi great write up here and I know its a long shot since this is an old thread but I saw you're still an active member here and maybe you might remember. I'm in the same boat and I'm going to be replacing my bushings with a kit I got from Energy. Like you I bought the full kit but thought if it looks doable and the cups are still good do the same thing you did and just replace the bushings. I would've sent a PM but I'm too new to do that so in the interim I'll give this a go.
Energy still offers a kit with and without the sleeve but I see that the OD of the bushings are a different size. The kit with the sleeve has an OD of 1.687 and the kit W/O the sleeve came in at 1.650. Did you notice any difficulties or issues down the road with this?
Again great write up Its. nice the pics are still available after all this time. Other boards im on got hosed when photobucket went away.
I bought the kit with the sleeves just in case I needed them. Glad I didn't, since using the old was so much easier.. They are still in there and working good.
Thanks for the good words about the original post. I hope things go as smooth for you as mine did,
Thanks for getting back I really appreciate that. I have the complete kit and have every tool I can think of including a newish battery powered saw. If need be. Just waiting on some new springs to do it all one time.
I did the radius arm bushings a few weeks ago. I drilled out and air chiseled the old rivets and went back with the one original bolt on each side, drilled out the front bottom bolt to 1/2", and used 7/16" on the other holes. All grade 8 with grade 8 lock nuts.
For a 1987 truck, the radius arm bushings were still in great shape. I could have went several more years, but all is done now, and it rides and drives great. Better than I can remember.
The quoted post is my original post after I did the radius arm bushings.
My radius arm had rivets and bolts in them. You can read above how I took care of that. It was easier for me to just remove the brackets. Others have moved the axle forward to change bushings.
On my '87, the bushings looked too squeezed after I tightened them. It turned out there was a pressed on ring from the factory on the beam before the threads started. I used a chisel and cut it off and all was well. You have a hard time seeing this small bushing unless you wire brush the area and look closely.
The only picture I have is after everything is back together, but with an arrow pointing to where the bushing was. Not all trucks have this metal ring, so yours may not.

 02-06-2017, 08:09 PM