When you click on links to various merchants on this site and make a purchase, this can result in this site earning a commission. Affiliate programs and affiliations include, but are not limited to, the eBay Partner Network.
So it's update time. New year, old progress, but still good news that I said I would post
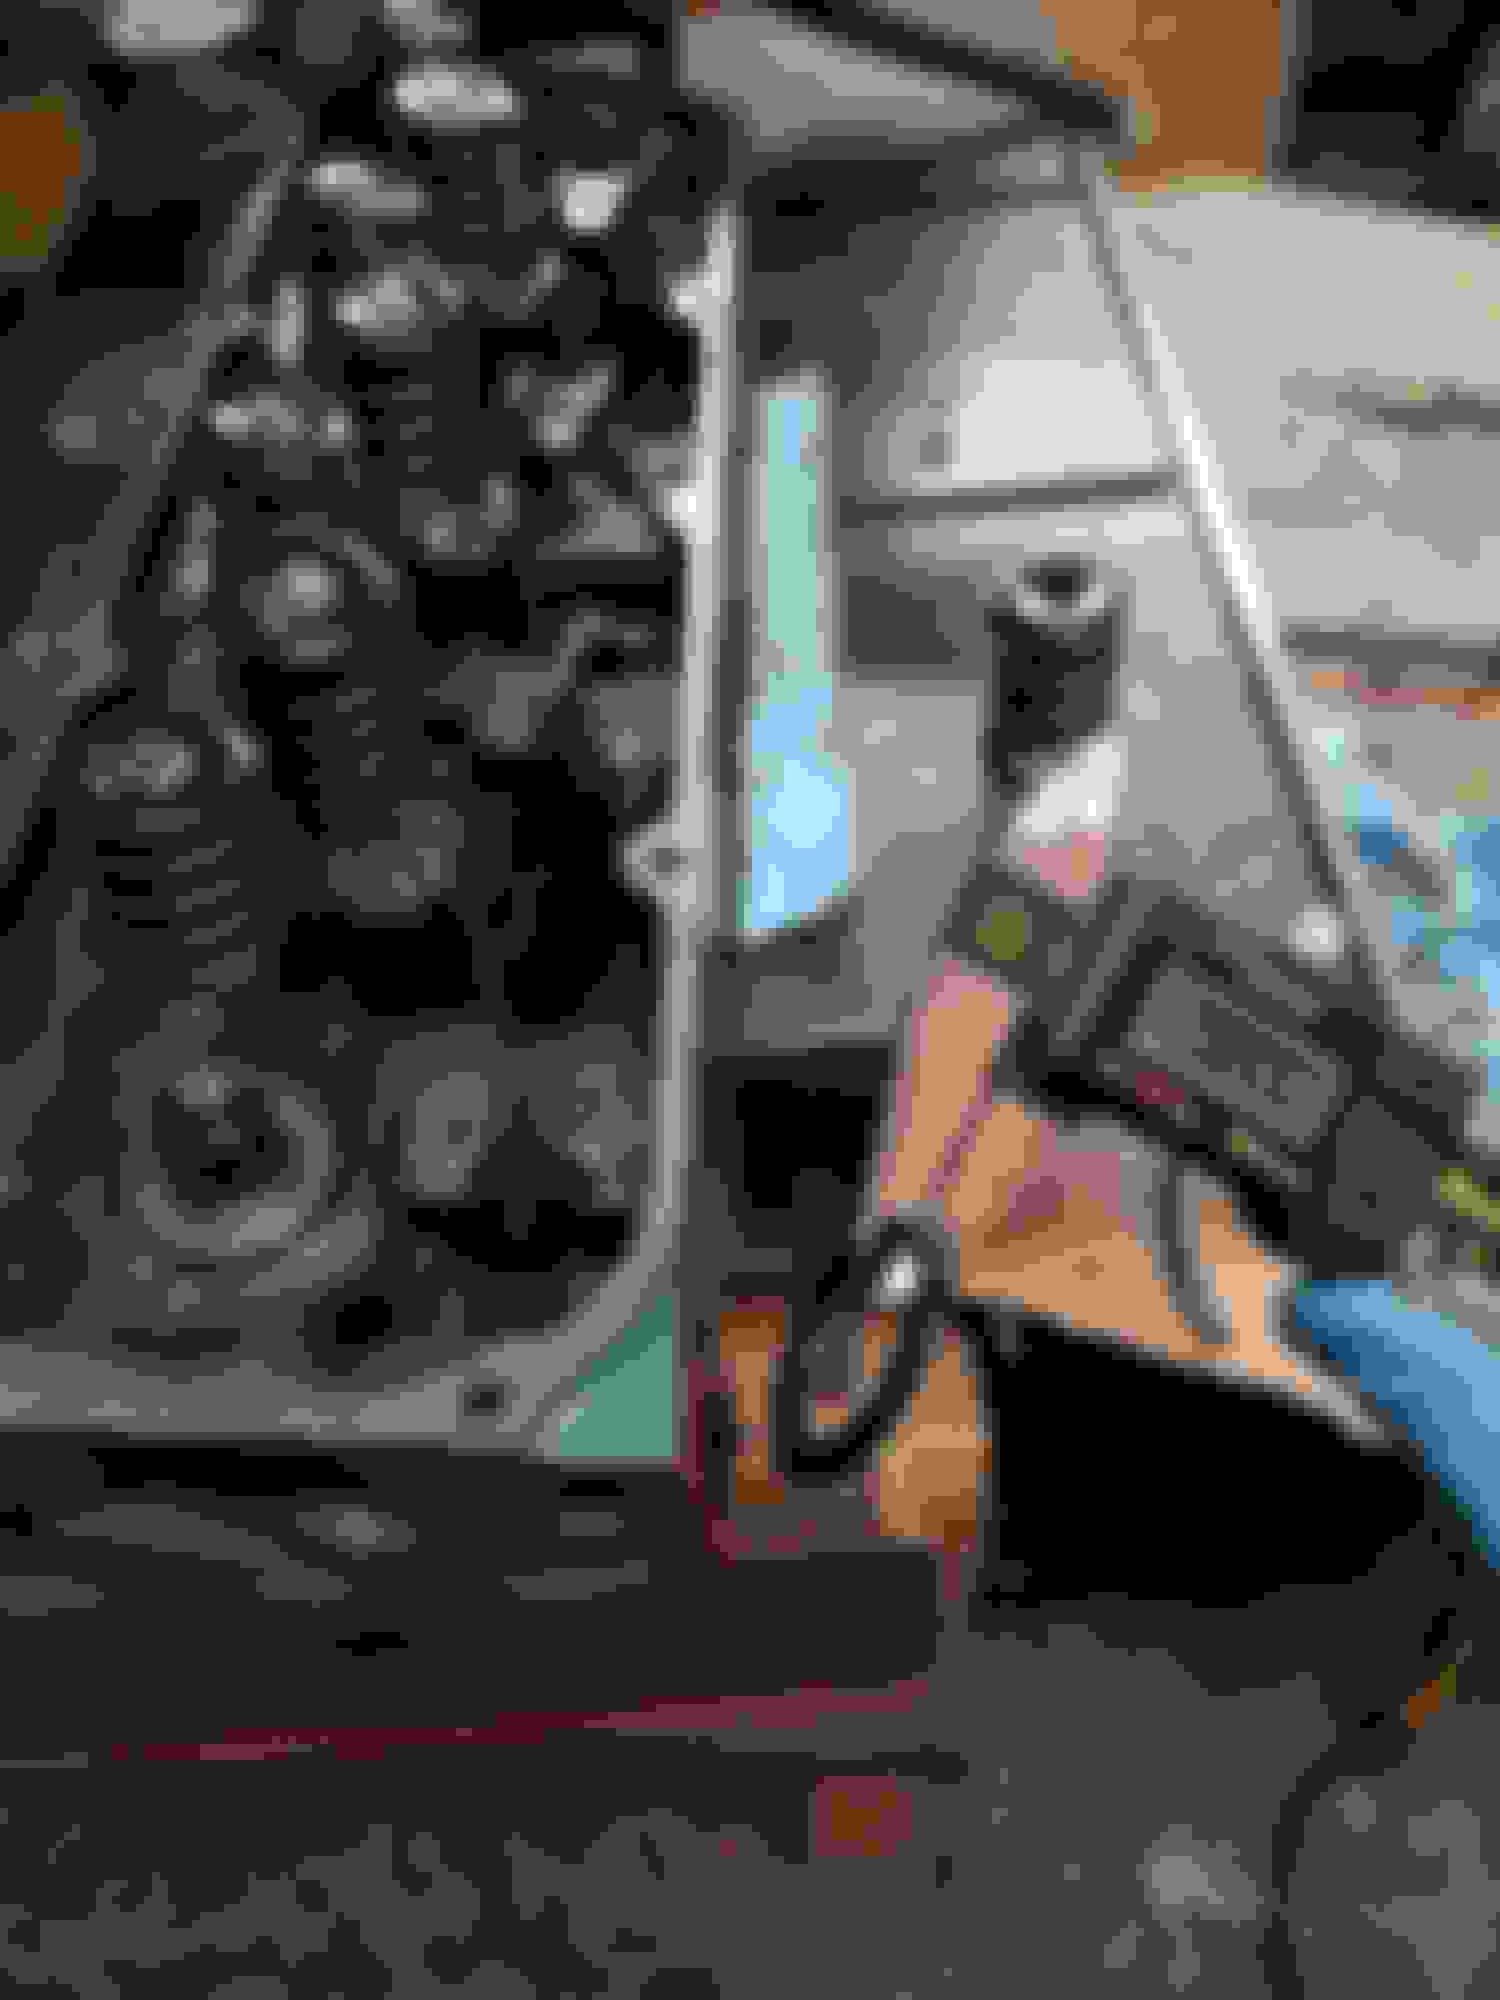
The truck was running like crap (as mentioned before), and there was a VERY distinct 'ticking' sound on certain cylinders. I traced the noise with a long piece of 3/8" hose, and my assumptions of it being the lifters turned out to be true.
This is how we started. Yanked everything off, all the way down to the block. Heads, intake, headers, the works.
I yanked all of the lifters and inspected them. A few of them were bled down, but 6-7 of them were very strongly pumped up 100% and did not bleed down on their own.
I bled down each lifter in the shop vice being extra careful not to mar any surfaces.
When bleeding down, I noticed that any that were not freely bled down on their own before being pulled had a lot of very dark oil inside them. Streaky oil.
After being fully bled, each of the 16 lifters moved 100% freely without issue.
More on the lifters near the end of this post.
Once my heads were off, I decided to go 1 step further. I yanked 1 valve from the intake port and 1 valve from the exhaust port. I didn't have any need to check over all 16.
Intake valve shims are Part Number 6160 - 0.055" thickness
After that, I checked over the valve lengths themselves and the stem wear. Also measured the Spring installed height and the free height. All of my measurements are below.
Notice the wear pattern on the stems? It's quite wide because of the number of times I've fiddled with the pedestal shims trying to get the lifter preload correct. The good news is that I never went too extreme in any one direction.
Spring Free height = 2.245" - ignore the number in the photo.
Used a bore gauge to figure out spring installed height (keeping in mind the 0.055" shim under the intake valves ONLY).
Measurements: Intake Valves/Springs
Intake valve P/N (stamped): P3082HD
Intake valve length = 5.240" - 5.245" (Was very difficult to measure a single valve accurately so I have a range which is close enough... looking back, I should have used 2 straight edges and a helper to get an accurate measurement)
Spring installed height = 1.865 - 0.055" = 1.810"
Spring shim thickness = 0.055"
Spring free height = 2.245"
Exhaust Valves/Springs
Exhaust valve P/N: not stamped
Exhaust valve length = 5.050"
Spring installed height = 1.815"
Spring shim thickness = N/A
Spring free height = 2.245"
After that, I reassembled with fresh gaskets everywhere (can't be too careful since I overheated the motor 1-2 times in the summer due to bad timing adjustments... whoops!). Turns out all of the gaskets were just fine, but I changed them out anyways. Never too careful.
I bought Prussian Blue and put some on the stems when I reassembled so that I could get the TRUE wear pattern with the same shims installed before disassembly, but this time the lifters were 100% bled and freely moving.
The motor was rotated over 2 full rotations. This is the result which I'm quite satisfied with. Not dead center, but not extreme either - and this is with STOCK stamped rockers.
On my way back up, I double checked all of the lifter preloads. Everybody is sitting at 0.055" preload, when the maximum lifter travel is 0.100" which is perfect!
I assembled with higher quality gaskets for the intake this time.
They worked great and are HIGHLY recommended when running an aluminum intake.
On top of all this, I put Permatex High Tack on the intake gaskets to hold them in place AND I made myself some intake guides/studs to slide the intake into place perfectly without a shadow of a doubt.
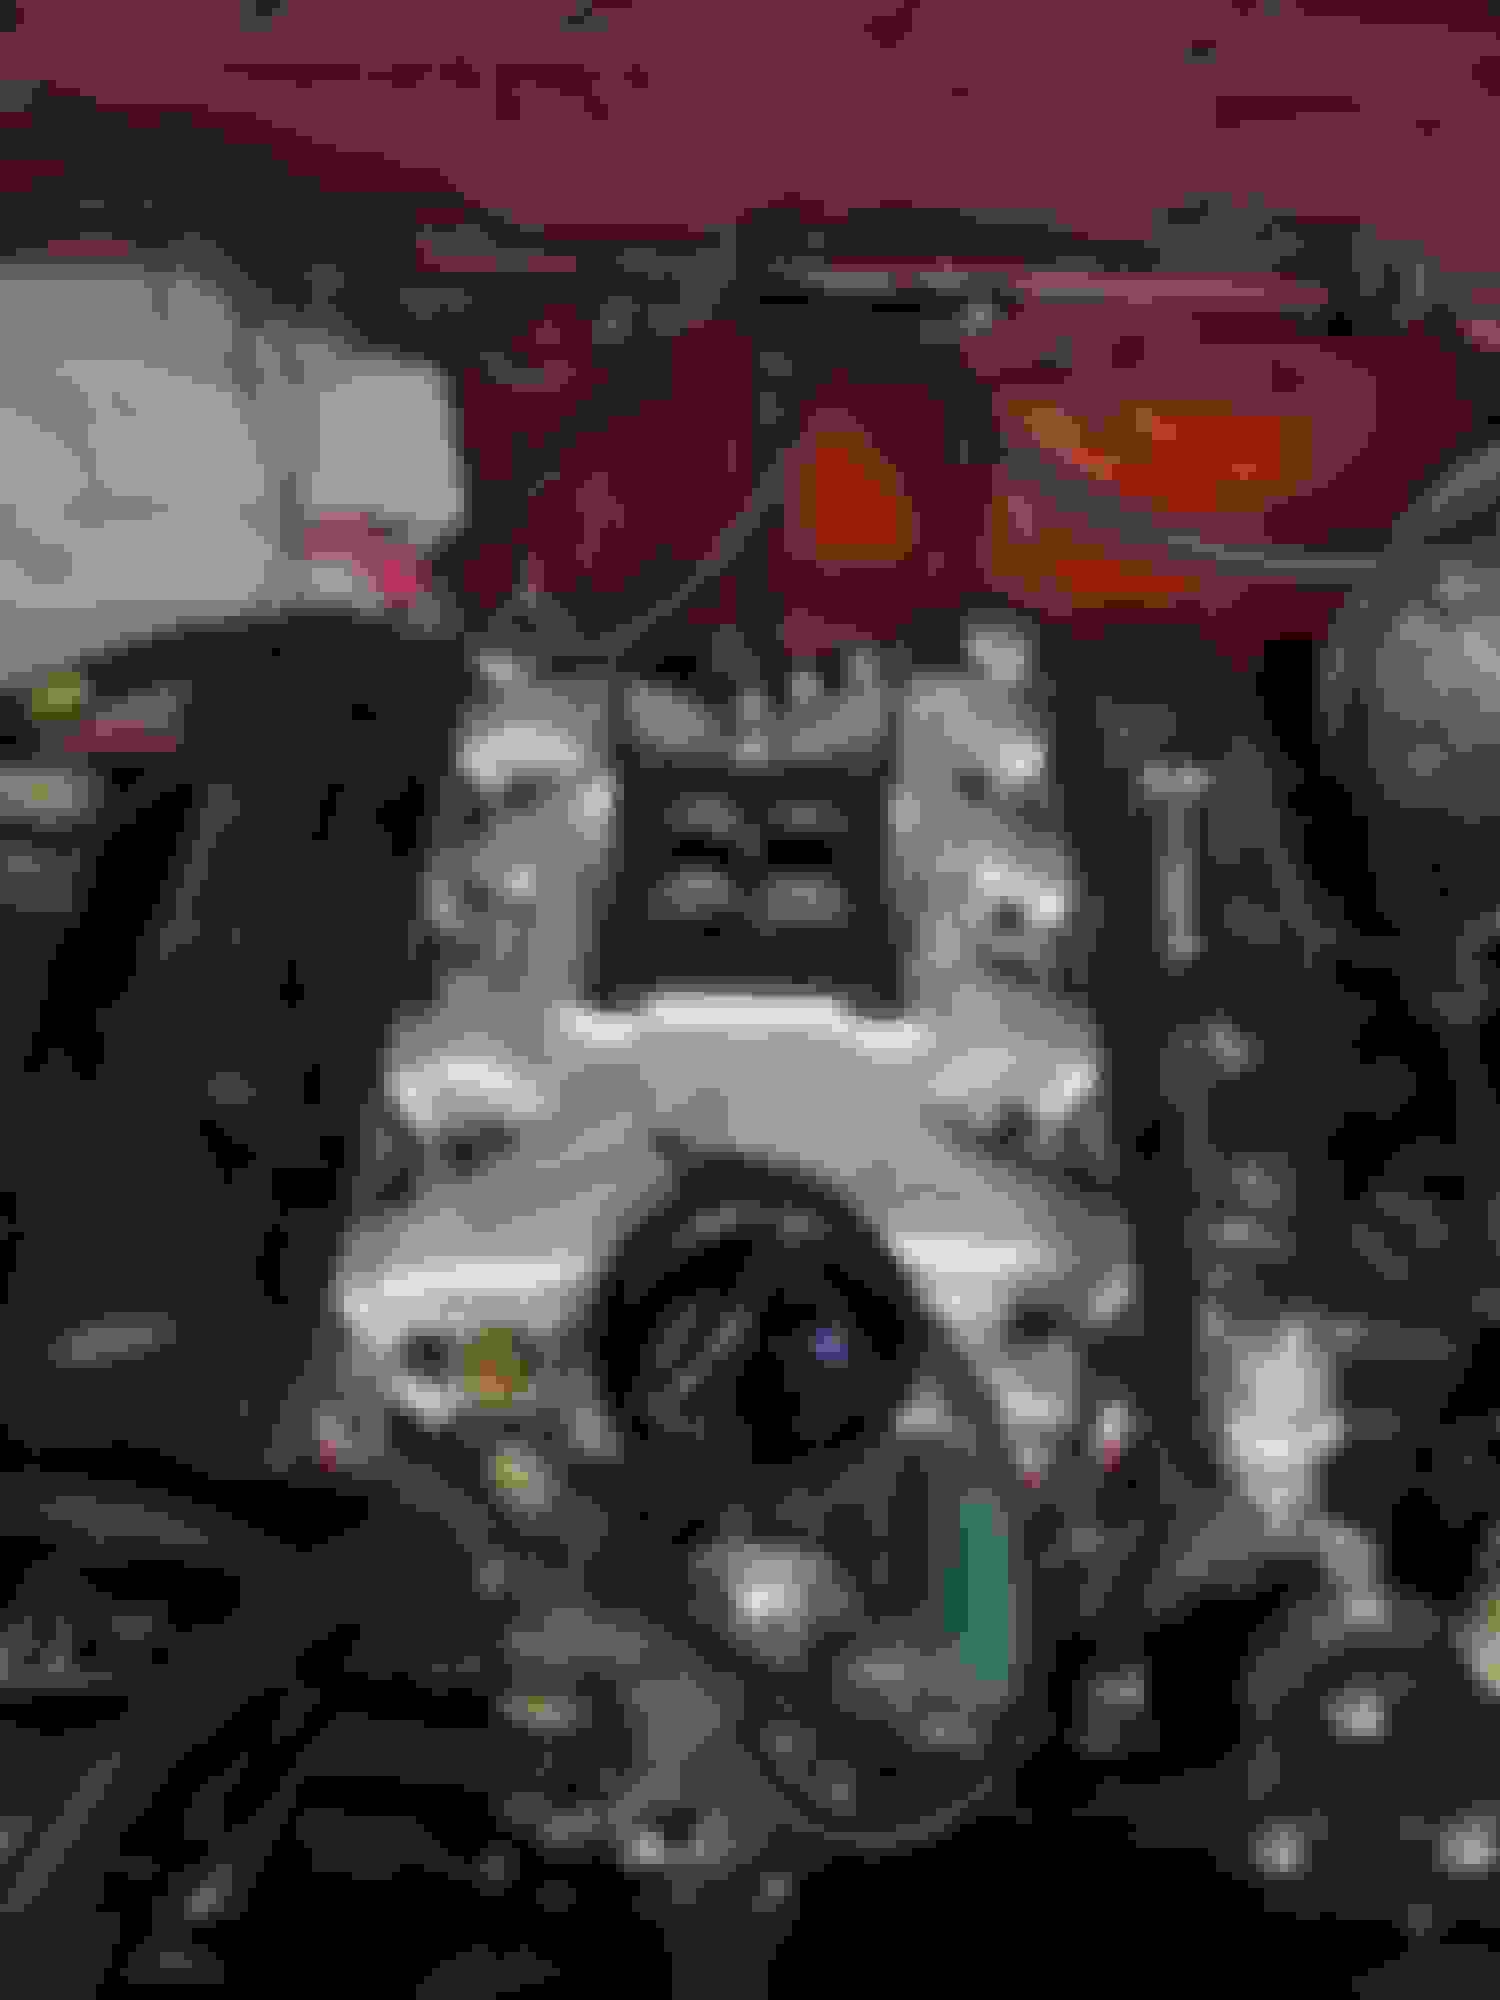
Before the reassembly, I took the time to repaint:
Headers (they were rusting already and I flaked/cooked the paint too much when I overheated the motor)
Heads (exhaust ports had flaking paint)
Valve covers (had some scratches)
The moment came to fire the truck up, and she was noisy as ever since the lifters had nothing but assembly lube on the top of them.
Once the motor ran for 1-2 minutes, everything went quiet. So quiet in fact that my helper said "Shut it off!!!! Something's wrong!!!!"
I started grinning from ear to ear. Hooked up my vacuum gauge and we're sitting at 17" of mercury at idle, needle holding steady... more grinning.
Then we took her for a drive. Even more grinning
Looks like bad intake gaskets + gummed up lifters from the break-in oils/ fine metal were my problem. Now it's all good!! And man does it ever feel good!
The engine bay is so quiet now! I could actually hear the snow crunching under my tires as we drove around. What a feeling!
Otherwise, my progress has been on very small things since my motor is now running really well. All of these things are important though!
Dropped the front drive shaft for u-joint replacement. Still have yet to do this. Marked up really well so I know where everything goes back.
Got a lovely package in the mail! Ordered the Door Edge Guard Kit (NOS Part Number: D3TZ-2520910-A) from Henry's Part Depot. Very nice people to deal with and professional service. Can't wait to install when paint is done! Put into storage for now.
Changed out those LED's I bought on eBay. They burnt out in less than 2 years. Purchased these from Princess Auto - just as good, and shorter overall length for fitment inside the parking lamps
Swapped out my driver side rear bumper bracket. It was bent to hell from someone hitting the truck in its past. Purchase a used part locally, nice guy to deal with.
Painted with POR-15 and mounted with Grade 8 hardware and lock washers for extra stability. Zinc-coated hardware used for the angled bracket into the bumper for colour matching. Finally have my bumper straight!
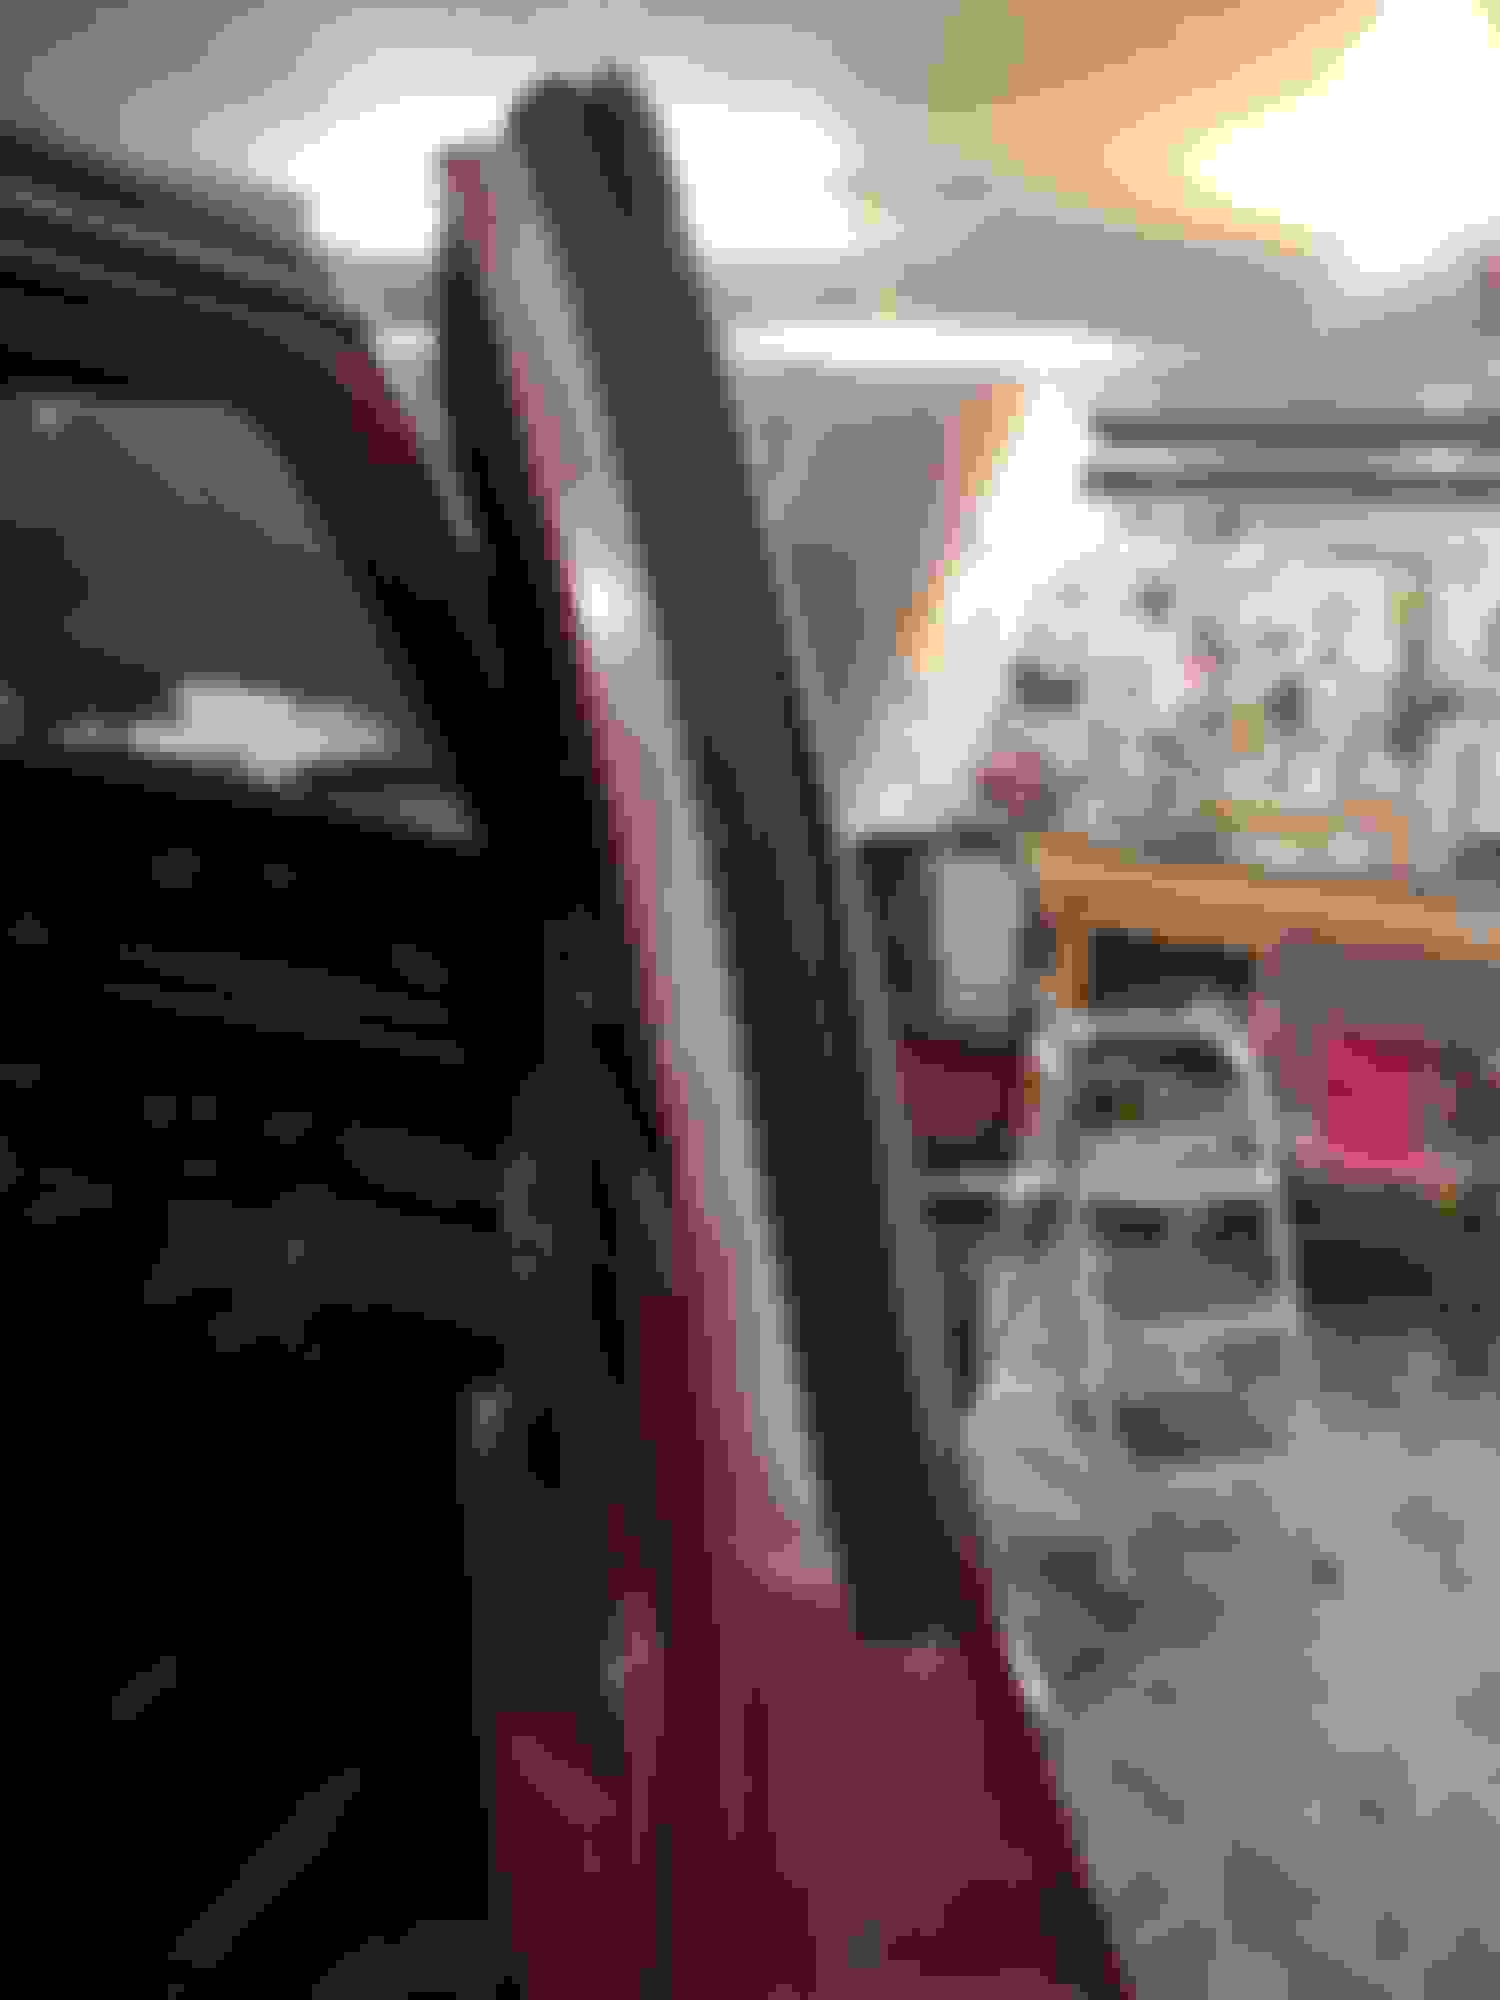
Before (pay close attention to the driver side of the rear bumper in relation to the tailgate)
After (it's 100% straight across - I measured )
Next, I tackled my weatherstripping issues. I noticed rather large gaps in my new weatherstripping. 3M Butyl Tape to the rescue!
A rather small piece is all I needed for each door. And it acts as a glue which pulls the weatherstripping towards the door edge to seal it up better
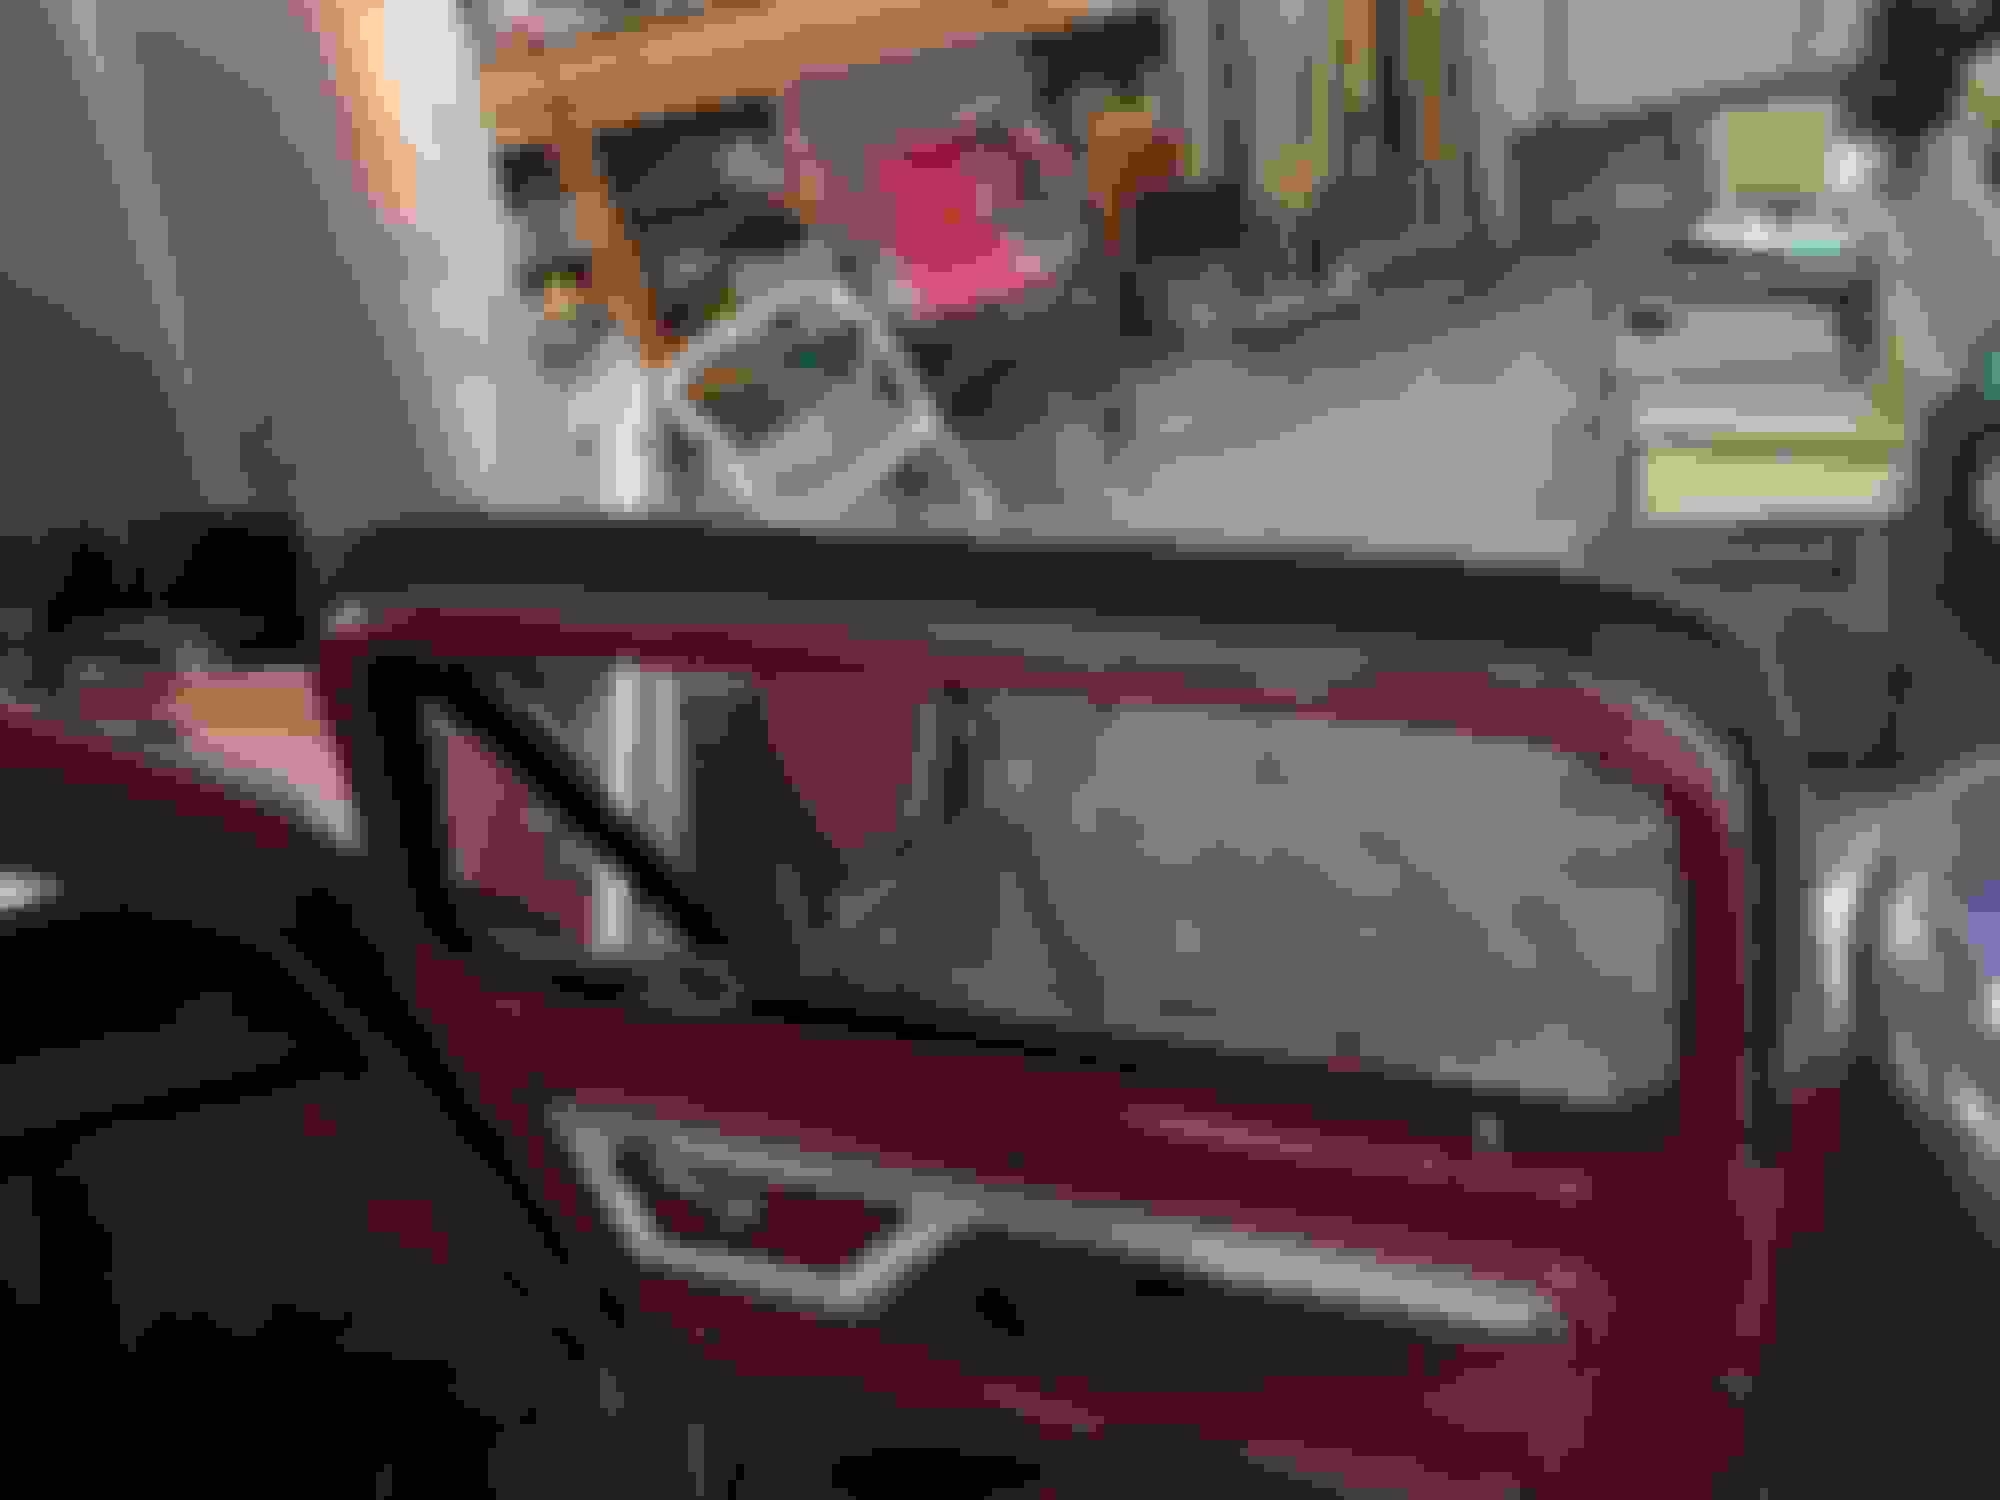
Before (see the gap??):
After (sealed up 100% - tested this theory at the car wash )
Rather large gap near the rear part of the window:
Sealed up quite nicely. Cleaned up with a rag afterwards... takes some serious scrubbing to get this stuff off!
Next I scraped off my old weatherstripping on the top of the doors and installed new stuff. No before photo, sorry.
Sprayed with brake cleaner and wiped down well, then let dry. Sprayed a thin layer of primer before laying down some glue and the weatherstripping.
Part Number: Fairchild F3063 on RockAuto - sold individually, so you need 2
Trim 4-6" to fit, but they are perfect.
The doors close soooooooo nicely now. A single "thud" when closing, and you can feel the positive seal inside the cab when both doors are closed.
Excellent product, 3M Weatherstripping adhesive used to attach to the doors.
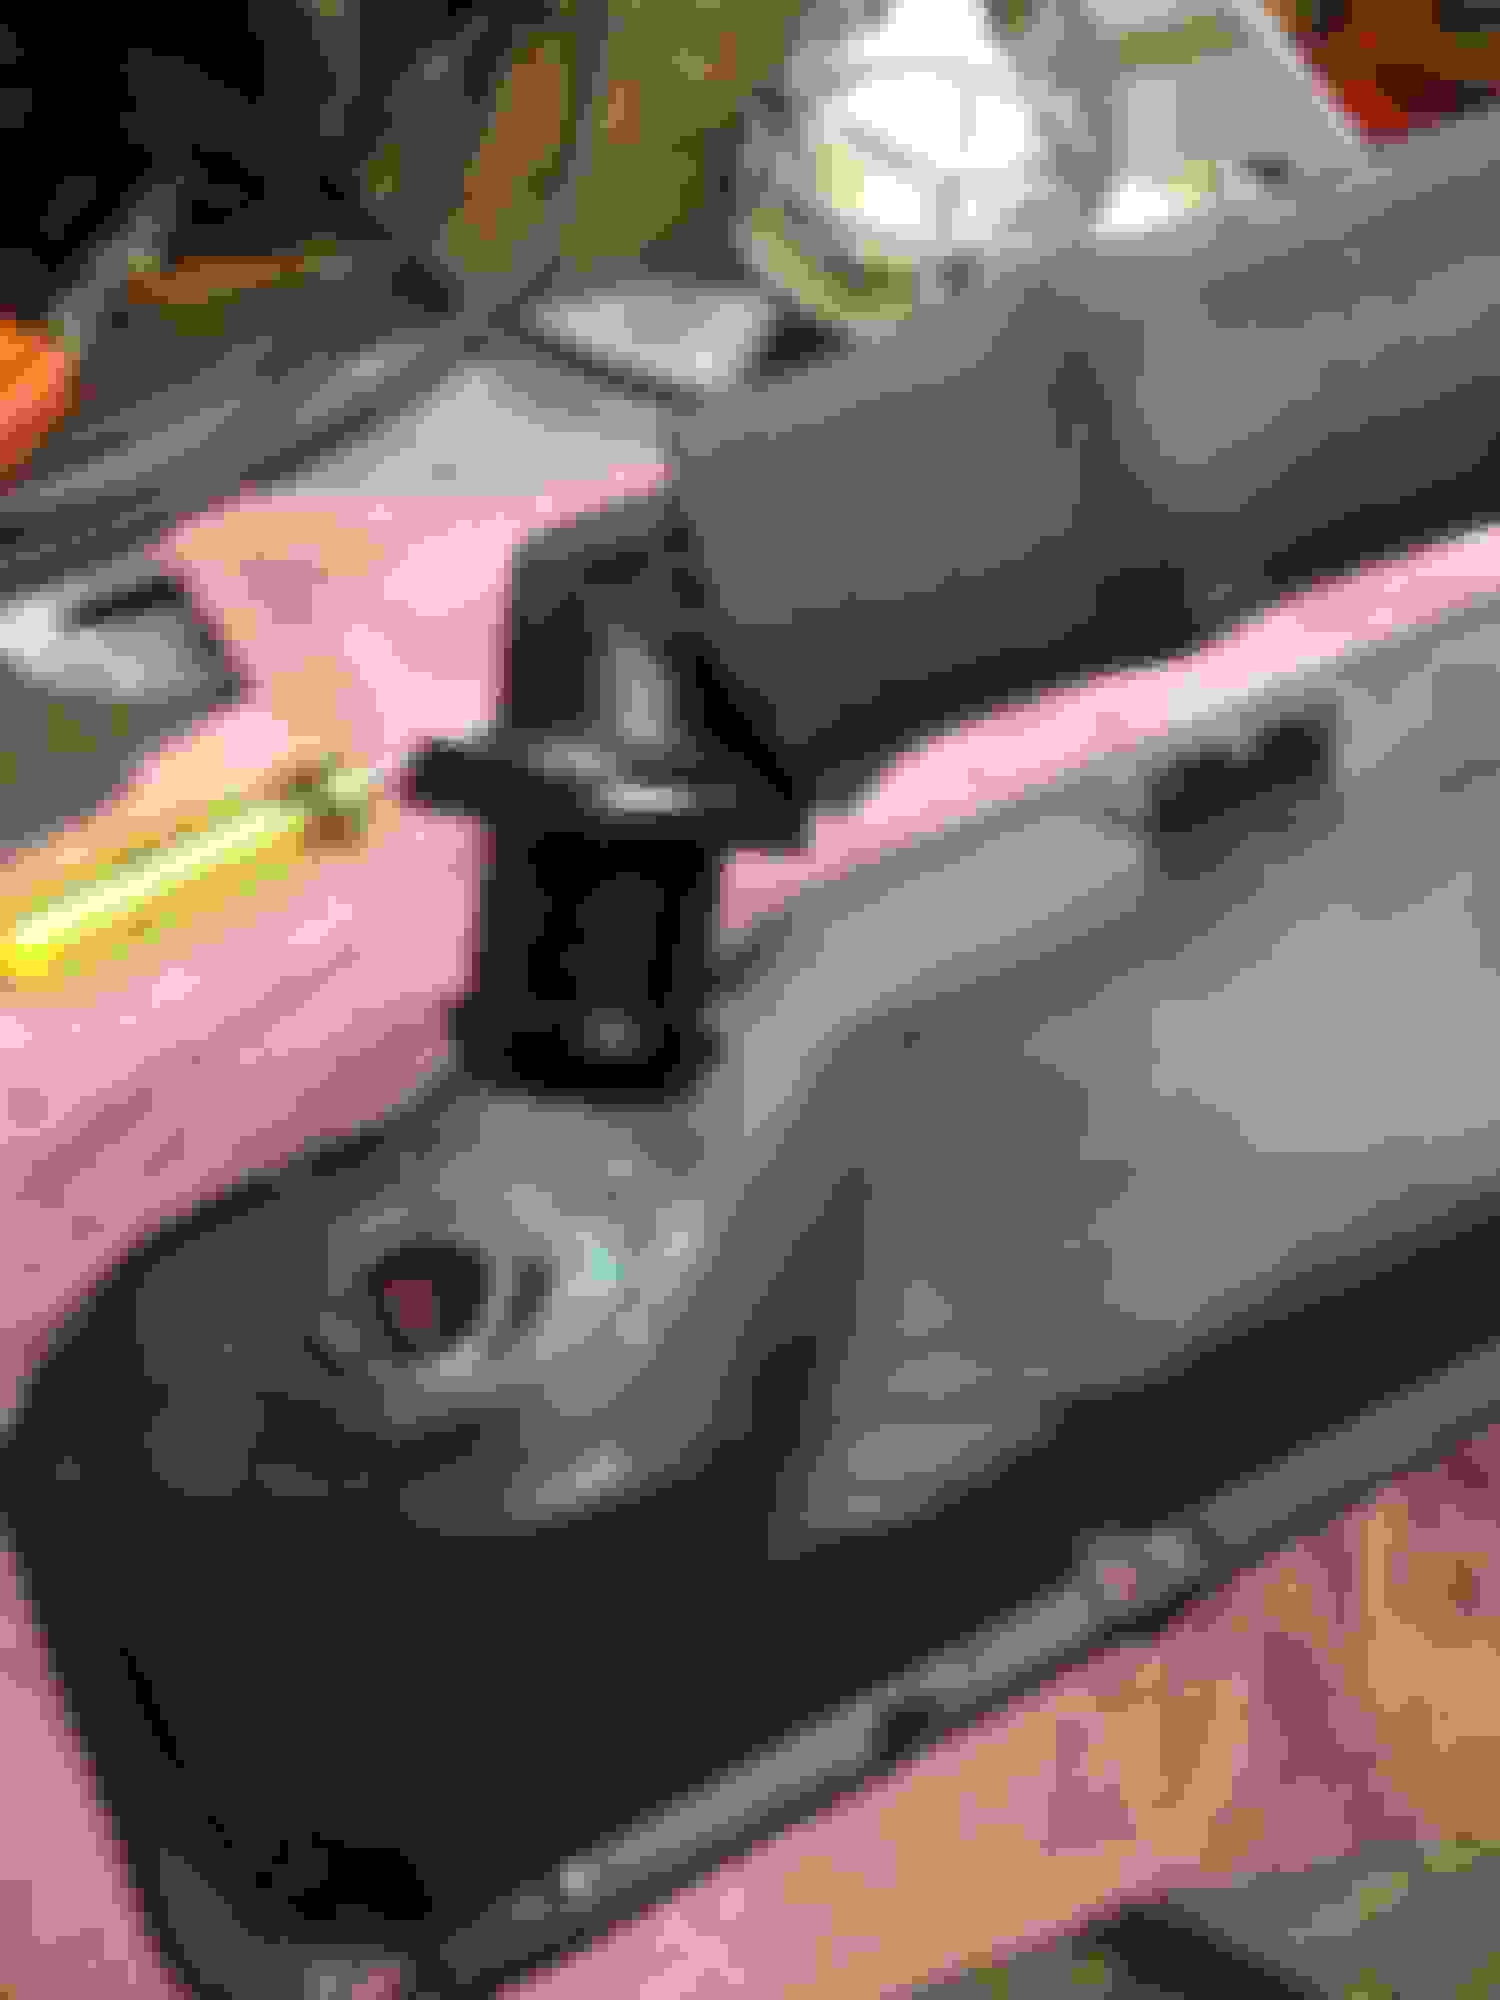
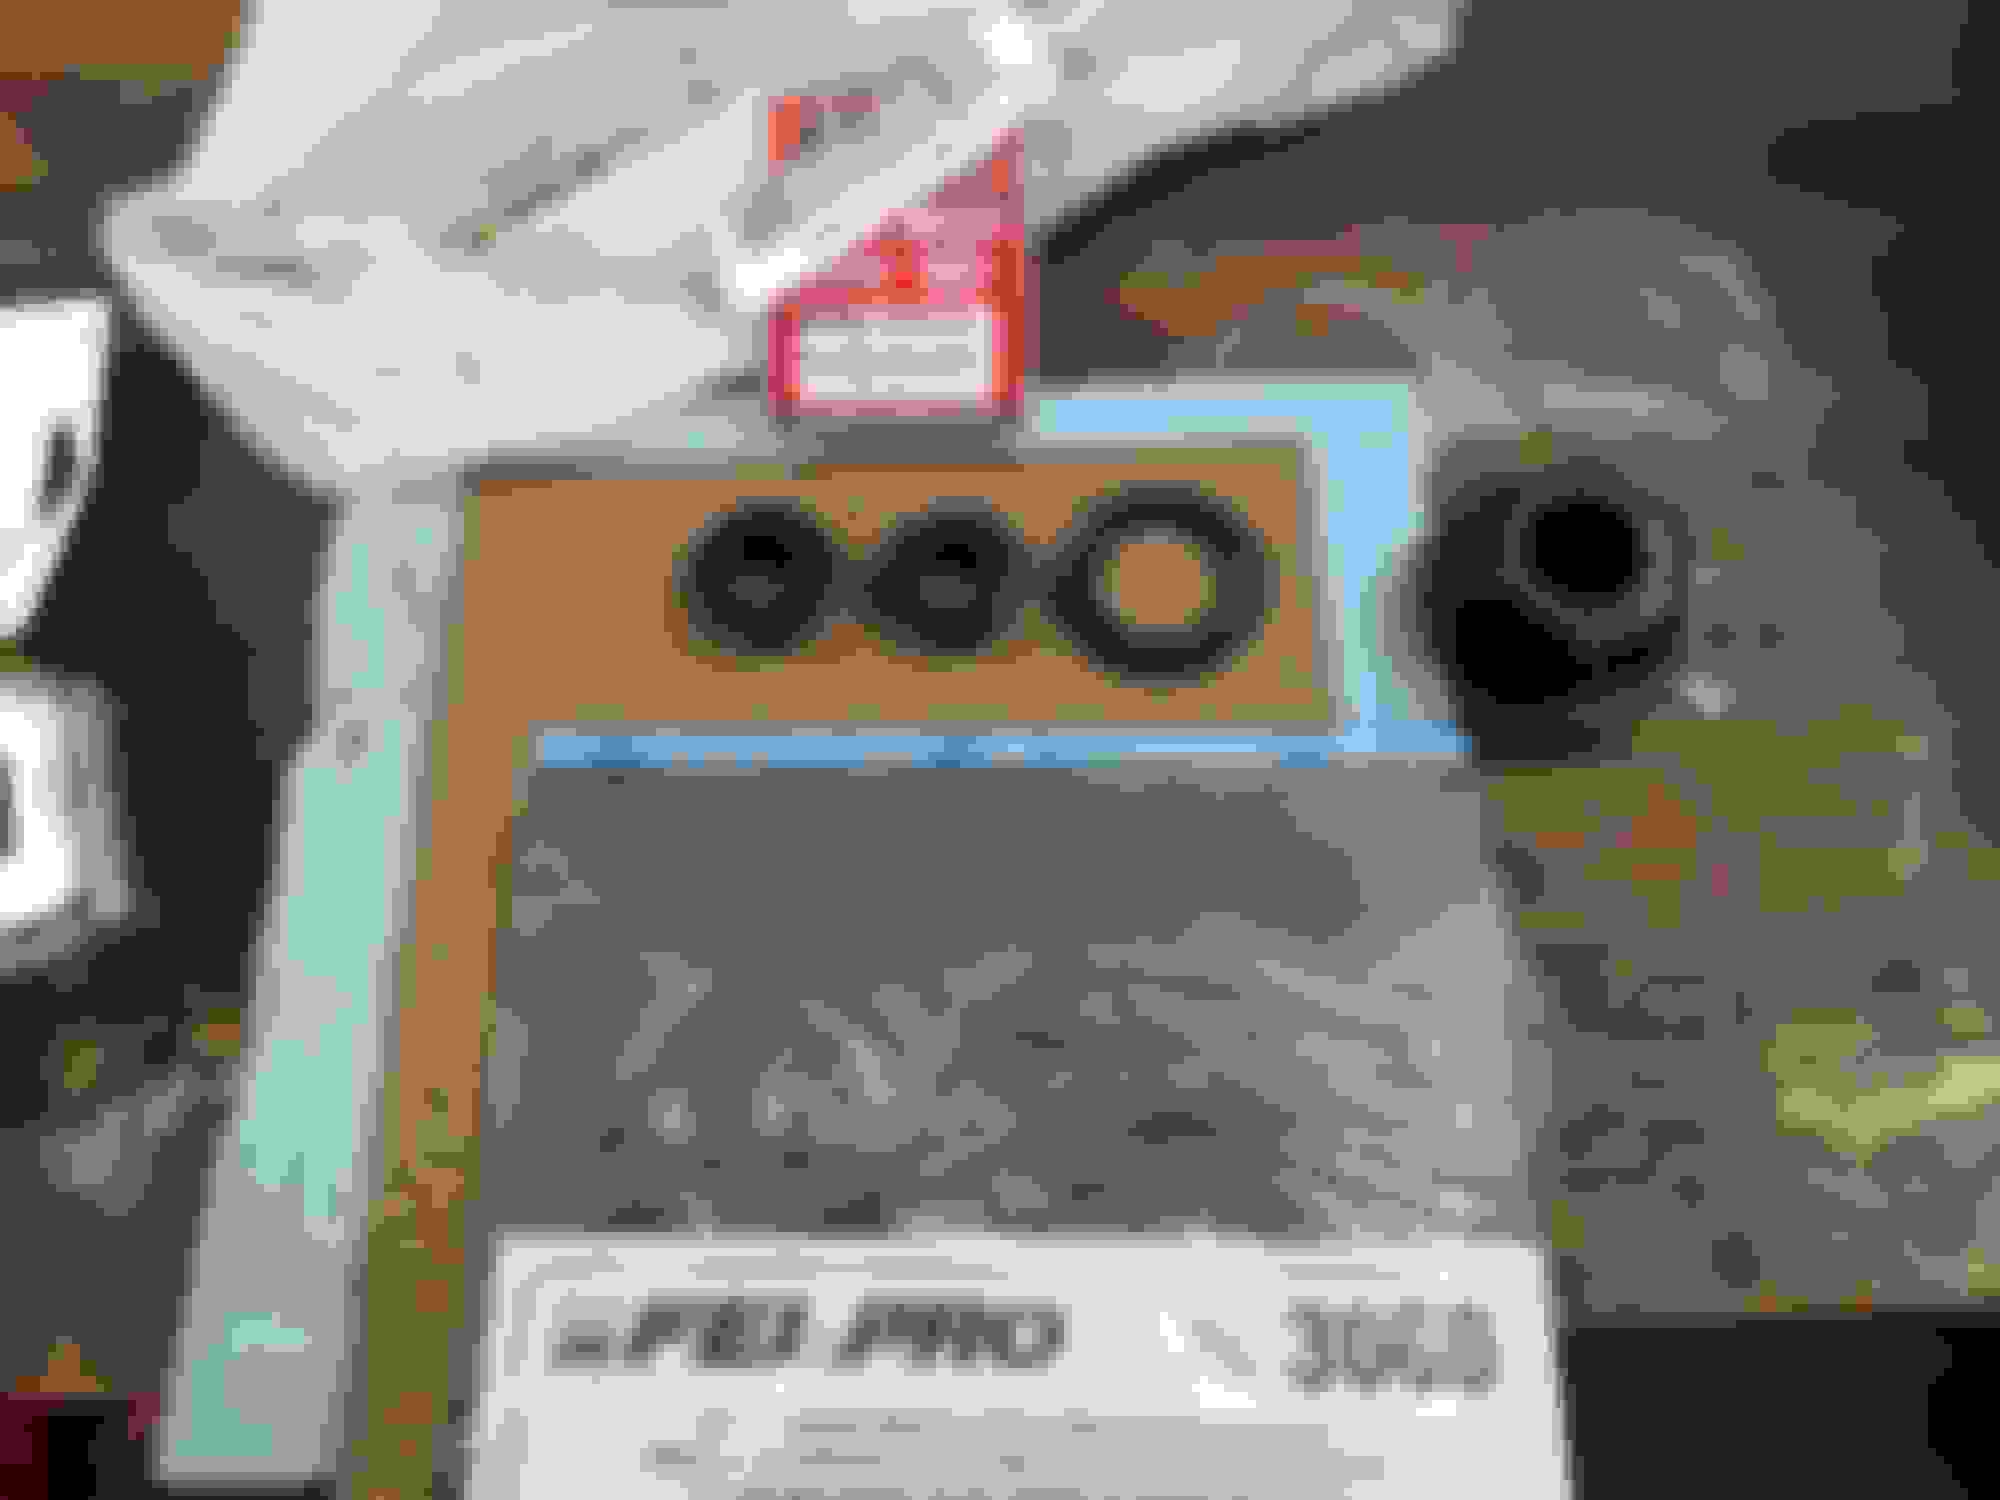
Next up, my valve cover grommets were leaking on each valve cover.
Notice the oil in the background?
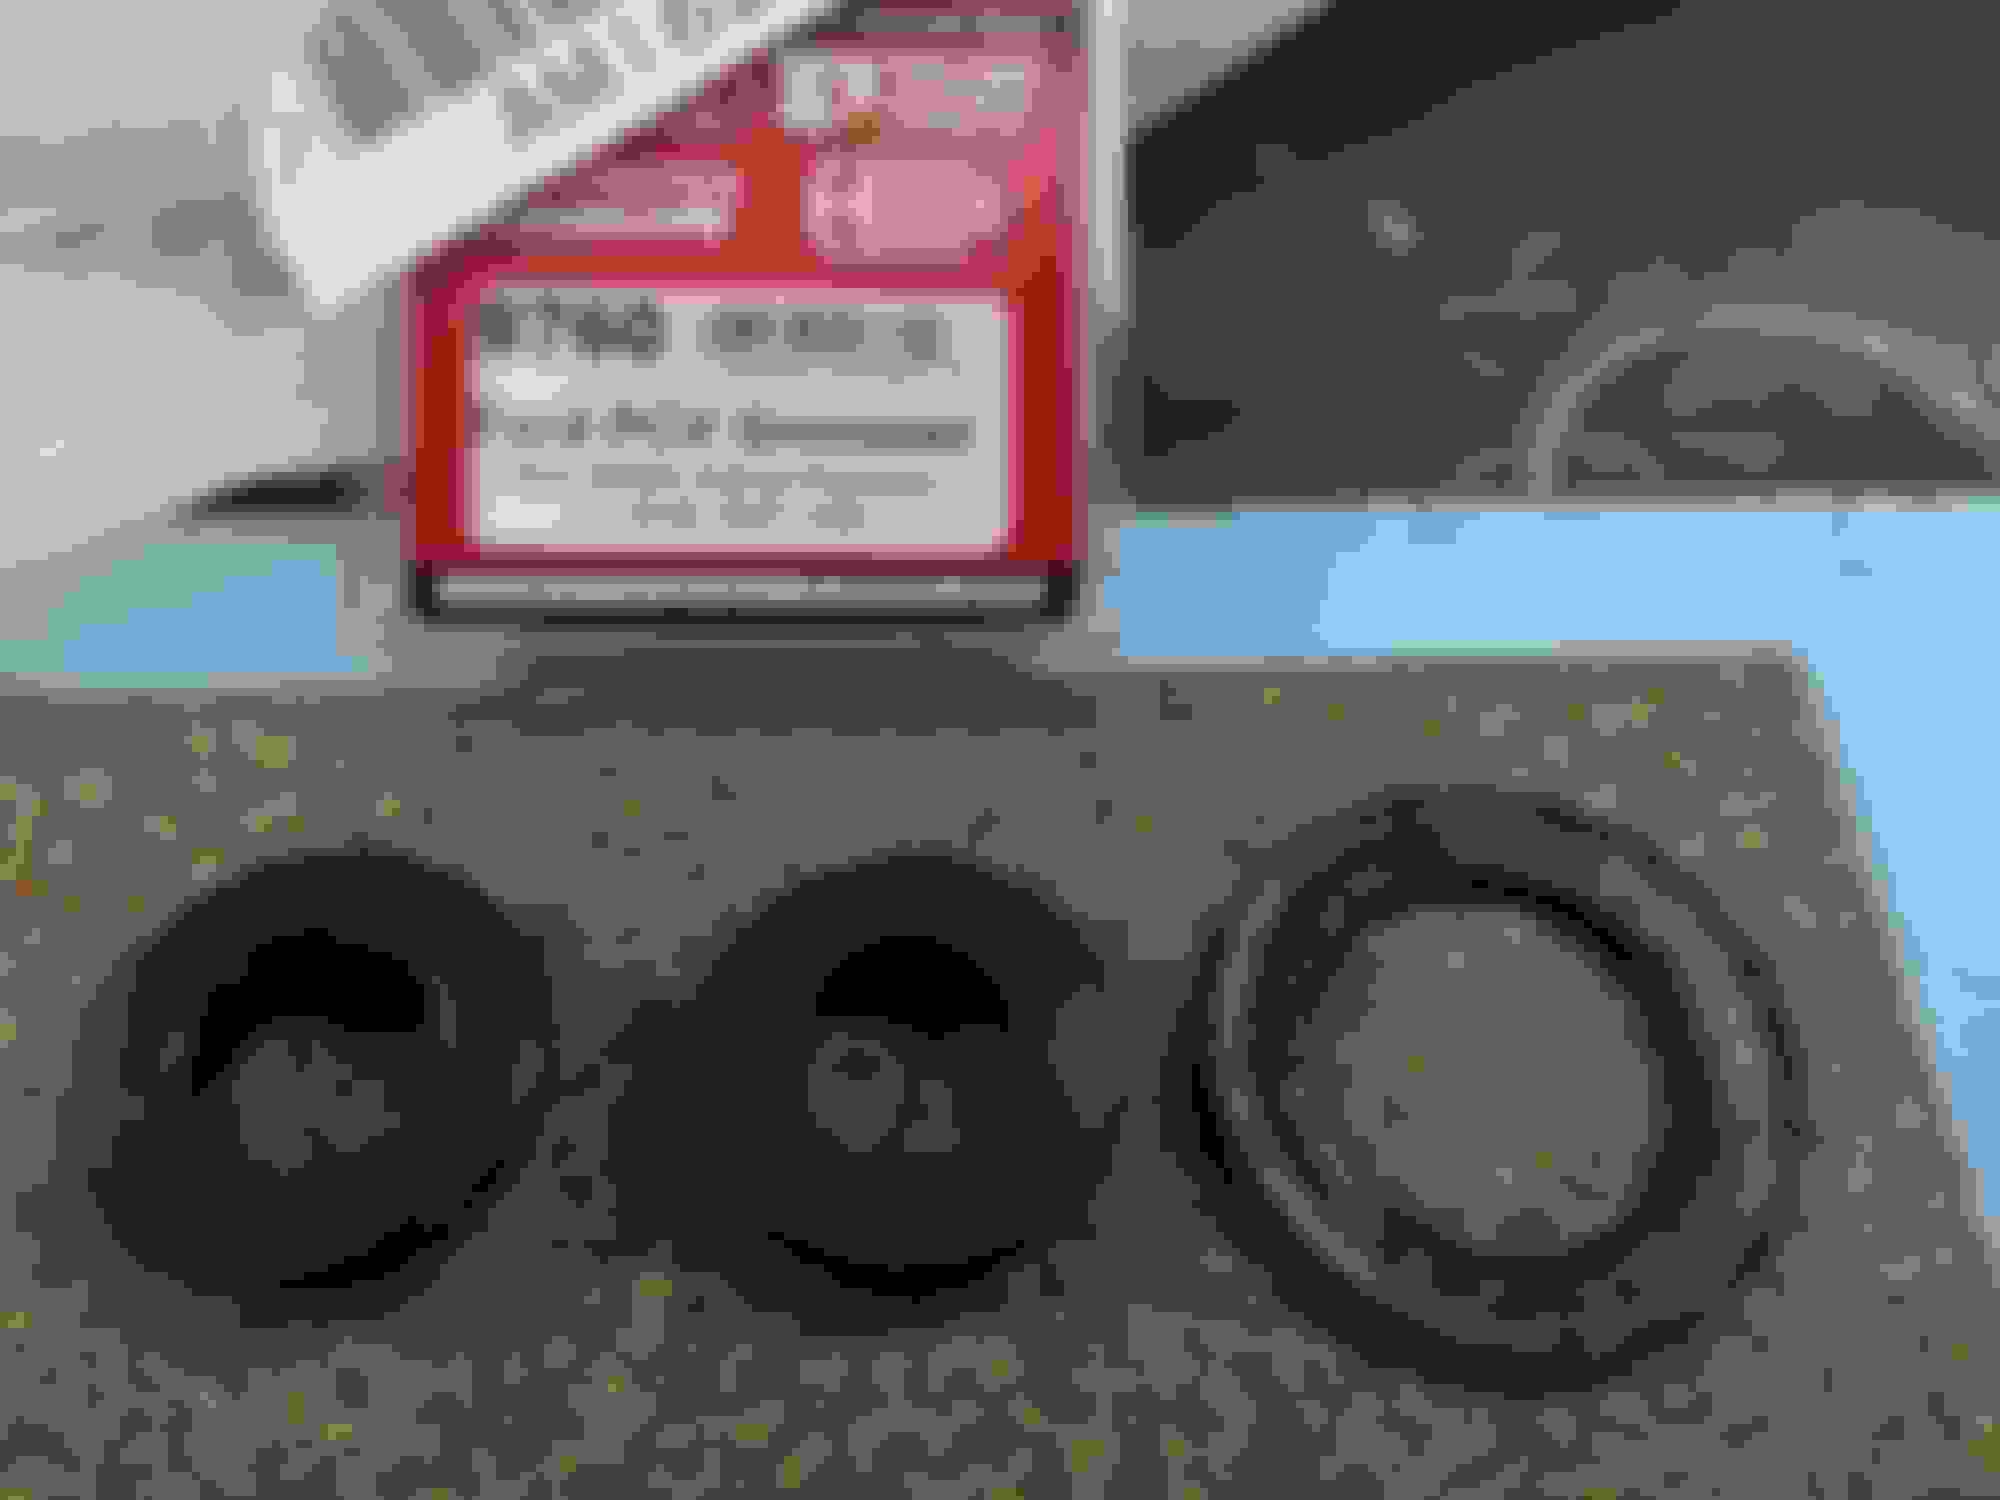
Transdapt 9760 is an EXACT replacement for the OEM Ford valve cover grommets. You'll need 2 - one for the PCV hole, one for the breather on the passenger side. Very happy with that purchase. Tight fit, and makes a VERY tight seal for the PCV valve and breather tube.
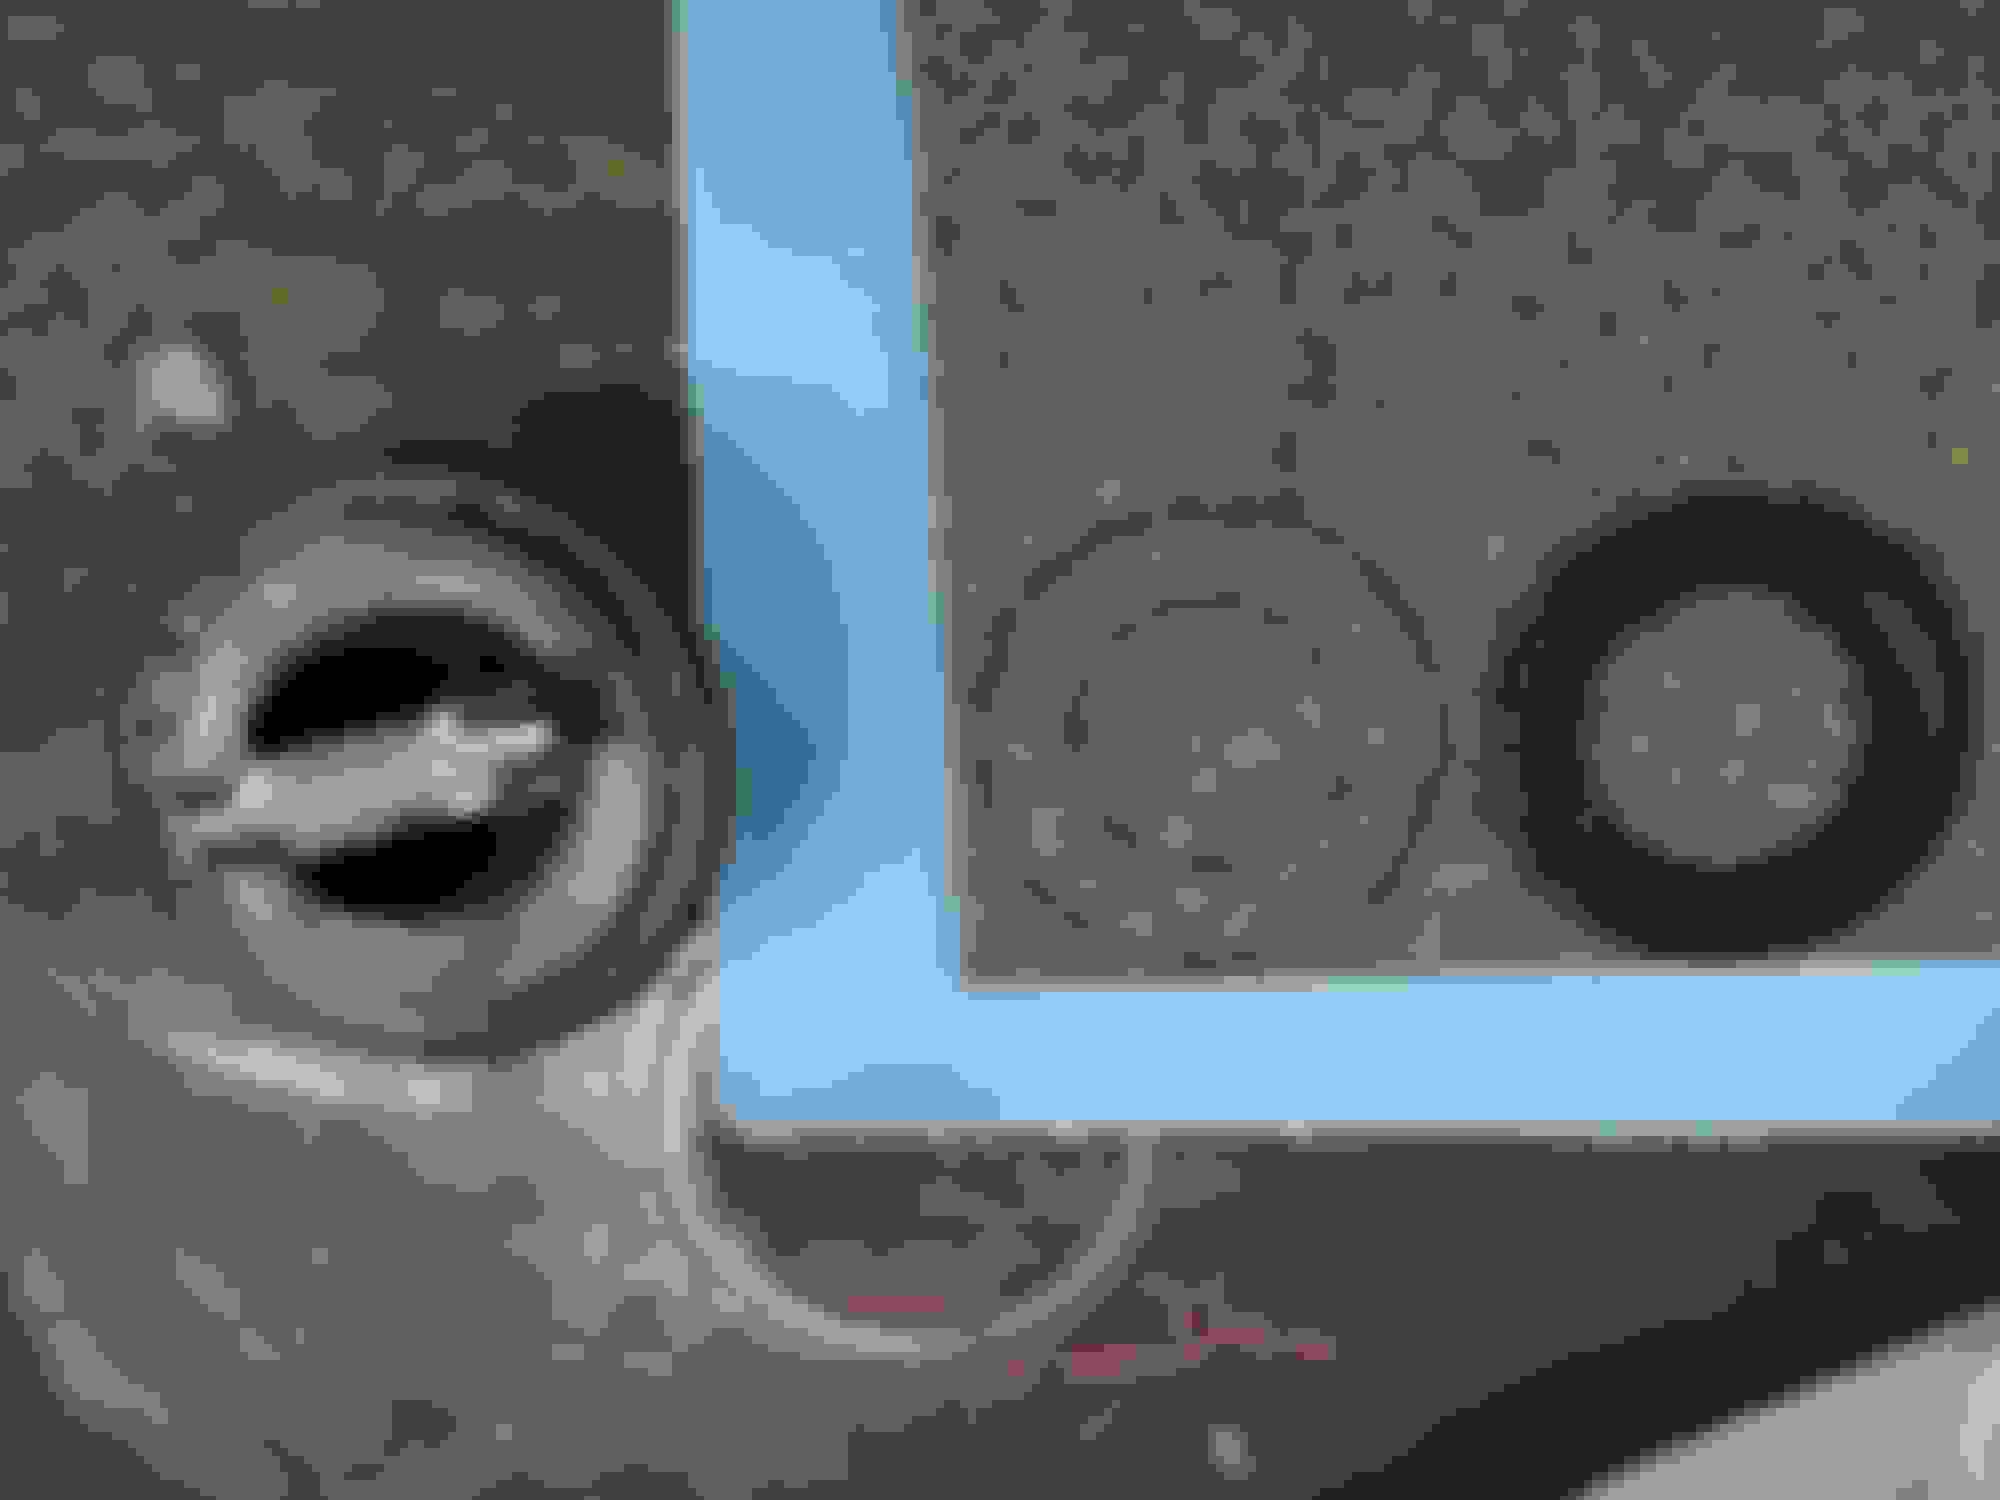
Recreated the OEM cork gasket (pictured above and below) by purchasing Fel-Pro gasket maker material - Fel-pro 3060
Carefully traced and cut. OEM sitting beside the trace... it's old and filled with oil. It doesn't seal anymore.
Fel-pro 3060 cork material inside is actually THICKER than the OEM cork gasket. It made a very nice positive/tight seal against the valve cover when put on. Another smile on my face
OEM gasket/grommet below. New ones installed. Can you even tell the difference? I can't.
And here's how she sat before being tucked away in storage. Spring can't come soon enough!
That's all for now folks. Won't be updating until spring comes and I yank her out for some summer fun
Thanks to you who follow along with my build. Feel free to comment / post in this thread. It's mighty quiet in here without you guys!
Feel free to comment / post in this thread. It's mighty quiet in here without you guys!
I remeber you swapped in LEDs for the taillights... did you have to do any filing on the socket or bulb to be able to push and turn the bulb? I�ve got some taillight bulbs and reverse bulbs from superbrightleds that bottom out on the socket before they can turn and lock in. I can�t imagine there being an issue with filing the socket, but I thought I�d ask someone before doing something unnecessary.
I remeber you swapped in LEDs for the taillights... did you have to do any filing on the socket or bulb to be able to push and turn the bulb? I�ve got some taillight bulbs and reverse bulbs from superbrightleds that bottom out on the socket before they can turn and lock in. I can�t imagine there being an issue with filing the socket, but I thought I�d ask someone before doing something unnecessary.
They're not bottoming out. The base of the bulb where the LEDs mount it a little wider than the socket it plugs into, so it gets hung up and you can't push it in all the way before you can turn the bulb. It's very slight.
If you don't trim the sockets a little those bulbs will end up like this. Ask me how I know. I used one side of a pair of scissors and scrapped the edge of the sockets a bit until it fit in enough to turn the bulb. You could use a pocket knife or whatever, but that's what I had lying around at the time. I only used LEDs for my reverse lights, so they're 1156s I believe. These were from Superbrightleds, which I'm assuming are what you bought as well, other brands will probably have a different, better/worse fit.
What the heck is that weatherstripping on top of your door (on the door itself). I don't think that's stock configuration is it? Seems like it would make the door even tighter to close, hard enough to do with new weatherstripping as it is
What the heck is that weatherstripping on top of your door (on the door itself). I don't think that's stock configuration is it? Seems like it would make the door even tighter to close, hard enough to do with new weatherstripping as it is
I'm not 100% sure, but I think it was a 78/79 thing. I guess it makes for a tighter seal. I haven't checked my 78 Bronco if it has it, I haven't used it much in quite a while. I should check that out.
I remeber you swapped in LEDs for the taillights... did you have to do any filing on the socket or bulb to be able to push and turn the bulb? I’ve got some taillight bulbs and reverse bulbs from superbrightleds that bottom out on the socket before they can turn and lock in. I can’t imagine there being an issue with filing the socket, but I thought I’d ask someone before doing something unnecessary.
Originally Posted by 75BigBlock
They're not bottoming out. The base of the bulb where the LEDs mount it a little wider than the socket it plugs into, so it gets hung up and you can't push it in all the way before you can turn the bulb. It's very slight.
If you don't trim the sockets a little those bulbs will end up like this. Ask me how I know. I used one side of a pair of scissors and scrapped the edge of the sockets a bit until it fit in enough to turn the bulb. You could use a pocket knife or whatever, but that's what I had lying around at the time. I only used LEDs for my reverse lights, so they're 1156s I believe. These were from Superbrightleds, which I'm assuming are what you bought as well, other brands will probably have a different, better/worse fit.
I never had any issues with installing my tail light LEDS and the sockets, but maybe I wasn't paying attention when I did them? Not sure.
The two red tail light bulbs are VERY bright and have continued to work quite well - they also have a very solid housing. The picture that BigBlock posted are the types of LED's I try to avoid... held together with small amounts of solder and bubble gum. The Amber T10 bulbs were the ones that I changed out for Princess Auto bulbs above. I jiggled the Amber T10's when removed and could hear stuff rattling around inside.... something must have come loose which is why I was having a parking light show while driving lol.
What the heck is that weatherstripping on top of your door (on the door itself). I don't think that's stock configuration is it? Seems like it would make the door even tighter to close, hard enough to do with new weatherstripping as it is
Originally Posted by 77&79F250
It is an OEM option, I think on XLT? Someone will chine in with the correct answer.
Originally Posted by 75BigBlock
I'm not 100% sure, but I think it was a 78/79 thing. I guess it makes for a tighter seal. I haven't checked my 78 Bronco if it has it, I haven't used it much in quite a while. I should check that out.
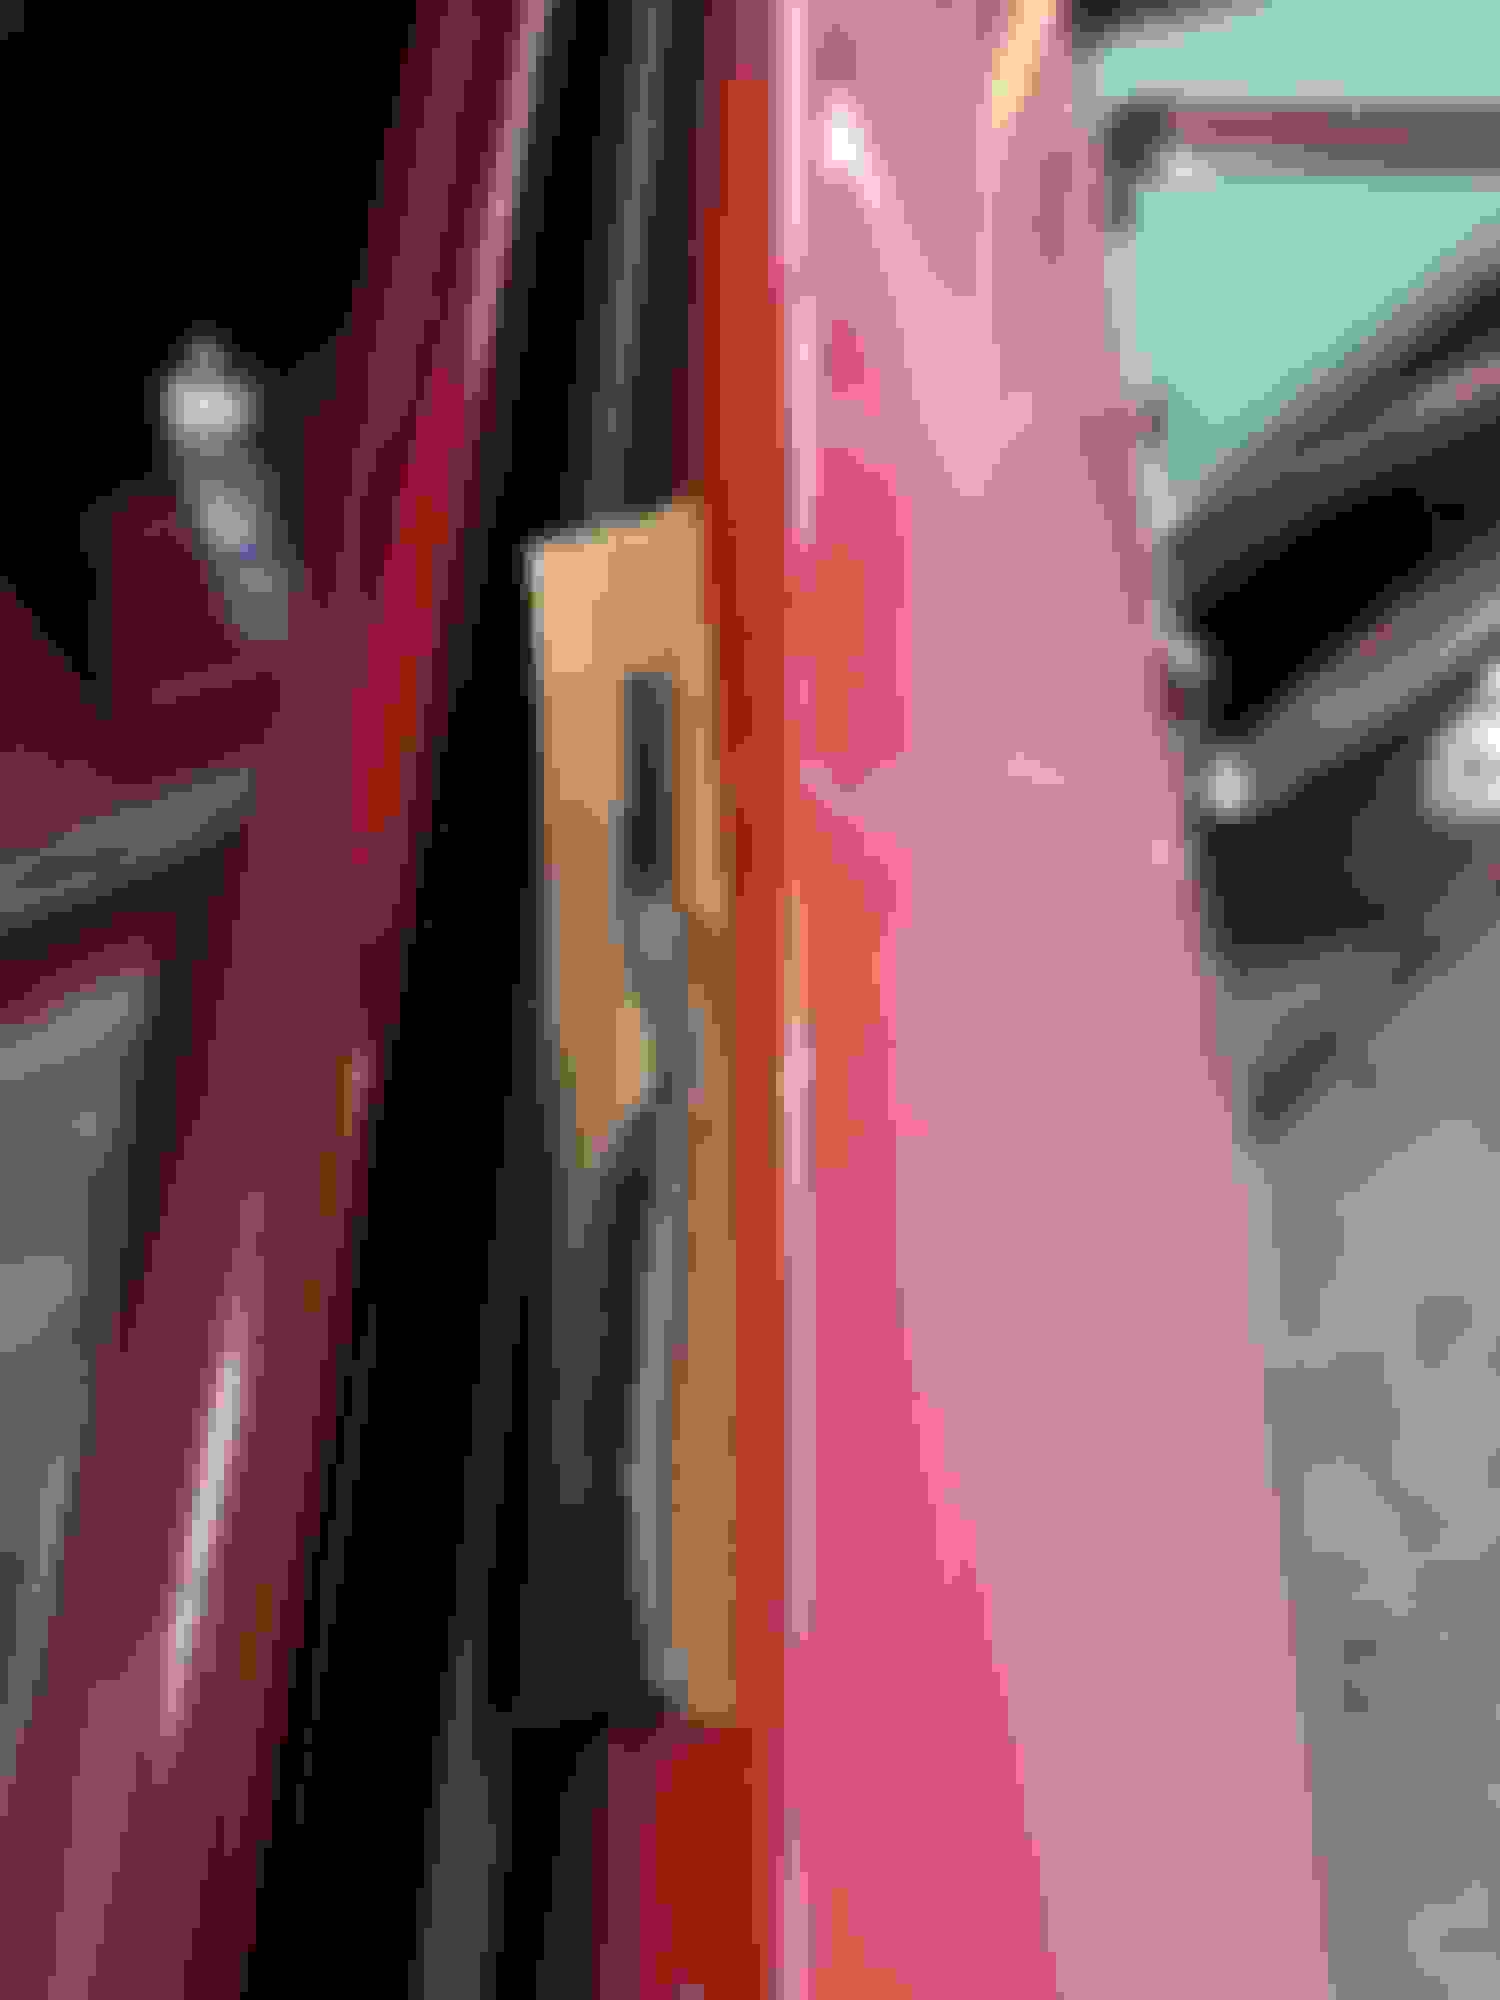
I believe it came standard on the Lariat models (78/79 only). When my cab/doors were delivered to me, they had crumbling OEM weatherstripping exactly where I put mine. Run your hand along the inside of the door where my weatherstripping sits, but on your truck - You'll feel two spots (one front, one back) where there's a lip/bend/crease in the sheet metal; that's the start/finish location where the weatherstripping rides. Photo recreated below to show you what I mean.
Seemed like a good idea to me, so I installed the new strips and WOW! The doors close with that same noticeable solid "thud" you get from brand new trucks. The added benefit is the upper door weatherstripping will help keep water out of the channel where the other piece of weatherstripping runs.
To keep the door from being impossible to close, you need to create small holes in the weatherstripping every 6" - 8". I don't have a picture of this, but I used a utility knife to cut a very small slit every 6" to 8" to allow air to escape from the weatherstripping. If you don't do this, your doors will feel impossible to close because the weatherstripping acts as a 'balloon' from the air being trapped inside. Sounds crazy, but make some very small holes in your weatherstripping if you're having to slam your doors all the time - it makes a world of difference.
For those that have a 1967-1977 truck, I would highly recommend adding the second piece of weatherstripping. Highly worth it for the $26 CDN I paid for the strips of rubber + my time to install.
The picture that BigBlock posted are the types of LED's I try to avoid... held together with small amounts of solder and bubble gum.
To be fair, I did put in a LOT of effort in making that bulb crumble. lol
I honestly wasn't impressed with the construction once they arrived and I inspected them, but they were there and I wasn't about to send them back. I'll probably consider a different design if I ever replace them or put some on another vehicle. My incandescent bulbs are bright enough for me, which I think is due to my electrical system being in really good shape overall. I just wanted nice bright backup lights since they actually work on this truck and I think I would be beyond upset if someone hit the *** end of my truck while I was backing up in a parking lot, because they "didn't know I was moving" or whatever my imagination comes up with as an excuse for this hypothetical person I'm angry at.
I'll have to consider putting that weatherstrip on my truck. None of my trucks have it, but they're all Custom trim and only the Bronco is a 78, so that's probably why. I'm currently using some weatherstripping out of a 90's truck on my '77 and I don't really like it. I'll probably get that extra strip you have there whenever I order up some OE style stripping in the future.
I just want to comment on the green paint on your engine again, I really like it. I'm one to try different things and I've been contemplating what color I'll paint the engine I'll eventually swap into my truck and I was highly considering matching it to the original Jade green paint my truck has. I know it's not quite the same green as what you used, but looking at yours makes me confident that I'll like seeing the Jade green block under the hood of mine.
To be fair, I did put in a LOT of effort in making that bulb crumble. lol
I'm currently using some weatherstripping out of a 90's truck on my '77 and I don't really like it. I'll probably get that extra strip you have there whenever I order up some OE style stripping in the future.
I just want to comment on the green paint on your engine again, I really like it. I'm one to try different things and I've been contemplating what color I'll paint the engine I'll eventually swap into my truck and I was highly considering matching it to the original Jade green paint my truck has. I know it's not quite the same green as what you used, but looking at yours makes me confident that I'll like seeing the Jade green block under the hood of mine.
Understood on the bulb end of things. I've done that a time or two before. Lessons learned lol.
Don't like it?! Why??? Is it brand new or used stuff you threw into your truck? I have the 90's stuff (brand new), and I love it. It's awesome stuff and went in so easily. My only gripe is that the sheet metal inside the stripping is really tough to bend by hand so getting that nice 90 degree bend in it to install the door sill plates was really tedious.... Otherwise this stuff is the cats @$$. My doors close with that elusive "thud" you can only get from a brand new vehicle with double seals.
I like the idea of a jade green block!
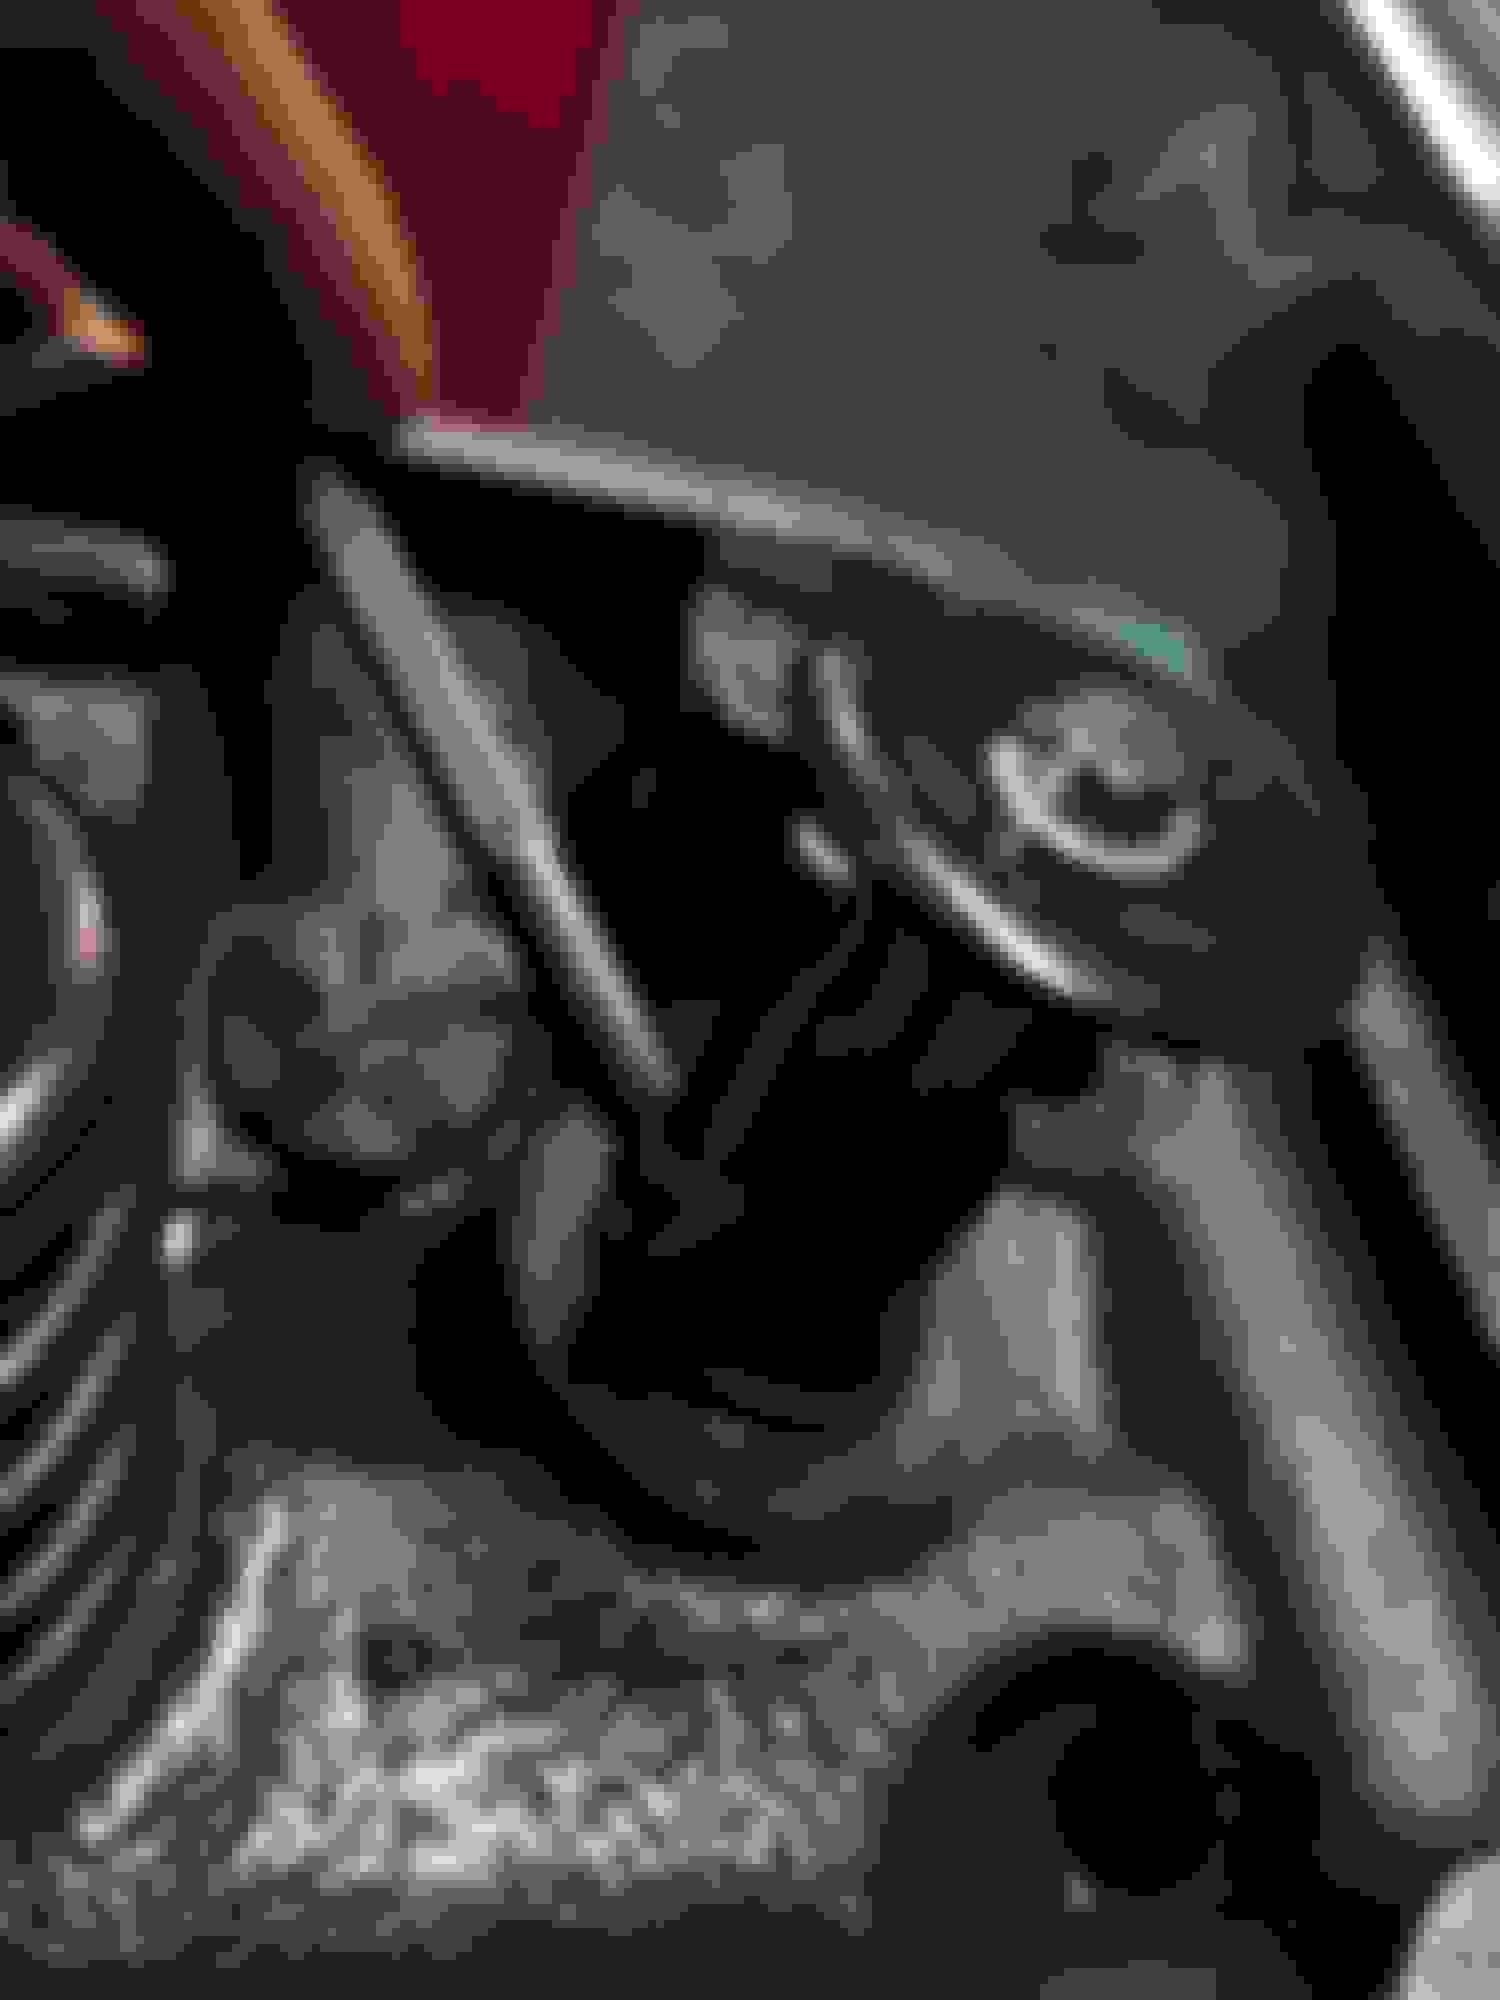
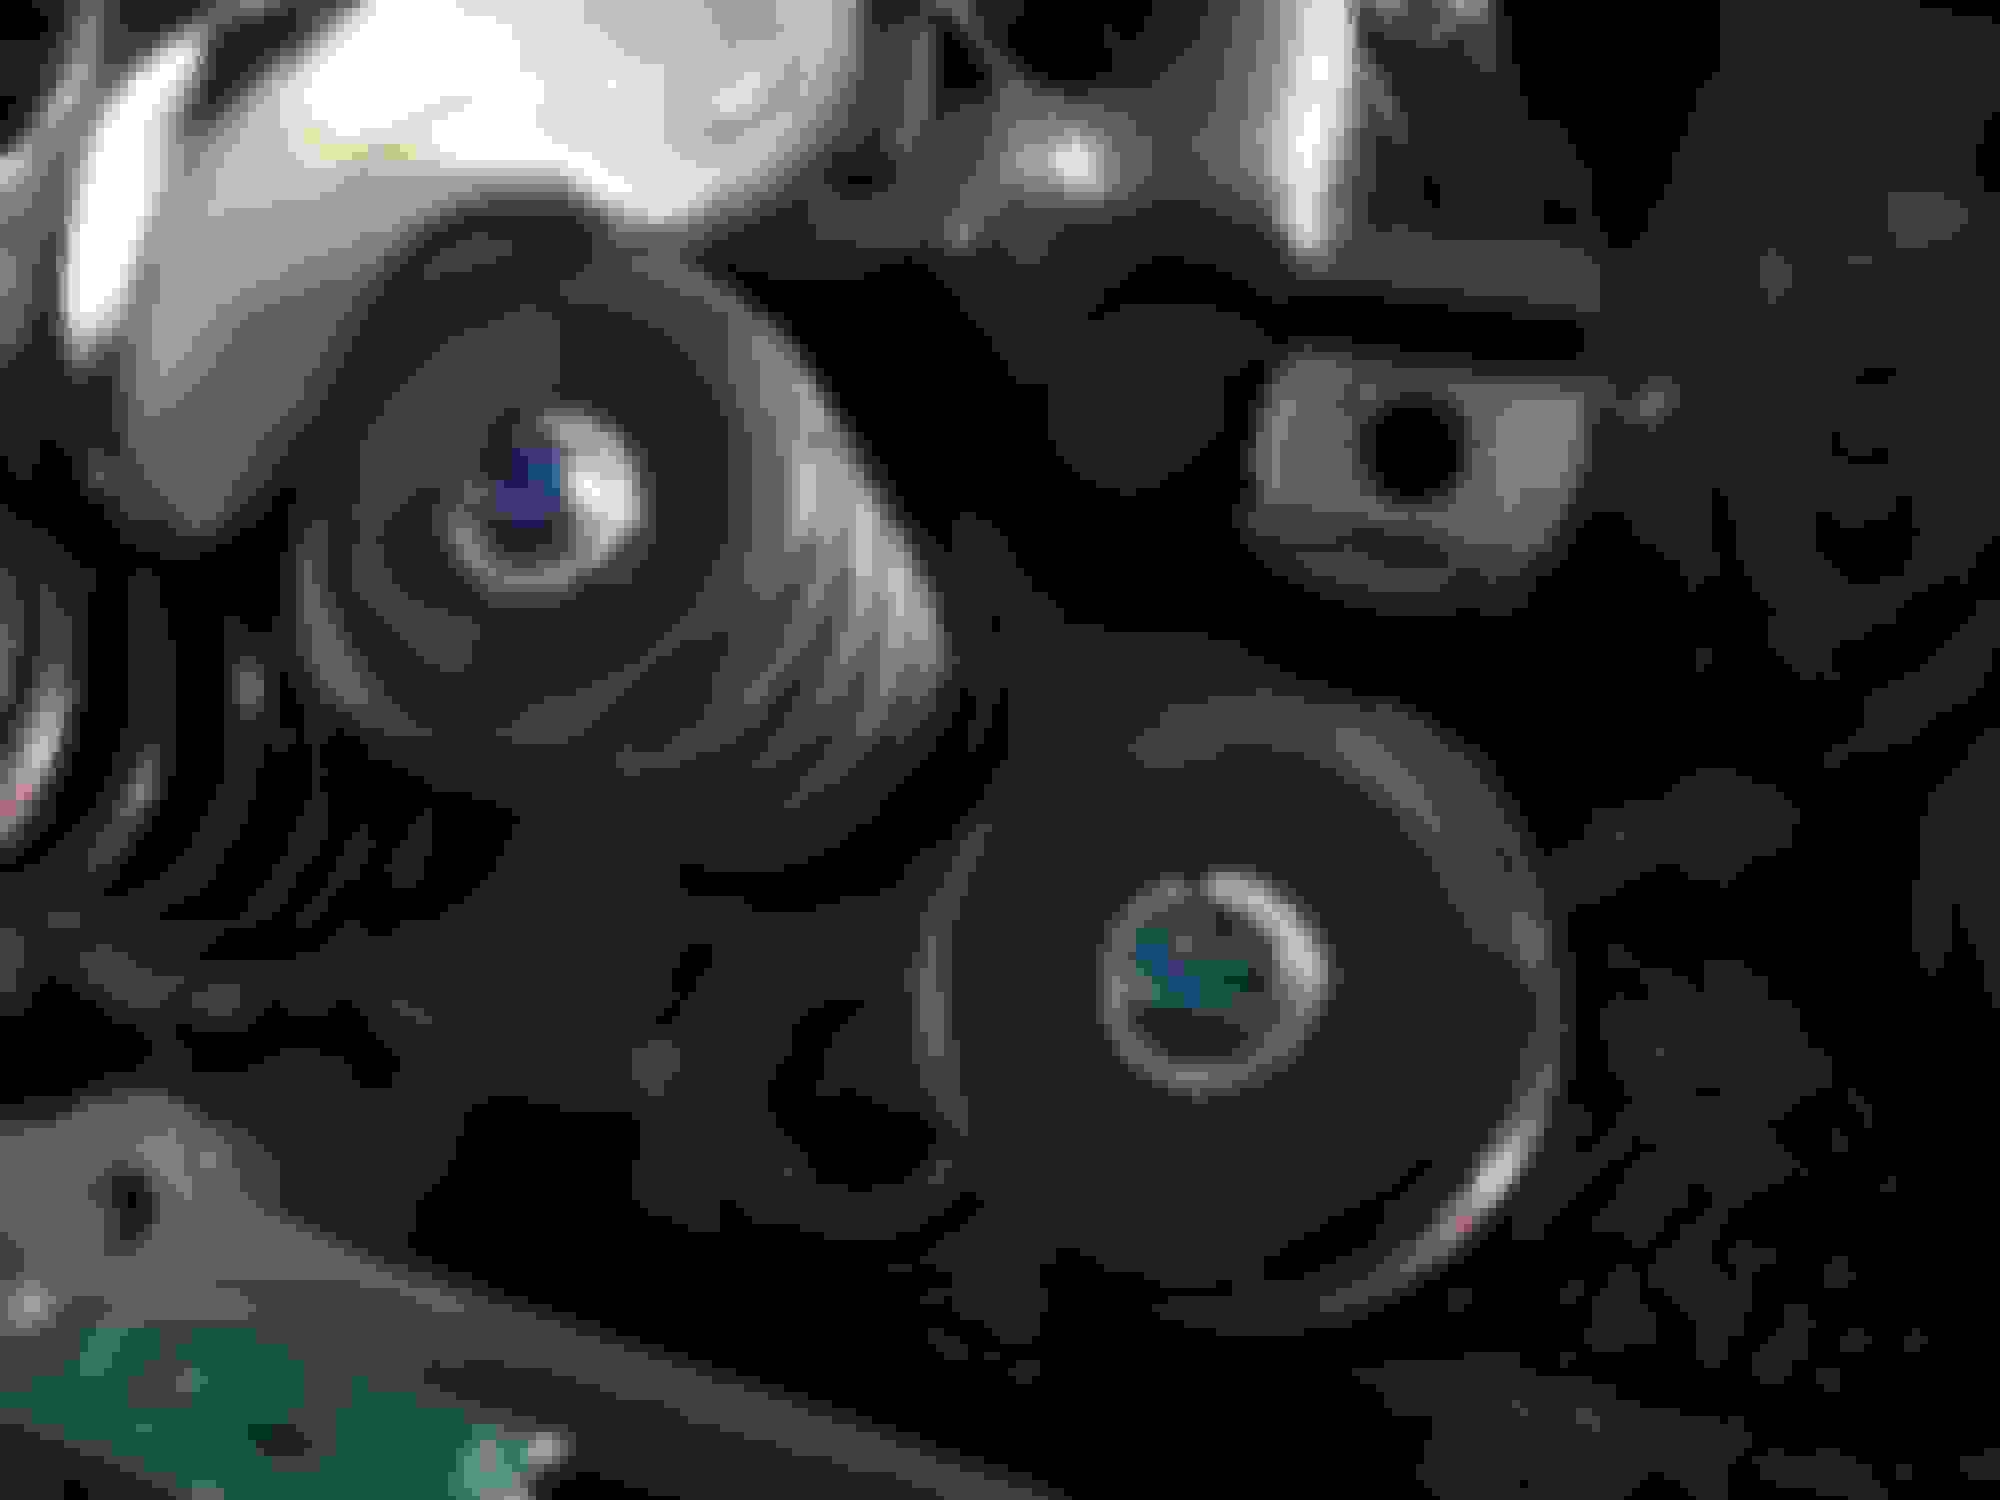
I was looking for a high temp metallic paint like the Ford Jade Green, but nothing came up as being a tough enamel paint like the one I used. So I settled with the pastel Buick Nailhead green you see on my block. It's honestly exactly what I wanted because every time I lift my hood, everyone goes "what the #$%^ is that ??". They see the green + the serpentine belt, and they're all confused LOL. Love that reaction
One thing I would caution... layer the paint like no tomorrow. I did only 1 coat of High Temp (Silver) + 1 coat of Enamel (Aluminum) on my water pump and I'm already seeing small rust spots show up. Mostly that's because of the amount of coolant that's been sprayed everywhere due to my rad cap being off while breaking in the motor.... any overspray must have been really acidic and ate the paint a bit.... But the places where I did 3-4 coats of POR-15 are still standing up strong.
The point is, if you are going to paint your engine.... layer it on thick, and do multiple coats. Don't be shy of the rinse repeat method, and bring ALL of your patience when painting so that you don't have to come back and do it again. Just my $0.02.
And thanks for the compliments on my block! Lots of people look at it with disgust LOL.
Feels good to have taken a break from the truck for winter. Reset the mind on things.
Very small progress made today, but worth posting about. Front driveshaft was removed, wire wheeled, painted, and had new u-joints installed today. Feels good to have fresh clean parts.
Old nastiness...
And the new
Have a brand new grease collar waiting in the garage, all painted up black to match. Will never see it under the truck, but it also won't drop crud in my eyes anymore either


 01-03-2019, 01:22 PM


 ??". They see the green + the serpentine belt, and they're all confused LOL. Love that reaction