When you click on links to various merchants on this site and make a purchase, this can result in this site earning a commission. Affiliate programs and affiliations include, but are not limited to, the eBay Partner Network.
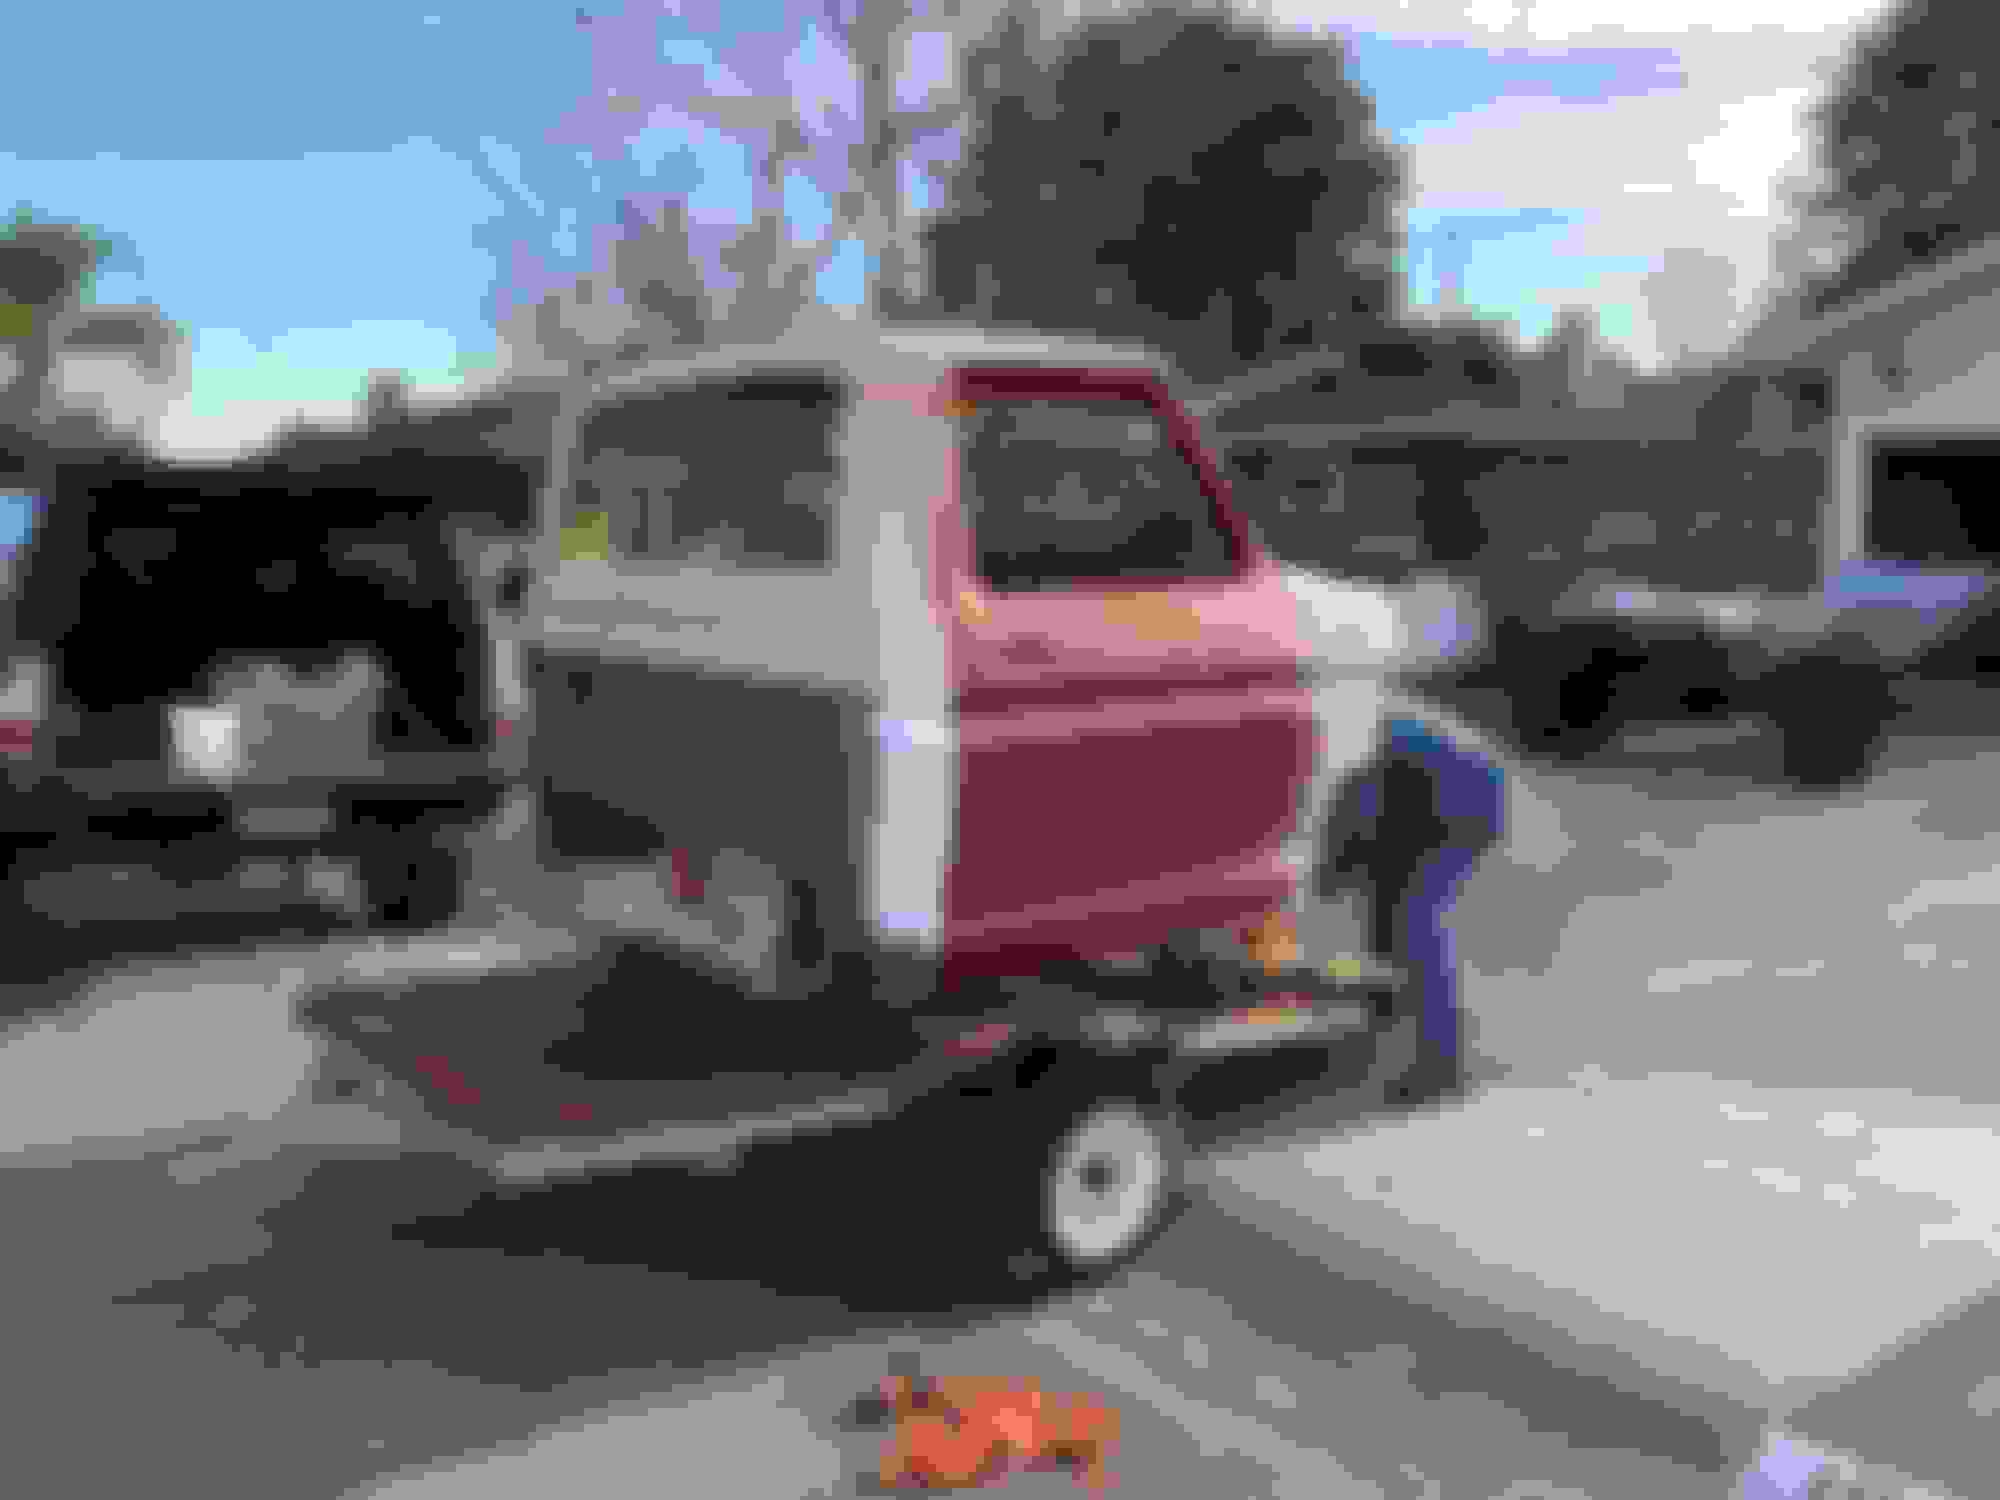
A friend stopped by the other day to pick up some parts and brought his bumpside. I snapped this pick and was going to send it to my wife and tell her I got a great deal on another truck..... I re-thought that plan
Love this project! You do nice work, and seem very methodical and organized in your approach. Kinda sad about that clean, unmolested Camper Special being sacrificed, but I guess it will keep yours going good with lots of spare parts, and your new trailer is awesome! Looking forward to more updates on your progress.
Trust me, it wasn't an easy decision to cut up that cab. I tried to find it a new home, but not a lot of people doing work like this in my area. I bought that truck as a parts truck from the guy that owns the bumpside in the picture. He took the motor and the transmission out of it for another project. I wanted the rear end, fenders (inner and outer) and the radiator core support. I'm doing my best to use all original steel.
Making the headboard should be fun, if you haven't seen one done do a quick search online and you will find some cool examples.
Both axles for the 73 have been rebuilt, I'm just working on doing some cleaning and painting. I hope next week to pull the frame out and make it a roller. Sad part will be taking the drive train out of my 76 and not being able to drive it any more.
I've got some of the rest of the parts I need to get the steering rebuilt in a shopping cart right now.
I appreciate your kind words, lots of great work on here. It's always intimidating to post a pic of your work up here with all of the other great examples.
Your work can hold it's own up against most any of the projects on here. Your beautiful new frame means your '76 can live on easily within the constraints of California. I admire you for all the hard work to keep your beloved Dentside on the road!
Did some work over the holiday weekend trying to get the axles painted and ready to install. My goal is to have this thing on it's wheels by the middle of next week.
I was able to spray the entire rear axle, but I didn't want to paint over the U-Joints and Ball Joints on the front axle so I'm painting all of that by hand. Taking me a lot longer than I thought. Started out using an Acid brush for plumbing, worked pretty well. Not small enough for the detail work though, had to run out and get some smaller brushes.
Nice work, looking great1
I "accidentally" put the plates from my 73 on my 77,, ooops and the door tag, it's a hunting, wheeling, woodcutting rig so it doesn't get driven to the big city, just run around here in the mtns. Knock on wood, only been stopped for the dang tail lights once.
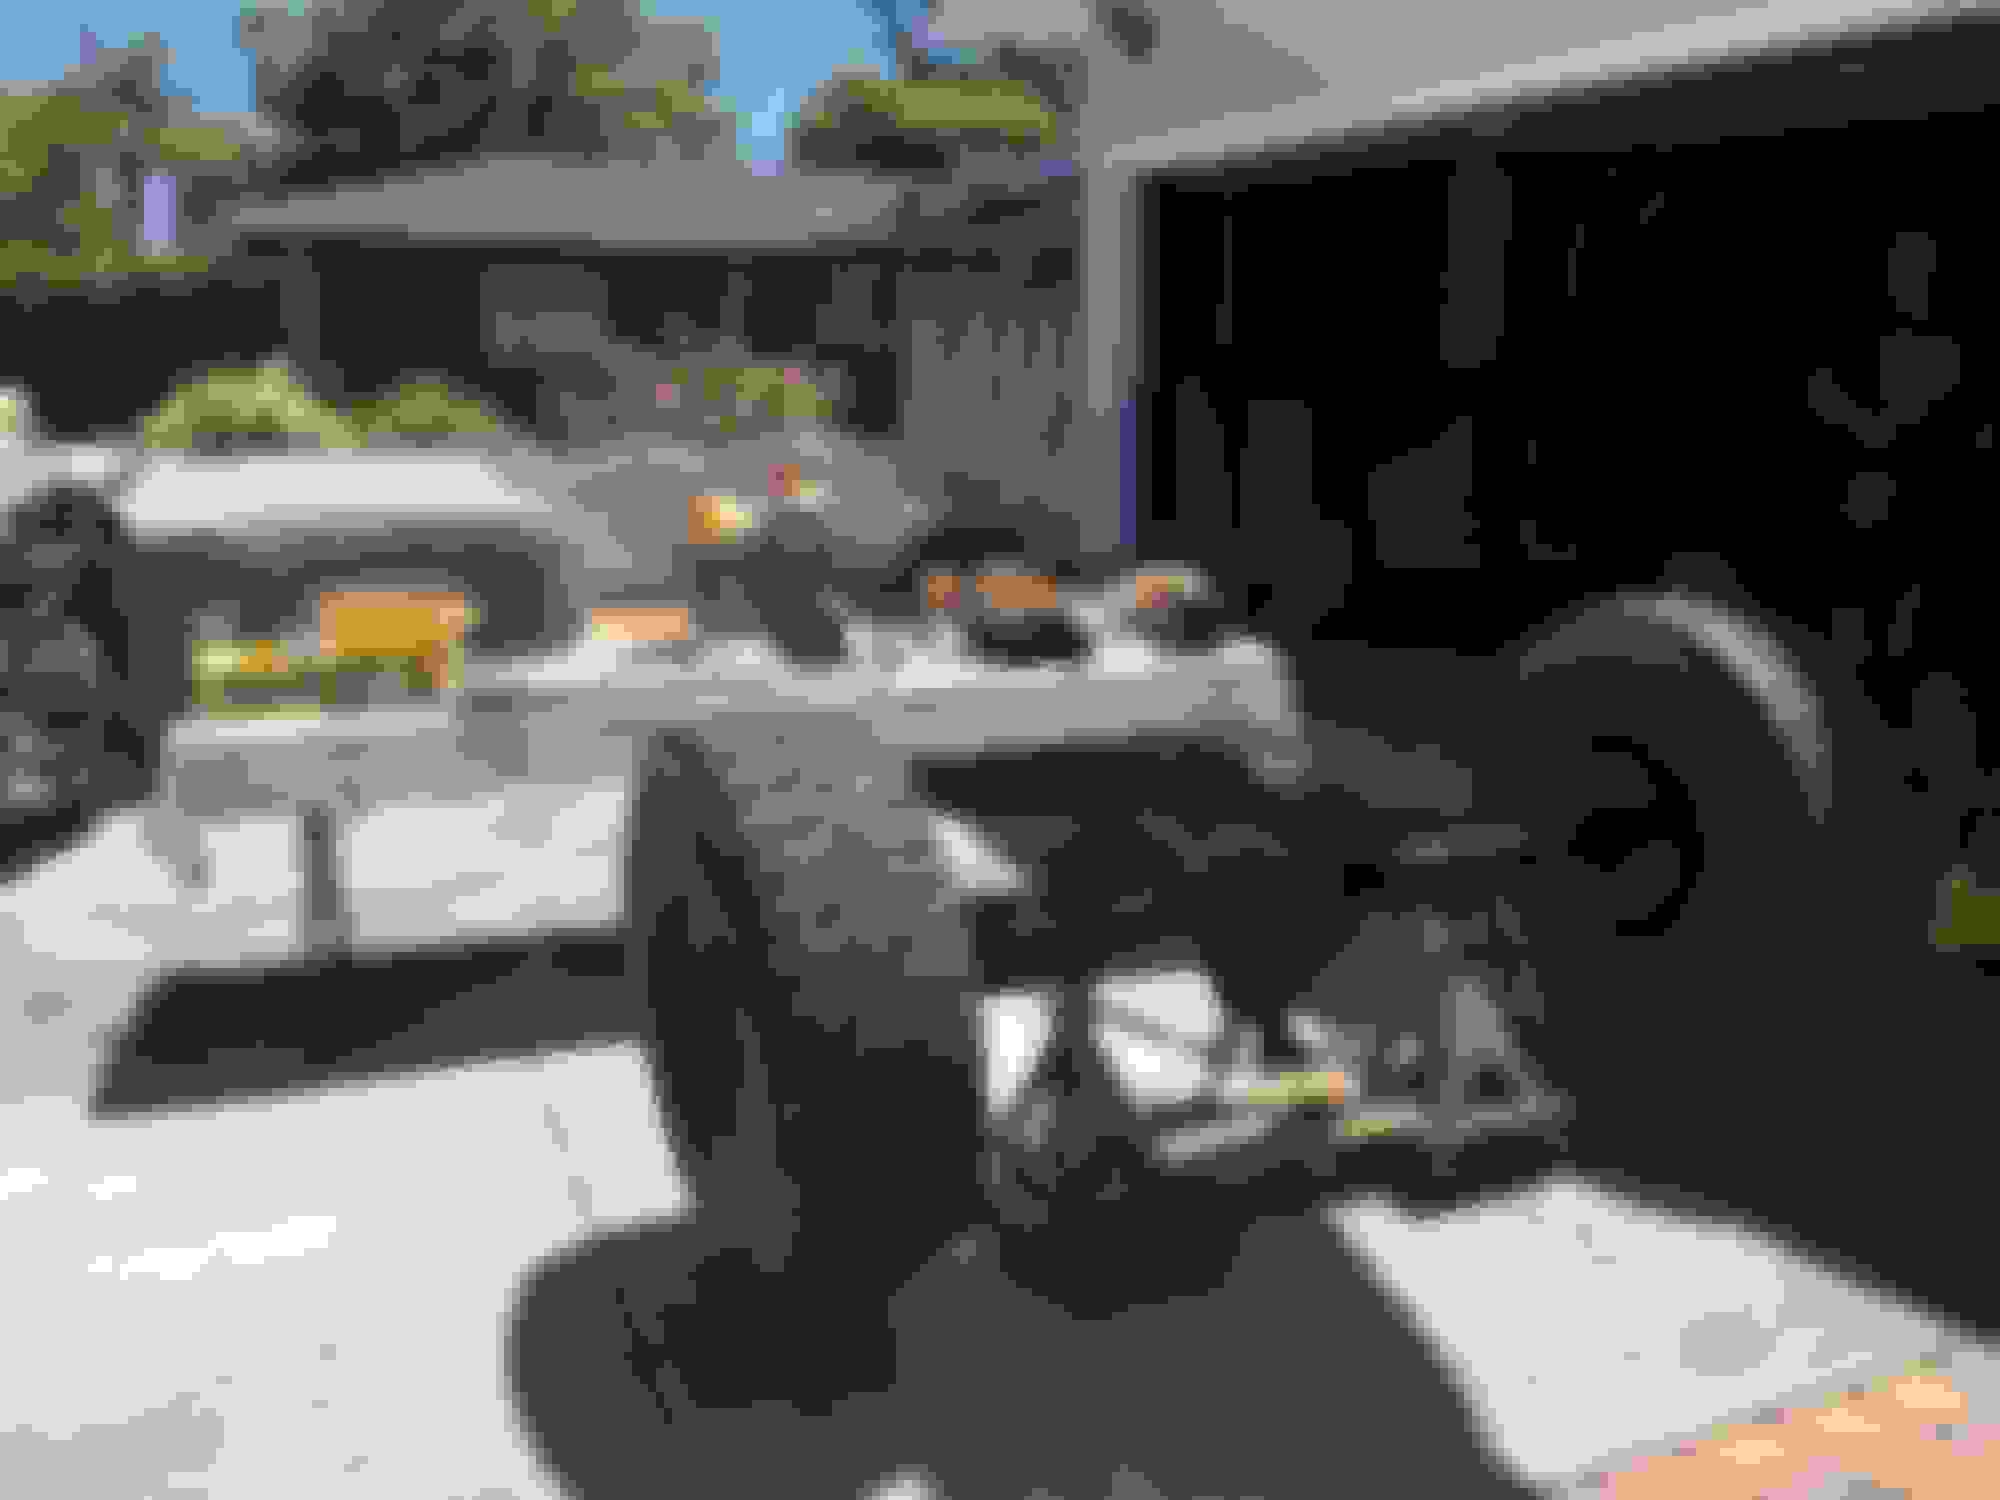
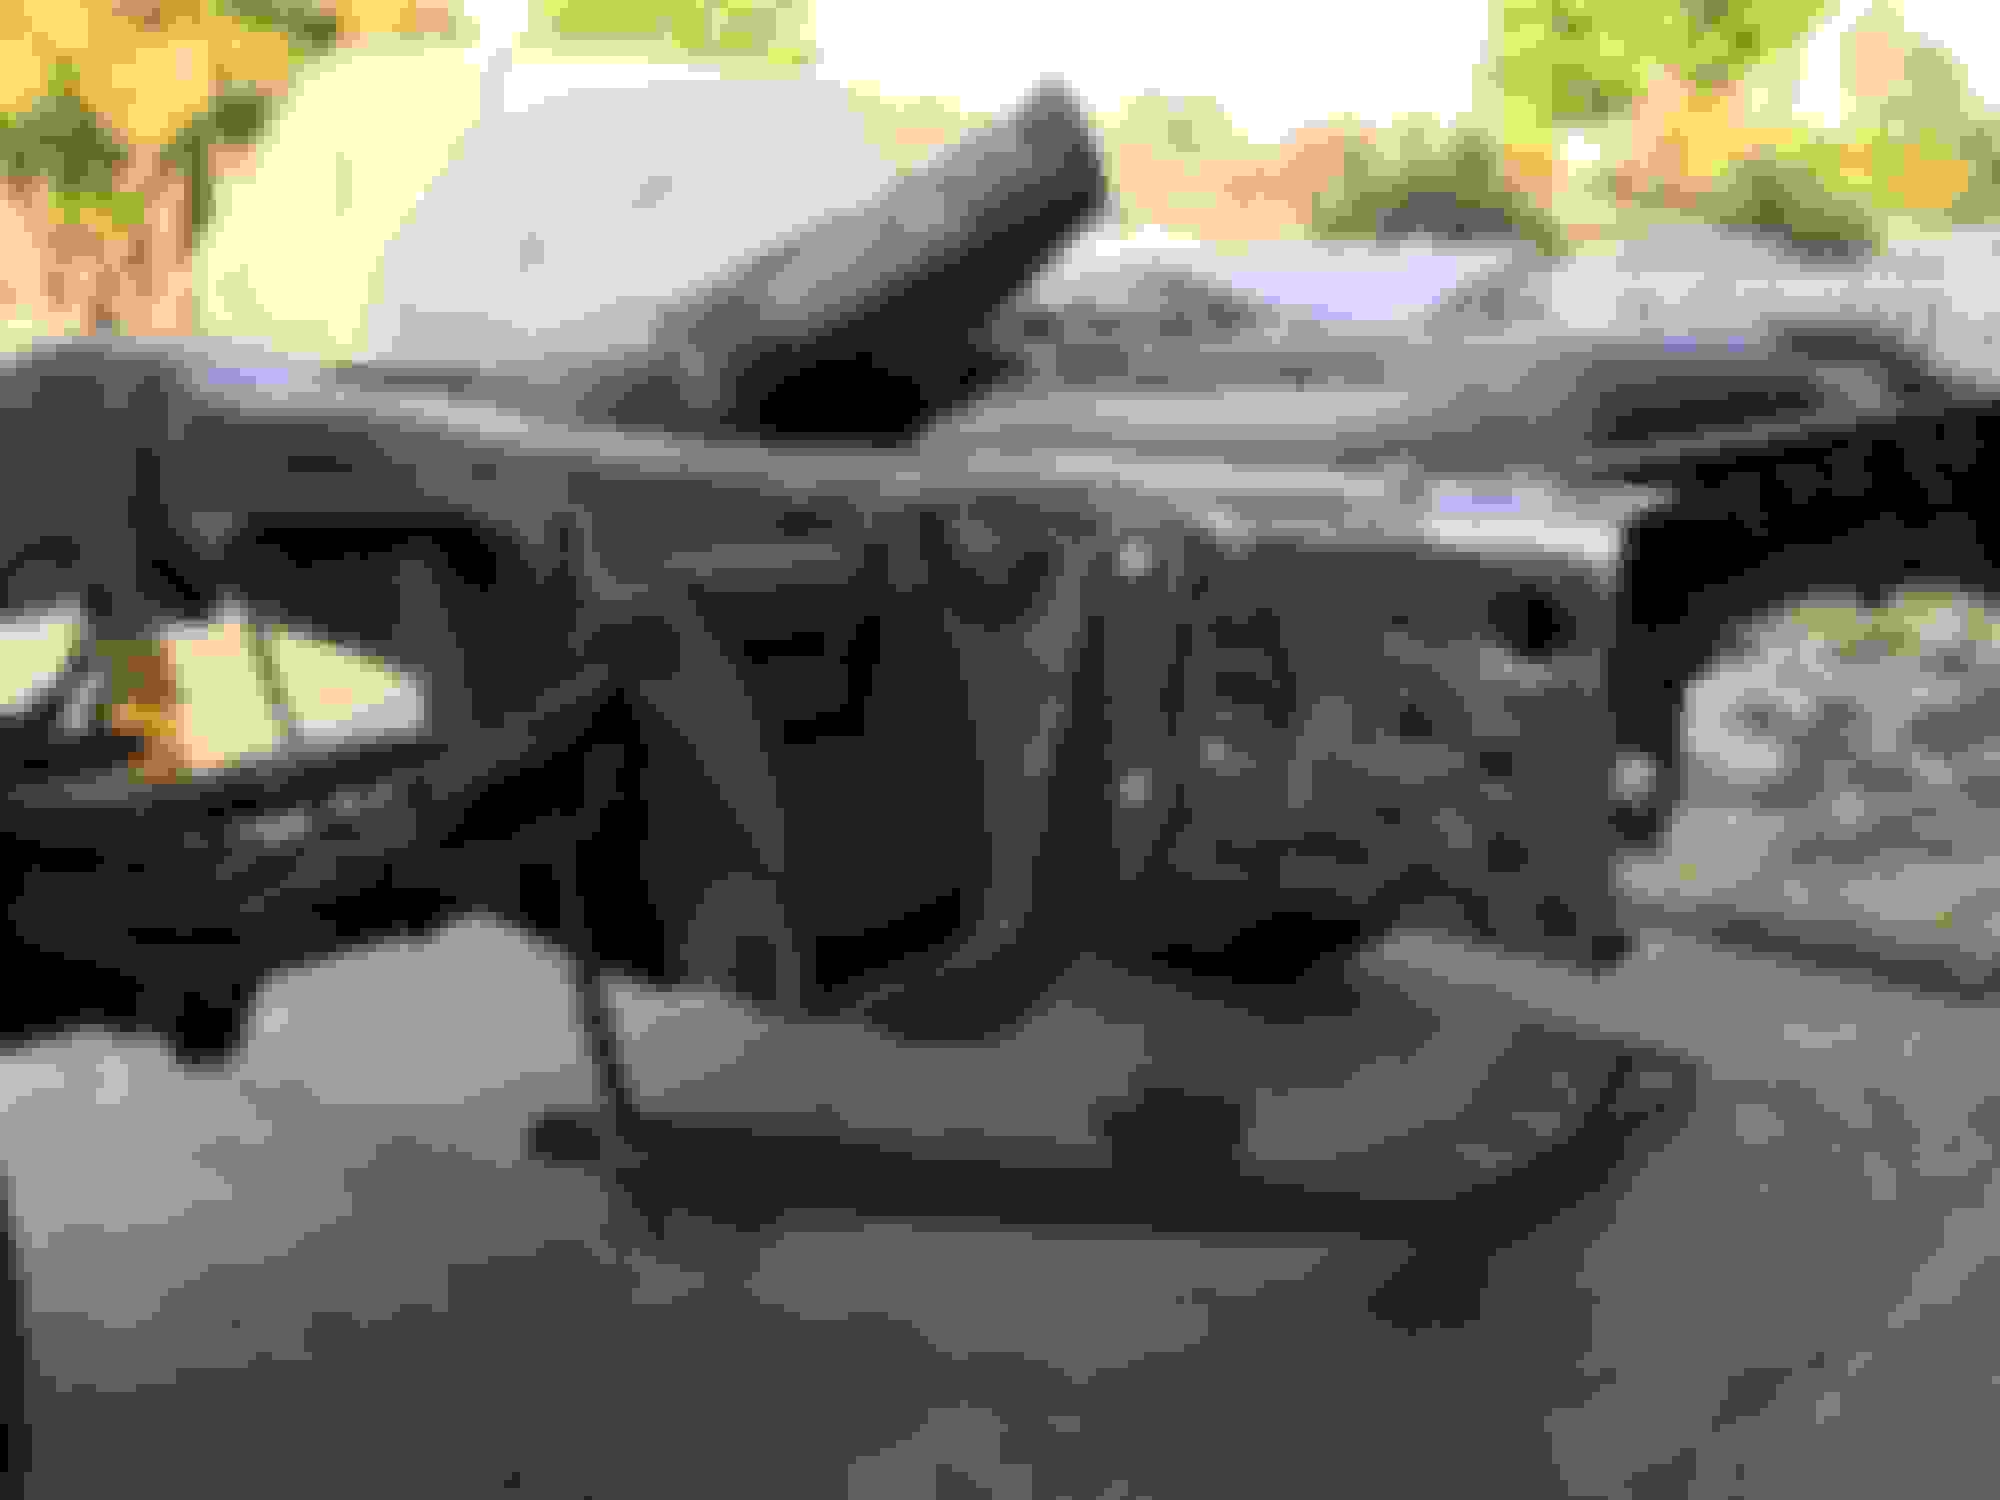
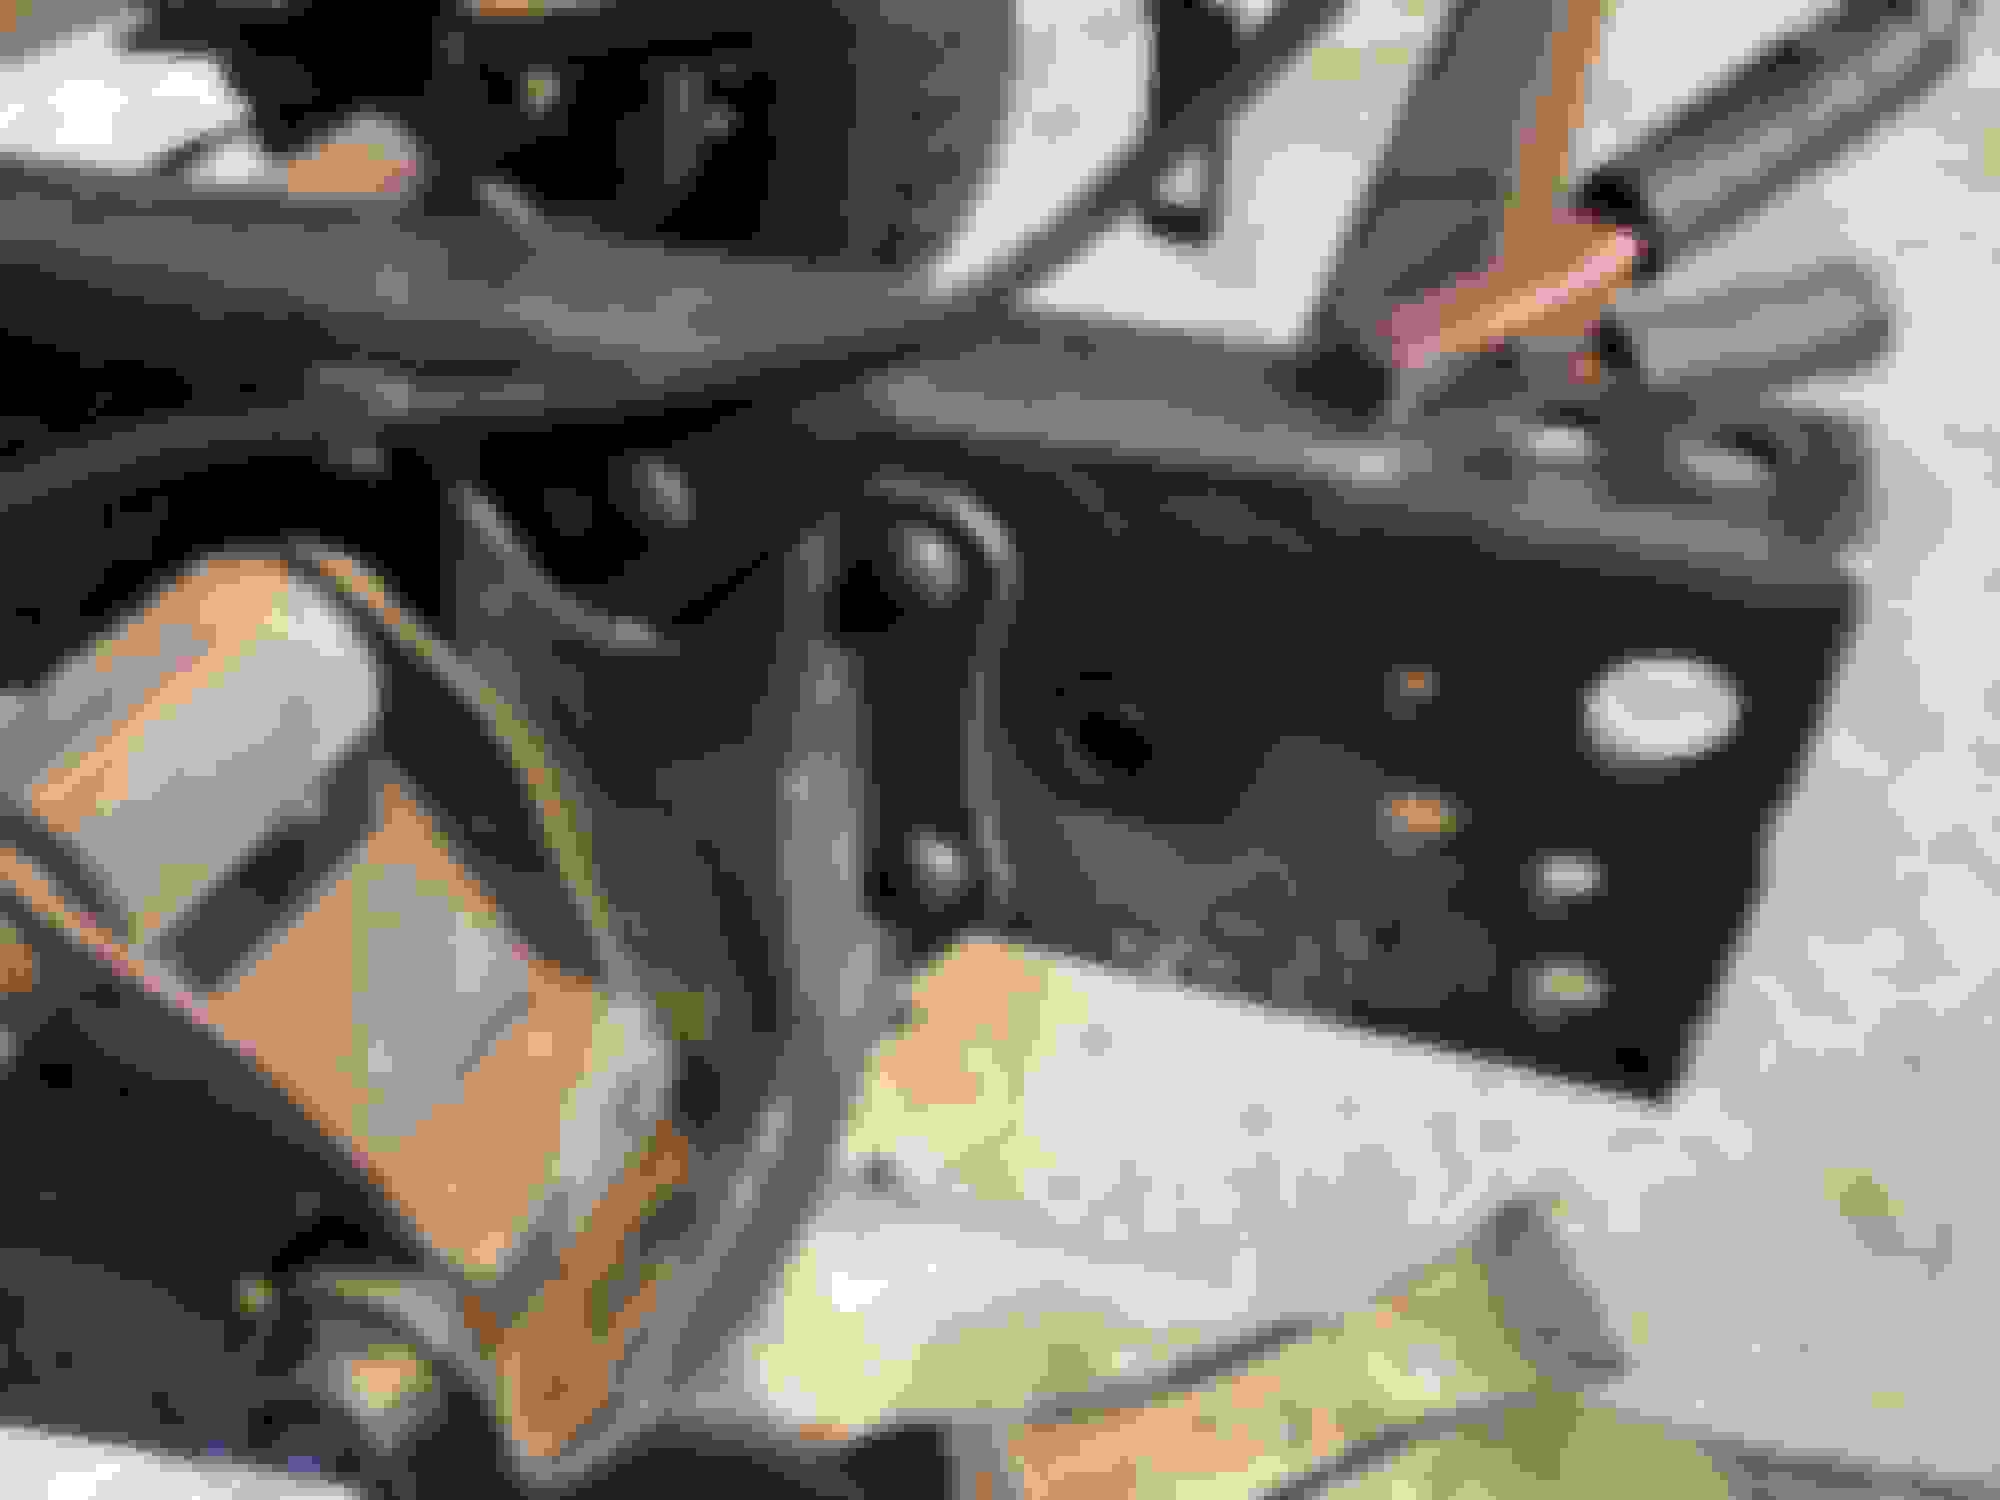
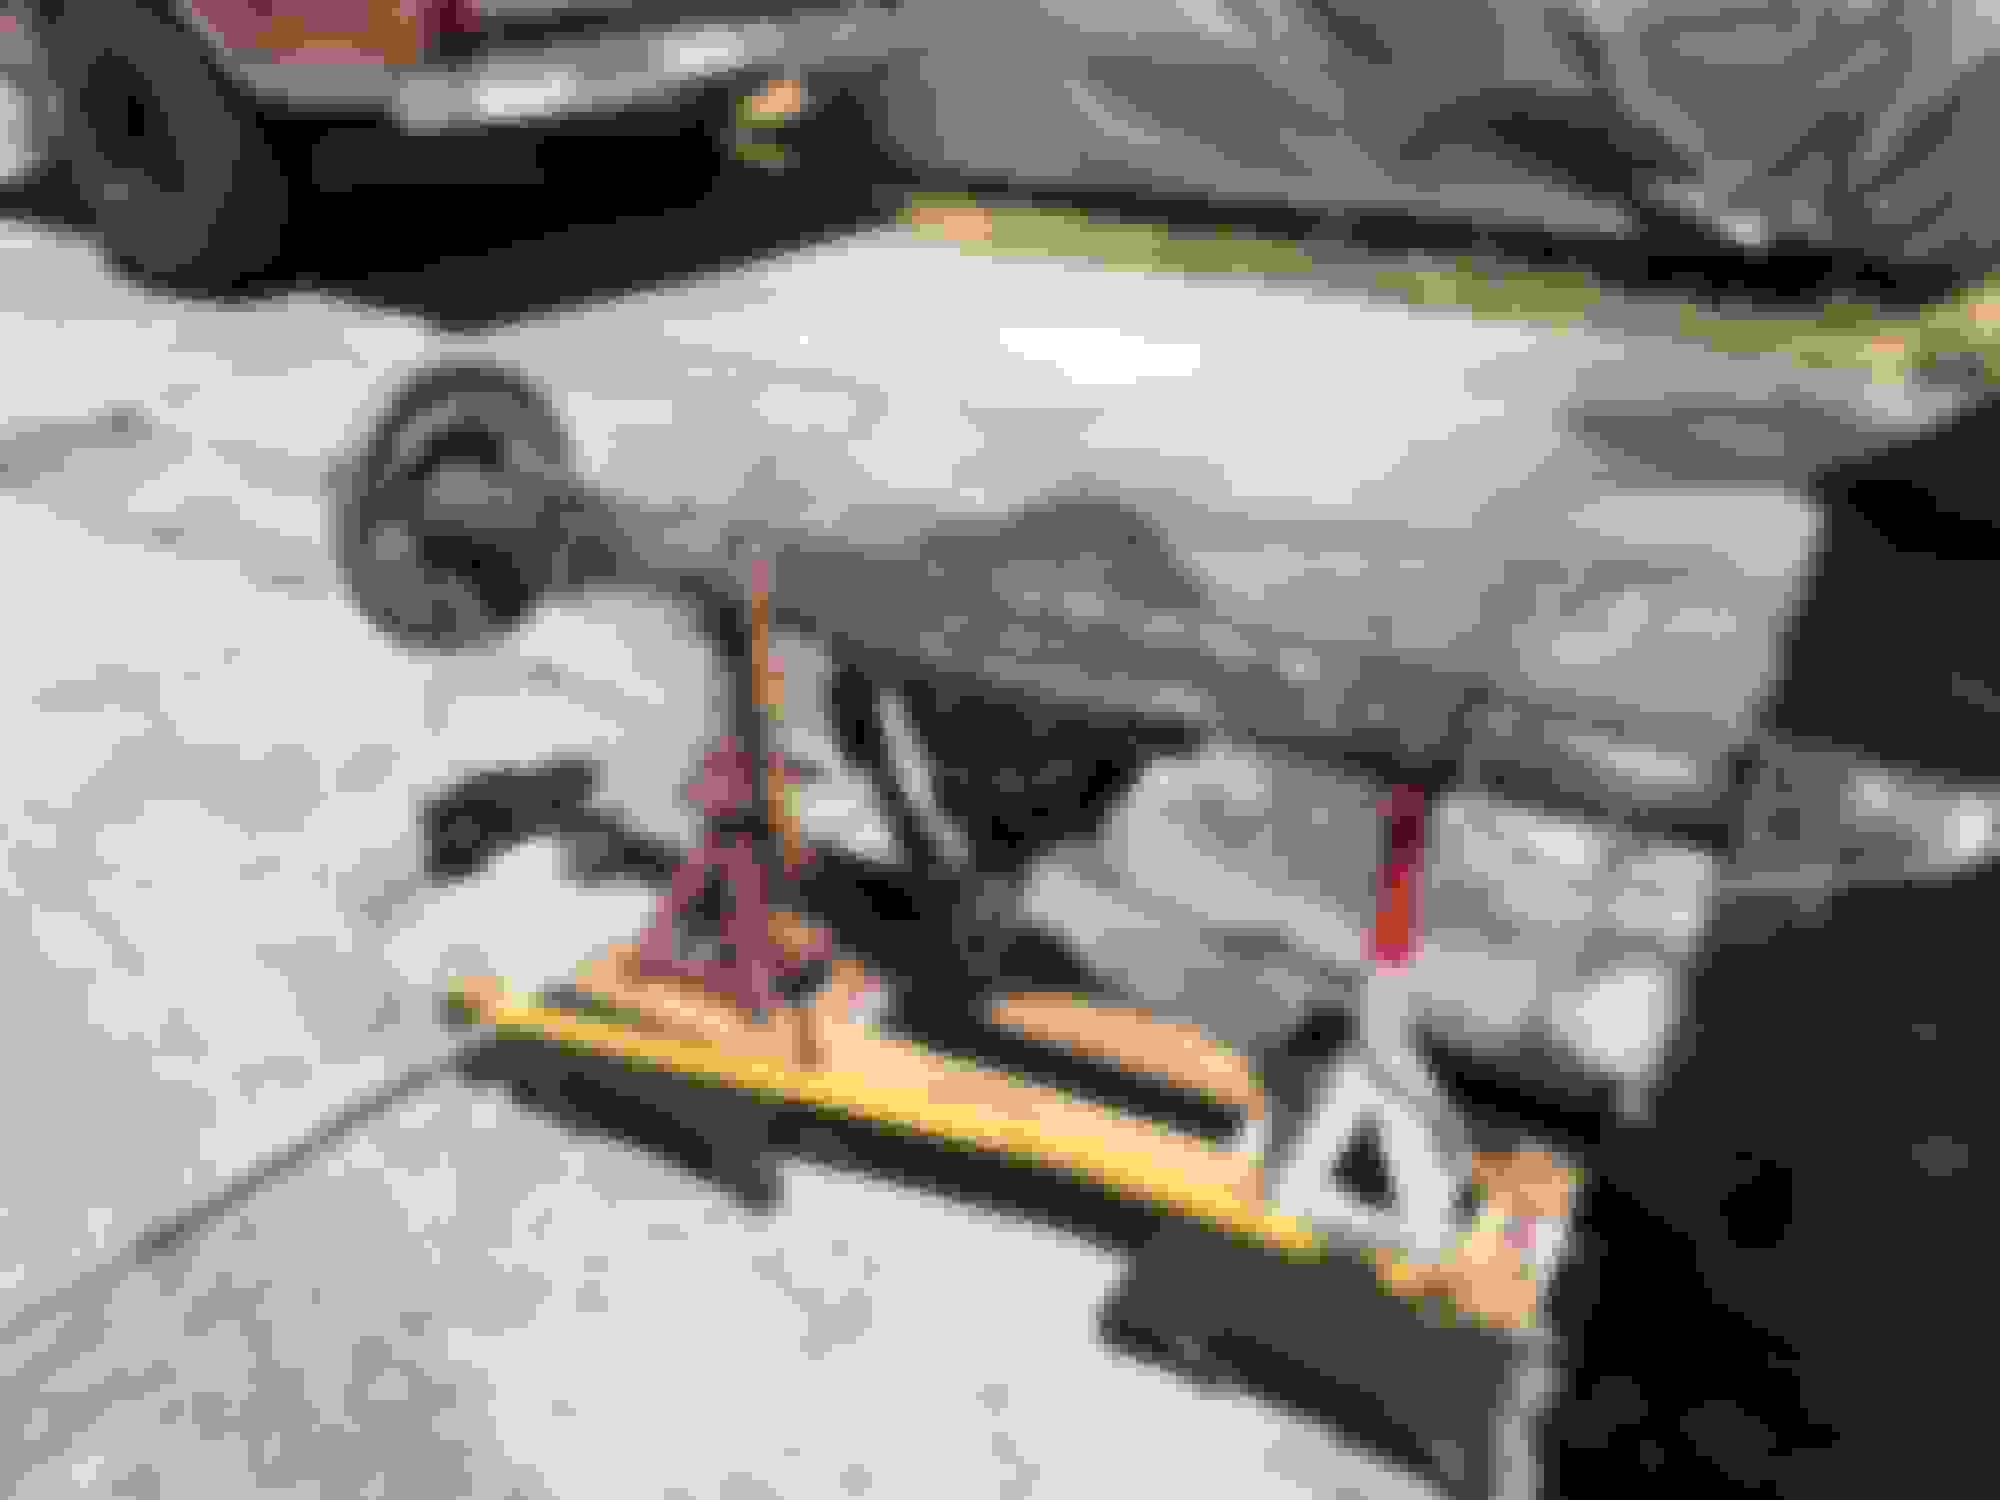
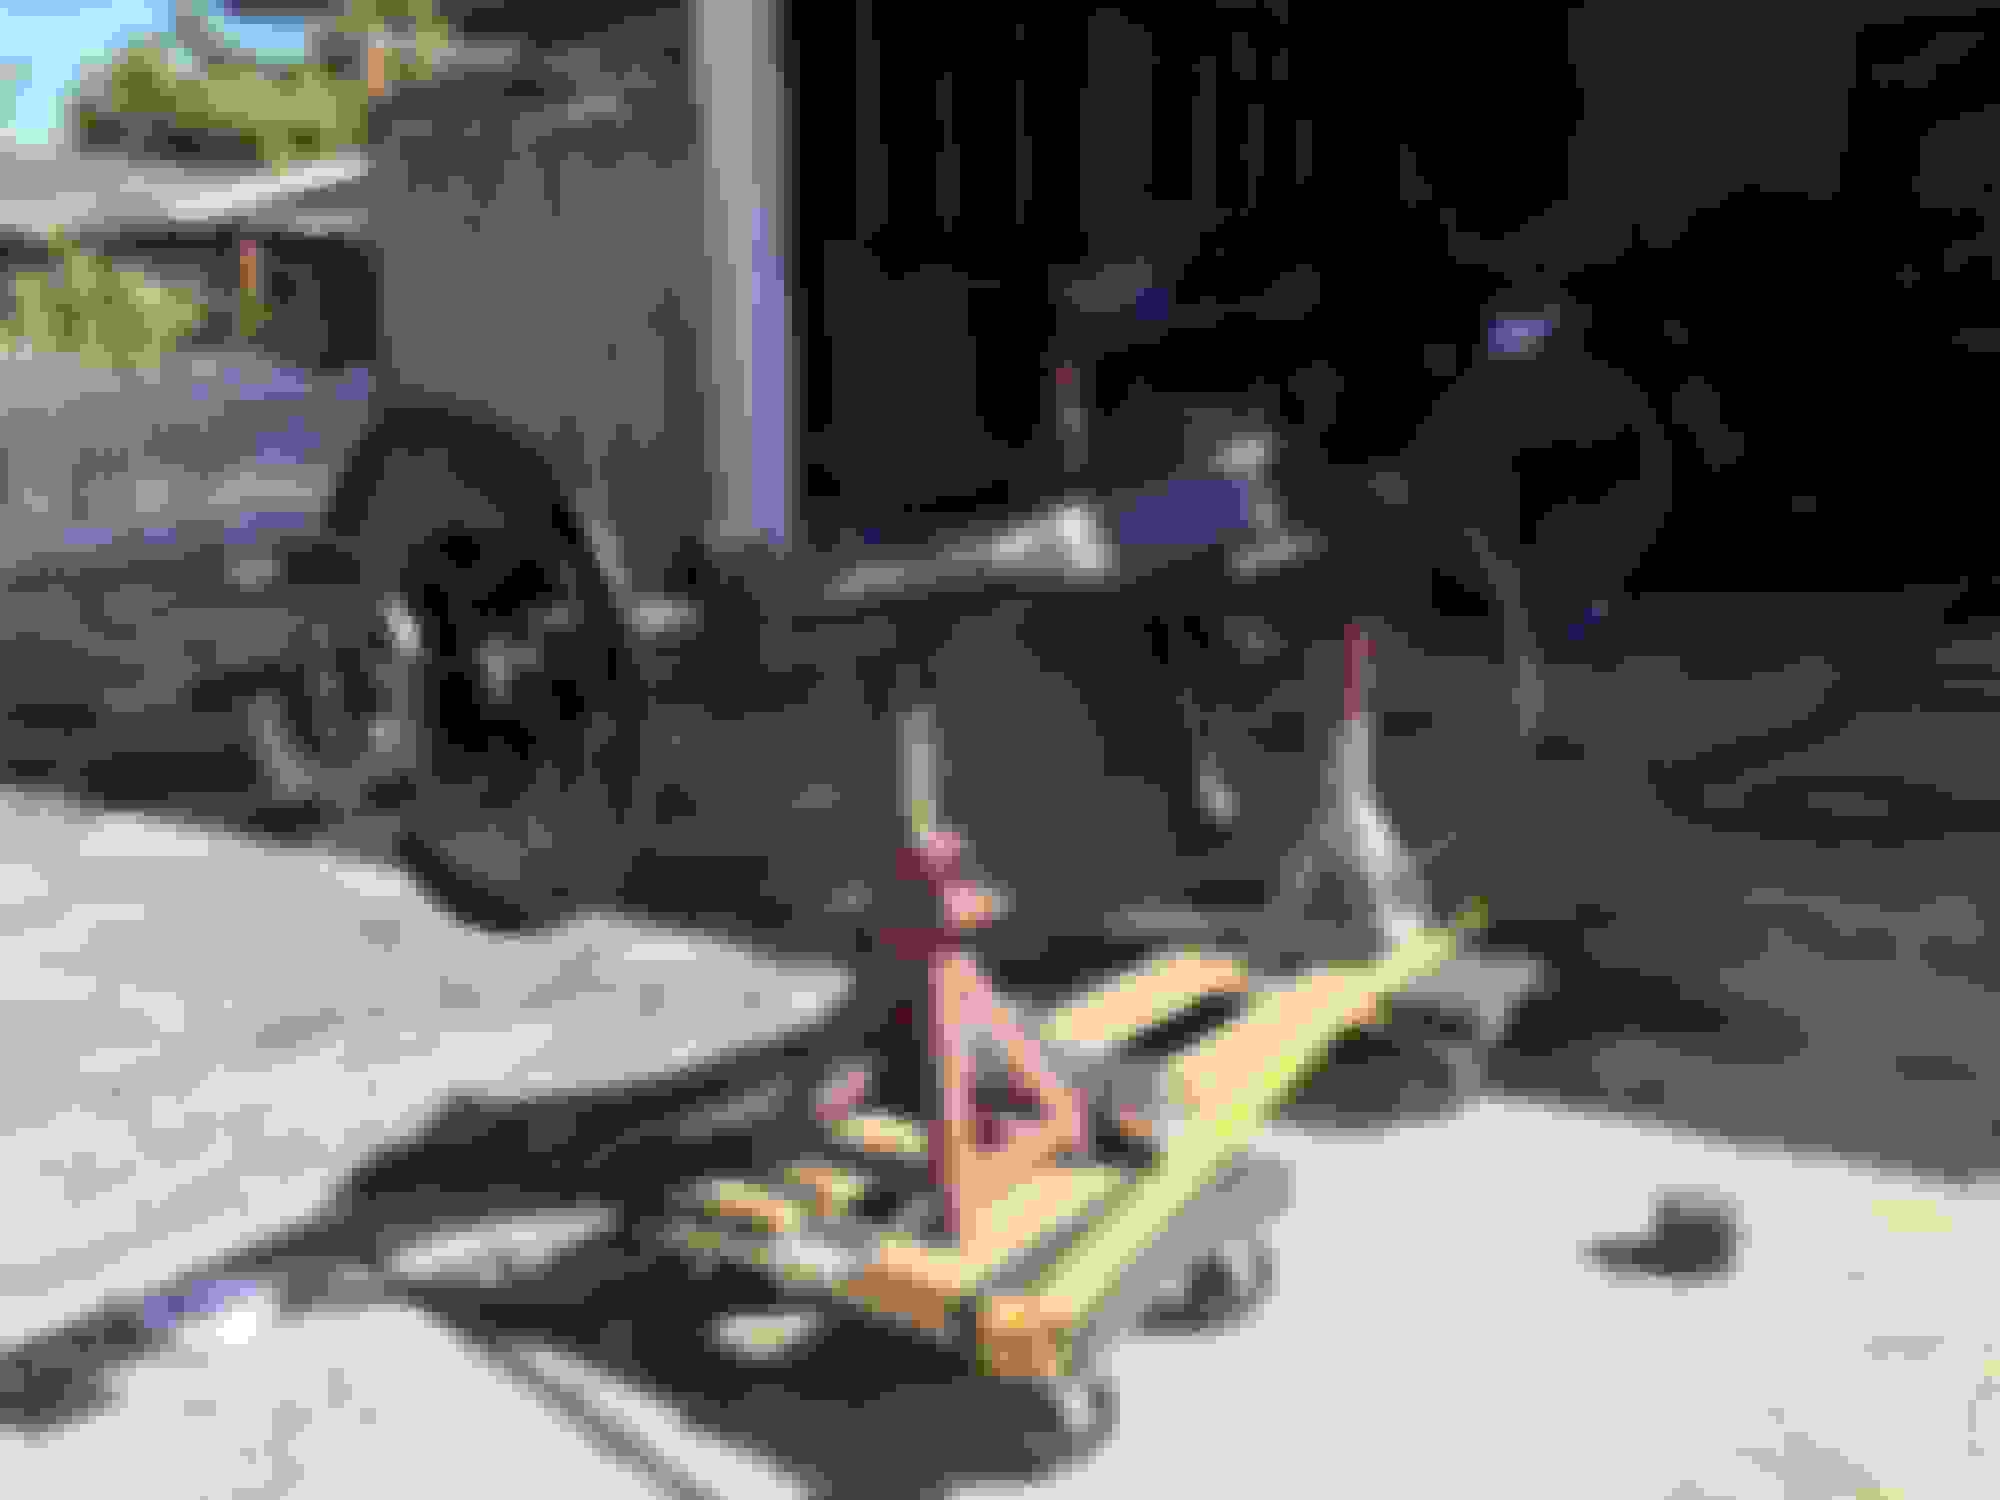
So far managing to meet my goal of getting the truck back on it's wheels by the end of this week. It's funny, the things that I thought were going to be no big deal have turned out to be the hardest. When I did the teardown of this truck I cut off the U Bolts for the rear axle, figuring I would easily get a replacement. Fast forward to day of assembly, and no U-Bolts to be found. Went to a local retail 4 wheel parts place, and they don't stock U-Bolts. They directed me to a custom suspension place that offered to make me four U-Bolts for $148.00! Instead, as you can see in the pictures I got some all thread rod and made four temp U-Bolts while I wait for my $38 set to come in the mail.
I feel like I spent my last two days just searching for bolts. It seems well worth it though, as I look at all of the yellow zinc hardware on the black frame.
I'll be glad to have this phase done so I can focus on some fun stuff for a while. I'm just glad to be putting away my de-greaser and toothbrushes for a while....
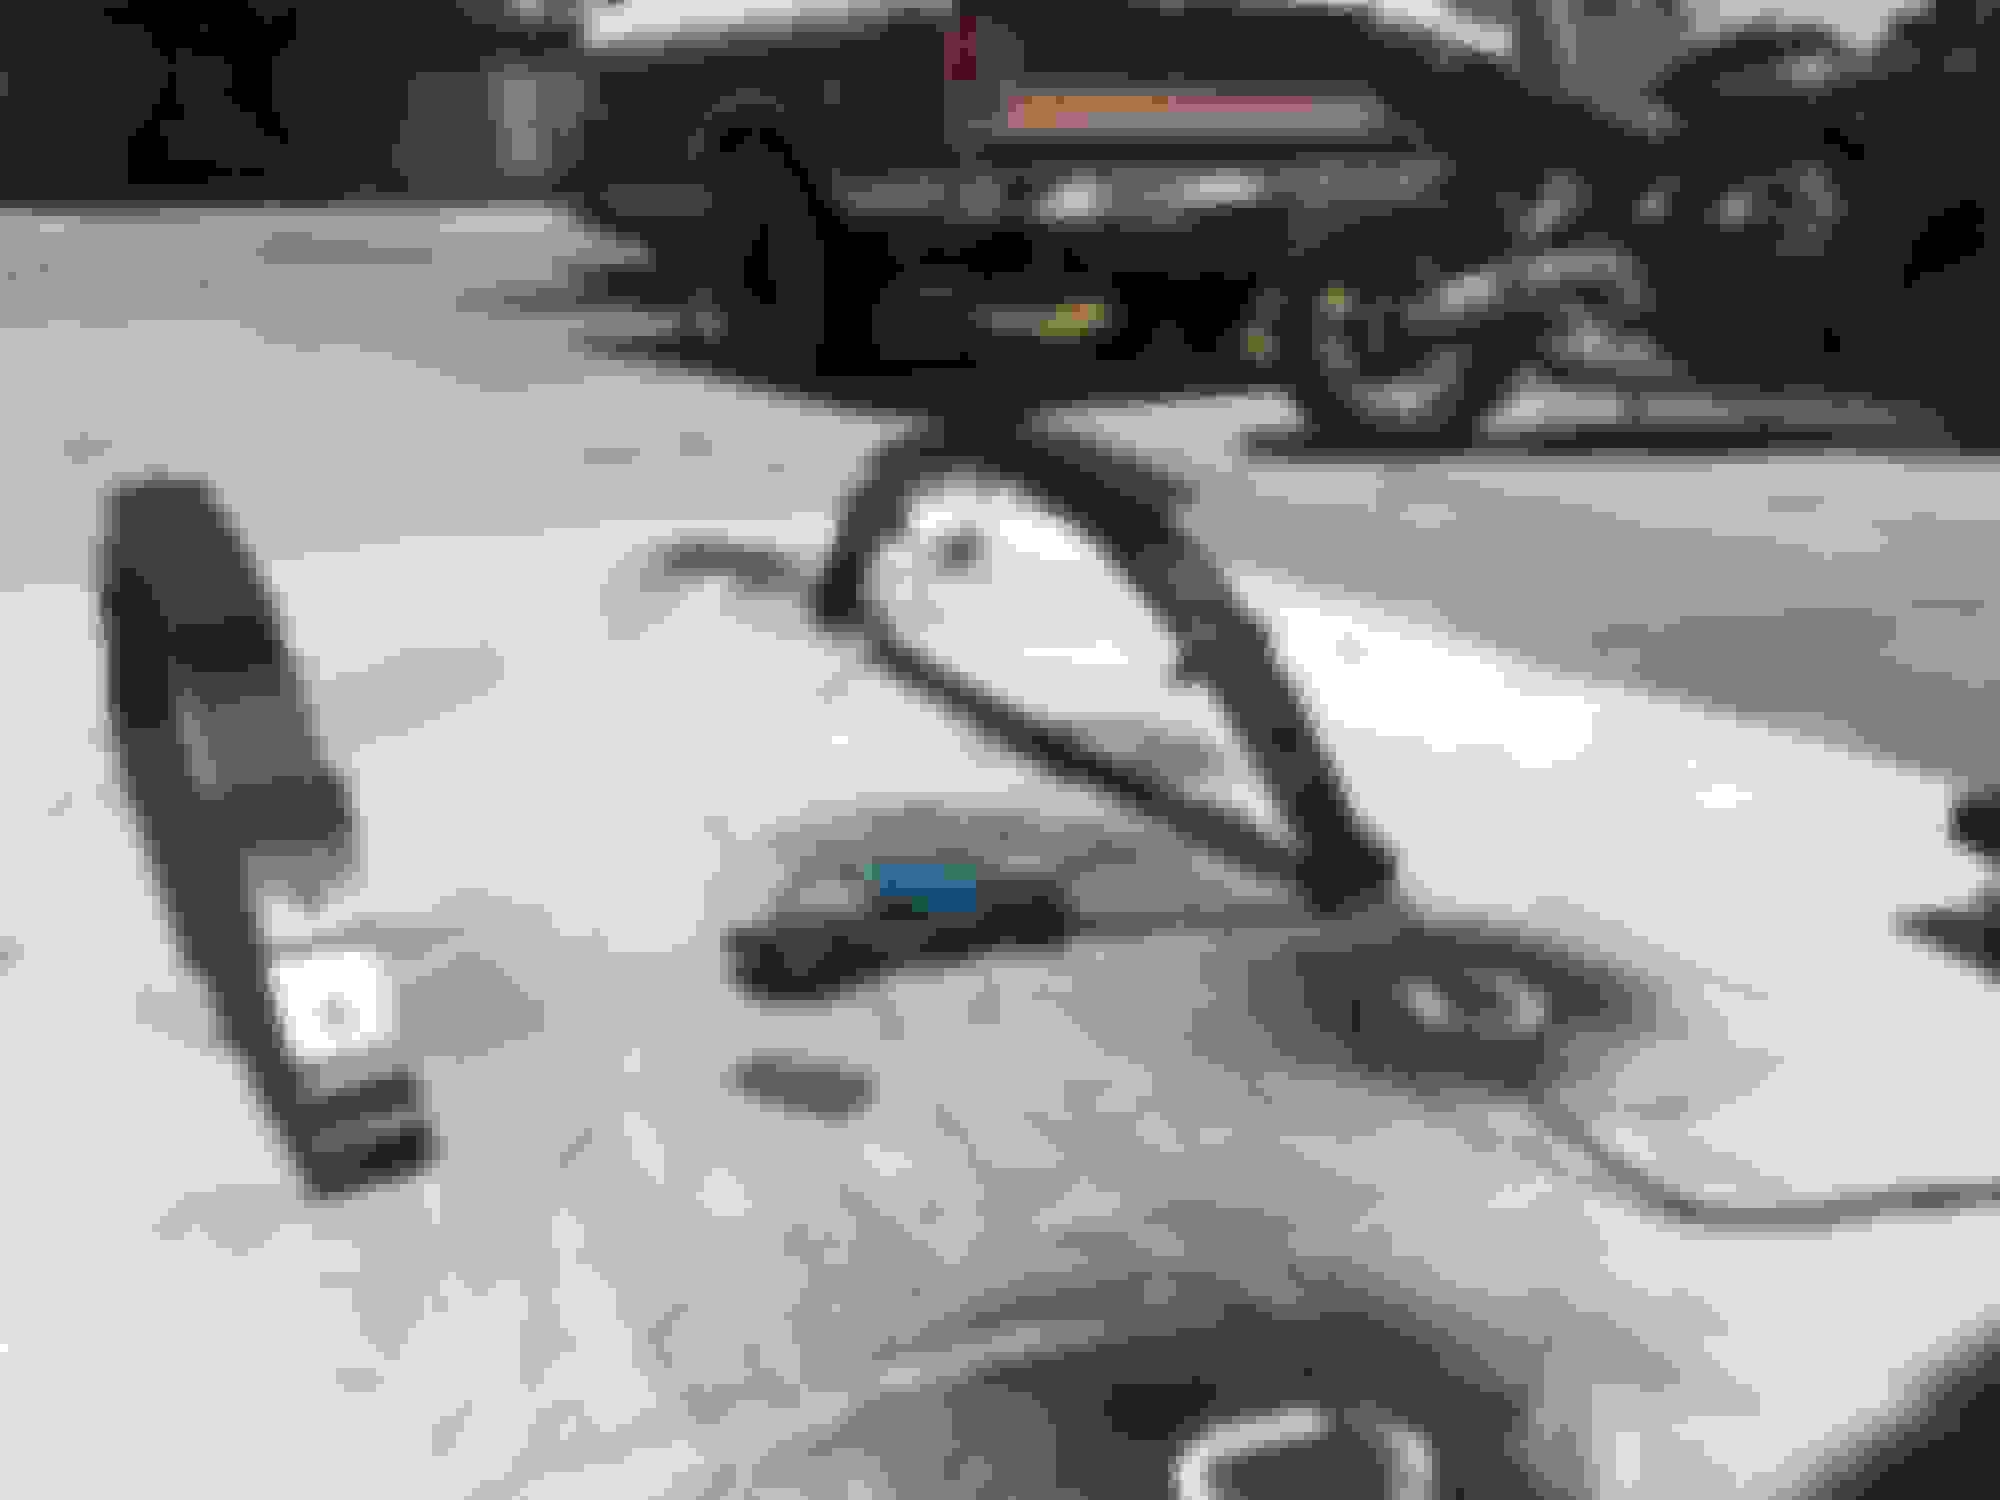
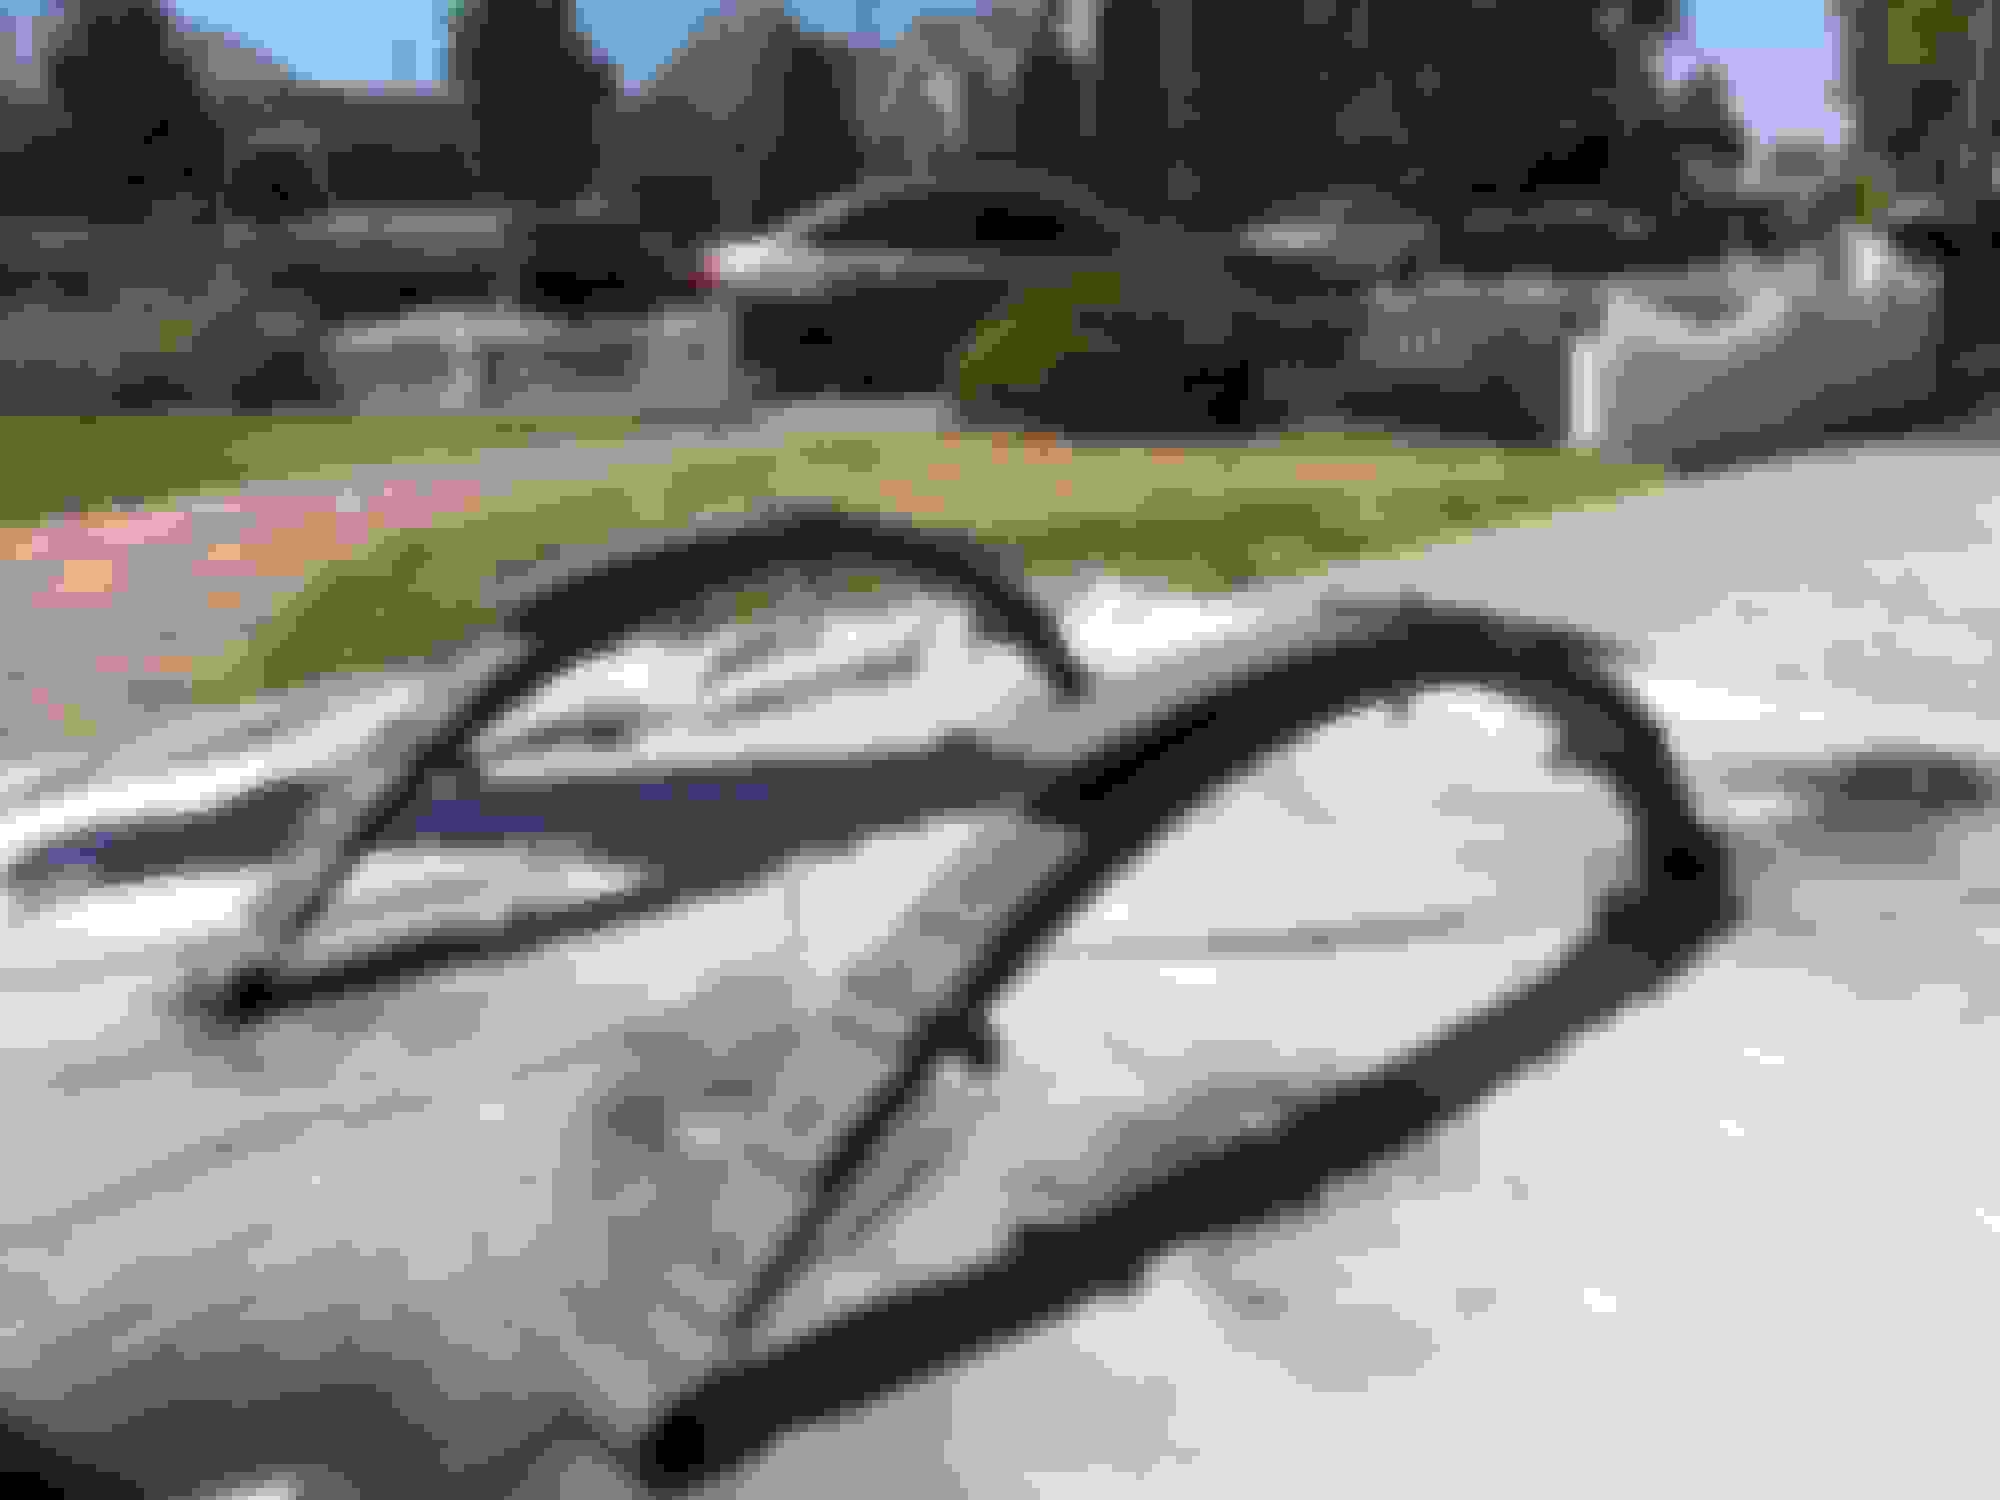
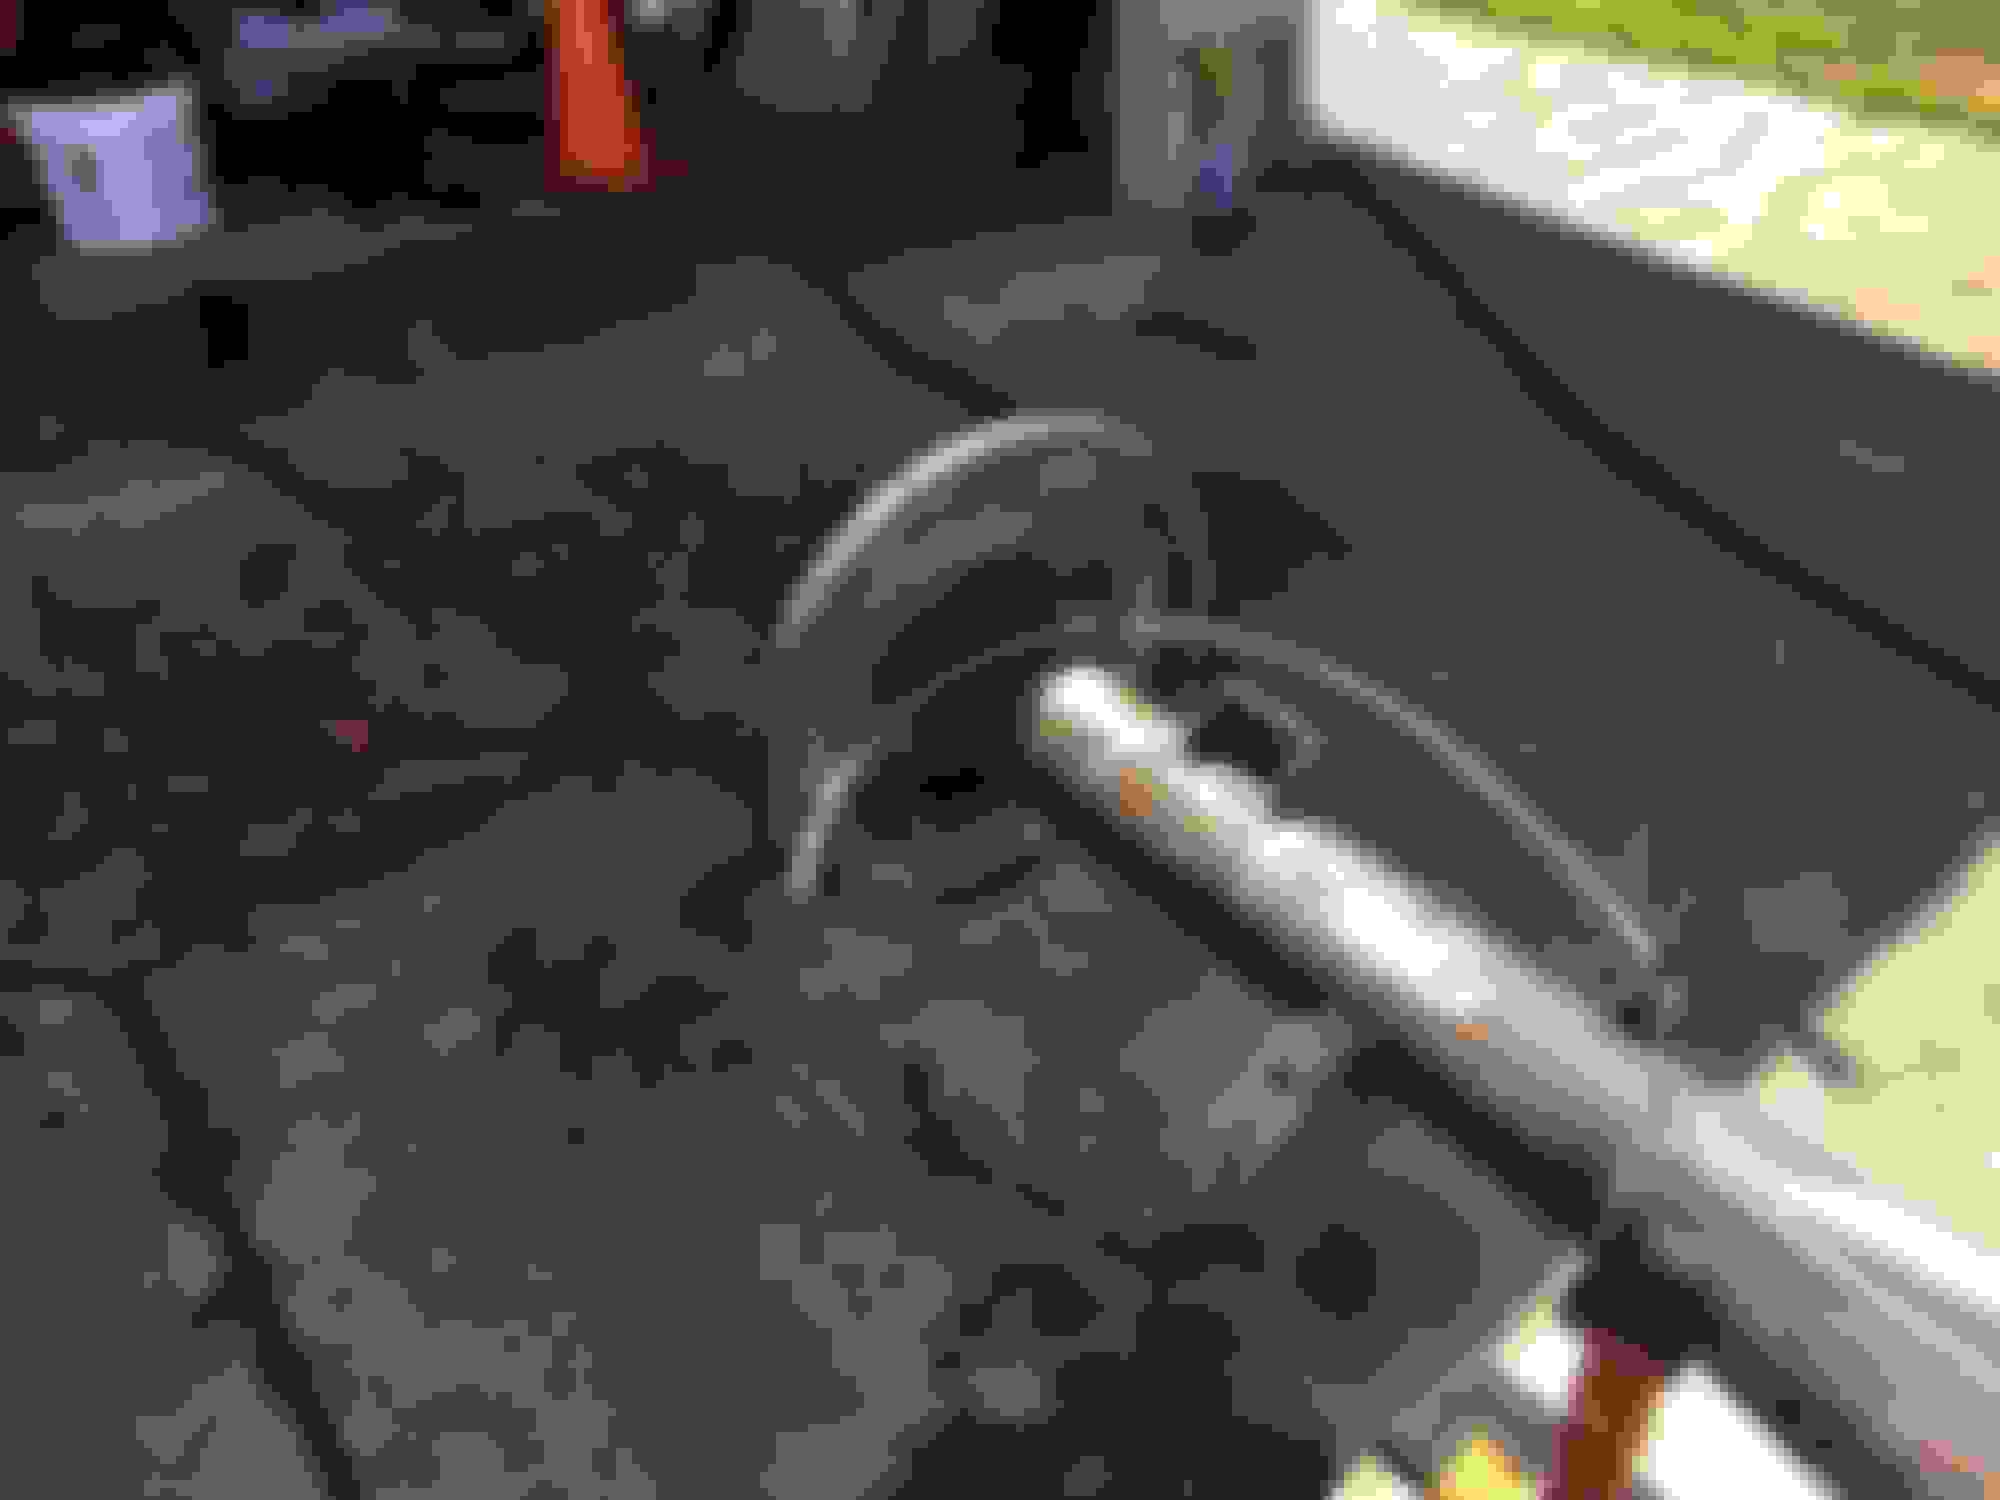
I was also unhappy with the way the leaf springs came out the first time I painted them so I stripped them back down to metal again and redid them. Very glad I did.
Enjoy the pics.
There were a few imperfections that showed up once they were painted. After staring at them in the garage for a few days I knew I had to start over.
Using the new grinder to strip of the paint between the leafs.
Much better
Excited to be finally pulling out some of the parts that I had painted
The old white just isn't going to do it
these will do for now
Love the look of new bushings
Starting to look like something
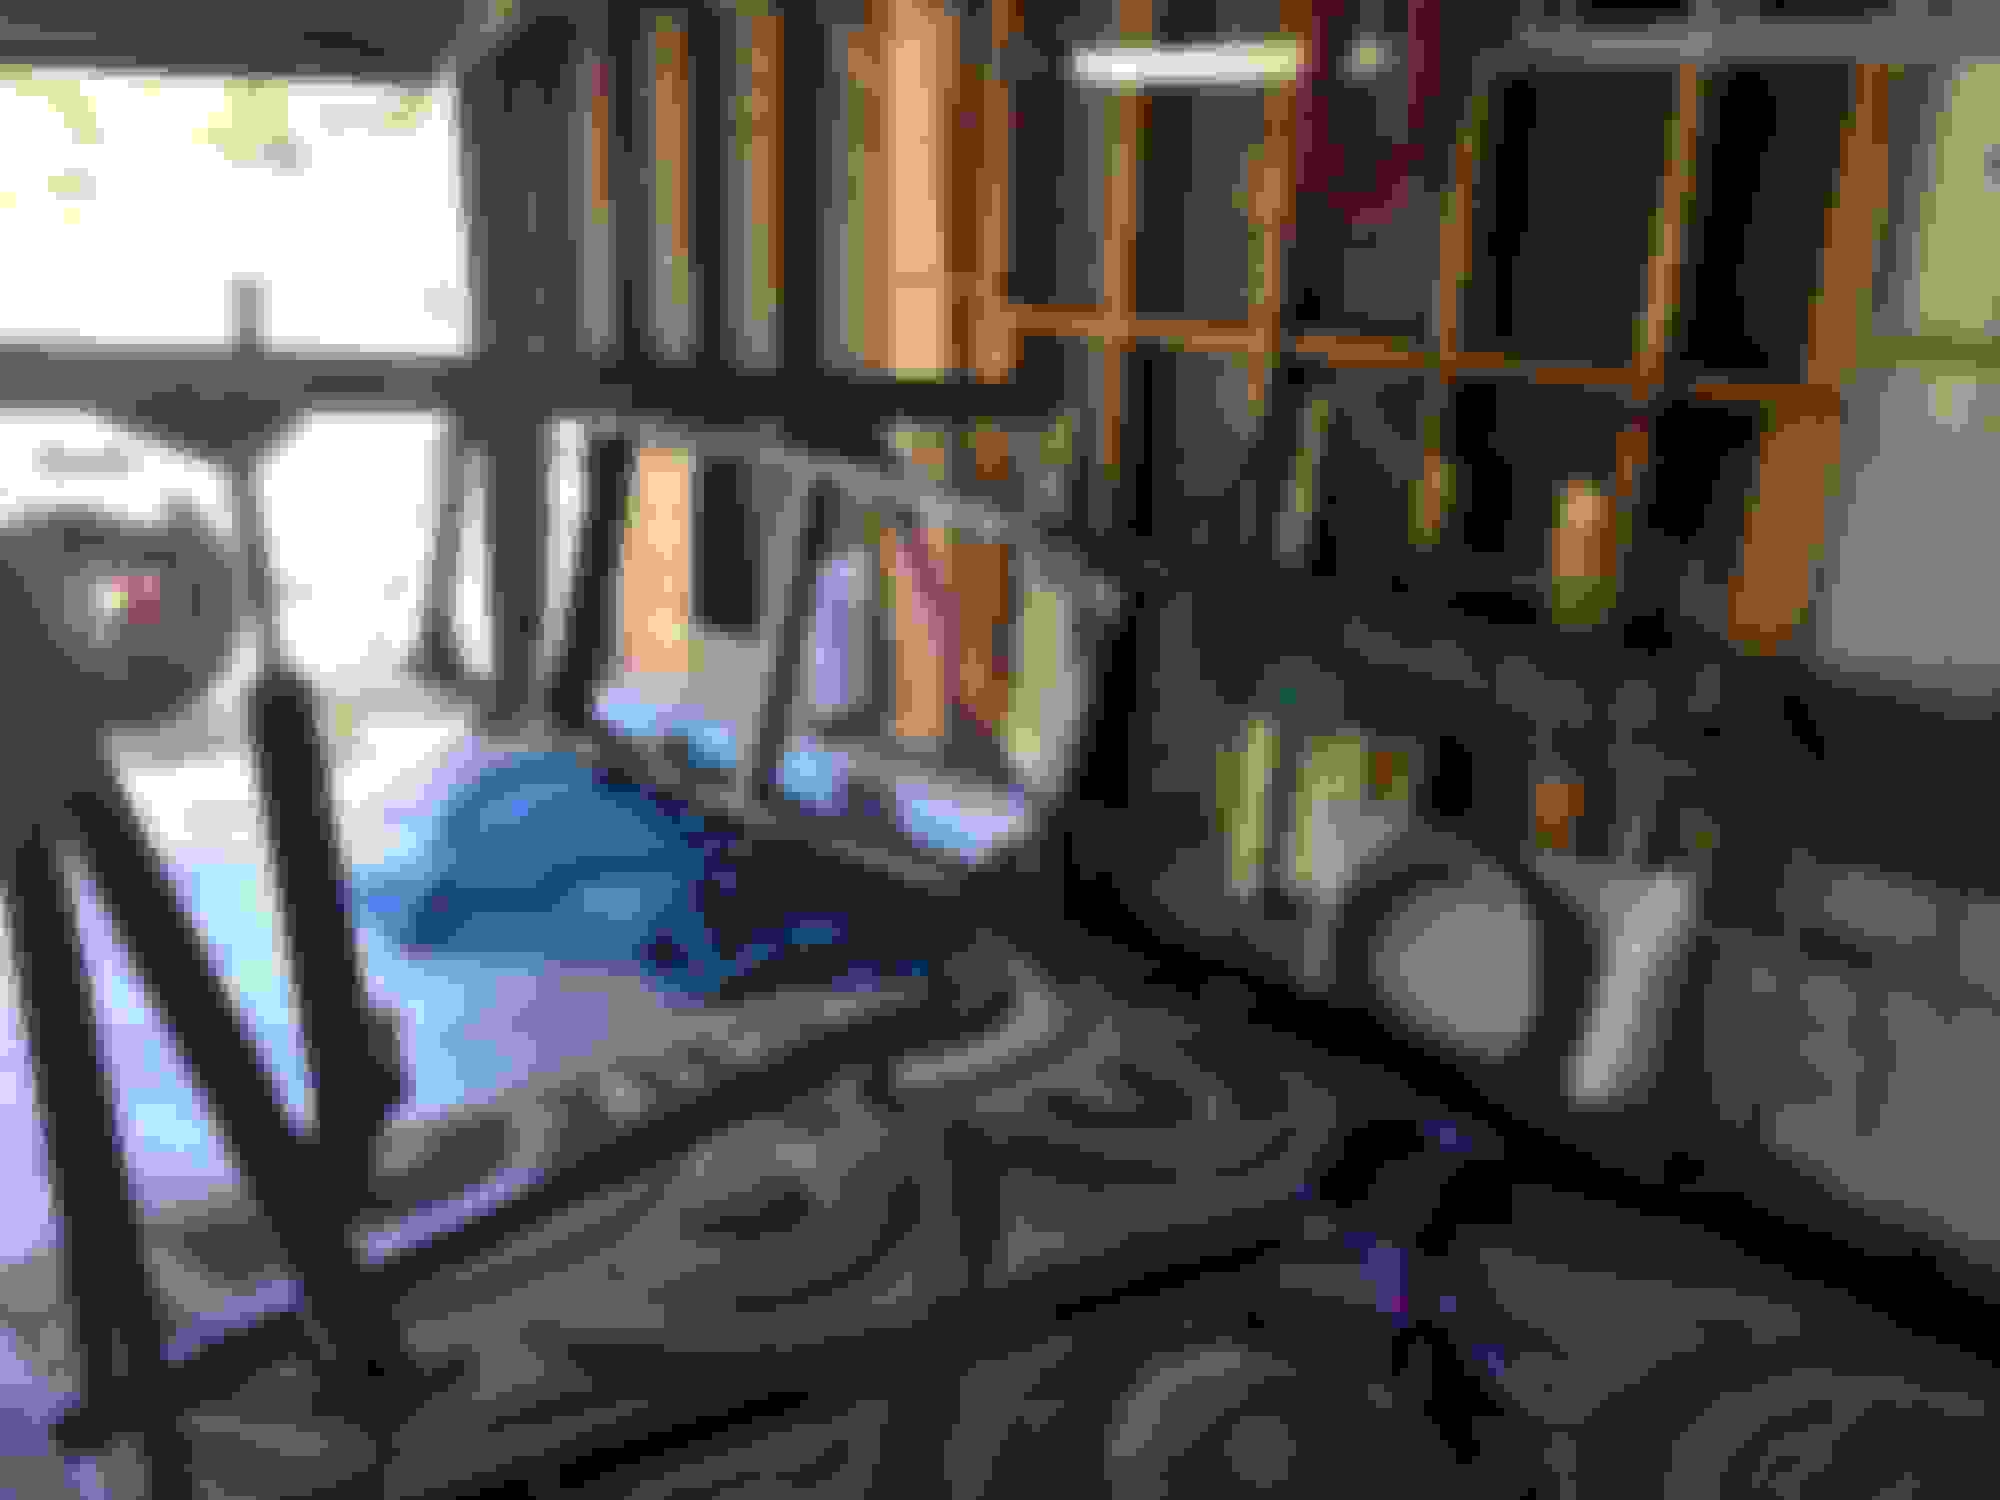
I've been waiting quite a while to get this off the wall
Couple of stressful moments, but got it righted
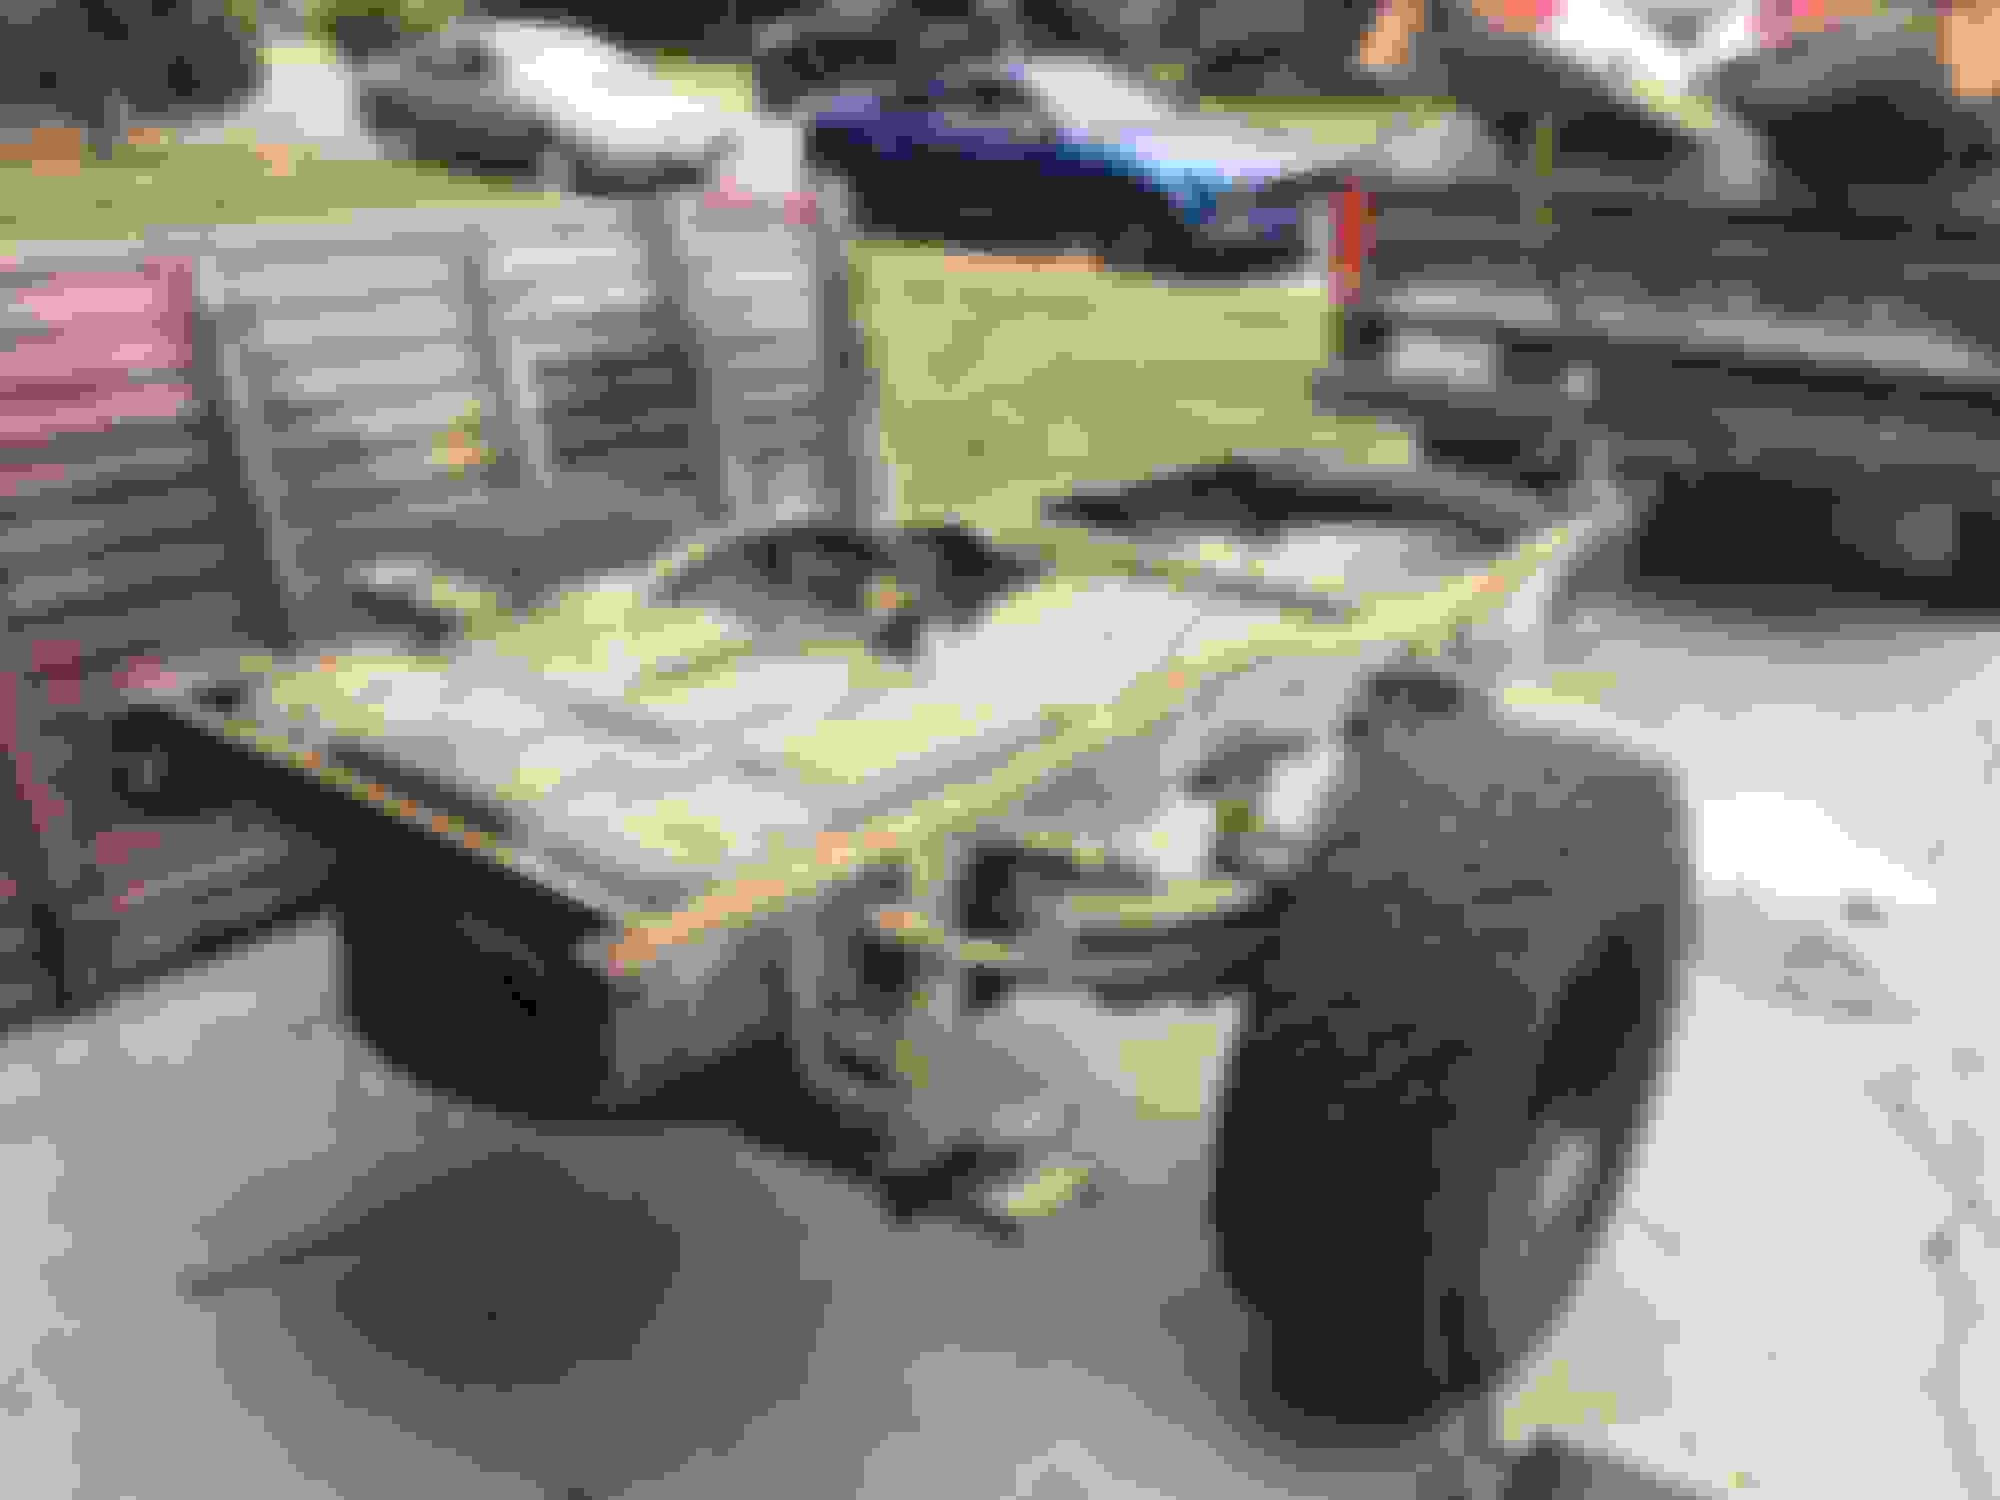
Starting to come together
Looking like a weird dragster
Just in case people don't know I'm a Ford guy
I'm wishing I would have taken a picture with all of the new hardware in one shot. That way I could have compared it to the tiny pile of bolts I took of the truck.
I'm not sure why I find this picture so satisfying
Managed to finish up everything last Friday, now it's time to start planning for the next phase.
Enjoy the pics...
Tim
Moving the frame out so we could get the crane under the front end
Don't need any spring compressors here
Radius arm caps went on without any issues, had to use a ratchet strap to bring the left side of the axle in enough to get the bolt on the end of the radius arm. Without pulling it in, only a few threads were exposed at the end of the arm
First spring went in easily, second one we found it was easier to install the spring cap on the bottom loosely and then spin the spring under the tab. Was a lot easier than holding the spring while trying to line up two pieces of steel over the bolt hold
I think I have spent as many hours staring at this as I have building it. Something about the new hardware makes this so satisfying
I think I am going to put it up on jack stands for a while so I can store some stuff under the frame
My giant channel locks made quick work of pulling out the bushing on the trac bar
I wish I would have got a picture of all the new hardware together to compare it with the tiny pile of bolts I pulled out of the truck when I disassembled it.
Looks like something now
I think my vehicle count just went up by one, does this count?
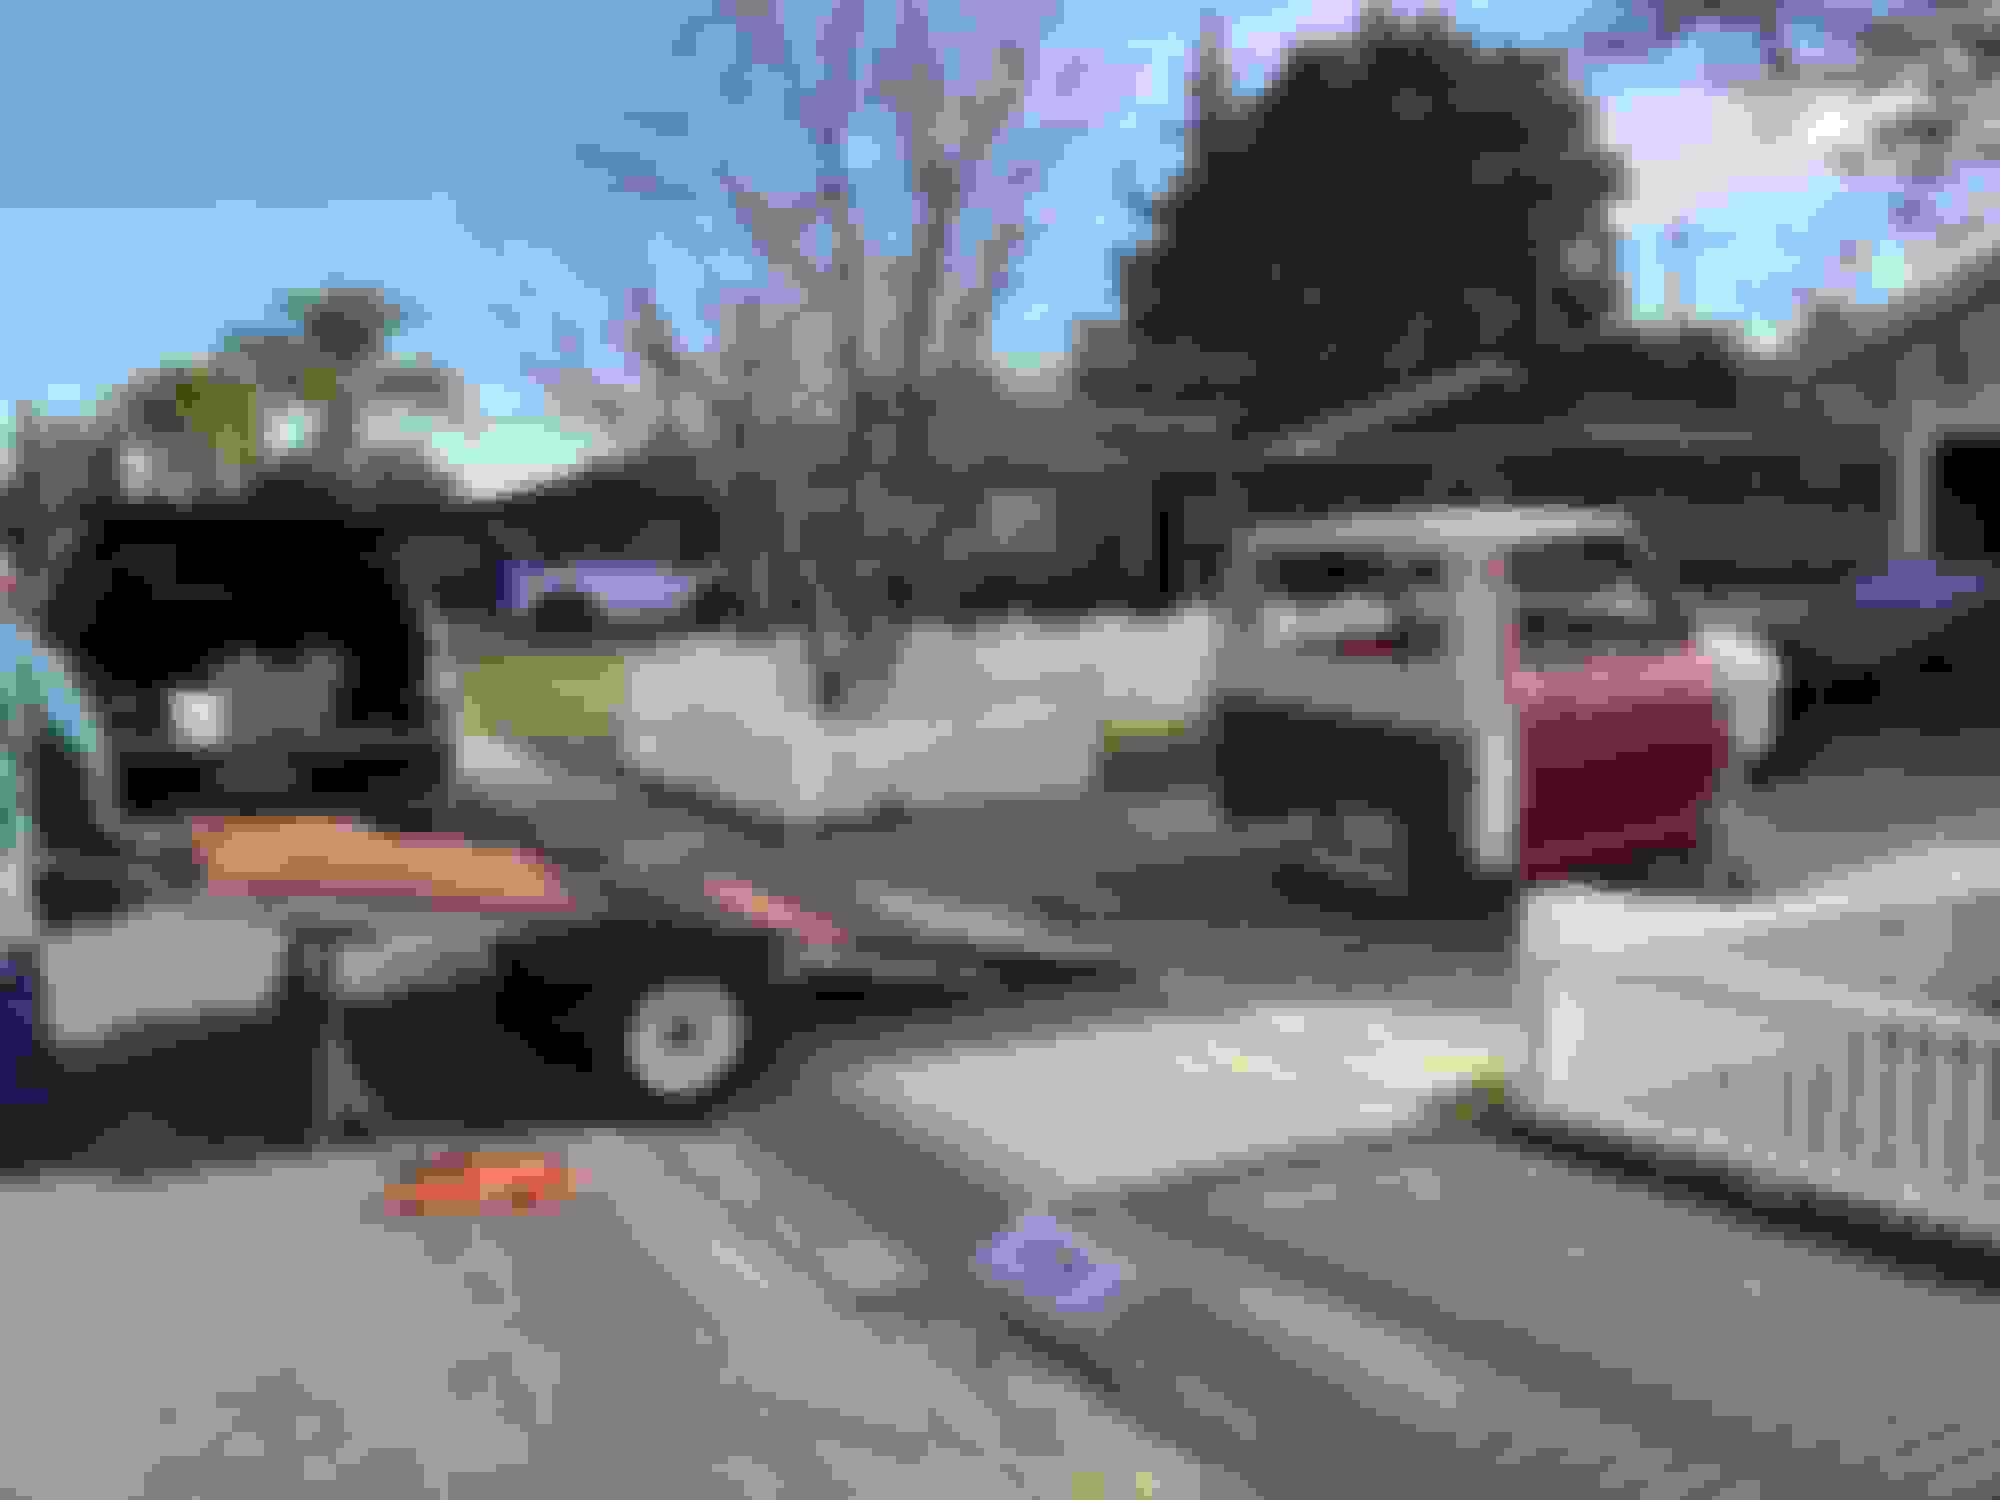
Some bathroom remodeling has gotten in the way of progress, but managed to get some things done over the weekend on the trailer. Needed to get things moving along so I can get the body parts up off the lawn....
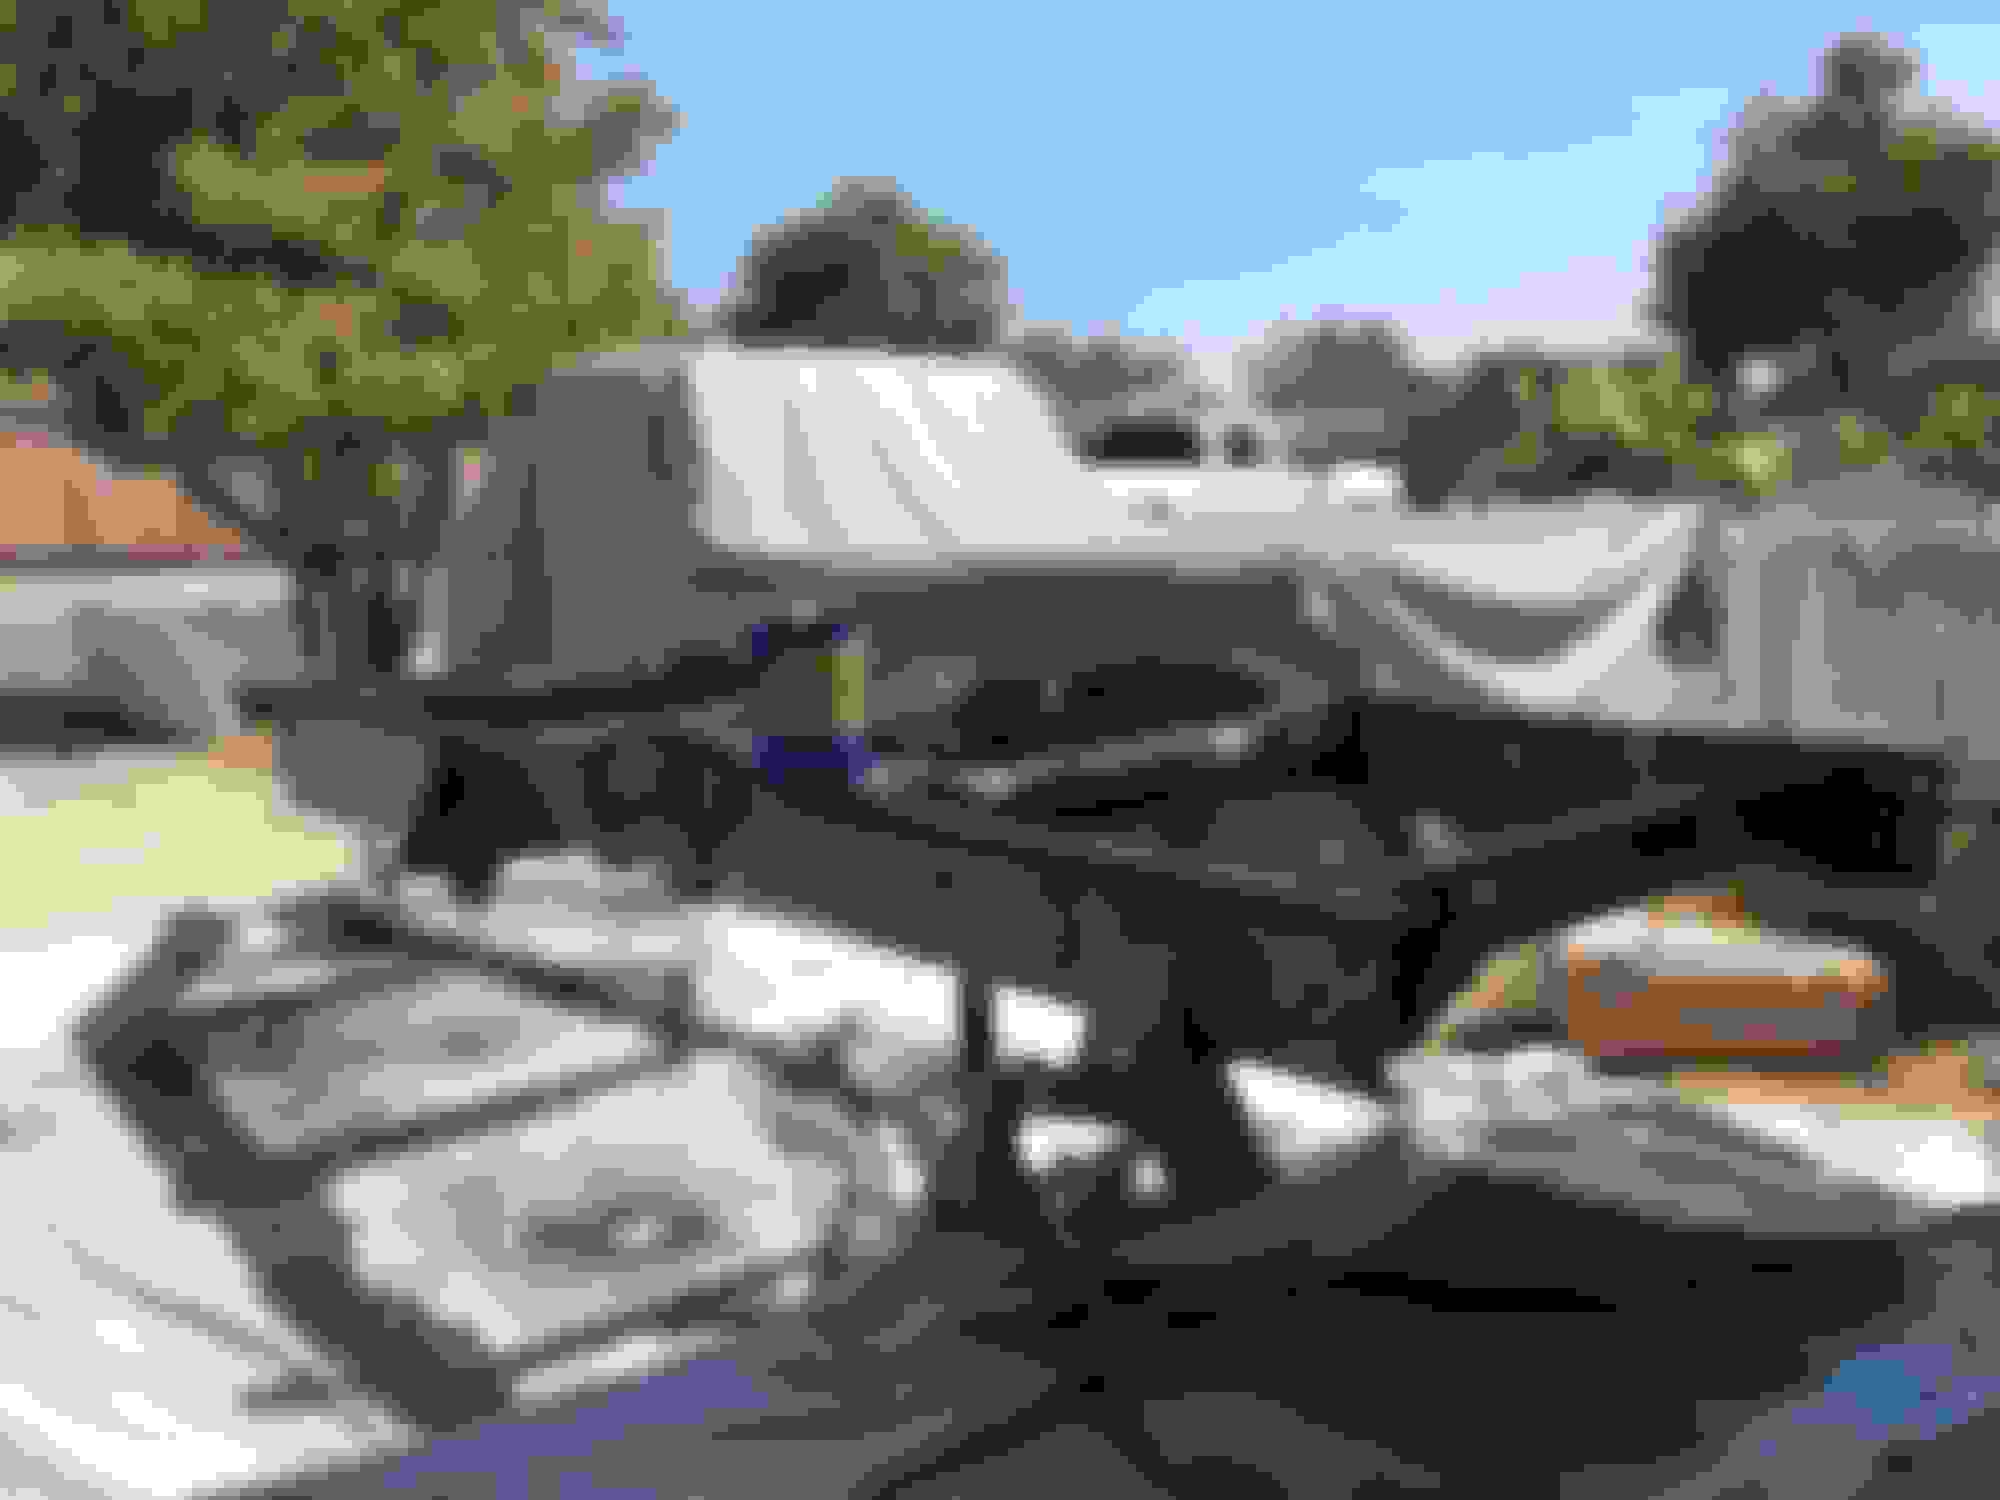
Cut off the bed from the 250 parts truck, kept both bedsides complete along with the pinch welds. Promised the bed floor to my friend for another project. Was a good weekend working side by side with my boy. A friend came by with his welder so we could clean up a little cancer on the frame. Took the opportunity to have him teach my son how to weld. You can see the final repair in the last photo.
I need to go pick up some new bolts this morning for the rear axle assembly and then I can bolt it back together. Still waiting on the new bushings for the leaf springs, but I will pull it apart again later to fix those.
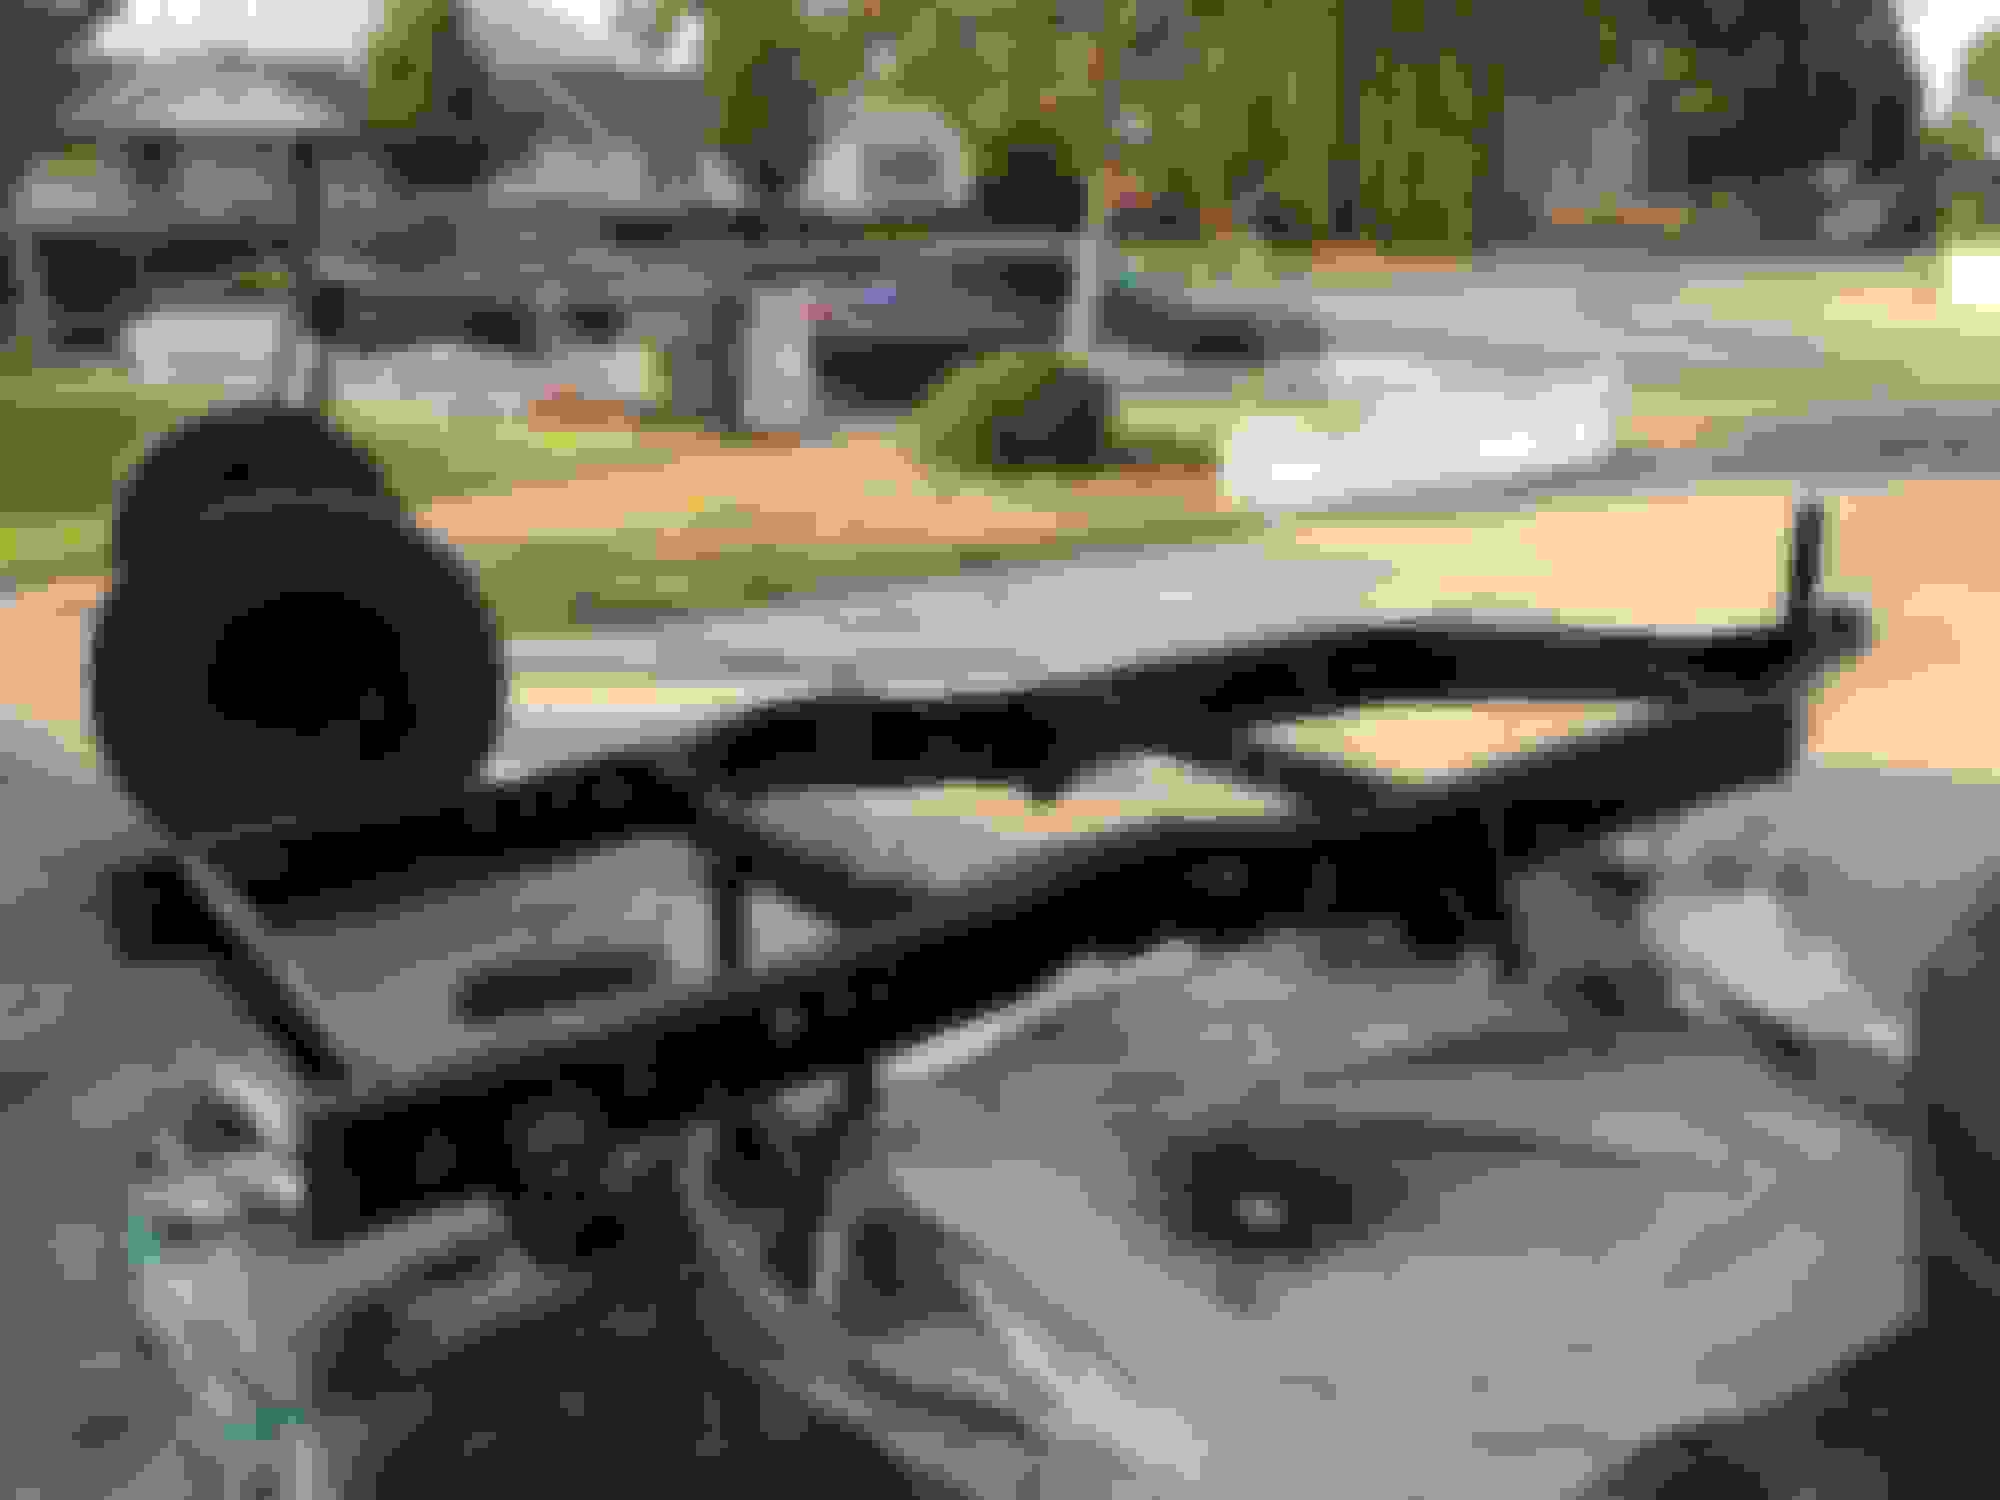
I hope you enjoy the latest pics. After stripping the trailer frame by hand, I'm glad I paid someone else to do the other frame. Looks pretty good for rattle can though I think.
Finally going to the body shop to get all the body and paint work done. This has been one of the more difficult aspects of this build. It seems that most body shops these days only want to do insurance work. I talked to most of the local body shops and nobody wanted to touch it. I finally found a guy that still does work like this and is about five minutes from my house.
He said it will take about a month, I'm planning on 6-8 weeks. I'm looking forward to getting the body parts back so this thing actually looks like a truck!
I'm about 15 months into this project. Between life getting in the way and everything costing way more than it should I now fully understand why these builds go on for YEARS!
I'm going to try and get down to the body shop over the next few weeks to get some pictures.
Nice to see an update.
Yes some builds take years and sometimes you just want to throw in the towel but in the end it pays off. There is great satisfaction in knowing you’ve built something yourself.

 06-24-2017, 11:12 AM


 and the door tag, it's a hunting, wheeling, woodcutting rig so it doesn't get driven to the big city, just run around here in the mtns. Knock on wood, only been stopped for the dang tail lights once.