When you click on links to various merchants on this site and make a purchase, this can result in this site earning a commission. Affiliate programs and affiliations include, but are not limited to, the eBay Partner Network.
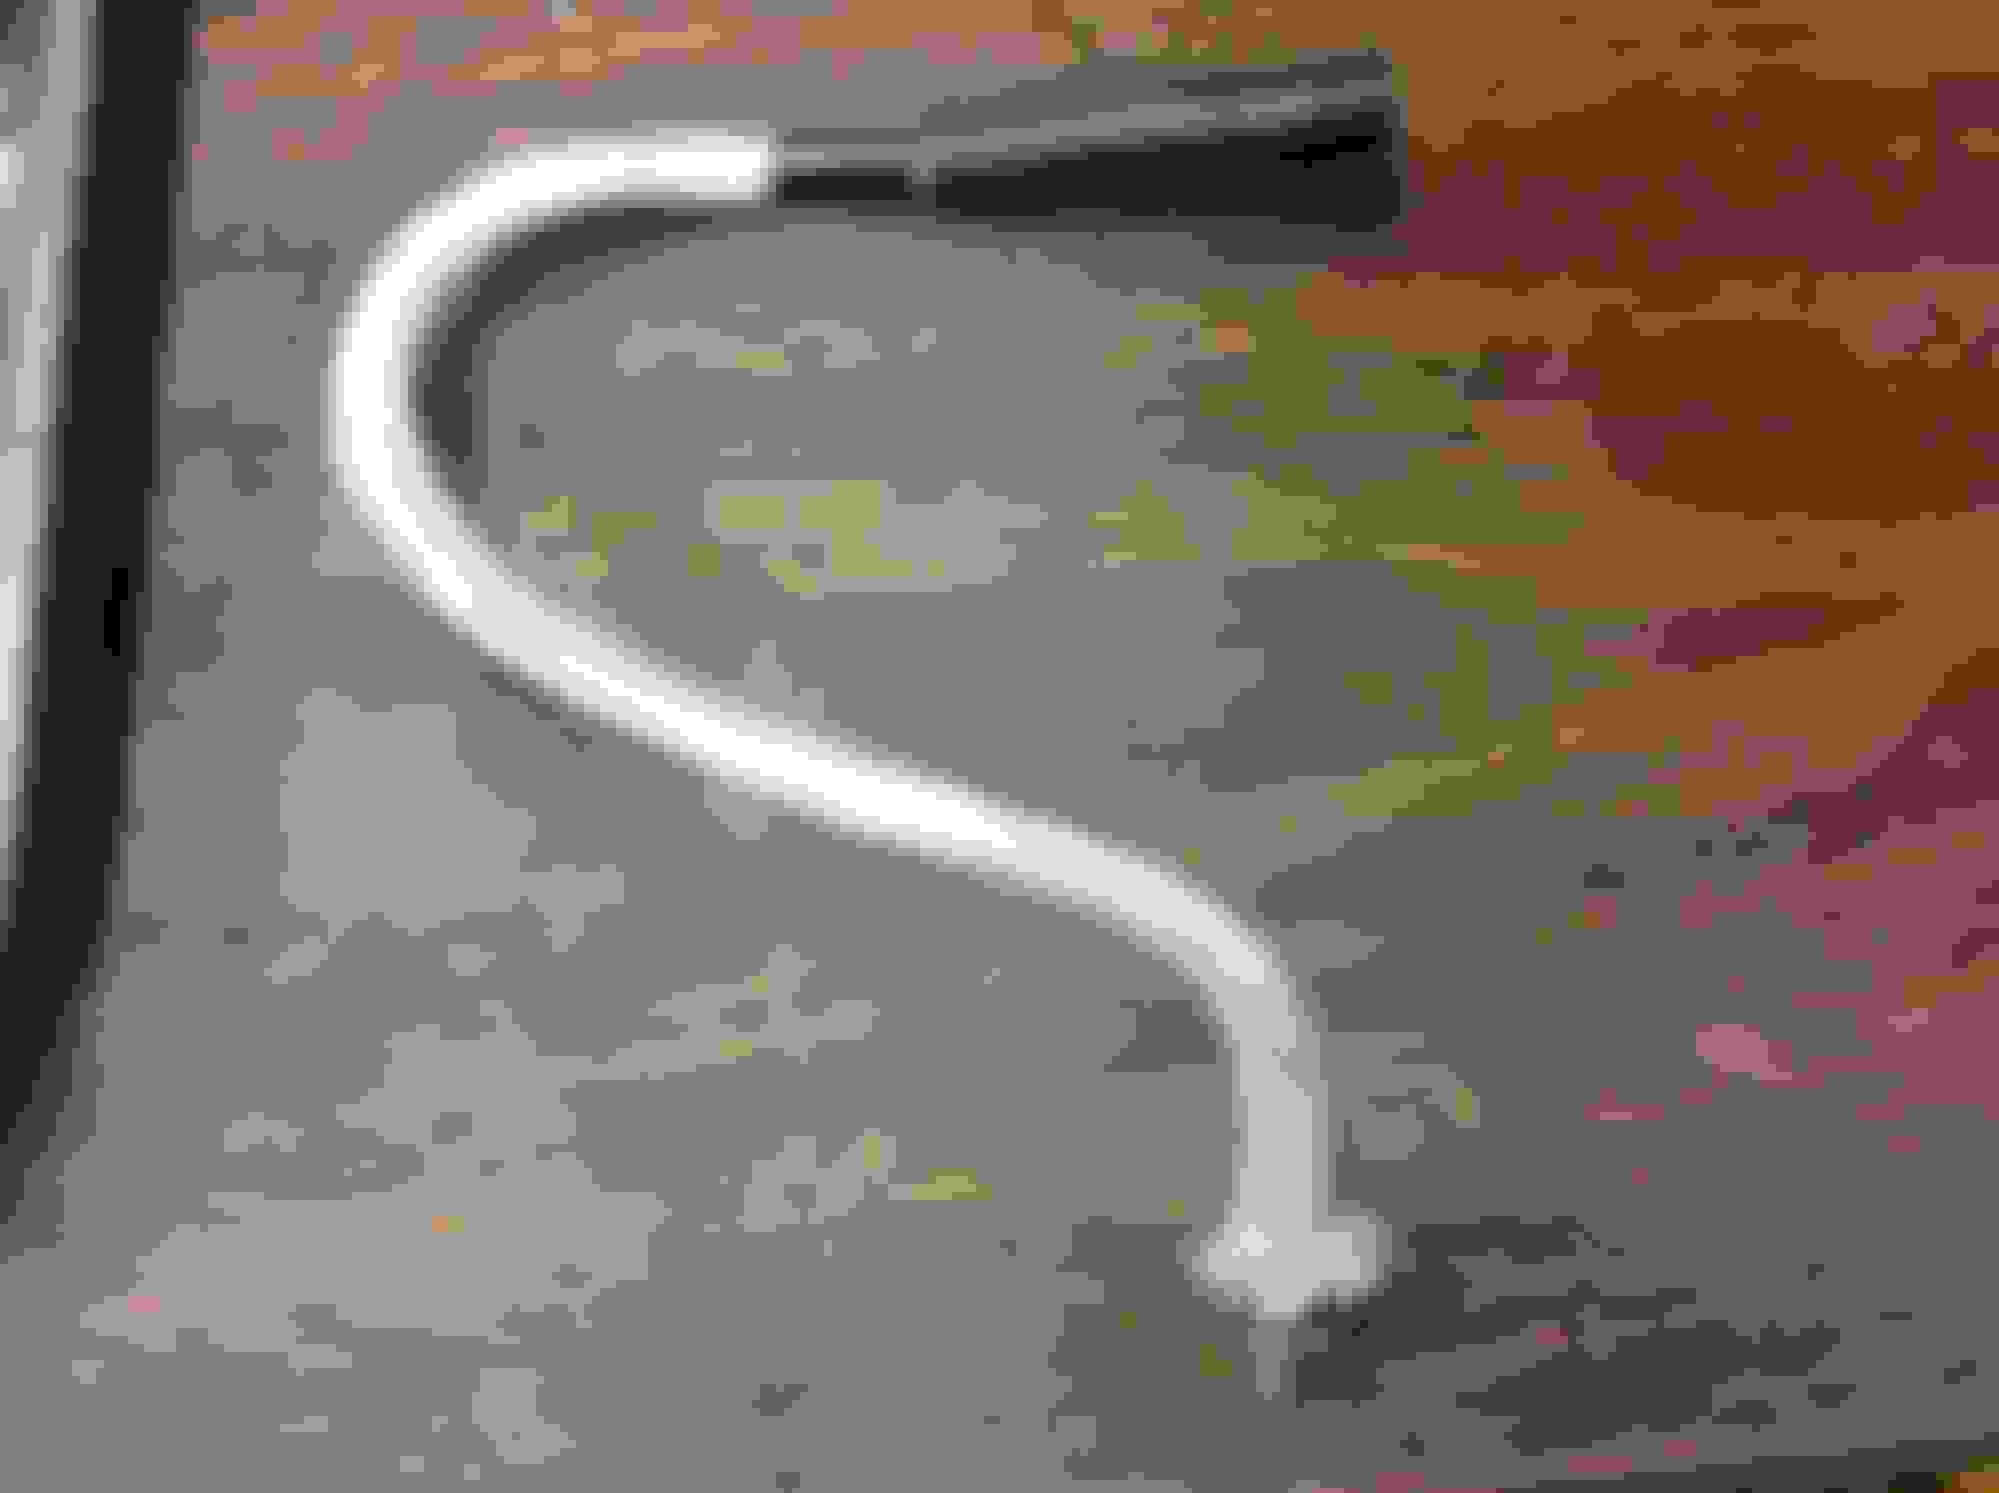
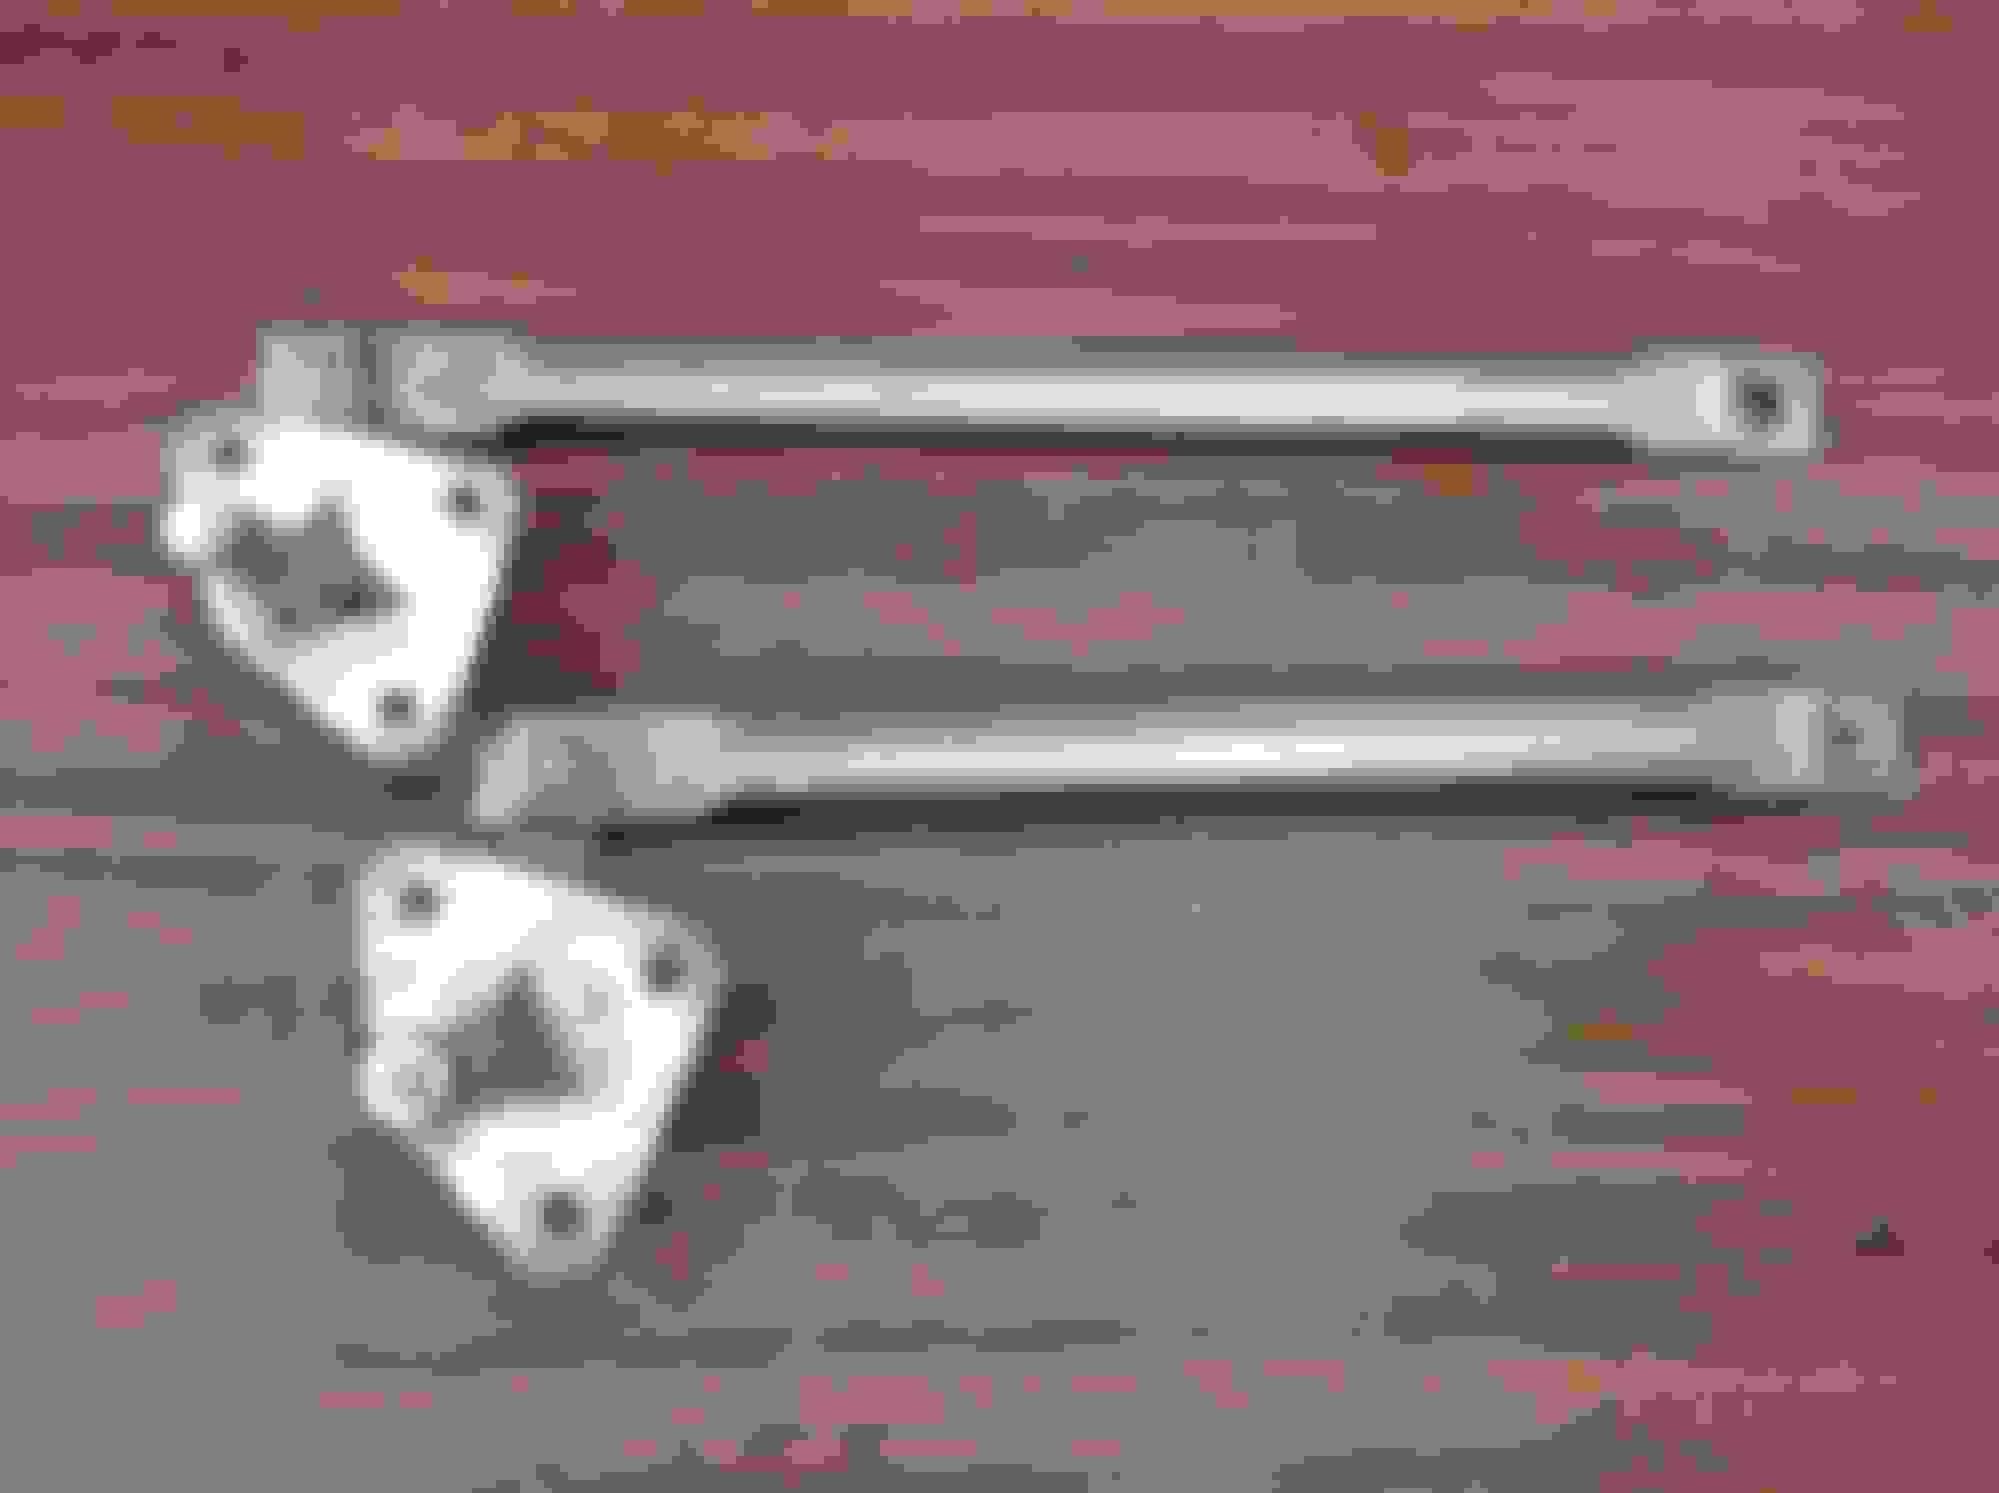
Today was dedicated to some odd parts I had been bypassing because I didn't know what to do on them.
First was the wiper transmission arms. Very lightly wirewheeled the rods, and scotchbrited the pivots. There was considerable overspray on the posts, and thinker and stripper did not do anything to remove it. Had to wirewheel the paint off, and then used a coarse scotchbrite to dull it back down:
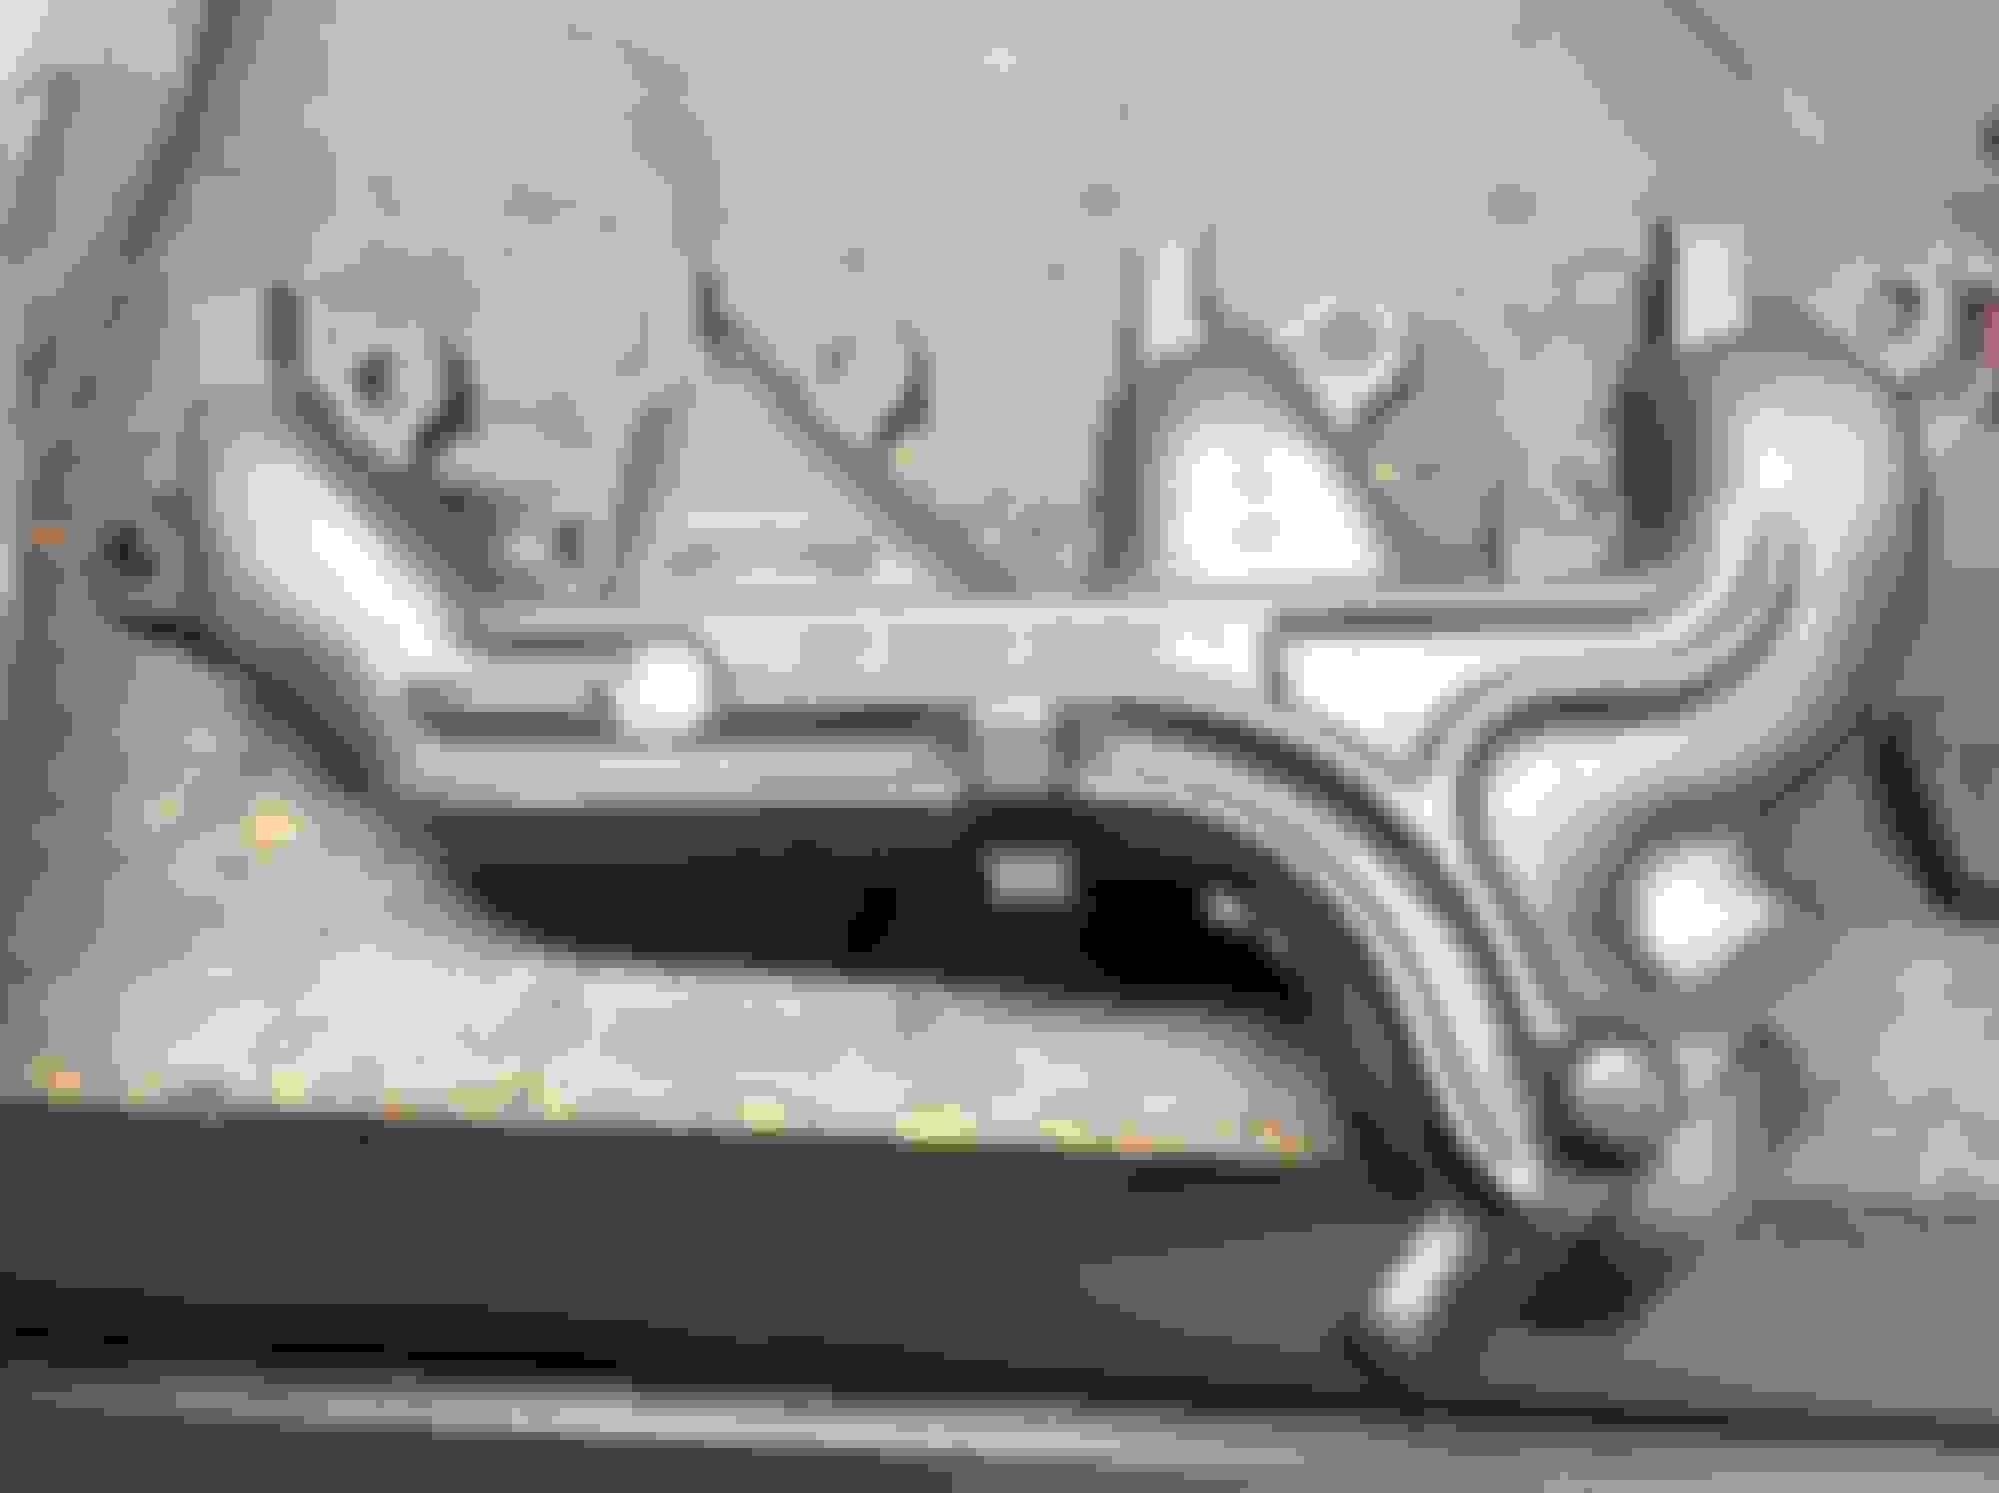
Next moved onto the black bellows on the RH kickpanel that feeds the HVAC. First cleaned the rubber part with SuperClean, then masked off and painted the metal retainer part with VHT high temp Satin. Next cleaned the black plastic parts that goes in the kick panel, and very carefully cleaned the original foam gasket by simply laying it flat and pounding the dirt/dust out of it.:
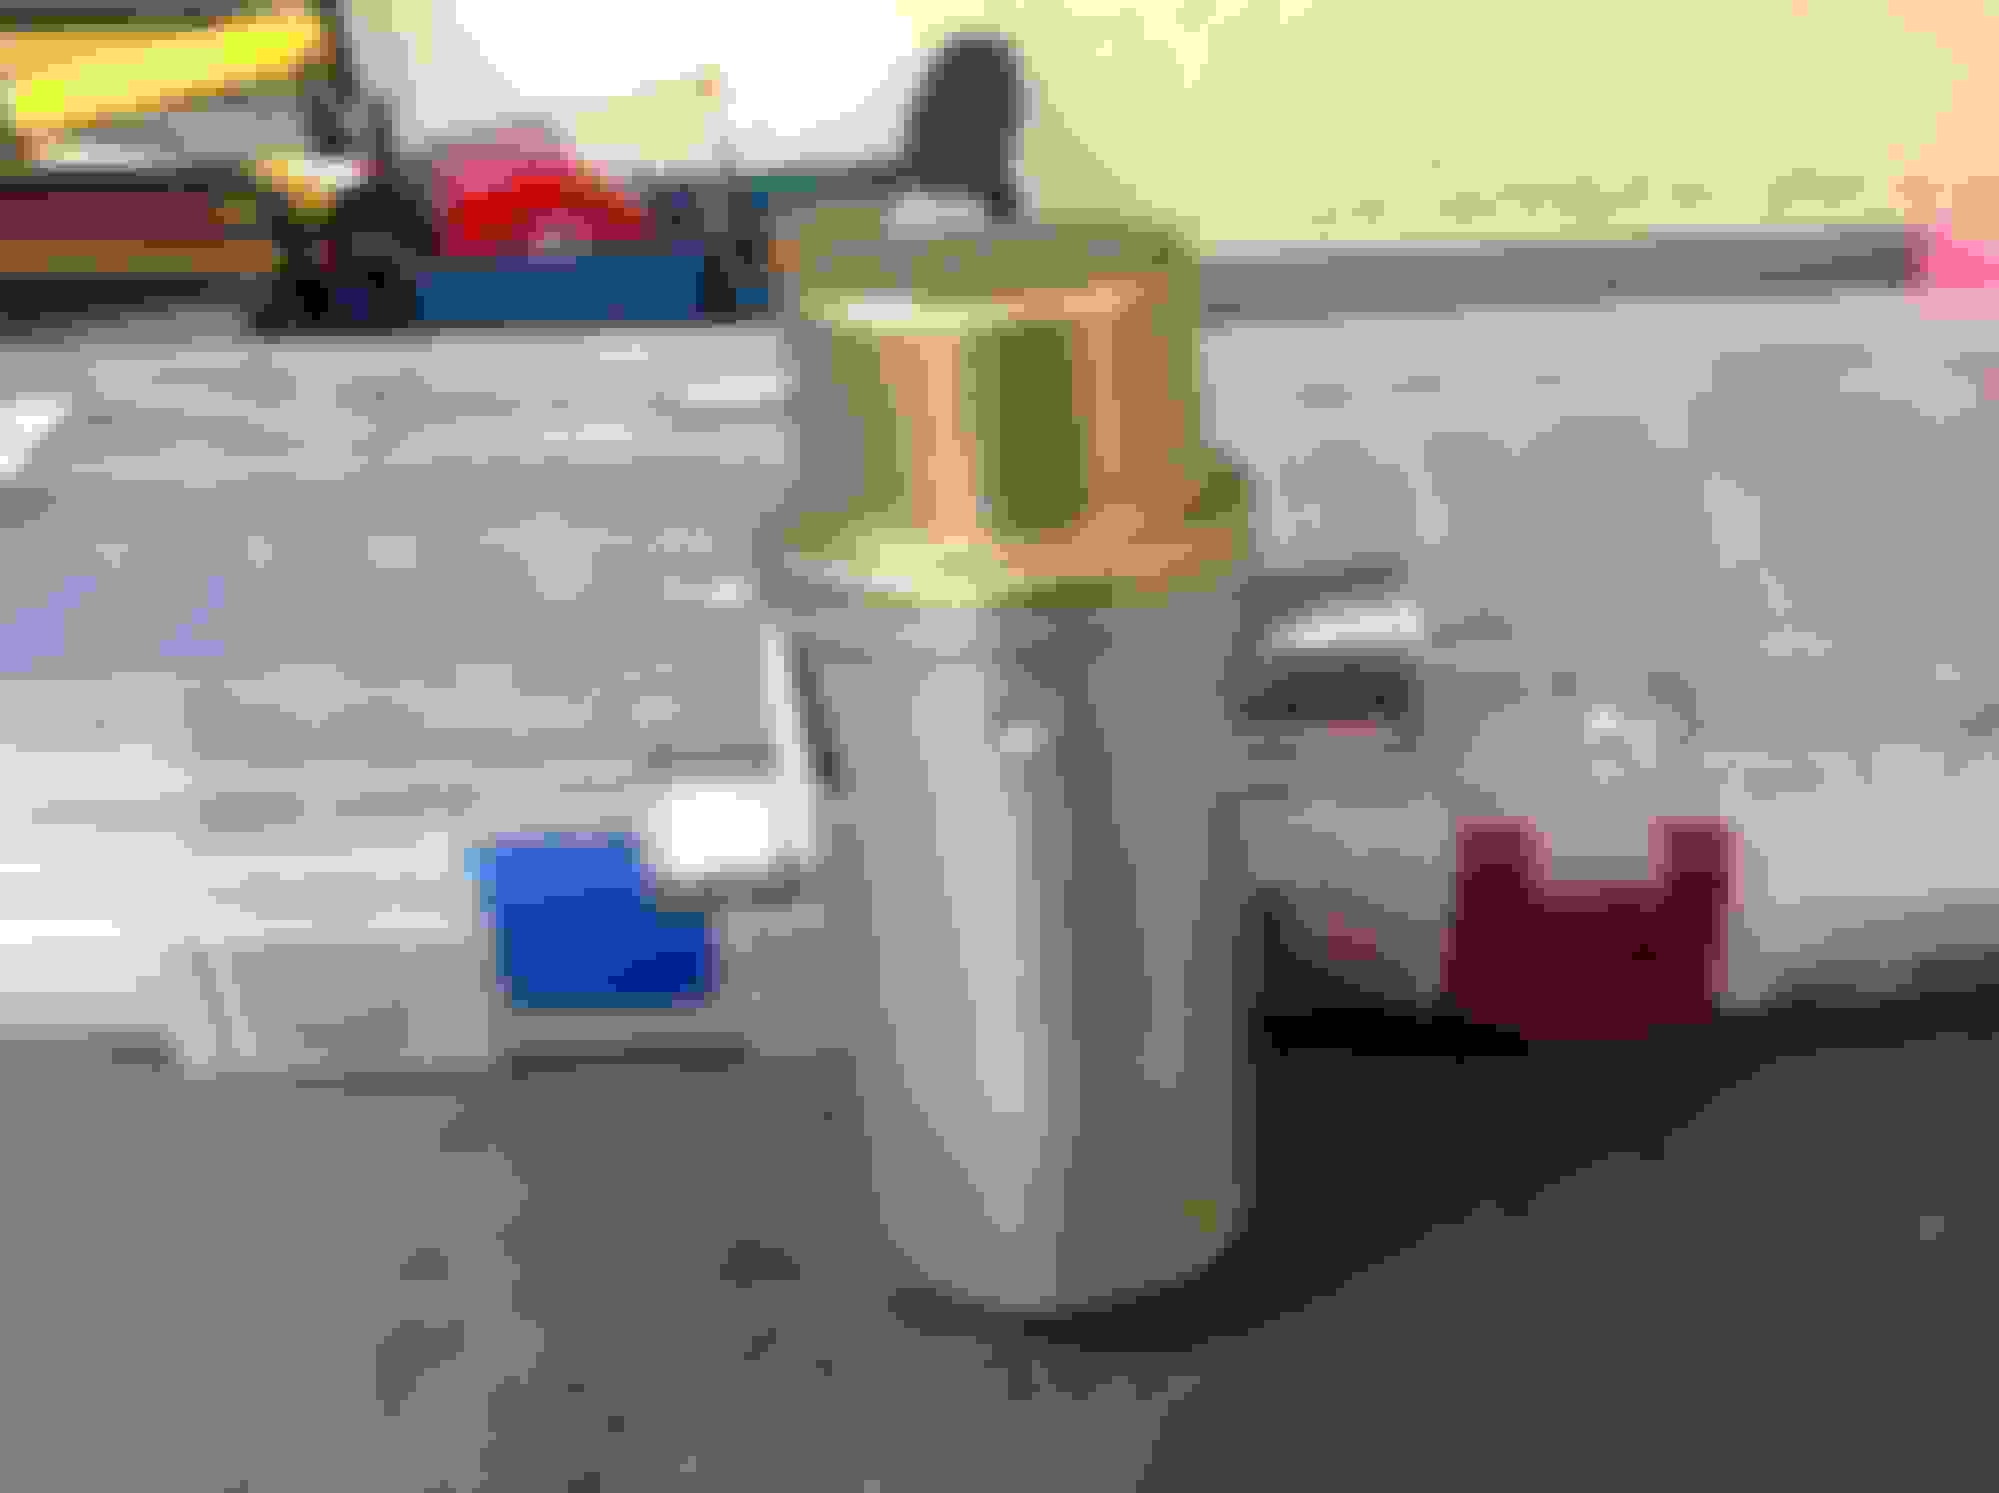
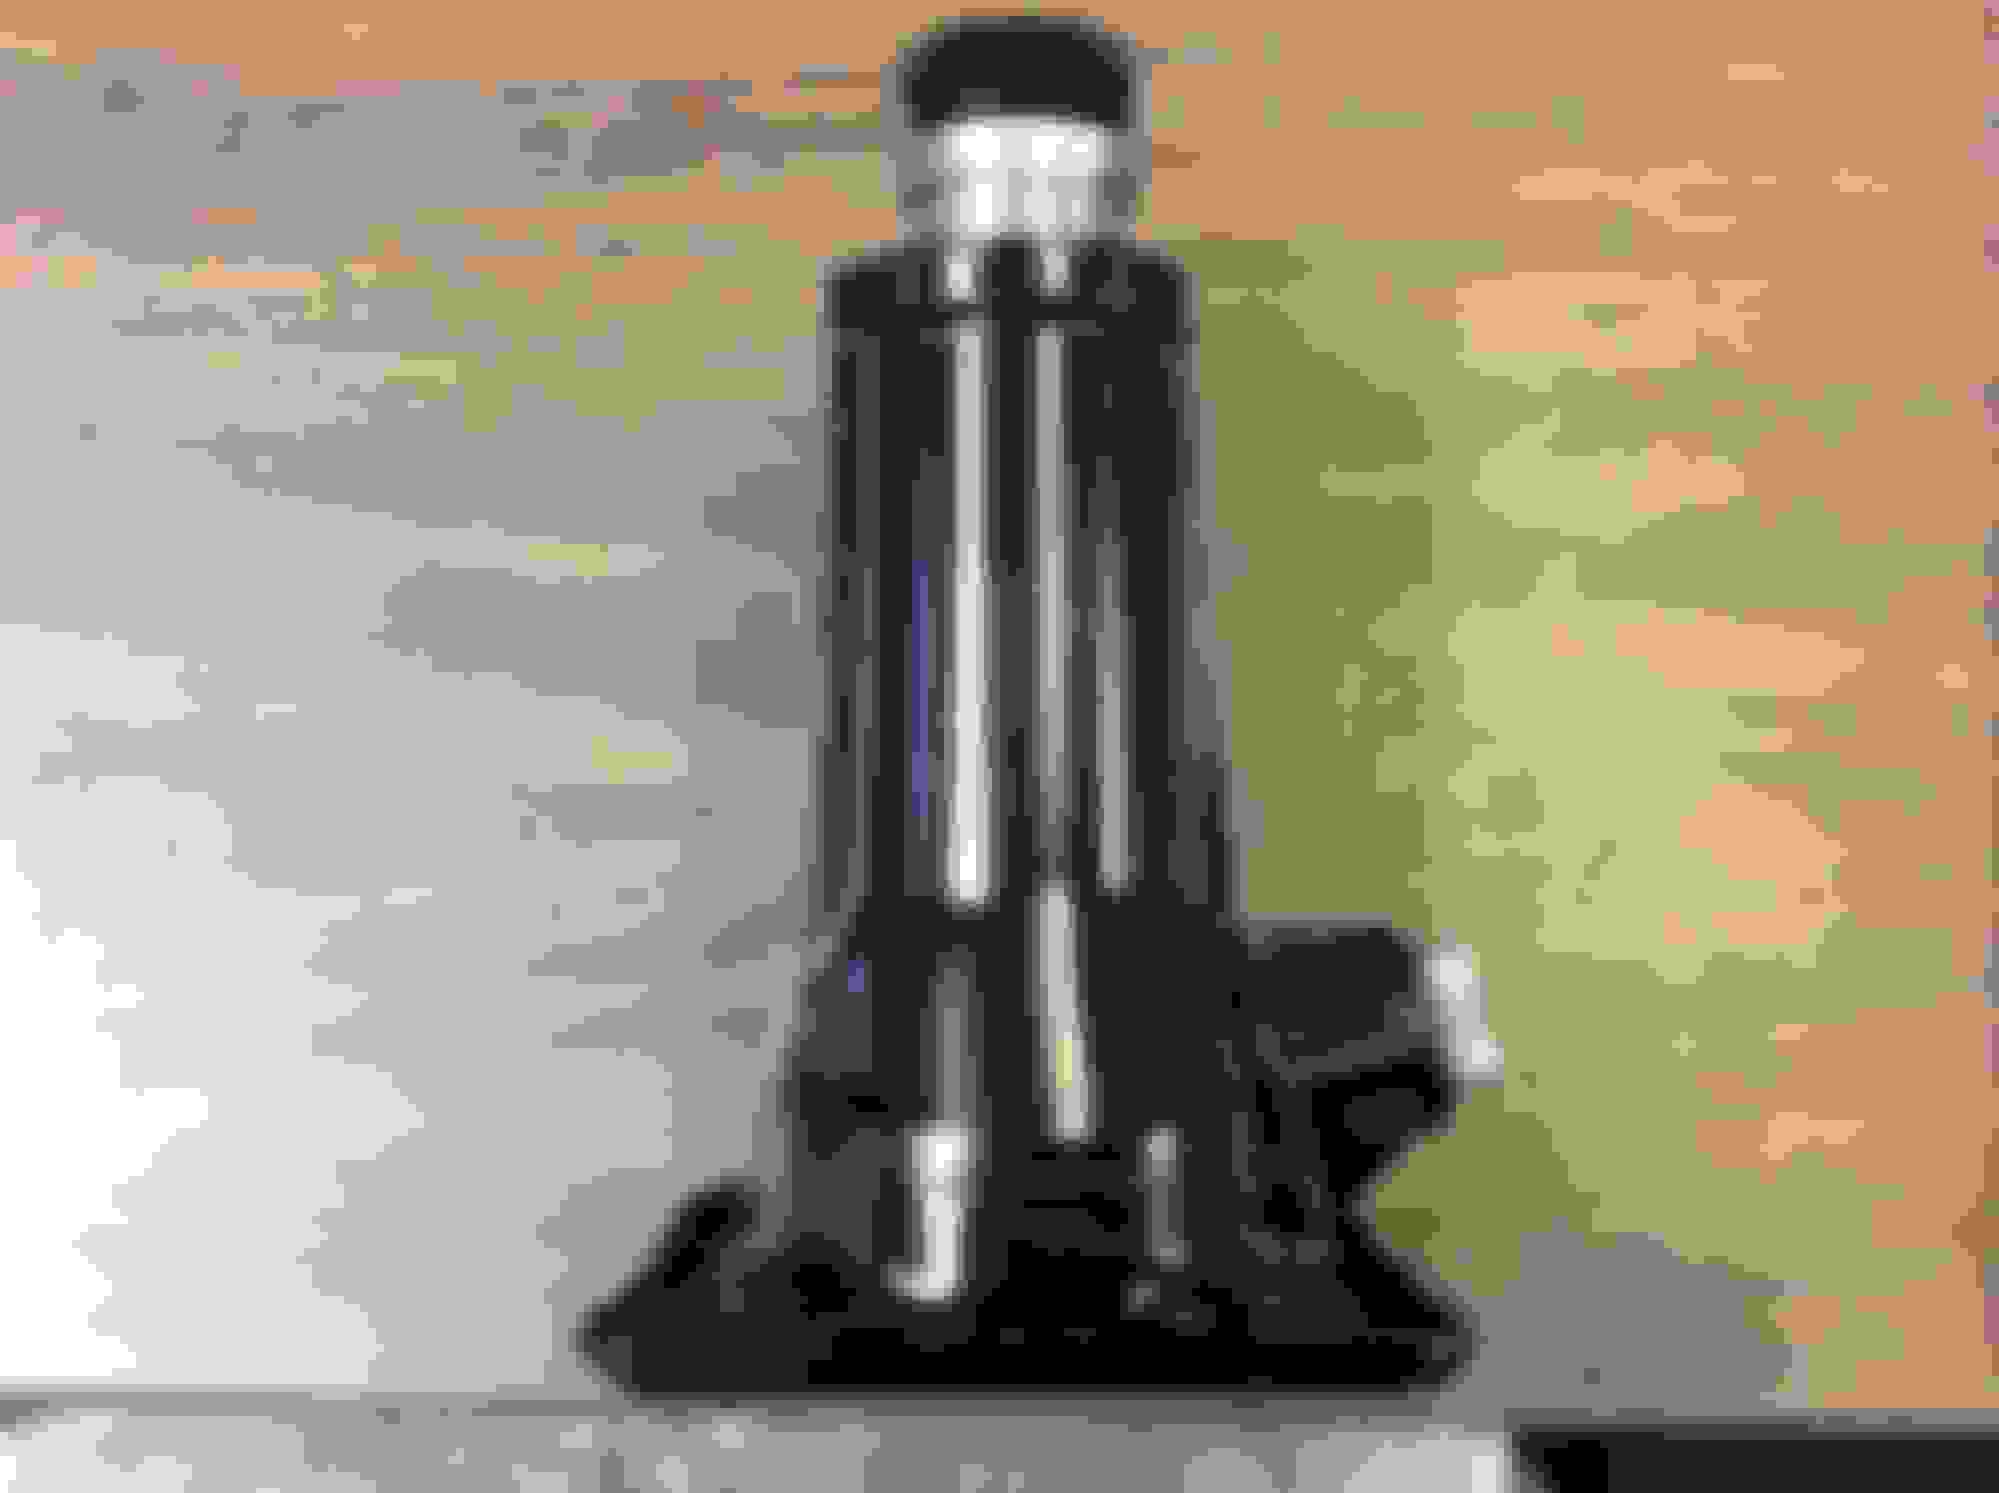
And now the bottle jack. Wirewheeled it as much as possible, the used a dremel tool to get the cracks and edges clean. Painted the top bracket high gloss black, the handle receiver detail gray, and the main body Eastwood's Extreme Chassis Satin black. That last paint takes forever to dry...:
Finally, got around to renting a FPSPPP (Ford power steering pump pulley puller) to get this appliance done. The pump bracket was easily the greasiest, nastiest part I've dealt with so far, but the good news the grime protected the original finish color - it isn't black, but a dark gray from the Phosphate plating. I have a paint that is almost match - I believe on of the A/C brackets also uses this same color. Pulley should come out nice -
no part number on it, but it has a Ford logo and BOAR - B stamped on the front face.
Lastly, dipped the jack handle in EvapoRust and the flip that was solidly rusted to it started to move. Will finish this tomorrow:
Finished up the bottle jack. Is there supposed to be some factory stickers on it - and does anyone reproduce them?
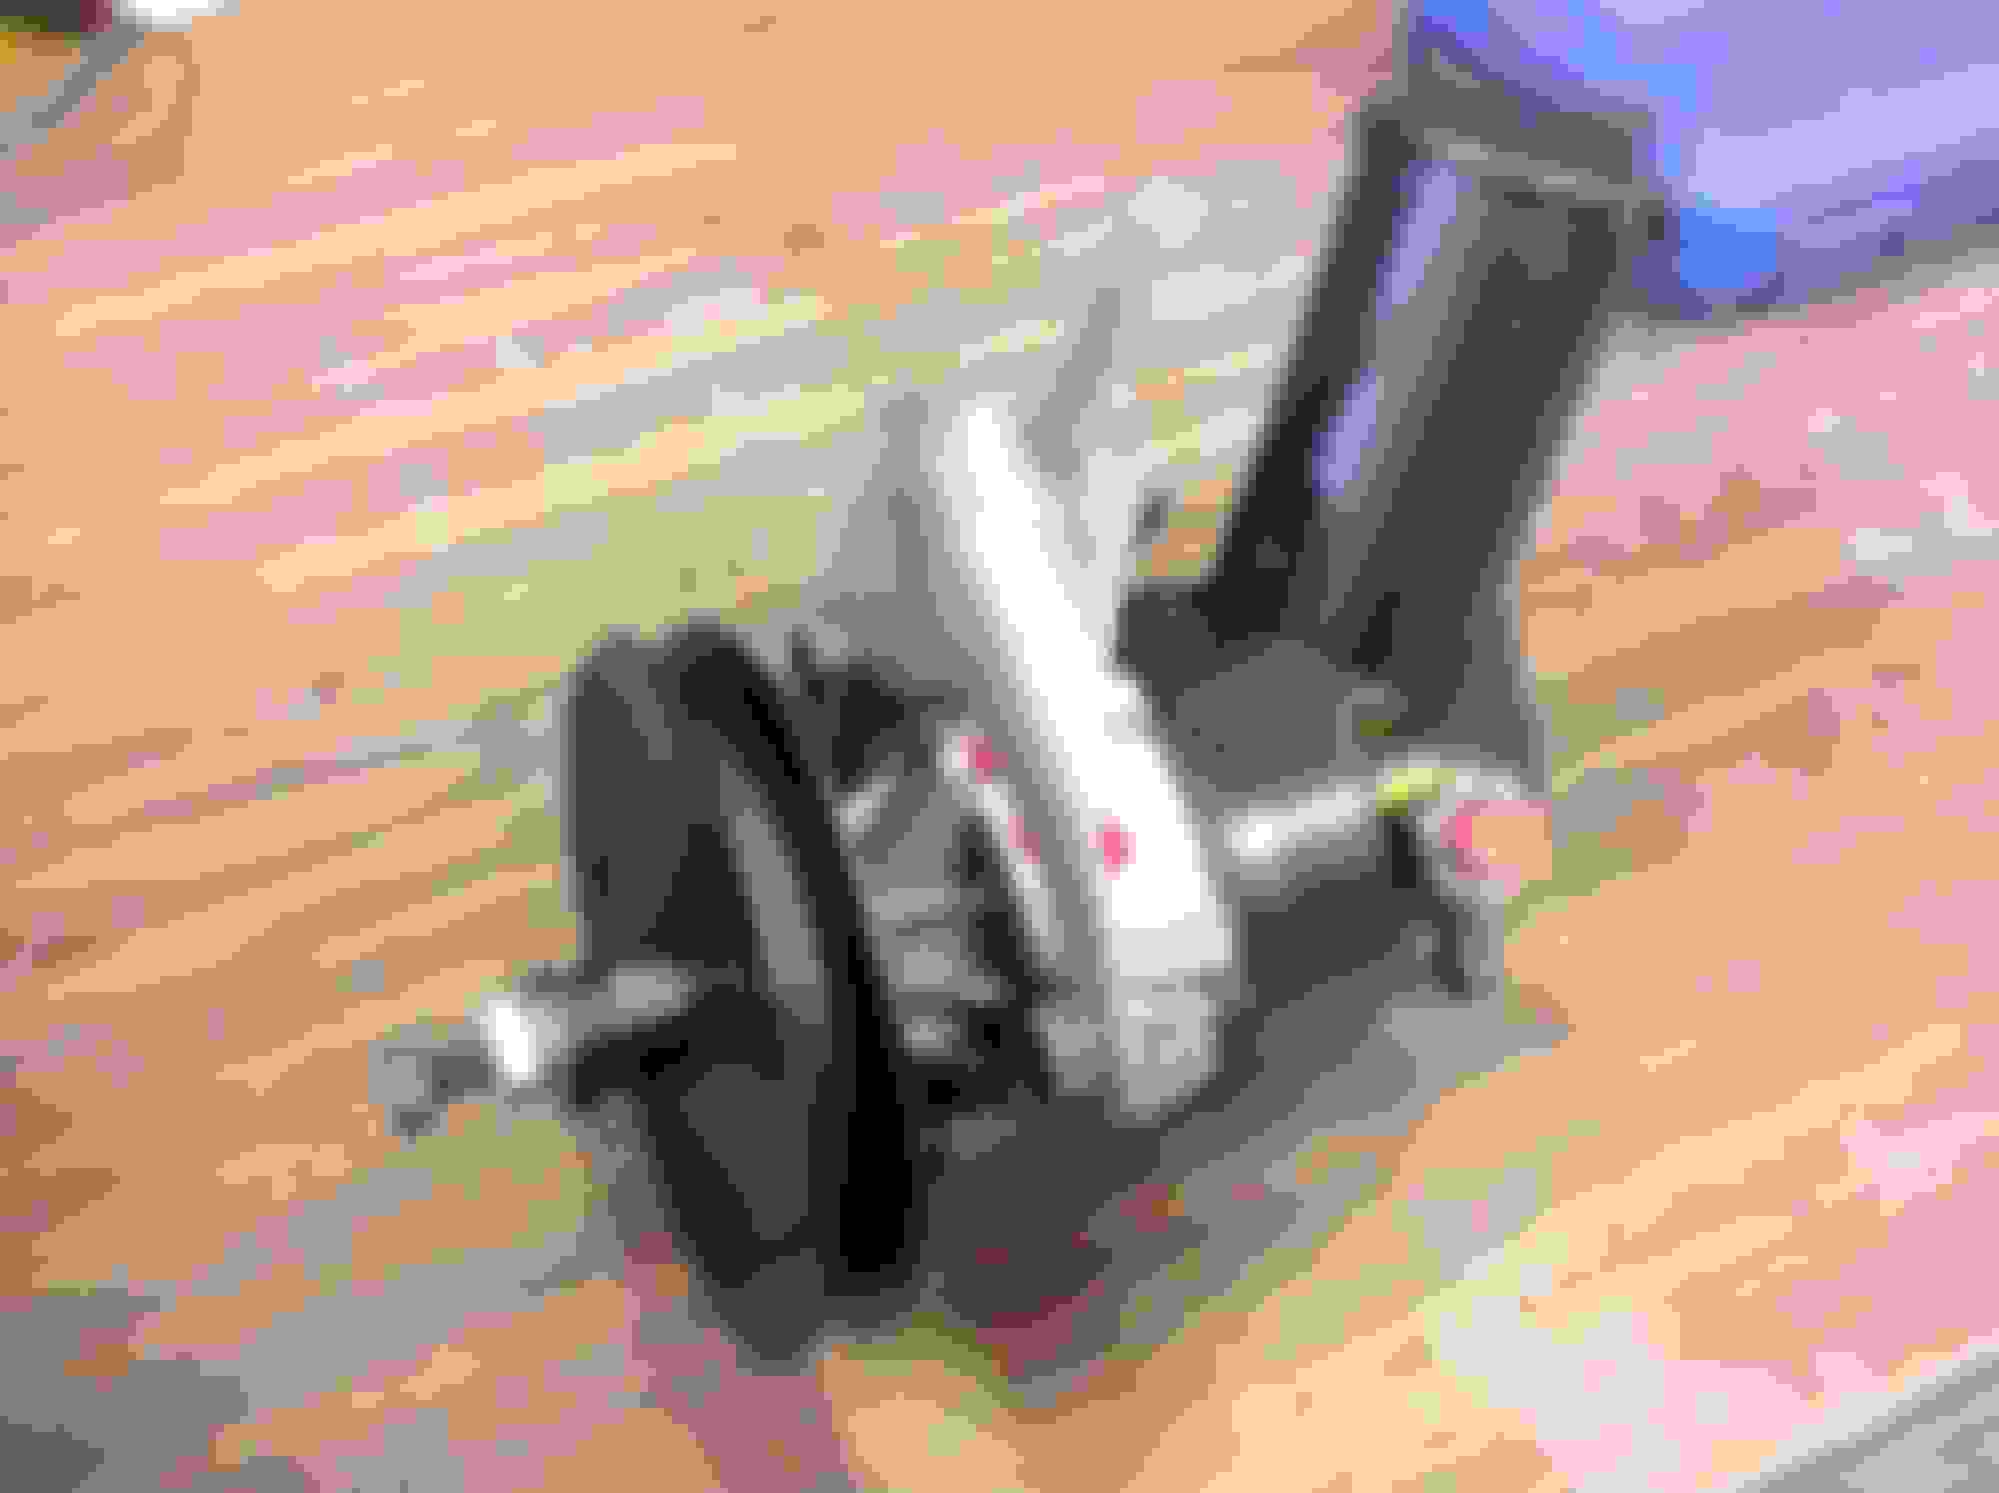
Moved onto finishing up the reman P/S pump bought off eBay
1) Stripped the black paint off the pump part to reveal the aluminum underneath as per the original finish
2) Stripped the paint off the hose attaching Finish
3) Decided to leave the bracket as finished with the original plating. Has a very distinct finish and looks acceptable, and you don't see much of it after the pulley is attached
4) Repainted the reservoir housing with SEM Landau Black - the best paint I think for painting anything plastic
5) Repainted the pulley with Eastwood's Underhood Matte black.
6) Added factory paint. marks as per what I found on my original - not sure about the exact color.
I figured out my pump cap is missing an O-ring or something - it does not seal tightly to the reservoir. Have to finish installing the pulley tomorrow:
Finished painting up the jack handle. Used the Radiator black since the paint on it looked like it was runny:
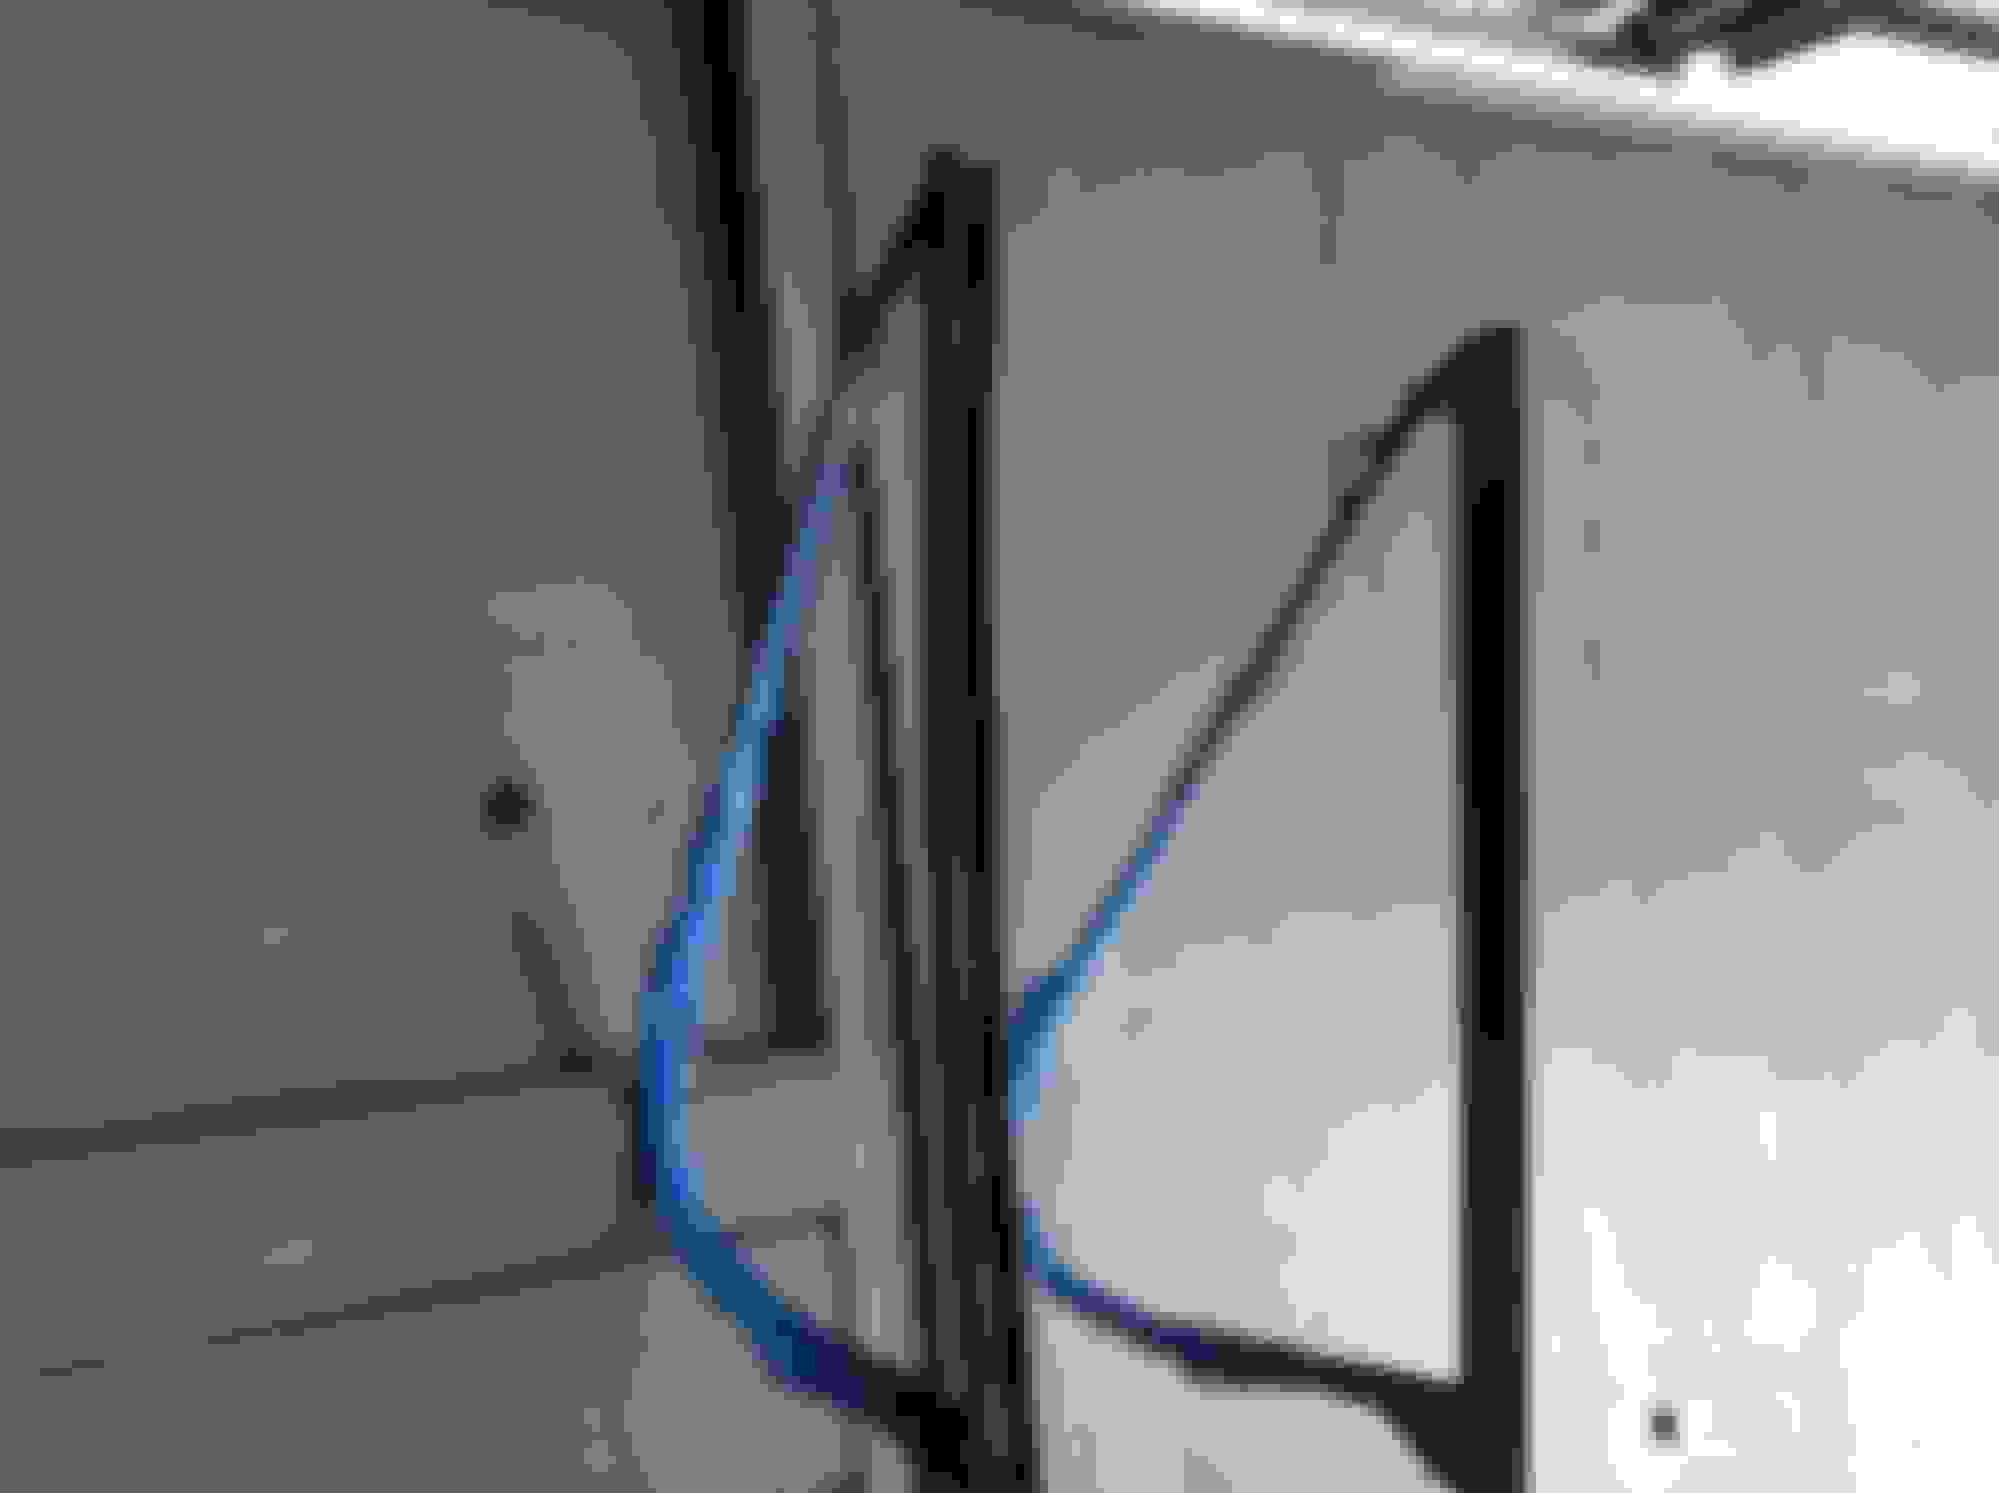
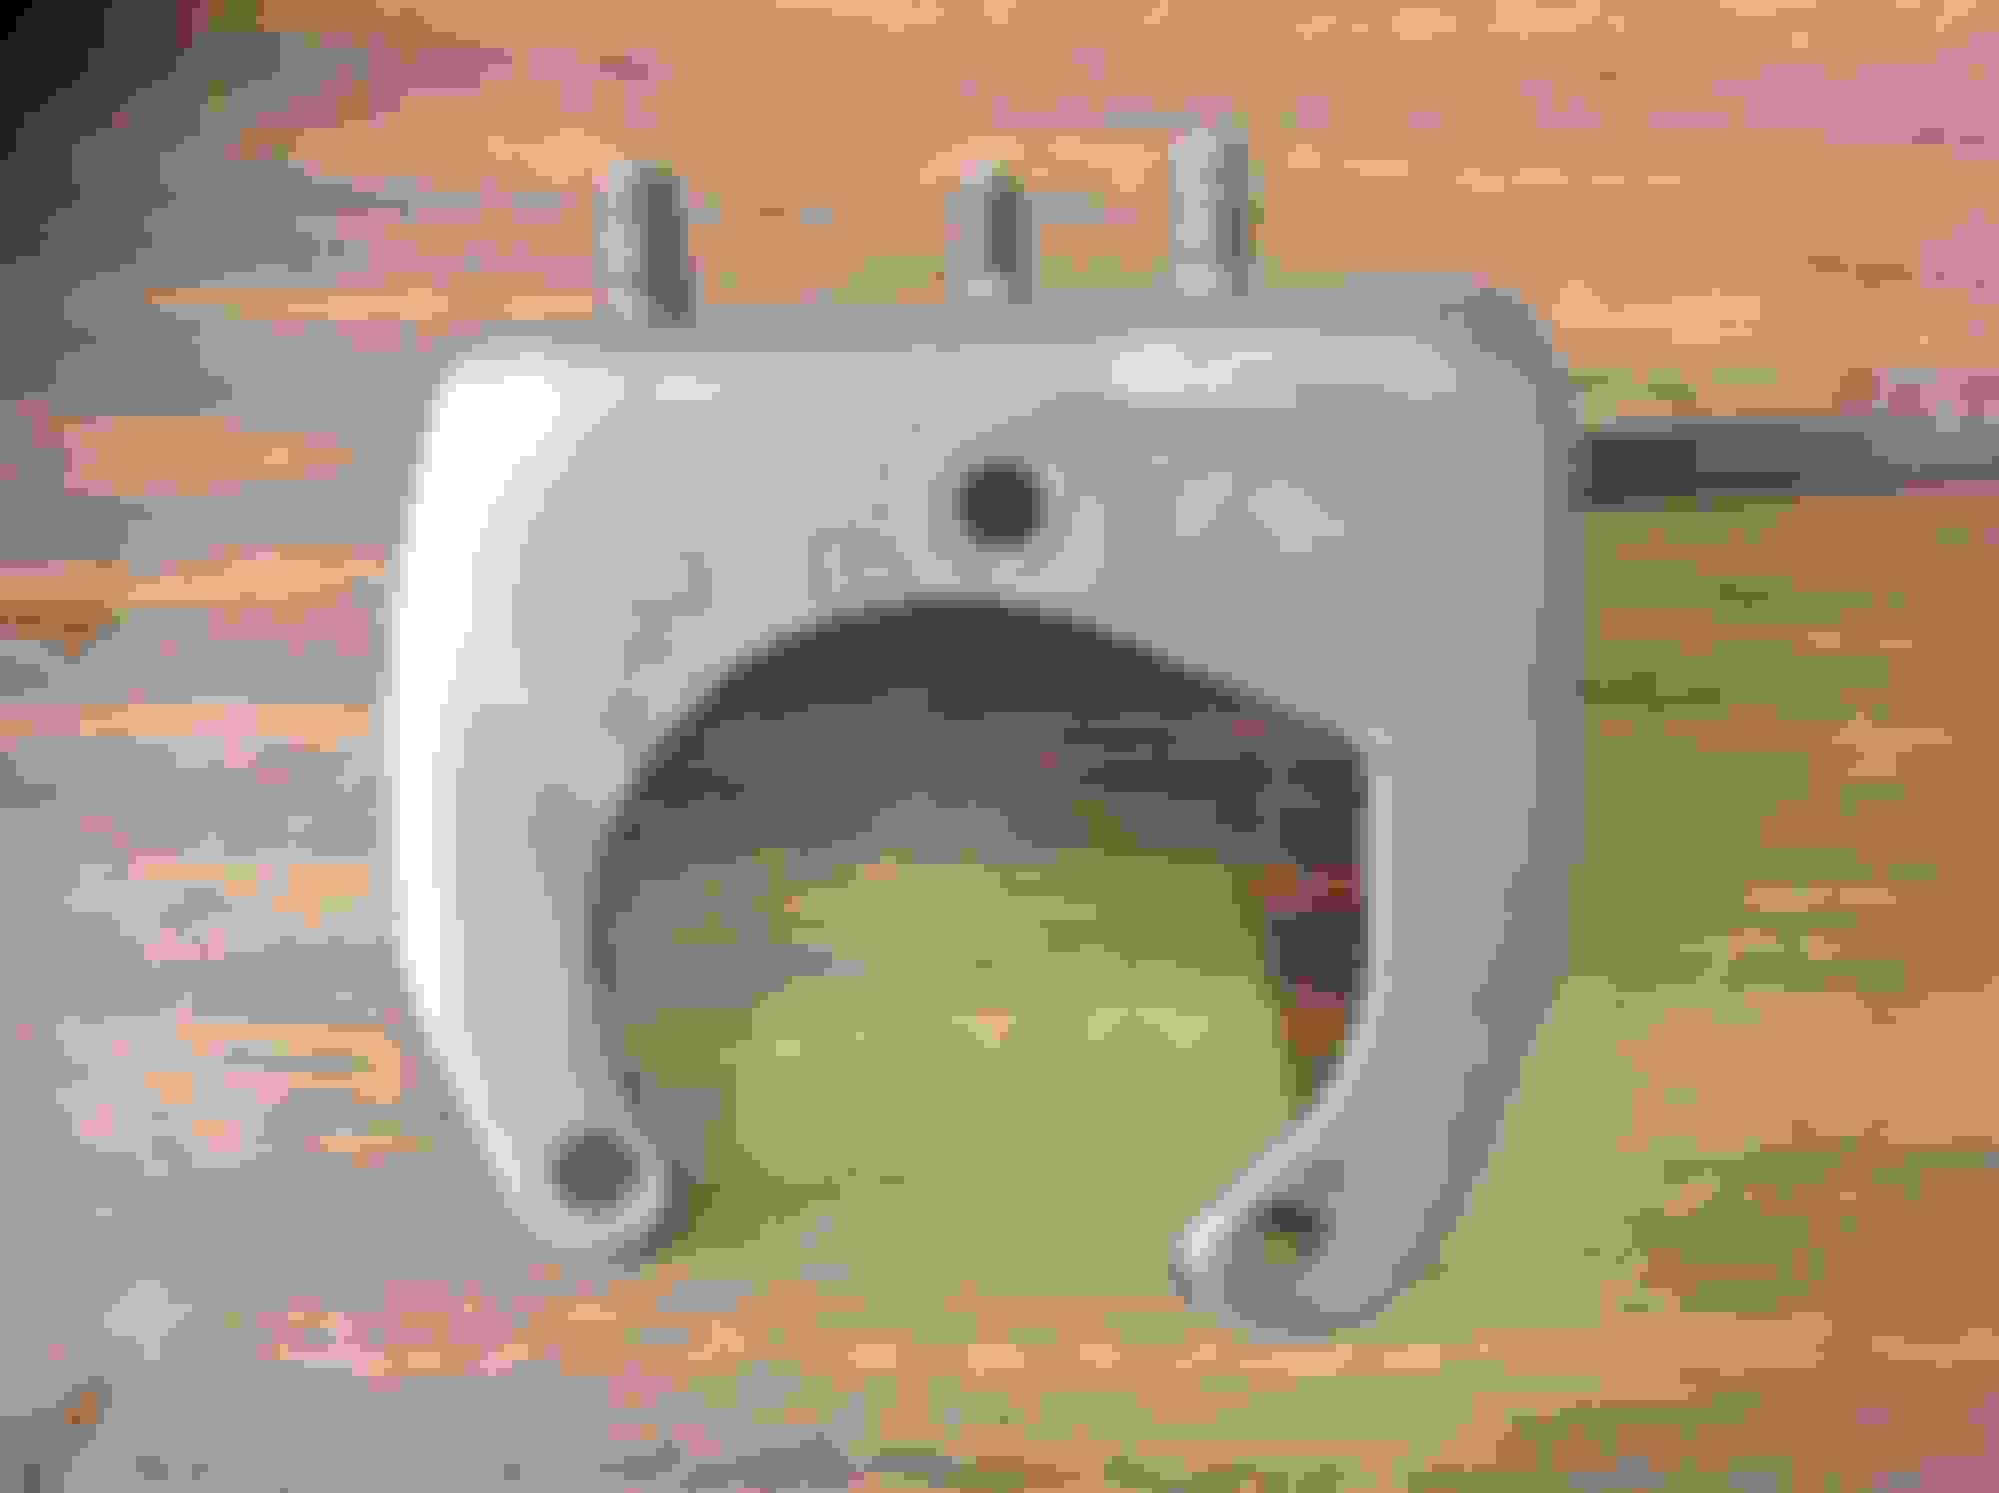
Started disassembling the Vent windows. I bought the replacement frames and weatherstripping from D.C. Evaporusting all the hardware, but found another problem - the RH door had been replaced at one time, and the vent glass is clear rather than tinted. (This truck was ordered with tinted glass) I wonder if the door glass is wrong as well - it is in storage and will have to check if it is also wrong.
Also I'll have to search FTE to see how to remove the vent glass from the frame.
Got a few feelers out looking for some tinted glass, so thought today I would try removing the LH vent window from it's frame. I tried soaking the whole thing in paint thinner - it did not soften the mounting tape at all. I could tell trying to pry it out was going to break it, so I went to my old standard when nothing else works in getting glue off something - 3M General Purpose Adhesive Cleaner. I used the brush in the picture to dab it repeatedly into the mounting tape, would let it set a couple of minutes, and then dig into it with the utility knife. I kept doing this - working down the long length of the frame - making an incredible mess of gooey melted black tar till I got to the point I could use the thin blade screwdriver to get down the channel and remove more tape. This allowed more liquid to get into the rest of the tape at the curve. More wetting down with the brush, and digging out of the tape and all of a sudden it just released.
Also tried to mount the P/S pulley - the $@#! thing is bent. My machinist friend is going to try to straighten it. I never saw the truck run and I wasn't looking for it, so I'm not sure if it was like that when the truck was parked or something I somehow did.
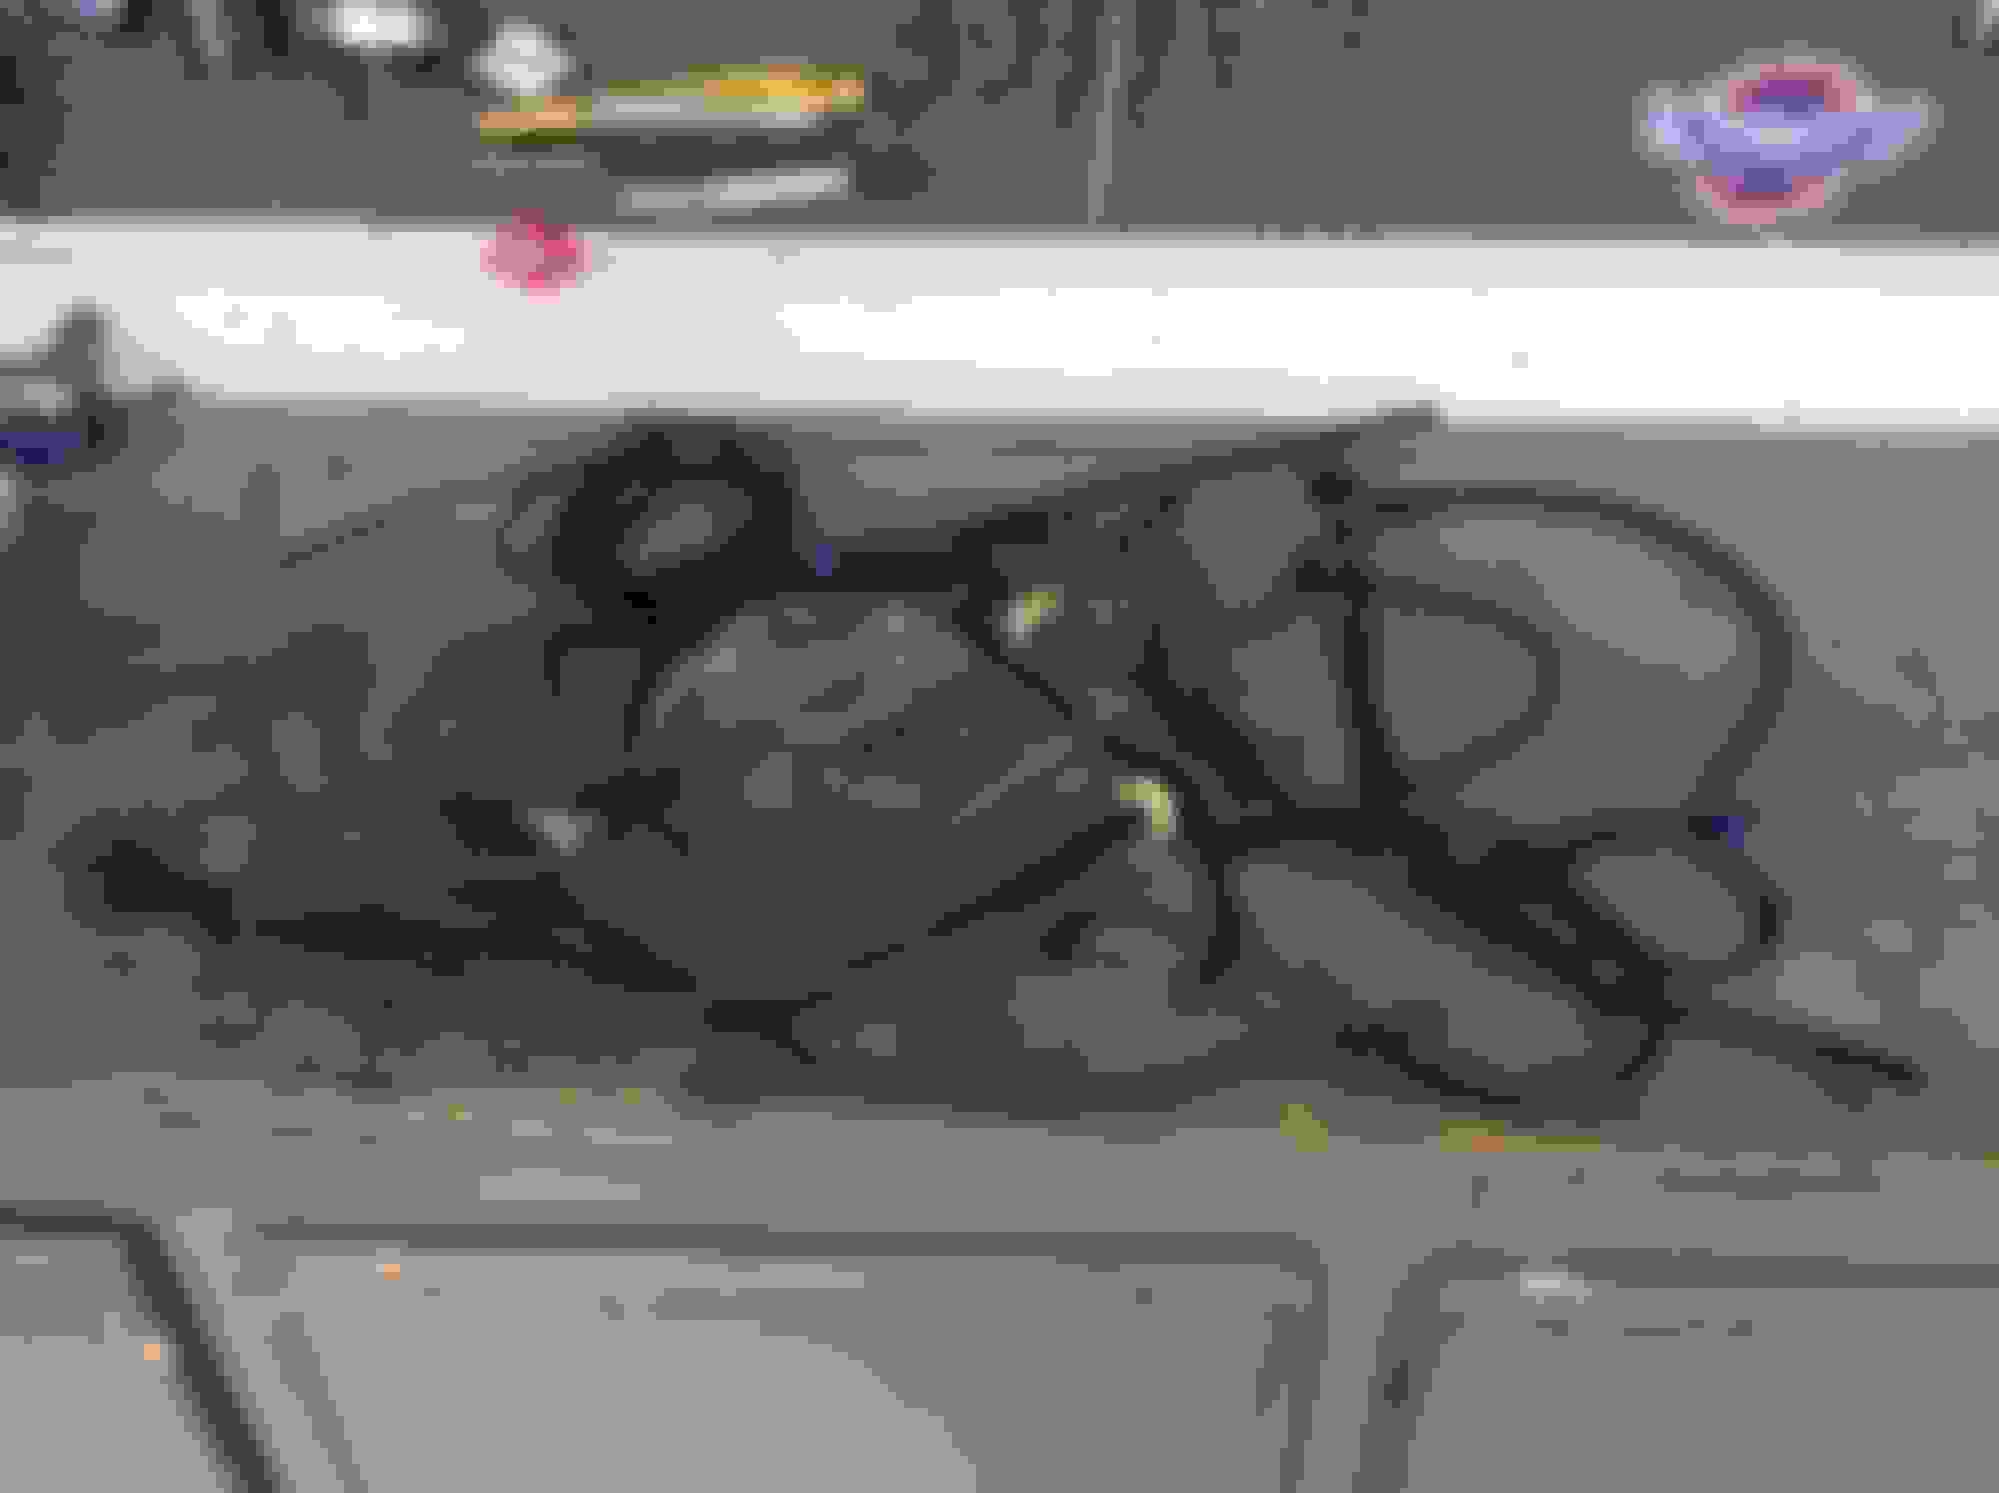
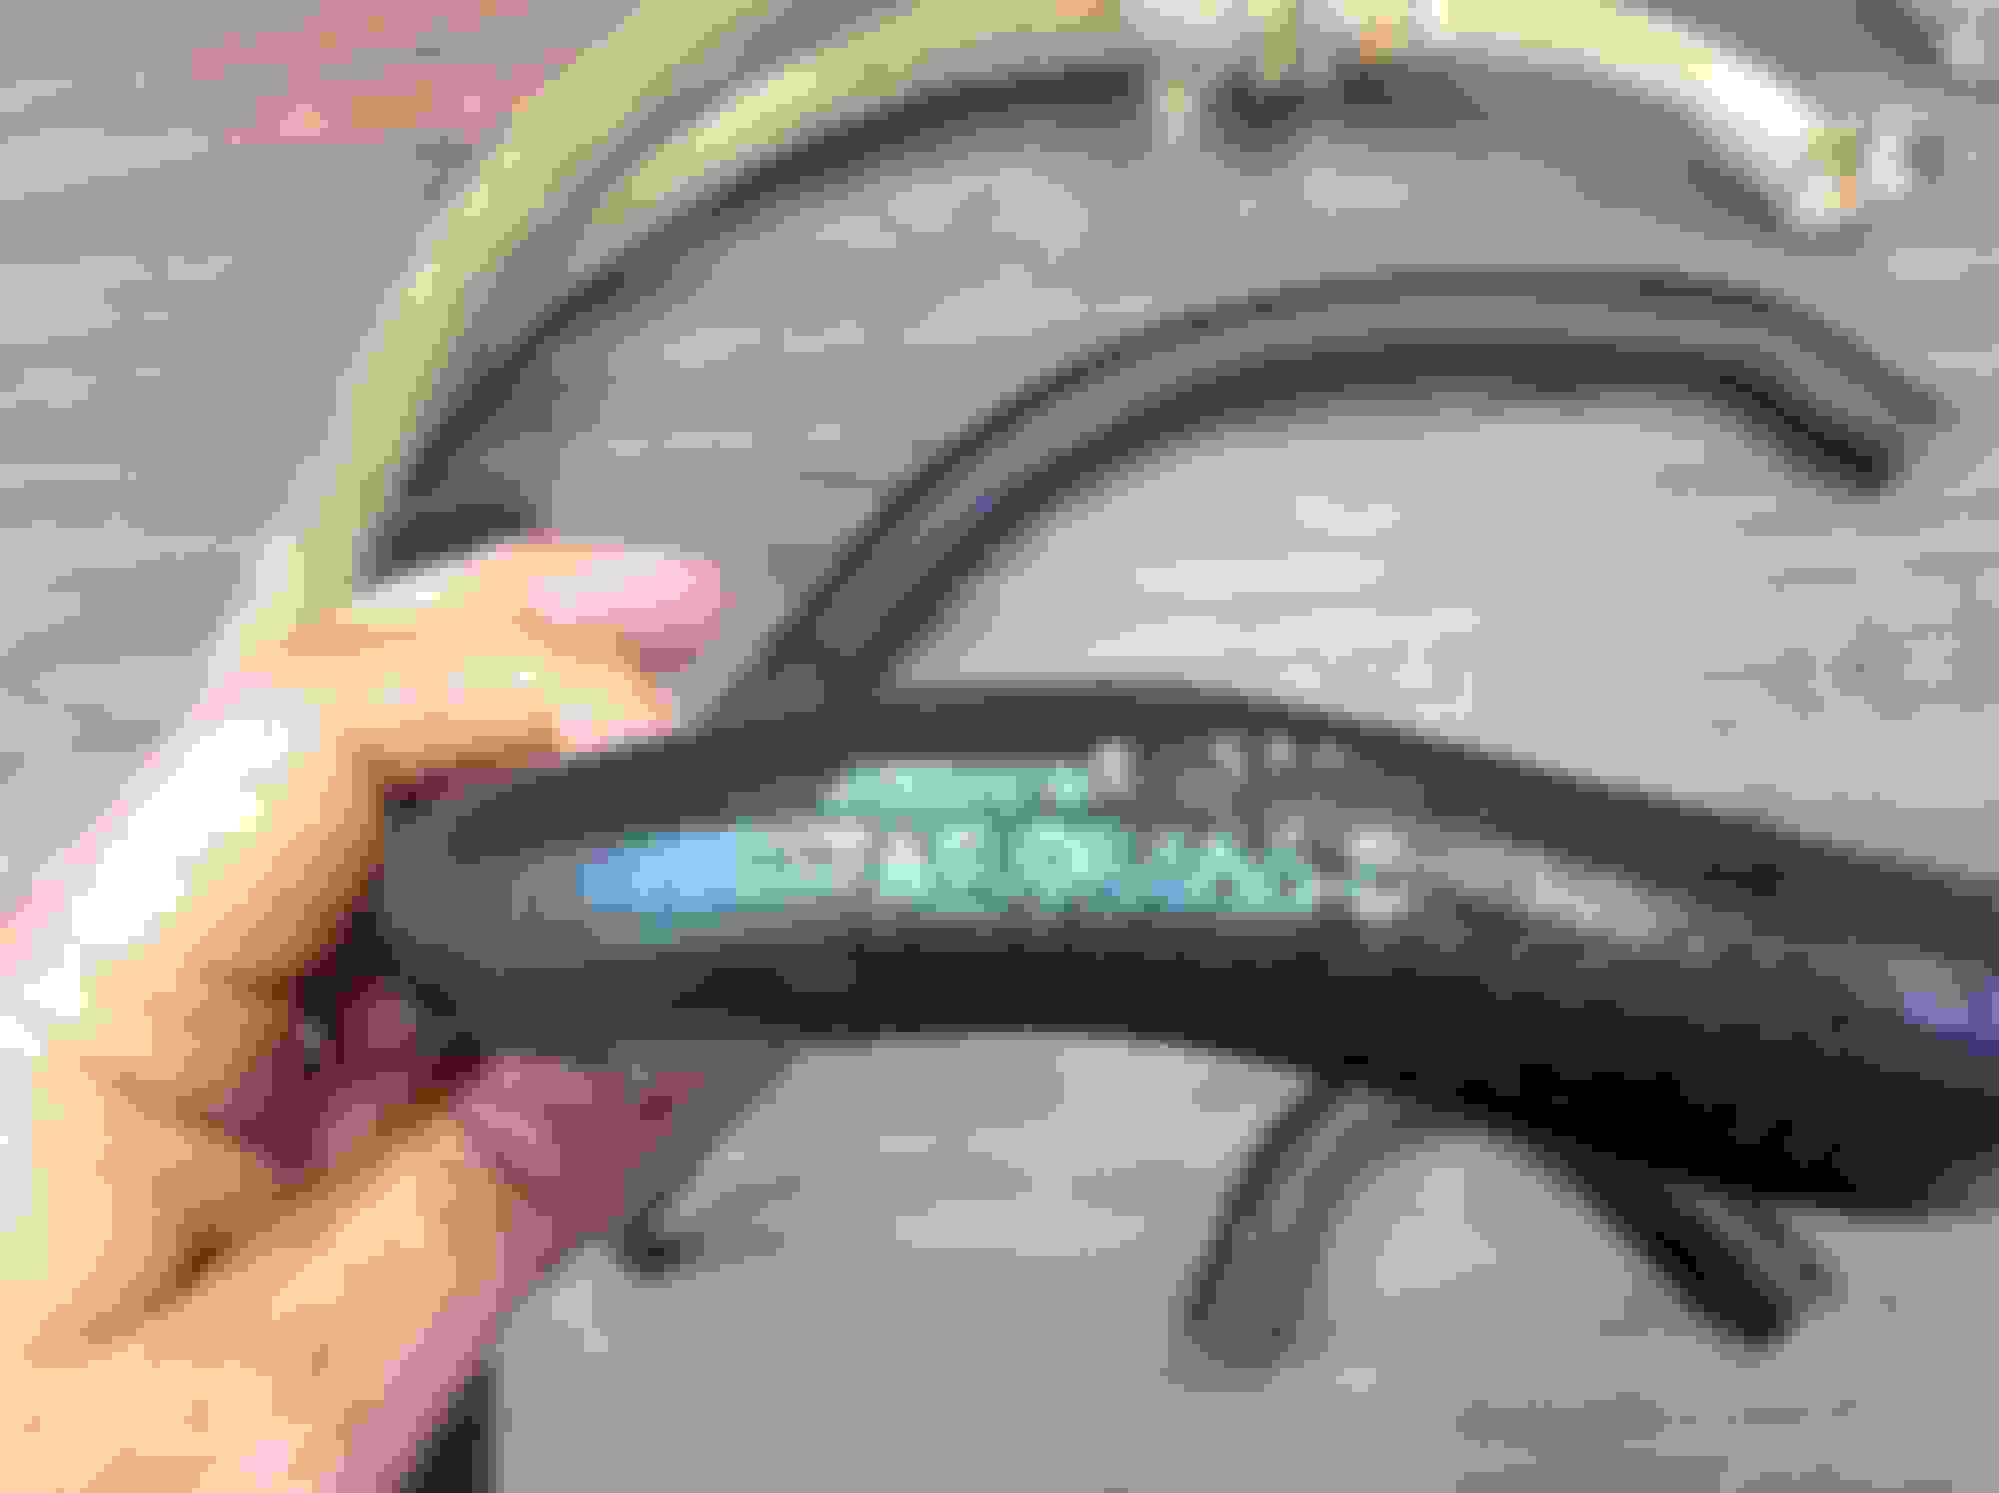
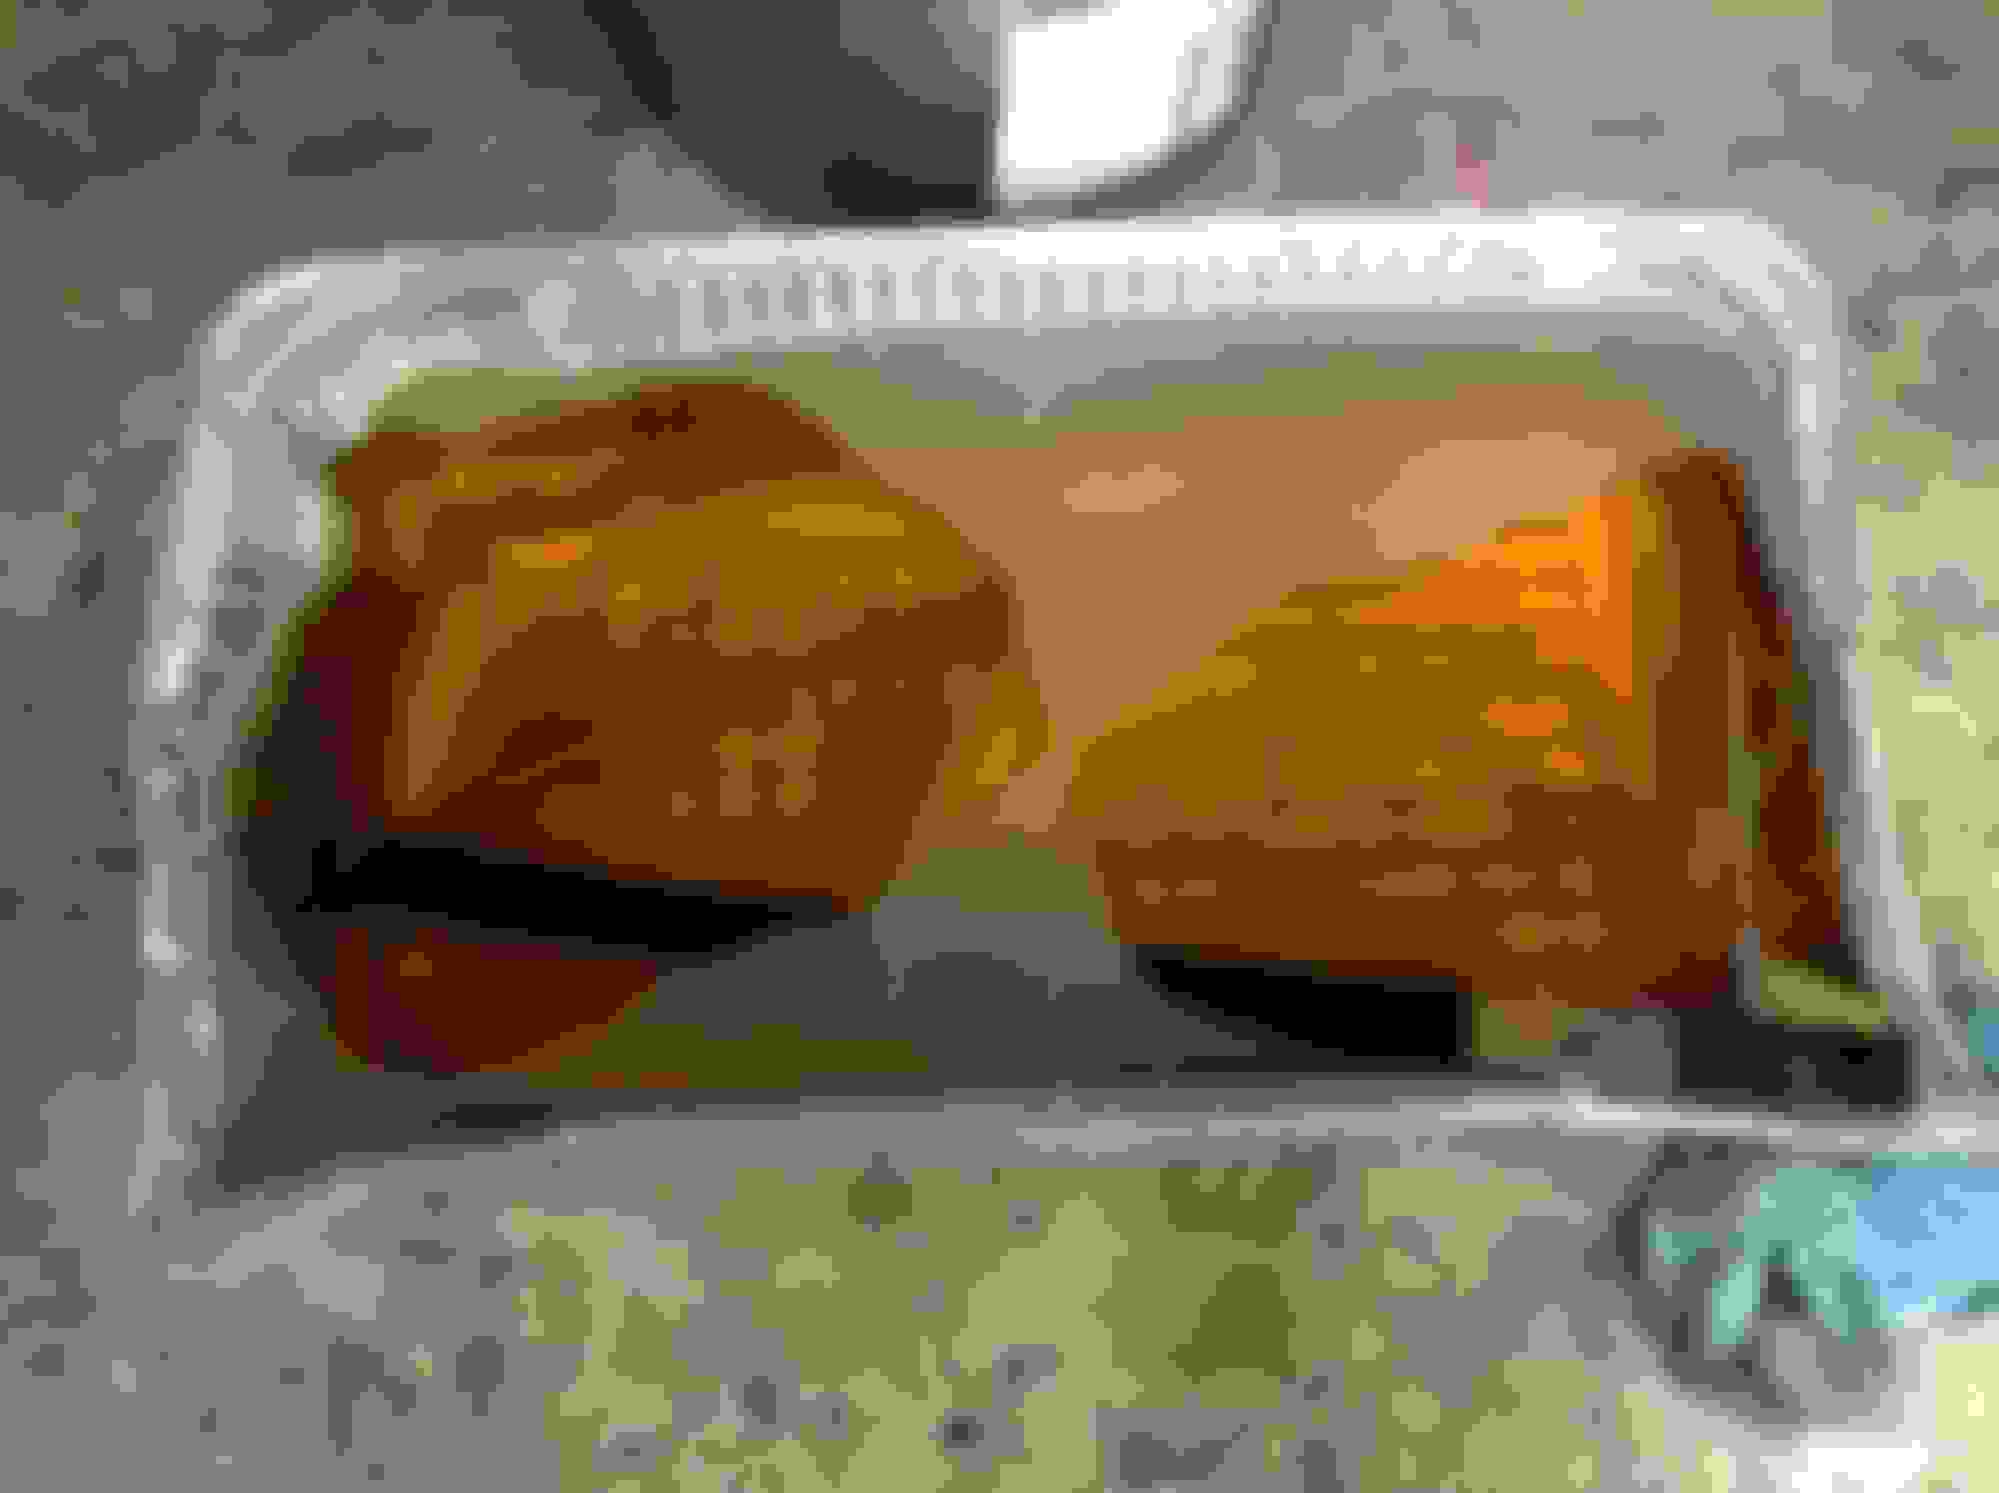
Getting started on the Vacuum and other hoses taken off the truck. Through a combination of Super Clean, Carb cleaner, glass cleaner and various brushes, I got the air pump hoses done - saving a few of the hose markings. Also did that valve cover hose that has that weird spiderweb pattern in it, and the air cleaner hose with the check valve. All of these are in good enough condition to reuse, but the heater hoses (uncleaned ones in the picture for contrast to the ones I did today- they all looked like this) are too soft and far gone to reuse.
Also, here's the rig I made to try to soak the the whole vent window frame in Evaporust
VERY NICE !! great color combo on both. I like the silver/black much better than the white / gold on the H/O cars . a w30 is on my "when I win the lotto" list
This mornin's work session - too lazy to do anything tonight (2 hours)
I pulled the second vent window out of the EvapoRust. Both came out looking great on the galvanized areas. Next, polished the vent window striker plates on the buffing wheel with white rouge, and then taped it off. Next I wirewheeled all the old black paint off the frames, then went over with 220 grit to get a nice consistant surface to paint. Spent almost half an hour masking off each, and then shot with Extreme Chassis Satin Black.
Next finished off the diverter valve. Will have to make my own sticker for it:
And, coated the hinge assemblies with the Boesheild:
Today finished up a couple more original parts. Here's the solenoid to starter cable. Cleaned the insulation with Super Clean, used a brush to clean the plastic looming, wirewheeled the terminals, and sanded the bracket and cleared it:
Moved onto the speedo cable. Same basic things done as with the battery cable:
Going tomorrow to my first Ford Truck show in Gainesville Texas. Hope to learn a lot, and see a couple of dent Super Cabs
Worked exclusively today on the engine Vacuum and fluid hoses. This is another very messy job if you are trying to save as many of the OE hose markings possible. There are no short cuts, it is simply cleaning on piece at a time after figuring out which chemical/brush/rag combination will work best. I wound up having to replace 3 sections of hose due to the originals being holed, or too soft to reuse. Will hopefully finish this tomorrow
Finished the rest of all the Vacuum and liquid hoses that are to be reused. This will be fun to reassemble correctly - two of the hoses have been blocked off - hopefully I will be able to figure out where they go:
I also measured the thickness of what the glass sealing tape to mount the vent windows should be - it is only 1/16 thick. The hunt begins.
Ordered some repro heater hose from one of the Mustang parts houses. It is a shame mine are weak where the clamp goes, because they cleaned up so nice. The repos gave a wide white stripe which is not correct for my truck, but antifreeze baths are no fun.
Also began the last major group of parts to be done - wiring harnesses. Laid out the entire front harness to take some reference pictures:
Unplugged the RH front lamp harness and did my usual cleaning detailing. Photo compares the finished RH to the untouched LH. Of course, I broke the headlamp connector housing pulling the wires out to clean the connectors, but they needed it badly - they were very corroded.
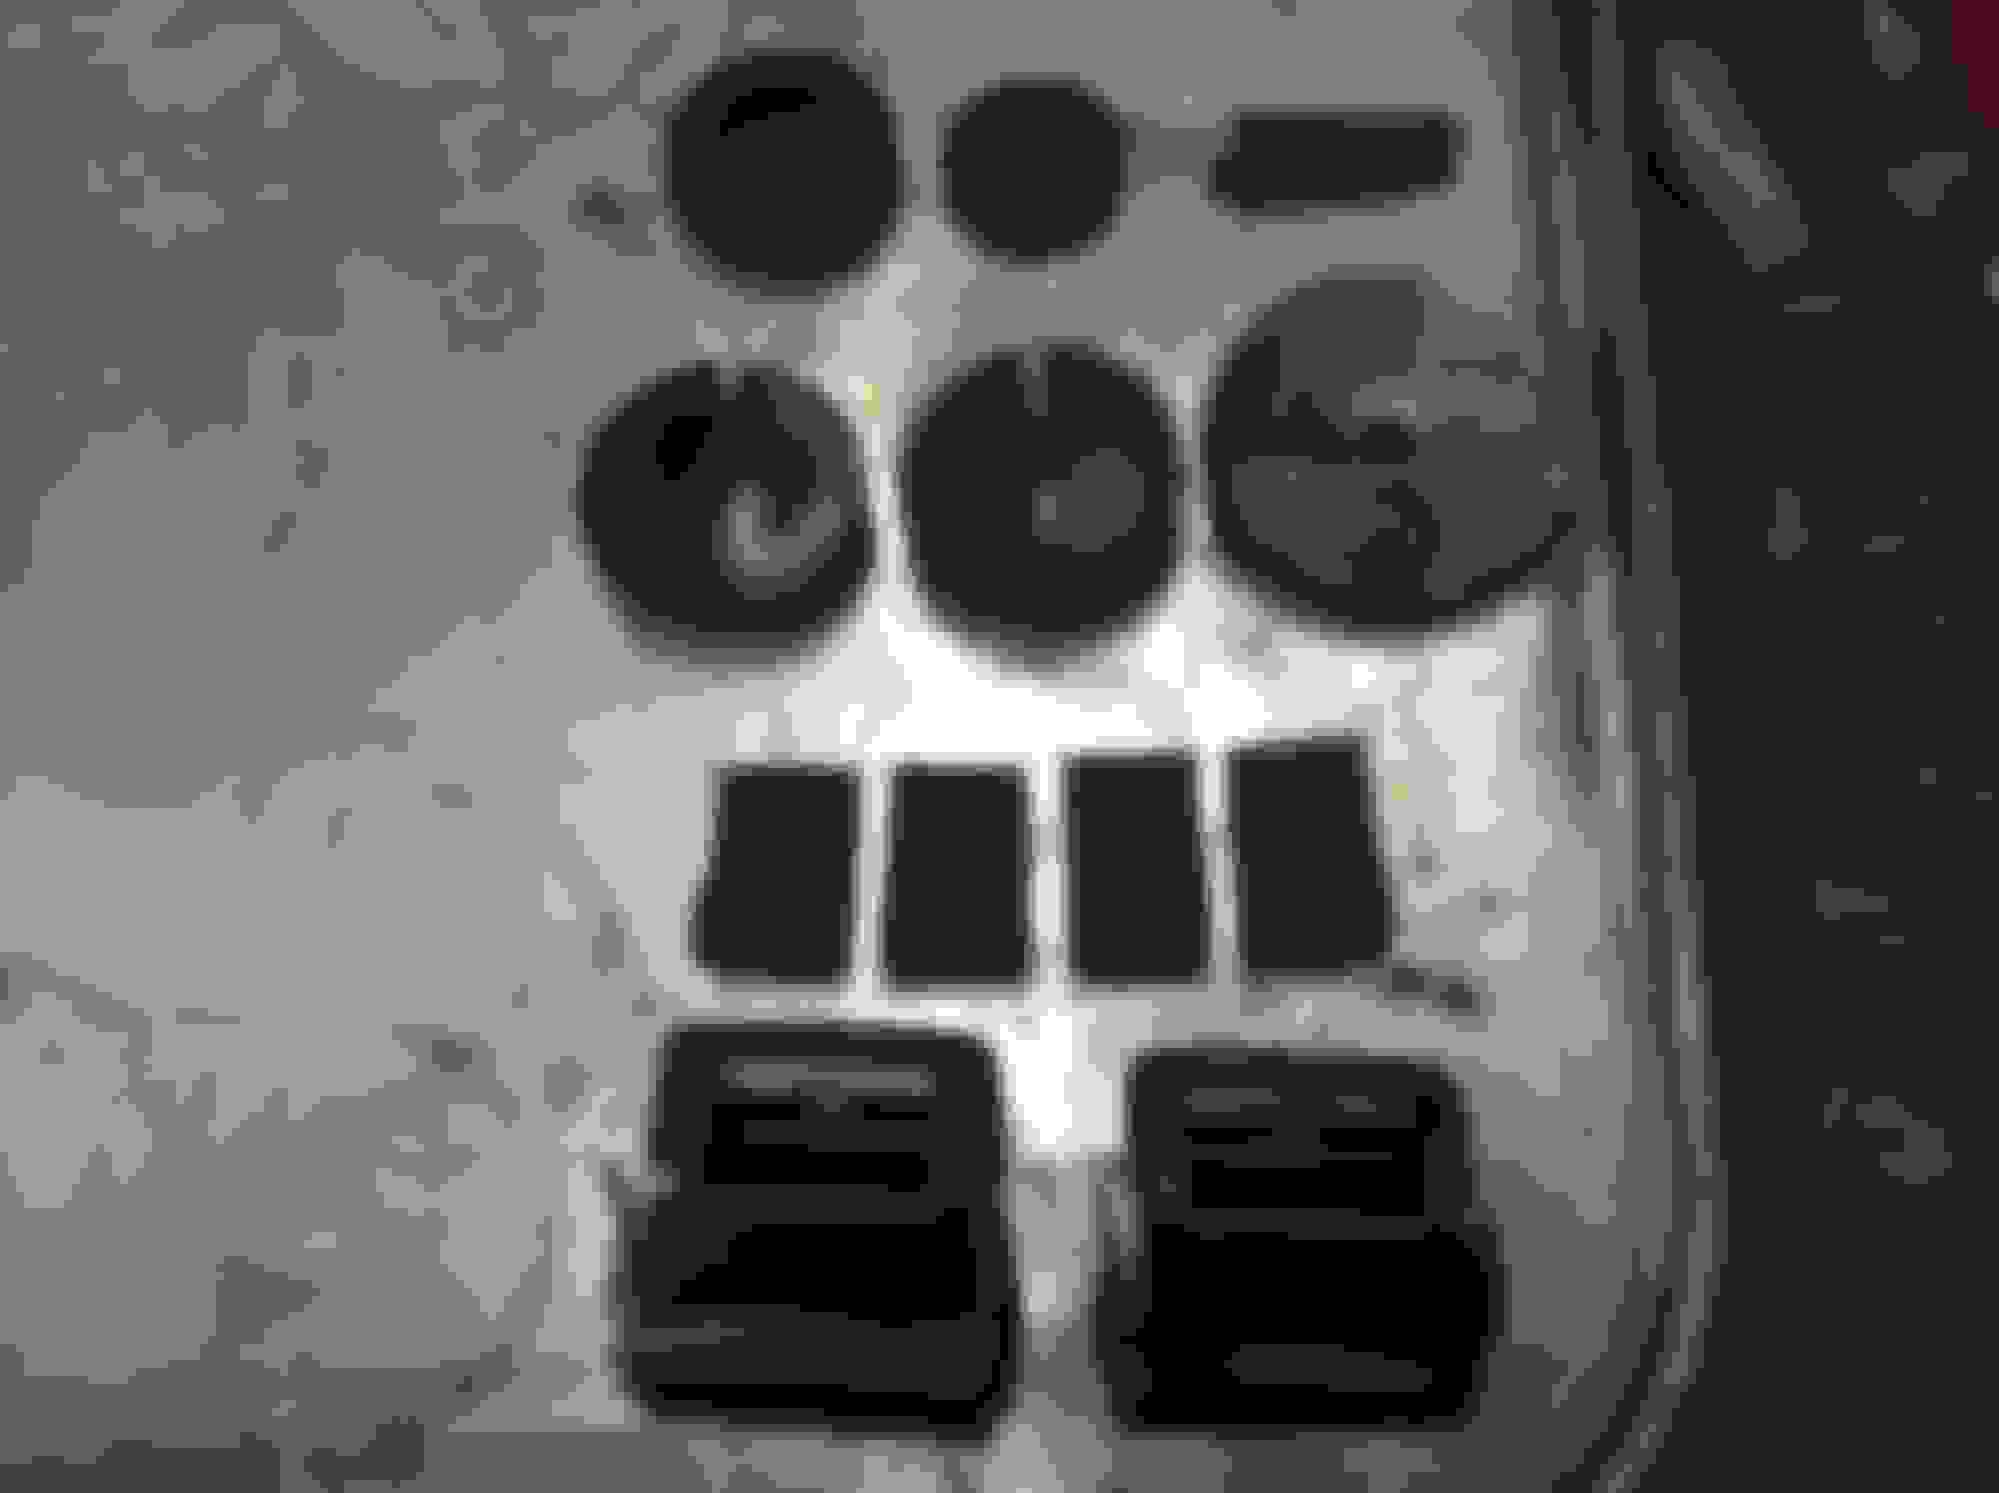
Got my box of used, small miscellaneous parts in from 77&79F250. Have the ashtray slider soaking in EvapoRust overnight with a bunch of plastic wire retainers he sent me. Soaked the rubber parts in Super Clean and wiped them off. (Rich, the wire connector was right - wonder why Ford made this one in brown rather than gray)
Also cleaned one of the chore heater tubes. I carefully cleaned the fabric insulating sleeve with Brakecleen, trimmed of some of the unraveled part, Super Cleaned the rubber hose part and then reassembled onto the manifold connector
I have to fix the other one - the tube twisted off in the fitting at some point in the past
Got in the matching LH exhaust manifold to the RH one I had previously bought on eBay. The machines shop said the LH one was also cracked after tanking/bead blasting, but not as badly as the RH. I wonder why these crack so much

 04-29-2017, 06:26 PM


 . a w30 is on my "when I win the lotto" list