When you click on links to various merchants on this site and make a purchase, this can result in this site earning a commission. Affiliate programs and affiliations include, but are not limited to, the eBay Partner Network.
Got my rebuilt brake booster back from Booster Dewey in Canby, Washington. He checked the numbers on it and said it's the original one - have no idea how to tell on Fords. It is finished in a low gloss black - he says this is correct for this era trucks.
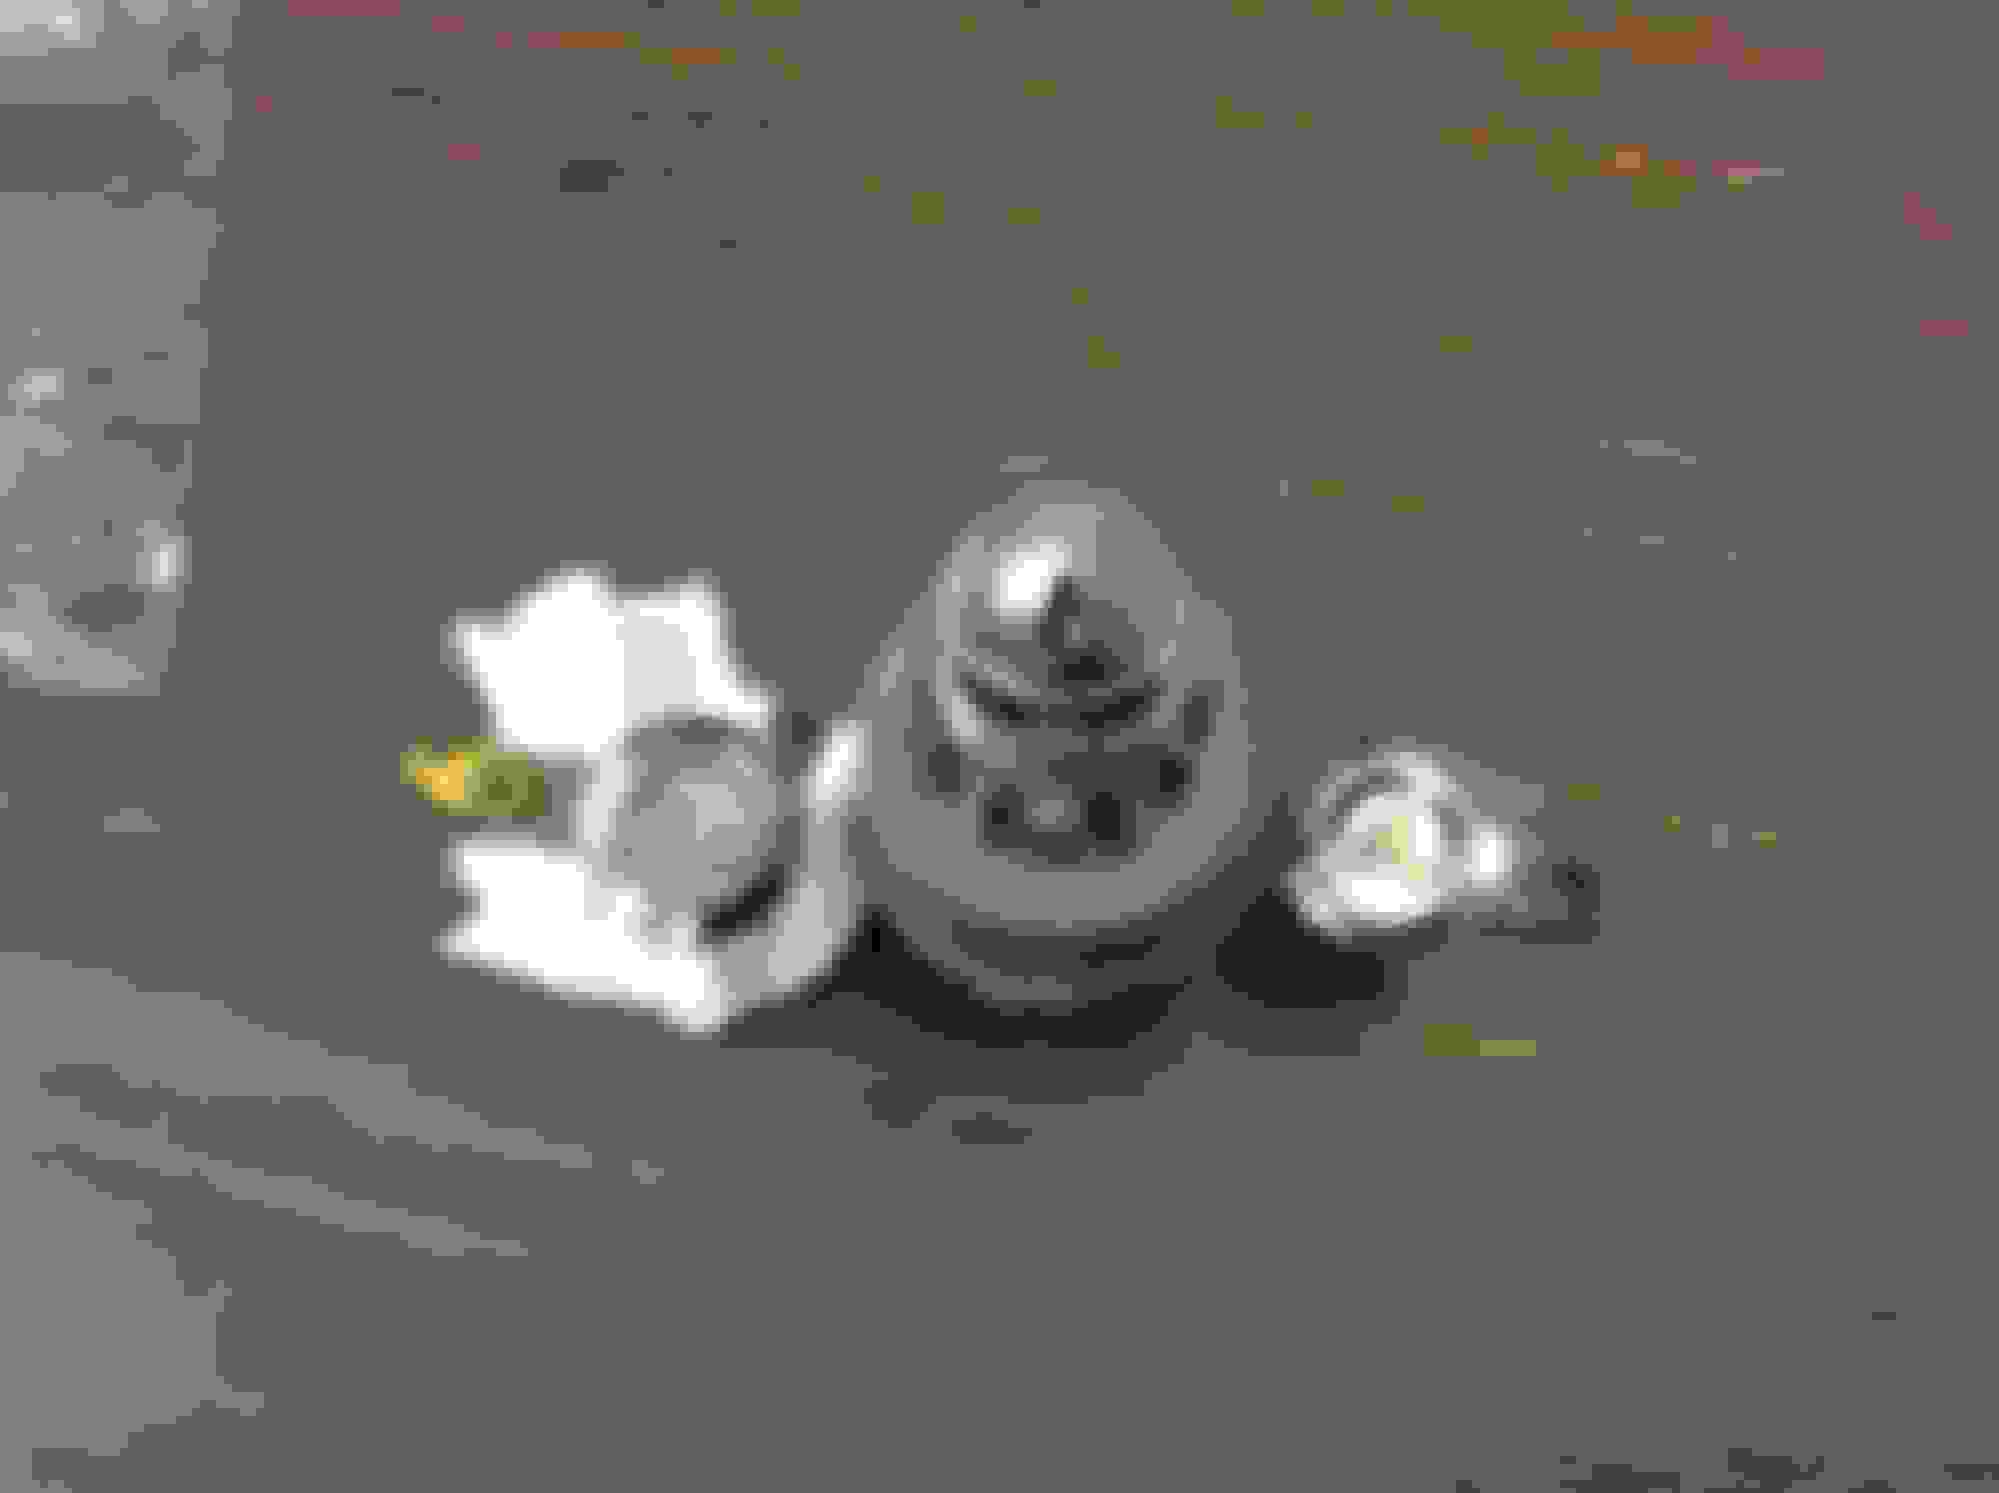
Polished out the original door and ignition locks.I want to keep the original ones on the truck for sentimental reasons Fred since still has the original keys.
Next turned to the shift lever. I sanded the shaft down and taped off where the paint originally was kept from. Painted in the Eastwood Satin Epoxy Chassis paint.
Most fun, I got my big order from AMK fasteners in to replace a bunch of bolts too far gone to save. Here's the tableful of parts I got in. Tonight, I went through all my baggies I wanted to change out, and I got about 90% of the parts successfully matched up. One difference - the little plastic push in retainers are originally black, but the replacements are white plastic
Birthday today - so I worked on some parts (3 1/2 hours)
Today checked to see how the hood hinges submerged in EvapoRust are doing. I wiped them off, turned them over and redunked them. Will check on Monday to see if they are done.
Also pulled the e-brake assembly out of the Evapo and did a lot of detail work on it. Got the bare steel areas coated with clear, polished & redid the white lettering on the handle, and painted the black areas with the Epoxy semi gloss trying to mimic the original dip lines. Will have photos tomorrow of the finished unit.
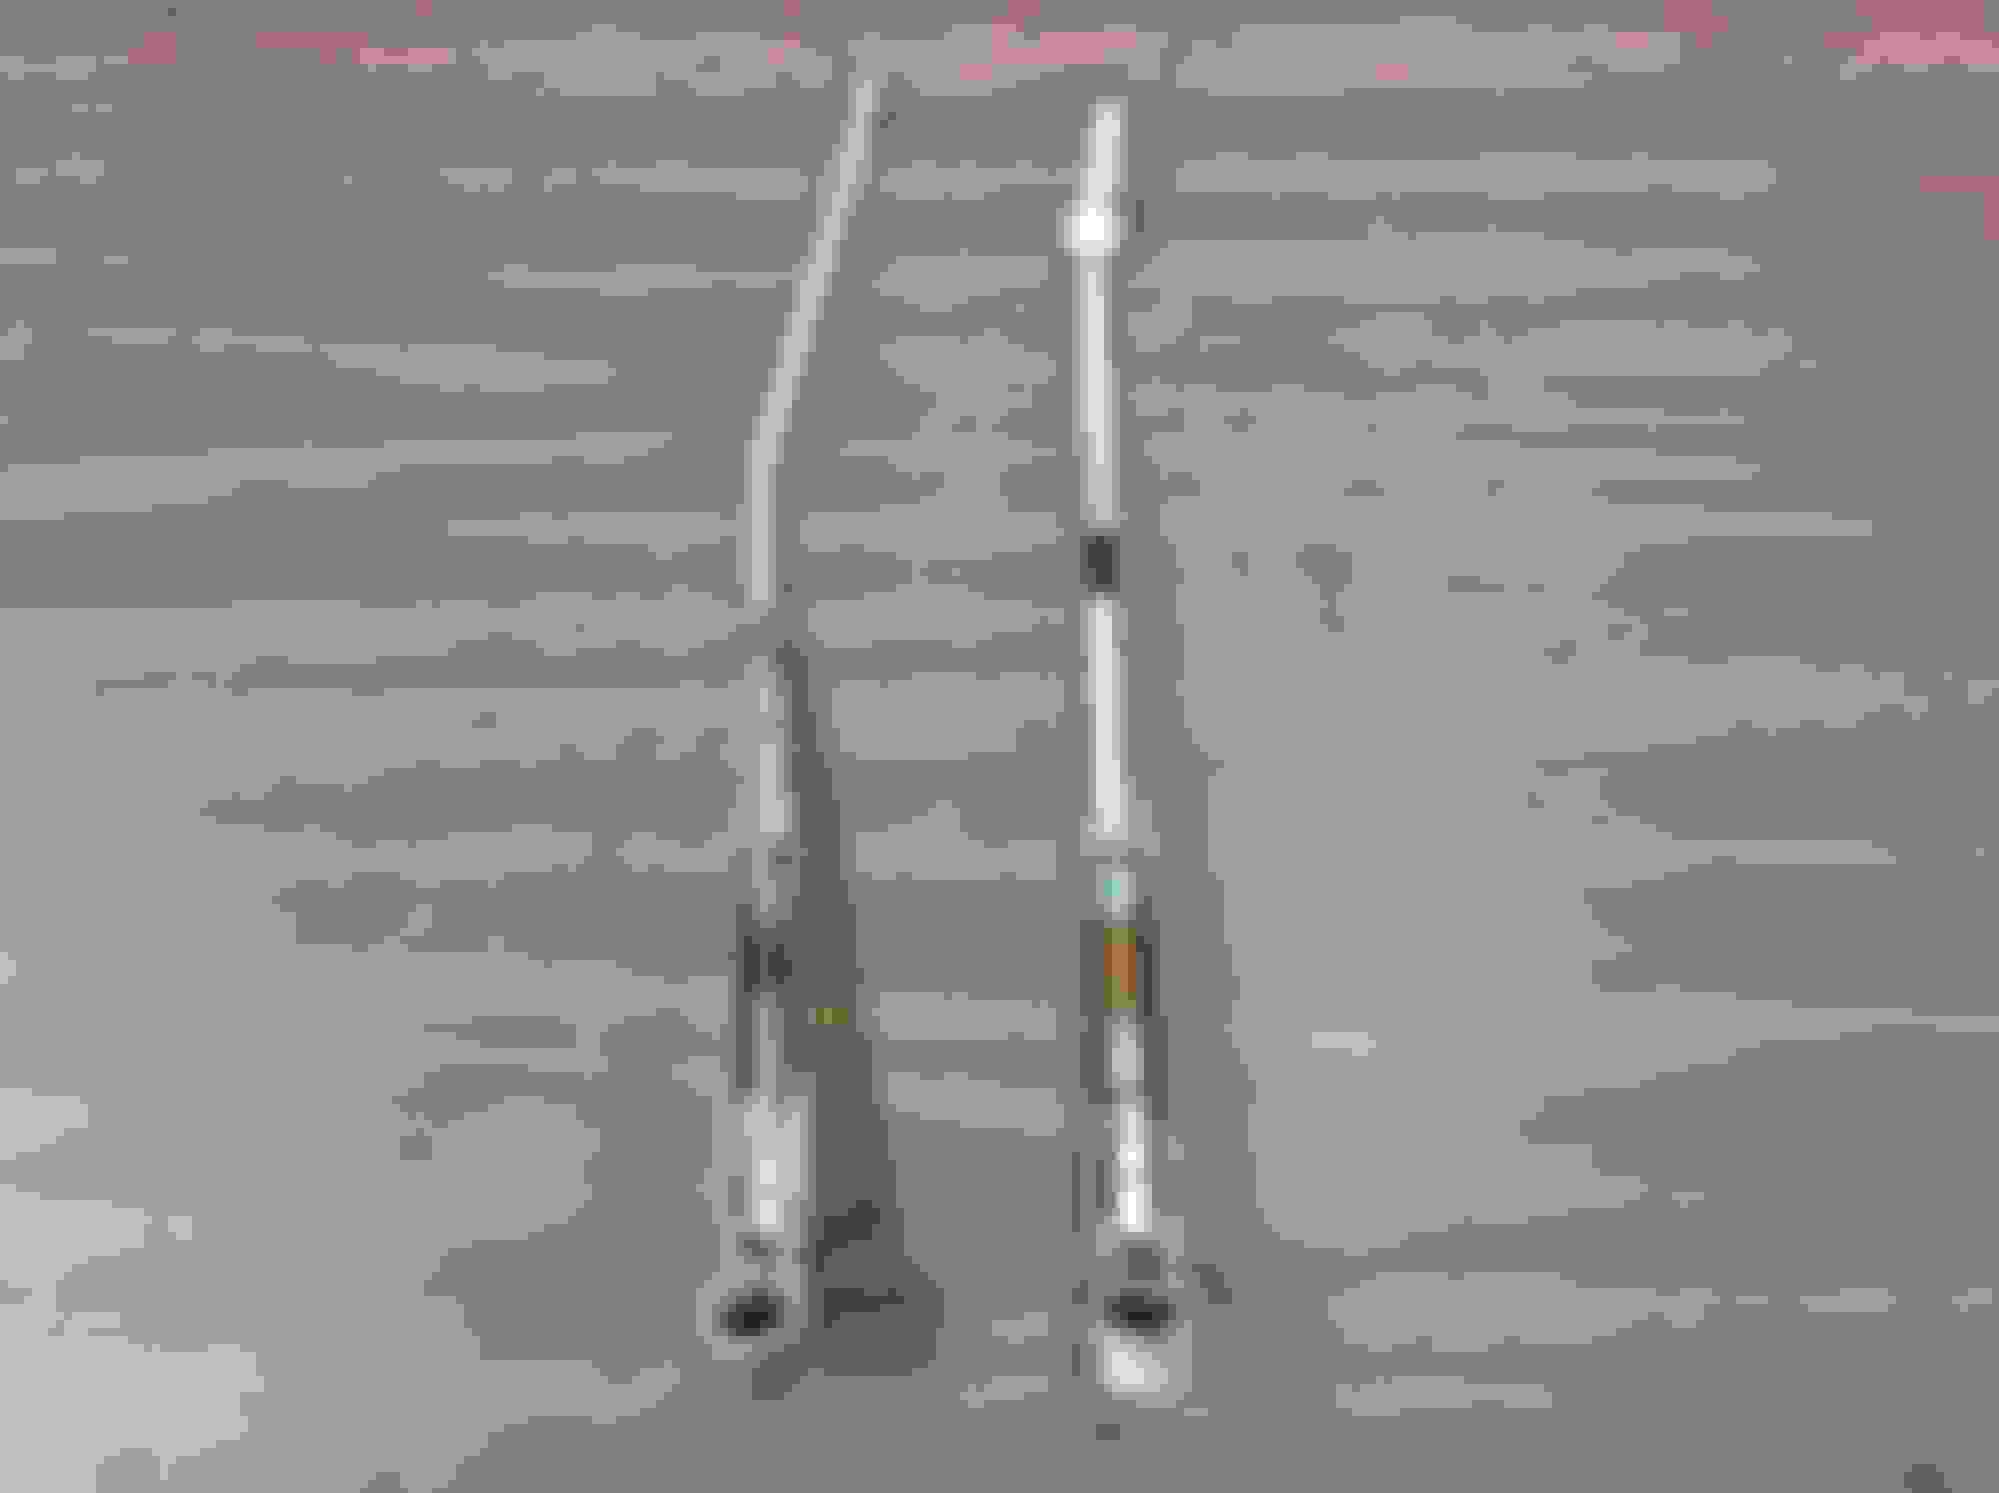
Did a few more various fasteners, and continued gently cleaning the EGR plate trying to preserve the original look/appearance. And, decided to buy the replacement window regulators. Mine make a weird skipping noise and act like the gears have teeth stripped when I'm lowering them during a bench test.
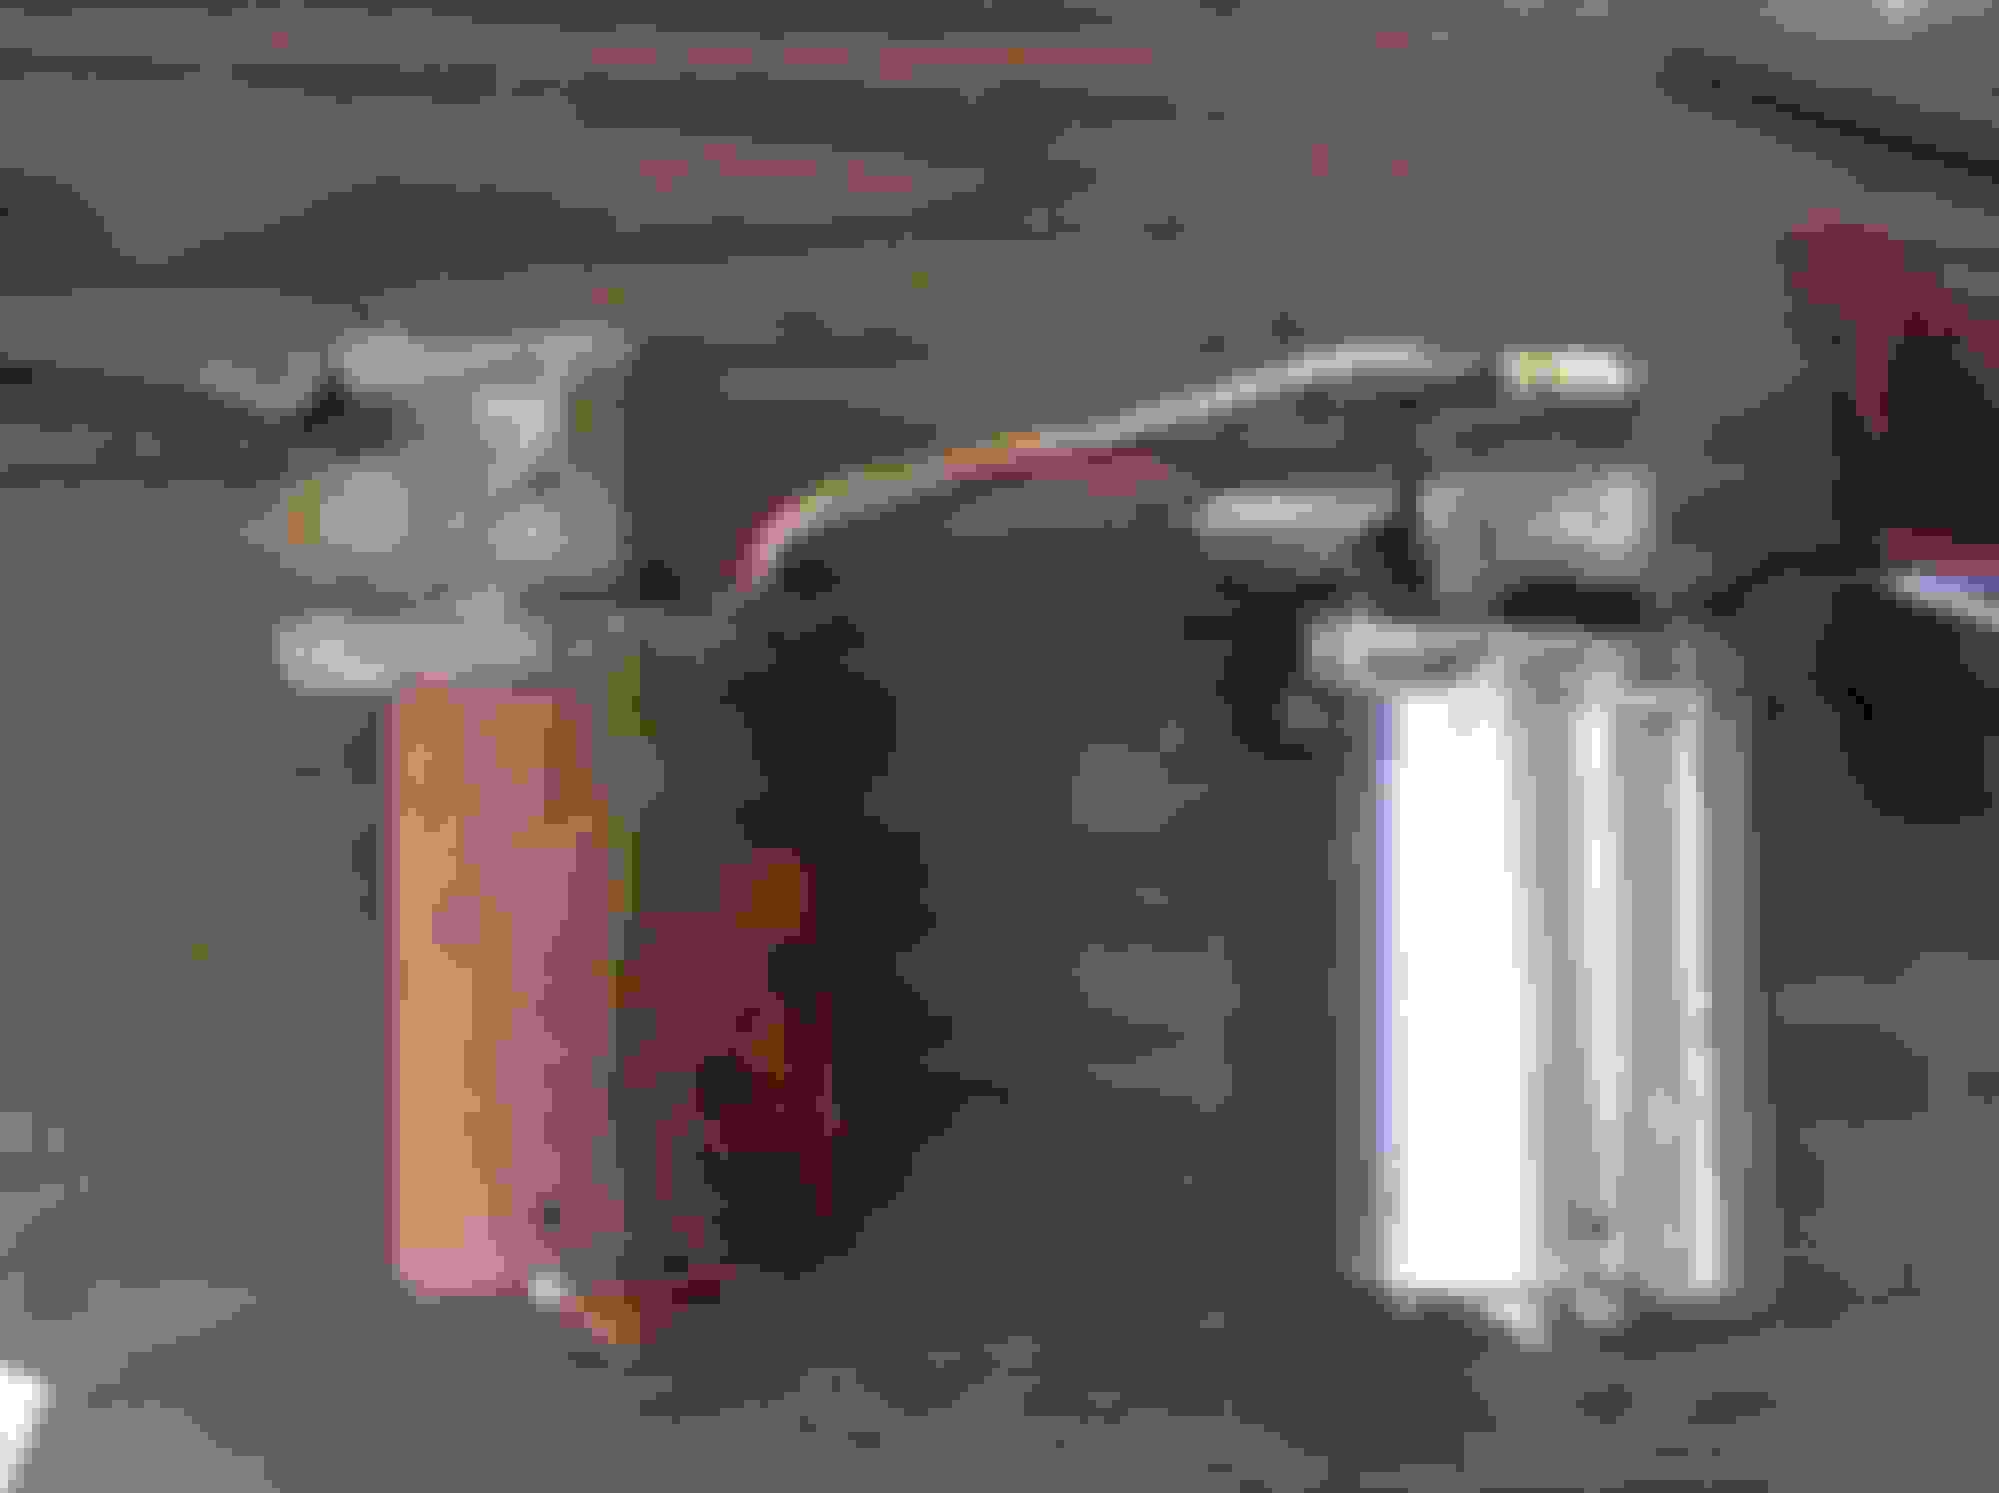
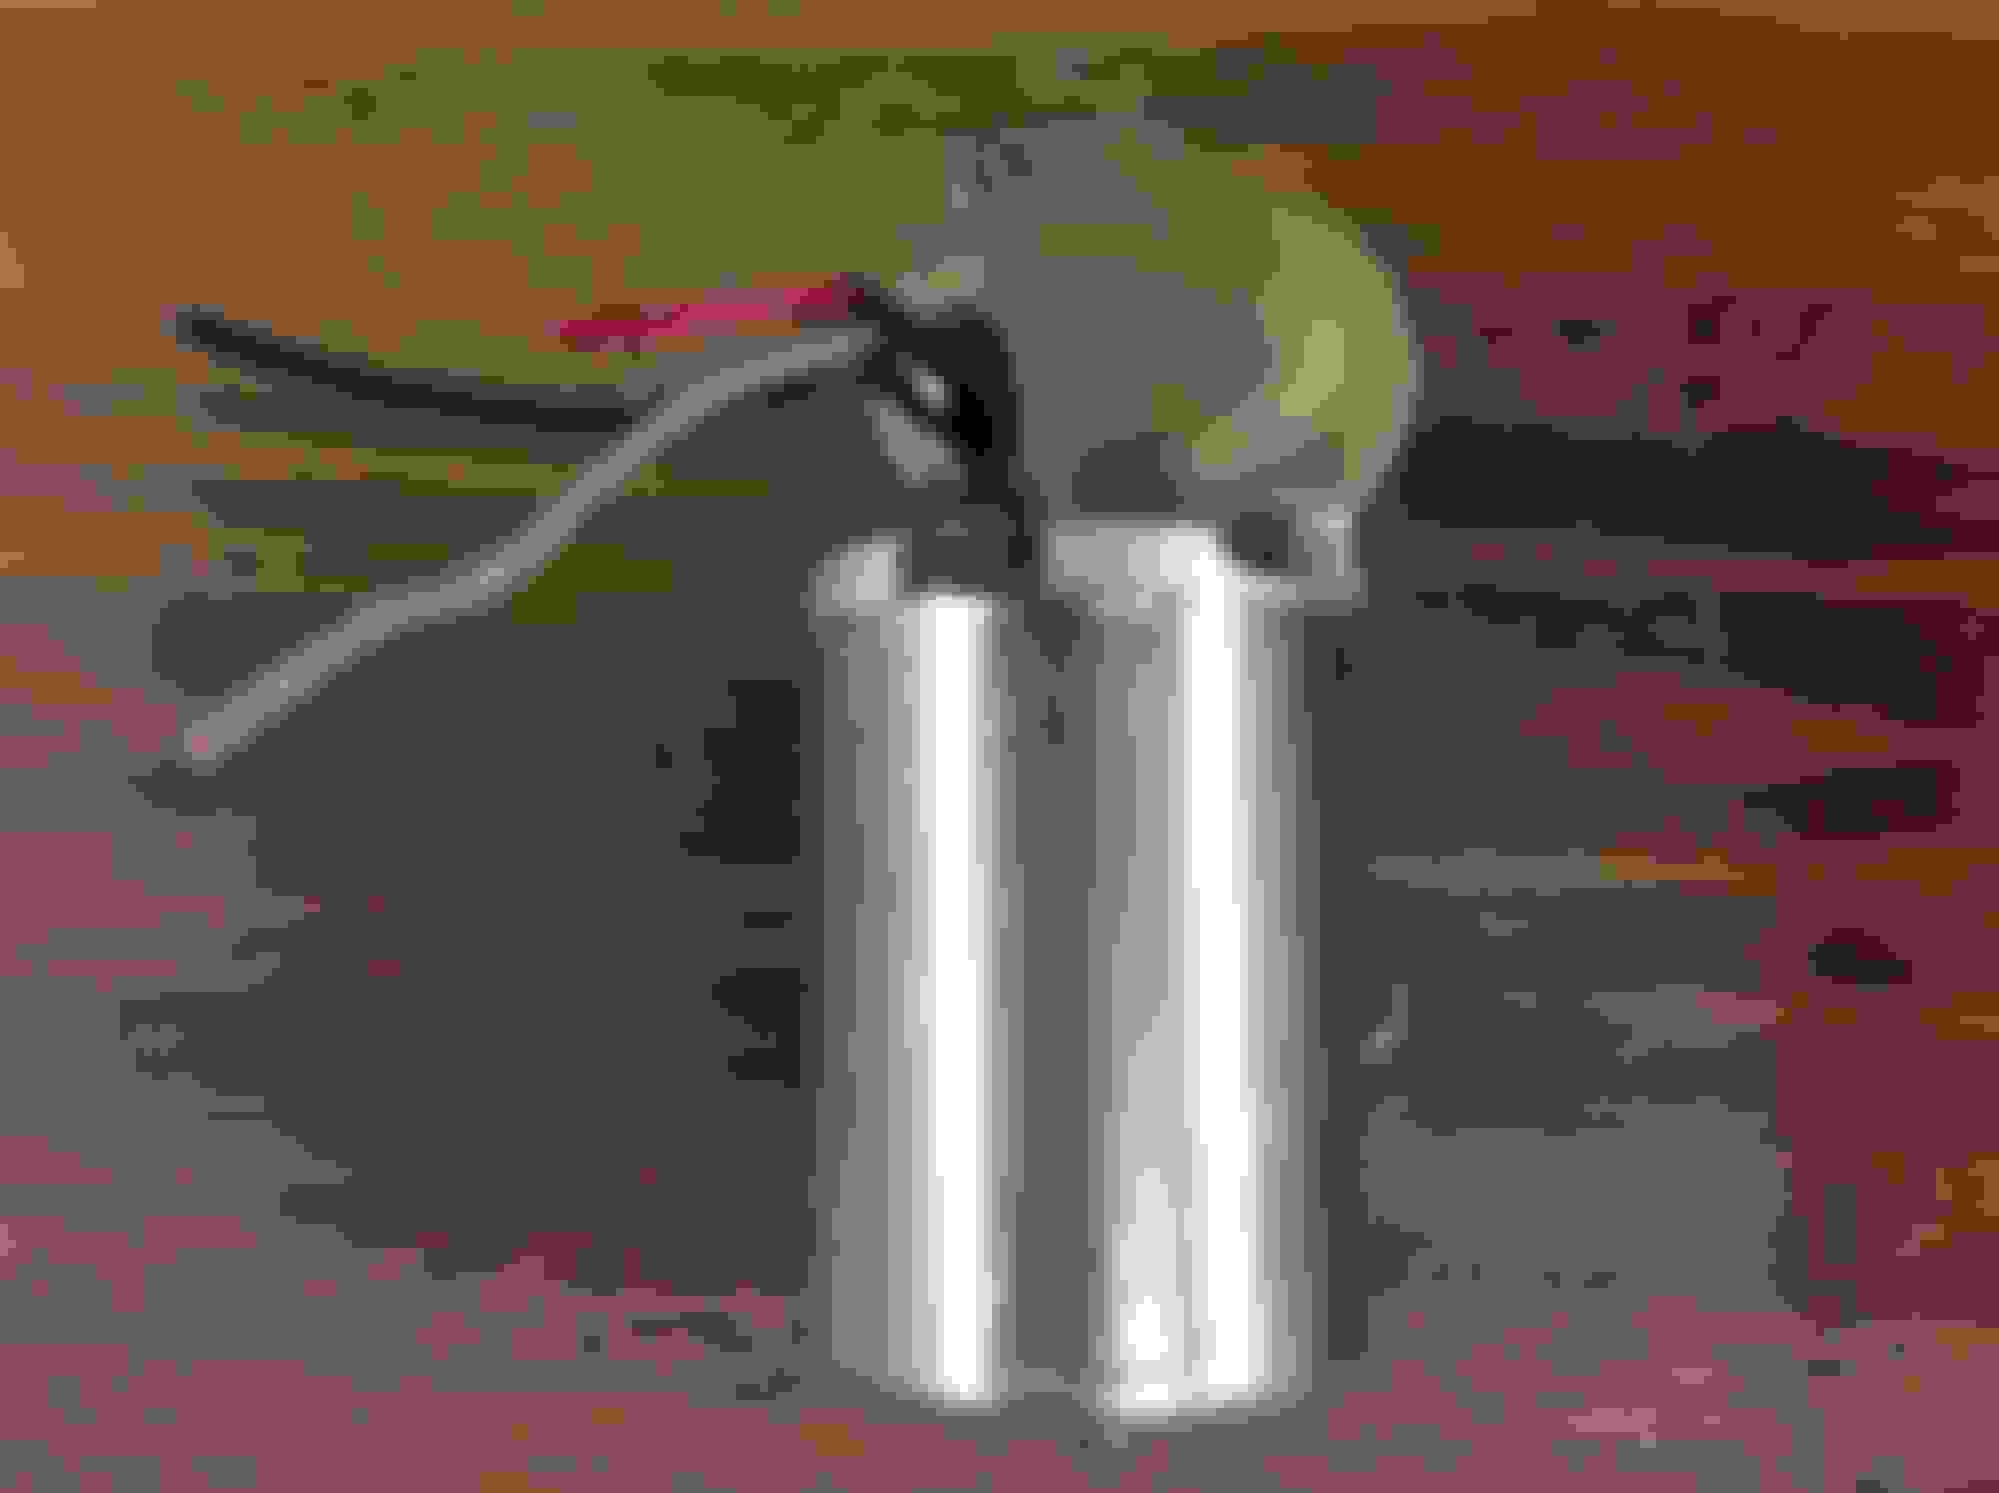
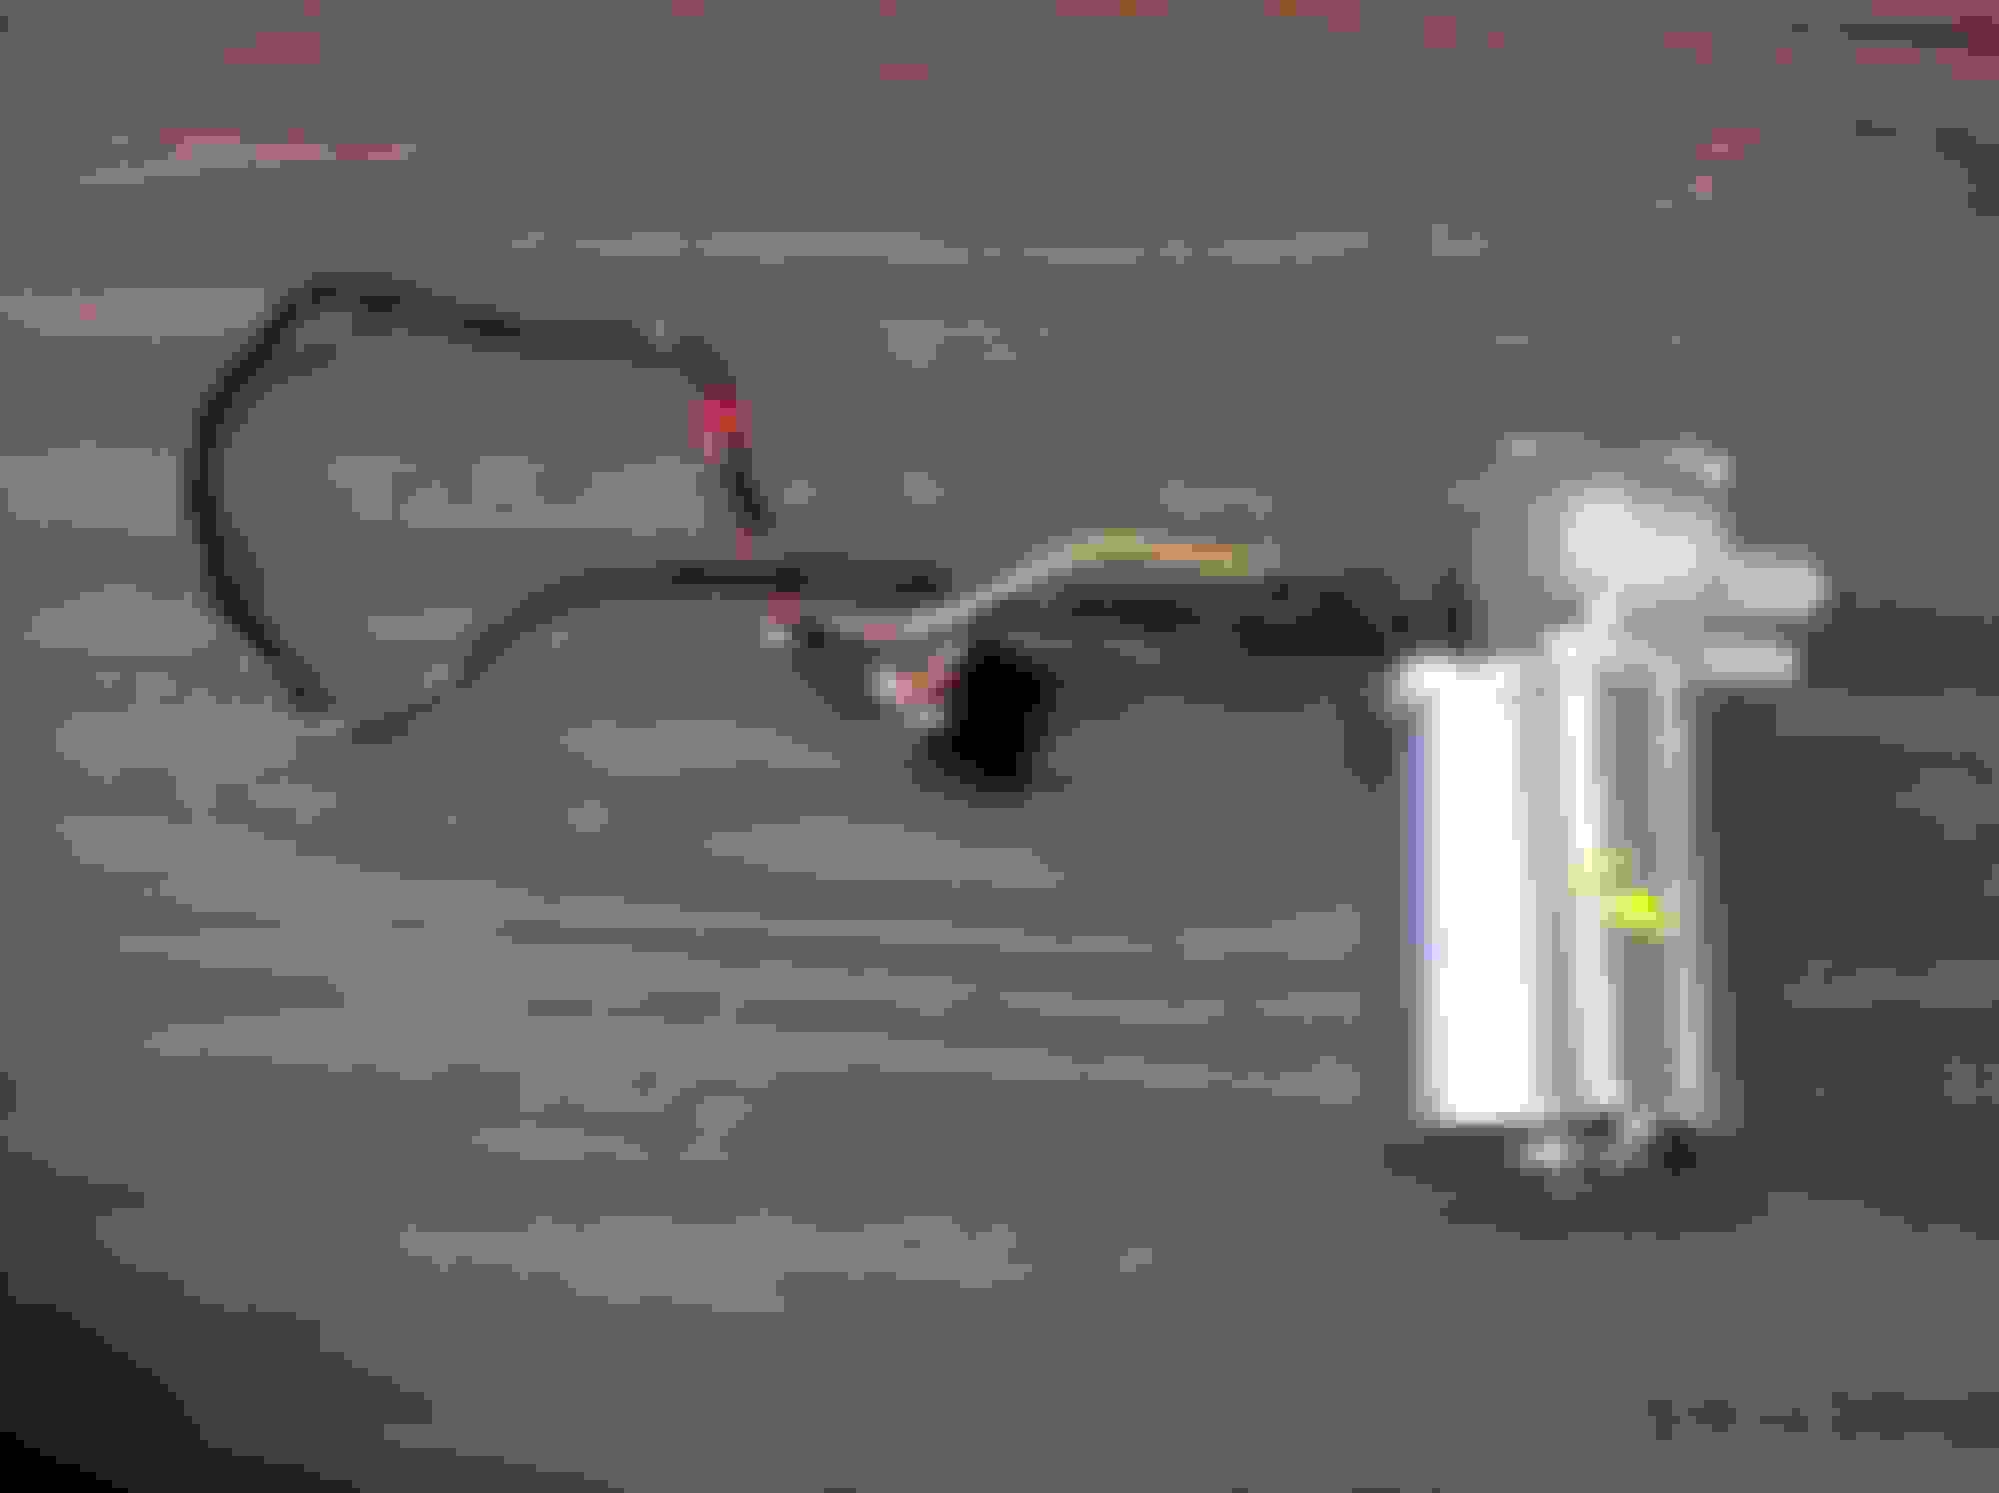
Started on the wiper motor. I bought a rebuilt unit - slathered in black paint and with a generic wire harness which is almost a foot too long. I stripped the paint off the lower "can", painted the upper part with Aluma Blast paint, and decided to reuse the original harness. I'm going to stagger all the wire connectors so it does not show too much when I retake the harness closed, and I was able to save the original Ford tag that goes on the assembly. Also removed all the leads from the connectors and wire wheeled the contacts reassembling after pipe cleaning the insides of the connectors. Should be finished up with it tomorrow after the $?#! Paint finally dries:
Did some more fasteners and the smog pump pulley, and wheeled the whole front left to right main brake line - it was just too messed up to clean simply with the EvapoRust.
A little more work, and a trip to the body shop (2 work hours)
Today finished up the wiper motor. A few paint dabs were visible on the original so I duplicated them
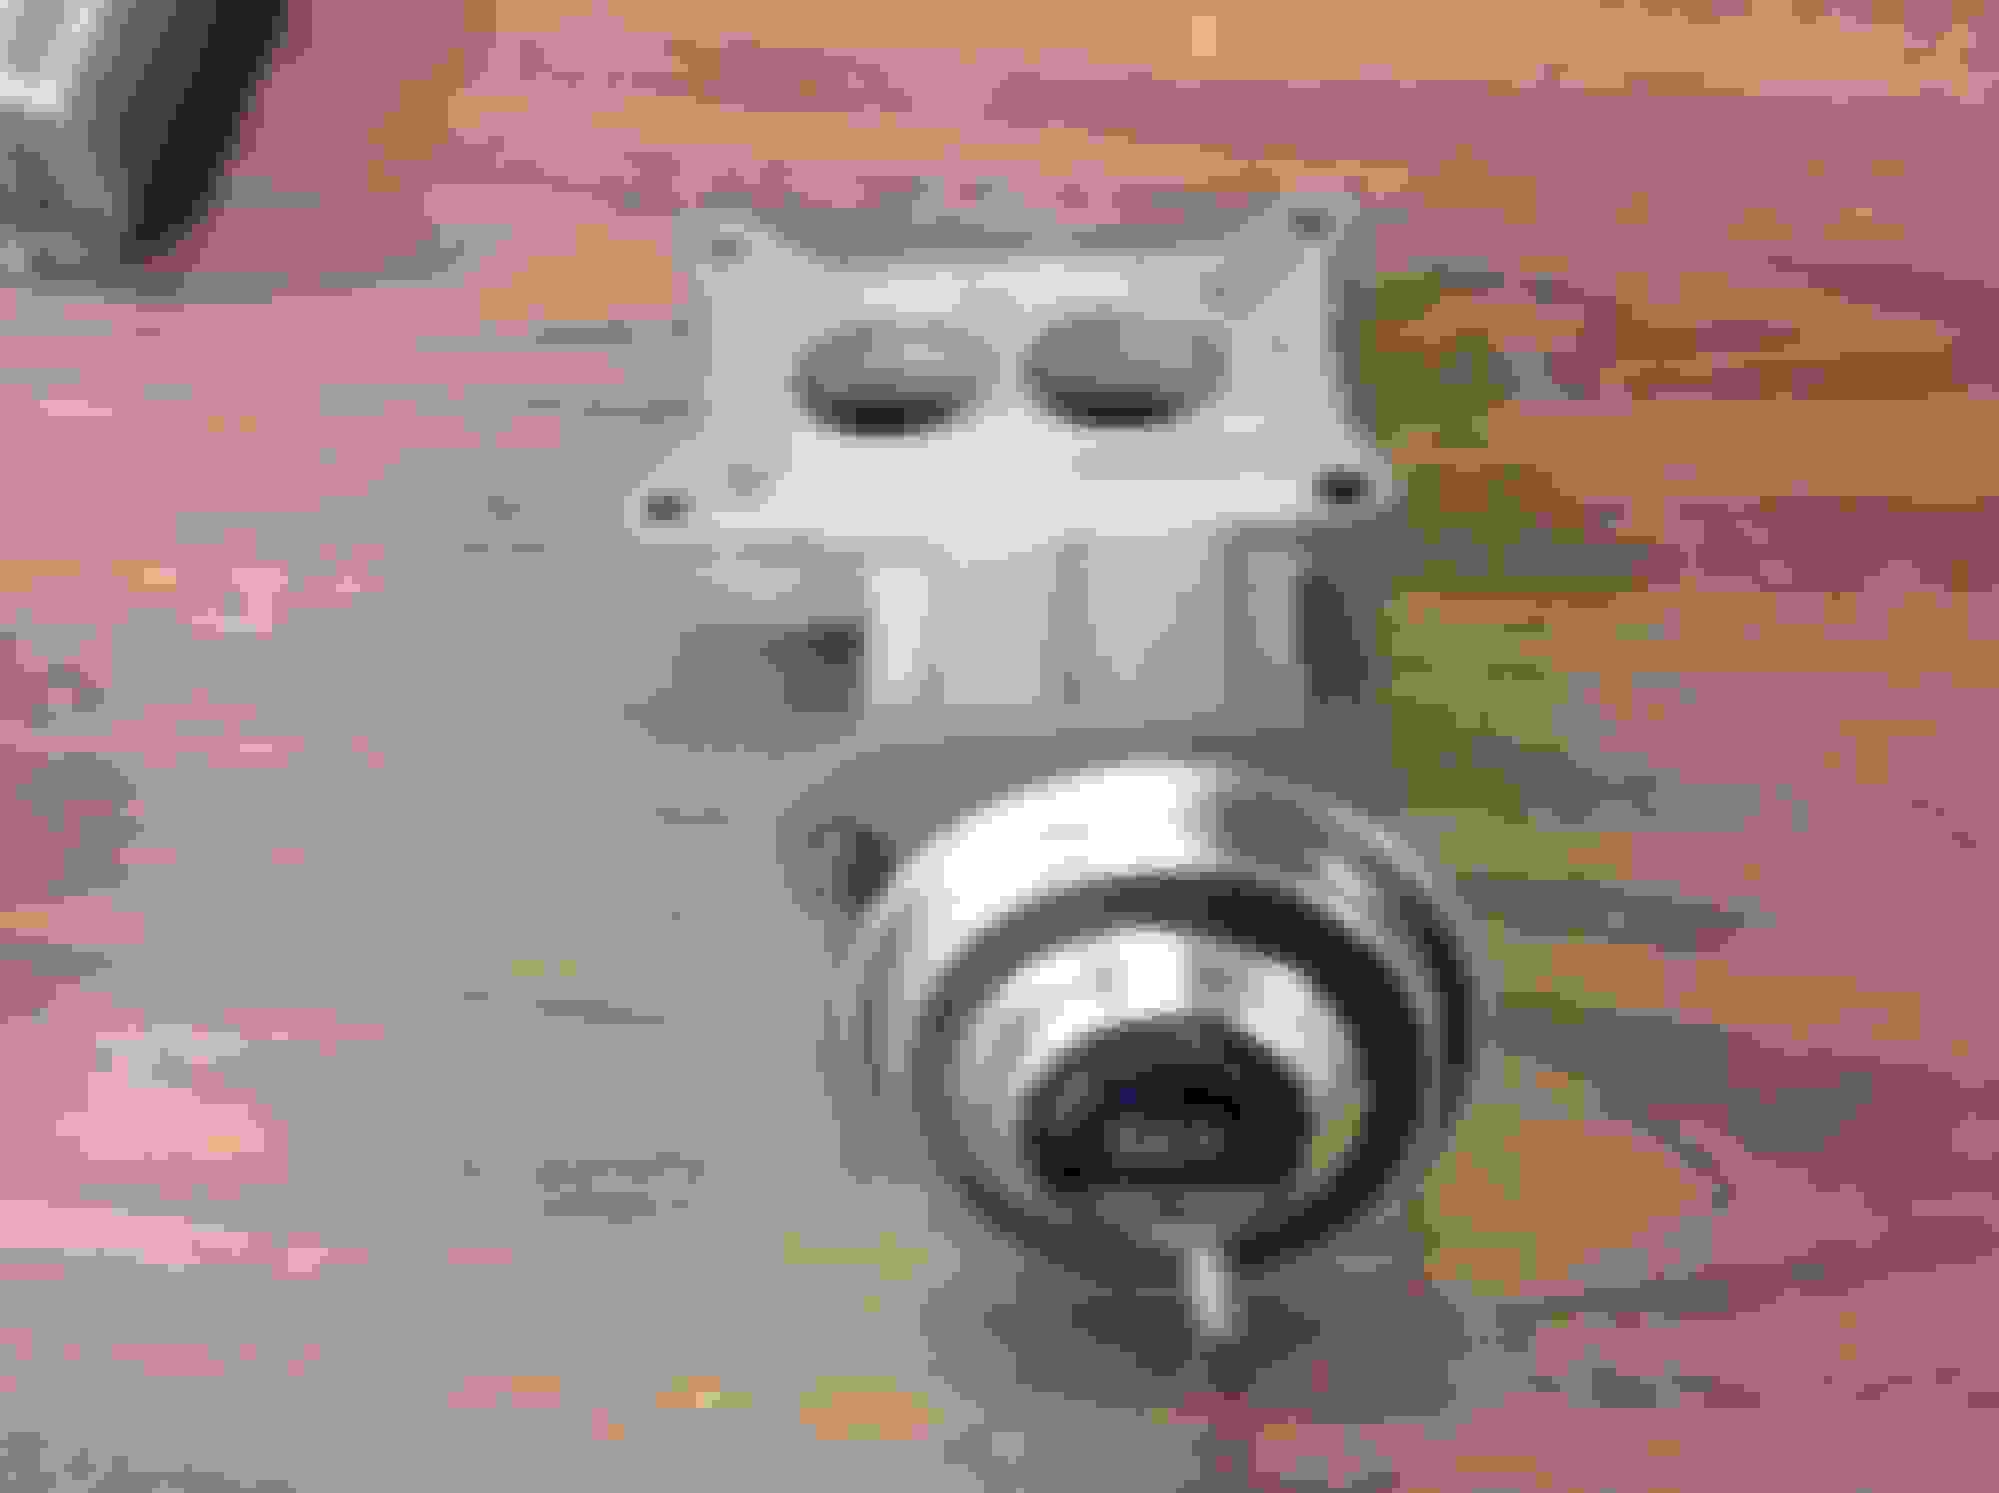
Next moved onto reassembling the EGR valve. I bought a new Standard unit and had to put the right orfice washer on it. I also glued the original EGRvvalve sticker onto it with Prematex High Tack. I hope it holds
My friend Chris removed the completely seized long bolt from the alternator by drilling it out on his Bridgeport mill. Nice to have a friend who's a real machinist
Have a couple of questions regarding which is the correct wiper arm for the truck
And the distributor. I bought a rebuilt one off eBay intending to switch all the guts into my old casting, but long story short, I could not do it and the reman unit had a NEW casting in it which is considerably taller than the one that was in it. I know the new one will work, but am worried it will stick up too much and cause some kind of clearance problem - anyone had this experience?
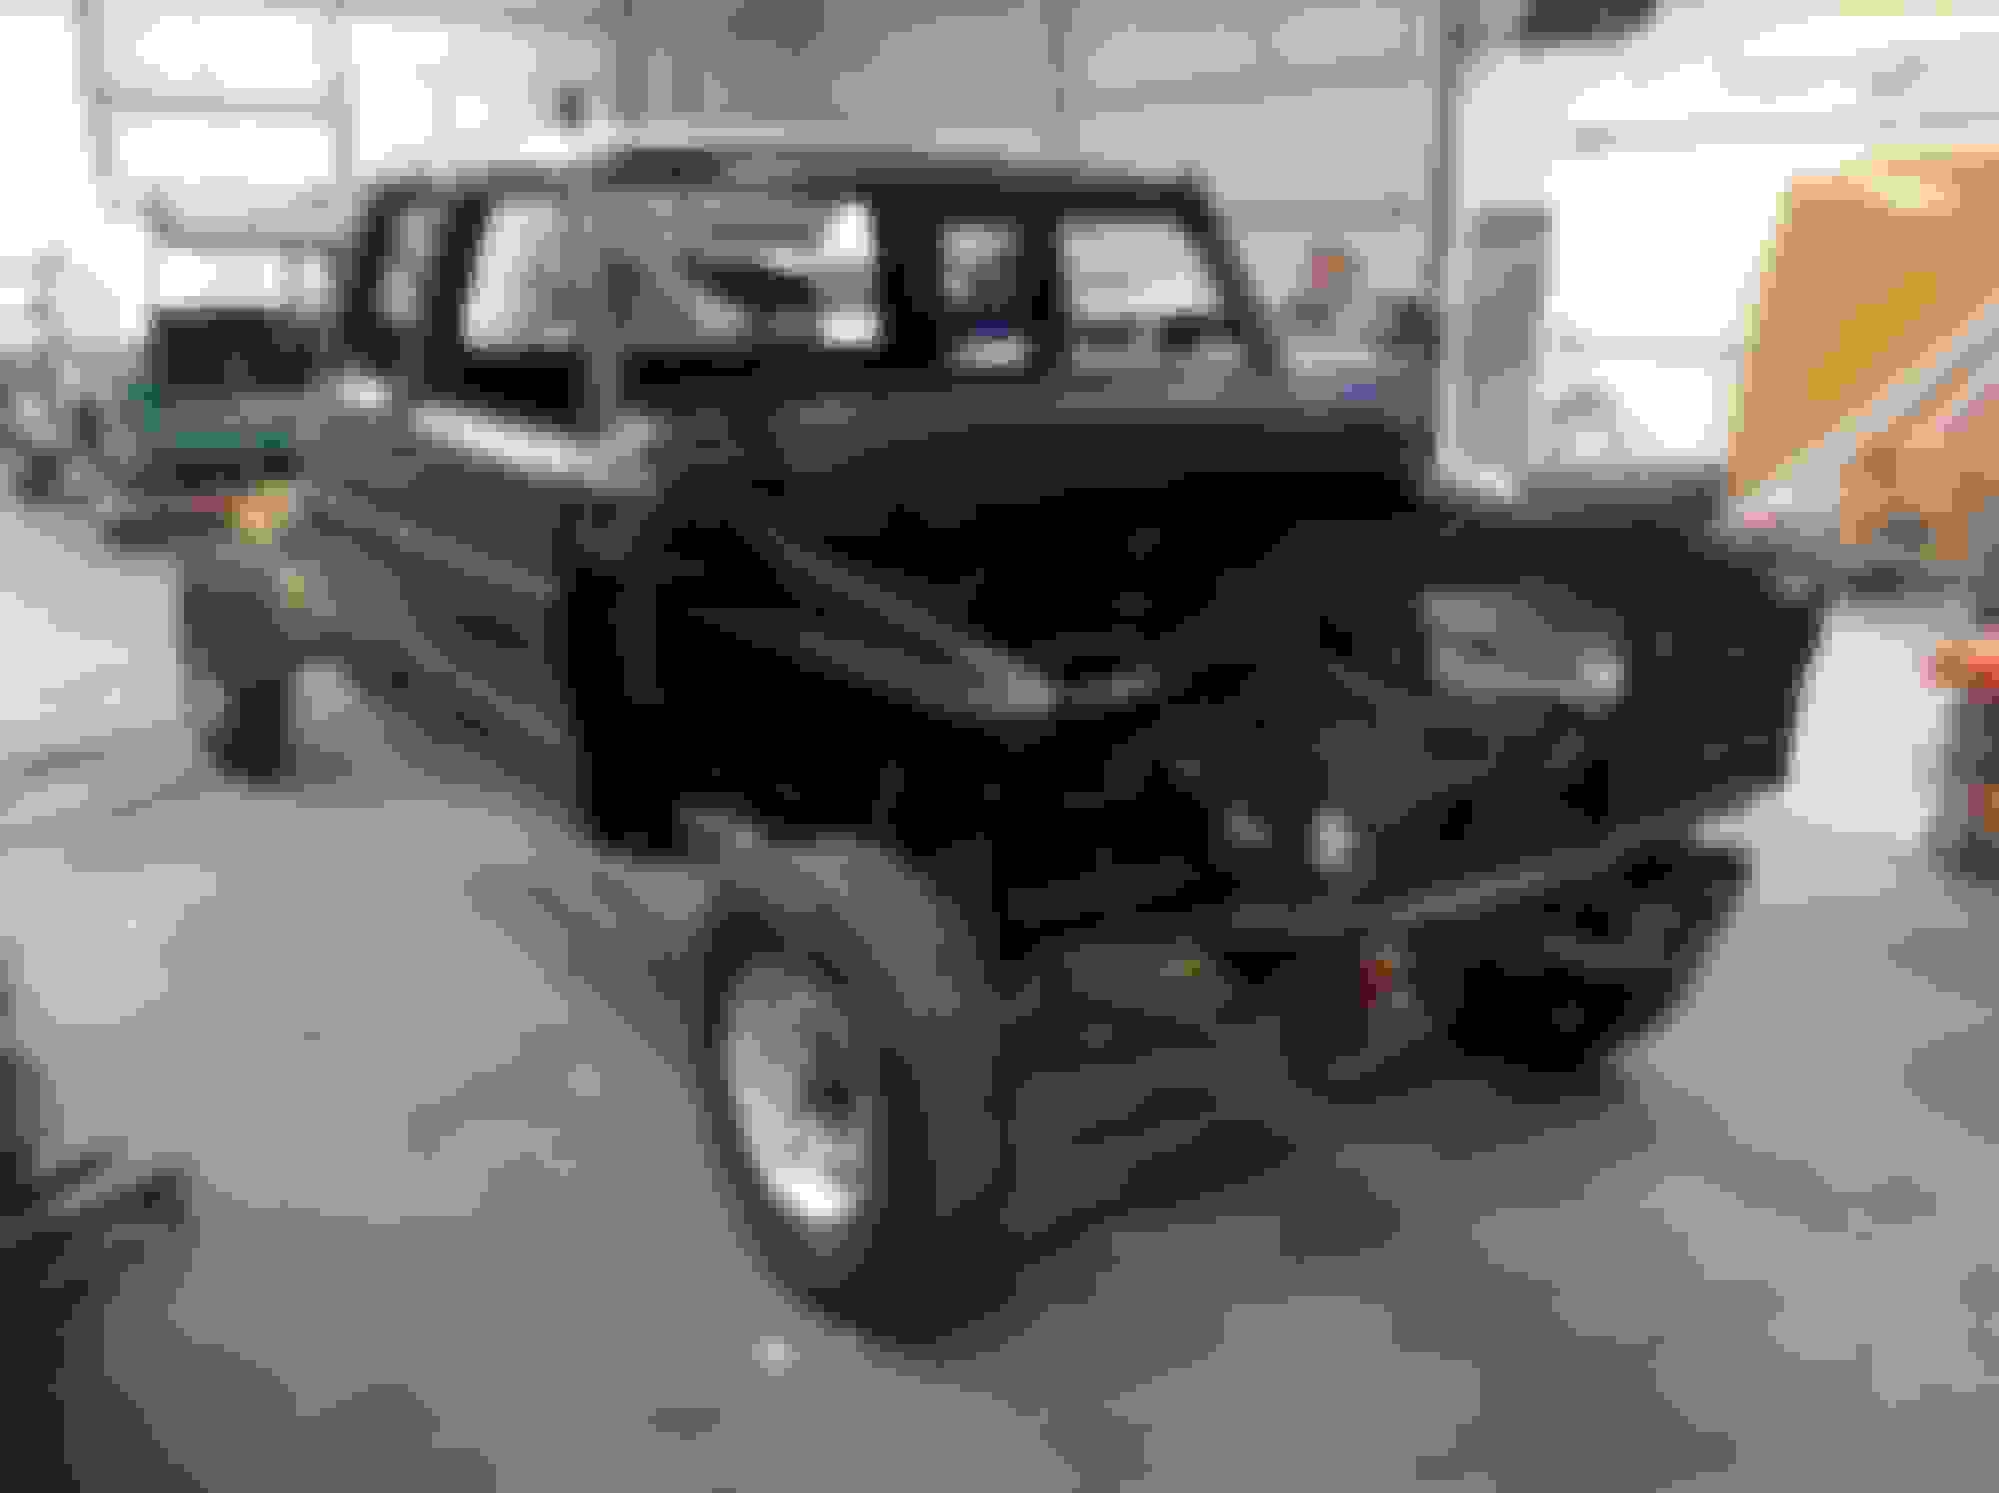
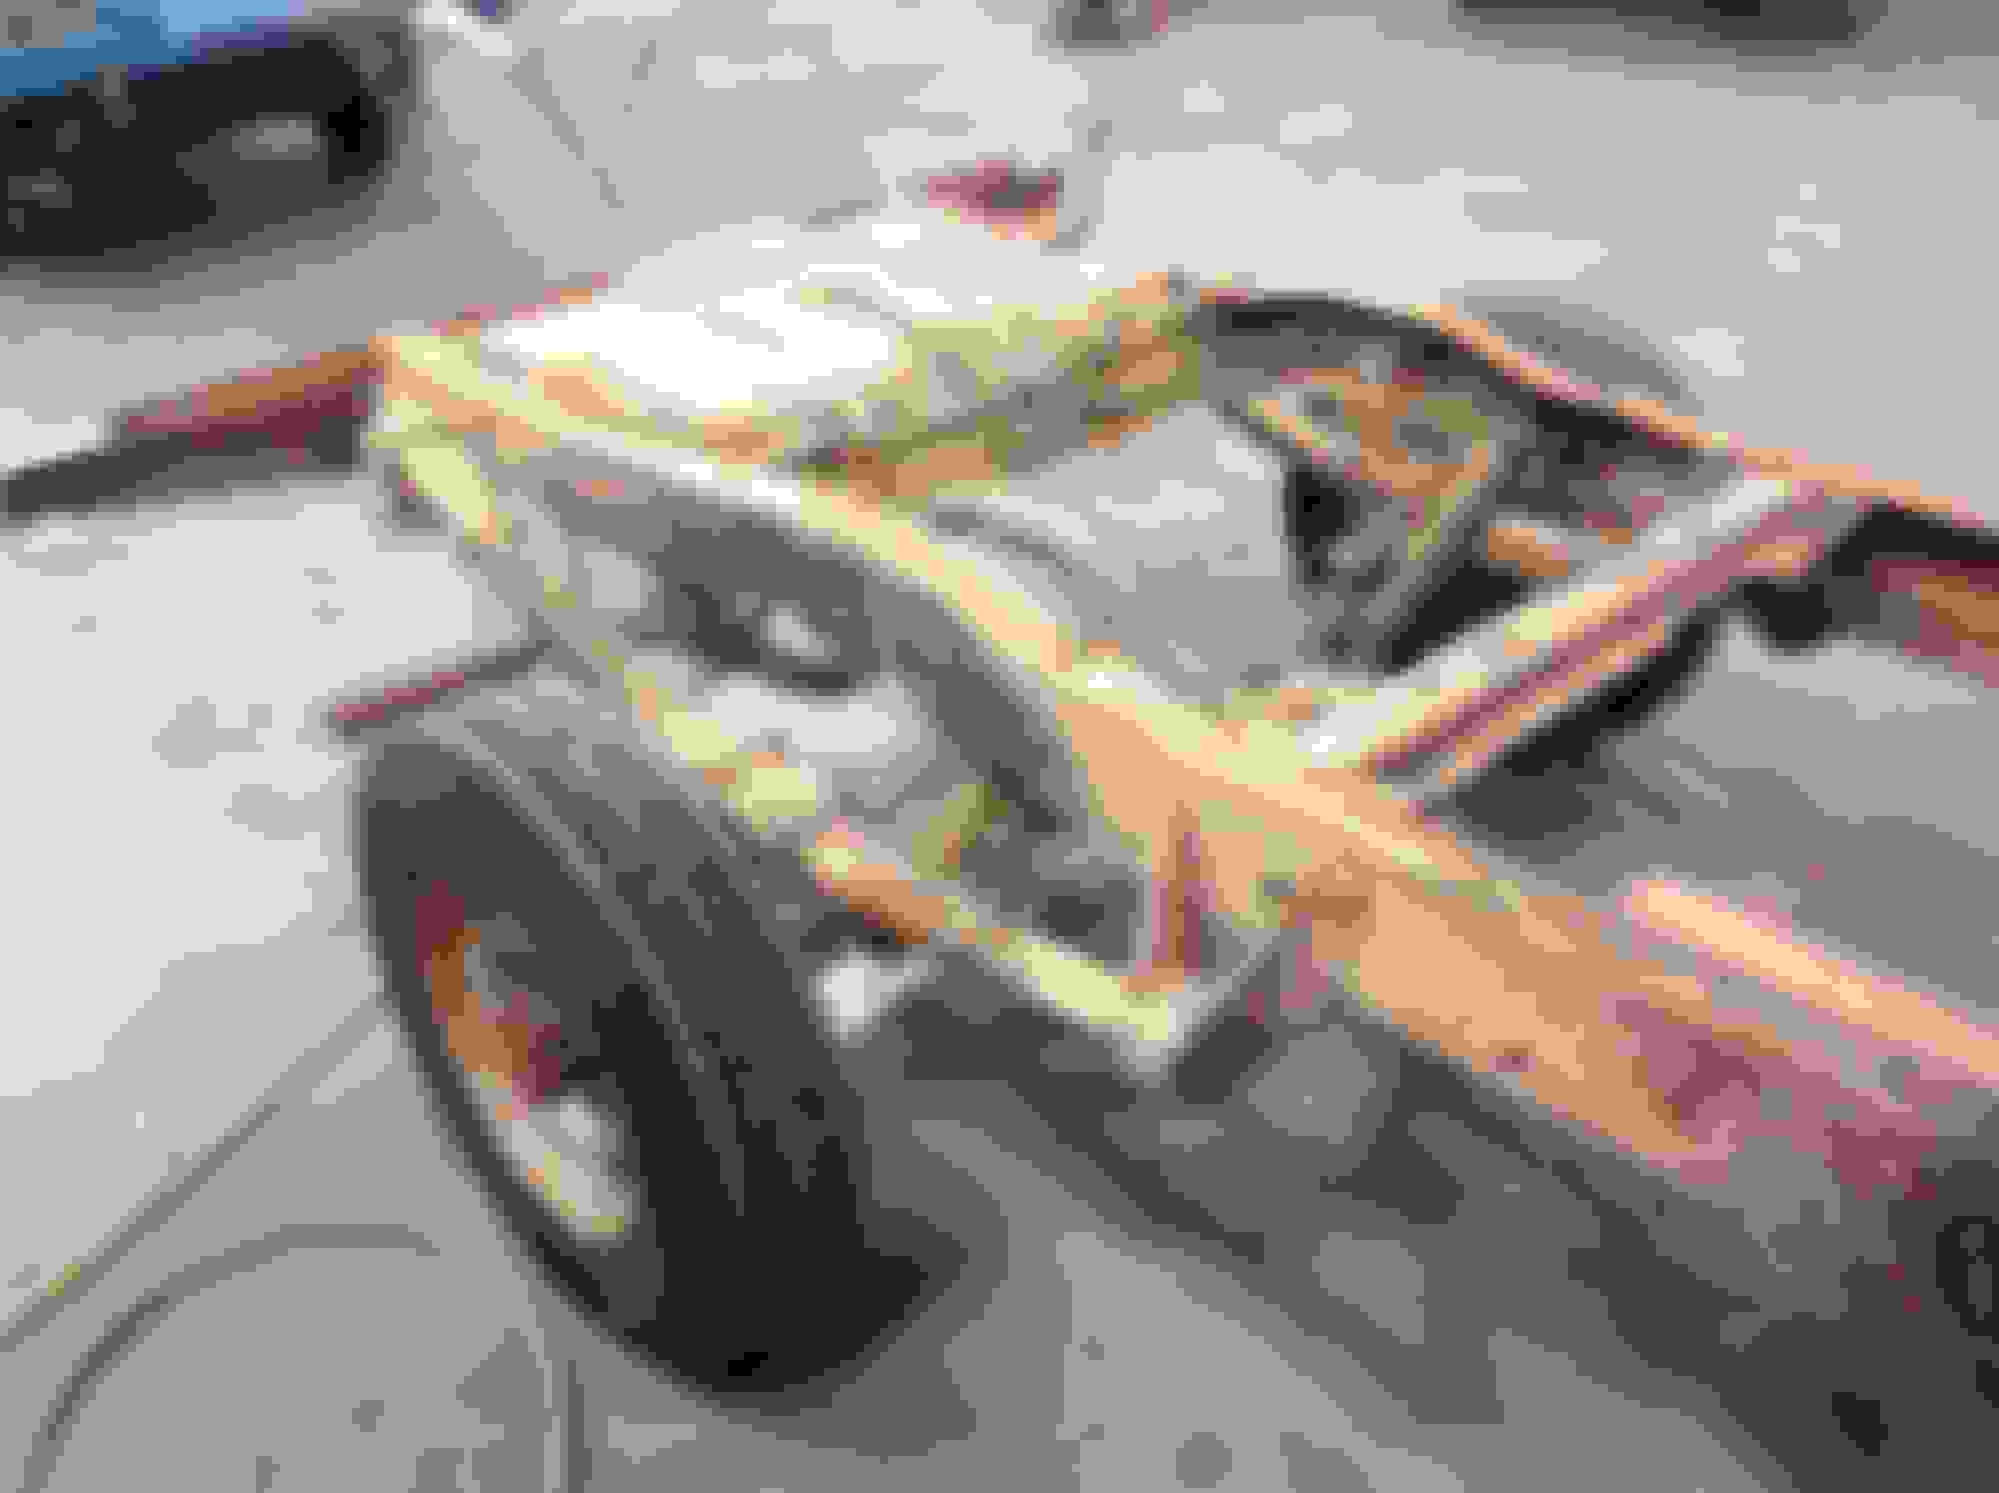
Lastly, went to check up on the truck. Cab, doors, and fenders went through blasting and bed was junked. If not again for the sentimental value, all the sheet metal should have just been thrown away and better used OE parts found. This is going to be expensive - don't think there is one intact panel (including the roof) on it:
Nice work. Those aftermarket chinese distributors are junk I bought one that didn't work out of the box. The rebuilt motorcraft ones are getting tough to find but I think A1 cardone sells them but they are getting to be in short supply and most have been rebuilt several times but they work better.
So I am finally aware of this project and your fine work. Do not know how I missed this thread.
As far as the connector I am sure I have one or two and or can get 1, 2 or 3. Would be helpful to know exactily what or where the connection came off of. And once I locate it I will get you the part plus some wiring still in it.
Back at it after a detour to Oldsmobile Land (3 hours)
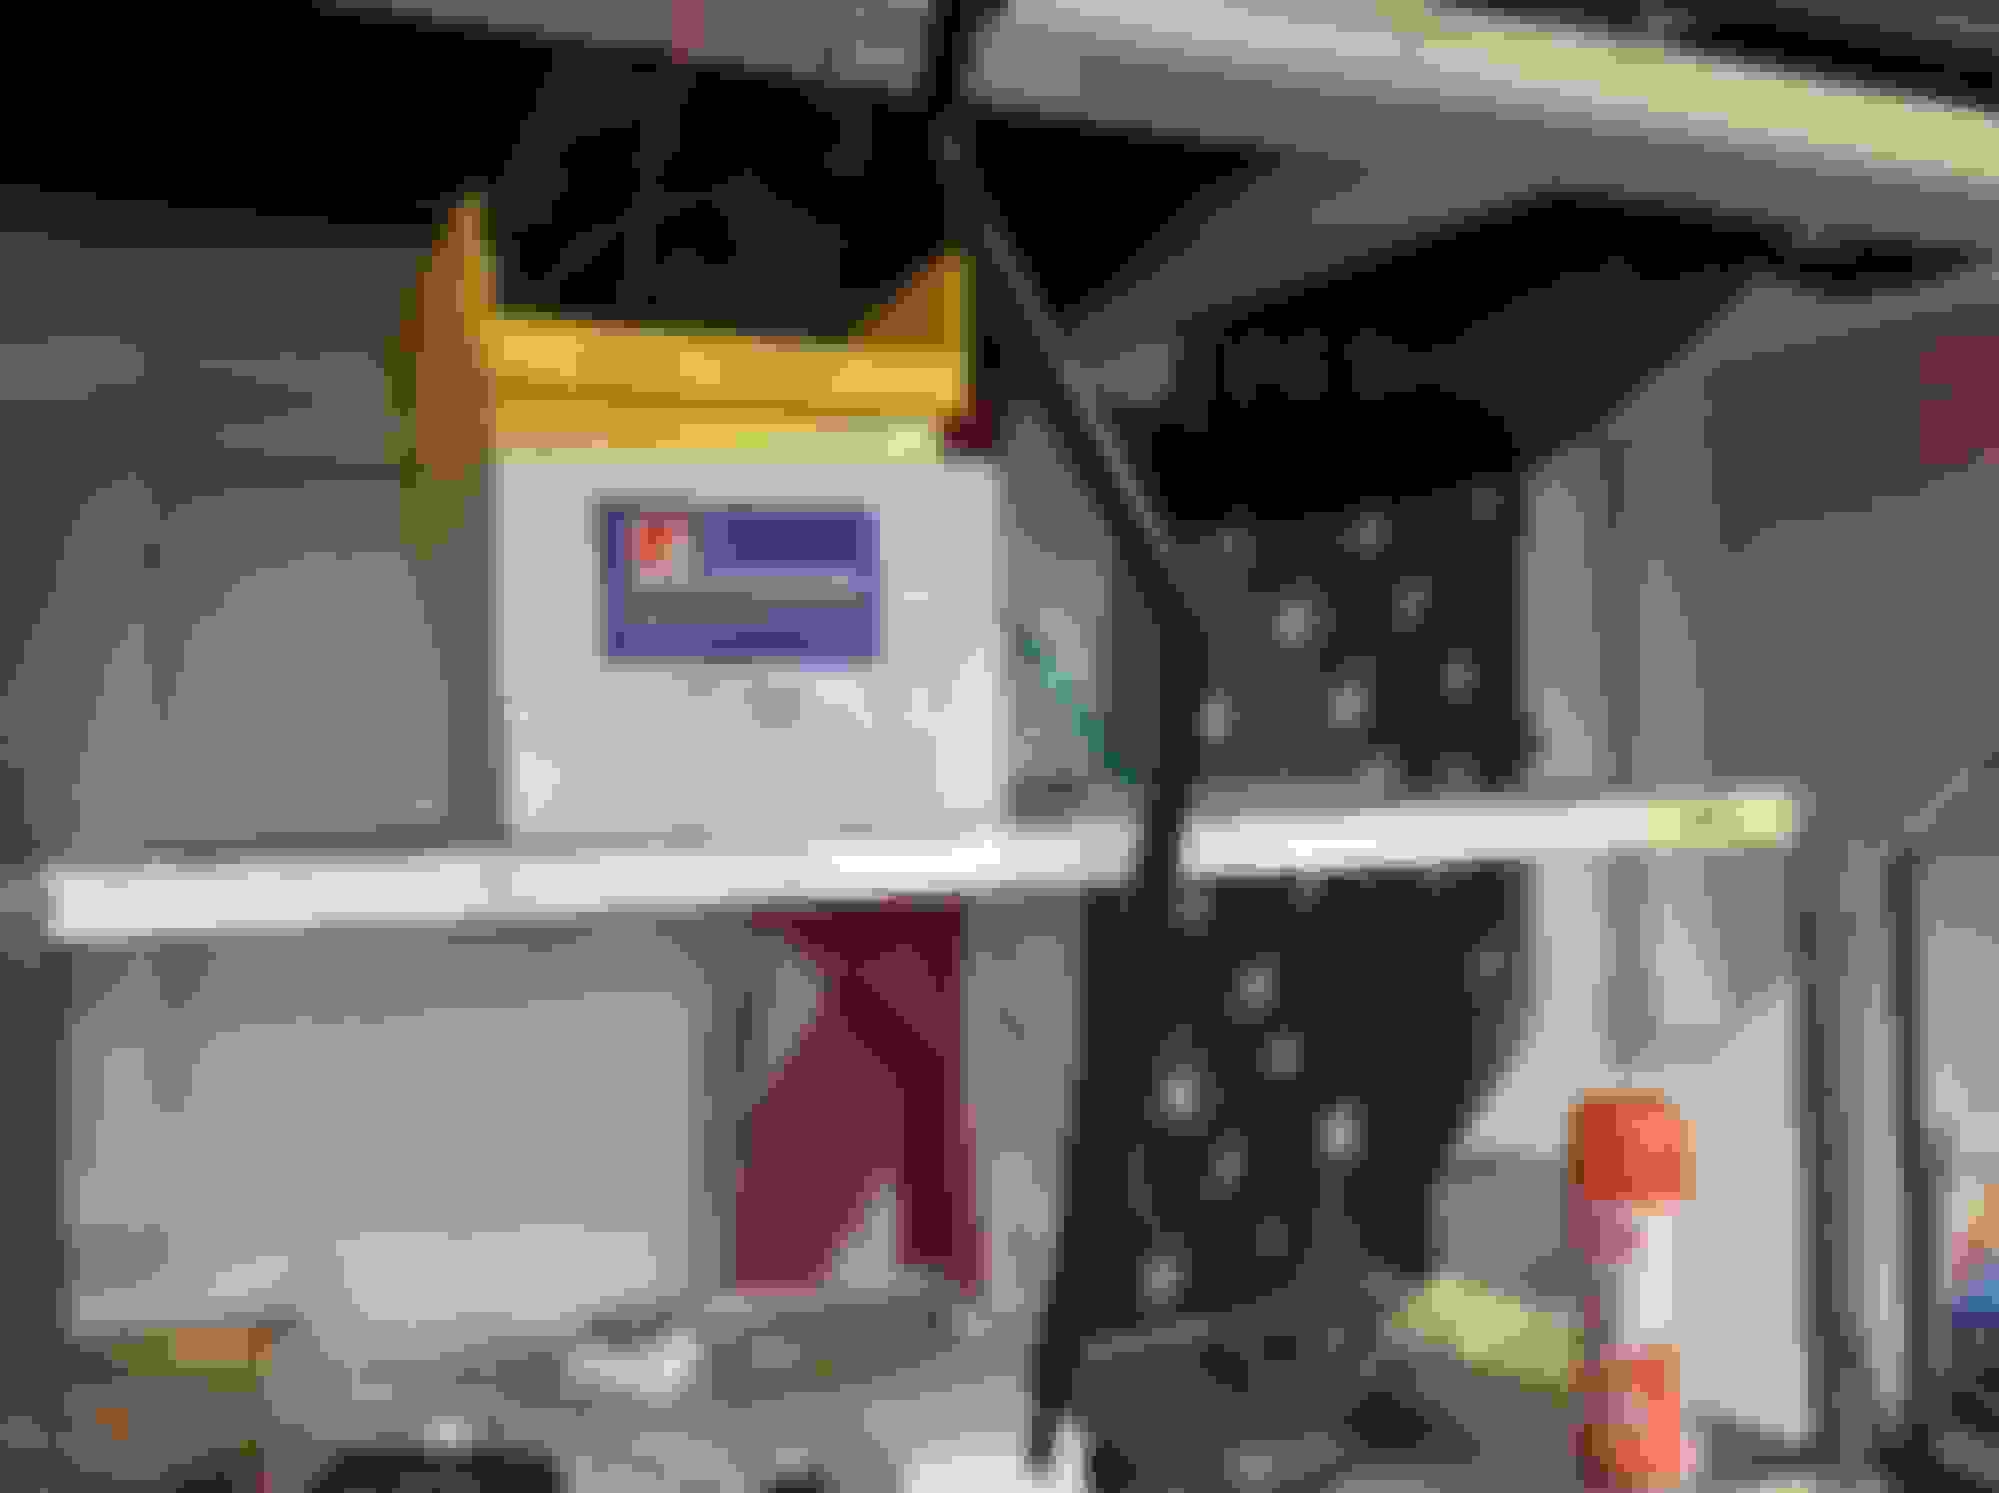
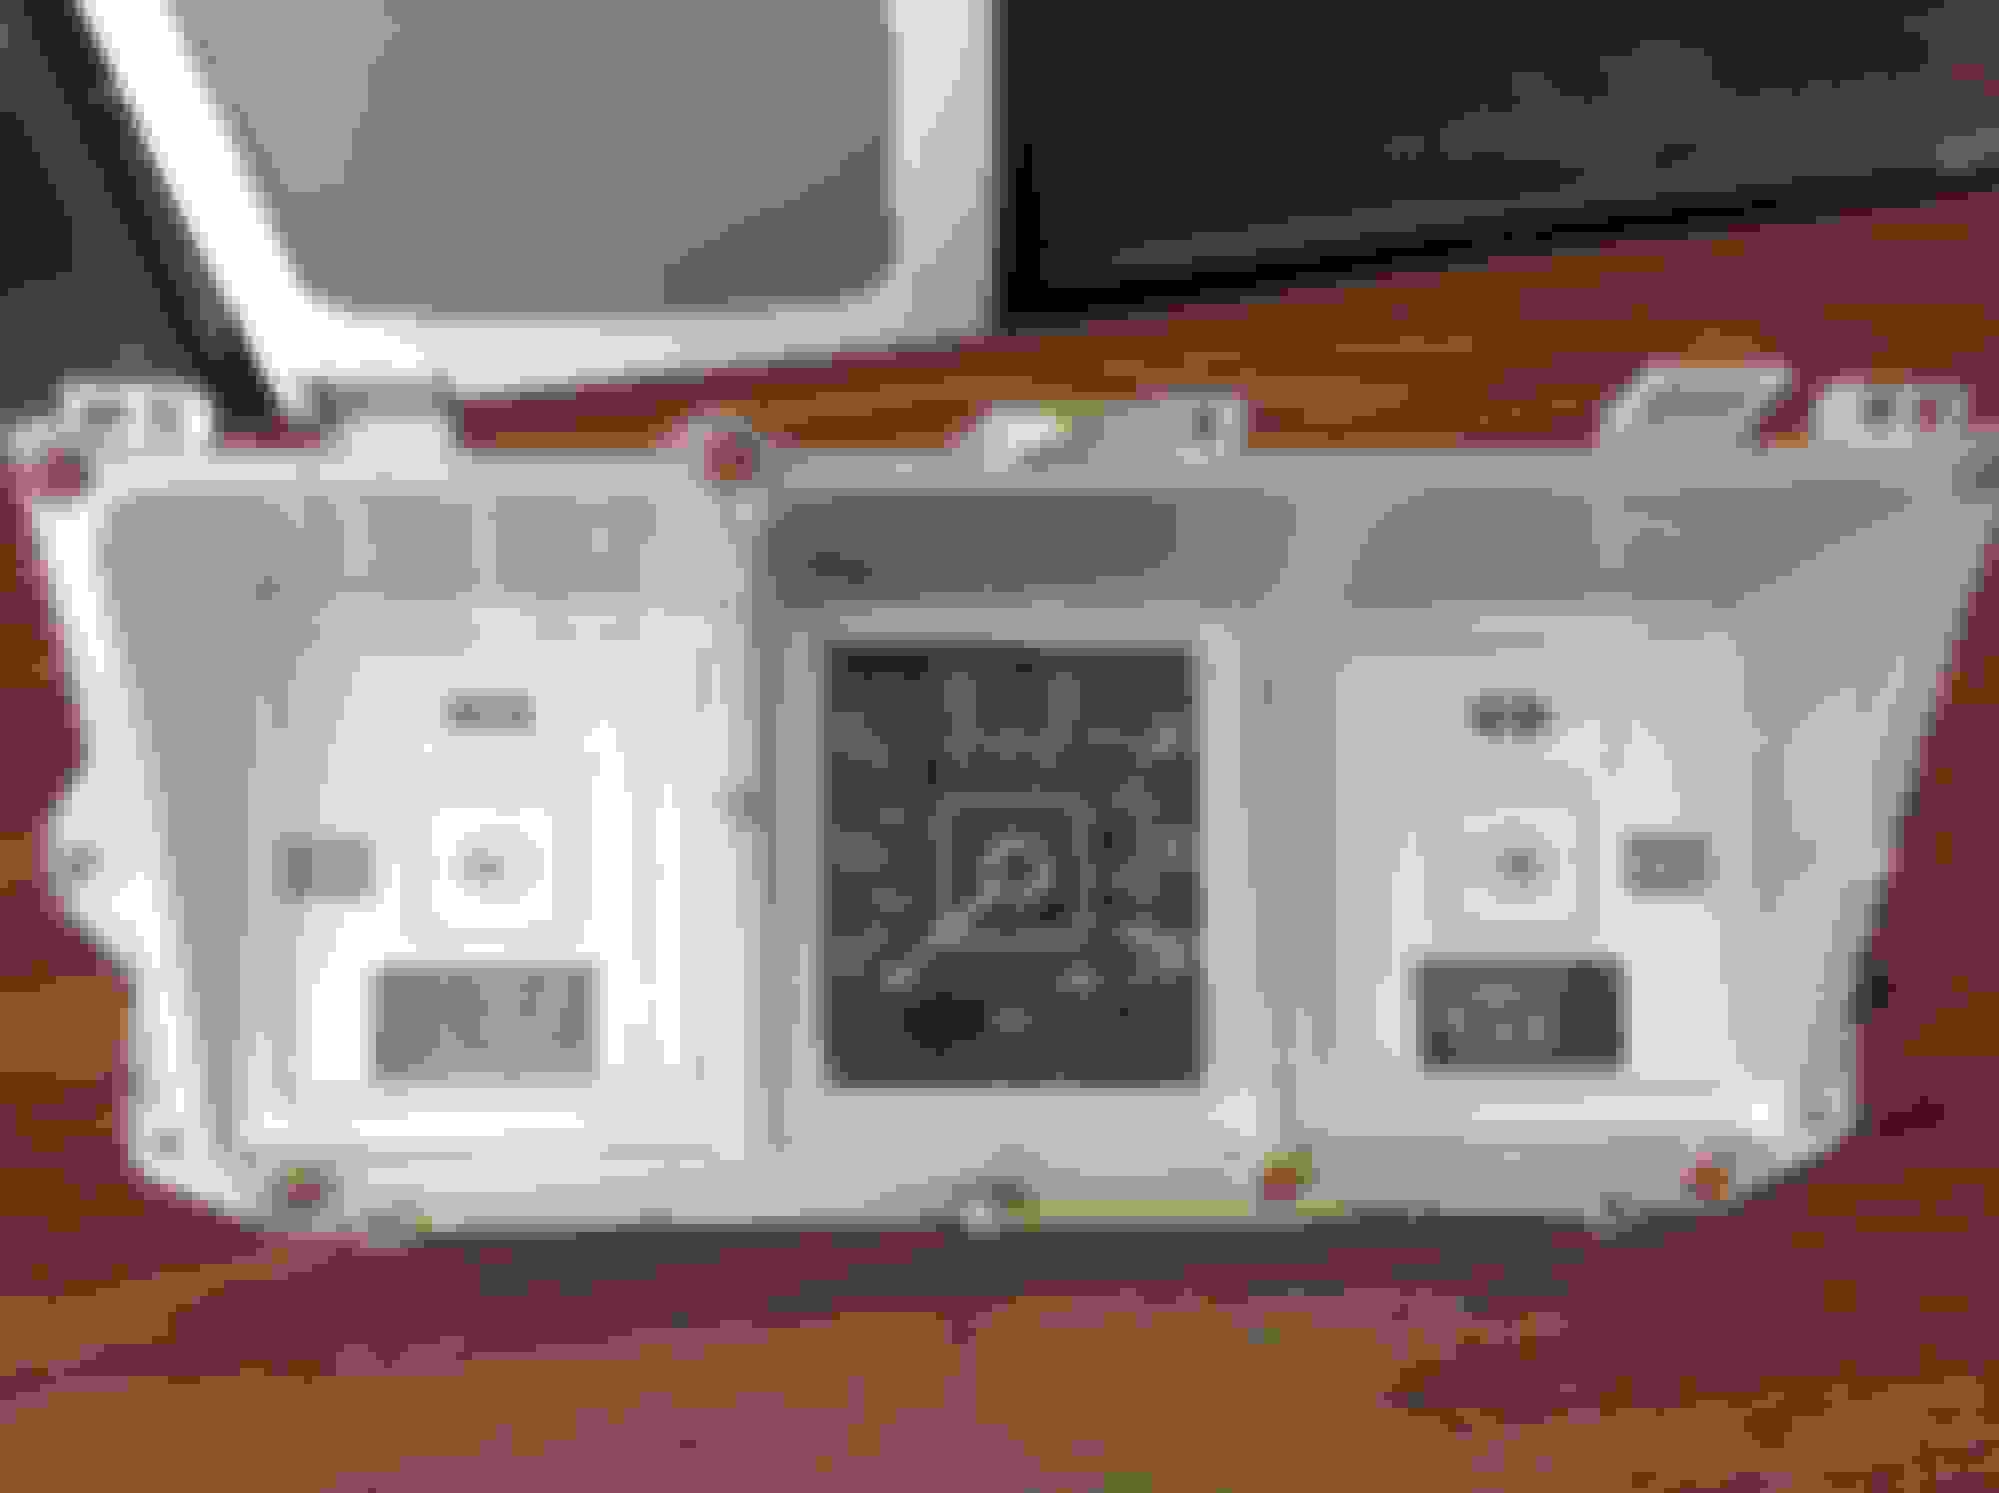
After receiving the latest order from JBG, I finally had all the parts to reassemble the gauge binnacle. Actions taken:
Replaced both gauges with the reproductions
Cleaned the original speedo and repainted the needle
Replaced the PC mat board
Replaced the voltage regulator
Replaced all bulbs
Replaced the green turn signal discs
Cleaned the 4 red warning light lenses
Replaced the binnacle lens cover.
Pics below of before and after:
Next went onto refinishing the headlamp retainers. Gave them a good Simple Green soaking and scrubbing, and then went over the exterior surfaces with single 0 steel wool. You don't want these too shiny:
Also getting close to having Rich (77&79F250) send me a lot of small miscellaneous parts I'm needing. Like others have said, Rich is a class act and has been a pleasure to work with.
No pictures, but got my carb back from Carb Junkys. Like they said, they put a lot of Ford NOS parts (choke thermostat, choke pull-off) on it because rarely do they get these "later" carbs to restore.
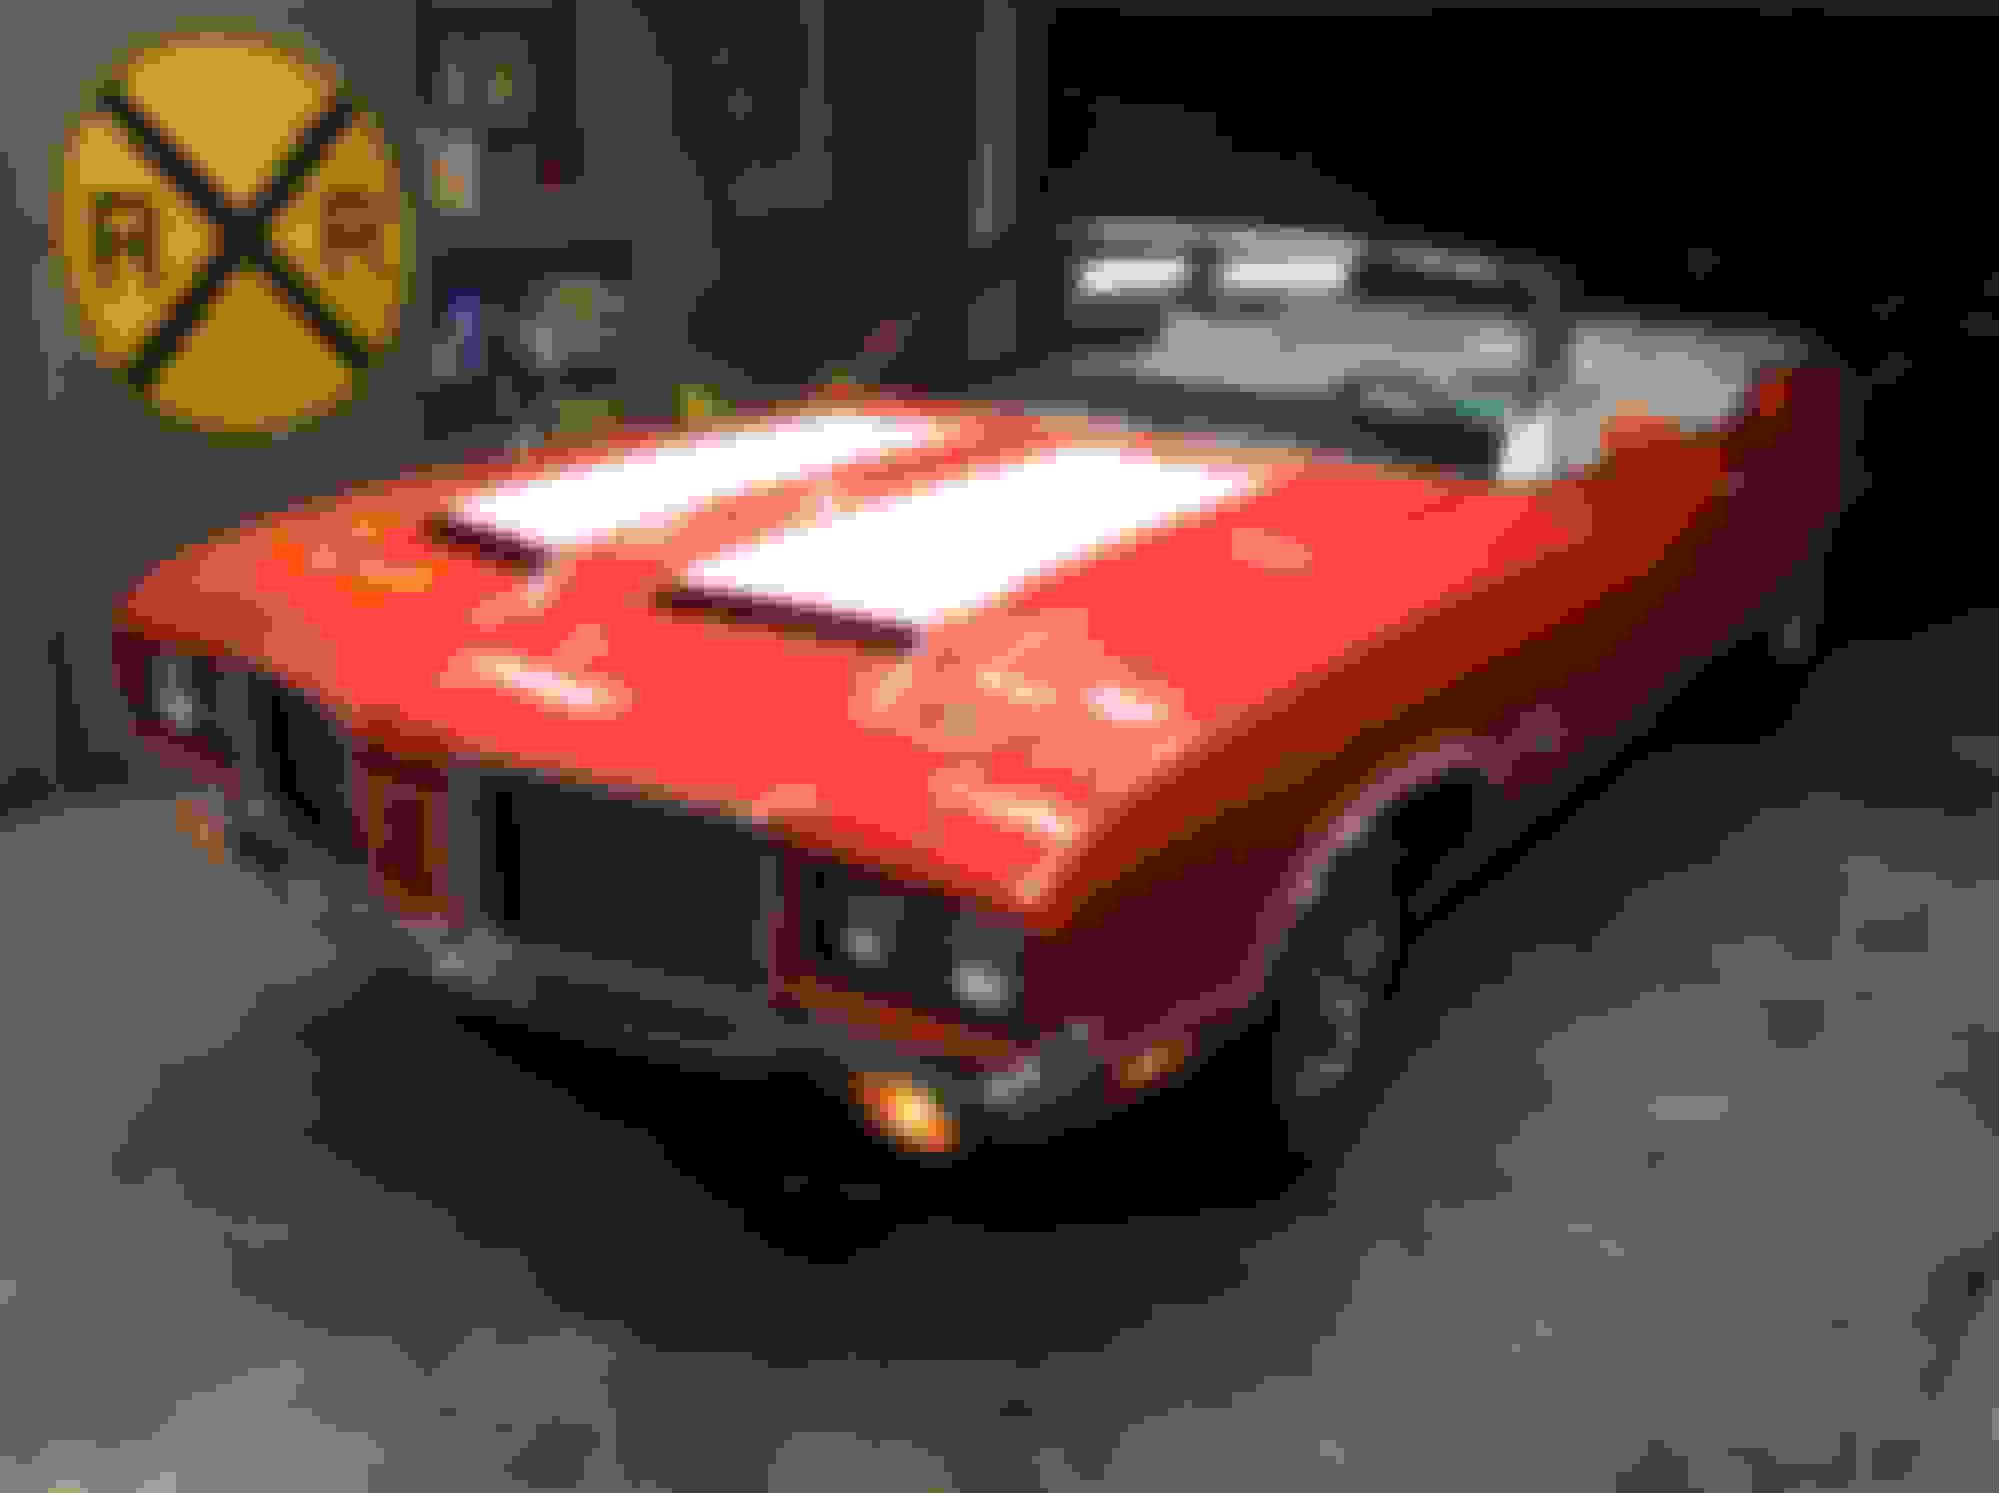
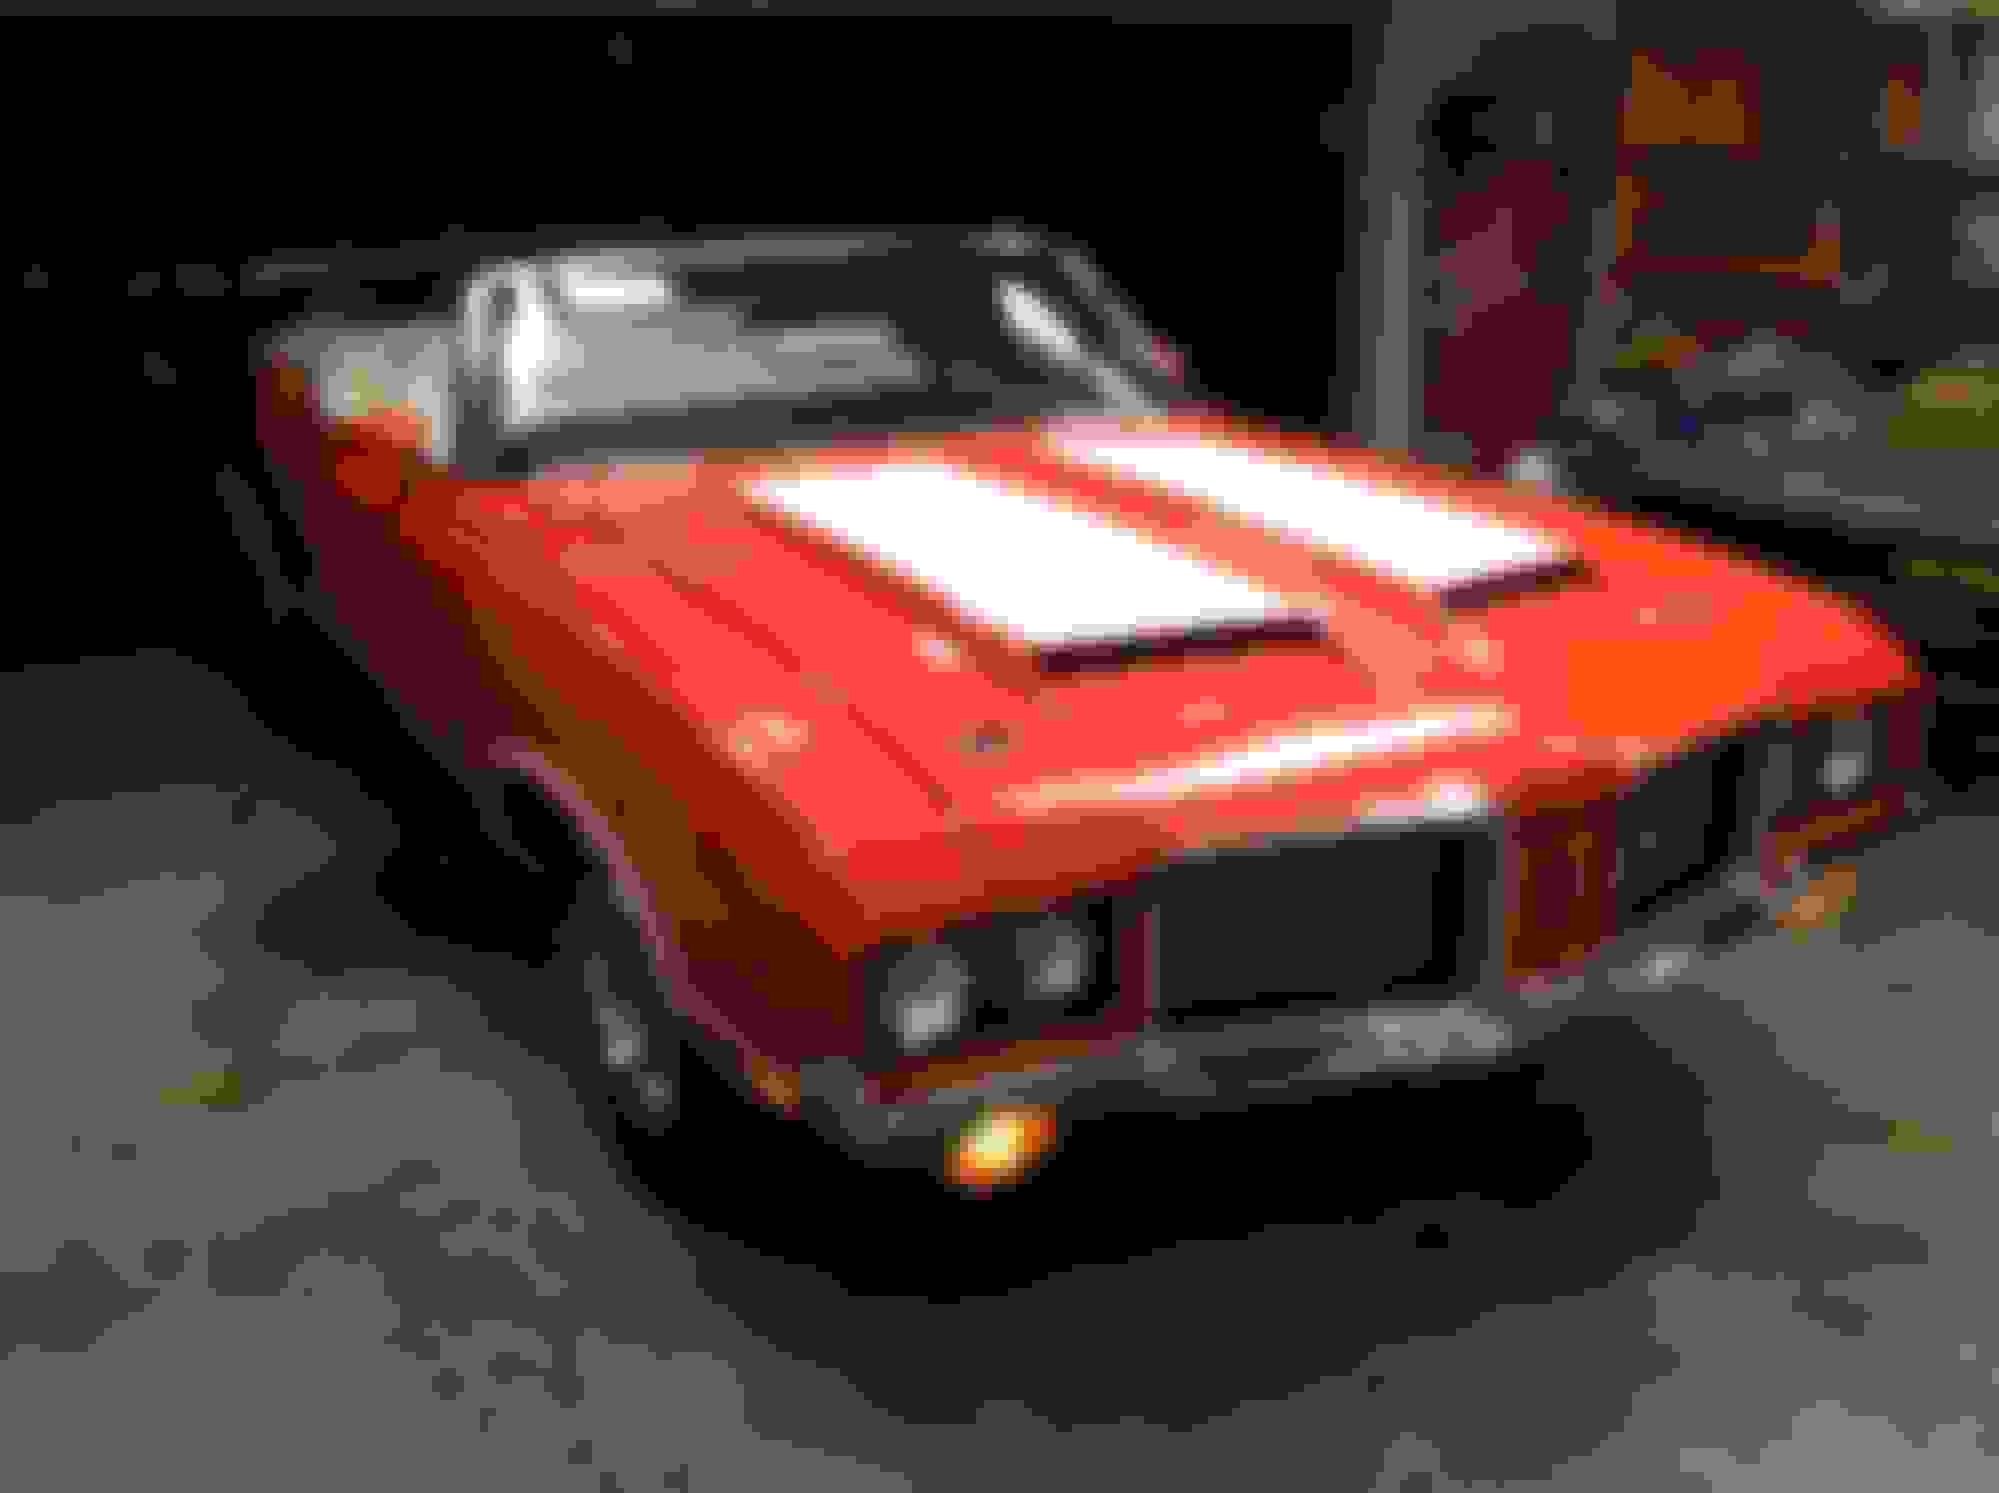
Lastly, have my 72 455 4 spd. 442 Convertible home after last week's show. Thought I'd show what I usually work on before it goes back into storage:
Thanks. Yes, I do all the work except paint, body, and engine machining work. I have 4 of these type cars - a 68 Hurst Olds, a 70 W-30, a 71 Cutlass Supreme and this one.

 04-11-2017, 10:01 PM