When you click on links to various merchants on this site and make a purchase, this can result in this site earning a commission. Affiliate programs and affiliations include, but are not limited to, the eBay Partner Network.
Started by removing seat belt buzzer harness, dimmer switch, coat hanger, (thanks FTE friends), shifter & transaxle boots, and trans cover. One bolt was just laying in the hole because the j clip was missing from the factory - ah, late 70's quality.
Back under the hood to remove P/S pump and finish disconnecting all electrical connections in preparation for removing the harnesses. Miraculously, the steel fuel pump to carb line was salvageable with minimal distortion to the fitting at the pump.
Removed the OE solenoid to starter cable and starter. The cable is marked Motorcraft D9xxxxx and will be saved. The starter not so much. Drive teeth are badly chewed up, drive is corroded in place in the nose cone. It is the worst condition mechanical component removed so far.
I had to break down and use the Shop Vac to get all the dirt from the mud daubers and wasp nests from under the hood. They are everywhere you look and may have helped save some components from more corrosion.
Need to call Numbers Dummy on some more OE part numbers Id like to try to find NOS parts for.
Been traveling a bit, so a long time since an update. After the 1st, I'm back on it with a vengeance.
Have removed everything from the truck interior and exterior. Hood was taken off and everything except the evaporator box and long block itself has been removed from the engine bay
Also, since the last update, Ive bought an NOS emissions pump, and an excellent used OE tail gate assembly. Still looking for a local 77-79 bed in reasonable condition.
Any opinions on whether pulling the engine with trans and transfer case attached is a significant time savings vs. pulling them individually?
Pics above detail engine right before pulling next week, and floor board corrosion. More pinholing in the back of the cab flooring, and some along the dreaded drip molding seam.
No real work but some documenting and experimenting
Sorted through some boxes of things brought home to determine whether media blasting or stripping will be required. Took pics of factory paint "dip" line and markings on the clutch & brake pedal arms as well as the e-brake assembly. Will replicate with Duplicolor Ford Engine semi gloss Black. Also took a pic of the factory supplier sticker of the jump seat frames. Wish I could save these somehow.
Aldo played with trying to save the original gas pedal. I tried using a hand held steam cleaner to "melt" that tightly packed mud and tiny pebbles out of the grooves without further damaging the original pebbled finish on the pedal. Might be OK with a very light treatment of Black Colorback.
Will post another thread about this crazy pedal assembly and how - if possible - do you disassemble it.
Have sourced a correct AM/FM Stereo radio with uncut harnesses from Fleabay. Also, thanks to Twinzilla, have 2 bead blasted 16.5 wheels, a factory bottle jack, a NOS RH inner fender on the way.
In last two weeks, I pulled the motor. No major surprises during diassembly, but the OE water outlet cracked during removal along with breaking off the two bolts and one of the original ported vacuum switches. Also, broke two exhaust manifold bolts as well as a weird head bolt stripping event,after backing out of the block - somehow it got stripped when trying to pull it out of the head. Removed some more miscellaneous pieces and the truck is ready to go to body shop prison. I'll be back to get the rolling frame after bodywork is done and the vehicle is blown apart for paint.
Today I brought home all the pieces removed from the truck except for items being farmed out for specialized work:
Bench Seat Aasembly Reupholstery And Headliner Manufacturing (from existing template) - TBD
Carb Rebuling Restoration - Carb Junky's
Seat Belt Aeemblies - Python Industries
P/B Booster Rebuilding & Refinishing - Booster Dewey
Engine Rebuilding/Tinware/Int. & Exh. Manifold Cleaning - Tinker's Machine
Front Bumper Replating - Dallas Bumper Exchange
Radiator Rebuilding - Centennial Radiator
Alternator & Starter Rebuilding/ Restoration - Some Guy In Austin My Olds Buddy Knows
Front & Rear Diffs/Transmission/Transaxle Rebuilding - Wade Transmission & Gear (when I get the rolling frame back from the painter)
I think I'm also going to use Power Steering Sevices in Missouri for the pump and gearbox. Will rebuild the distributor myself, and just buy a new master cylinder and A/C compressor - both aren't original to the truck anyway.
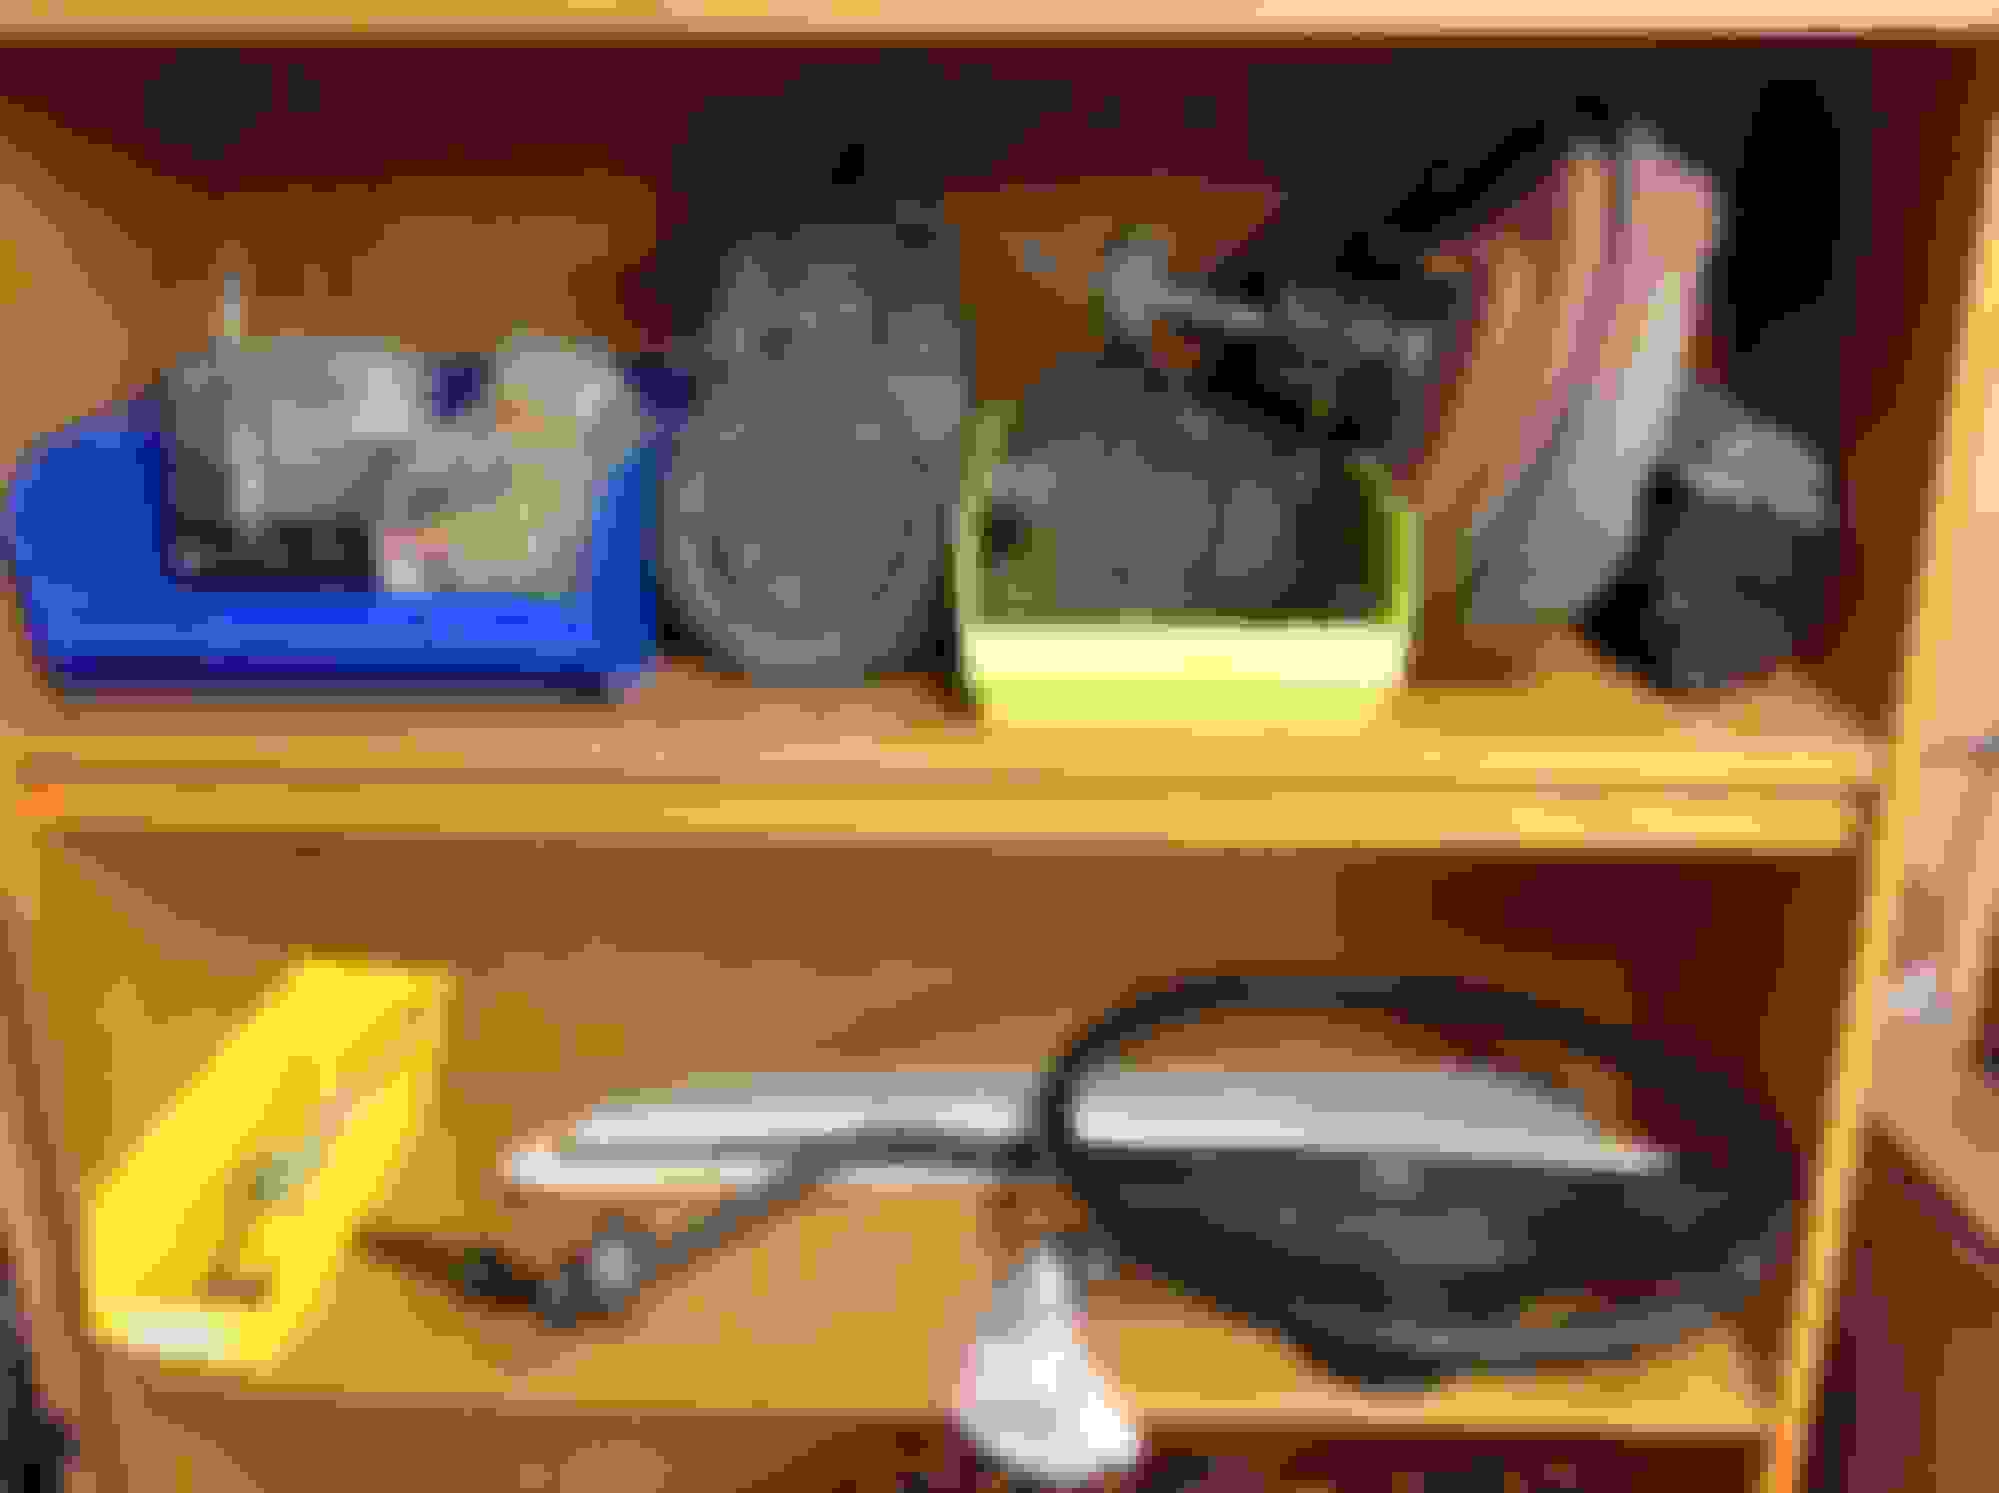
Pics below of the bins of parts brought home for refurbishment:
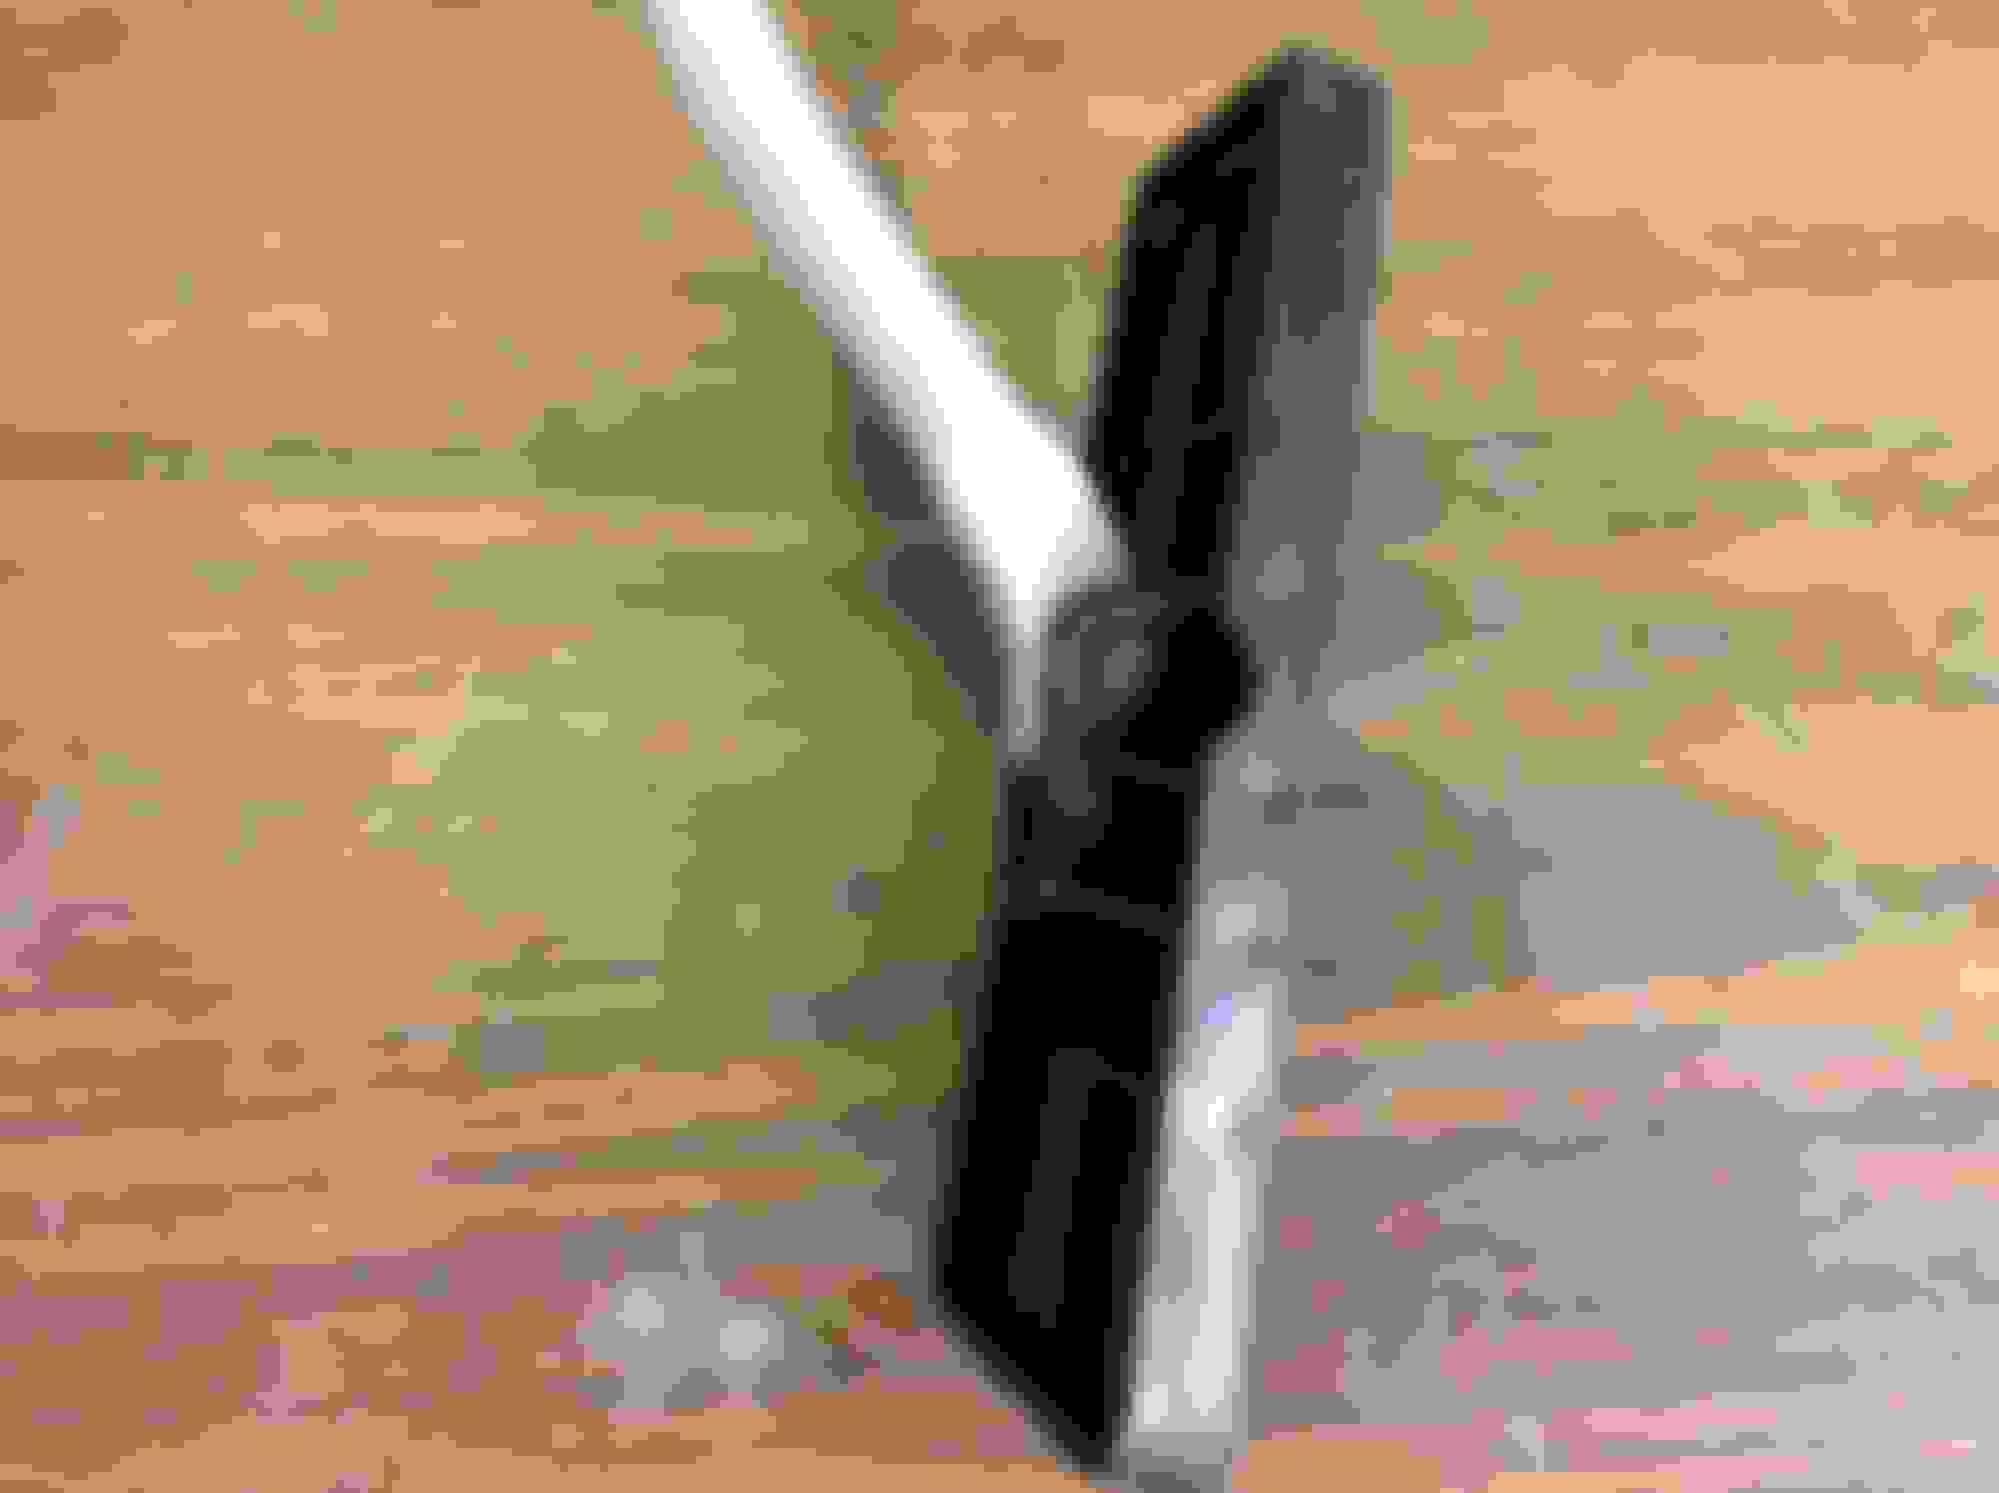
Also, for fun dropped the accelerator pedal assembly in the Evporust to see how it would turn out. Nice color:
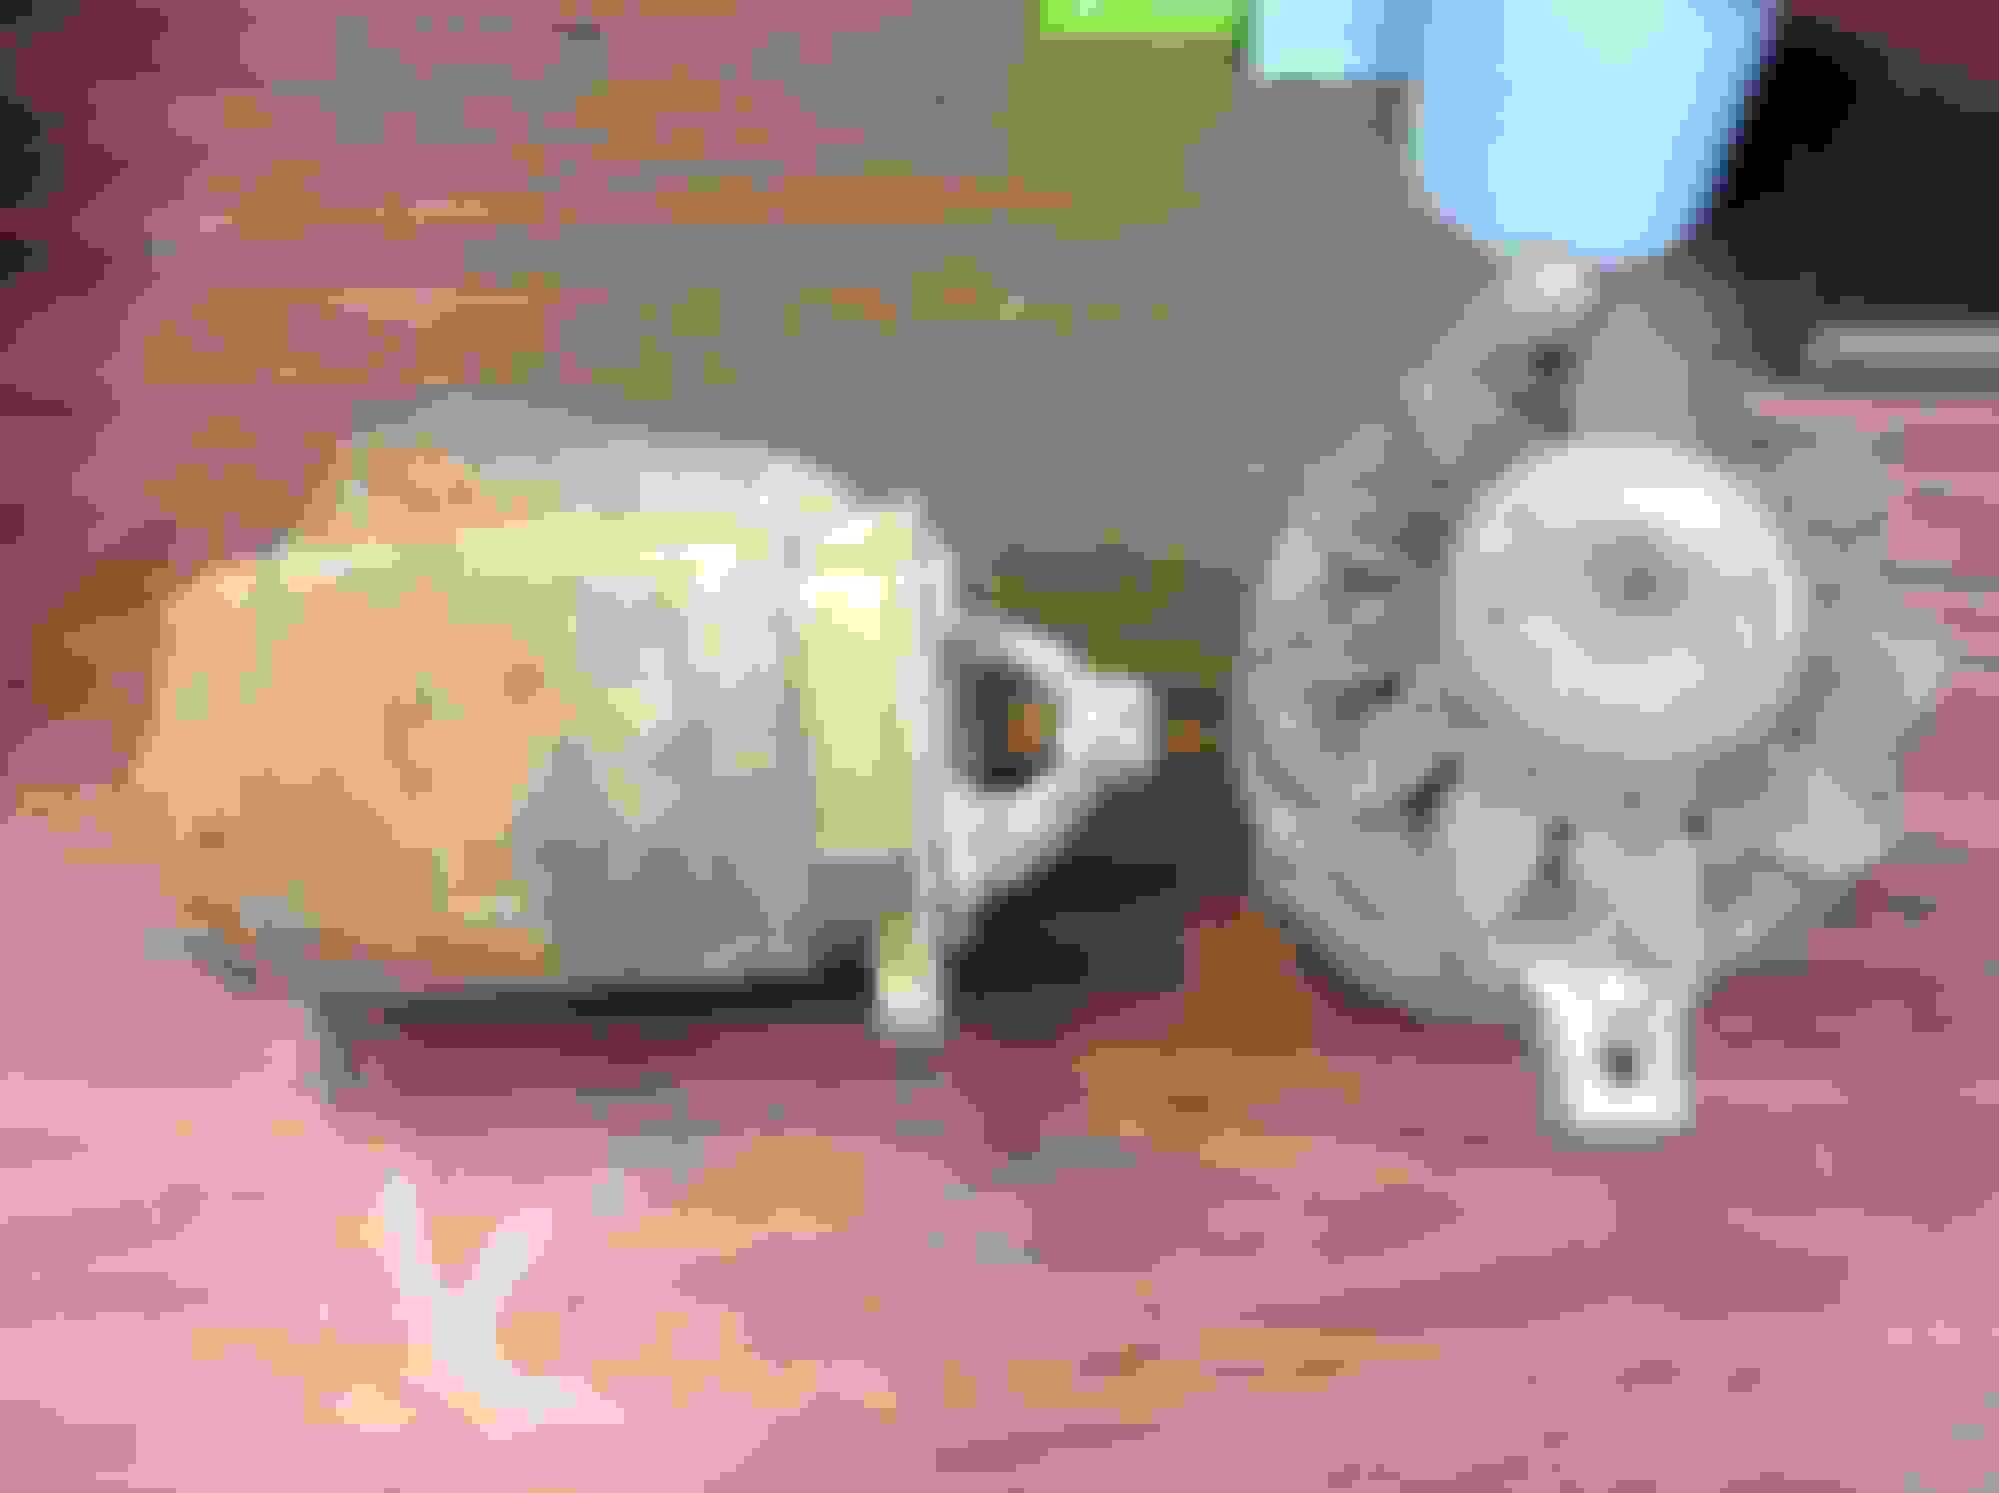
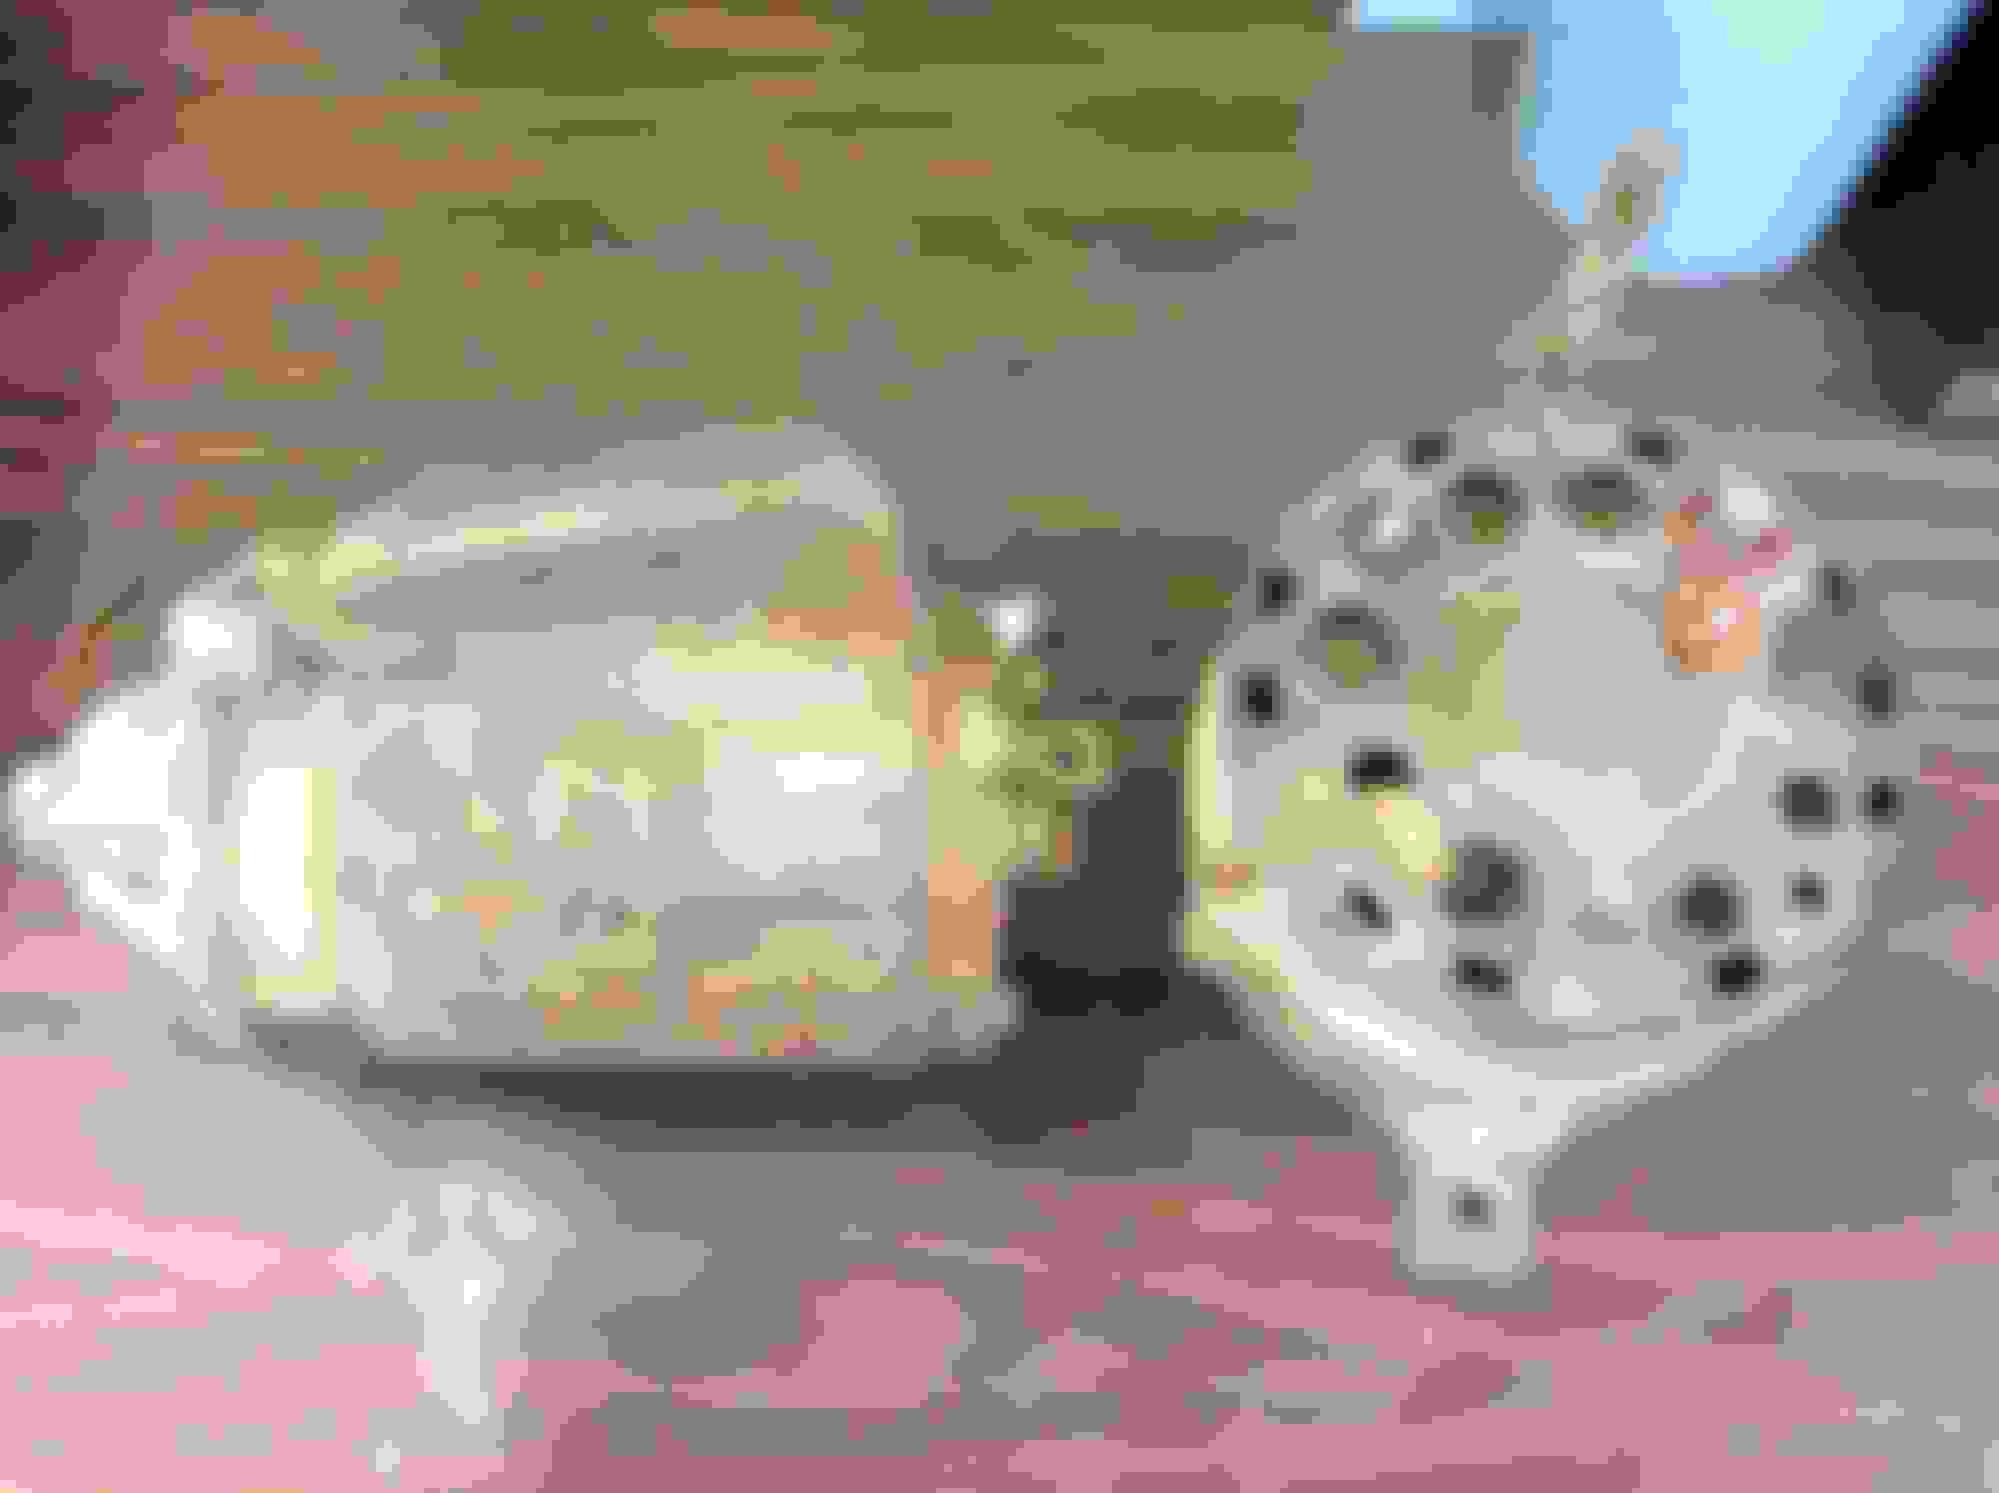
Here's the sorry state of the alternator and starter. Both original pieces. Starter has that L bracket thing wher the cable attaches, and I need to drive the stuck bolt out of the alternator ans save that plastic clip on the back:
Nice project Superblue 400. I have some ported vacuum switches and egr valves that are brand new. If you let me know which ones you need I would like to contribute a little something to your build.
Nice project Superblue 400. I have some ported vacuum switches and egr valves that are brand new. If you let me know which ones you need I would like to contribute a little something to your build.
Rob thank you. I need both components. The PVS switch is green in color and screws into the water outlet, and the EGR valve is for a 79 400 2V in a 8100 GVW 4WD SC. Let me know if you need further numbers to see if you have these.
Today began getting my garage organized for the next 4-6 months of part repair and reconditioning/restoring.
Began with one last evaluation of all the parts determining which surface prep will be required:
Items needing to be bead blasted - pulleys, brackets, etc
Items needing to be chemically stripped of dirt/grease - greasy items
Items needing to be mechnically stripped by either hand sanding or wire wheeling - brake lines, bolts, etc...
Items needing to be Evapo Rust treated - e brake assembly, hood hinges, etc..
Items needing to be cleaned with no further finish restoration - vac hoses, charcoal canister, etc
Dunked a few more parts in the Evapo Rust after pulling out the clutch Zbar assembly, coil bracket, under dash clutch return spring, spark plug end sheilds out of the tank. Some will be simply clear coated, some painted and some just left natural.
Got my new HF table top bead blast cabinet all hooked up - works great for about 5 minutes (did my A/C compressor "table" bracket and water pump pulley) until my compressor coud not keep up. I have a 60 gal. tank so it is time to step up to a much larger capacity compressor.
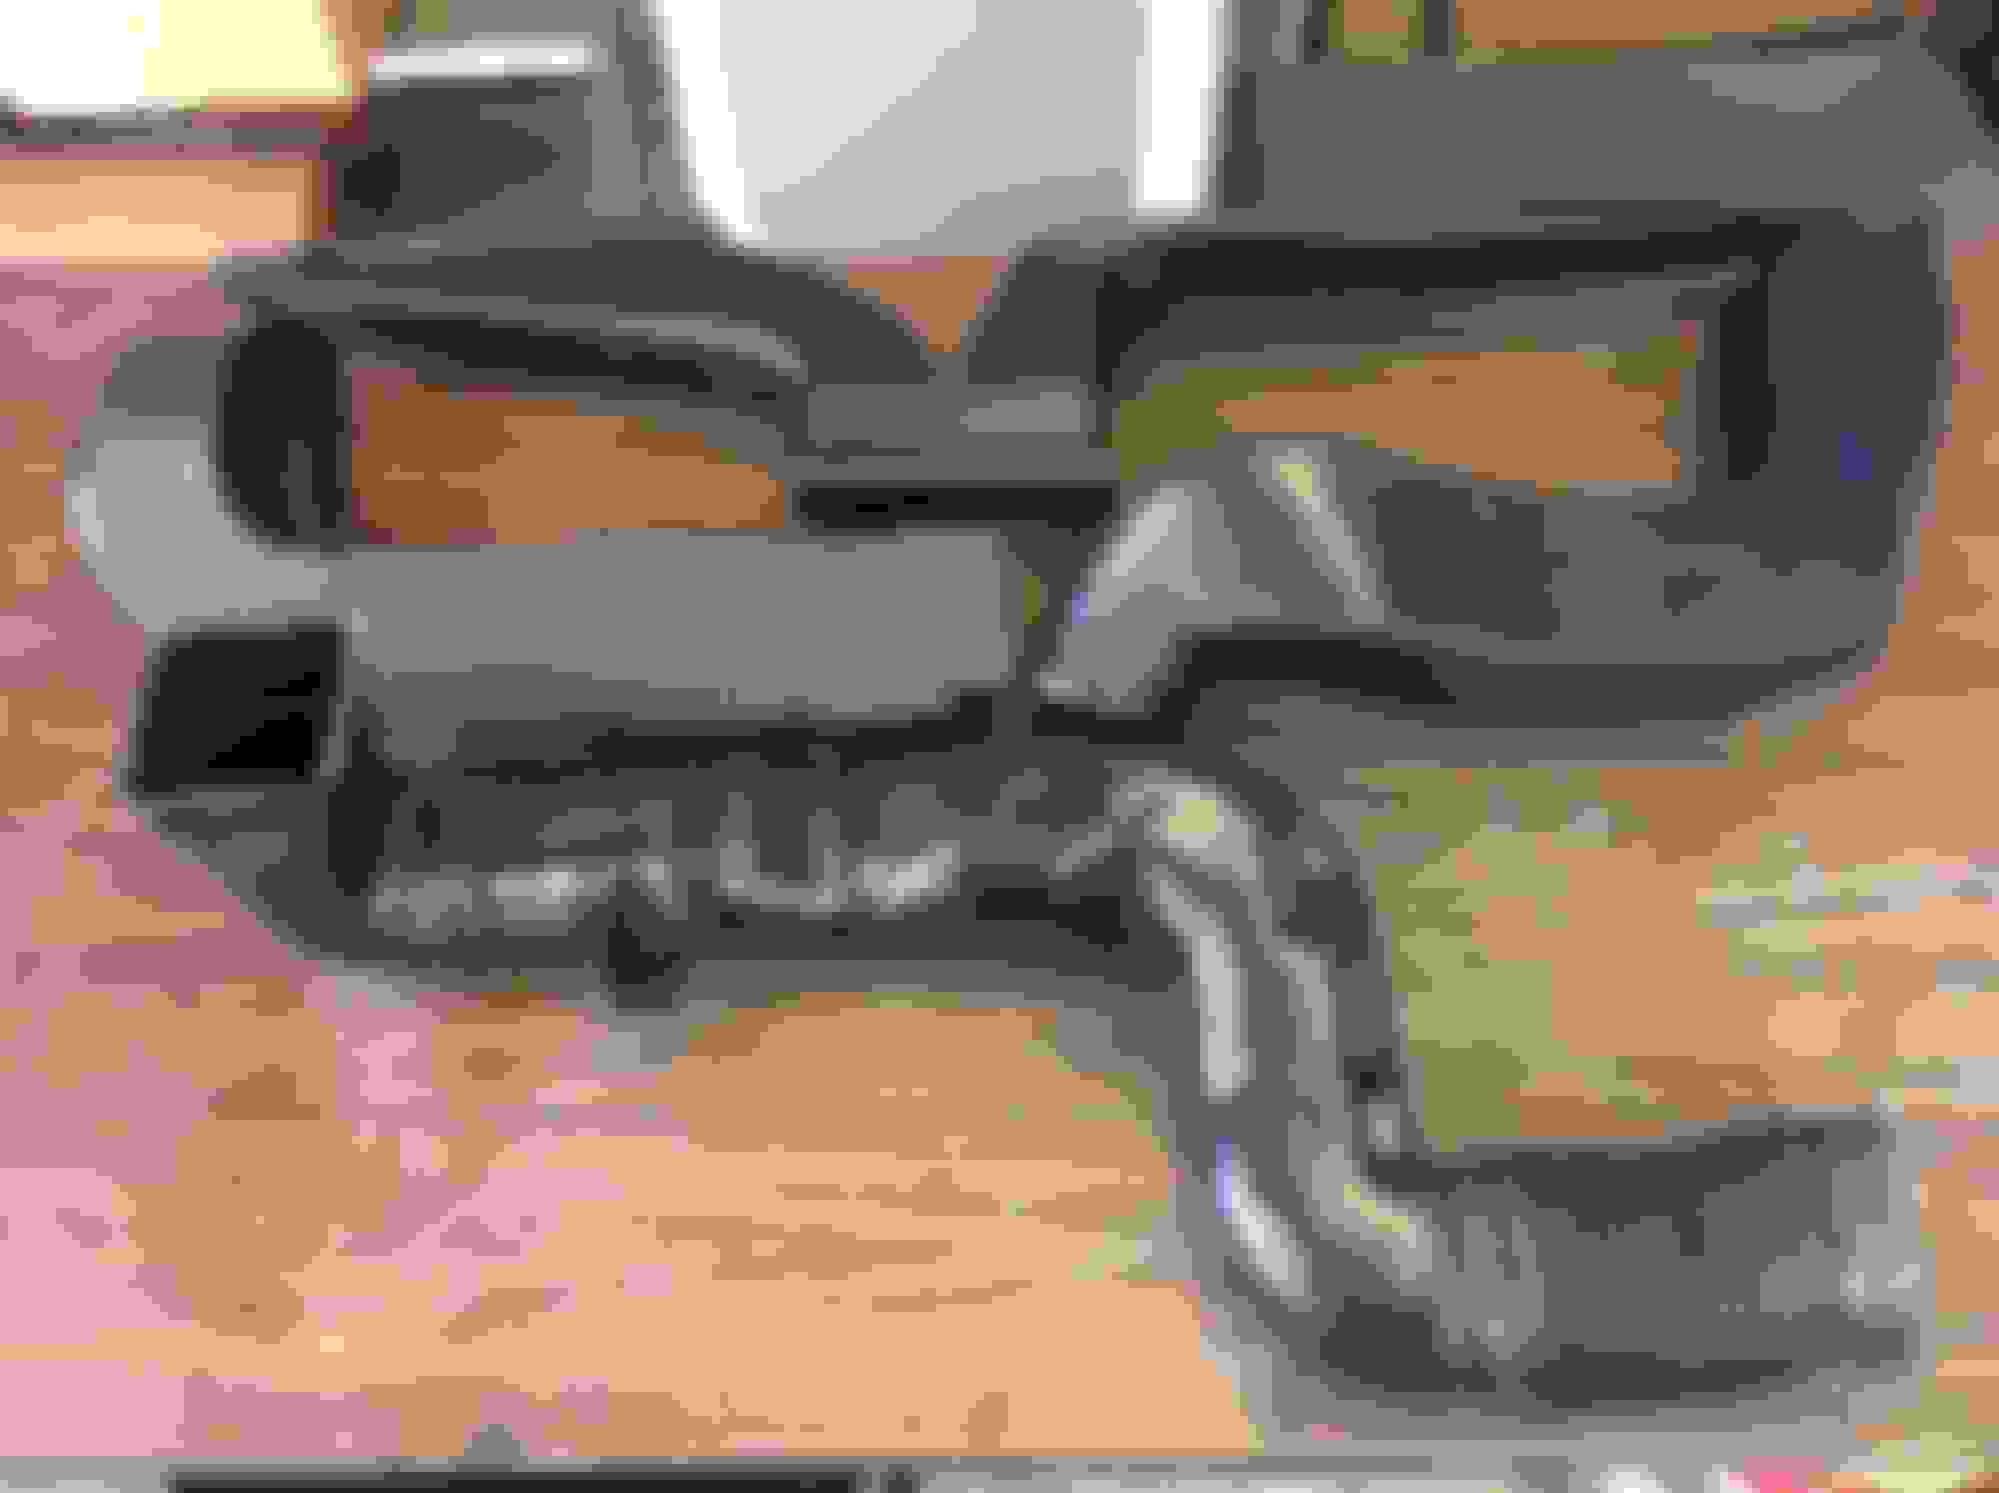
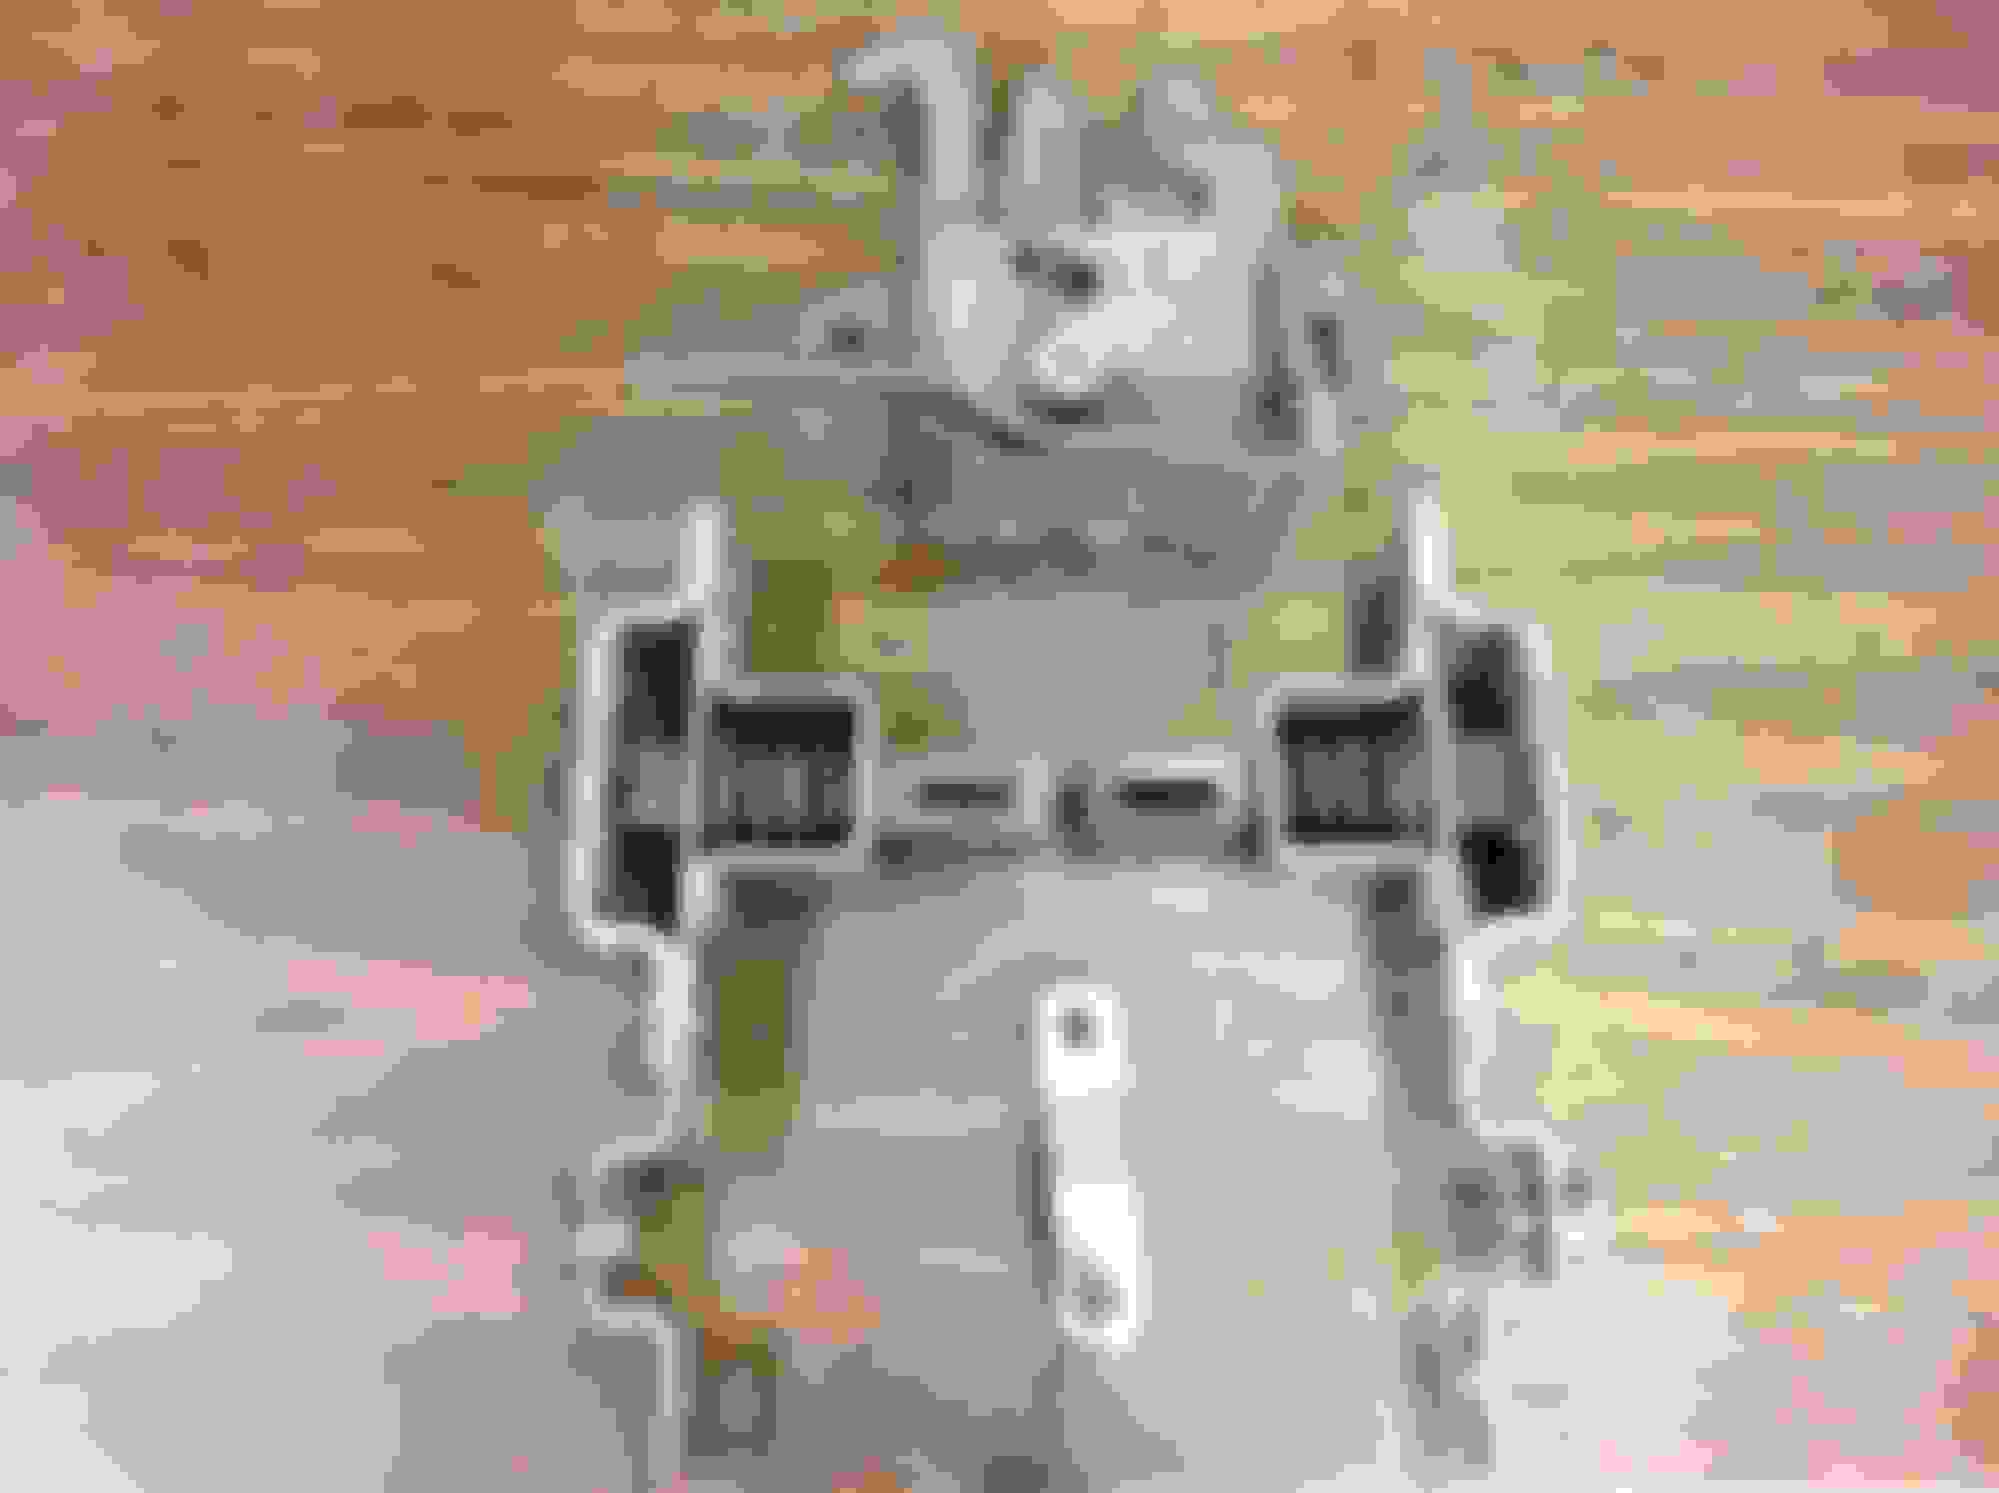
I do these projects in a pattern designed to free up workspace as quicly as possible. One of the most bulky items to deal with are the underdash HVAC ducts.
First thing I did on these was soak them for two days in soapy water. Then pulled them out and used a flexible soft brush to clean the 38 years years worth of farm truck goo off them. Each of the 4 pieces seemed to be made out of different materials. One of the ducts would not clean up at all simply by brushing, so after trying the increasing strengths of cleaners (windex, wax, concentrated simpe green, Brakecleaner, carb cleaner) I had to go over it wirh a green scotchbrite pad. A little 303 protectant afterwards and looks great. I don't like painting these things because it will be pretty obvious that they were. Lastly pulled the attaching J nuts off the parts and wirewheeled them and painted with the Eastwood grey phosphate paint.
Lastly, some work on the coffee can vacuum tank. Since finding out from NumbersDummy that the original "short" tank is not available NOS, I looked at hand sanding it to clean it up prior to painting. I found on the side where the nipple goes some inkstamped numbers applied at the factory that I'm going to save by not painting that panel of the tank. I don't know if the crimped on bracket that attaches it to the fender liner is supposed to be black, natural, or cad finished - anyone out there know? I will reinstall it after the tank is painted - will use Duplicolor Ford High Heat Gloss black for this piece.
Removed a few parts I had dunked in the 5 gal EvapoRust bucket yesterday. Exhaust manifold heat shroud/stove needs another day in it, but a few parts like the tailgate latches, wiper motor eccentric crank, and hood latch came out really nice after wiping down.
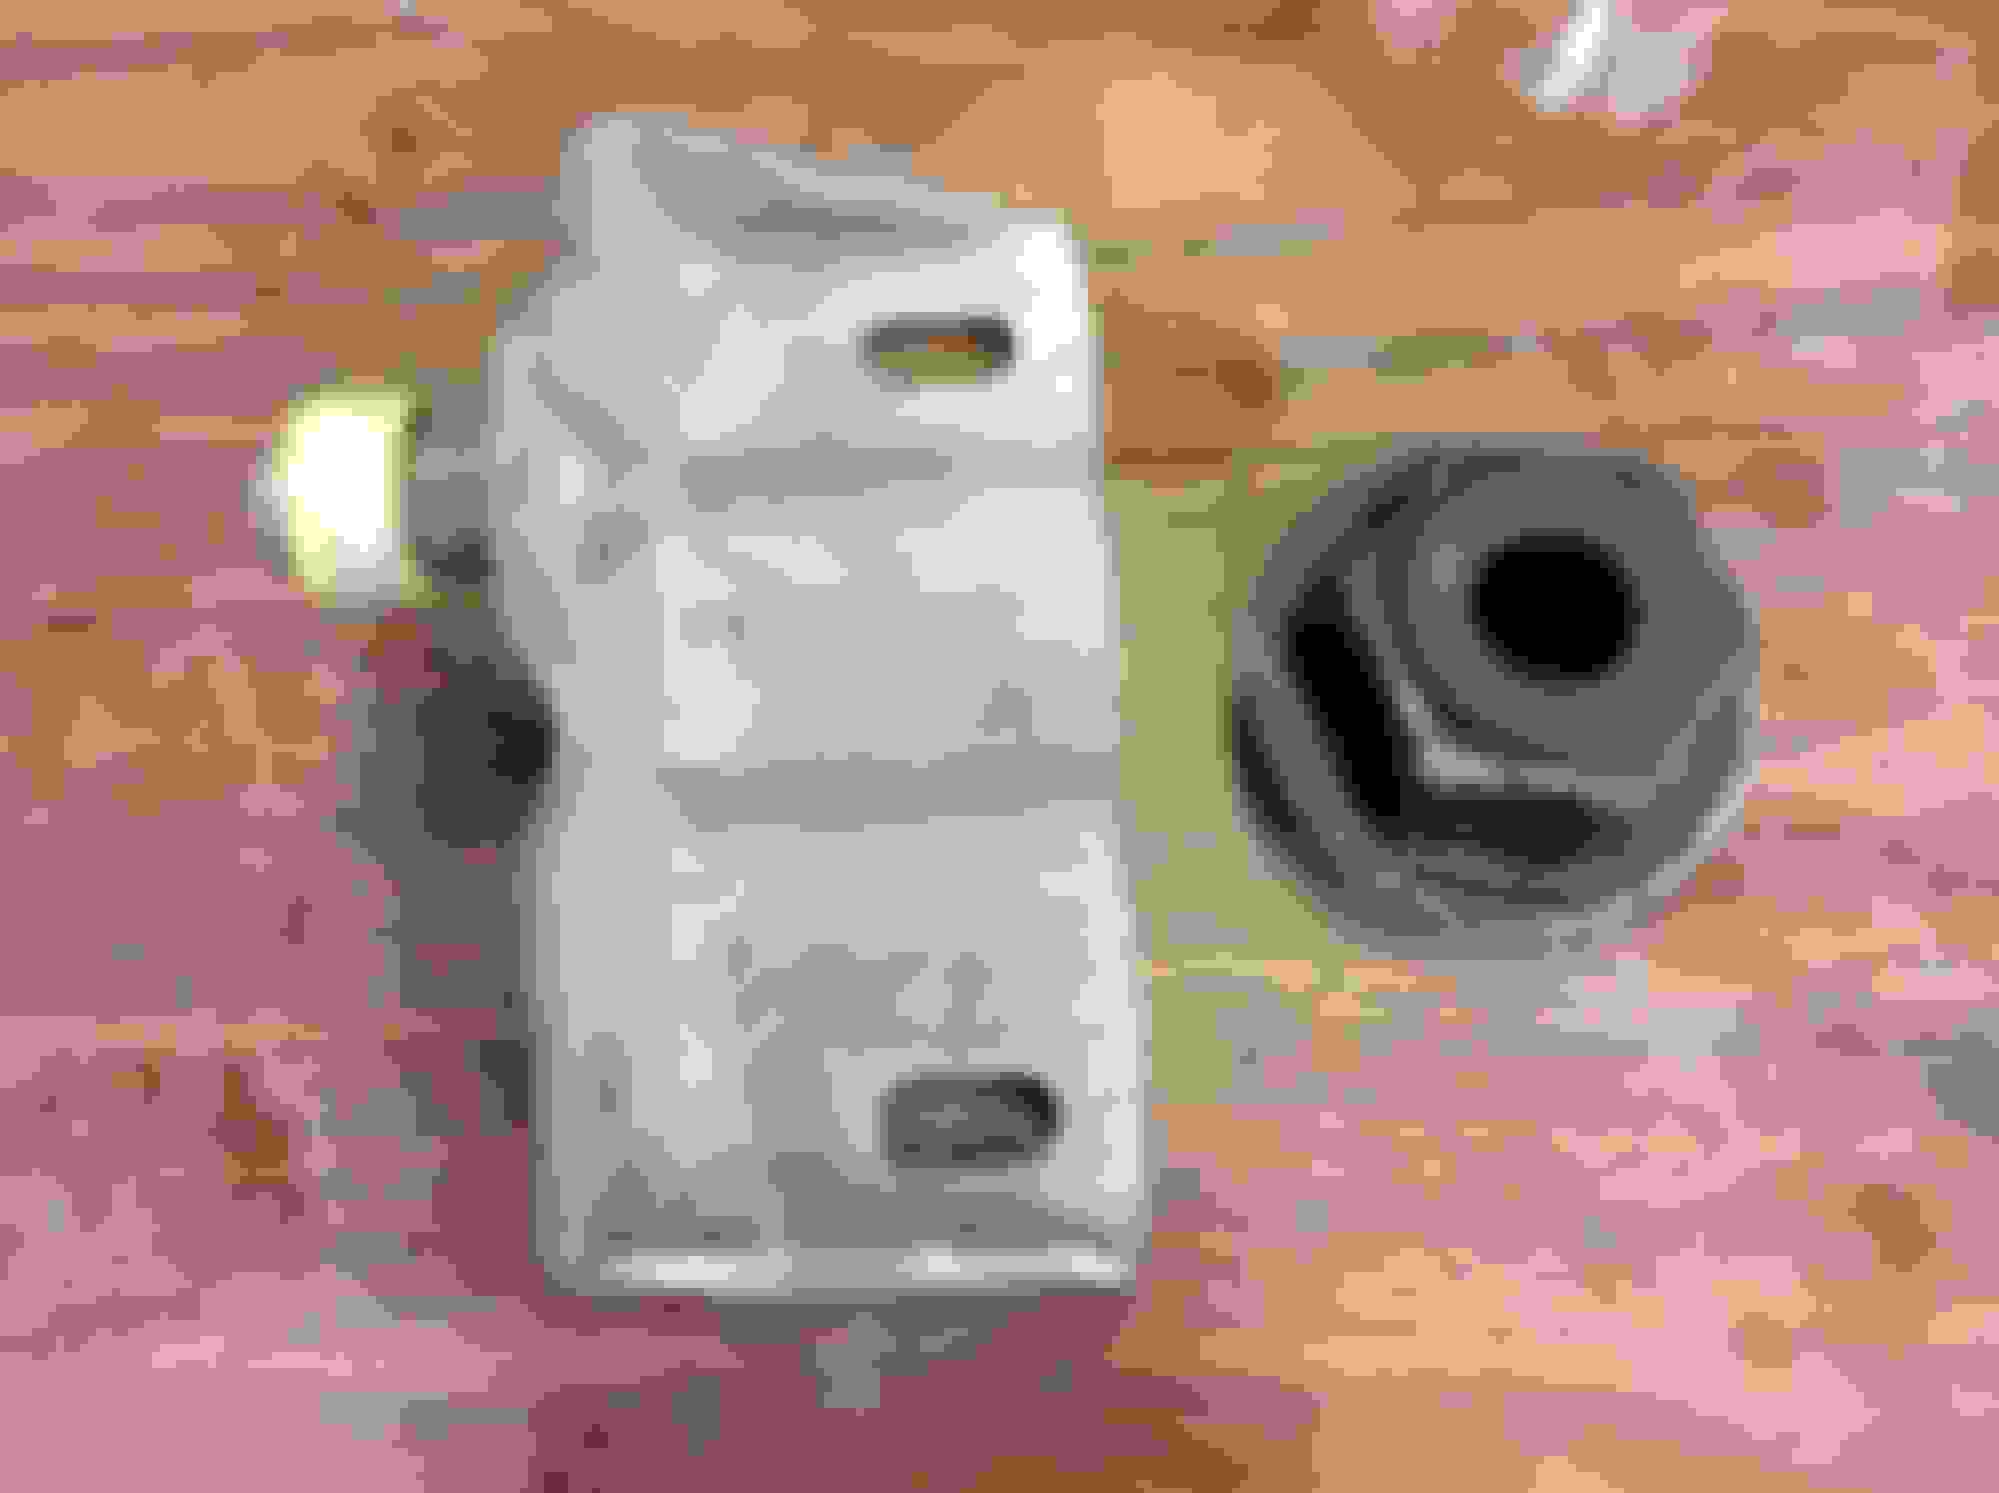
Also, the clutch bracket that bolts to the frame came out OK, but will need to be painted in Eastwood detail gray and have the bushing changed (see wear in the pic) and the A/C hose retainer to core support will also need to be refinished along with painting the oil filler cap (the PCV grommet is still OK)
Called Green Sales today and asked about that NOS thermostat NumbersDummy said they had available, and also asked them to check on NOS battery cables, starter solenoid, voltage regulator (with the blue printing on it) coil, plug wires and a couple of other things. Talked to Tom - great guy, but now I have to call back on a master cylinder cap and a water outlet.
Also, Carb Junkys called on the carb resto. I'm in luck - they have a bunch of NOS parts for that carb (like choke pull offs) since hardly anyone ever needs to restore one of these to this level.
I must say I really respect the fact that you are going to invest this amount of labor free of charge. I hope your business partner/friend realizes how much time you are going to put in. I do find that your budget seems very low, considering you are basically doing a concours restoration. last year I finished my 3year restoration of my 71-F100. I did all the work, and I spent over $20,000, and it was no concours/numbers correct truck. Good luck!
I must say I really respect the fact that you are going to invest this amount of labor free of charge. I hope your business partner/friend realizes how much time you are going to put in. I do find that your budget seems very low, considering you are basically doing a concours restoration. last year I finished my 3year restoration of my 71-F100. I did all the work, and I spent over $20,000, and it was no concours/numbers correct truck. Good luck!
Thank you. My friend and biz partner took a huge gamble on me 20 years ago in letting him run his company. It changed the lives of my family and I forever - this is a small effort to repay him in donating my labor. (A typical Olds 442 restoration for me goes 600 hours since I do not do paint and body) I got to get after it though - he's 85 and wants to drive it while getting still can.
I still think the whole thing can be done for 40K, but if it goes over so be it.
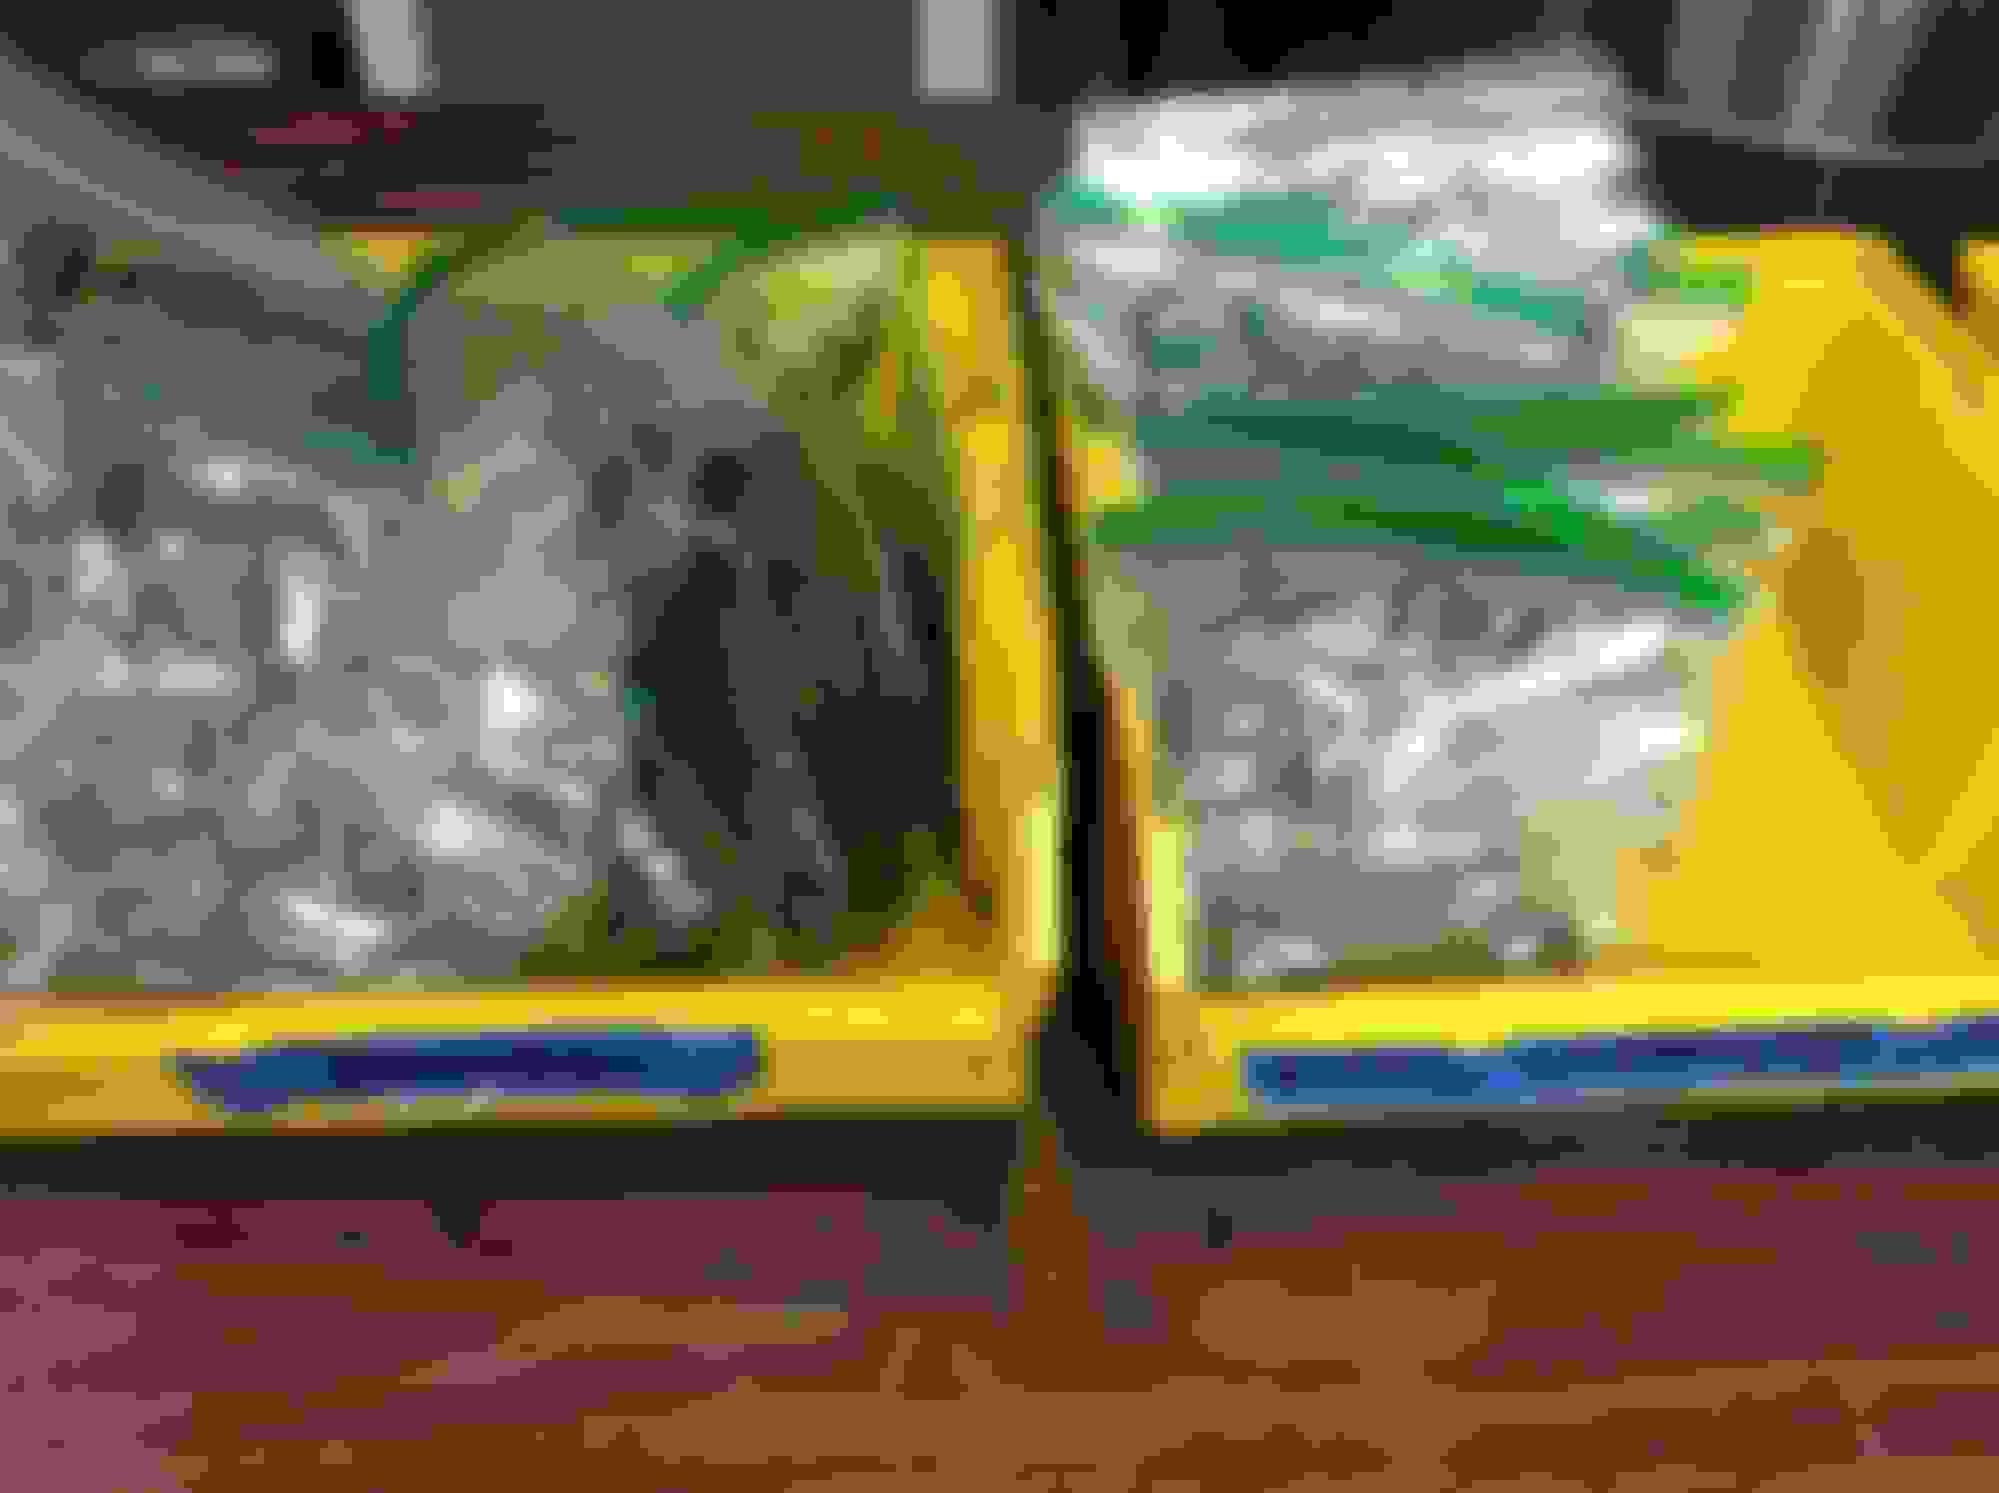
Had a upper GI Exam done this morning so no heavy work, but went through my fasteners and made sure they are correctly categorized. I counted 347 baggies of fasteners and small misc parts I have to recondition. I have them categorized by engine, engine bay, interior and exterior/body. On my usual GM a body restorations, I pretty know where every bolt goes but on this truck I have to identify every one to make sure the right bolt goes back in the right hole without damaging anything. I try to use the original correct fasteners wherever possible, but AMK has a great selection of Ford stuff available if some are too far gone.

 10-10-2016, 09:46 PM