When you click on links to various merchants on this site and make a purchase, this can result in this site earning a commission. Affiliate programs and affiliations include, but are not limited to, the eBay Partner Network.
So, part of what sold me when I bought this truck was the "patina" and natural wear of the paint. It had/has mechanical and electrical gremlins that are a work in progress but its a project truck so I'm trying to pace myself.
That said, the body had some dents, creases and caved in places that just couldn't be pulled out and preserve the look that originally sold me. I decided to dive in, do some body work and straighten out the bad spots as best I could. I don't mind the weathered finish but want straight body panels underneath.
Since the old paint was gonna go due to the body work, I wanted to come up with the next best thing to keep with the old worn out theme. I'm no professional auto painter but I have a graphics background and can generally figure out how to get to an end result through trial and error...but this one...this one I just figured I would "wing it".
Started like this...caved in front left fender. Caved in pass side bed.
Found a JY replacement fender, got it swapped out and lined up...
Did tons of sanding, some more sanding and a little more sanding. I found some areas that had been previously repaired (or an attempt thereof) and had to grind to bare metal and patch/fill. Overall, wasn't too bad just tedious and time consuming. At this point, I'm only working from the cab forward since I'm, now down to bare metal and need to get at least a primer coat on the cab. The bed will need extra attention in a few spots so I'm tackling it as "phase 2".
Here's the cab forward after shooting it with Rustoleum Rusty Metal Primer. That's right, I said it....Rustoleum. This one aint going to Mecum or Pebble Beach so I'm going the cheap DIY route...
At this point, I realized that the base of red primer wasn't going to be enough contrast for my planned end result with the topcoat so I mixed a darker primer and hit the high spots with a couple quick coats. I dry sprayed the darker coat to allow built up areas...wanted to get to the point where this color was going to peek through the final paint a bit. Instead of wet sanding for the topcoat I left the dry spray in place for effect...
Mixed the top coat (2:1 bright gloss red/red primer). This flattened the paint to more of a satin finish and kept the red from being so overbearing. Shot two very thin coats which allowed the top color to settle in to the texture left from the dry sprayed dark primer...
At this point, I really questioned my plan, as the red was pretty bright and the finish was really rough due to the dry spraying I did on the middle coat. I knew it would wet sand out but I wasn't convinced that any of the top coat would be left. Luckily, after allowing it to set up for 24 hours, it wet sanded out to the exact finish I was looking for...an oxide red type color with the rusty color showing through in the thin spots. Now I can hit the high spots and "normal wear" spots with varying grit wet sanding to get the weathered look that I'm trying to re-achieve...
Hopefully, I will be shooting the off white two tone today which will finish off the cab and forward. As you can see, my paint booth has a lot of ventilation but also tends to leak when mother nature calls. Maybe she will allow me to get in some paint time this weekend.
I sprayed a 91 Dodge Dakota with black Rustoleum years ago. Paint layed nice, had an acceptable shine, was a lot cheaper than automotive paints. I still see the truck around, some more rust, but the paint still looks decent.
Mother Nature held out and allowed me to shoot the two tone off white today. Painting the old trim pieces gloss black. Hopefully the cab forward will be buttoned up soon...
That looks great! I like the antiqued look, and the cream white compliments it better than the original white. Can you explain a little how you re-created the cab cap contour and pin stripe? Also how did you make the red and black XLT fender badges? You do nice work!
That looks great! I like the antiqued look, and the cream white compliments it better than the original white. Can you explain a little how you re-created the cab cap contour and pin stripe? Also how did you make the red and black XLT fender badges? You do nice work!
A guess on the contour after looking at other trucks thinking free forum.
Now the pin stripe is easy as they make pin stripe painting tape. It is like regular masking tape but has different lines of tape you can lift out to uncover the area you want paint to get to. F-L STRIPNG TAPE
I have used it on cars in the past and thinking of using it to add "my touch" when adding the 2nd color as we cant get the factory decals.
Dave ----
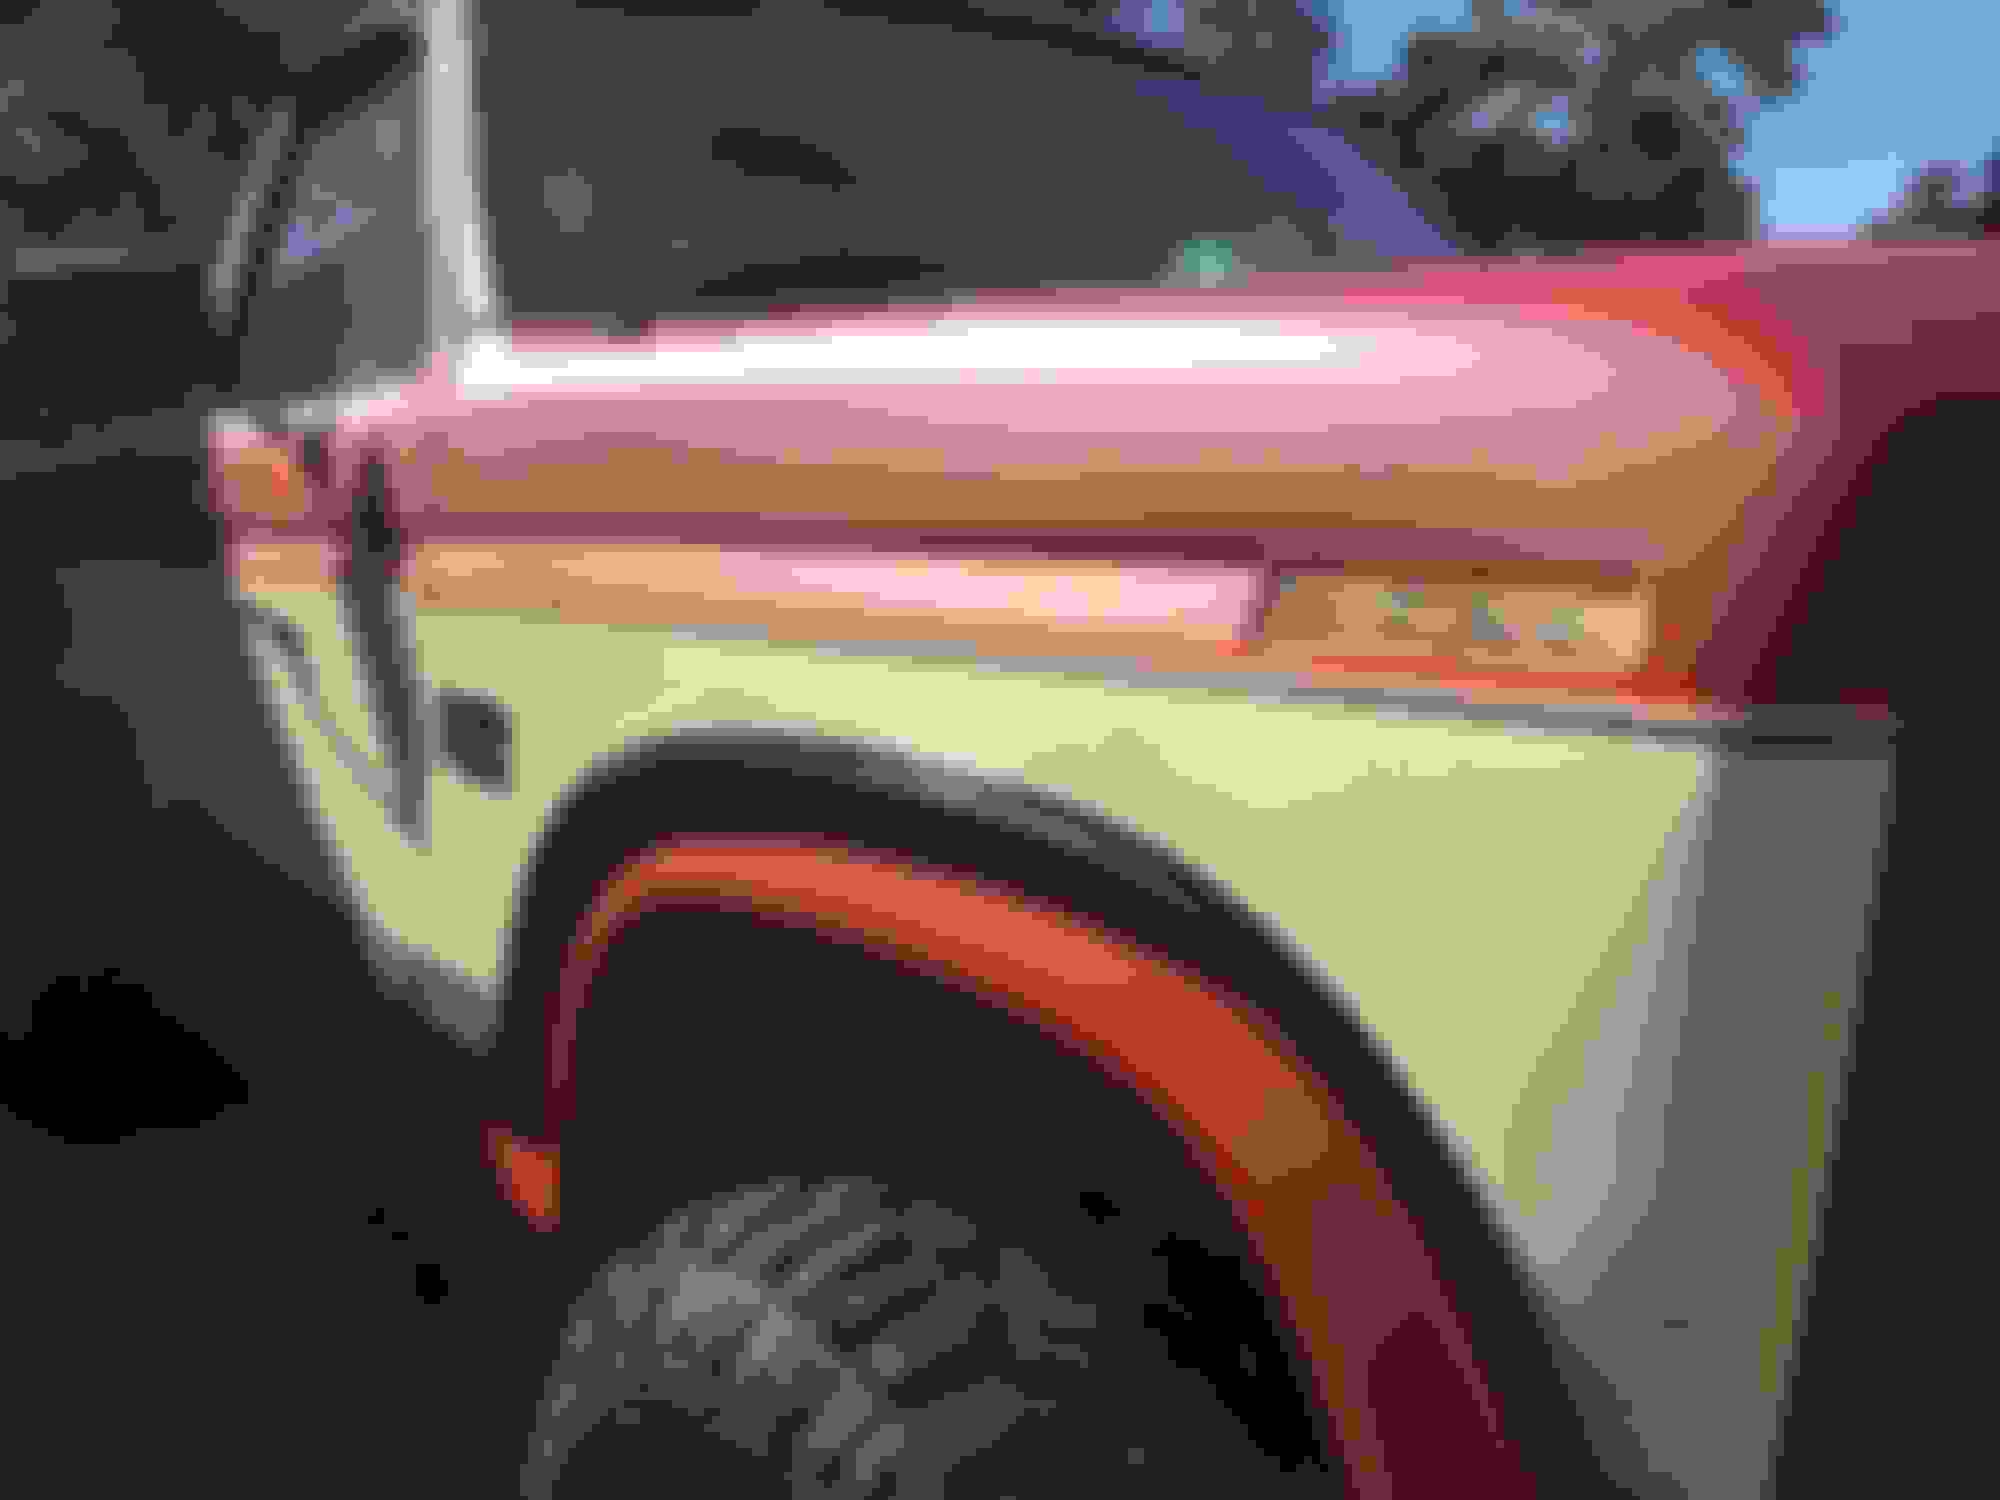
Dave nailed it. I used 1/4" striping tape over the red base/topcoat. Sprayed the white over it and then unmasked it. I took a photo of the lines before I sanded the old paint off and eyeballed the stripes with the tape.
The badges were all scuffed up and then hit with a scotch brite pad. They were then sprayed gloss black. The lariat badges got a few coats of metallic red over the black for the center sections. The 'Lariat' and 'XLT' lettering is vinyl. I used to own a sign shop so I still have the vinyl cutting equipment/material. If you look close enough you can see the old embossed XLT lettering hiding behind the vinyl...it was near impossible to match the scale/sizing. It'll get fixed, just not sure how yet.
Thanks for the compliments, I've got a lot of time invested in this one.
Thanks, all I can say is that it turned out very well . As far as the contour, does that tape conform to curves? It comes in a straight roll and I would have thought it would crinkle up on a tight radius like the cab cap. This is giving me a little bit of hope, as I would like to simulate the freewheel style body panel stripes on mine. I love the look but I'm not paying a graphics shop an arm and a leg to do it for me... DIY or die on this one. Your thread inspiring, thanks for posting!
Yes, the narrow tape makes curves very easy. Just guide it with your finger while directing the curve by moving the roll as you go. You can even get narrower tape if needed. I use the normal green automotive masking tape but the also make a blue vinyl striping tape that is a little more stretchy for complex curves/shapes. The blue stuff if like $15 a roll though...so do your practicing with the cheap green stuff.
I'm going to hand pinstripe a bright red body stripe at the the top transition, I'll post some pics of the tape in action.
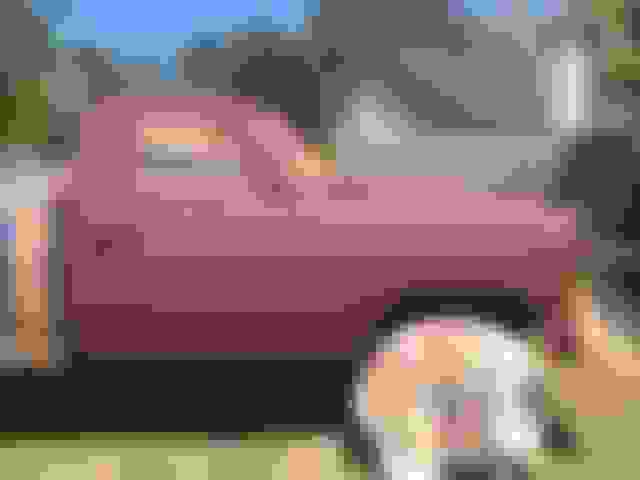
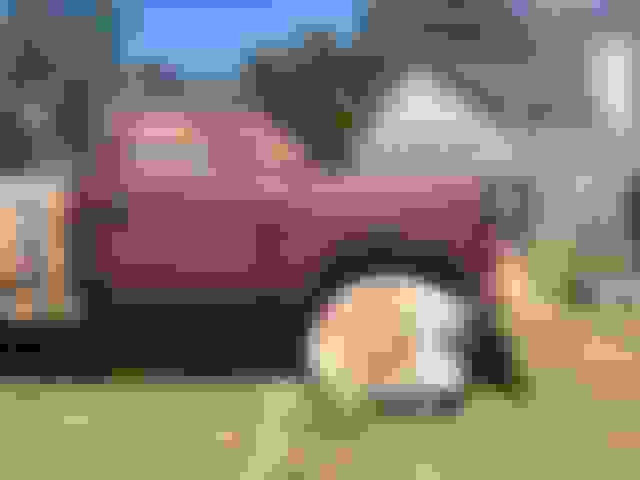
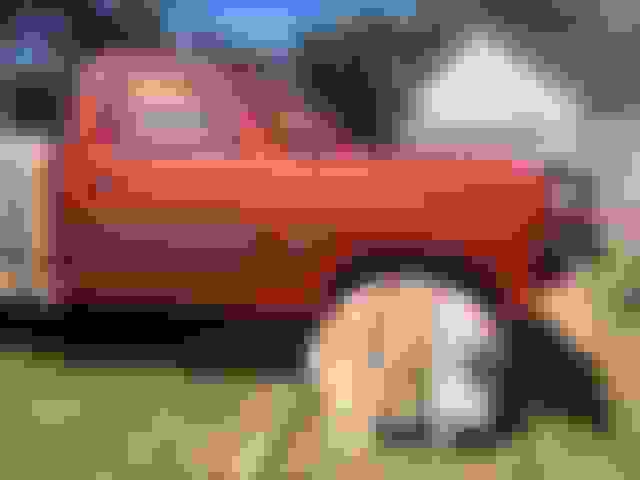
Finally got the bed all patched up and painted. It took a while to massage out the caved in quarter and all of the dents. It's still no where near perfect but a whole lot better than where it started.
Also got my pin striping worked out. Went with gloss red over flat black.
Now I get to start on all of the boring stuff...reassembling door panels, reinstalling trim, new window motors, etc...
Nice! Are the red/black pin stripes painted or vinyl? What did you do to prep the aluminum trim for painting? It's really coming along... I like it
Thanks!
Pin stripes are painted on. Masked with 1/4" striping tape and painted with One Shot enamel. I couldn't find a vinyl alternative in the color/size combo I wanted, plus I might do something a little more custom at the back of the bed where the stripes will end.
For the side trim and mirrors, I scuffed them with 400 grit, wiped them down with mineral spirits and sprayed them with gloss black Dupli-Color. Time will tell how well it holds up but I needed that stuff to go black to keep with the look i am after.
Nice work.
On the pin strips did you think of using the black where you have the red and the red where the black is?
I have been tossing around red & white pin strips if I can figure the tape out or a single gold where your red is but I am a long way off from that. Dave ----
 04-30-2016, 06:46 AM


 . As far as the contour, does that tape conform to curves? It comes in a straight roll and I would have thought it would crinkle up on a tight radius like the cab cap. This is giving me a little bit of hope, as I would like to simulate the freewheel style body panel stripes on mine. I love the look but I'm not paying a graphics shop an arm and a leg to do it for me... DIY or die on this one. Your thread inspiring, thanks for posting!