When you click on links to various merchants on this site and make a purchase, this can result in this site earning a commission. Affiliate programs and affiliations include, but are not limited to, the eBay Partner Network.
last night was a quick night... i got some stuff from the parts store and shot the breeze with Alex about injectors and what not. i did manage to get the motor mounts bolted in and tacked together. they should be welded up tonight then ill set the motor in the frame and work the cross member.
so i really need someone's help on explaining how the body mounting works on these trucks..
i bought a poly kit sometime in the last two years as iv been stocking up parts...
the kit comes with a long bolt, this 2" disc with a nut welded on it. and two bushings per mounting point. it says to reuse factory sleeve...
i got on bronco grave yard and called they guy to ask if i needed both upper and lower sleeve or if the disc with the nut was replacing a sleeve..
basically the guy straight up said i can give you the part number for the kit but idk how it works... so not very helpful..
can some one help me understand how to assemble them?
Maybe this will help? I personally have not taken a cab off. I have taken a front clip/radiator core support with the front slip all still attached. I just uses washers/rubber bushings/bolts and went with it.
so here is my drawing.. the bottom nut is the bottom sleeve.. i have found the top sleeves on bronco grave yard but they have rubber on them... i could save 50$ and build my own..
so my next question is does the bottom sleeve hit the top sleeve to prevent rubber squeeze out? or does one slide into the other.. see the red circle for my question.
I want to say when I sawzalled mine apart (right on top of the frame rail, under the core support) that the design of the 2 bushings when tightened down, would NOT squeeze the rubber out.
Some old ND info:
Bottom part: D3TZ-1000155-B .. Absorber (rubber cushion) - Lower radiator support and lower front & rear cab mounts / Obsolete
CARPENTER NOS OBSOLETE PARTS in Concord NC = 800-476-9653.
PARTS INTERNATIONAL in Farmers Branch TX = 888-727-0418.
GREEN SALES CO. in Cincinnati OH = 800-543-4959.
WESLEY OBSOLETE PARTS in Liberty KY = 606-787-5293.
-------------------------------------------------------------------------
Top part: D3TZ-1000396-C .. Absorber (rubber cushion) - Upper radiator support and upper front and rear cab mounts / Obsolete
PARTS INTERNATIONAL
CARPENTER NOS OBSOLETE PARTS
GREEN SALES CO.
WESLEY OBSOLETE PARTS
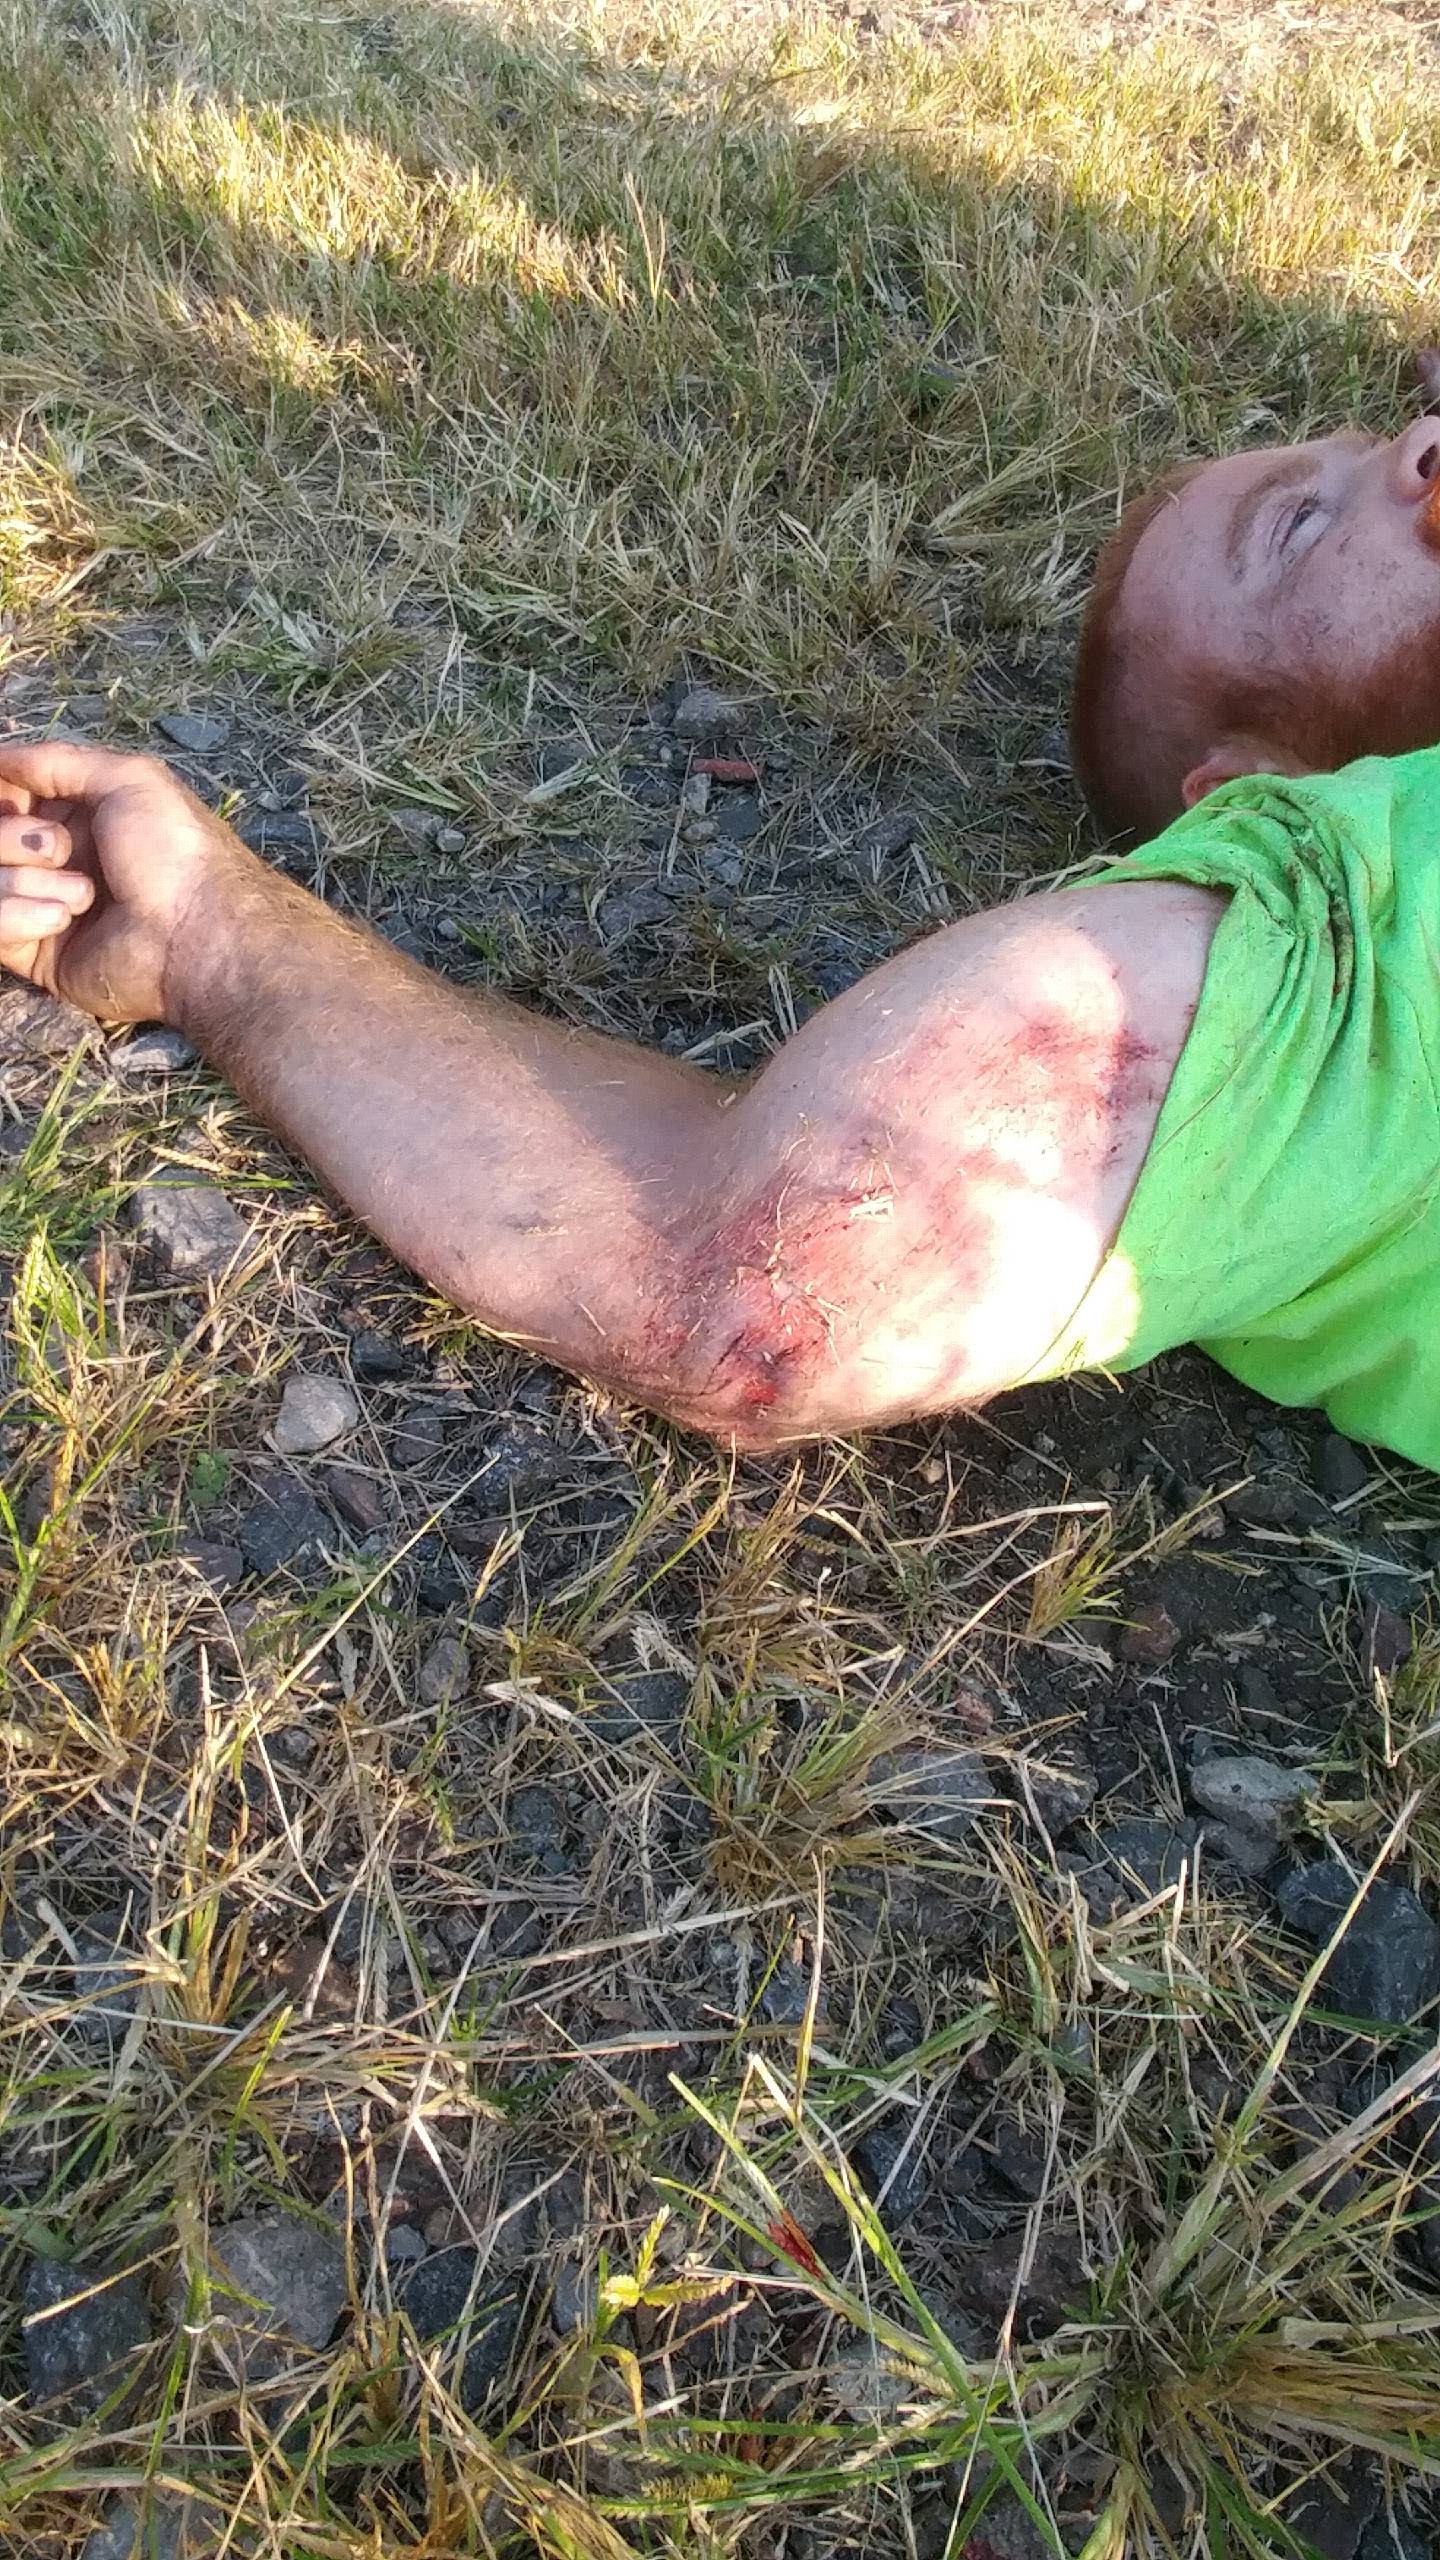
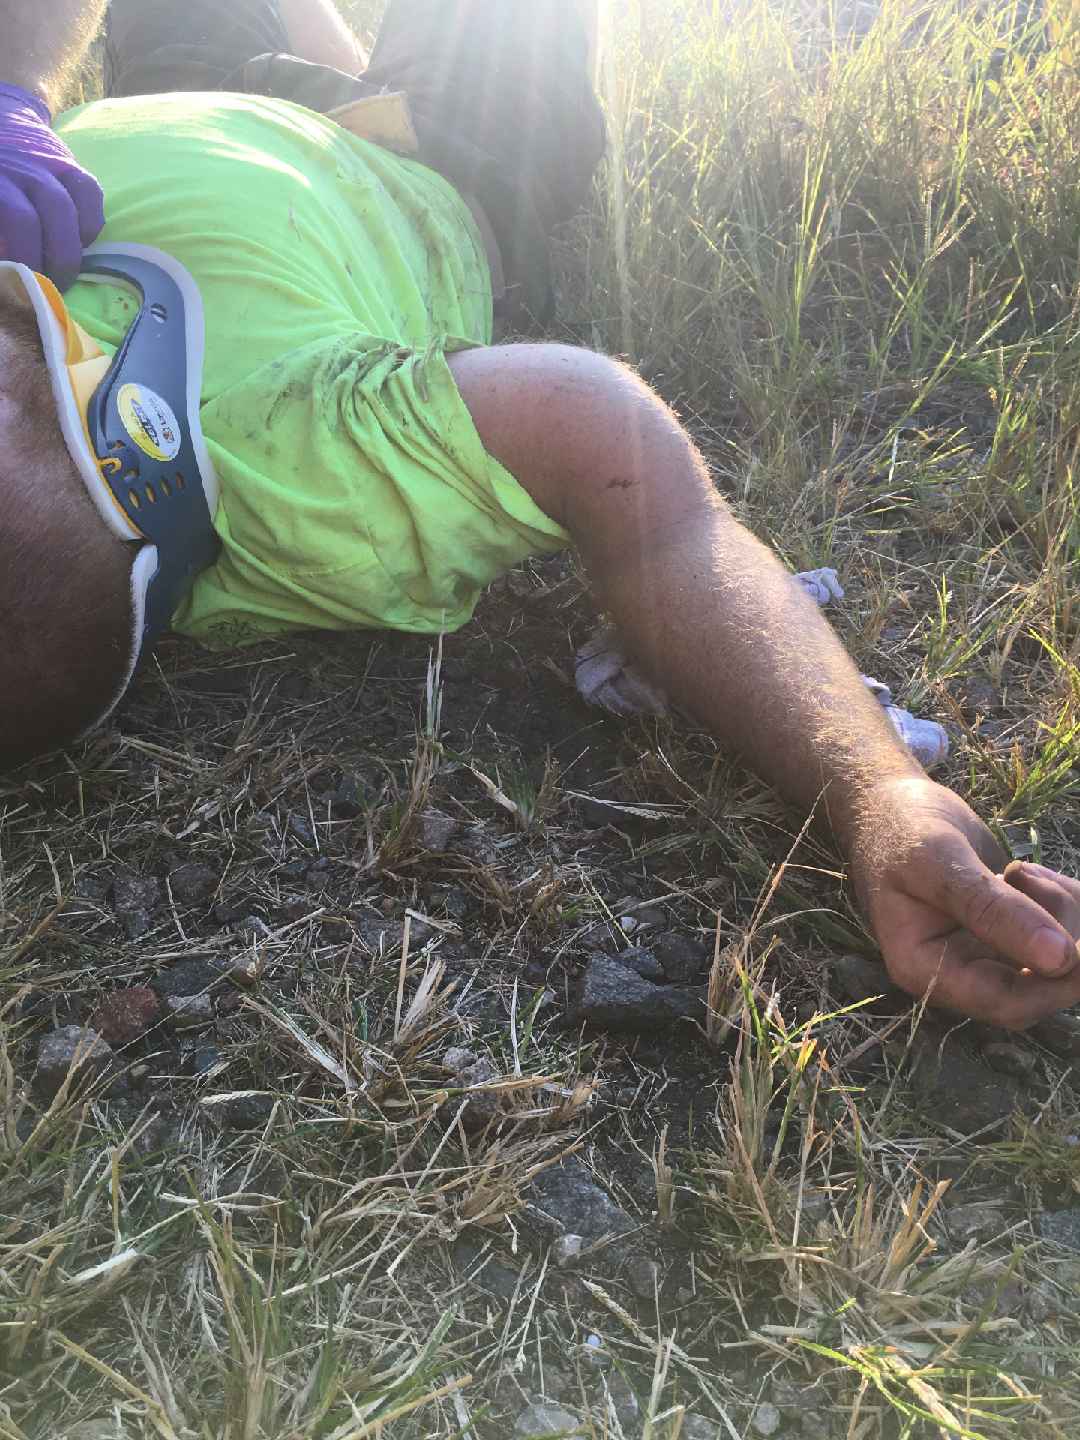
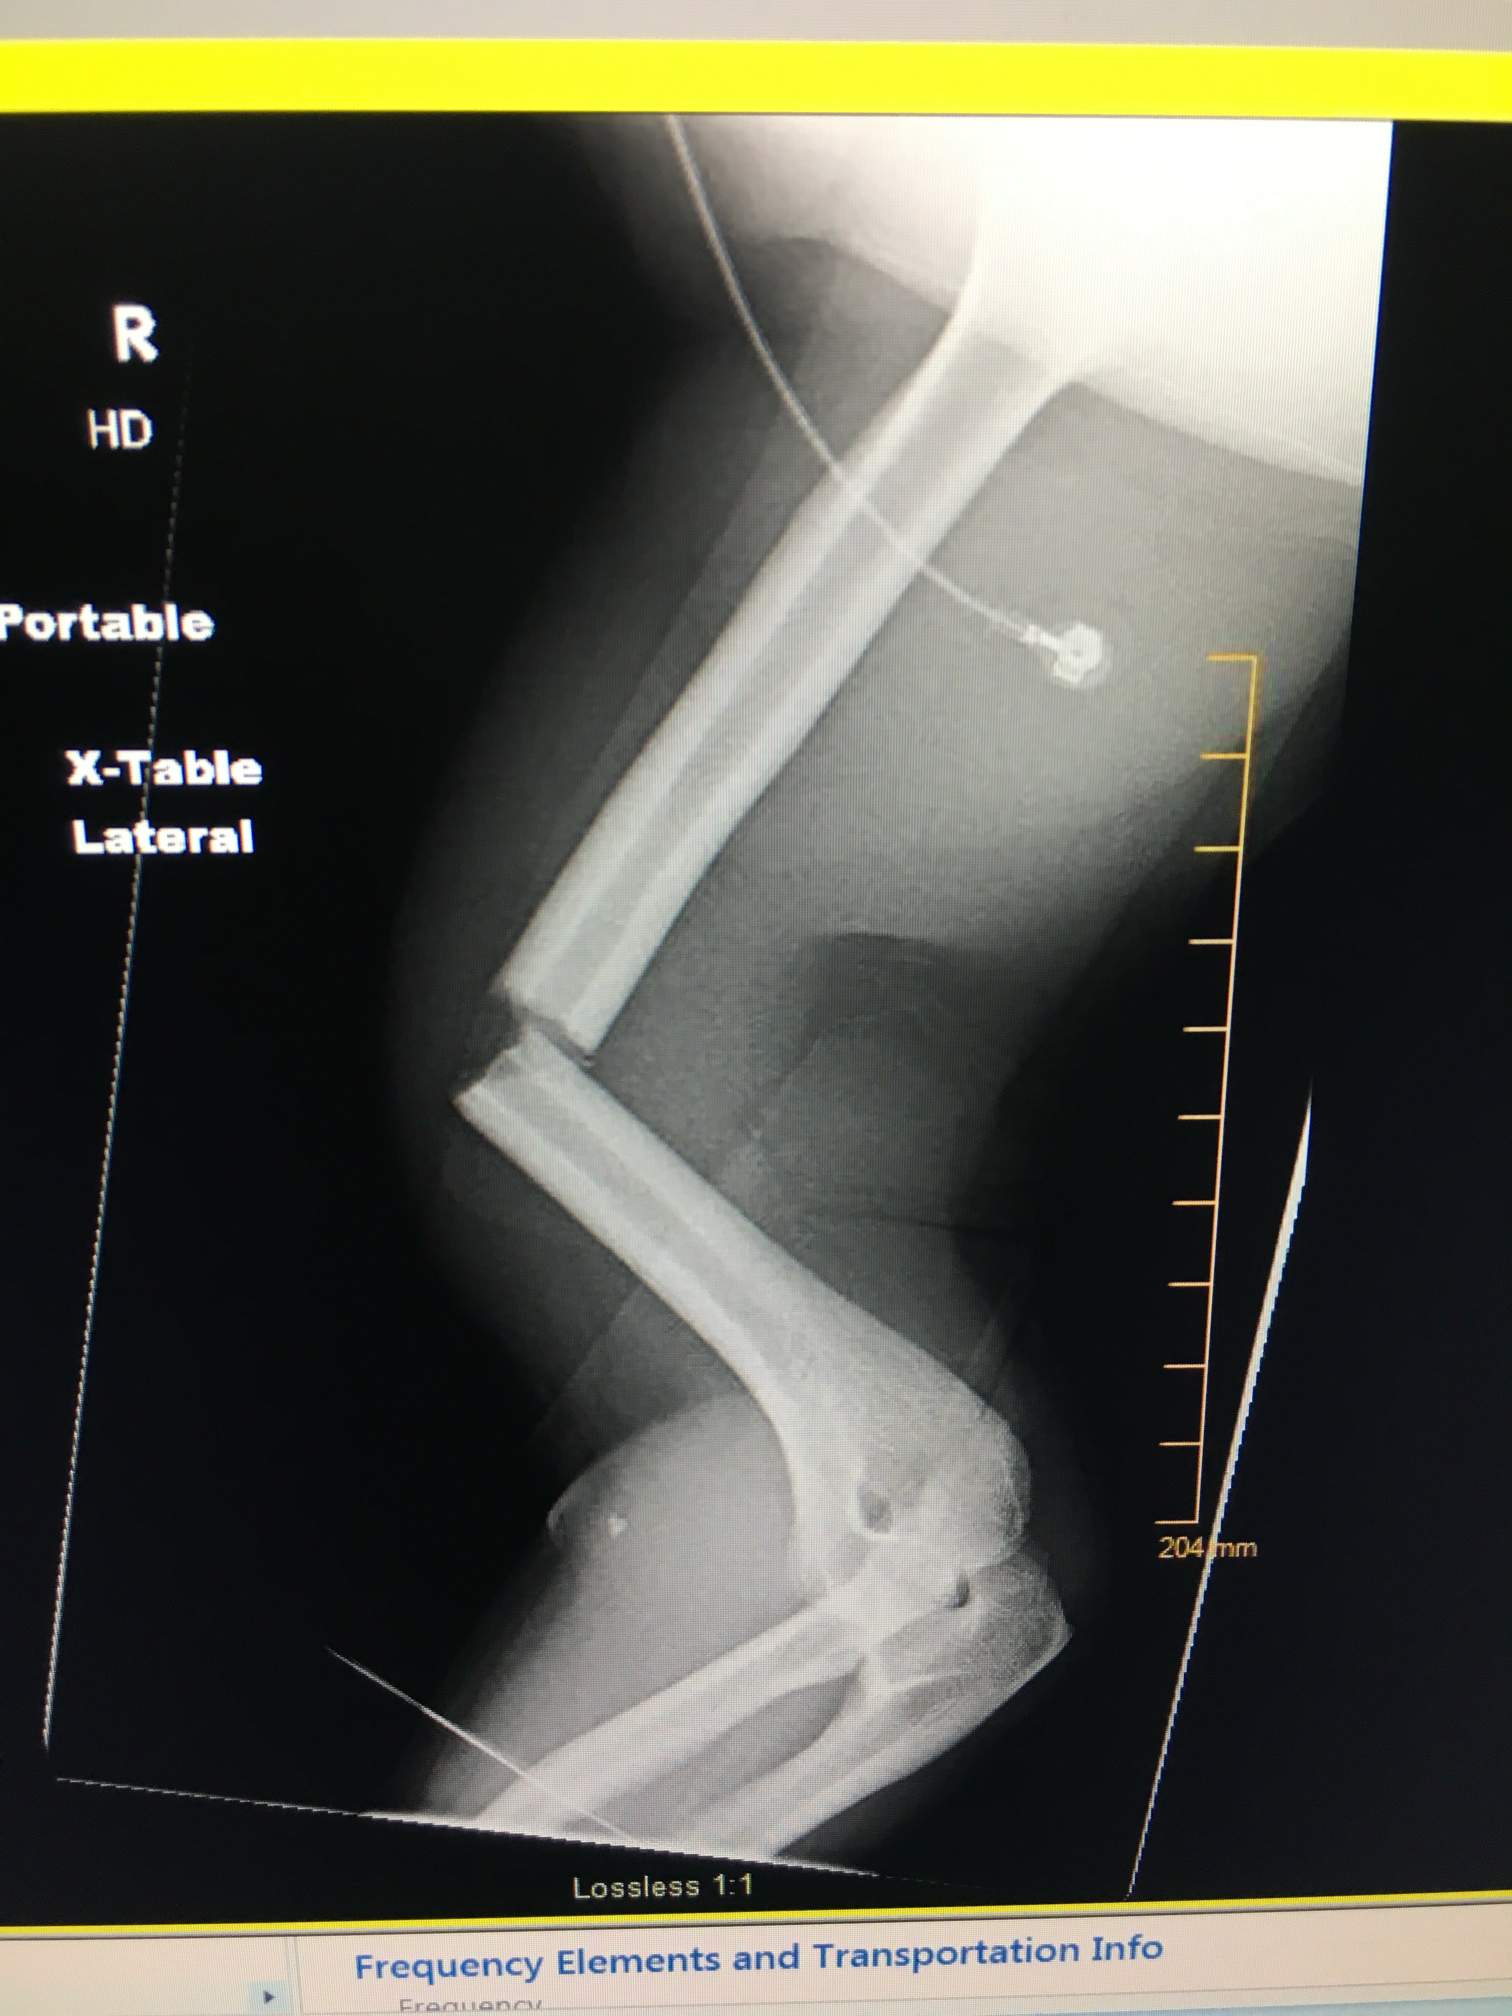
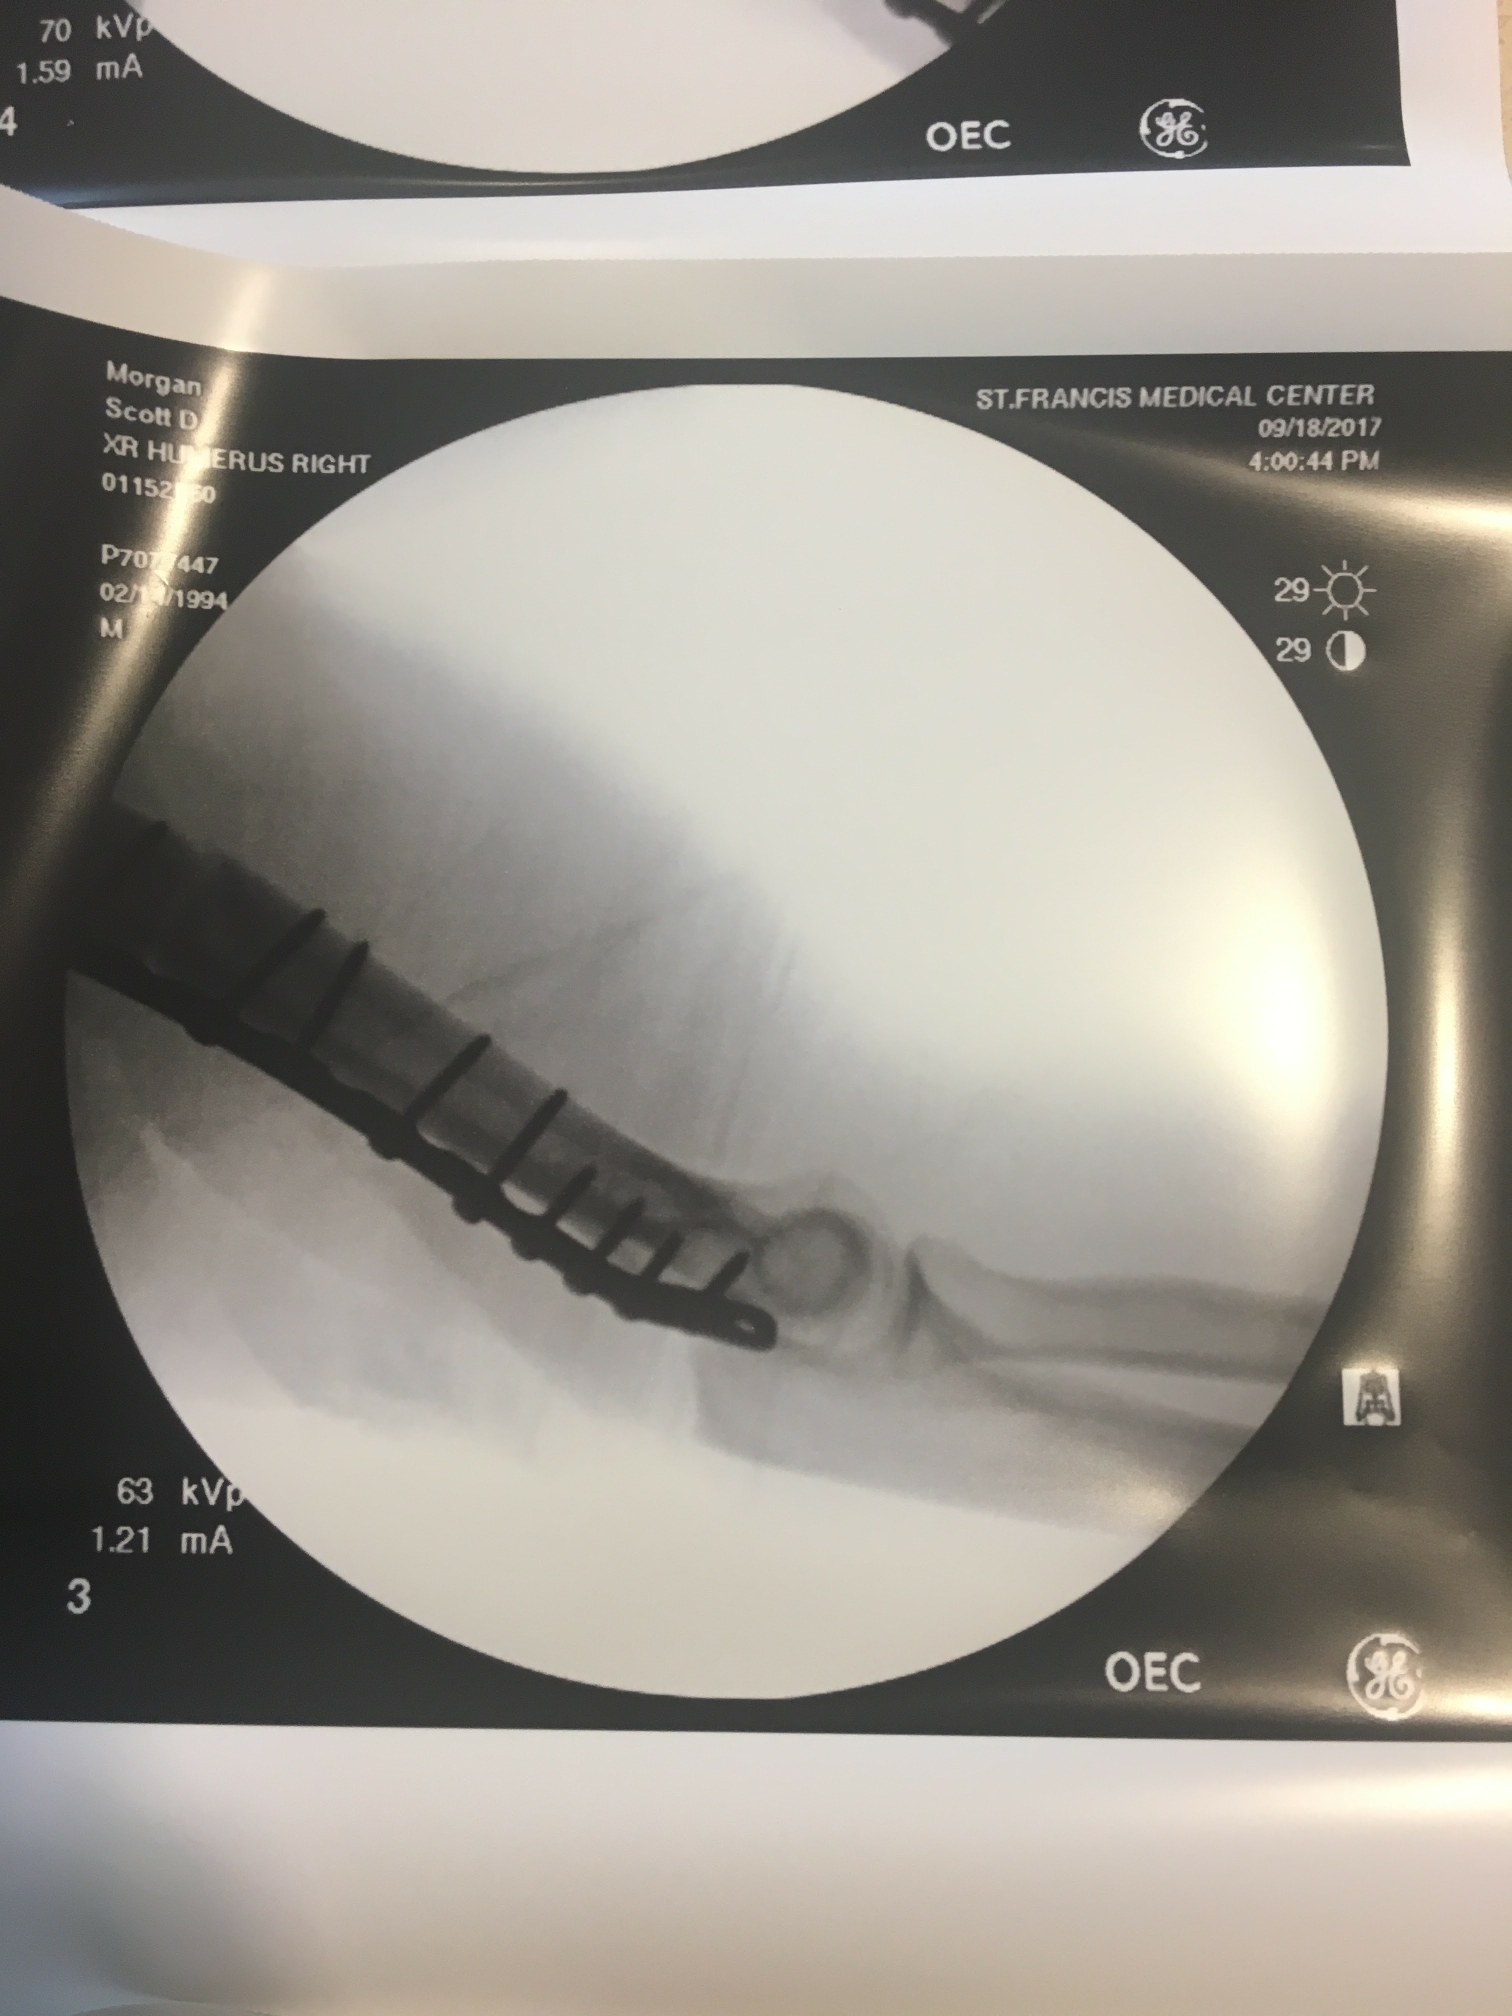
When i broke my right arm i damaged two major nerves leaving me with median and radial palsy.. since then ive gotten some motor function back but i still don't have fine motor skills or feeling... so i only have one working arm/hand... so i cant tig weld right now..
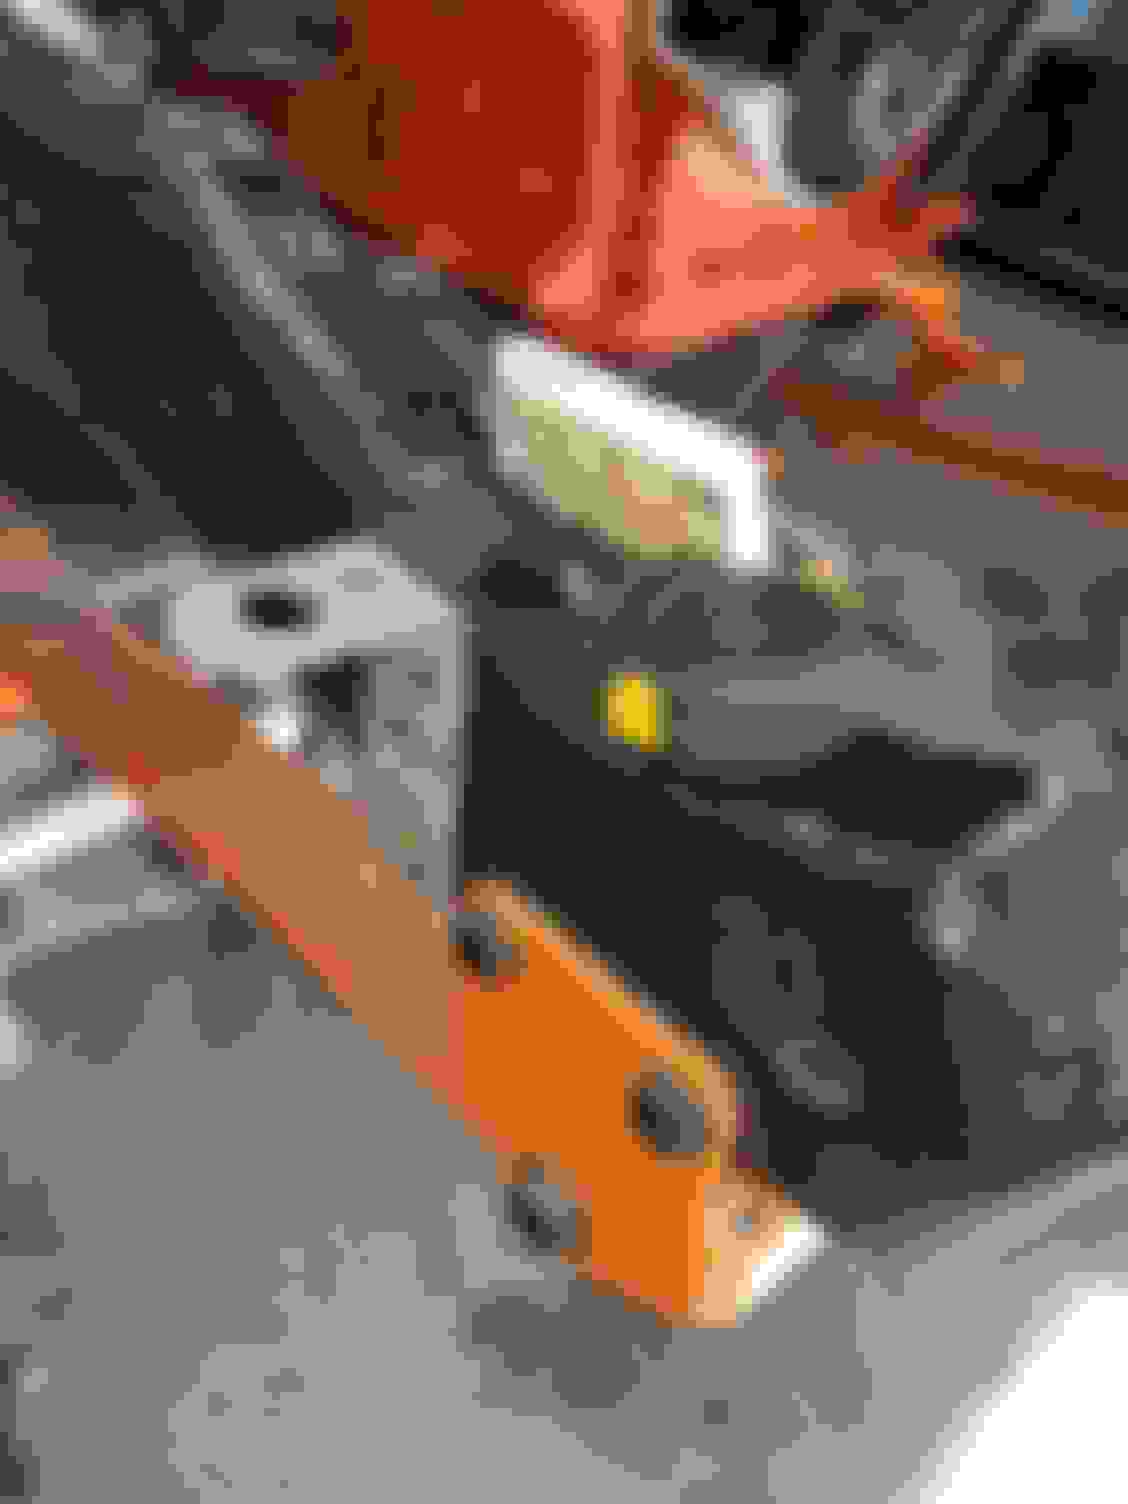
so i decided to put ss wire in my mig and argon 100%... the heat on my 260amp welder was all the way up wire speed was 3 out of 10 and i still cant get a good weld.. this is the best one and you can see it just doesn't look right... anyone know what I'm doing wrong?
plans for tonight is tranny mount. and then a lot of motor prep.. planning on painting everything tonight then assembling the whole motor in running shape by sunday. i also have Monday and Tuesday off work so stay tuned!!
looking at ac in this truck.. what will it take to put ac into this cab?
If you are looking to put AC in the truck, you should look into the mid mount AC brackets that the 5.9 Cummins used in box trucks and a lot of other equipment. The bracket is part #3923524 and gets the AC pump above the water inlet, and then you can use a 21si 1 wire alternator too.
If you are looking to put AC in the truck, you should look into the mid mount AC brackets that the 5.9 Cummins used in box trucks and a lot of other equipment. The bracket is part #3923524 and gets the AC pump above the water inlet, and then you can use a 21si 1 wire alternator too.
Ok im on my phone... I'm gonna try and up load pictures as i work. Made tranny cross member.. i used a 1994 ram cummins rubber mount from orileys.. price matched rock auto for 15$
Lot of work done today.
started with the front clip set over the engine and looked at radiator support.
i decided i wanted the radiator and intercooler to stay with the engine so i can run the motor and fix it without the front clip.
i made brackets for the rad and intercooler.
then mounted them as close to the motor as posible.
Then it was time for the feont clip.
i put on one finder and inner finder at a time so i could mod them to fit around the rad.
then i had to cut the front plate at the rad on each side... i then modified the top support bar to fit around the radiator.. tomorrow ill work on the front clip body mount and rigdity.. ill also cut the inner fenders to allow for easy clip removal.

 02-13-2018, 07:27 AM