When you click on links to various merchants on this site and make a purchase, this can result in this site earning a commission. Affiliate programs and affiliations include, but are not limited to, the eBay Partner Network.
That's a neat story about your Dad and the cows, Dave. So I would carefully bend the tabs off the original horn button and put it on your eBay purchased button base. You can always paint it later if you desire, which you might want to after you see your refurbished steering wheel.
By the way, I painted my horn button this morning. I degreased it last night. I have it two coats. Pictures at 11:00.
I agree with Abe, try to reuse the original. But take it slow, you won't want to break the new one. I like to use as much of the original parts as I can. It just makes you feel better when using an old family truck. Of course, you will be the only person that really knows.
Regarding your turn signal switch, just reuse the wires. That's what I did. Although I messed up a bit removing it and cut them instead of finding the connectors under the dash.
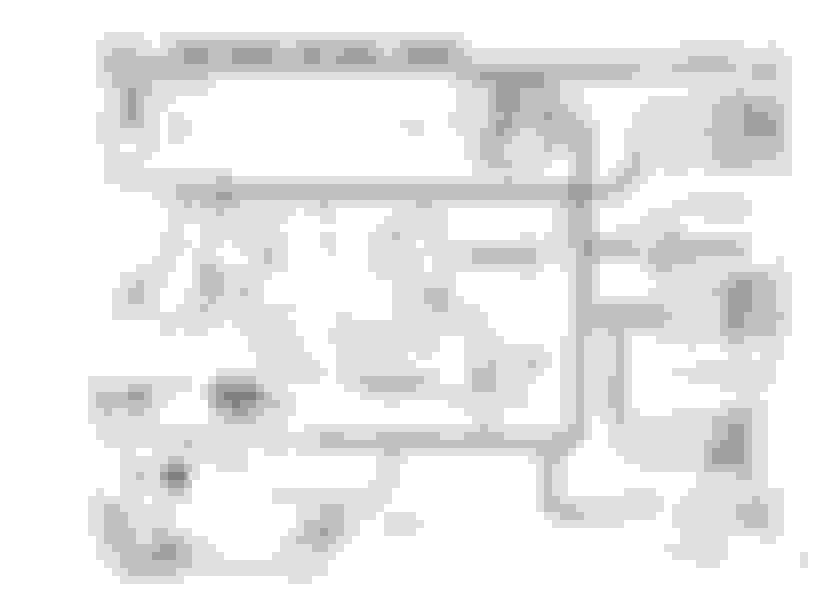
The turn signals are not on any wiring diagram. Here is the one I drew for my lighting system. I added a fuse block and headlight relay to my system for safety. I have several diagrams like this done in Visio if you need any. The numbers on the lines are wire gauge.
Here is a basic diagram of how lights connect to the headlight switch.
Checked in on my Body/Paint guy tonight for the first time since he took my sheet metal. For a "moonlighter" he has made great progress. The fenders, doors, and cab work are pretty much ready primer. Those are what needed most of the attention. He ended up replacing both front cab corners. The smaller parts are ready also. He said he'll spray them several times with primer and sand, progressively finer, between each coat. On the subject of Paint......I thought I had made my mind up to go with acrylic enamel but he questioned my choice. We proceeded to discuss the two acrylic enamel and Base coat/clear coat Any advise would be greatly appreciated as I am about 4-6 weeks out of "throwing some paint on it" as he stated
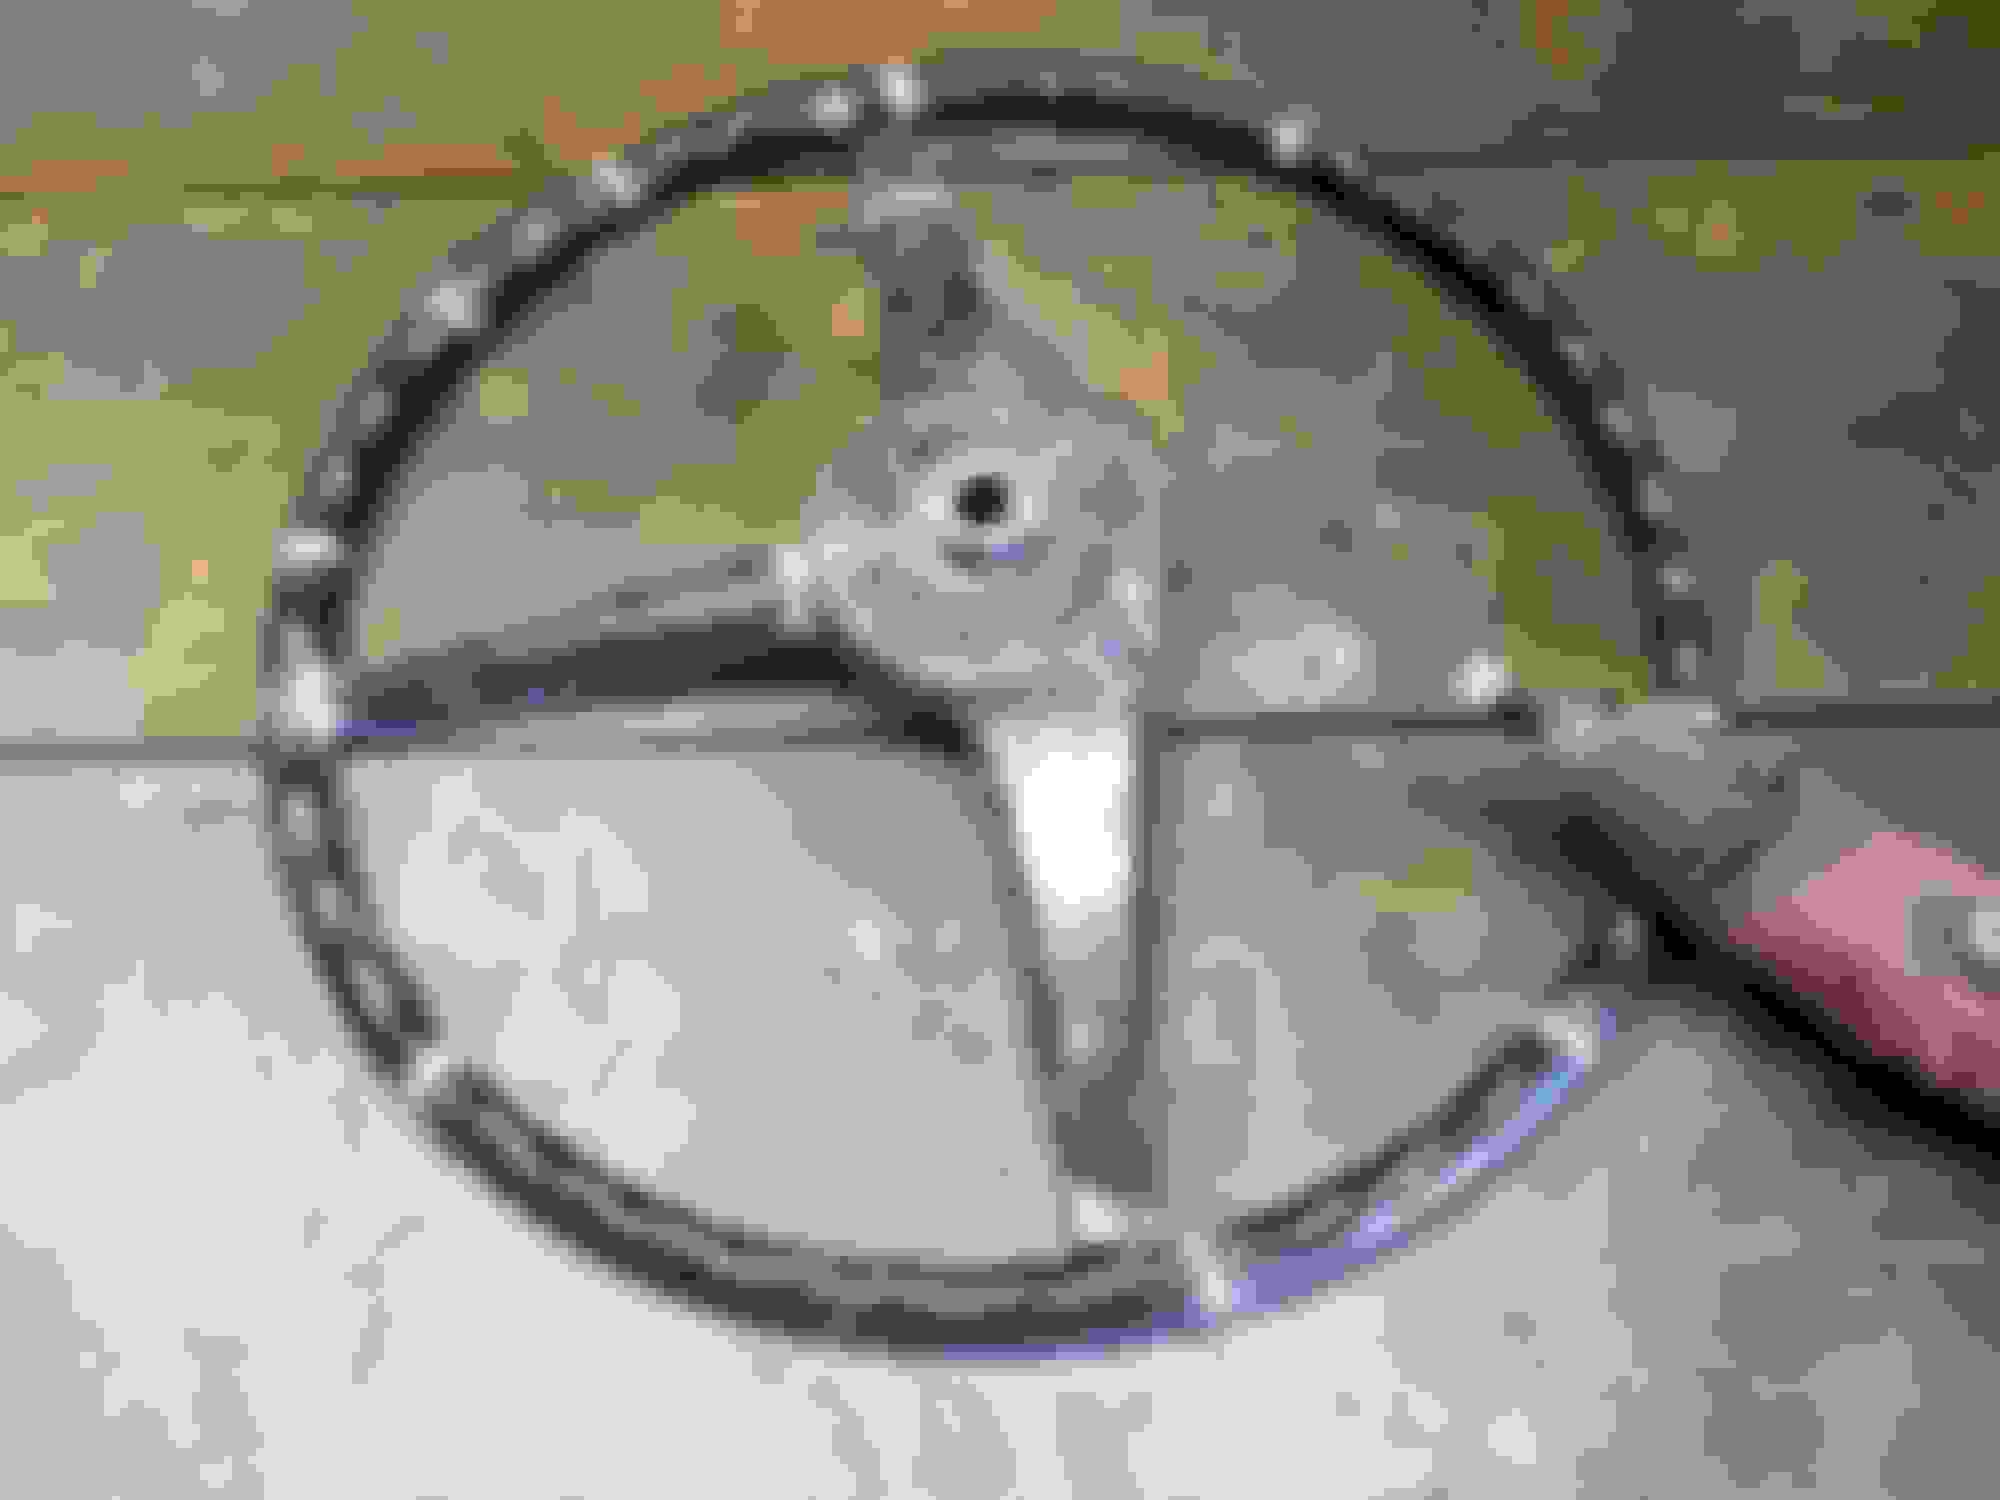
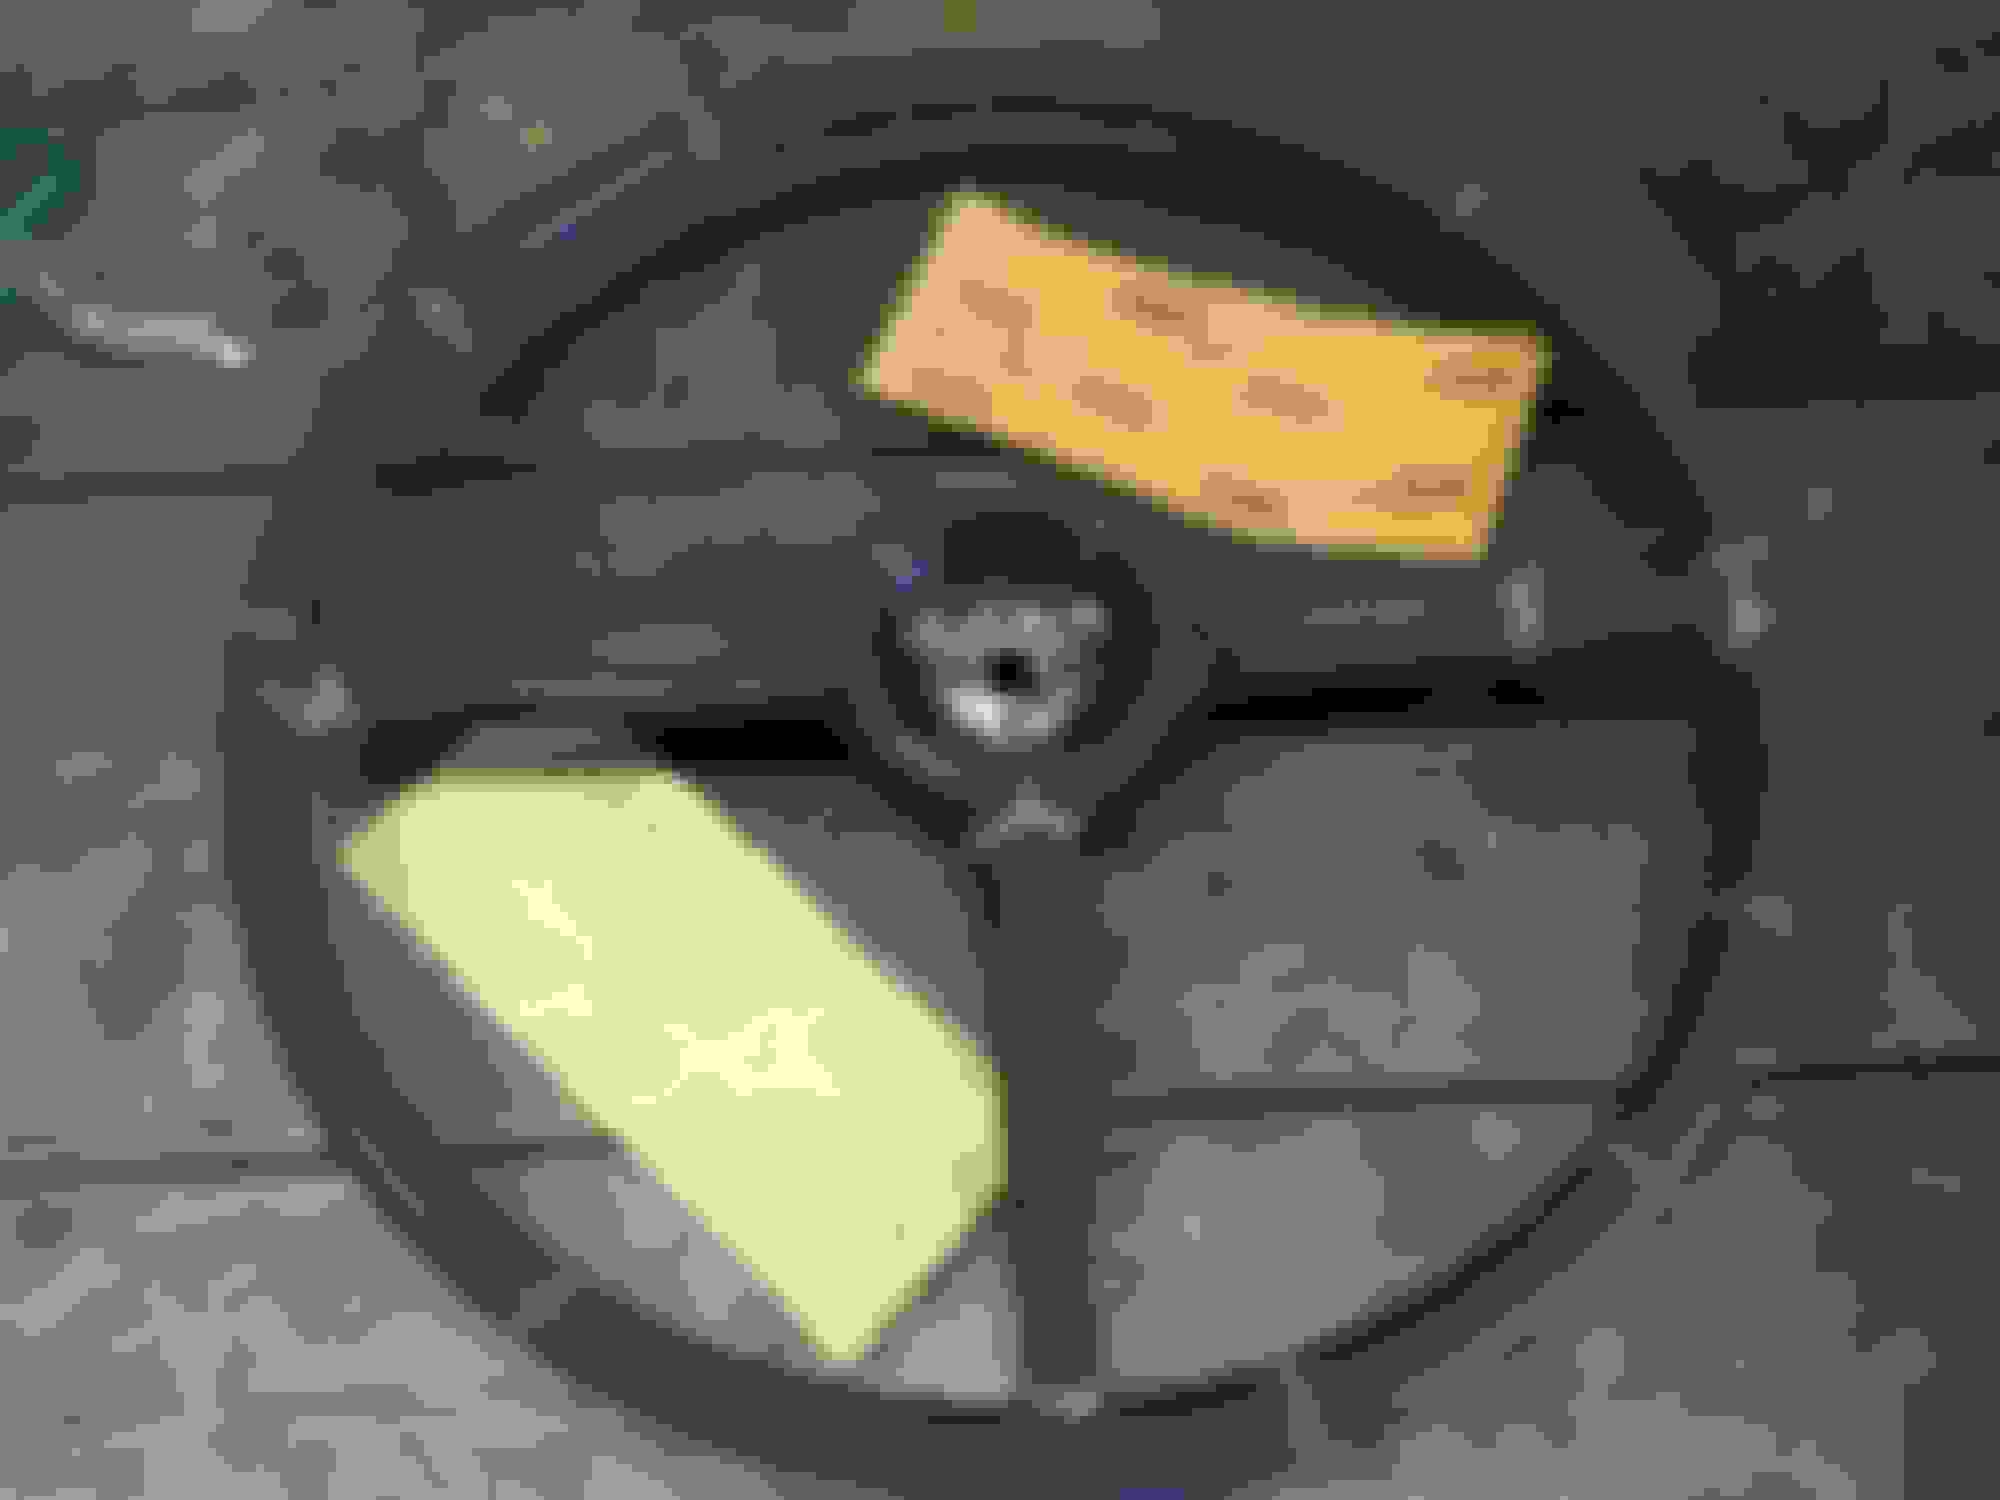
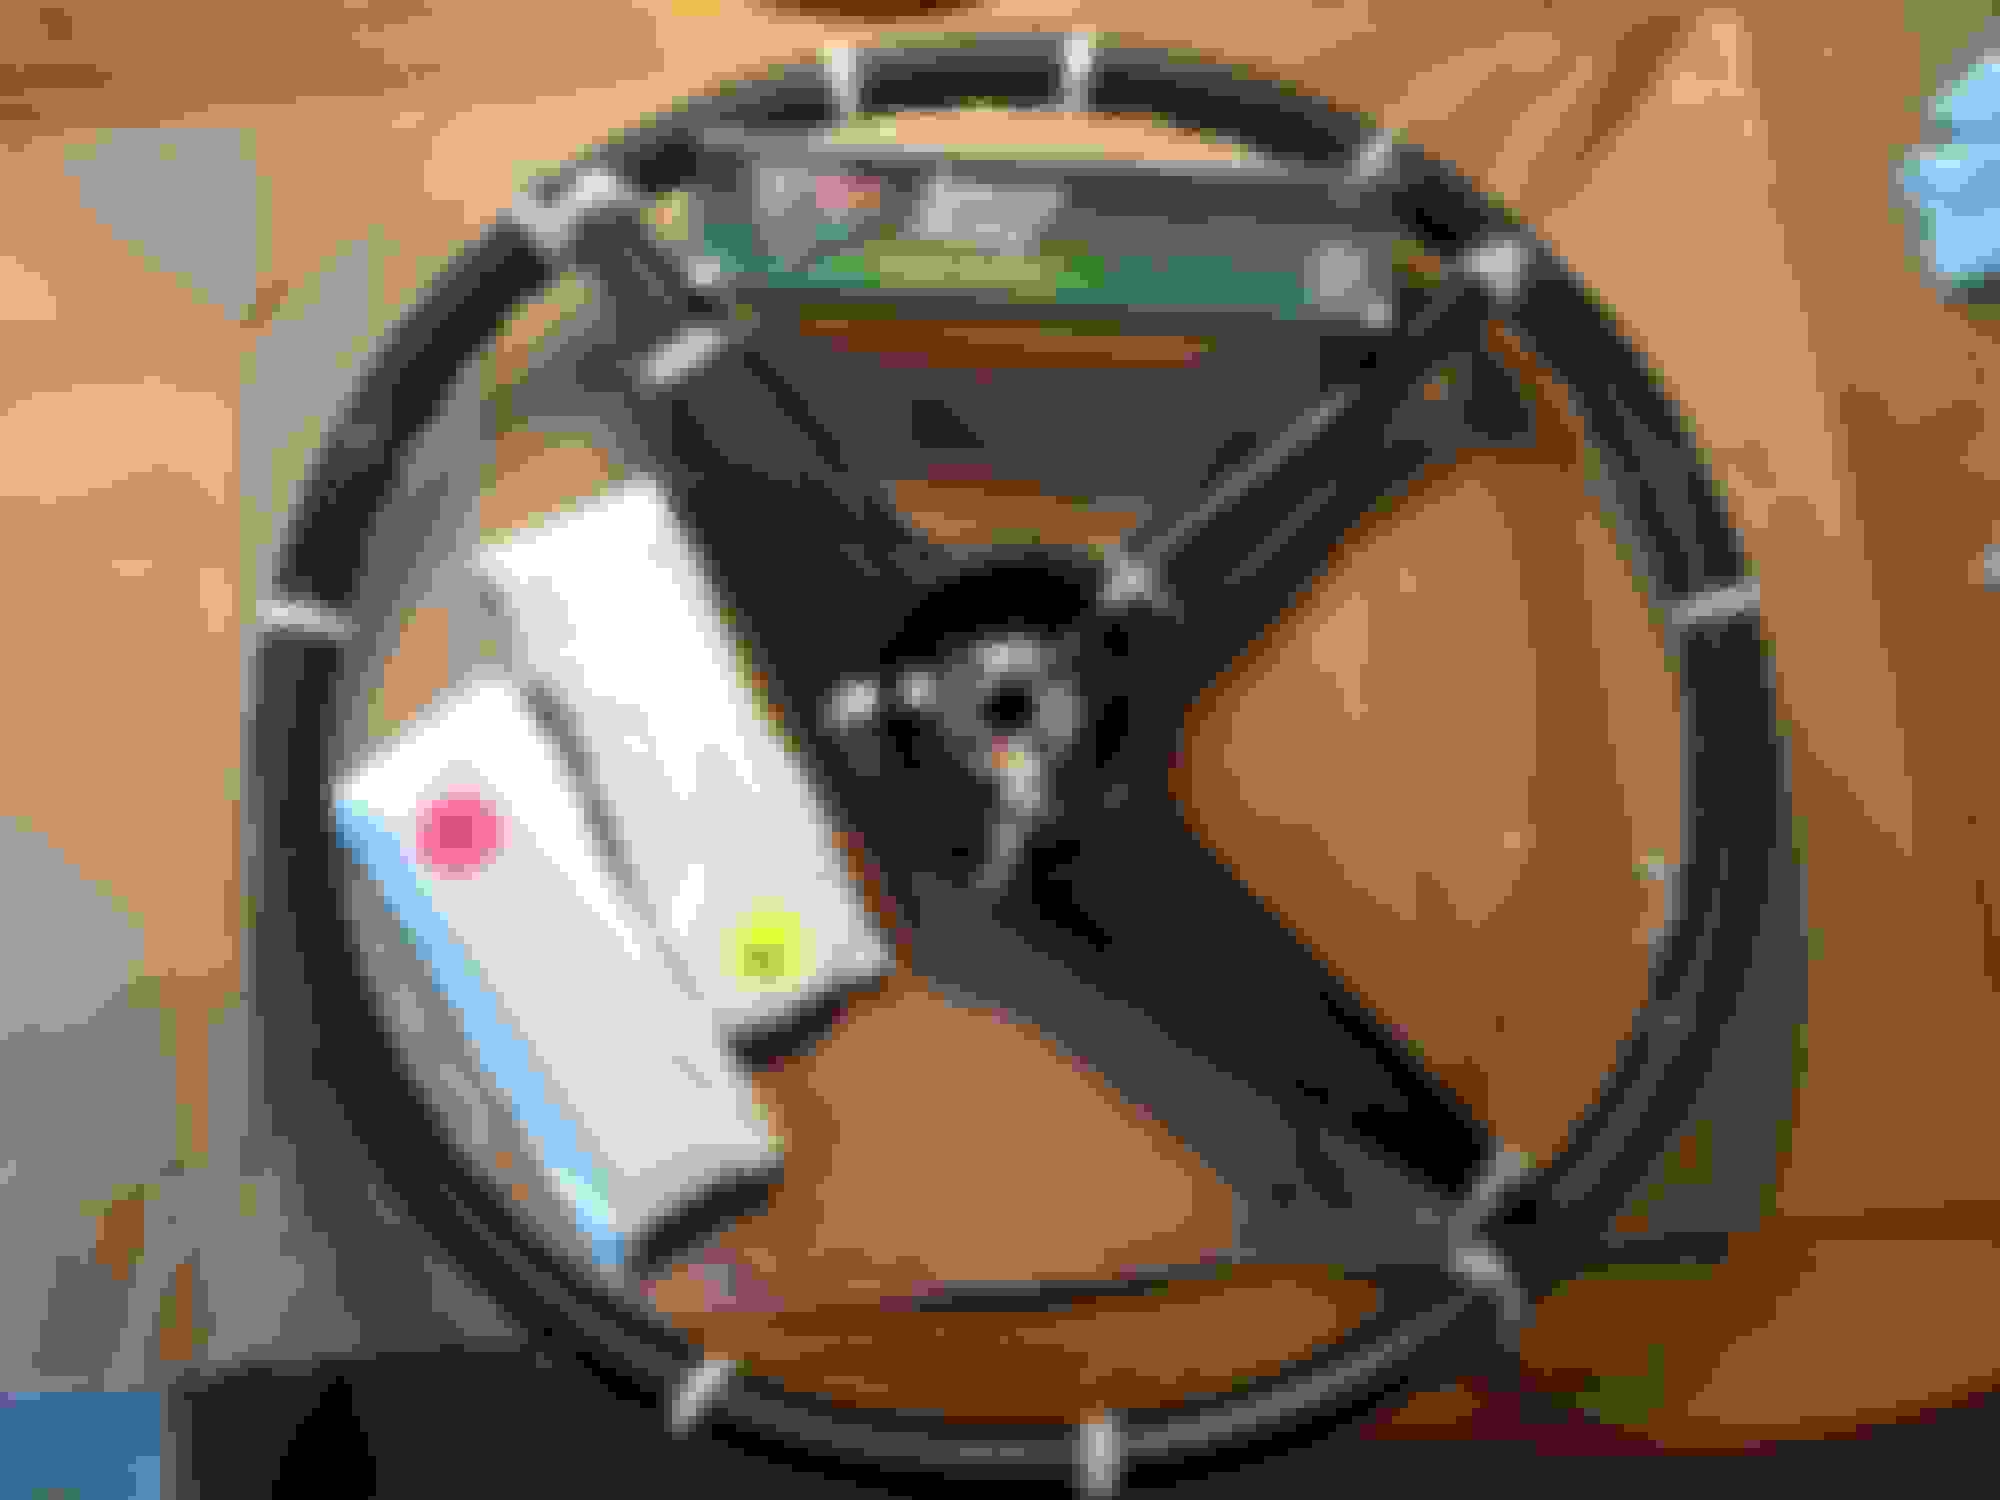
What's a guy to do on a cold blustery day on the plains Work on my steering wheel. Used a Dremel knock-off to grind down to metal and expose the cracks. After a little research I decided to go with the POR15 Epoxy Putty. It is a little stiff and gives the hands a work out but I was able to shape it into little ropes and fill the gap. I sure hope it is easy to grind/sand because I left it a little high so I could shape it to the steering wheel. Now to let it dry a few days. Buy the way thanks for all the suggestions and tips posted on the forums. You guys are the greatest
Looking good!
I used JB Weld and when it dried, I used a dremel to get rid of a majority of the excess, then I sanded. Just don't get carried away with the dremel.
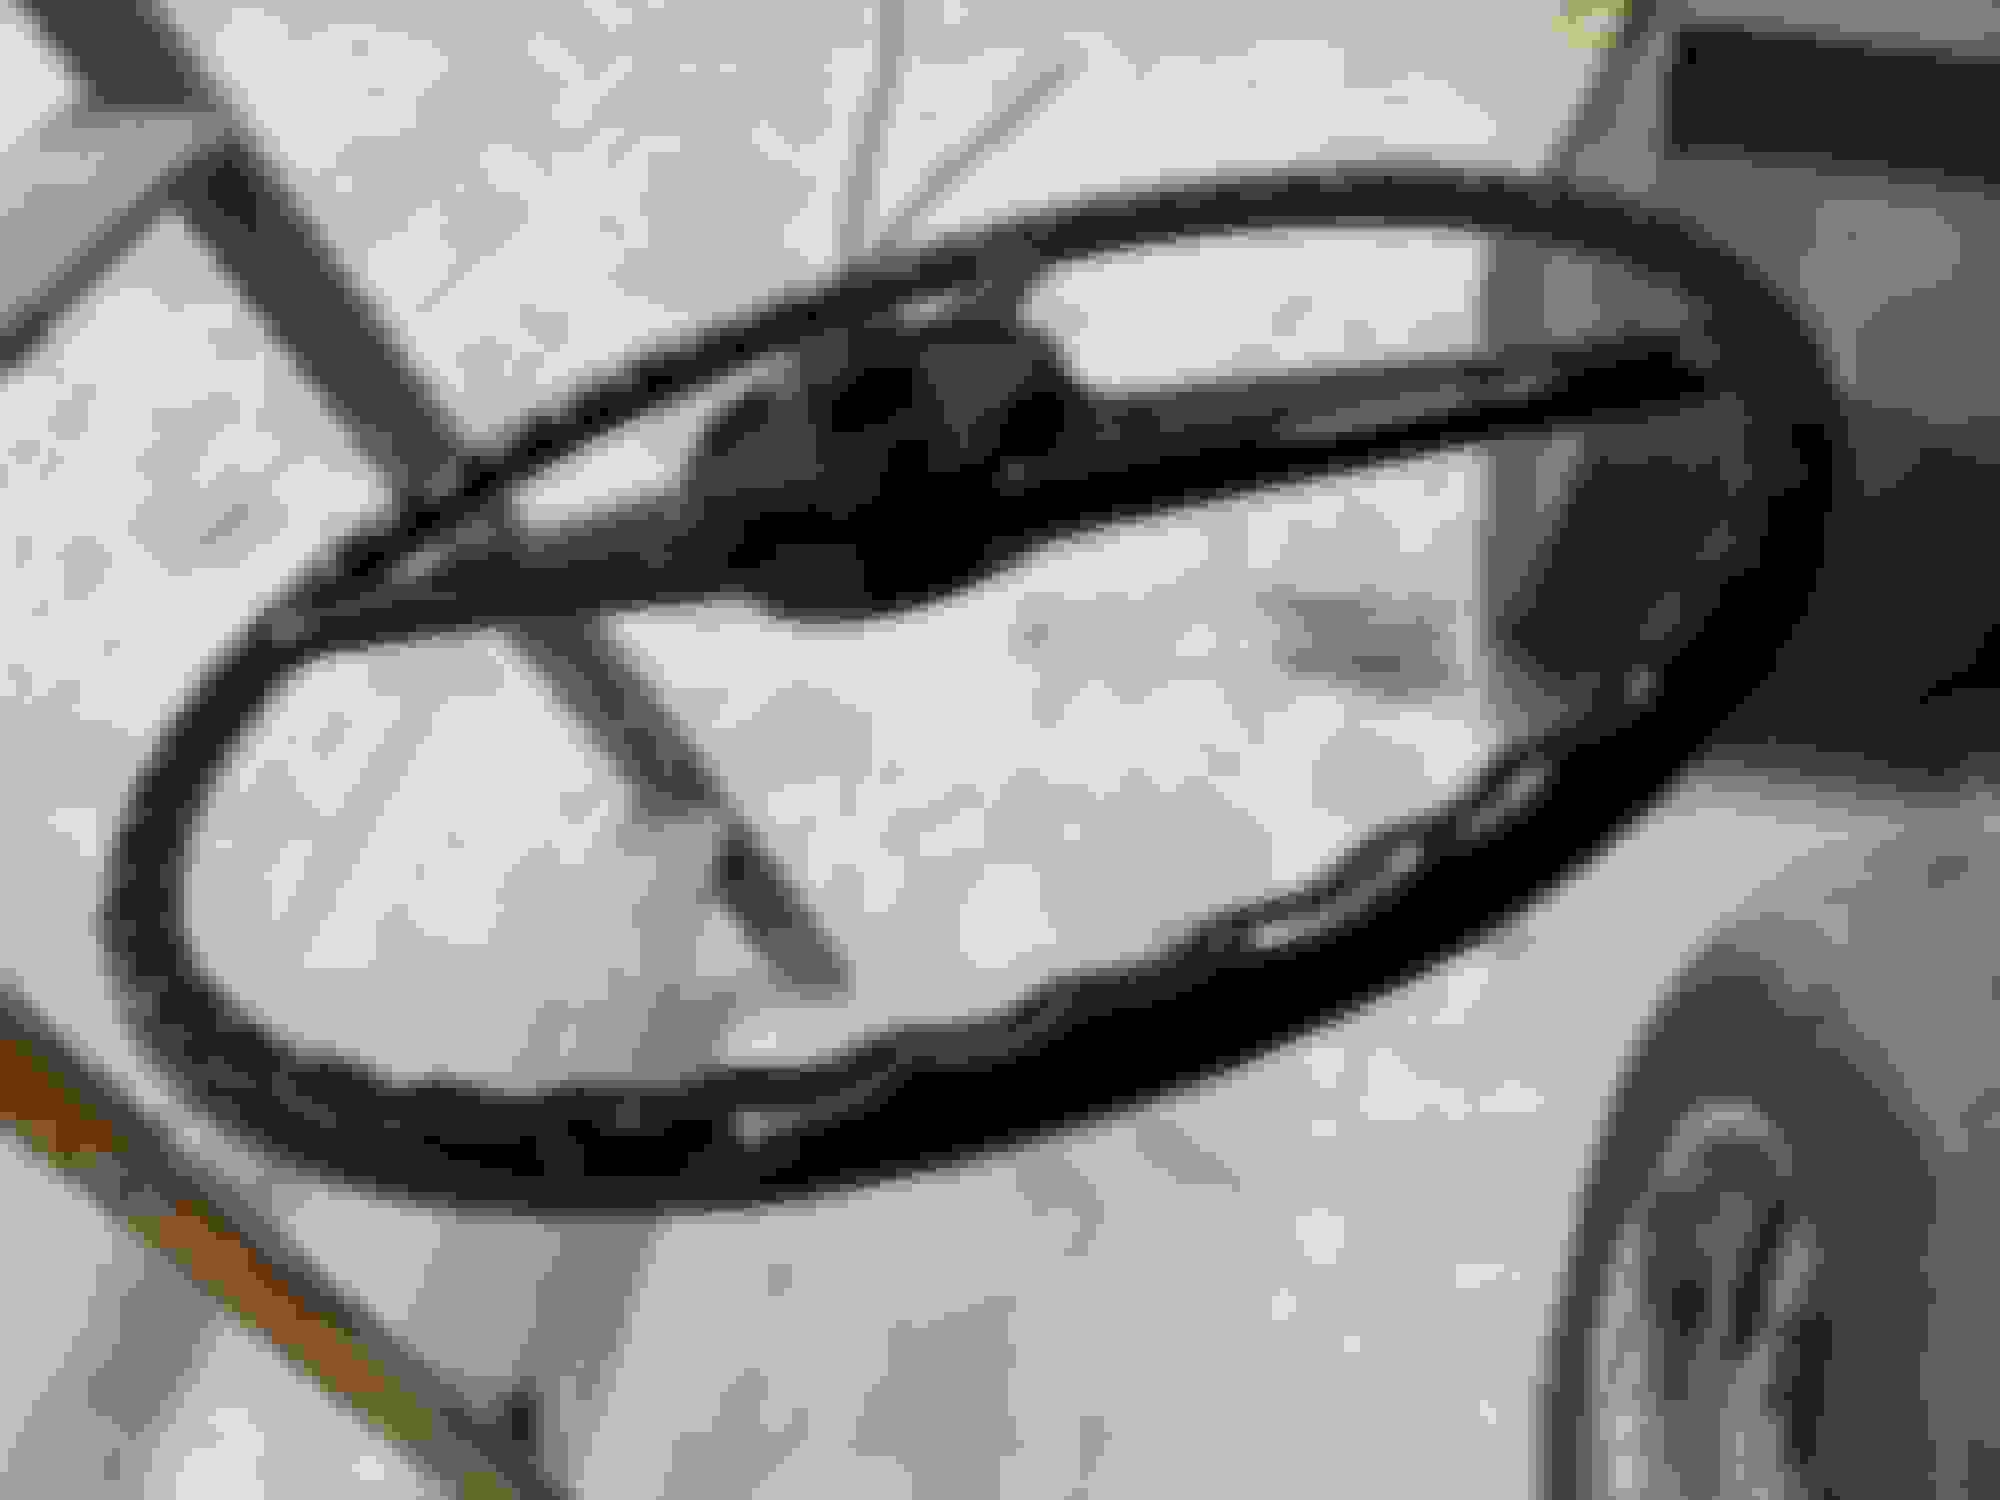
Spring has sprung , which means the smell of paint is in the air. Made it up to 72 today so took advantage and finished up the steering wheel. It's a baby step but in the right direction. Started by using the dremel to get the heavies off, then sanded, ending up with 220 grit. Primed and painted. Not as perfect as I had hoped. Shiny paint tells no lies
Getting closer Body/paint guy texted me a picture today after two coats of primer. Told me he will be painting in a couple of weeks.
Originally Posted by Harrier
The turn signals are not on any wiring diagram. Here is the one I drew for my lighting system. I added a fuse block and headlight relay to my system for safety. I have several diagrams like this done in Visio if you need any. The numbers on the lines are wire gauge.
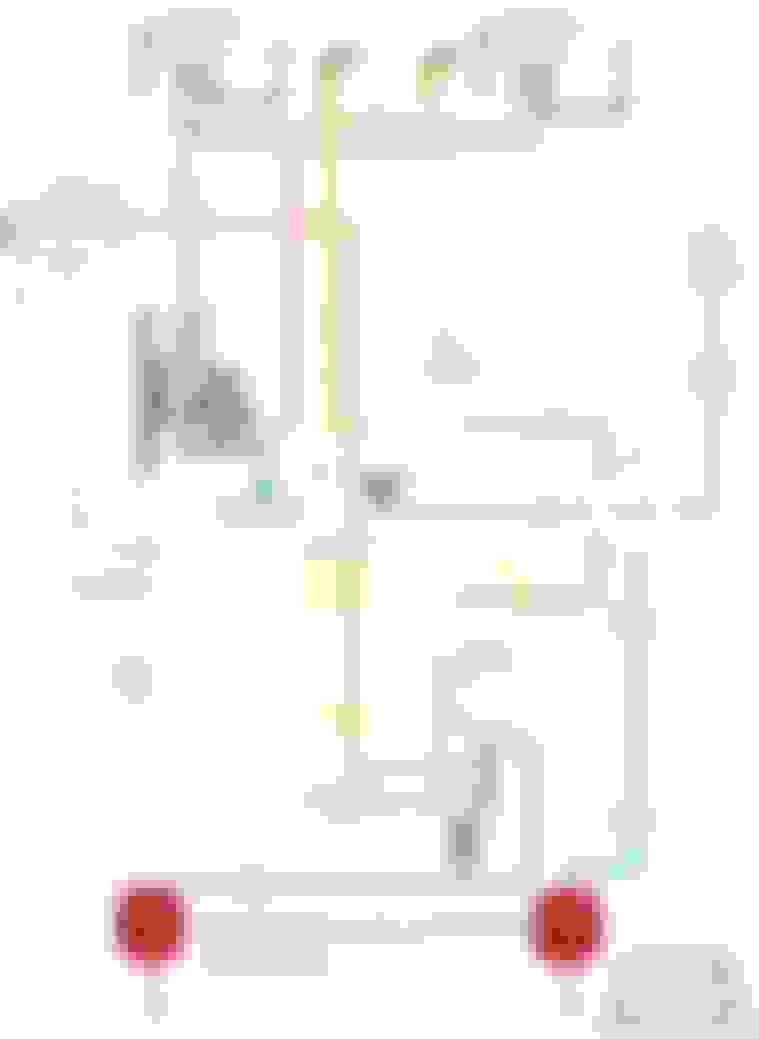
I wanted to order my new wiring harness but after searching the normal suppliers I wasn't happy with what I was finding. I want it to look original but found most of the harnesses available were for the F100. There are some slight differences that I found. The F350 horn wire goes around on the passenger side and connects to only one horn. Also as Abe mentioned, the 54' come up short and have to be spliced . I did not want to take a chance. Looking in the parts guide it showed many with the same number just a different letter on the end. So I assumed they are all just a little different in a small way. Long story short I found a harness from Early Ford V8 Sales out of South Carolina. It was listed for big Trucks F250-F600. I called them and they sent me the schematic below. It looks like it matches the original that I had pulled out of my truck. The price was reasonable so I order it along with the headlight crossover, generator/regulator and headlight/parking pigtails. They will be here Tuesday Will report back on Wednesday.
Getting closer Body/paint guy texted me a picture today after two coats of primer. Told me he will be painting in a couple of weeks.
I wanted to order my new wiring harness but after searching the normal suppliers I wasn't happy with what I was finding. I want it to look original but found most of the harnesses available were for the F100. There are some slight differences that I found. The F350 horn wire goes around on the passenger side and connects to only one horn. Also as Abe mentioned, the 54' come up short and have to be spliced . I did not want to take a chance. Looking in the parts guide it showed many with the same number just a different letter on the end. So I assumed they are all just a little different in a small way. Long story short I found a harness from Early Ford V8 Sales out of South Carolina. It was listed for big Trucks F250-F600. I called them and they sent me the schematic below. It looks like it matches the original that I had pulled out of my truck. The price was reasonable so I order it along with the headlight crossover, generator/regulator and headlight/parking pigtails. They will be here Tuesday Will report back on Wednesday.
Your parts look good in primer, Dave! But painting in a couple of weeks? That could turn into 5 or 6 weeks. Better stay on top of your painter without ticking him off. It's a fine line to walk.
About my wire harness being shirt, that was only because me 54 was built late in the year for 54's and it did not have the junction block that other 54's had. The 55's did not have a junction block. Their harness went right to the solenoid. So you would have been OK ordering a 55 harness. But it sounds like you OK with one that was for F250 and up trucks. I didn't know there was a difference.
A couple of days ago I told my wife I was expecting a package to be delivered by USPS on Tuesday. Because I work a 24 hour shift, I would not be home till Wednesday morning. I told her I ordered a new wiring harness for my truck. She could hear the excitement in my voice and says " that's what your getting excited about. A wiring harness?" She does not understand I rushed home this morning and ripped into my delivered package from Early Ford V8 Sales.Since I have the original wiring I was able to compare it wire for wire to makes sure it was period correct. It appears to be the same down to color and connectors. Found just one issue I plan to call them about. It only included 3 dash light sockets, none for the left and right turn signals. Not a big problem. Just one question. I ordered a new grommet for where the wire goes through the firewall. Do the wires actually squeeze through that small hole or do you have to make a slice in it to spread it apart?
 01-25-2018, 10:56 AM


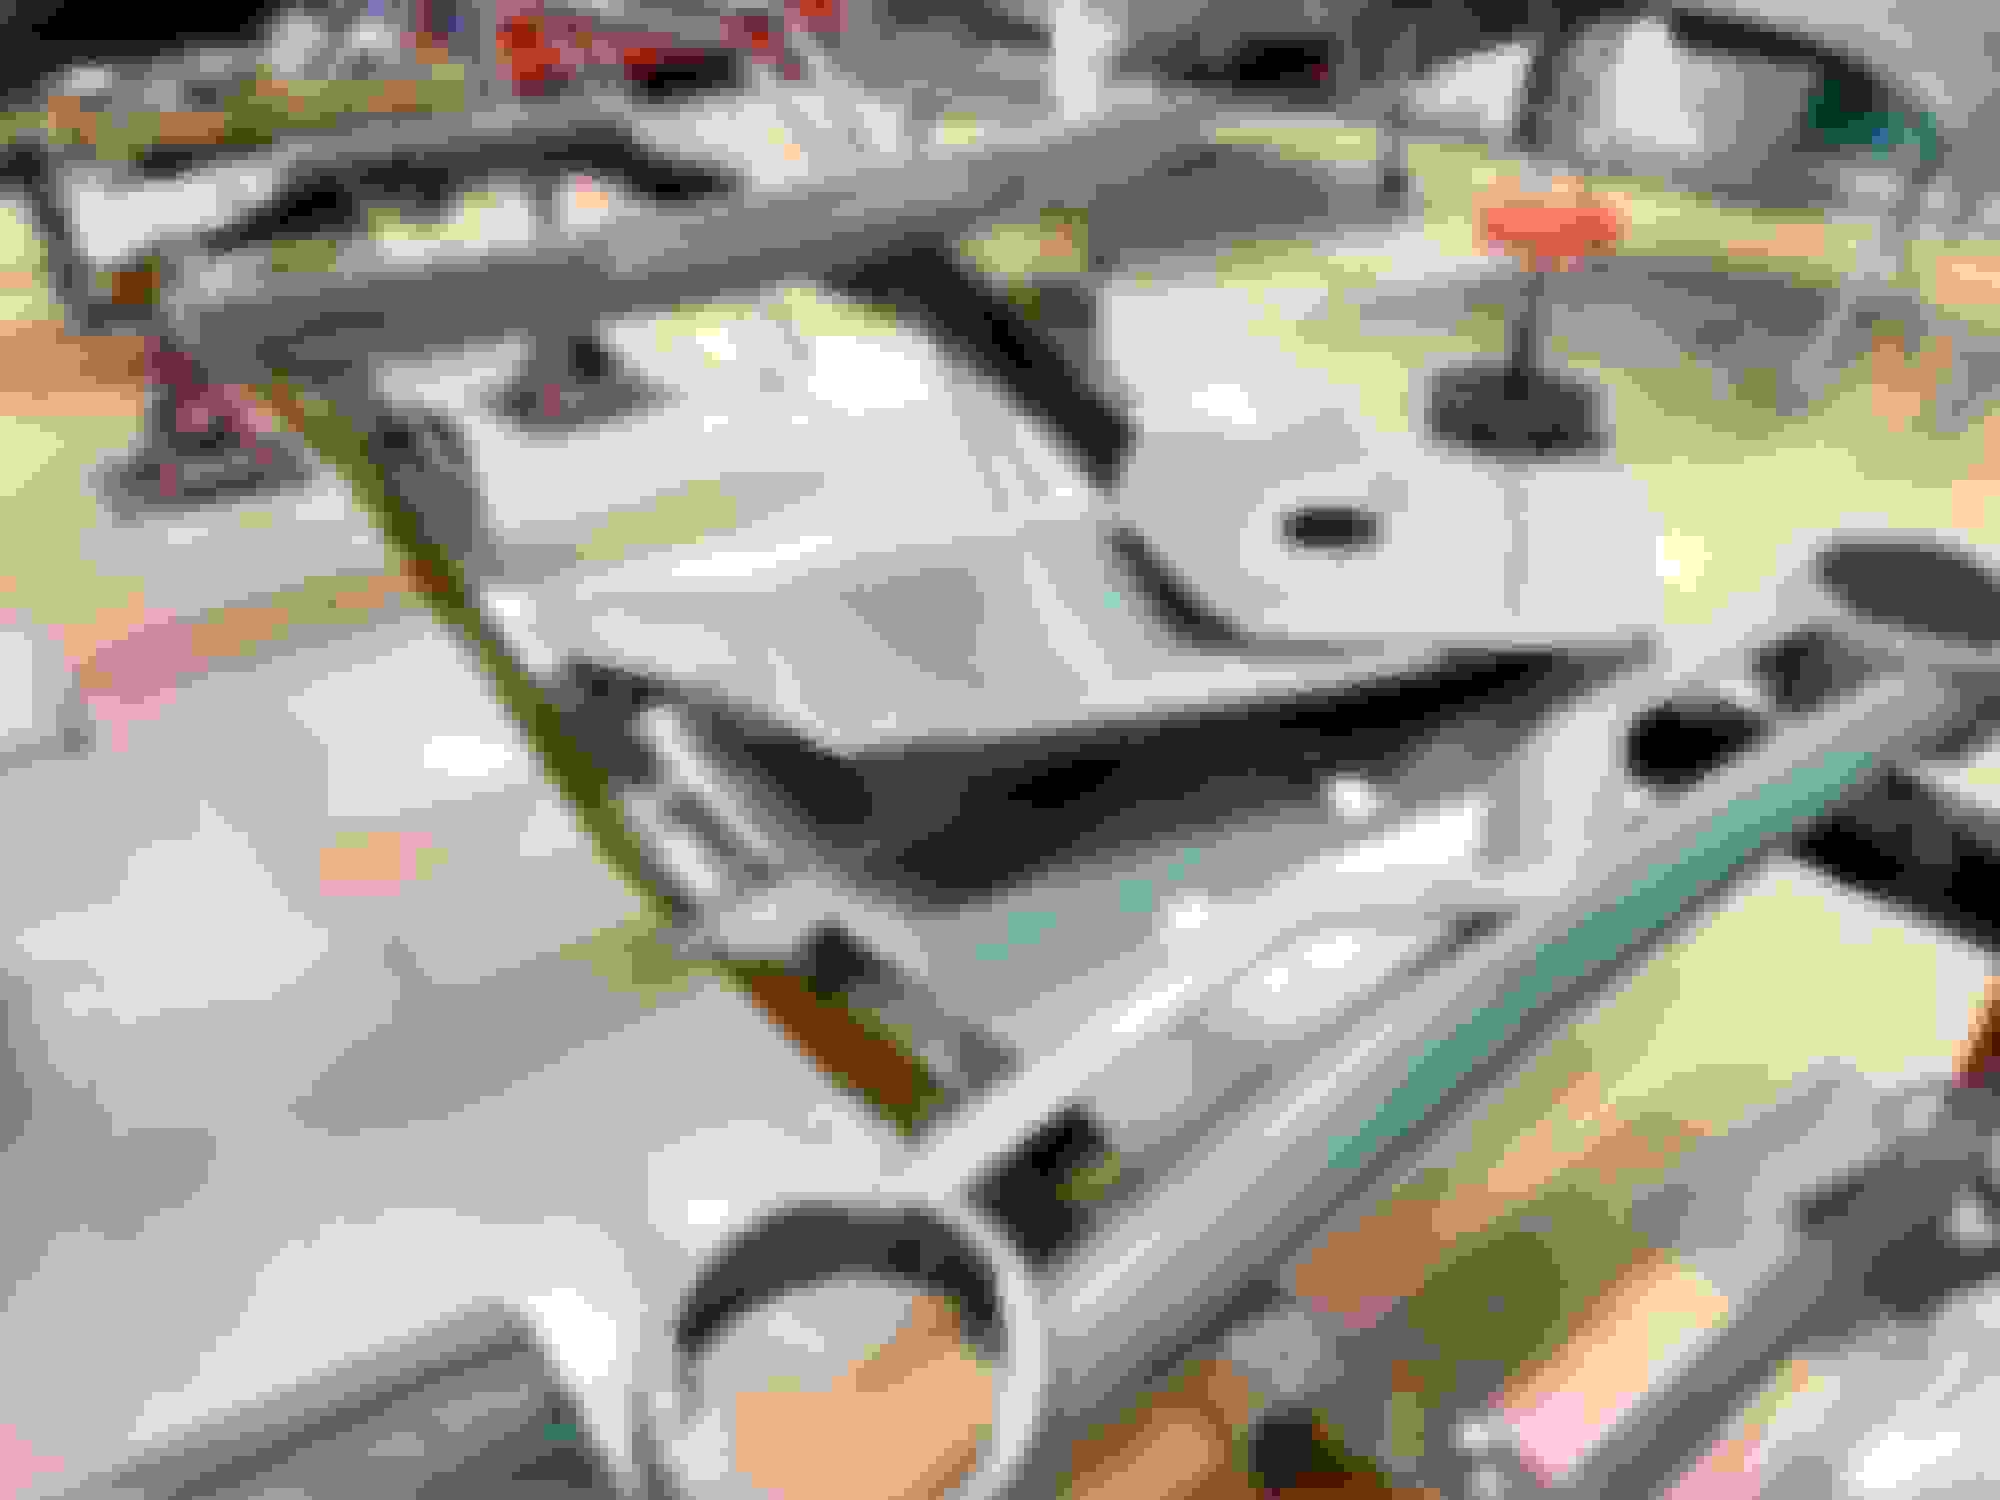


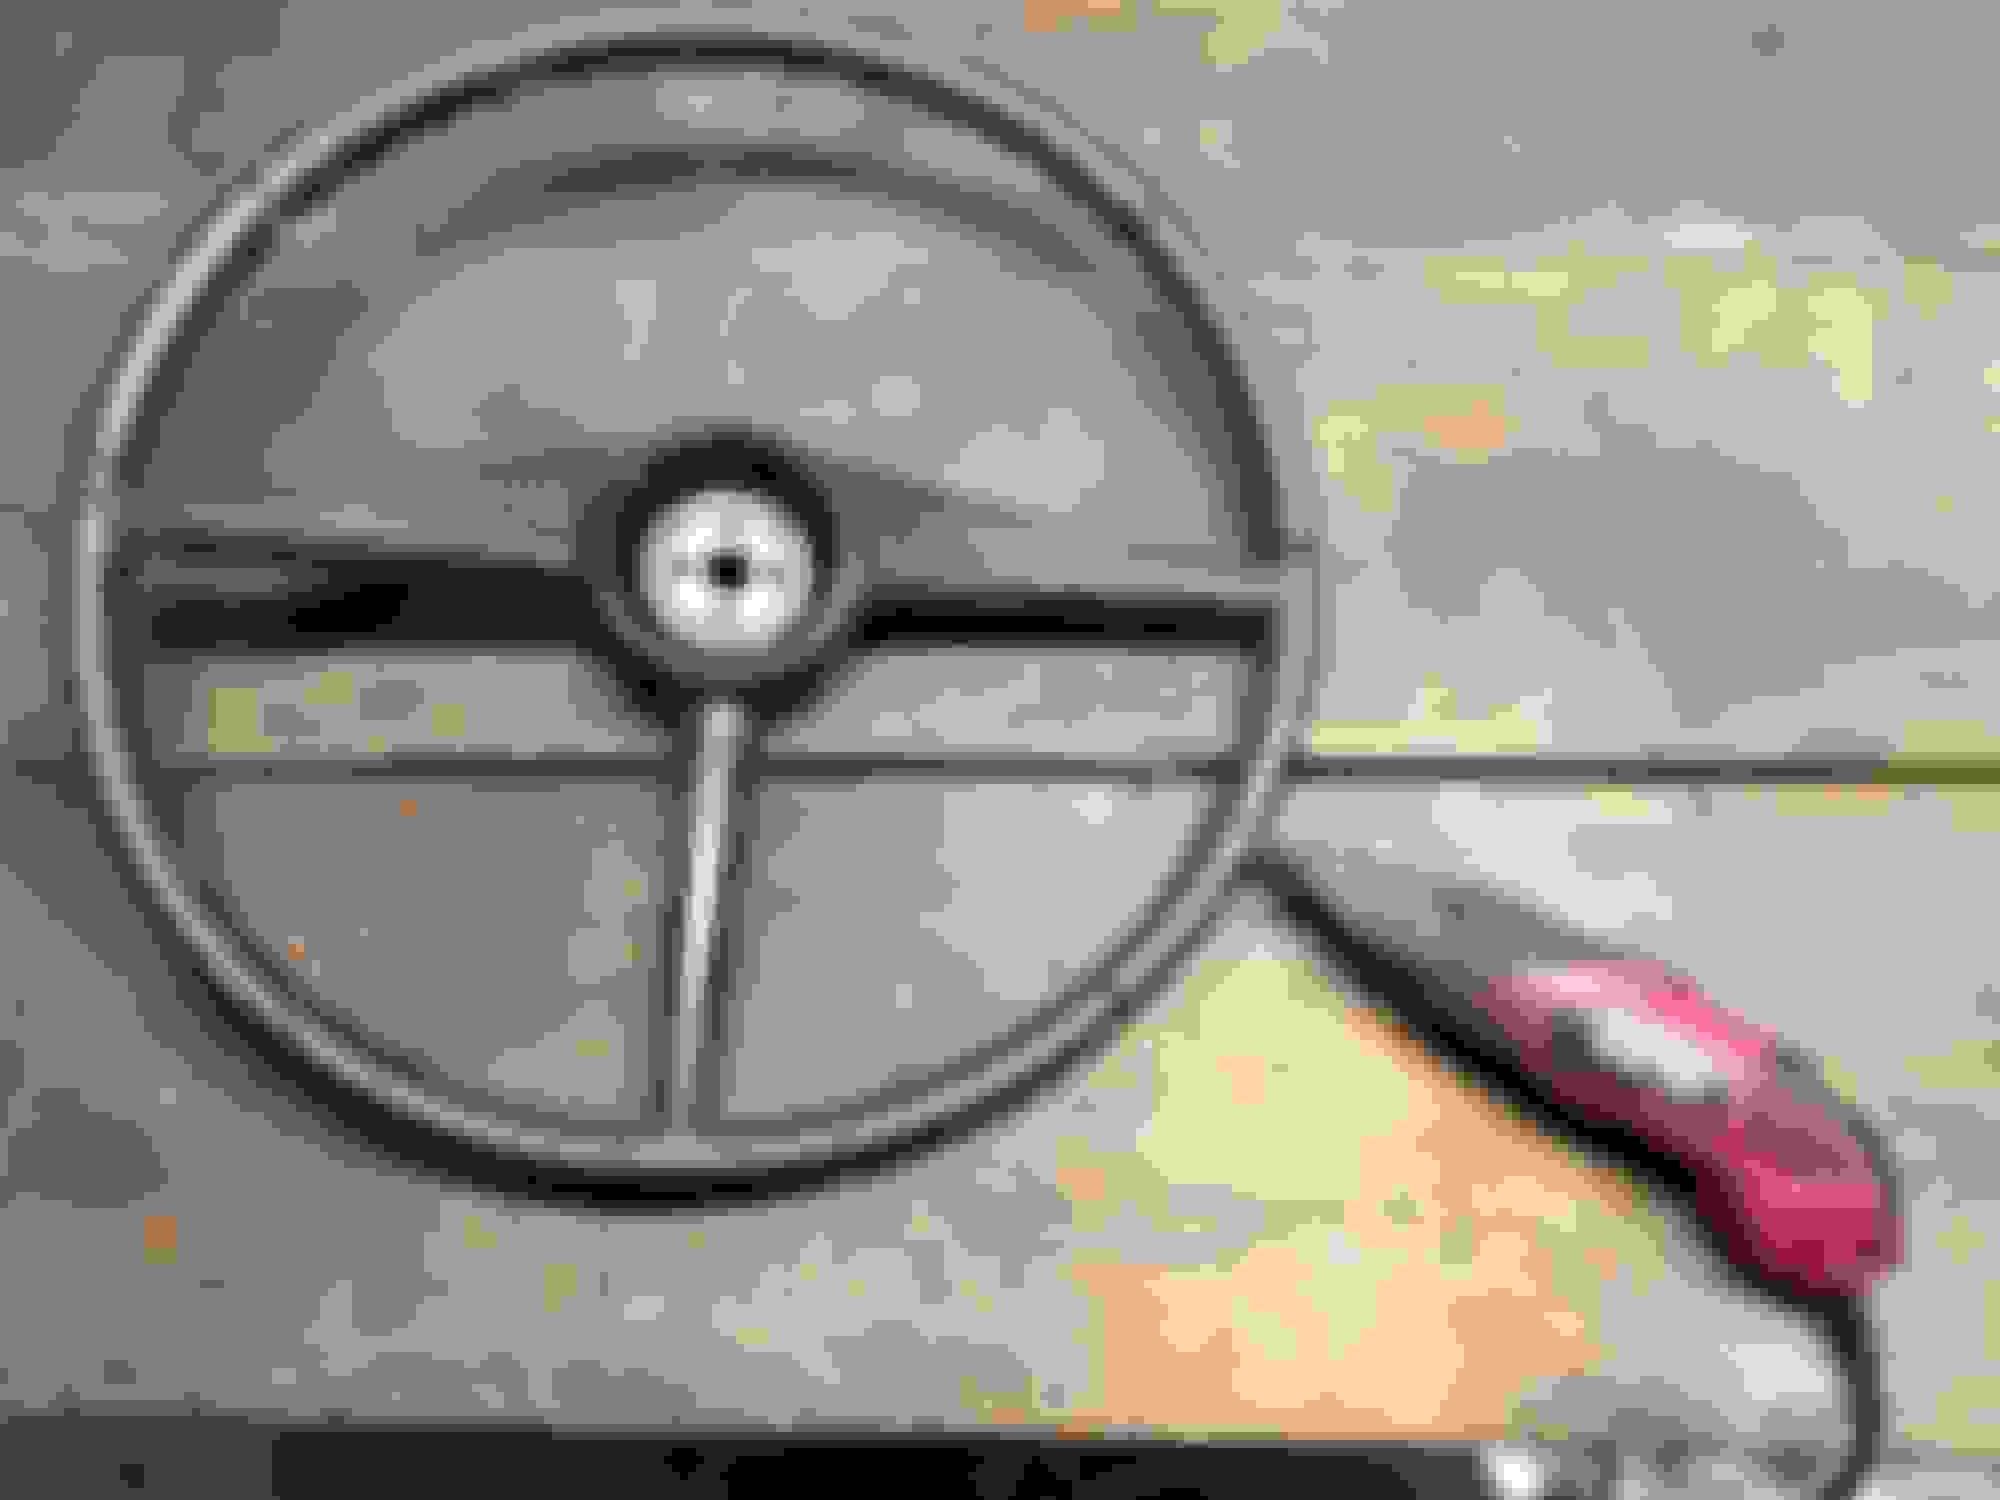


 , which means the smell of paint is in the air. Made it up to 72 today so took advantage and finished up the steering wheel. It's a baby step but in the right direction. Started by using the dremel to get the heavies off, then sanded, ending up with 220 grit. Primed and painted. Not as perfect as I had hoped. Shiny paint tells no lies