When you click on links to various merchants on this site and make a purchase, this can result in this site earning a commission. Affiliate programs and affiliations include, but are not limited to, the eBay Partner Network.
Tell me more about the interior painting. I'm super interested in doing it also. I have a complete blue set to test on
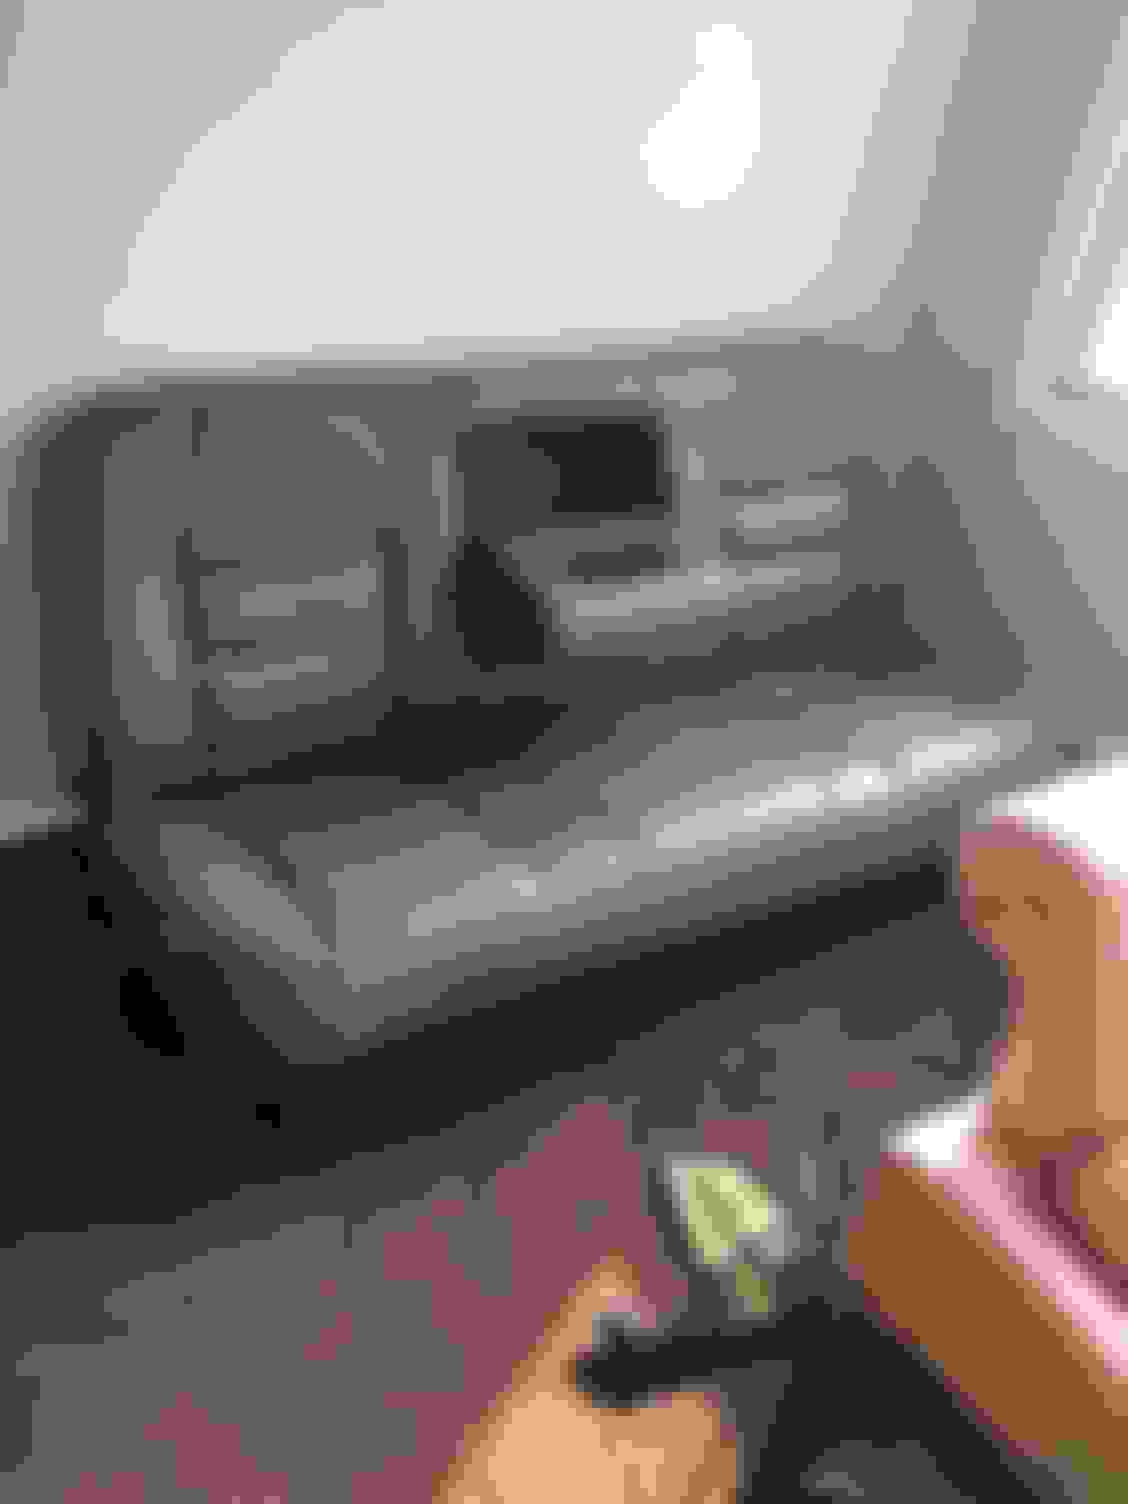
Hey sorry this took so long, been spending a lot of time on truck lately now that my transmission came and the motor's back in and stuff can actually start going back onto the truck but the only hard part to the interior is disasembling the dash and the door panels. Obviously getting the door panels off the doors is relatively easy but once they're off you realize they are about 6 pieces all plastic welded/screwed together to make one door panel. All I did was I took a big drill bit and a low torque drill and just drilled all the plastic welds to separate the door panels into the 6 or so individual pieces that make up the door. From there all the hard plastics got washed with soap and water, then wiped down with isophrople alcohol. They I literally got about 20 cans of the Rustoleum Spray Bed Liner and went to town. Started with a very light coat, allowed about 15 minutes to dry followed by a heavier but still relatively light coat allowing about 20-30 to dry then I went with a heavy final coat being sure not to have drips. (First coat I'd say panels were about 20% black, second they were about 85%-90%, by final coat they were 100% black). The carpet on the doors, clothe panel surround lock/unlock/window switches, and the arm rests (which are a soft rubber) I painted with Dupli Color Vinyl and Fabric Paint. I used the mid gloss paint they offer. It wasn't matte but wasn't high gloss...i forget the name they used but I believe they only sell it in 3 kinds so as long as it's not the high gloss or matte that's what I used. I prepped these pieces (Except for carpet) in same way as I did the hard plastics and painted them in the same procedure except I first primed them with Duplicolor Adhesion promoter, started painting 15 minutes after applying the adhesion promoter in the same steps as listed for the hard plastics. I also did a second heavy coat at the end on these pieces. After everything was all painted up and let sit for about a week to cure I started reassembly. For reassembly I got a 6 pack of black plastic epoxy tubes off amazon (forget the name brand) and just started piecing the doors back together one panel at a time applying the plastic weld to each spot there was a plastic weld from the factory. I just goobered them up real good with the stuff to ensure a strong connections. It's the back of the door....no ones ever going to see it. I would usually do just one piece of the panel per day so I didn't have too much going on. I used little plastic C-clamps from harbor freight to press the pieces together against one another over night for curing and the following day I'd glue another piece of the door panel back on. It's not a hard process per say but it is LONG. Especially if you have a Crew Cab Like mine. I spent an entire weekend painting all my panels and dash board and just everything interior (except headliner) and it took me an entire weekend. Now that's just paint. I spent a few weeks beforehand prepping them in the manner I described with the soap and water...and before that I spent a whole weekend taking the whole interior out...and I haven't even put any of the interior back in yet. It would easily take a week to do start to finish IMO if you did it right and didn't cut corners. The bed liners pretty strong for what it's worth being painted on plastic. On a test panel I did about a year ago the color isn't faded and still would take a pretty hefty wack with a screw driver to chip. THE MOST IMPORTANT THING IS MAKE SURE WHEN DRILLING OFF OLD FACTORY PLASTIC WELDS THAT THE DRILL IS LOW TORQUE AND YOU TAKE YOUR TIME. I found out the hard way on one of my test door panels that if the drill is high torque and catches the weld in a certain way it's gonna pull the drill right through the panel and put holes where you don't want holes and break plastics you don't want broke. Very important to take your time drilling out old welds. Also an FYI I wish I would have done is leave the speaker grilles in the front doors for paint...I took mine out and busted up the front one and it's been a PITA trying to salvage one with out busting it up too because those suckers are PRESSED IN THERE. Hope this helps, any more questions feel free to PM me!
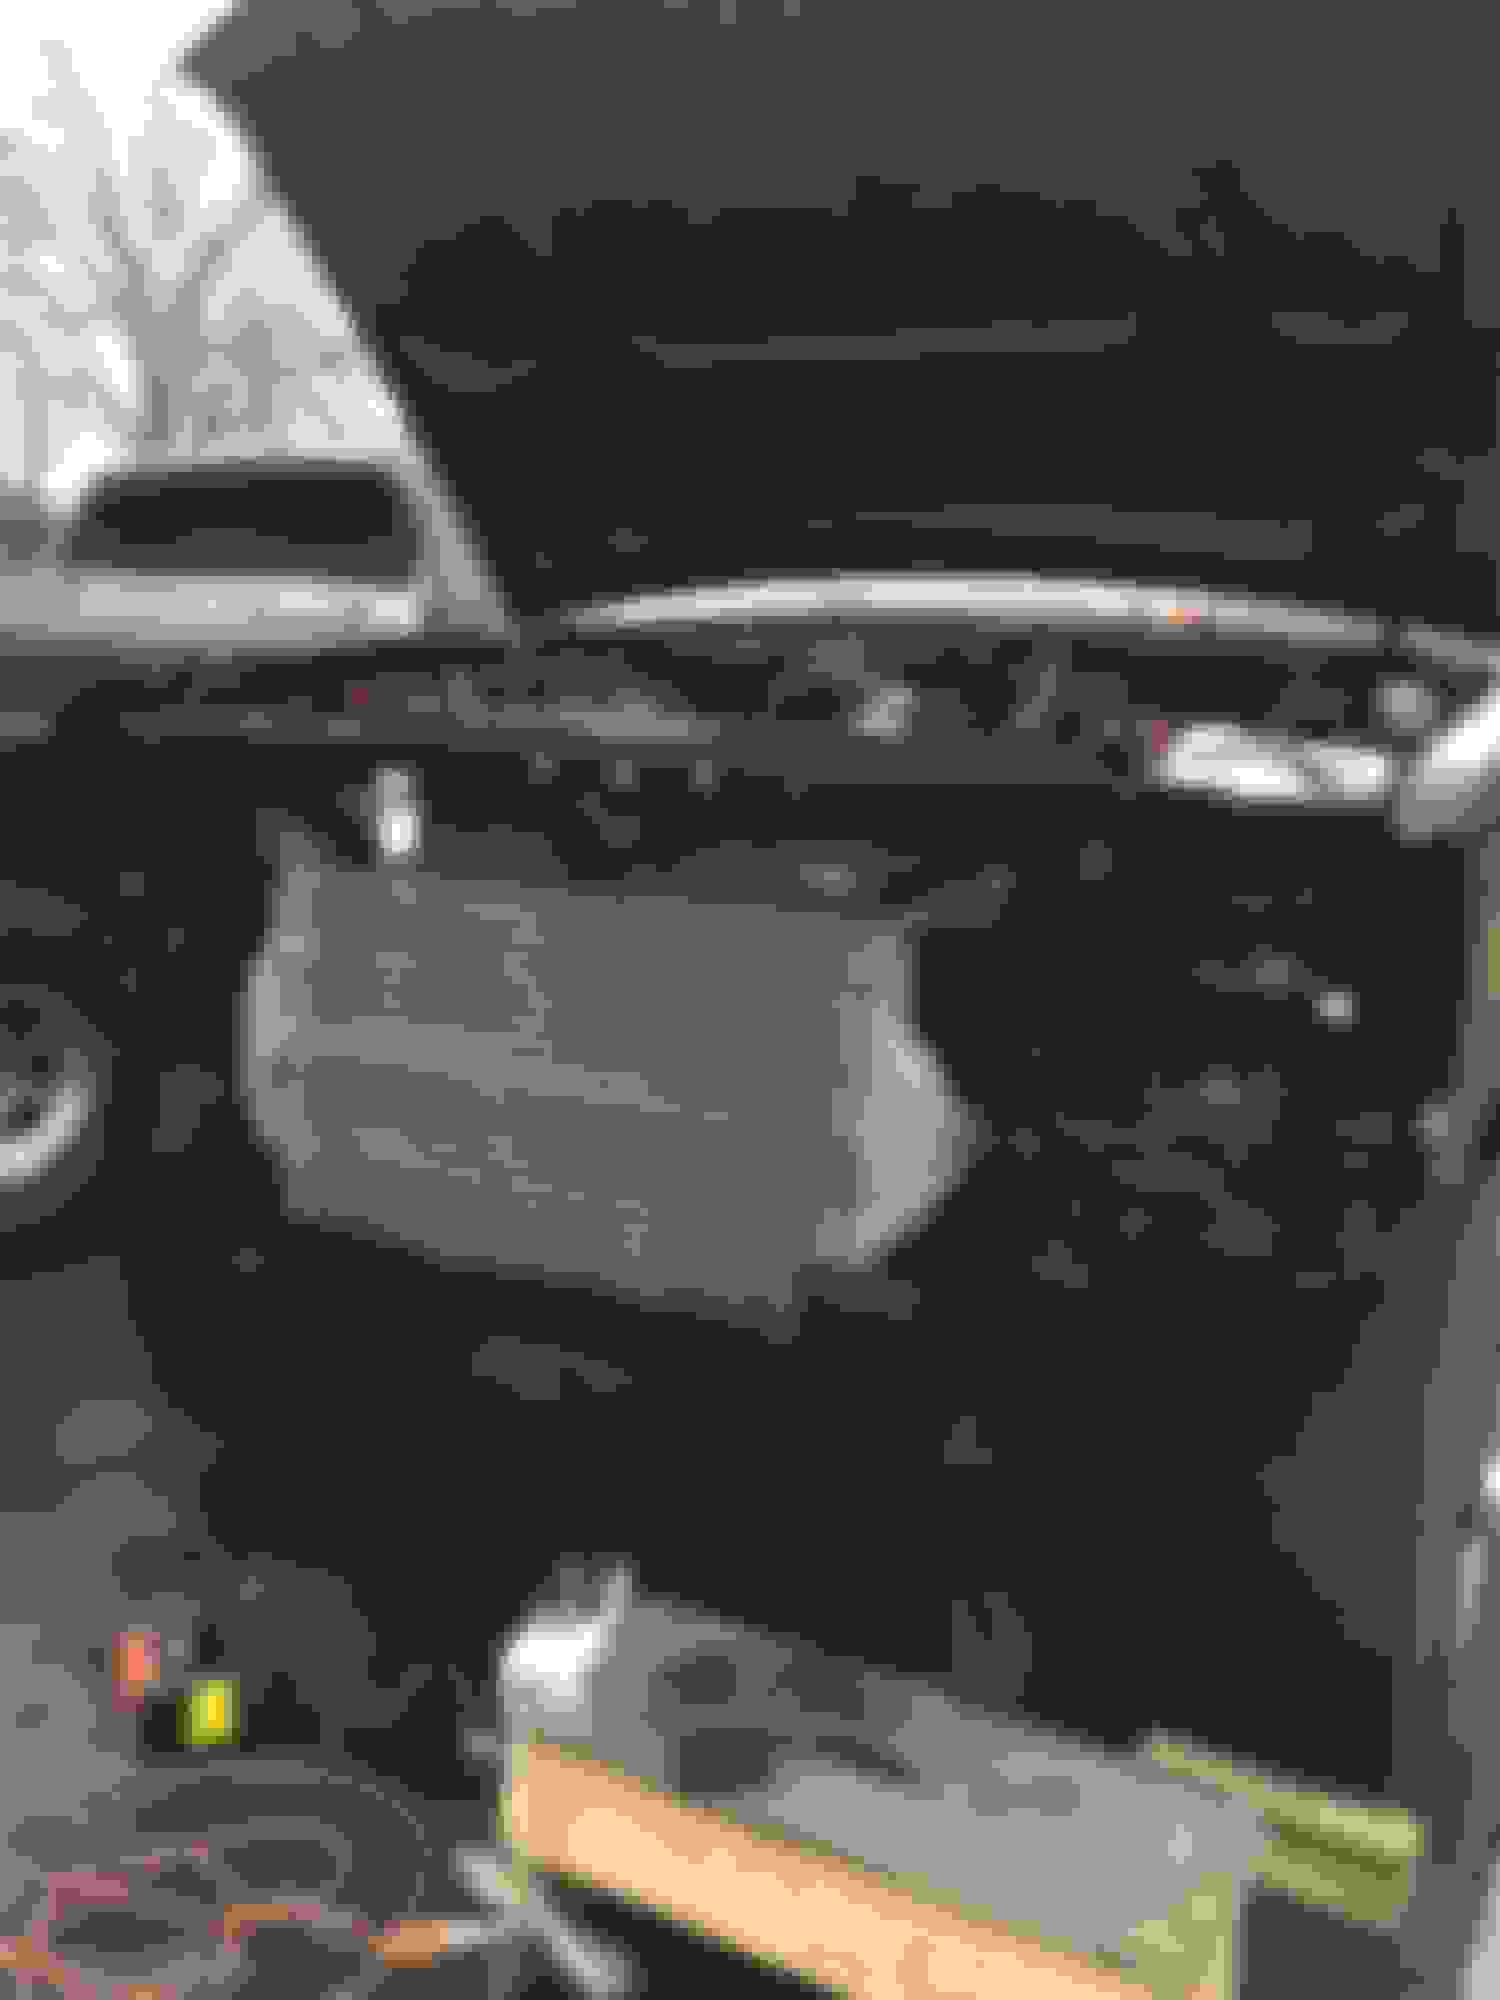
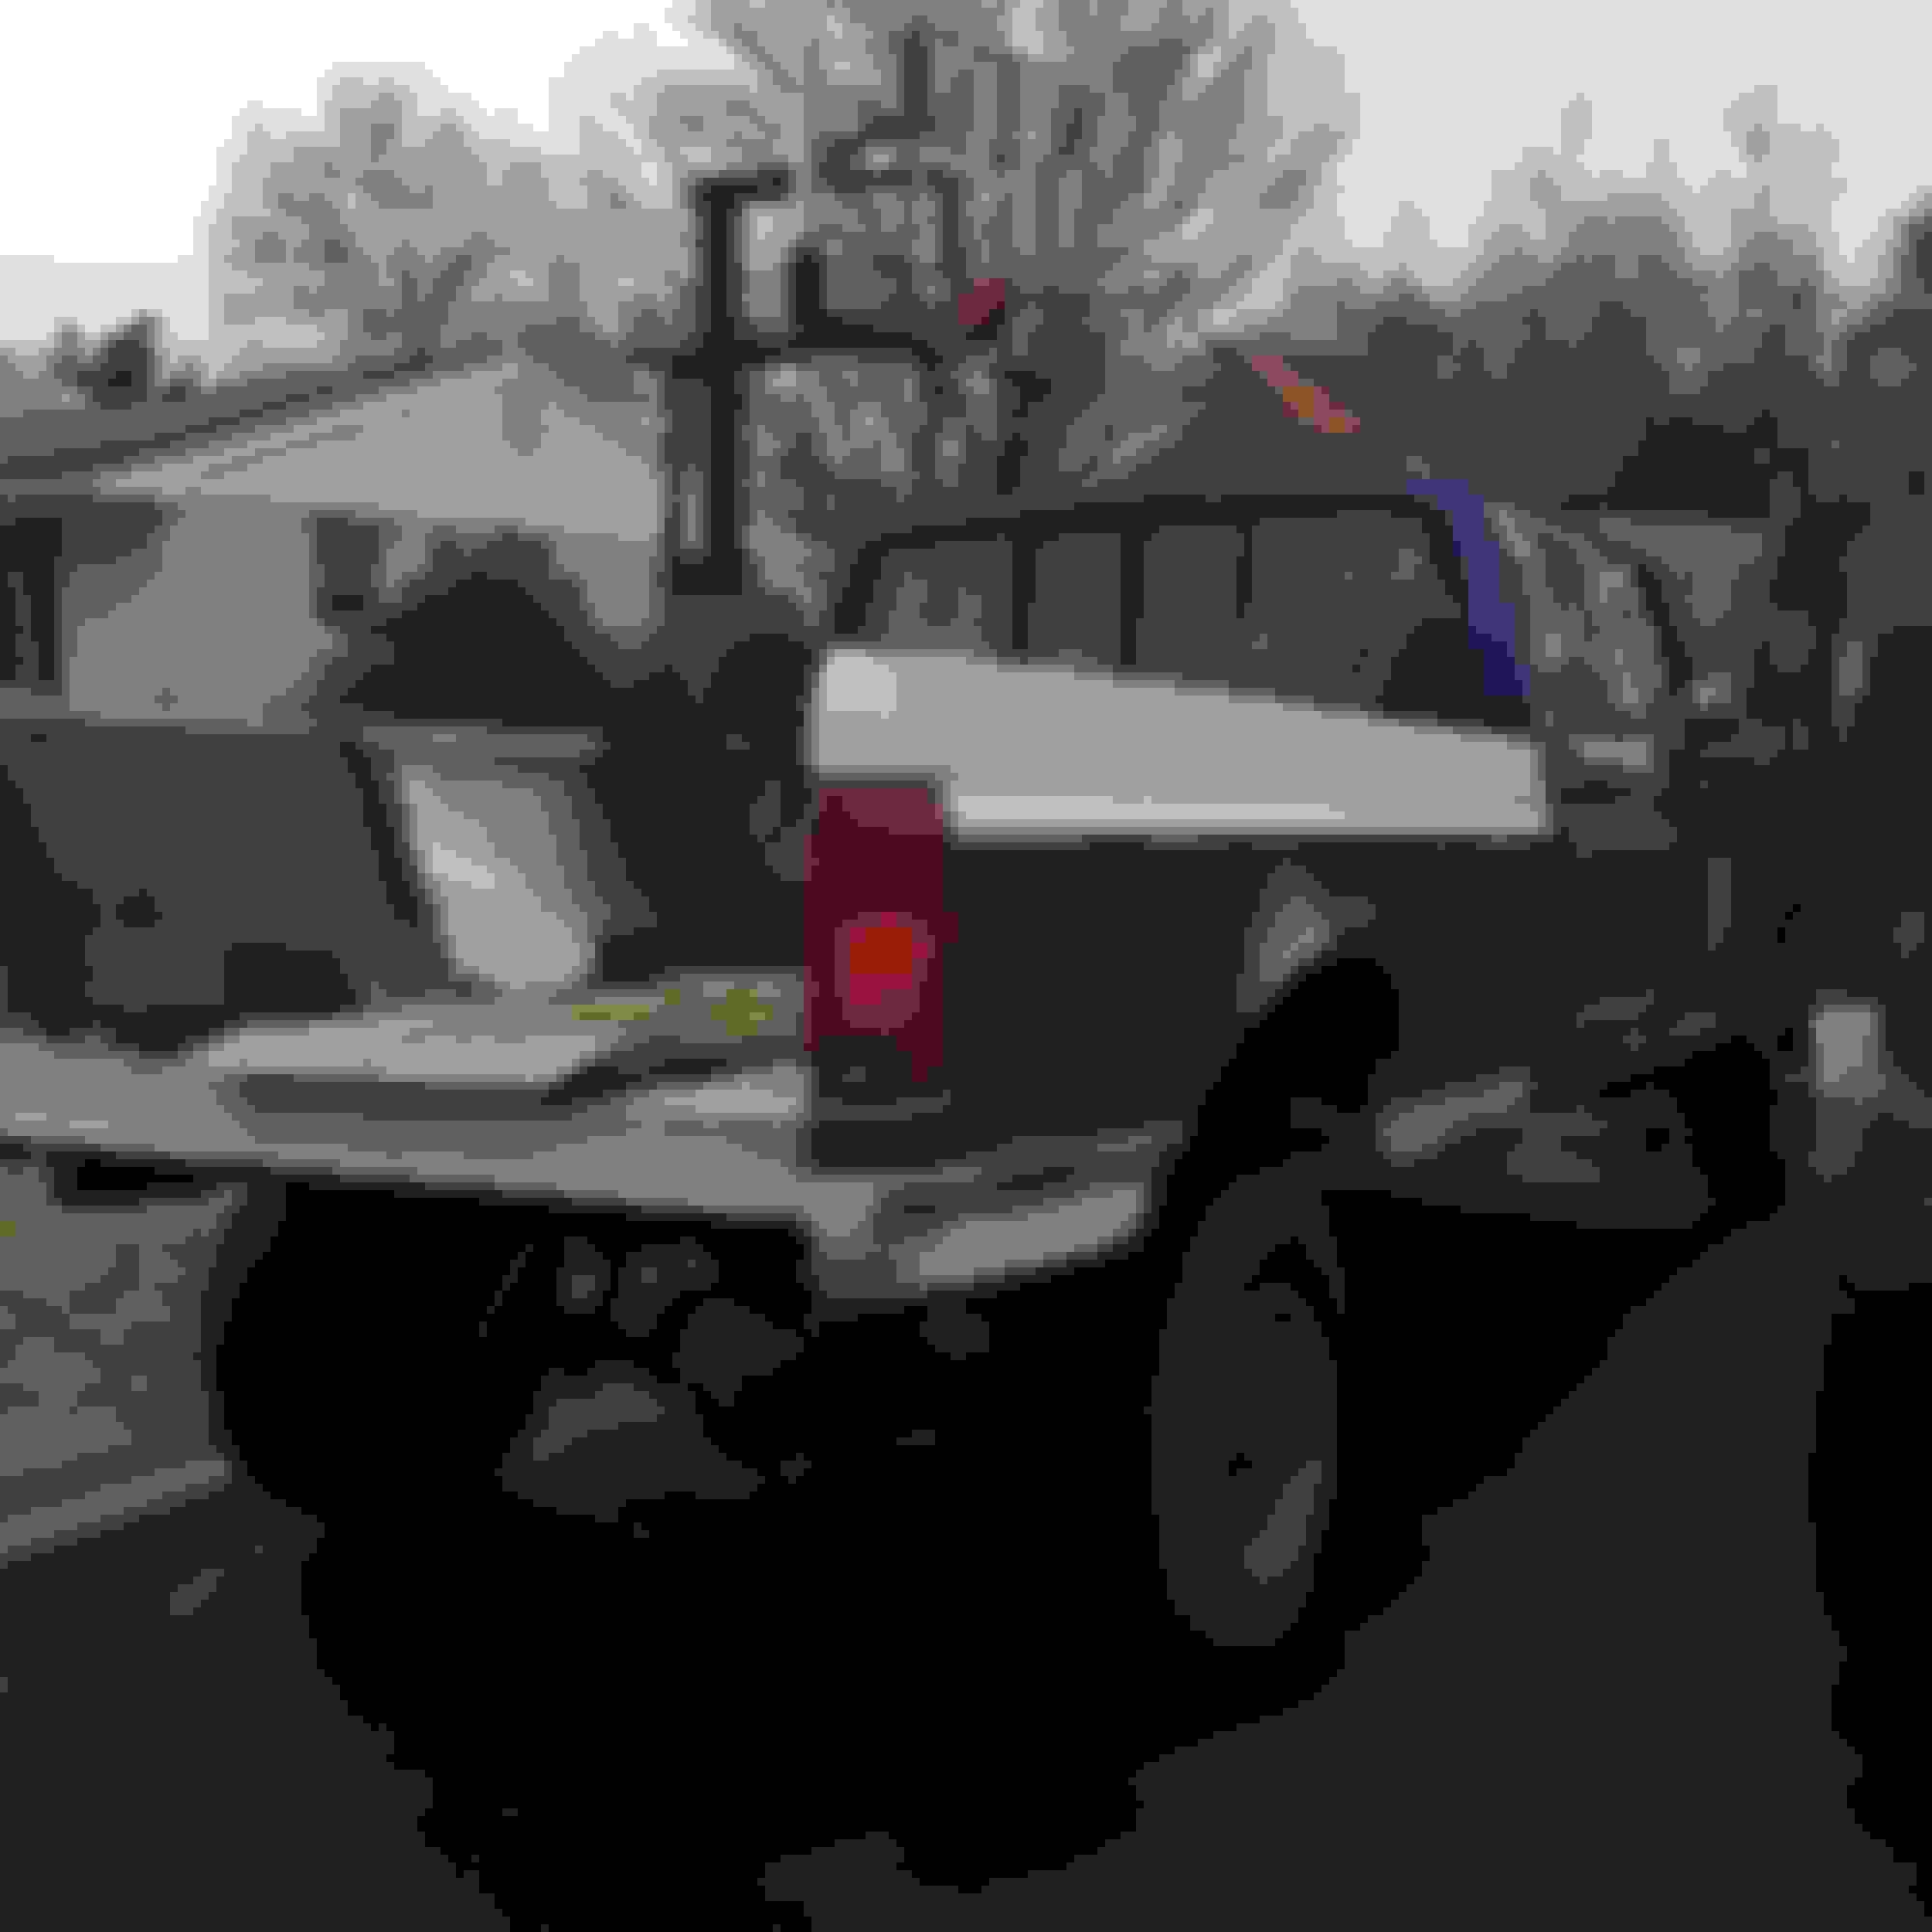
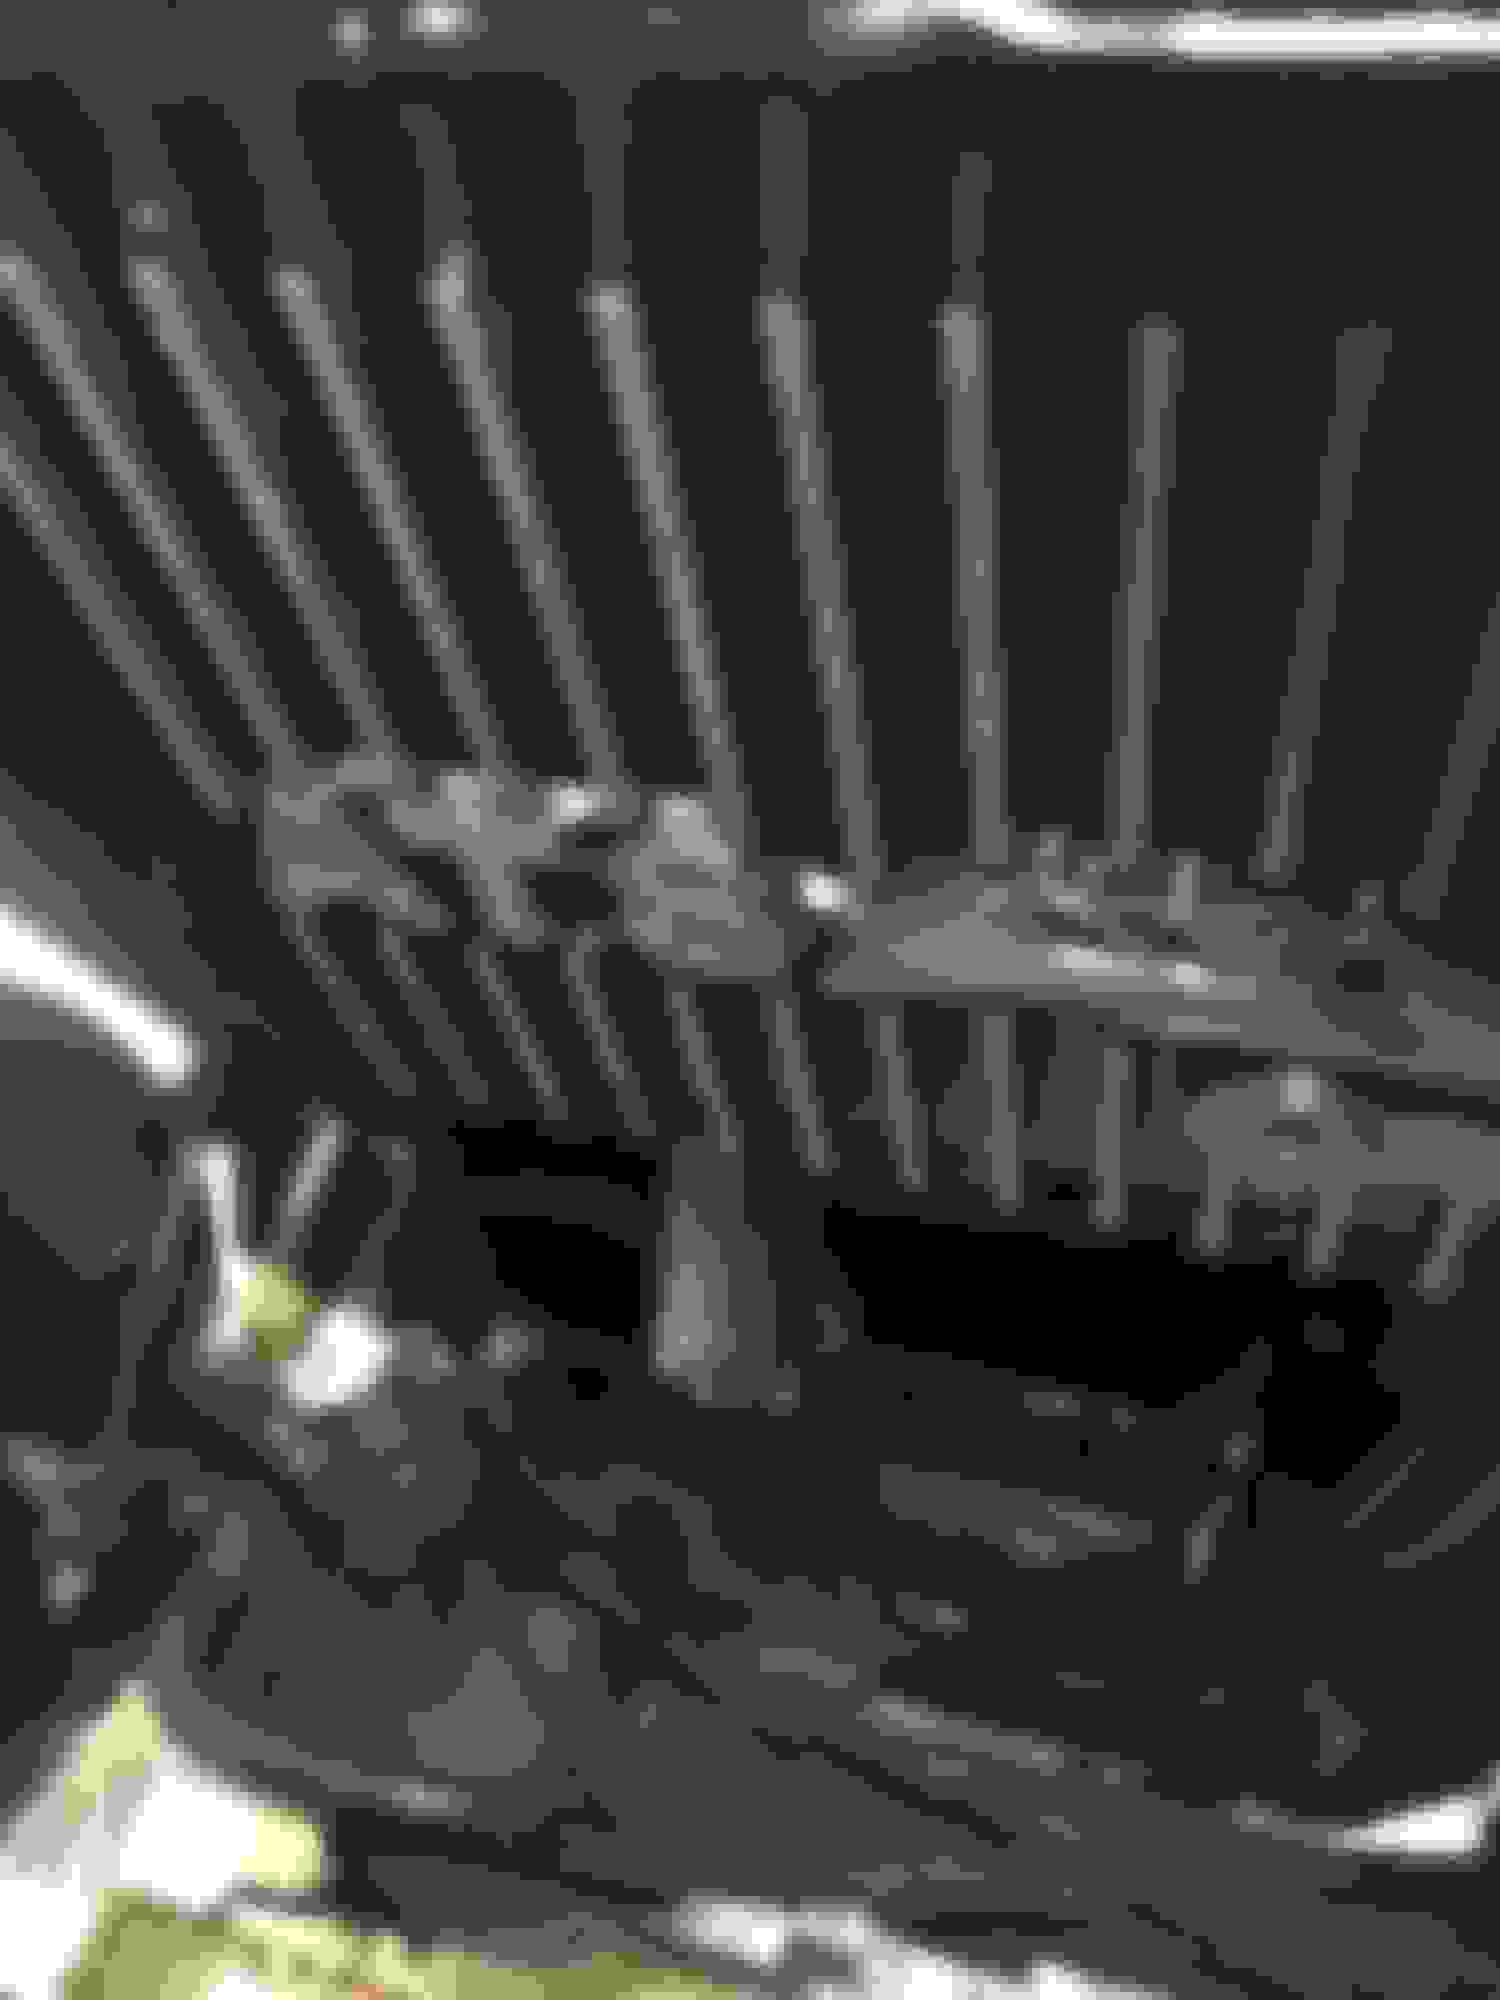
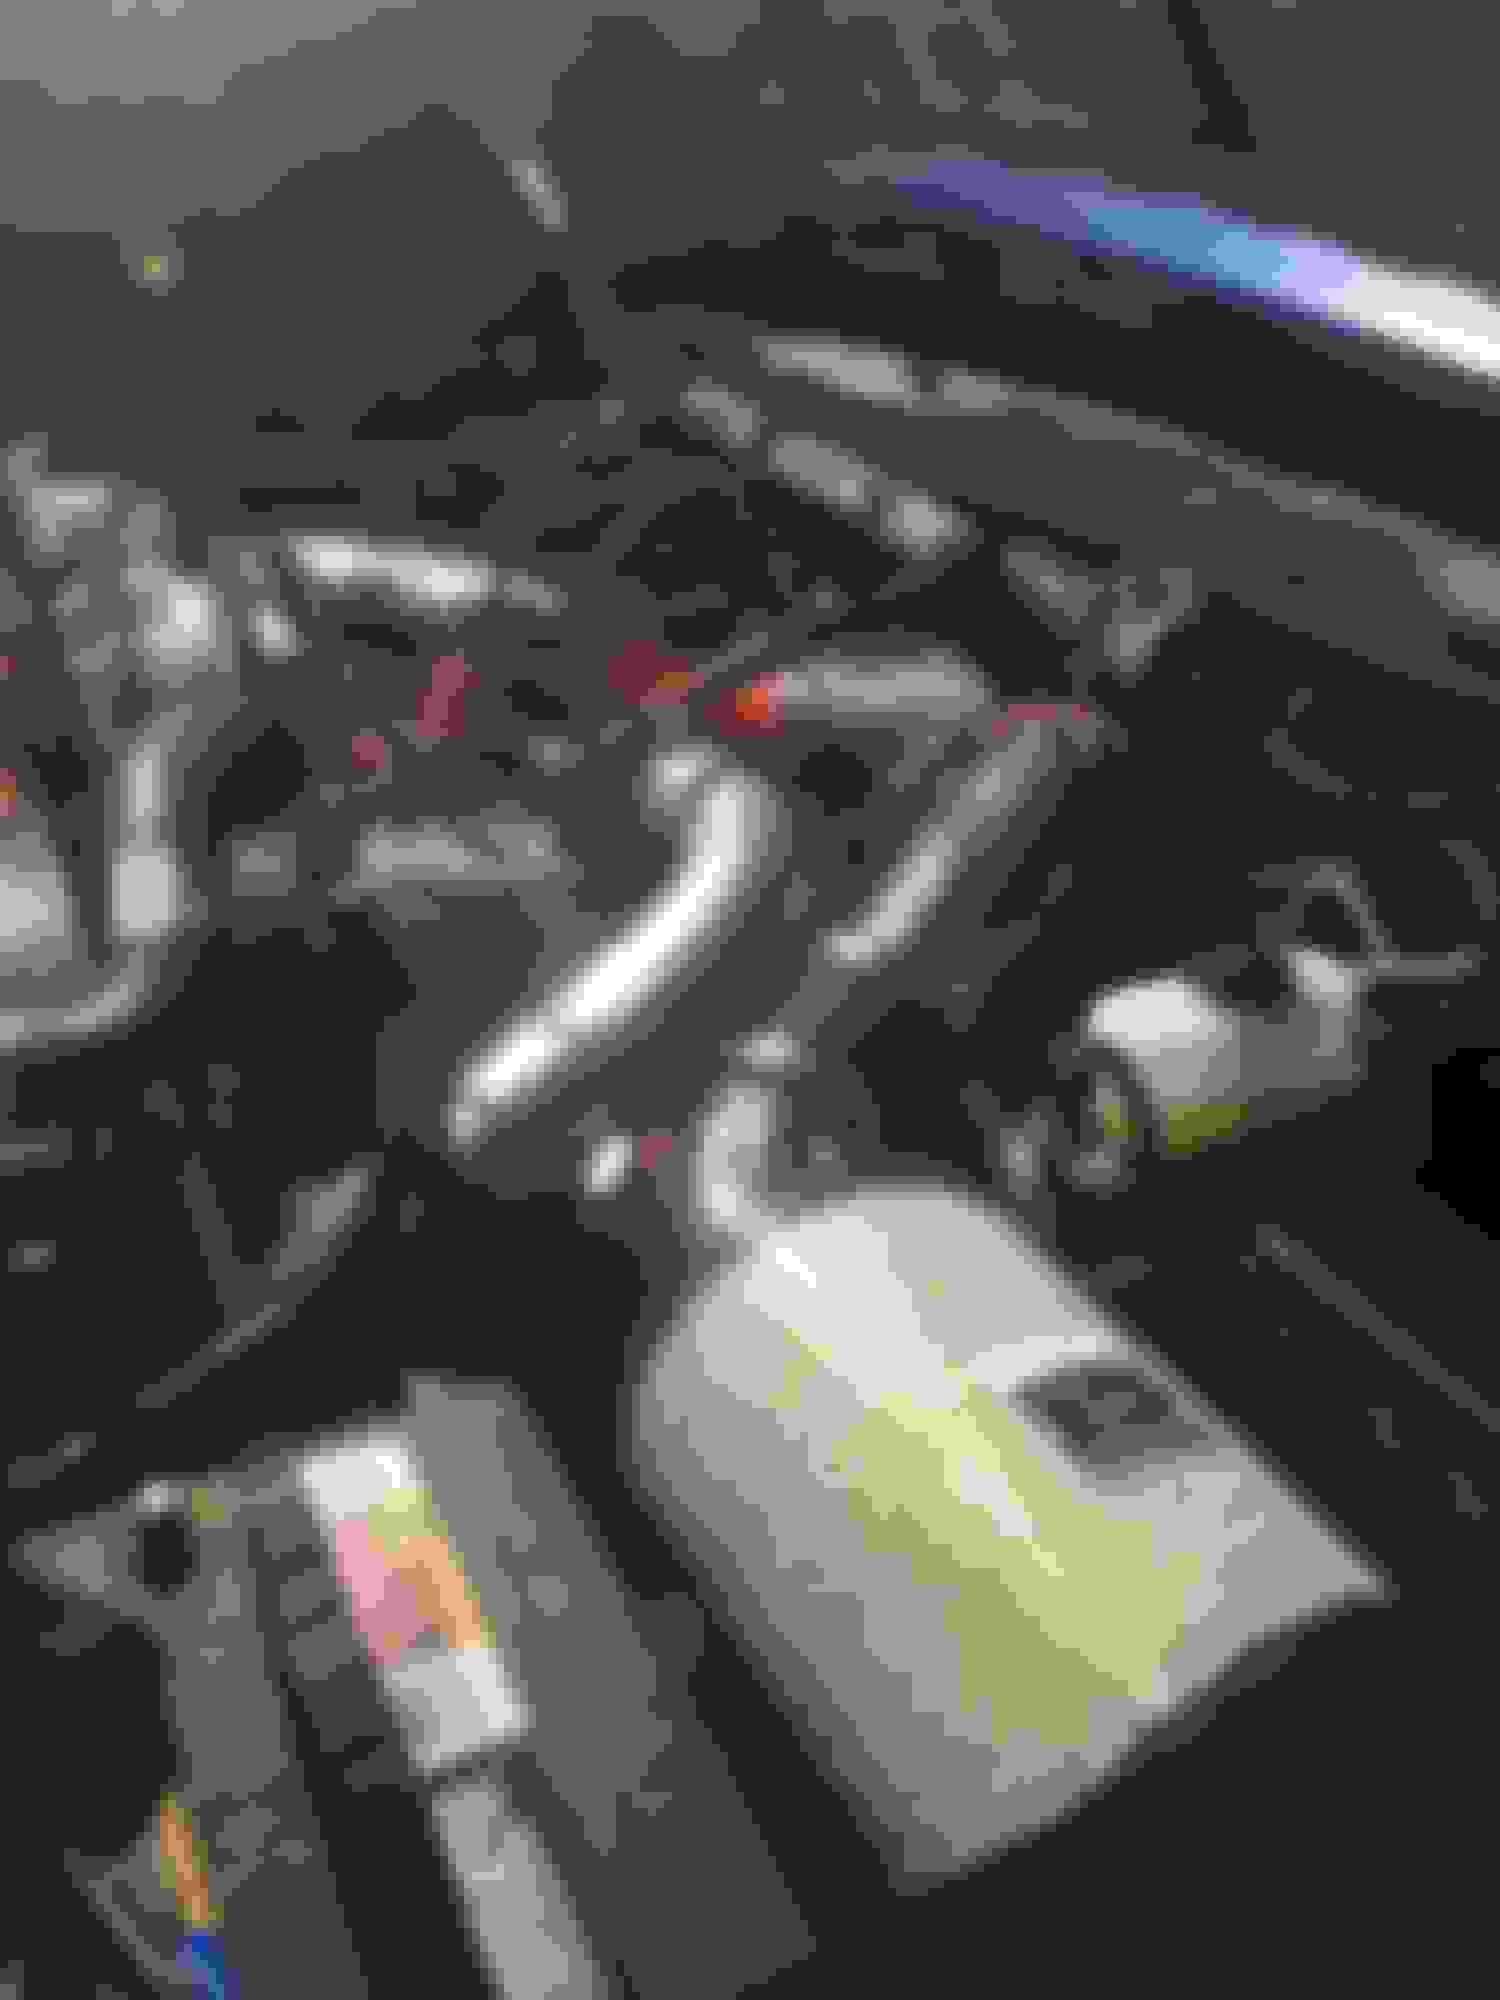
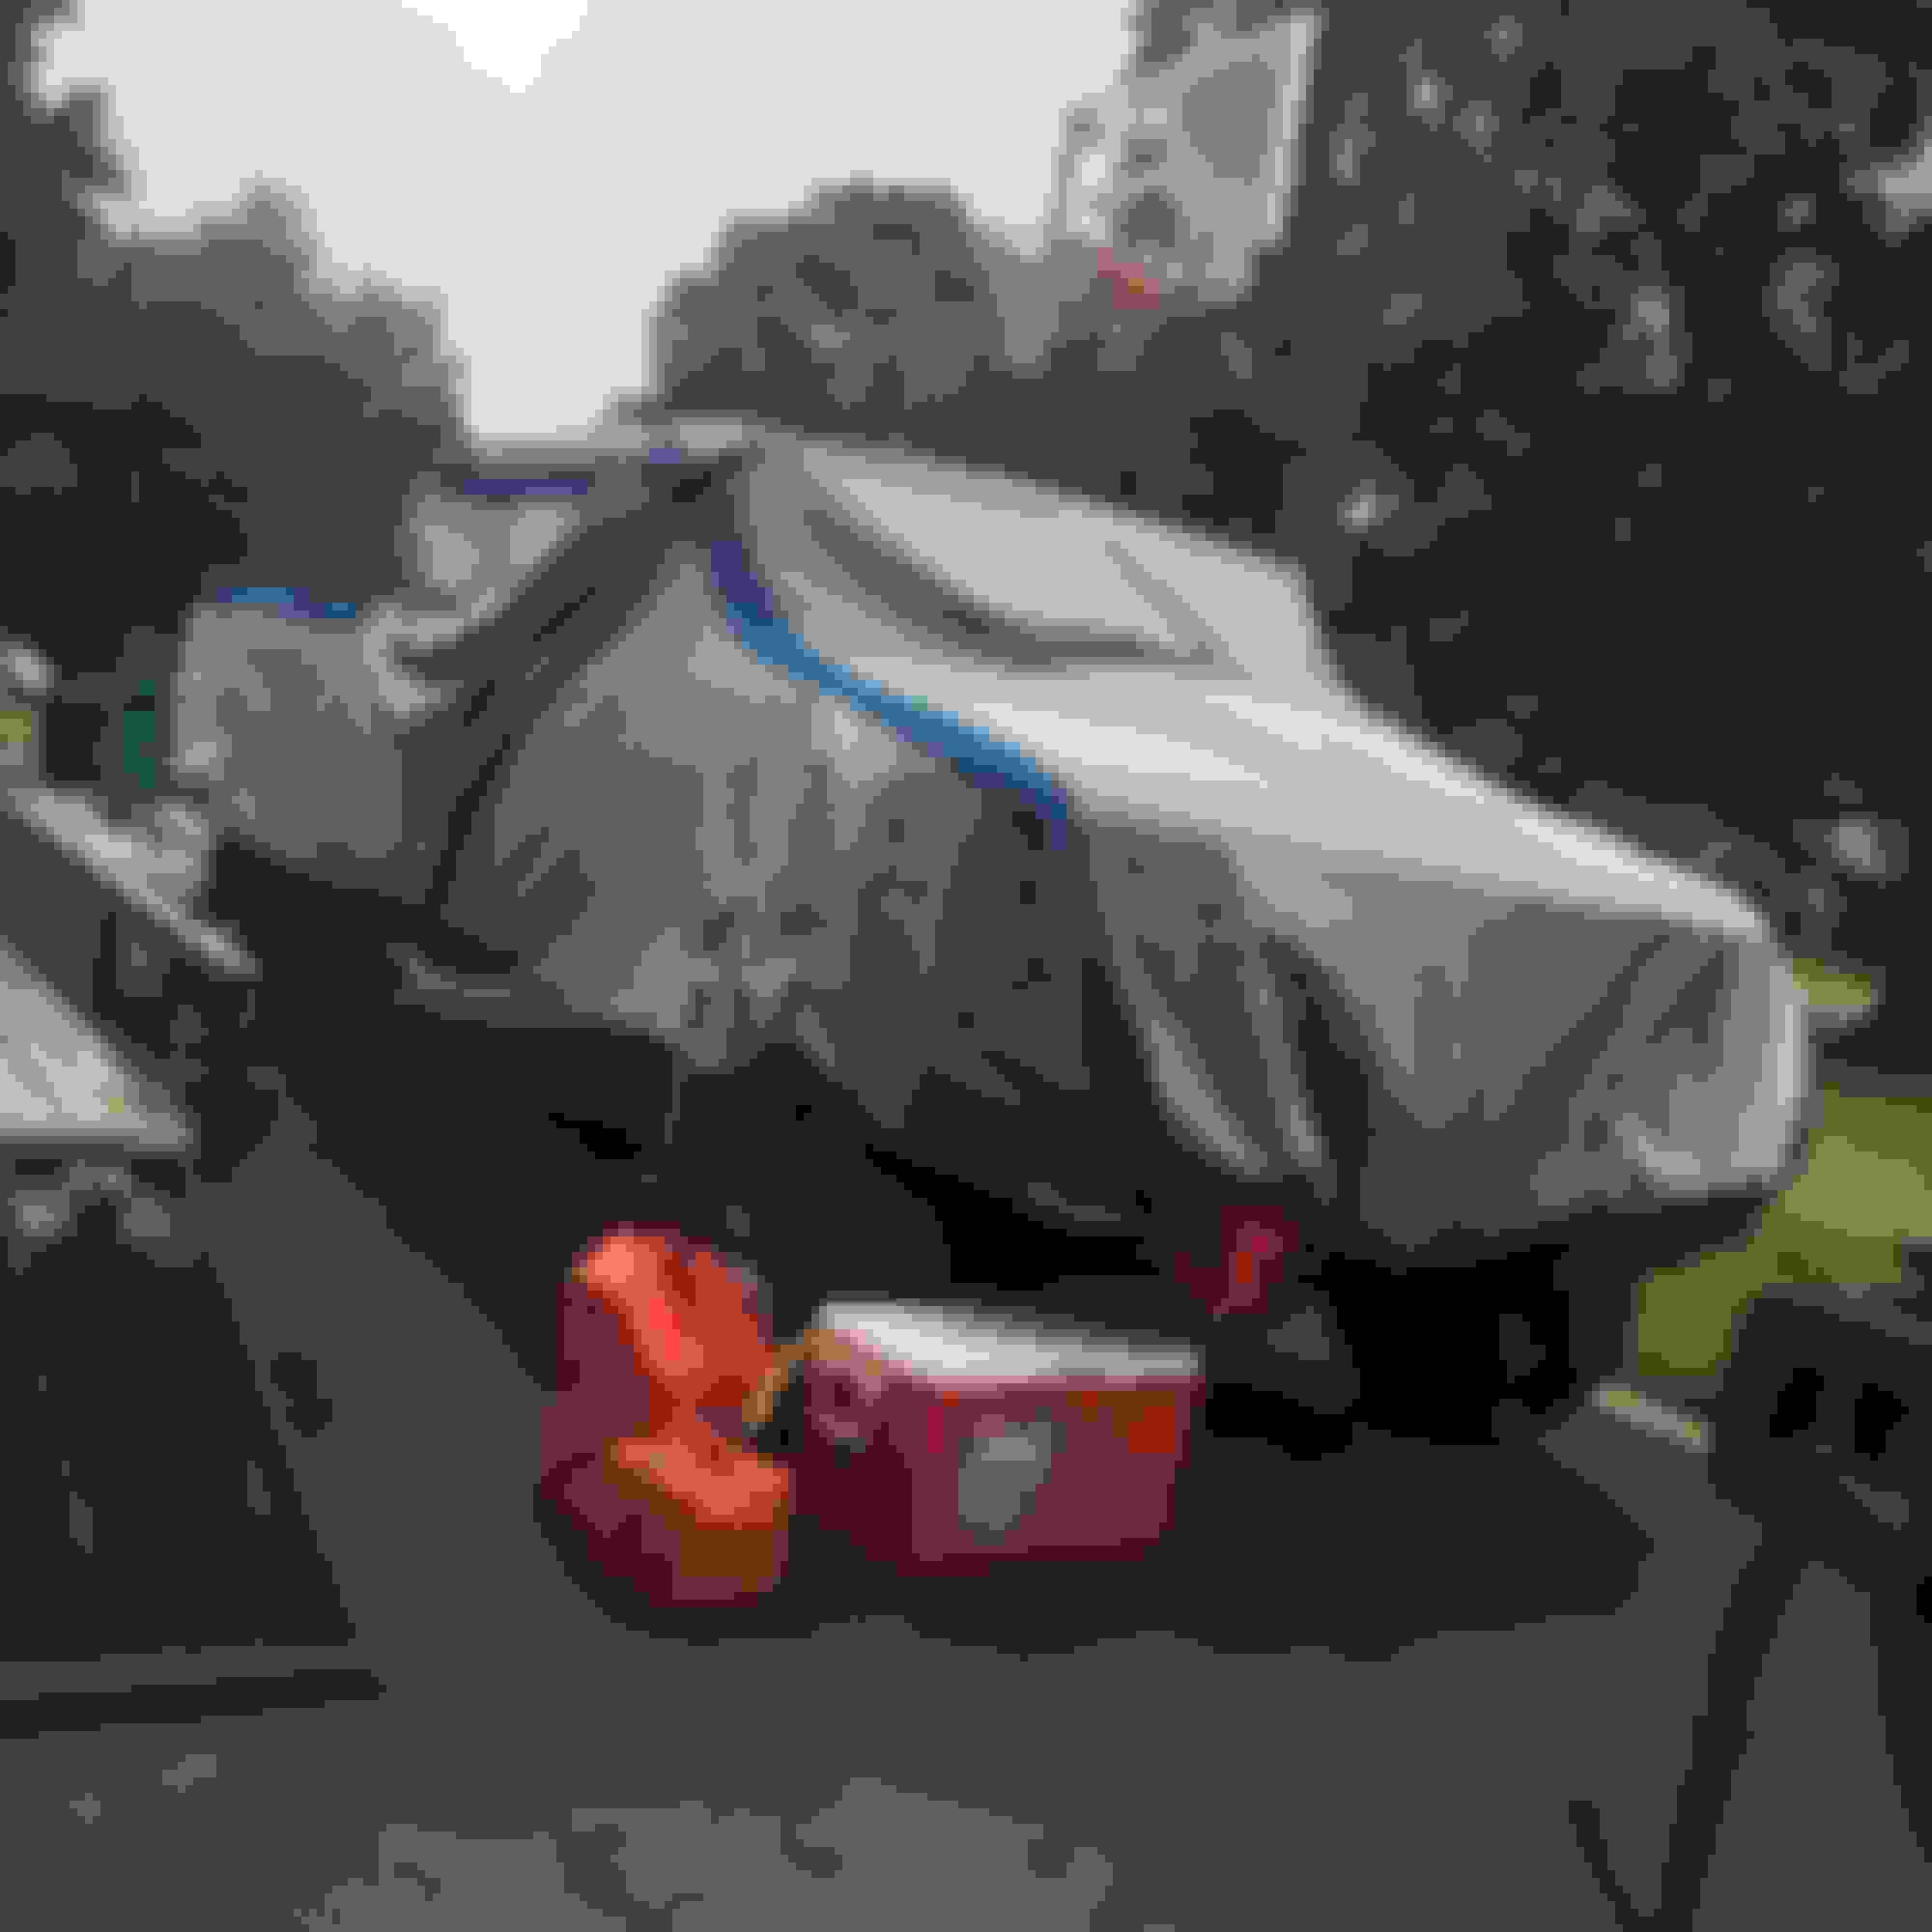
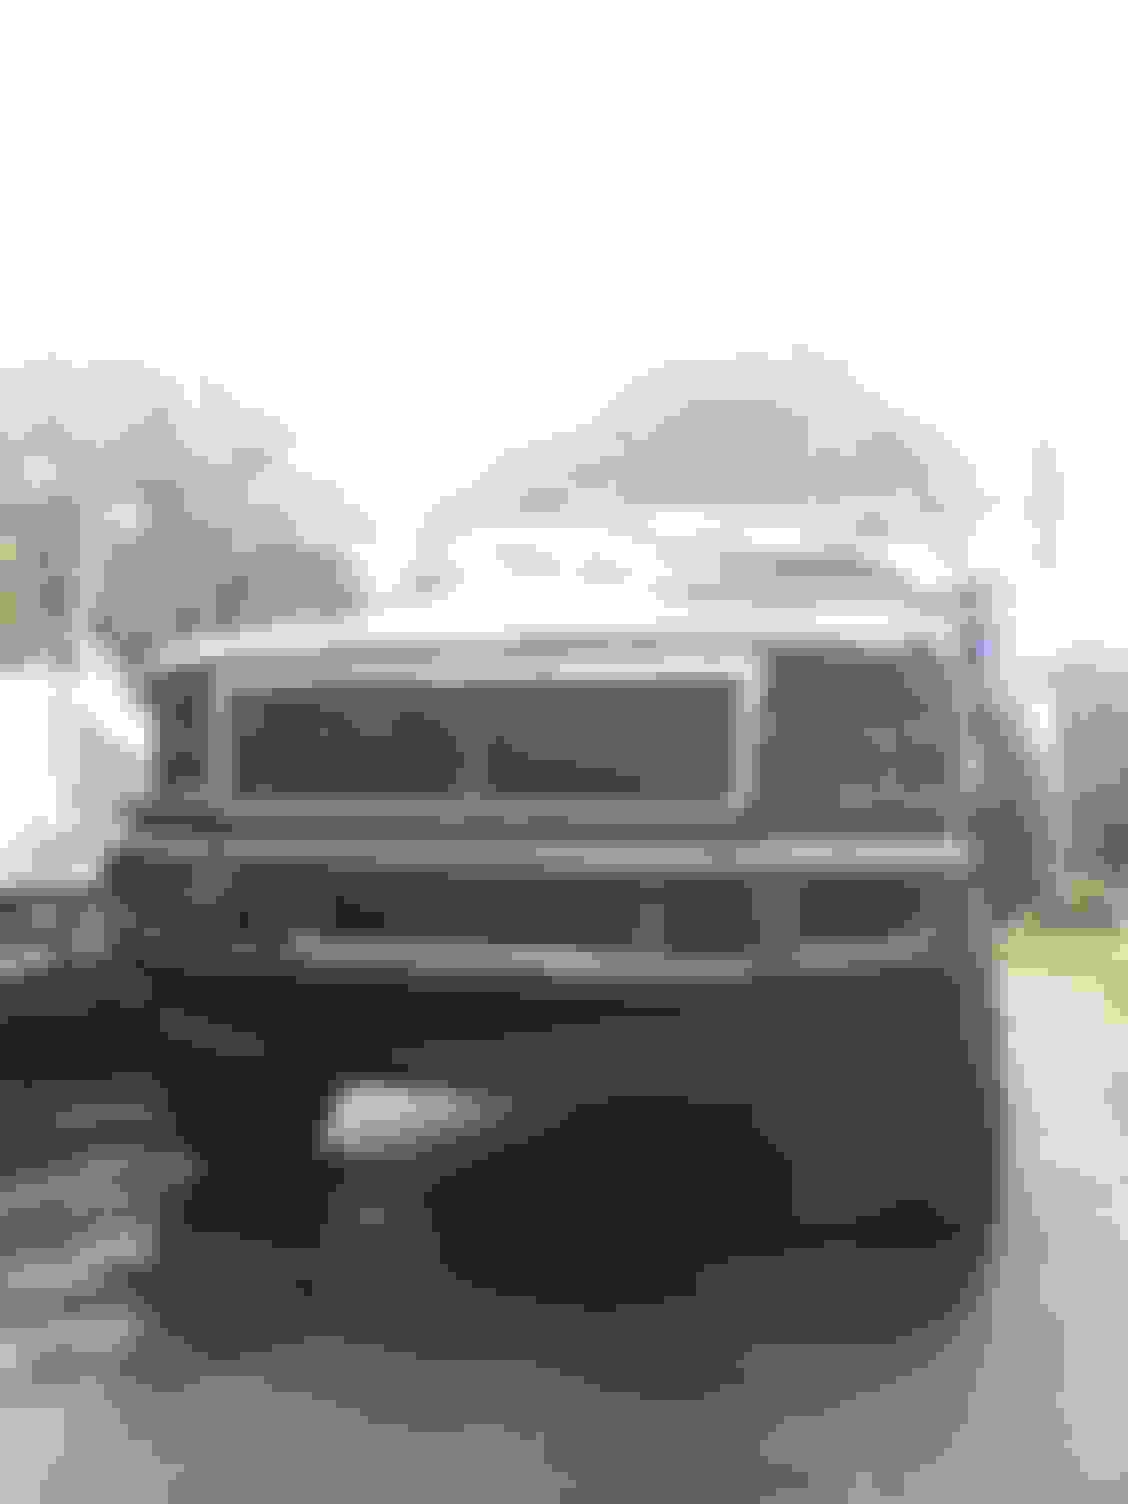
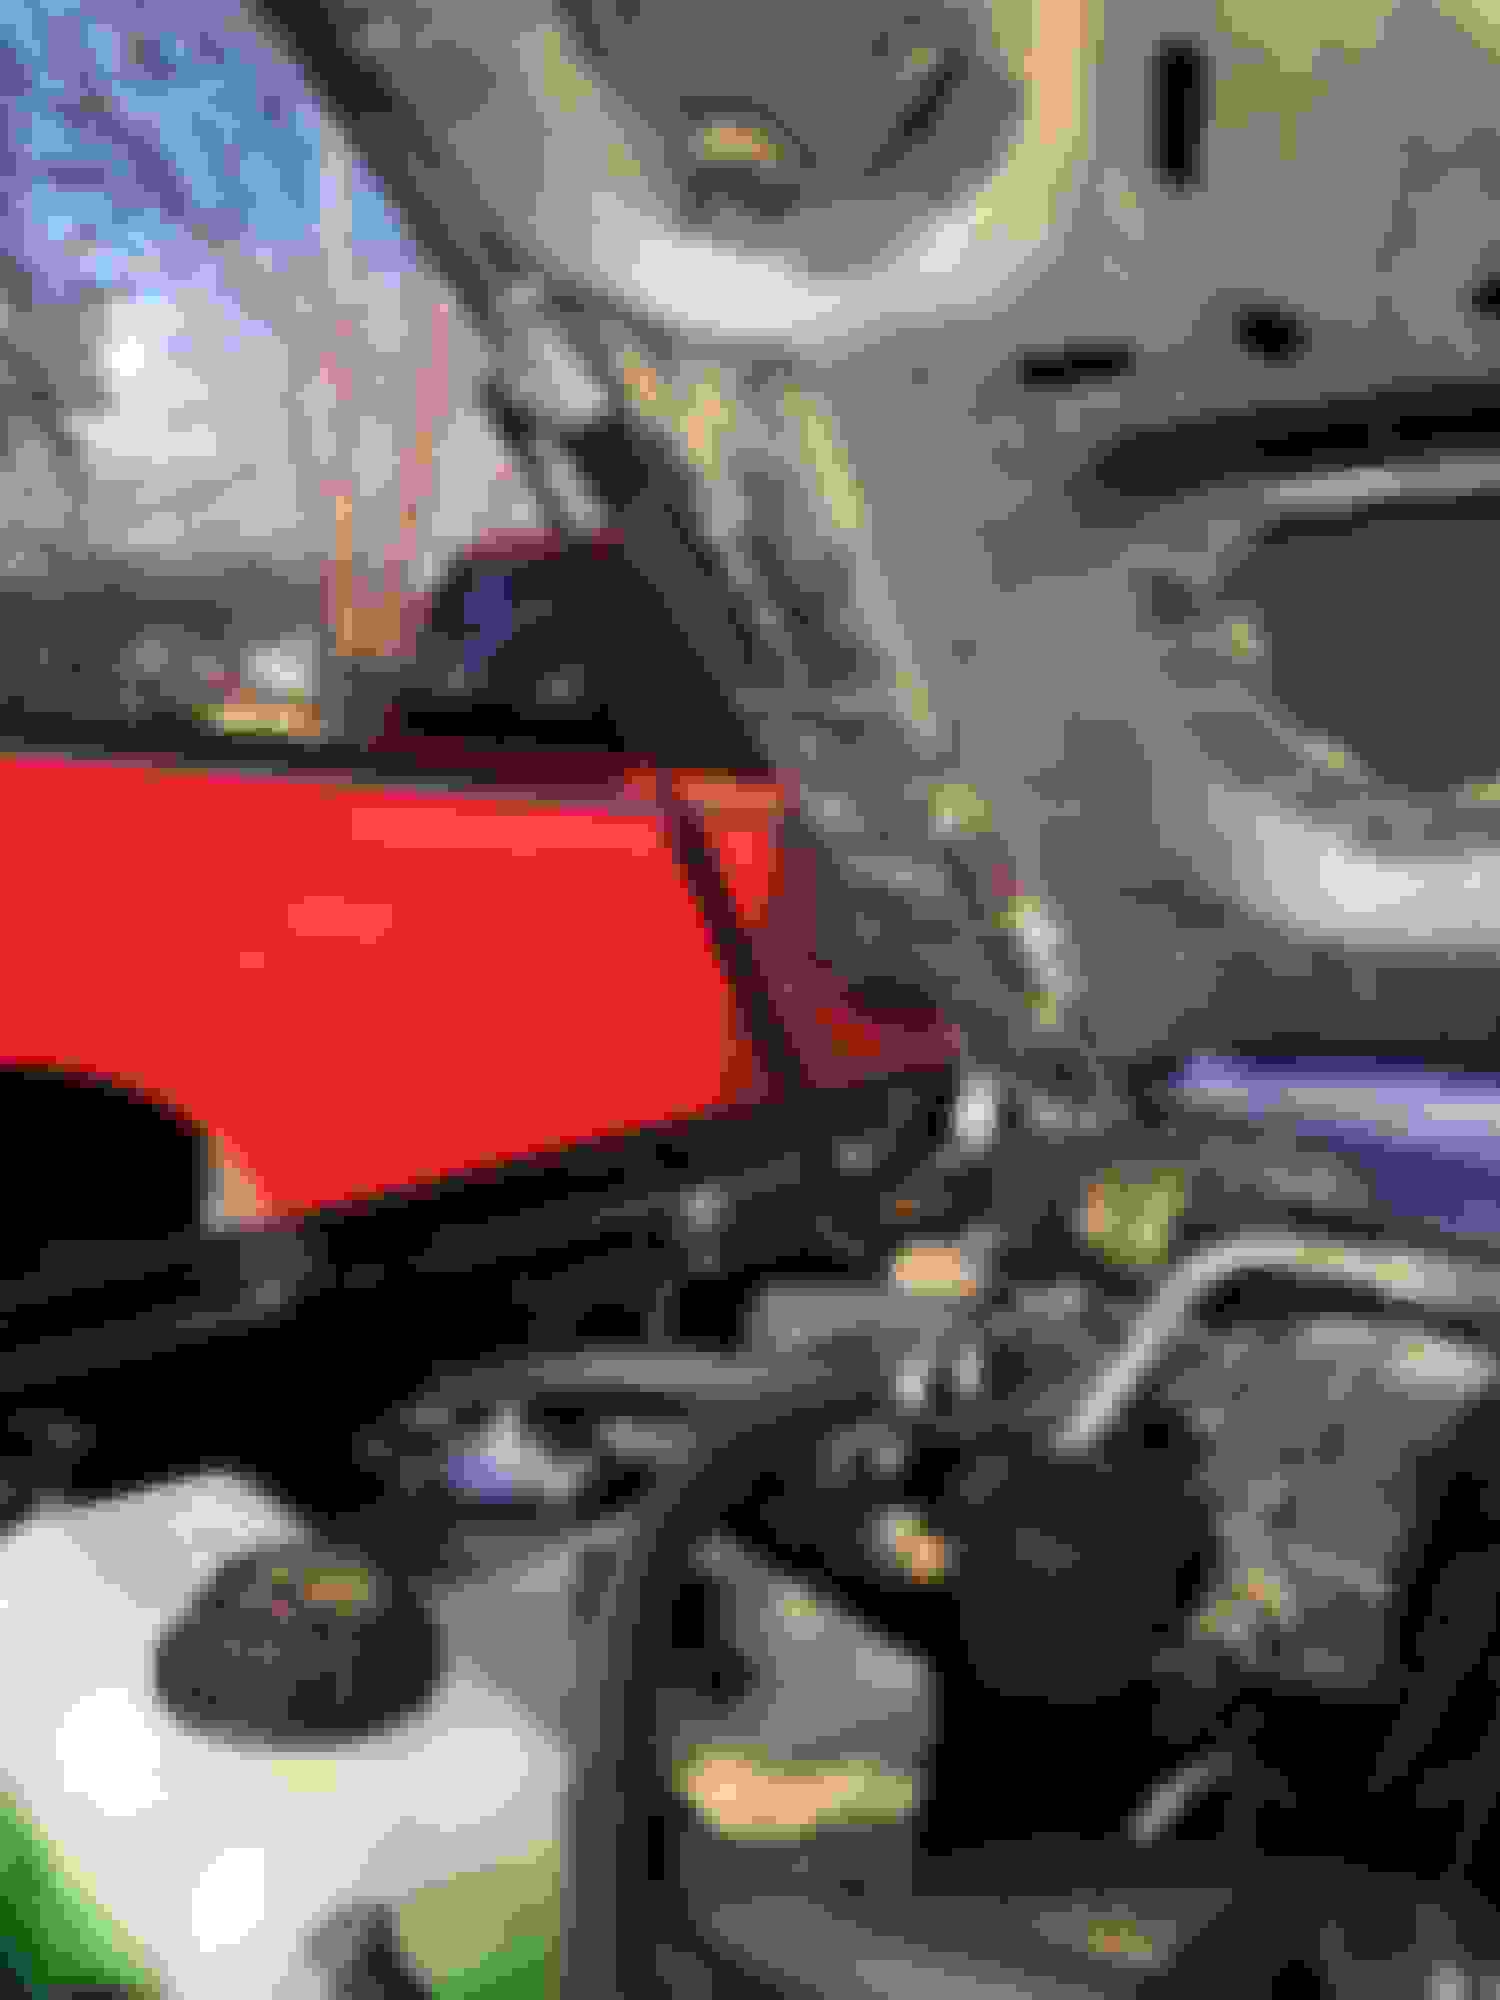
Alright guys here's another update. Engines 99% put back together. Got the E-Fuel all done and wired up. Used the two relays separate from the fuse box off a other F-250 so it looks "Factoryish". Also love that I had to fabricate a fuse box holding bracket because mine was too far gone and any other truck I found was just as bad. Using the "Water In Fuel" light circuit on a fuel pressure sensor so it will light up if pressure ever drops below 30psi. Also have a fuel heater wired into my water separator filter. Got my sterotypical 7.3 6637 filter made up. Got my intercooler pipes all fabbed up. Down pipe is in and heat wrapped up. Up pipes are wrapped as well. Front dash is back in. I modded the gauge's so they're no longer that green but a white which I like a lot more. Debating updating to white LED's but hear a lot about how they're very bright and annoying so just gonna stick to regular bulbs for now. Also got the transmission back in, it's an ATS Stage 2 transmission with billet flex plate, billet torque converter, and Billet input shaft. Ran stainless AN fuel lines up to the radiator cooler and then to a second cooler mounted in front of radiator. Filled her up with all the fluids except coolant, just got the tank today and coolant is still shipping but coolant's and easy one. Also cranked her over for the very first time today and she's cranking! Gonna get some fuel tomorrow and invite all the guys over to see if she'll fire back up this friday night! Gonna take some time because I did the oil rail plug gaskets when the motor was out and the rails are empty so has to get refilled an pressurized. Next purchase is an Edge CTS2 Insight so I can read what the sensor's are reading out and add a pyro guage. Also put a bed on her, wheel wells are a little rough but no where near as bad as the rot the prior bed had. Bed lined the entire underside of the bed before I put it on. Probably forgetting some things but here's a bunch of pictures to go with the update.
Not nearly as fast as I was moving. I run a small landscape business and right now I'm just too swamped with work to even find time to wrench. My biggest issue to date is my PCM is bad and finding a replacement that isn't $509+ dollars is a lot harder then I thought. I'm not getting tach and I know it's the pcm cause I swapped a known good pcm in and got tach so I know it's not the CPS or wiring. Just need time which I don't have any of right now unfortunately.... also finding a good set of super duty seats to swap in at a reasonable price is also very hard and I don't want to start reassembling the interior till I get the seats and mock them up to fit and all. Once work slows down and I get the PCM and she moves under her own power again I'll be cooking with peanut oil again!
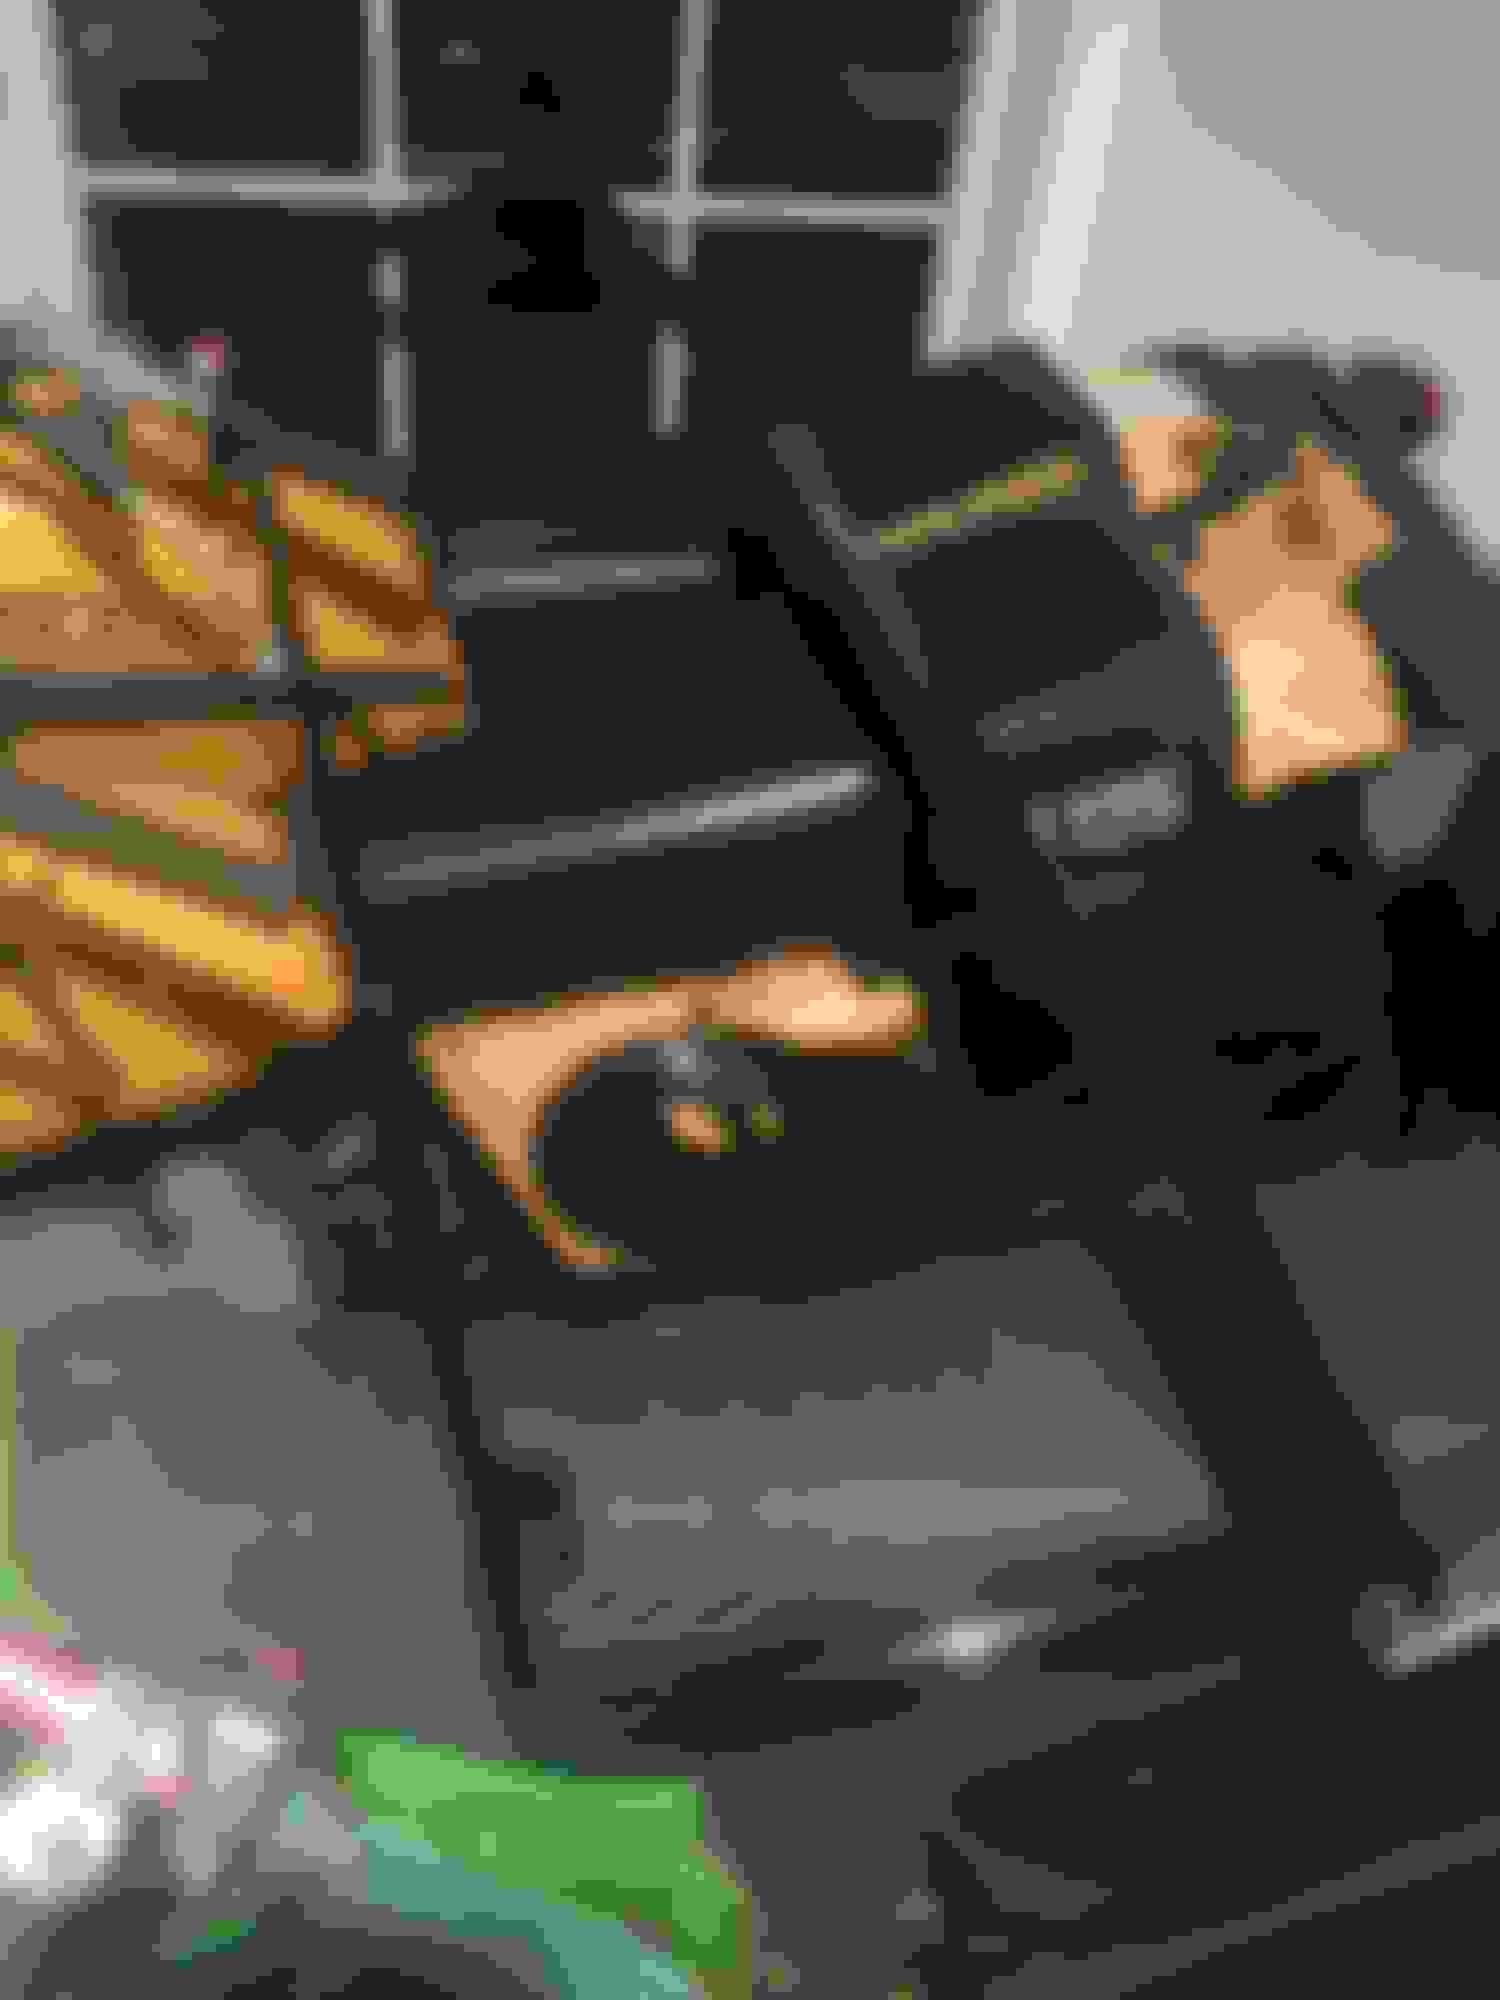
Alright so work started slowing down a bit...that or I just started working faster then usual lol but anyways by a chance of god I found a used re-manufactured PCM for my truck on amazon for $80 and with amazon being very lenient of returns and what not I figured I'd take a chance on it and sure enough it worked and I now have a runner again!! I also wound up replacing the IPR prior to the PCM because i wasn't getting any opening or closing or duration increases with the old one and old PCM but now that I think about it more and more it was probably just because the computer never saw tach...even though I could crank the motor over the PCM never could read it and probably just never told the old IPR to open or close to refill the oil rails. But regardless I now have a runner AND a driver! Yup she moves under her own power now too! First time she moved under her own power in 2 years! Only leak I had so far was the dipstick flange but that's because I didn't have it torqued down too much, tightened it up and now she's leak free! *KNOCKS ON WOOD* She still doesn't fire up right away but that because I did the oil rail plugs and the rails need to get air out of the system still but it gets quicker to start every time I run it. Still have to sort a few minor things out under the hood but it's mostly put back together.....for now. Got the inter cooler pipes all fabbed up but think I may make the hot pipe a little longer where it attaches to the first coupler off the turbo to get the pipe a little bit further from the power steering pulley. I also gotta paint the pipes and then wrap them with heat wrap. I wanna polish the end caps of the inter cooler then paint the middle part but may just paint the whole thing...depends on how well it wants to polish up. The most annoying thing is that the fuel pressure sensor I ordered from JEGS that is supposed to trigger when pressure drops below 30 PSI isn't working and is stuck and since I wired it into the "WATER IN FUEL" light circuit the "WATER IN FUEL" light is always on right now. Took it for the first test drive around the block with a ratchet strapped bucket for a seat on Saturday which greatly helped the slow start due to air in the high pressure oil system. The next day I took a trip to up state New York to pick me up a set of powered/heated Grey Leather Lariat Seats. Hearing the motor fire up and run and idle smooth for the first time in two years really lit a fire back under my A** for this project truck because I've been fighting no start issue after no start issue for months now. Managed to get the front seats in the truck and mounted up and all, gonna do the rear seat this weekend. Got the floor boards all welded back together. Once I have all the seats mounted up and good to go I'm gonna take em out and paint the cab interior and lay some sound deadener down then start the reassembly of the interior. Also still have to swap the powered equipment from my old rear doors to my new rust free ones. Still need to find a rust free passenger side door and hood but I'm sure If i did a little craigslist/facebook shopping I could find one relatively quick. And as per the usual here's a few pictures and videos to show some of the progress!
For the video's of it starting and running and driving I couldn't figure out how to post them so here's the link to my instagram with both videos on it... If I can just say one thing that no matter how much of a pain fitting the GTP38R into an OBS was...that spool is worth every headache and penny and that was barely on the throttle! I brought it to 2k and my buddy down the street said he thought a 747 was taking off somewhere in the neighborhood!
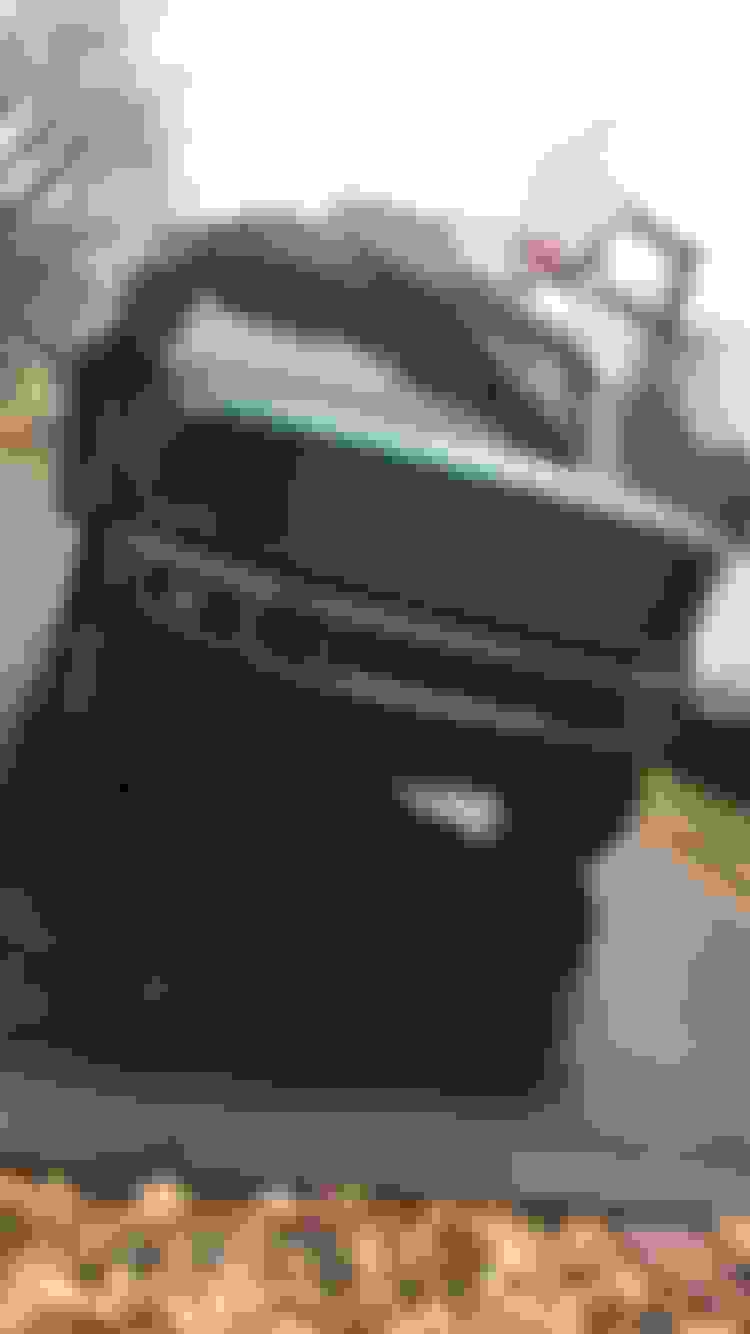
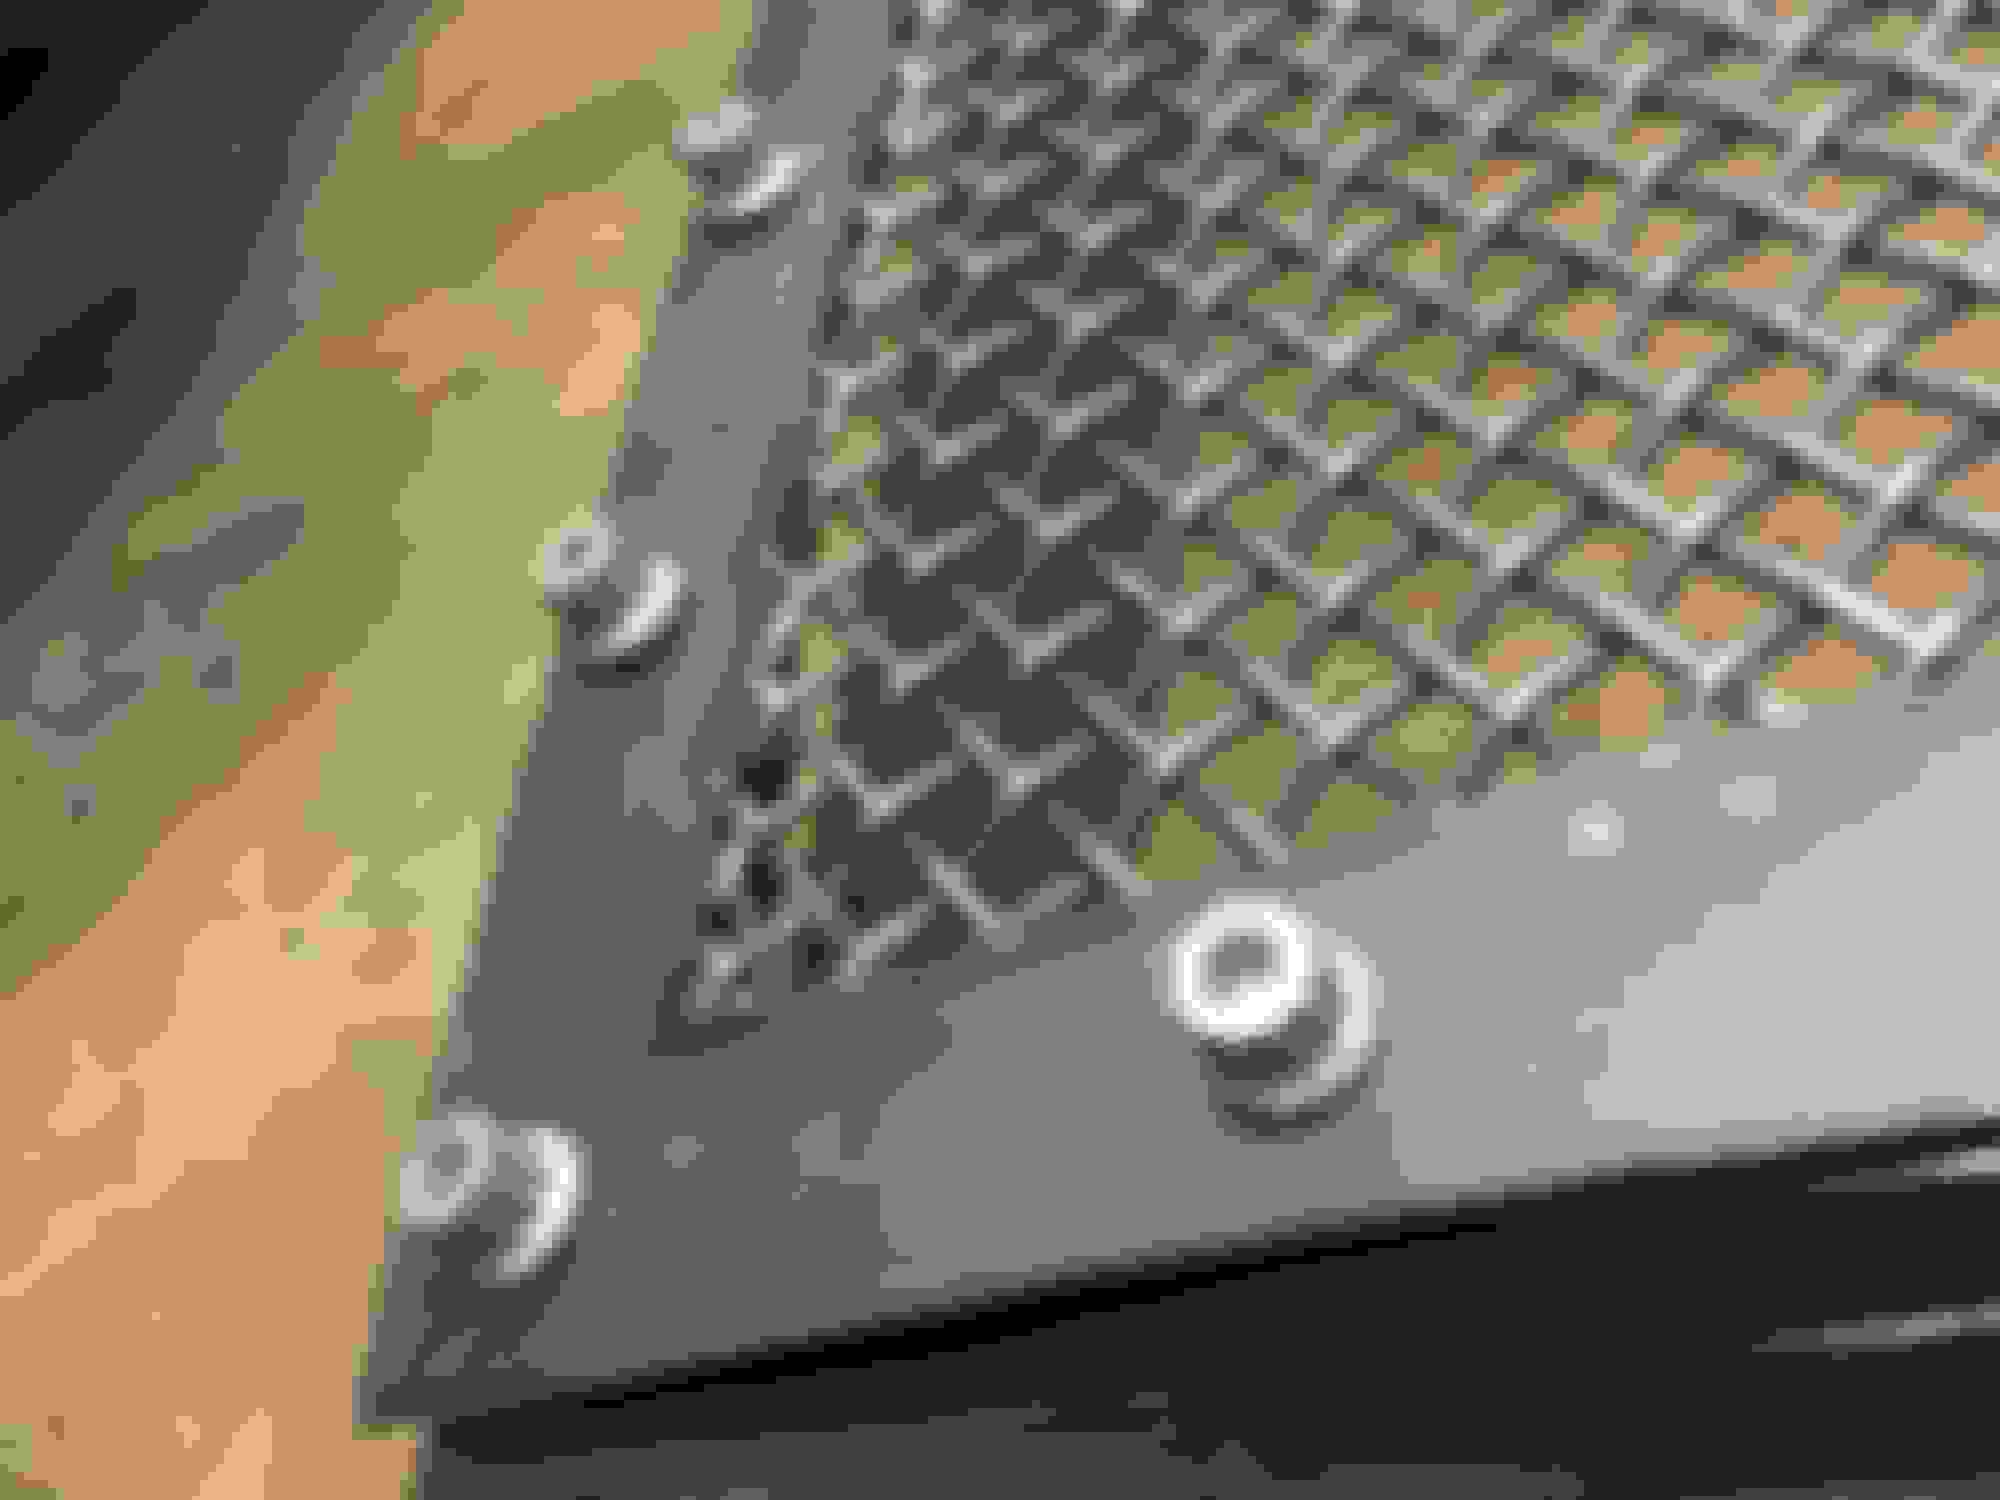
So it's been awhile so here's an update. Work has slowed the progress down as per usual and now having a lady friend in my life have slowed the progress down considerably....think being single was the better off for building this dream truck of mine 😂 So I finalized the intercooler system. High heat paint and wrapped the intercooler pipes in exhaust wrap. Also painted the intercooler itself. Had one of my swivel fittings start leaking in a transmission line in the swivels o-ring (was an eBay fitting) so replaced with a Russel fitting and no issues since. Added a mishimoto coolant filter base, for now I just tapped into the heater core hoses for the supply and return but plan on moving to the plug on side of water pump next time its due for a coolant change. Cleaned up the leather seats and reupholstered the driver side one. Probably going to have to do the back bench seat at some point as there's a rust stain I can not get out for the life of me so if any of you have any idea how to get out a rust stain from leather feel free to comment! Bought new head lights. I'm opened them to do some modifications like add some rgb halos, tint the orange side marker, add some more leds to the running ones. Working on gabbing up a custom mesh grill for the front of truck. I used some junker chrome ones for testing and going to use that nice new black one for the real deal, cutting up that brand new grill is gonna be rough! I bought some Chevy tow mirrors for it that I want to have painted to match the truck. They're powered, heated, and have signals and flood lights which I plan to wire all up. Got the mirror controlI switch which I have to graft into my current master door control panel. I also put one of the GM rear views that do compass and temp. I had a factory auto darkening mirror so half the wiring was already there for me. I have a lot of wiring to which will keep me busy. The interior lights/courtesy lights never functioned so I have to trouble shoot them so I can fit my mustang overhead reading light into the truck. Gotta wire up the doors for the mirrors and come up with a system for the defogging. Also going to start on the basic audio soon. Going to most likely get the pioneer flip up that has car play. Oh and also put a painted 2017 Superduty bumper bumper on it 😉 It looks a little goofy right now as it is HUGE compared to the factory one of the 6.4 bumpers but I think In the long game it will look proper once it's all lifted and on 40's. However this new bumper has kinda put me on a different unintentional route for the truck now... basically the front shackles are touching the bumper at rest let alone while driving. I originally was going to RSK the front for part of the lift but because of how close this 2017 bumper is to the shackles now I'm afraid the reverse bracket will worsen my situation. I can get away with trimming the bumper to clear it all PROBABLY but I'm not 100% sure and not sure I want to be the one who shells out all that money just to find out it can't be done. Instead I think I'm gonna put it on coils and lift it by that means. With coils I should have zero issues with the bumper clearance as all the suspension is essentially no farther foreword then the axle itself so think that will be my best bet for the suspension for now, plus it would be absolutely bada** and increase ride quality and all....but that's all up in the air for now as it's still aways away. That's it for now, got a lot done and even more still to do but slowly coming together! 👍🏻
ALSO if anyone needs a 7.3 radiator support I fixed my old one all up on a rainy day, I'm located in the Philadelphia PA region.
The REAL reason was to hide my less then perfect welding from when I fabbed them up, it wasn't bird s*** welding, it was good welding but just wasn't "stacking dimes" quality so decided to wrap to hide them but also to help underhood heat from soaking the pipes and making intake air hotter. It probably keeps the air in pipes a few degrees cooler compared to unwrapped or so I've read but who knows how true that is.
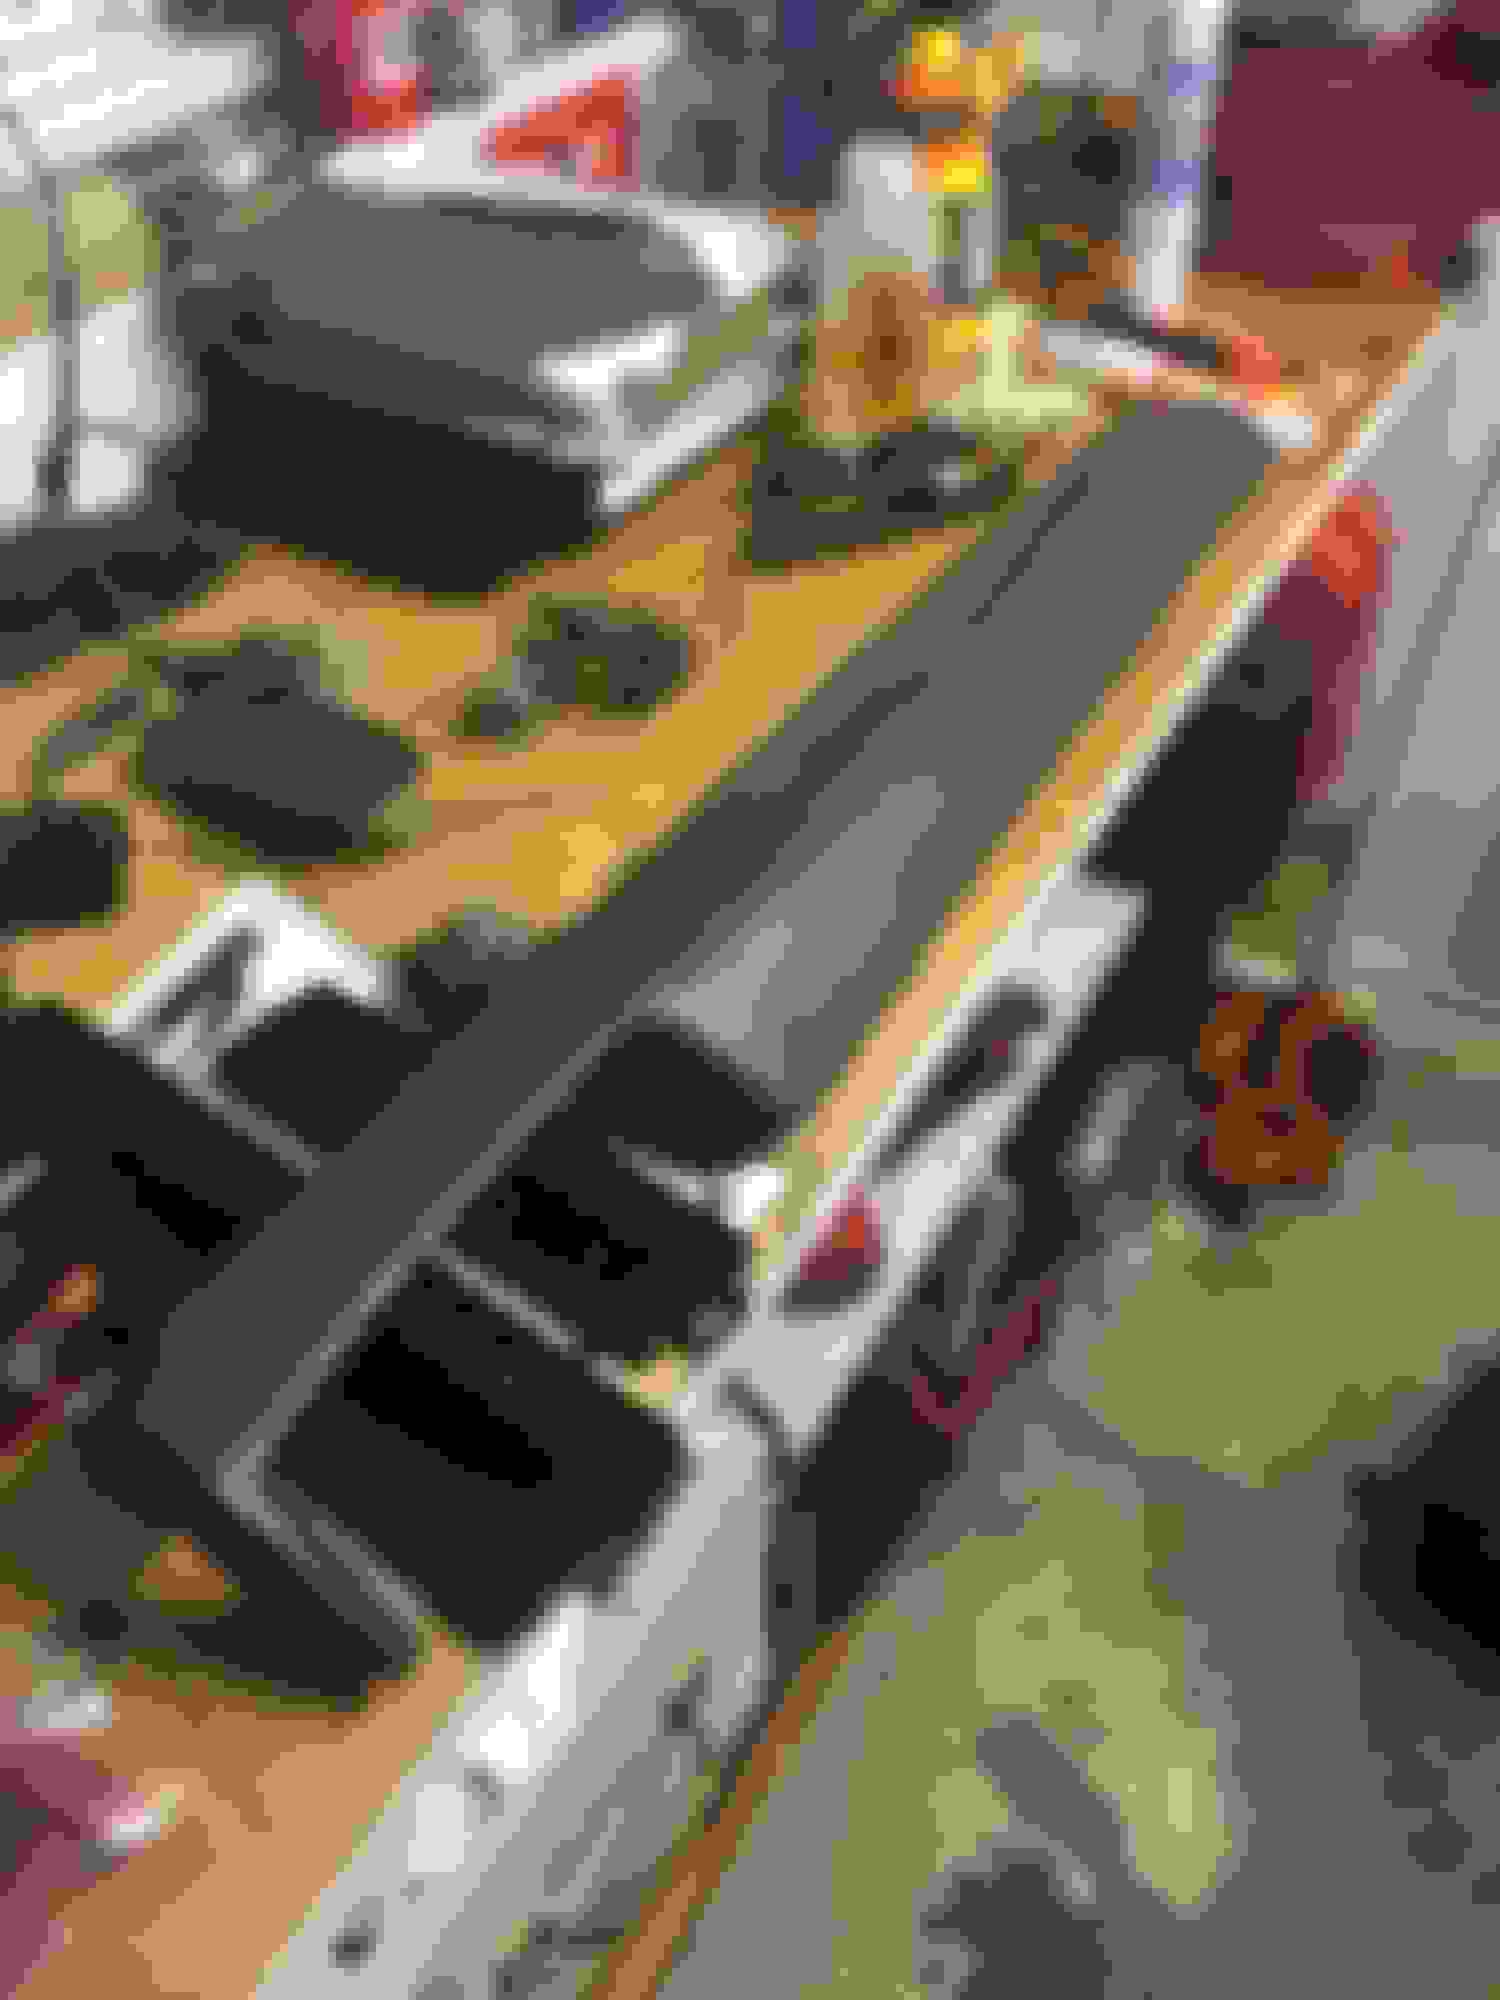
So here's another update, I forget where I left off at, I could be missing things but here we go with a ton of pictures! Finished up the intercooler piping and everything. I finished my headlights. They have RGB Halos' and RGB Demon eyes. I got a rust free hood and passenger door. Finished mounting up the Chevy mirrors. Think I'm going to modify them to sit a little more level. They are all pre-wired up to function completely except for defrost. Everything else works on them but not 100% wiring them up till after trucks done at body and paint. Used the mirror control switch off a 2000's Ford Windstar. Added a flip up Pioneer radio with car play. Took the power point and moved it to the cig lighter in ash tray and put a USB/HDMI outlet in it's place that connect to the radio. Flush mounted the radio blue tooth mic to the dash bezel, going to have an indicator light flush mounted above it that will go to....well it'll go to SOMETHING and that's all I'm saying right now! The truck was originally a "Roll-A-Long" truck so I wanted to pay tribute to the trucks colorful past so I took the original "Roll-A-Long" switch panel and gave it a more modern face lift. The truck is now in my hands in Pennsylvania but when I took it all apart it had business cards for California, Washington State, Ontario Canada, spent .22 bullets in door panels, etc. so I thought it would be cool to keep that bit of the truck in it. I'm in the process of swapping the steering wheel off a 08 F-150 onto the truck. Over all swap was pretty easy actually but because I'm a perfectionist I had to get the cruise controls working on the new steering wheel which was the hardest part about the whole steering wheel swap. I'm going to create a thread on just the steering wheel swap once it's 100% done and in truck and I know it works but as of right now I'm very confident it will have no hiccups going back in and working. That's probably the biggest thing I've done to truck since last update, done a few other things which you'll see in the pictures but over all no major progress. The start of an on board air system/train horns. RGB Rock lights. Gas hood struts. Coolant filter is all done. Remote starter/lock/unlock system going in soon which I'm going to program to act as a turbo timer as well. Got all the audio going in truck. Should be sponsored by kicker am I right?? Component 6x9's going up front and 6x9 coaxials out back. Those are gonna be FUN to fit but even more FUNNNNNN will be the 2 12" subs! Gonna be making a custom box for those bad boys! Sound deadener is 99% done, just have a spot on the roof left to do but can't do it because need to weld in that area and don't want the deadener to catch fire while welding. I'm almost done building my mesh grill for the truck. Just have some math to do to make sure my mounting bolts will be evenly spaced. Did LED's for the cluster but need to find a new piece for my "PRND12" part as it has alot of specs in it for some reason and lets ALOT of light through. Got my self the CTS2 Insight and Blank Revolver deal for Christmas as well as some EAS accessories. I must say I LOVE the CTS2 Insight, I use it on my daily driver right now and love it! The EAS accessories I got for my ford is an EGT probe and 2 universal accessories which I'm wiring to do Trans temp, boost, fuel pressure, and PSI for my on board air tank. The roll pan is for sale. I'm going a different route, can not ship but if interested I'm in the Philadelphia PA region. Also the grey dash pad is for sale and is MINT. That I could ship. PM me if interested in either. I'm sure there's things I'm forgetting but here's a bunch of pictures so enjoy!
Hey everyone, unfortunately life has really gotten in the way and I haven�t had much time for this project but I haven�t given up, just really struggling to find the time for it with my new full time job and attempting to continue to run my landscaping business along side the new job. Another major drag was over the winter my other CCLB OBS 7.3 work truck had to under go some bigger repairs which of course with me being me turned into a minor frame off restoration project mixed with a buncha upgrades simply because of the whole �well I have it apart this far no sense in NOT doing this as well while I�m here so I know I�ll be good for years to come� and learning too much for my own good with building this project truck! You all know how it goes! I forget exactly where we left off with this truck but I�ll just post a bunch of the most recent pictures I have of it which really isn�t much to help tell the tale but I should be getting more time to put towards it and get a REAL update going over the next few months with actual build details of what I did and not just what I purchased and then sat on a shelf due to no time to actually install the parts. Not much progress actually occurred I think it�s mostly just parts I acquired like a set of 06� F350 axles for when I build the custom 4 link lift suspension as well as changing the roll pan to a different style as well as finishing up the custom grill. I got all the parts to the nitrous system, just sitting in the basement awaiting installation, finished fabbing the hood release latch, came up with a new set up for measuring fuel pressure that I have to swap out, started fabricating pods for tweeters from the component speakers to sit in on the A pillars, etc. I got Lund moon visor for it as I have a whole lighting setup going on for the truck to really make it stand out on the road at night over the old sun visor. Other then that I really don�t think I have much updates. I had an issue with the front tank when I went to just run the truck for a little one day and the truck was stumbling and loseing fuel pressure when switched to the front tank but think it just didn�t have any fuel in the tank as it ran fine when switched to the rear tank. Filled the front tank with some fresh diesel but I haven�t even had time to see if it really was just low on fuel causing the issue. Plus it needs batteries but I�m too cheap to buy two new batteries that are just gonna sit there and essentially die cause I never run the truck due to no time lol I think I have to send my dash out to be calibrated as when I took off the green backlighting I believe I didn�t get the needles all back exactly where they needed to be so the gauges are all off. So yeah here�s some pictures and hopefully I�ll have more of an official update on the truck in a few months now that I�ll have some time to work on it a bit! Well so long as the CCLB work truck turned project truck 2.0 doesn�t take all that time up!
Some of this may be repeat stuff, there�s a lot going on with this truck so hard to keep track of exactly what I shared and didn�t already! Enjoy the few pictures I have and some memes I�ve found that sum this project up pretty good if you ask me! More to come!
*****ALSO on a side note I�ve been playing around with steering wheel swaps and I managed to get another style wheel to work on our trucks. It�s a direct swap and all the cruise functions work. I�m debating modifying some wheels and selling them if anyone has any interest, just let me know, not dead set on it but if I can get enough interest then I�ll probably start doing them!
 12-04-2016, 10:27 AM