When you click on links to various merchants on this site and make a purchase, this can result in this site earning a commission. Affiliate programs and affiliations include, but are not limited to, the eBay Partner Network.
So I started this build when i was a poor senior in high school (and throughout my various stages of poorness in college as well). Over time and now I'm my post college career I have been able to keep the project moving along. So far that makes it about a 7-8 year process (didnt take enough pics but i have a few).
The truck was bought by my dad in the early 80's from a farm field in Bickleton Washington. During this time by dad worked in a fabrication shop and fabricated the entire flatbed/bumper/wench-mount out of what were flat pieces of steel, rebuilt the entire transfer case and steering box, had all new drive-lines made, converted from a generator to an externally regulated alternator, and it saw many hunting trips and explored many roads through the PNW.
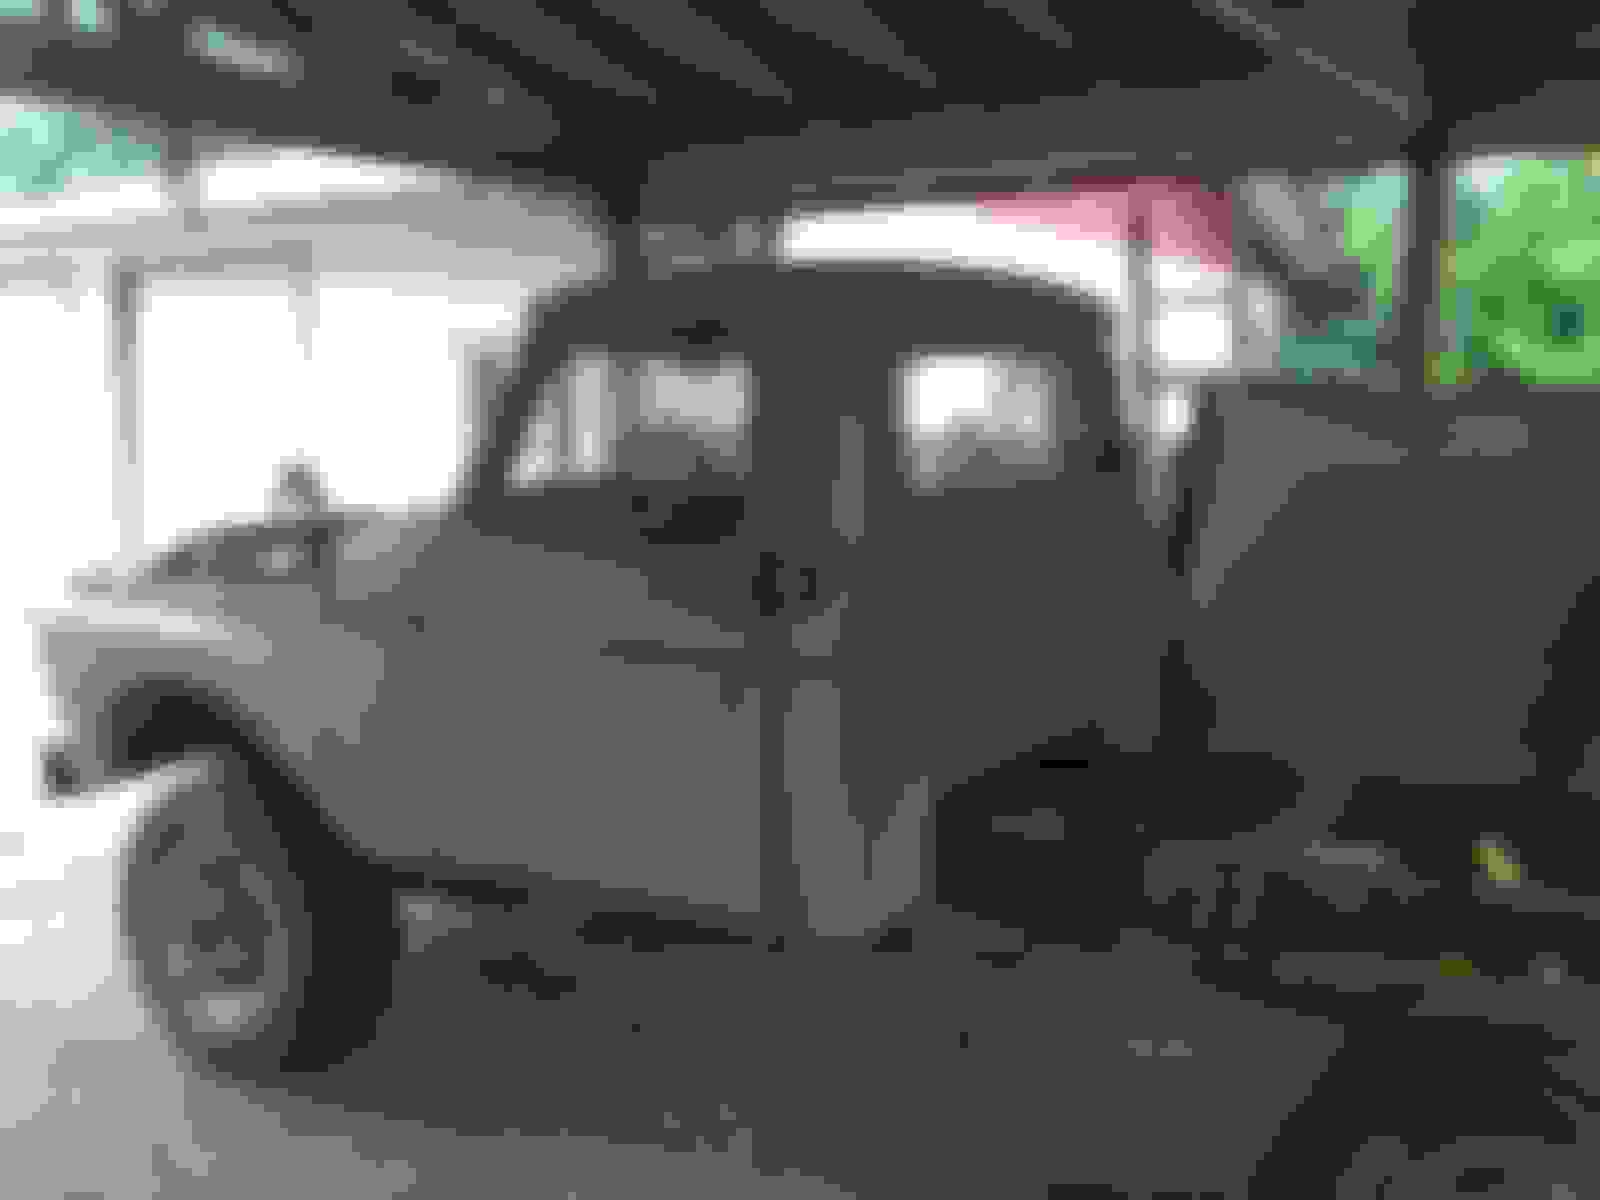
My dad passed it along to me at Christmas of 2008 and the process began to rebuild/restore the truck as the 292 was getting tired and it had been sitting on and off for a number of years.
Initially just cleaned up the frame and did what I could here and there.
Then after attempting to hand sand the truck down to bare metal I decided maybe media blasting was a better choice.
Got her back in bare metal form, was nice to see what was under the paint. (found out one door had been replaced entirely and a few other dings had been repaired over time.)
The old 292 needed to go and I had easy access to a Ford 400 out of an early model LTD. After picking up the engine I sourced the flywheel/bellhousing/t18 from Seattle to Portland.
A TON of fabrication was involved. Completely new motor/transmission mounts. Lengthened throttle/clutch/transfer case linkage. Custom made clutch ballcrank linkage from 22mm steel ball-bearings.
As you can see we also upgraded to a 70's era dual chamber boosted master cylinder and ran all new brake lines.
As the original radiator had seen better days I sourced an aluminium radiator from Champion radiators, so far great product and a great price. Also managed to retro-fit a fan shroud as the original truck didnt have one.
At this time it was time to say by to the 16.5" mags, the tires were the same ones that came on it when my dad purchased it so they're probably about 30 years old as of right now Picked up some American Racing 18" ATX Mojave Teflon Coated wheels and some Cooper STT's in 35x12.5x18
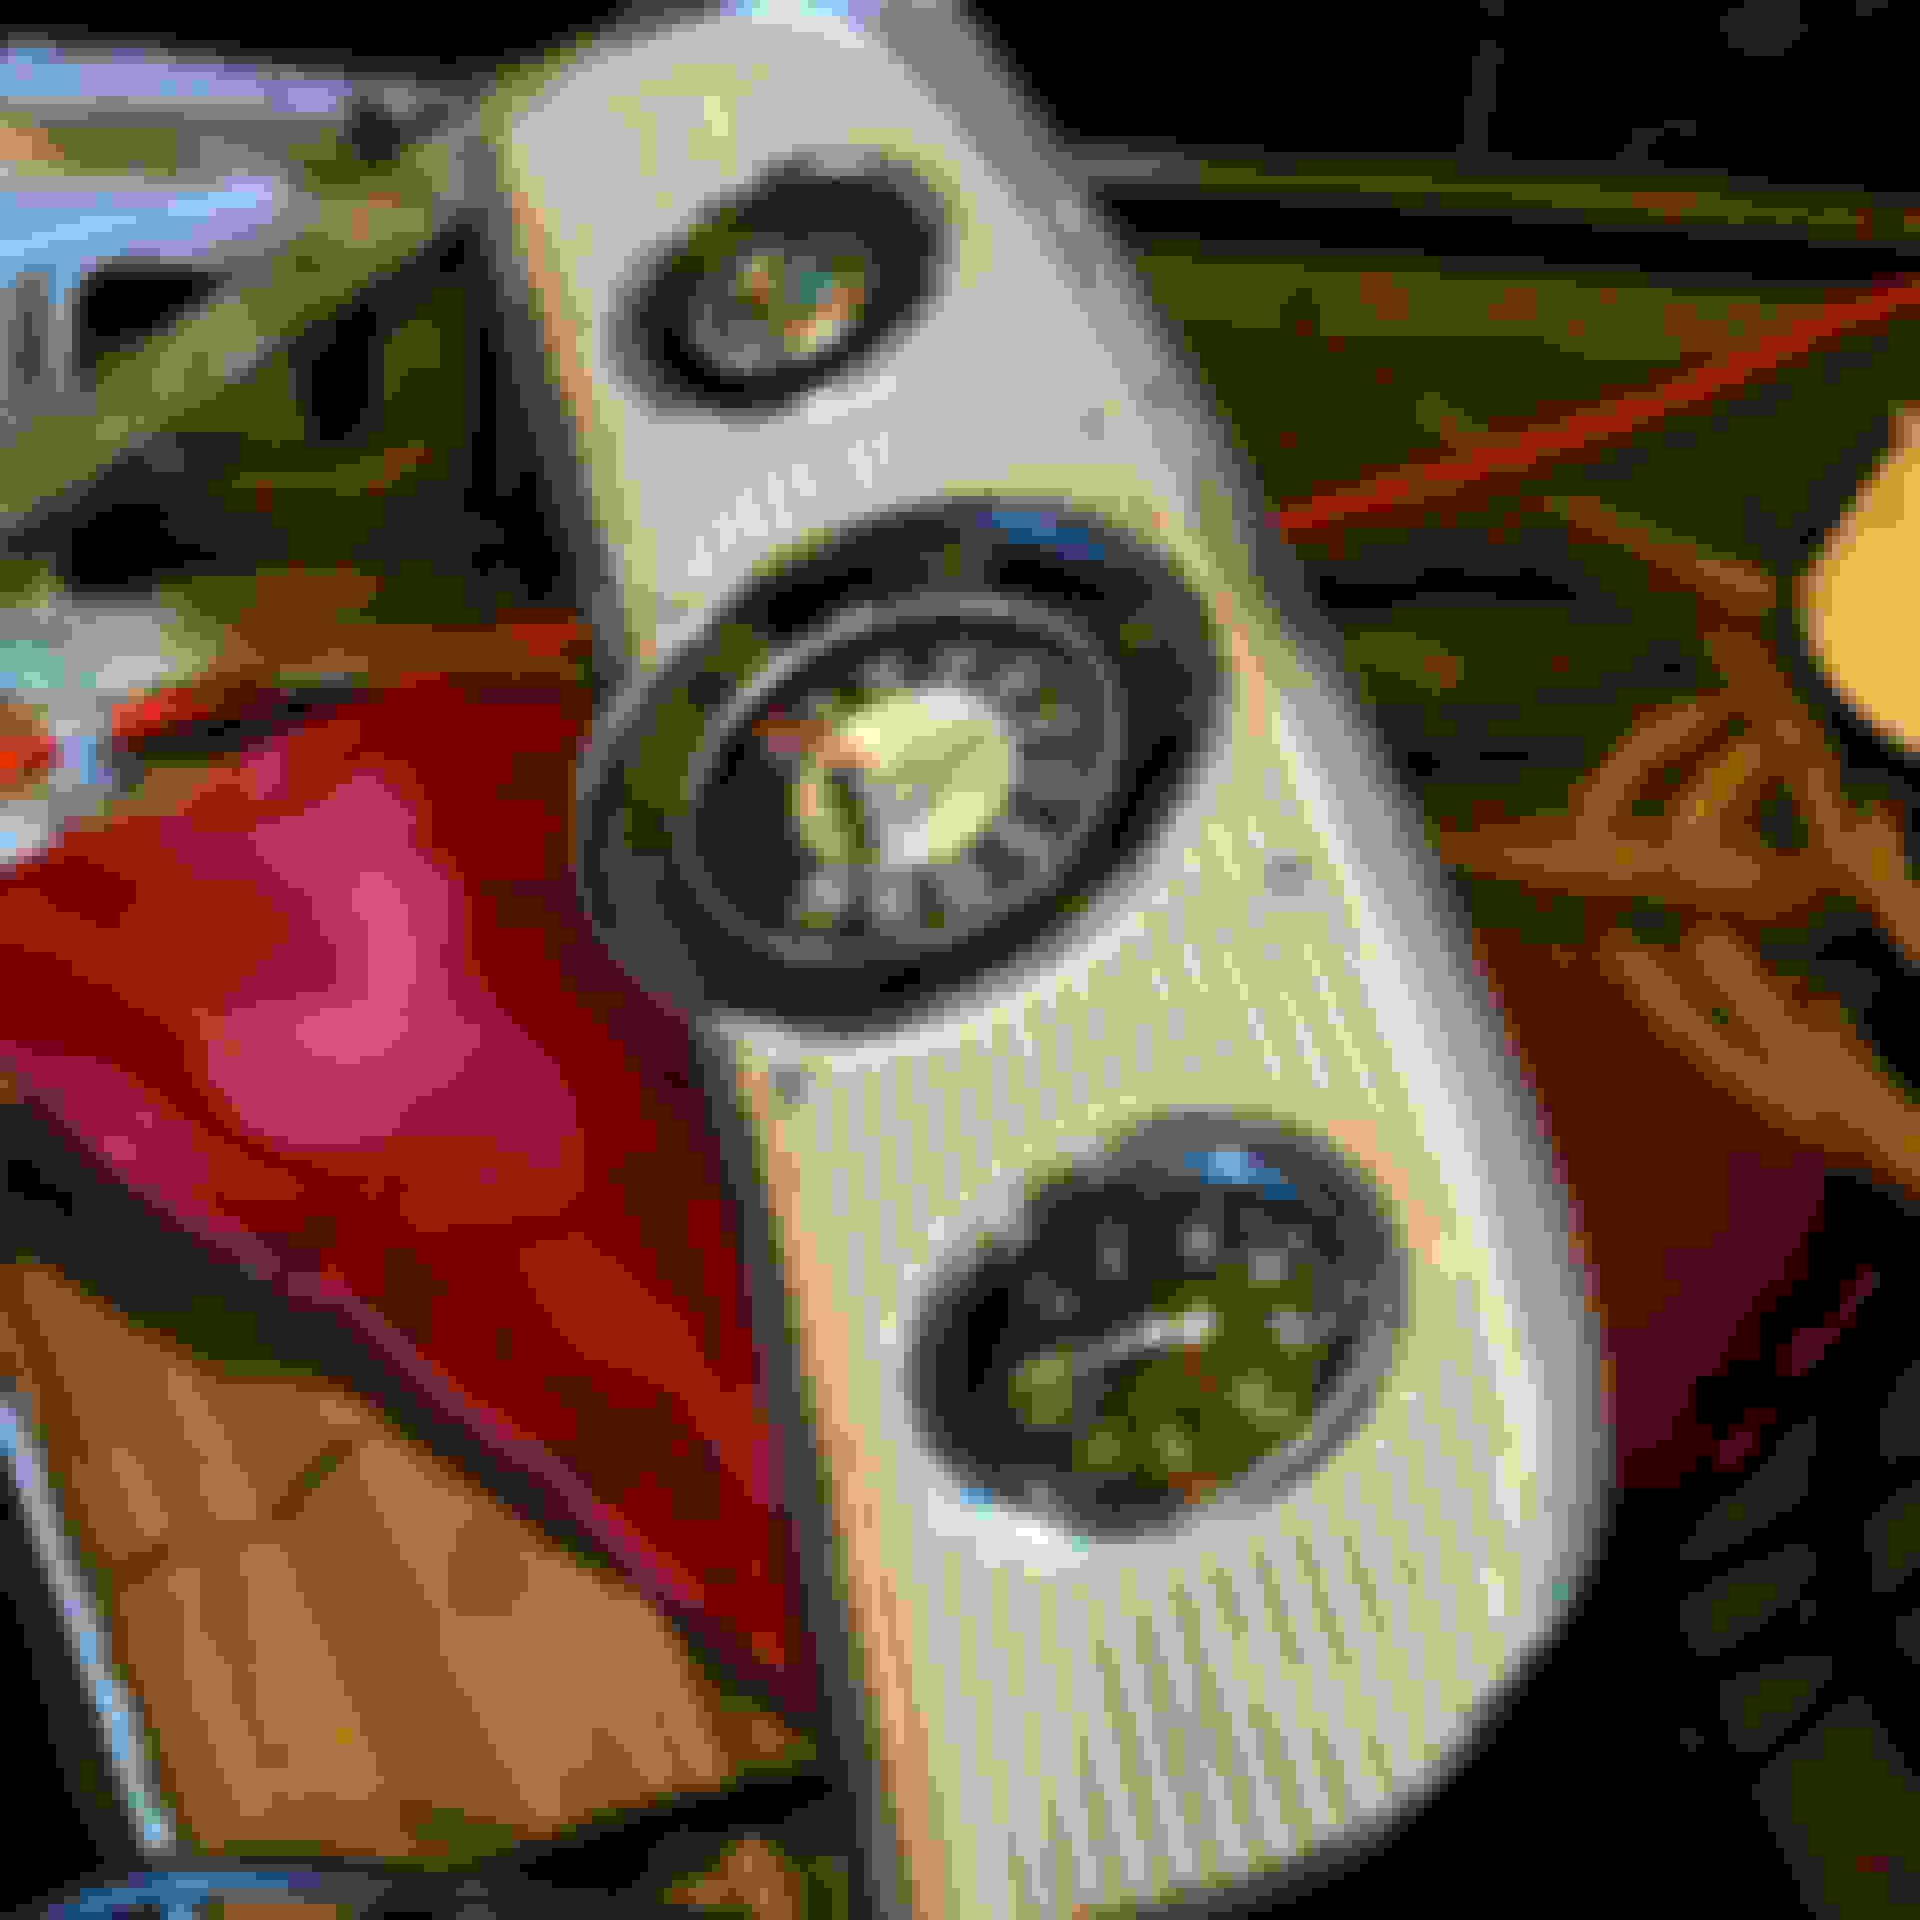
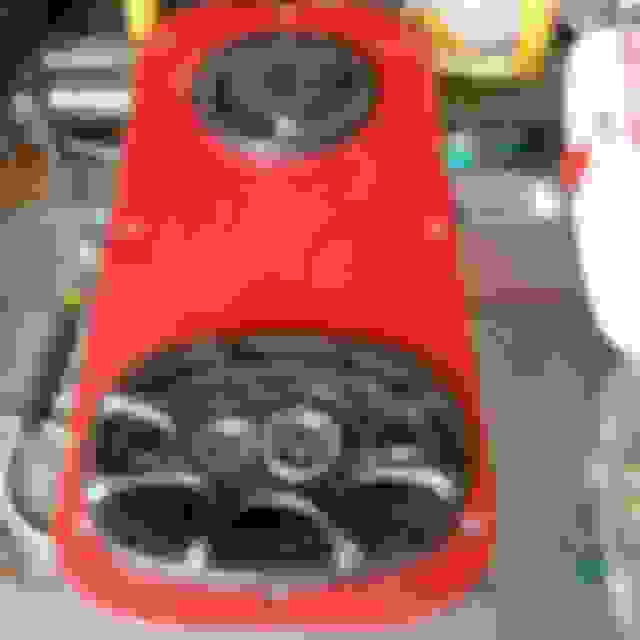
The original speedo had always bounced for as long as i could remember, so i began working on redoing the dash. I picked up a custom cab bezel and a gauge in great shape and install and Auto Meter tach.
After pulling the cassette player someone had fit into it I got a free stereo from a buddy and began cutting the dash out to fit a modern day single DINN stereo unit and added a second set of speakers with a 4 channel amp to upgrade the sound system.
Thanks Ill get better pics soon. Amp just barely fits under the seat and that under the floor batter actually has one advantage...super short amp wiring run...
I'm curious about the mounts you used/fabricated, especially for the rear of the transmission. Did you modify a 65/up crossmember mount, or did you make one from scratch? That tranny uses the same mount as my NP435 that is going in my 64. Really would like to know how you did that!
 08-10-2015, 05:06 PM


 ). Over time and now I'm my post college career I have been able to keep the project moving along. So far that makes it about a 7-8 year process (didnt take enough pics but i have a few).
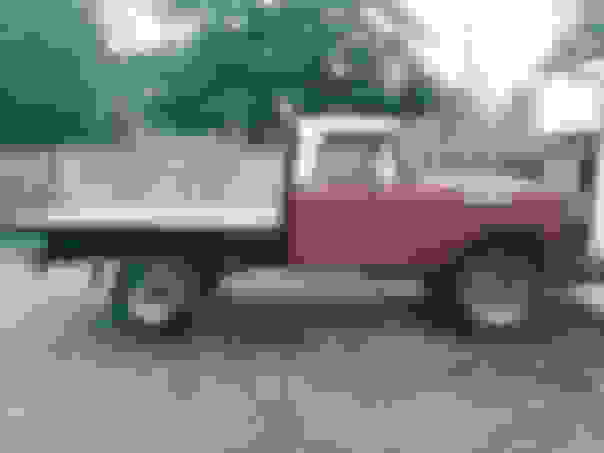


 Picked up some American Racing 18" ATX Mojave Teflon Coated wheels and some Cooper STT's in 35x12.5x18