
My F250 build thread
#181
 04-17-2016, 02:47 PM

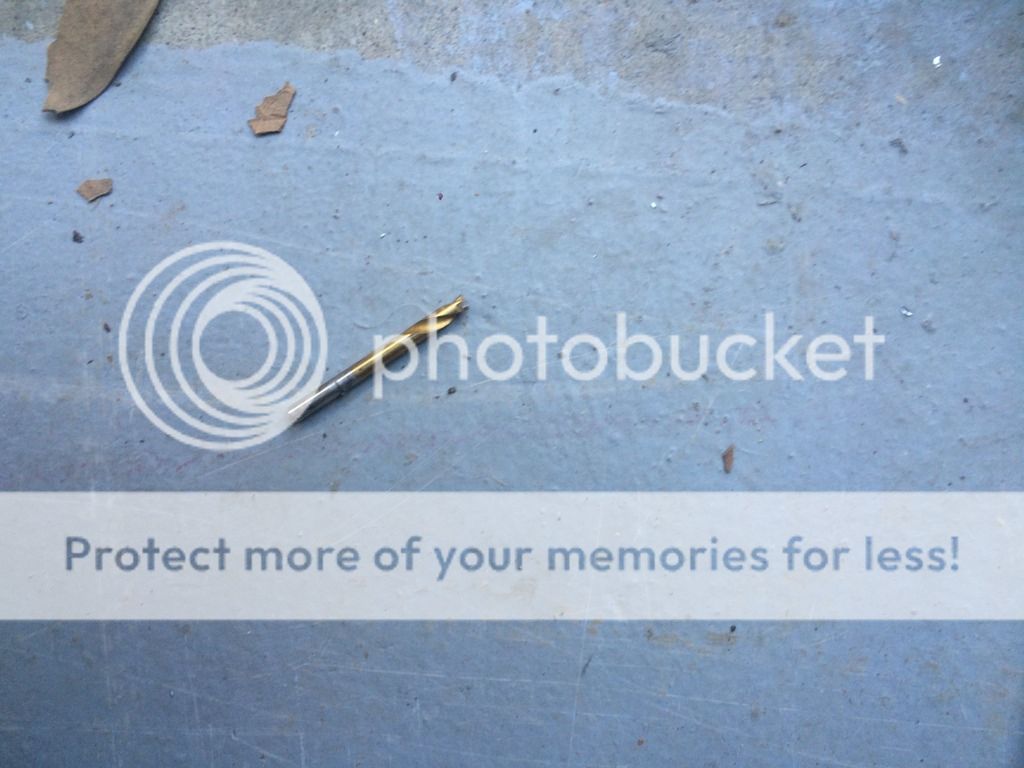
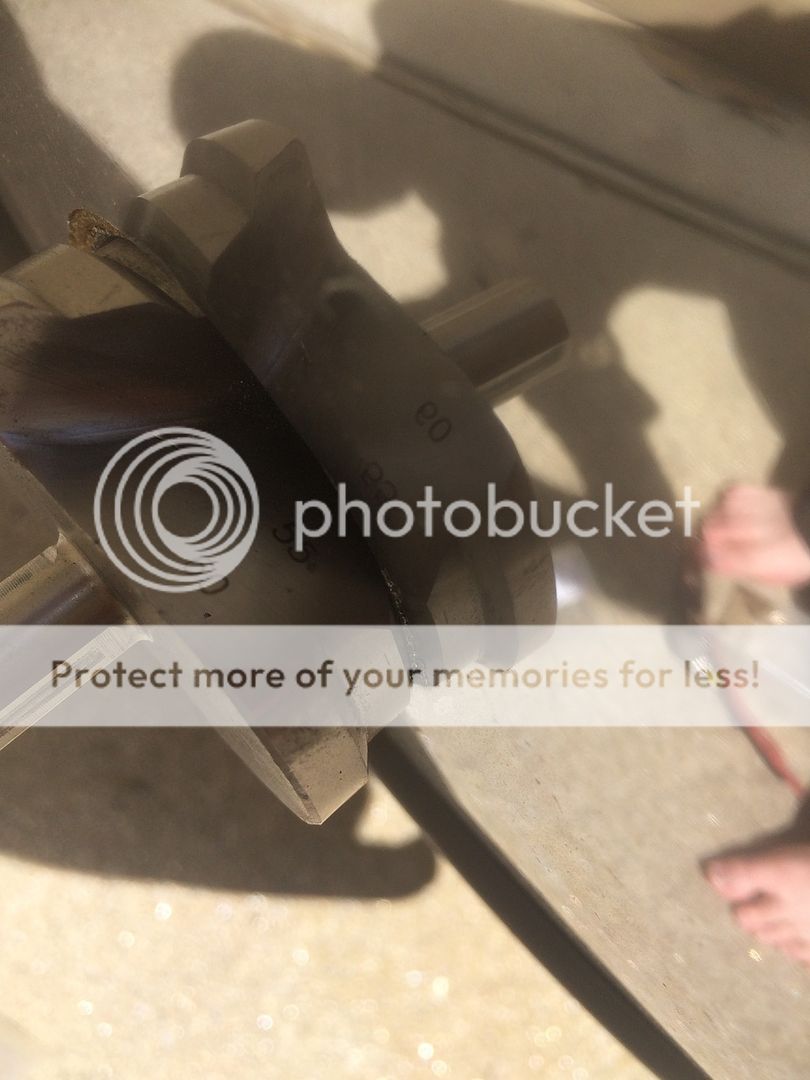
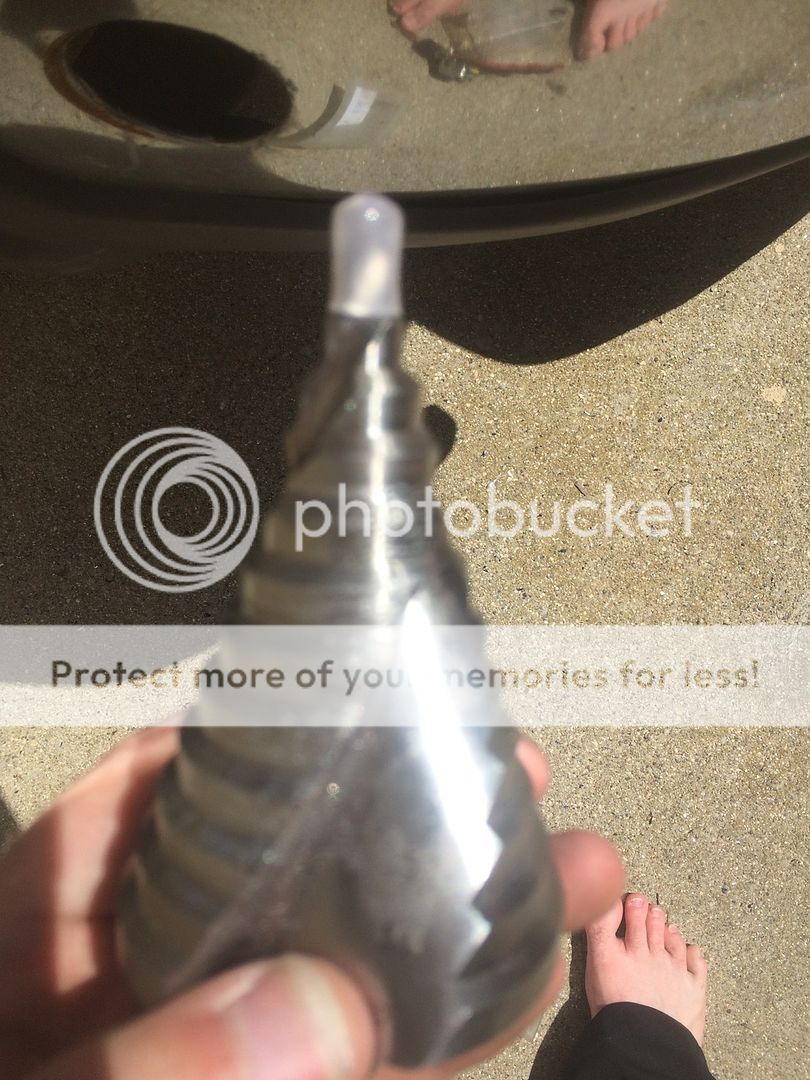
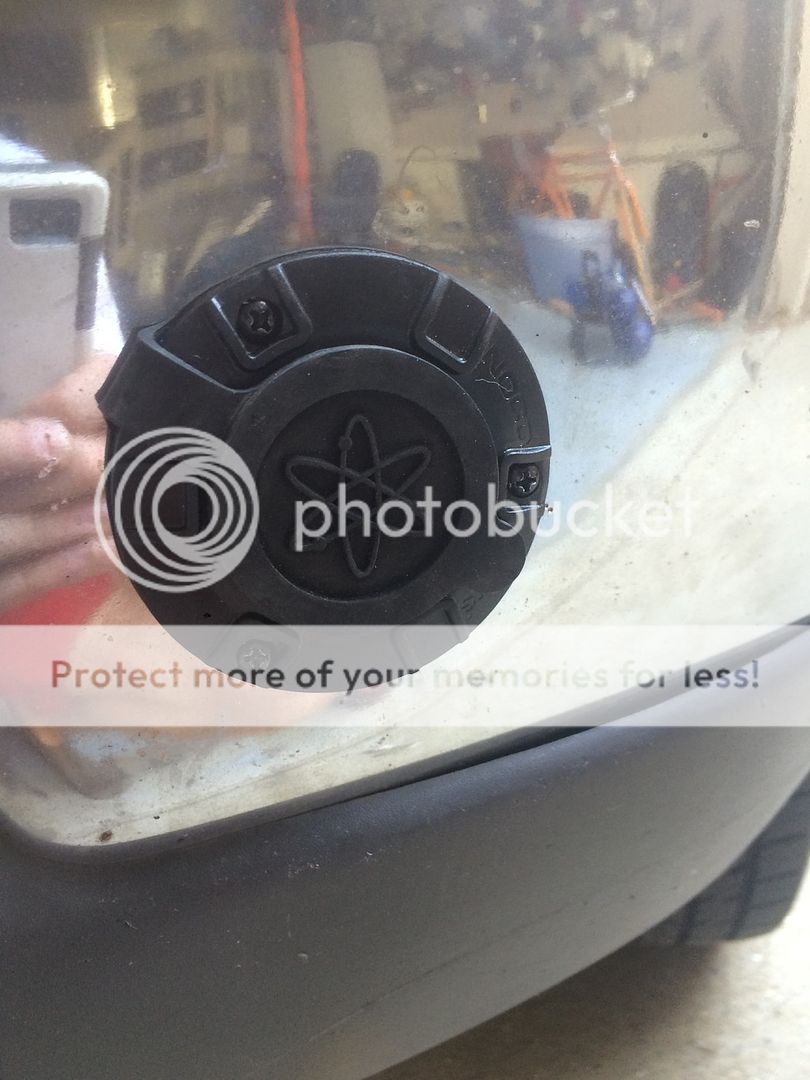
well due to the day off and it being sooooo nice I went and finished my Noco plug adapter install!!! here is a few pics, hardest bit was the drilling of the 2" (50.8MM) hole...after that it was more or less smooth sailing, unless you want to count the broken drill bit...
and now the p0rn
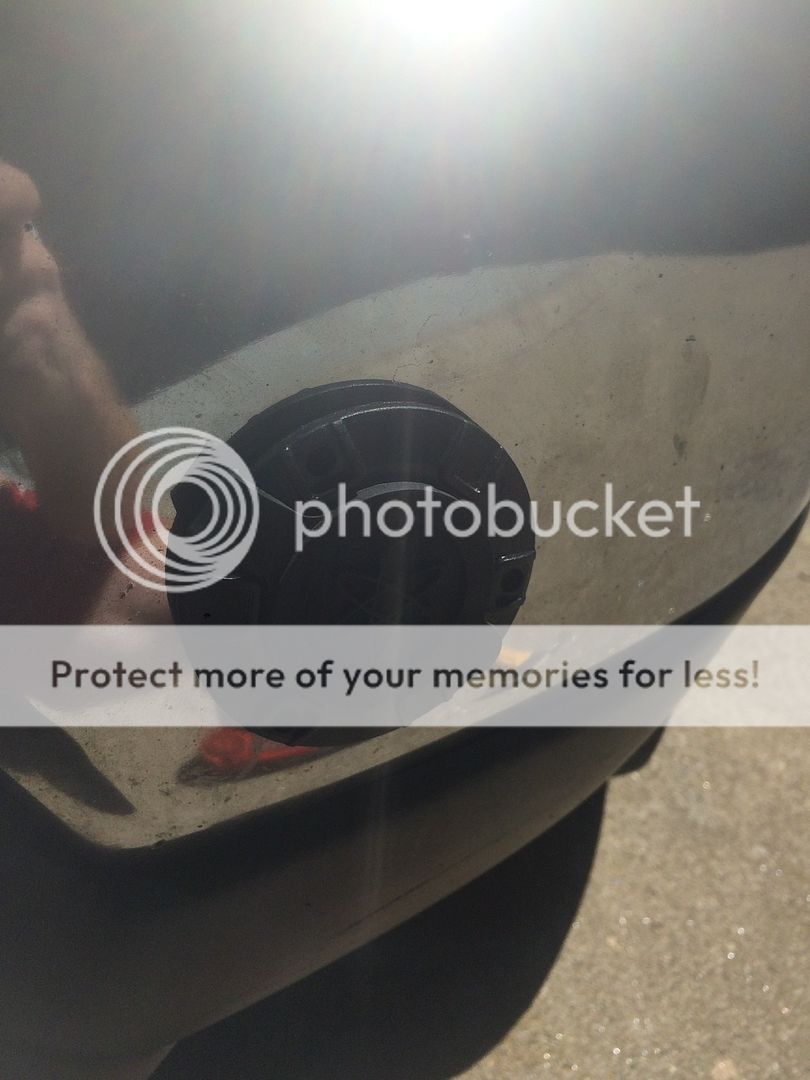
the finished install!!
and now the p0rn
the finished install!!

#183
04-18-2016, 07:27 AM
Fleet Mechanic
#184
04-18-2016, 08:16 AM
#185
04-18-2016, 09:02 AM
Fleet Mechanic
#186
04-18-2016, 09:07 AM
Thanks, if it had broken I would have been pissed, I did push hard to make it through the metal, spun the drill a few times causeing the handle to wack my hand a bit...uuug....but I got it in, and ran to lowes to get a better set of bits, just glad its in so now I just need to run the cord (not looking forward to that but oh well) but at least the plug is in and able to be used  no more putting my self under the truck for plugging it in at night and risking getting run over....
no more putting my self under the truck for plugging it in at night and risking getting run over....
#187
04-22-2016, 04:57 PM
#188
04-26-2016, 06:01 PM
Well due to what ever issue Stinky Jr. is having (more like a temper tantrum) I removed the plunger thing that is inside the fuel bowl stem and left just the stem, took out the internals, hope that this will help the fuel flow into the block, also decided to throw both batteries on the tender system to get them back to full charge!
#189
04-29-2016, 05:45 PM
well in an attempt to get the truck started I replaced the GPR with a new shiny one, while it didn't help I at least know it isnt covered with tone of filth and crud like the previous one had...I also decided that I would keep it as a spare after I got it cleaned up, it was the brown colored GPR
#190
05-04-2016, 02:44 PM

#191
05-06-2016, 08:15 PM
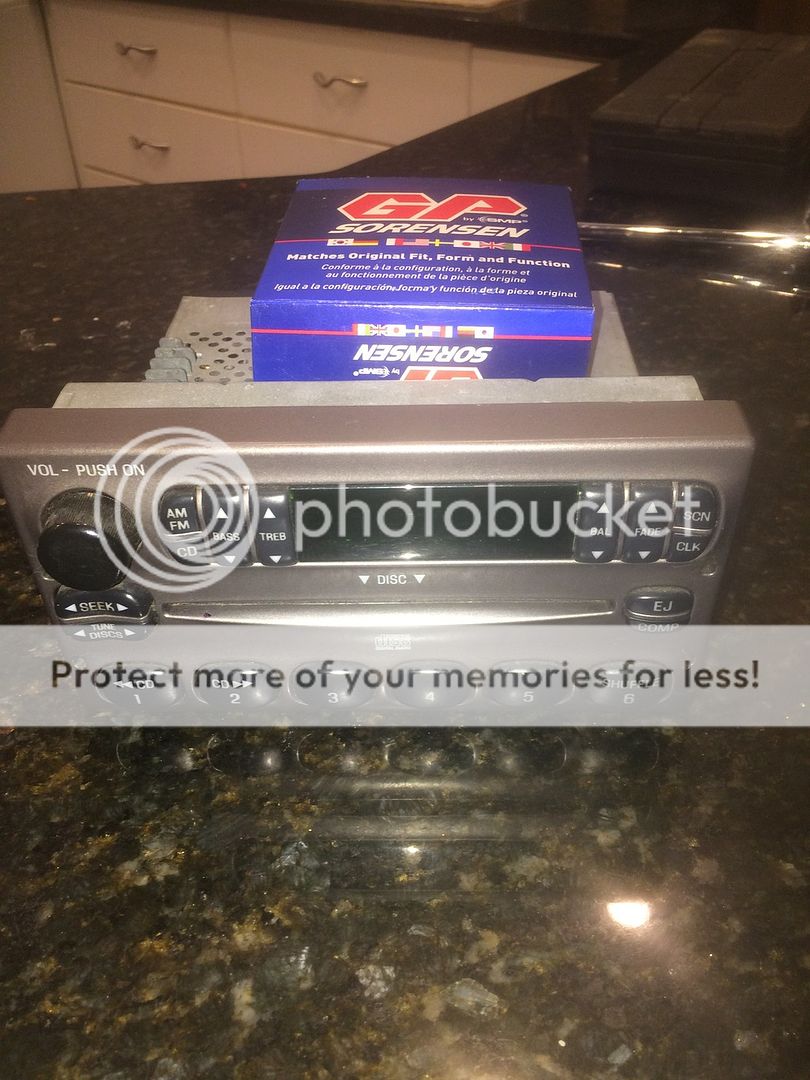
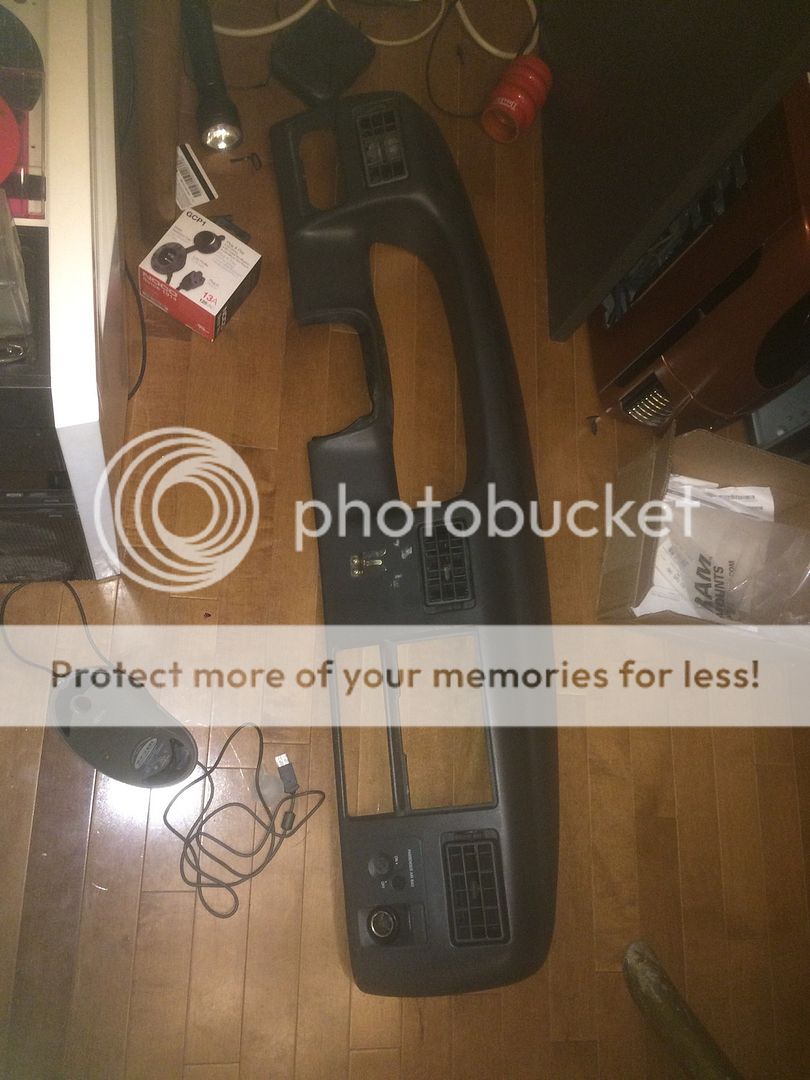
well I decided for kicks and giggles to venture to a pick and pull local to my parents as I was there visiting for the day, and this trip was at least partly productive even if I could not grab an IPR or convertable roof switch for the stang, but that is another story, but for the truck I did get a few goodies...I picked up a nearly like new dash bezel (no major damage or marks on it other then a radio holder) and a radio with CD player in it (upgrade compaired to my tape deck), still not exactly what I was hoping for but for what I stumbled on, I figured hey I better take this as I may not find one in this condition!! So I did...also grabed a new IPR so I have it ready to go after the test unit gets here, and confirms the state of the current IPR...
#192
05-07-2016, 07:02 PM
#193
05-11-2016, 11:45 PM
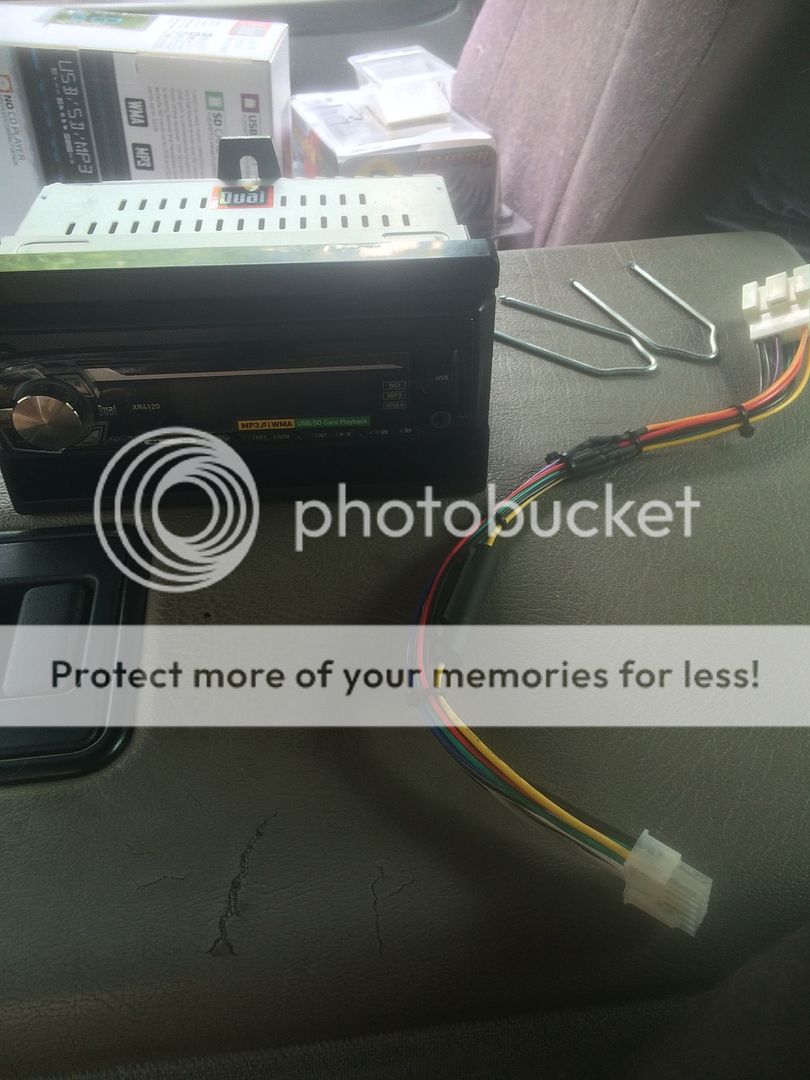
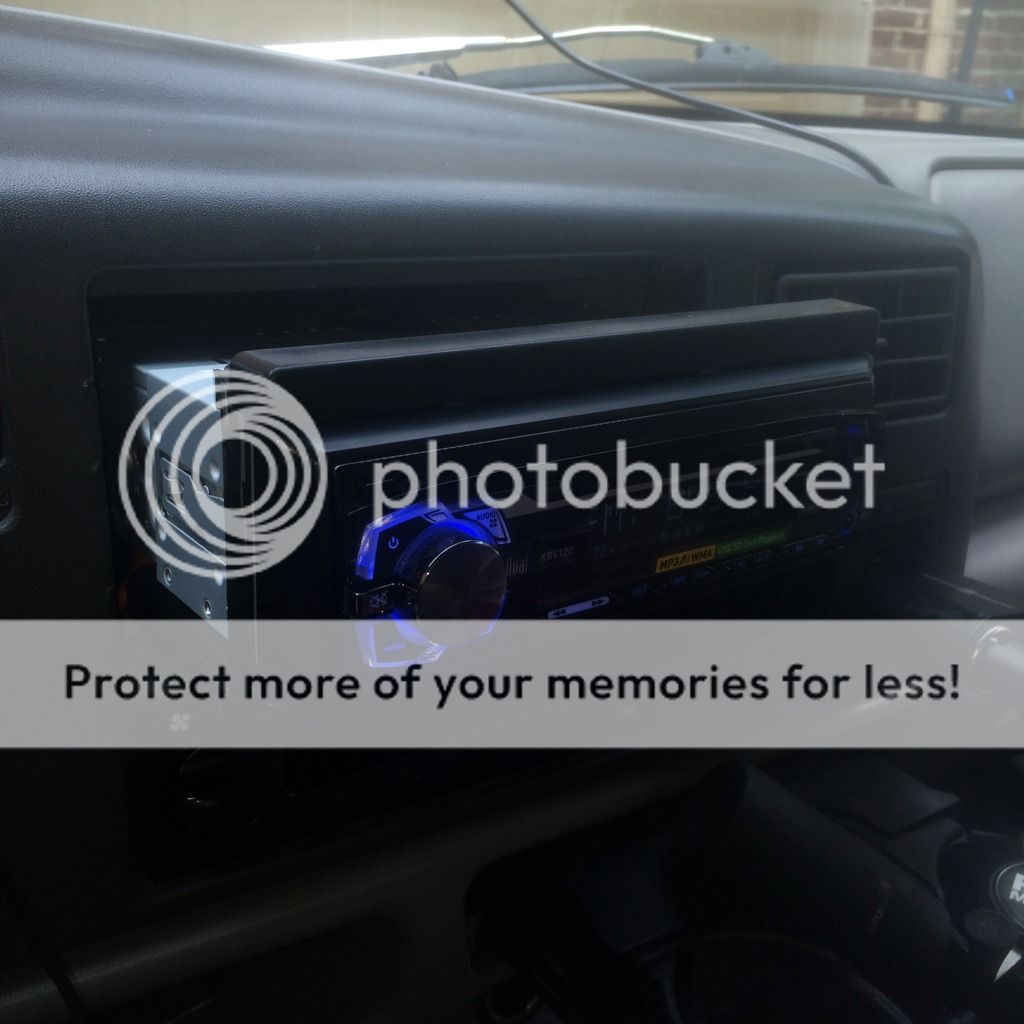
well I finally got tired of the old, "new" CD player upgrade (although its nice to have the "updated" factory unit) I want the same ability to play my USB drive like what I have in the mustang, so I went to Autozone and picked up a CarDual Digital Media Reciever, don't really listen to CDs any more so I went with a "mechless" Solid state media player, and grabed the AW-586FT install kit, while I didn't get pics of assembly, should be more or less self evident, but IF you guys really want I can take it apart and take the pics as its not that hard to pull apart, it is all Single din, I really didn't want to go hacking any thing just yet, and I am still looking for a navi system, just haven't decided yet on which one I want...
I got the Dual XR4120 if anyone is interested in searching for the same unit
"BUT JIM WHY????" Ok I hear ya, why did I get this when I am planning on updating to navi?
1. Its newer, more upto date with media I listen to like my USB drive of music and update the speakers and whats in the truck now (Zippy the Fiesta at work made me do it I swear!!!)
2. It will play what I want (my USB drive)
3. I more or less obsolessed CD's by switching to flash drive based music
4. The current unit(s) that are IN my truck are at LEAST 16 years old, and while great for there time that was 16 years ago when the CD was the big thing and no one heard of solid state anything
5. both pieces cost a total of $59.34 so why not, that is a third of the cost of a navi system, and I can wait on that as I can now listen to my flash drive...I guess Zippy the Fiesta REALLY did spoil me...didn't he???
I will upload a few pics in the morning and add them here, also PLEASE let me know if you guys want to see pics of the assembly portion, again should be relatively easy, but if for a first timer it can be tricky, I have no issue or problem taking the thing apart for pictures.
#194
05-12-2016, 12:53 PM
well Here is the brief write up of the install, for most of us it should be relitivly straight forward process but for someone who may be "new" to the super duties may be a bit daunting, especially if it is there first radio install.
so here is a list of what you need (your results and mileage may vary accordingly on various factors like the radio and install kit used this list is what I used and is intended to be a base to work with)
you will need the radio single din will vary from a double, install steps are generally the same however there will be additional steps involved this is written for a single din as that is what I have on hand right now
Install Kit (fit according to your radio size) for single DIN radio AW-586FT
wire harness (vehicle specific, but any major parts house should have them) AW-WHFD3
Car Dual brand Radio XR4120
now for the fun parts
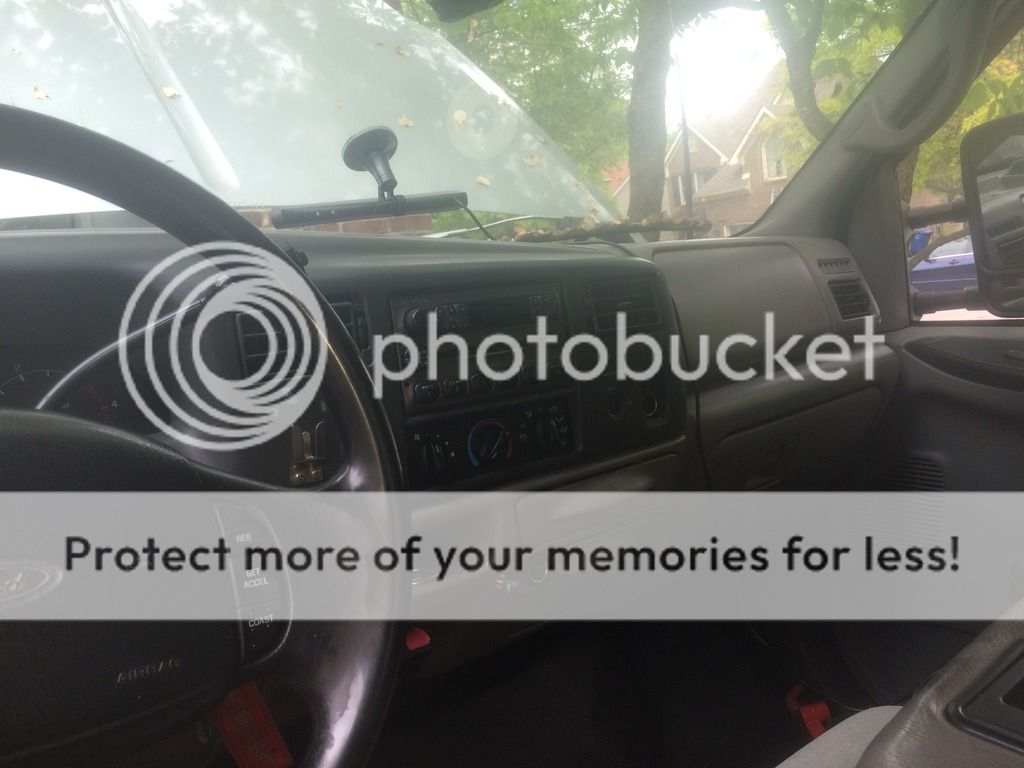
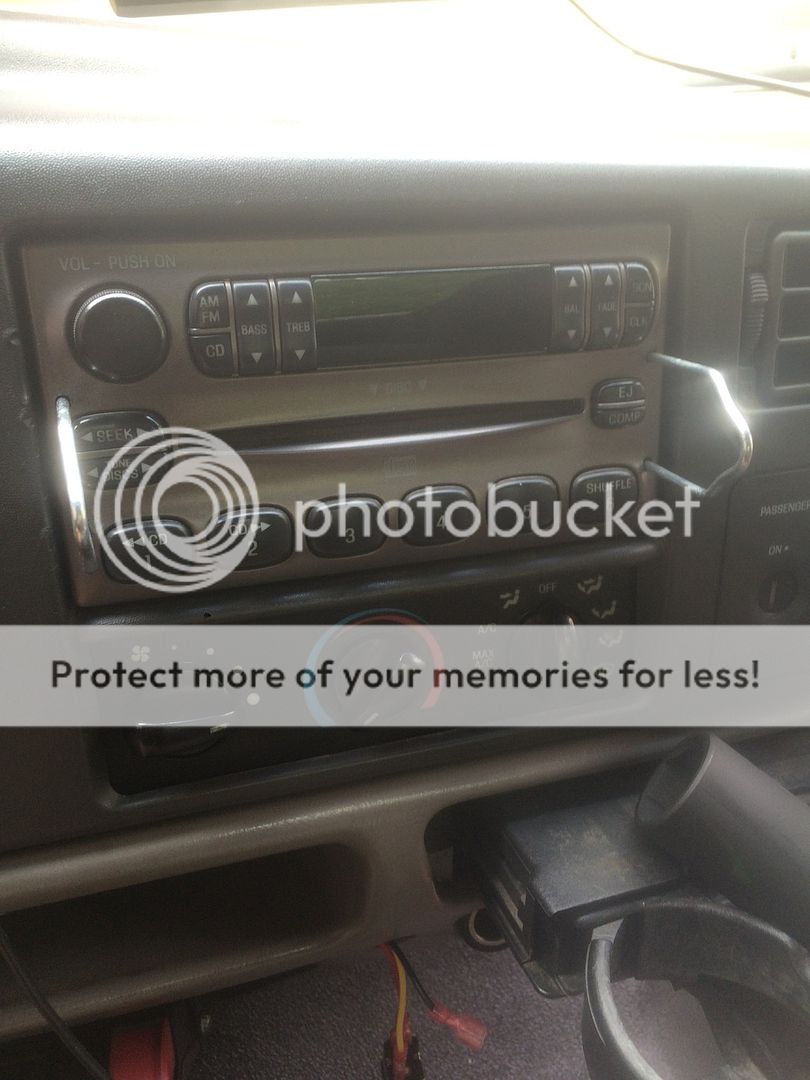
were going to go from boring stock radio

to something a bit more modern
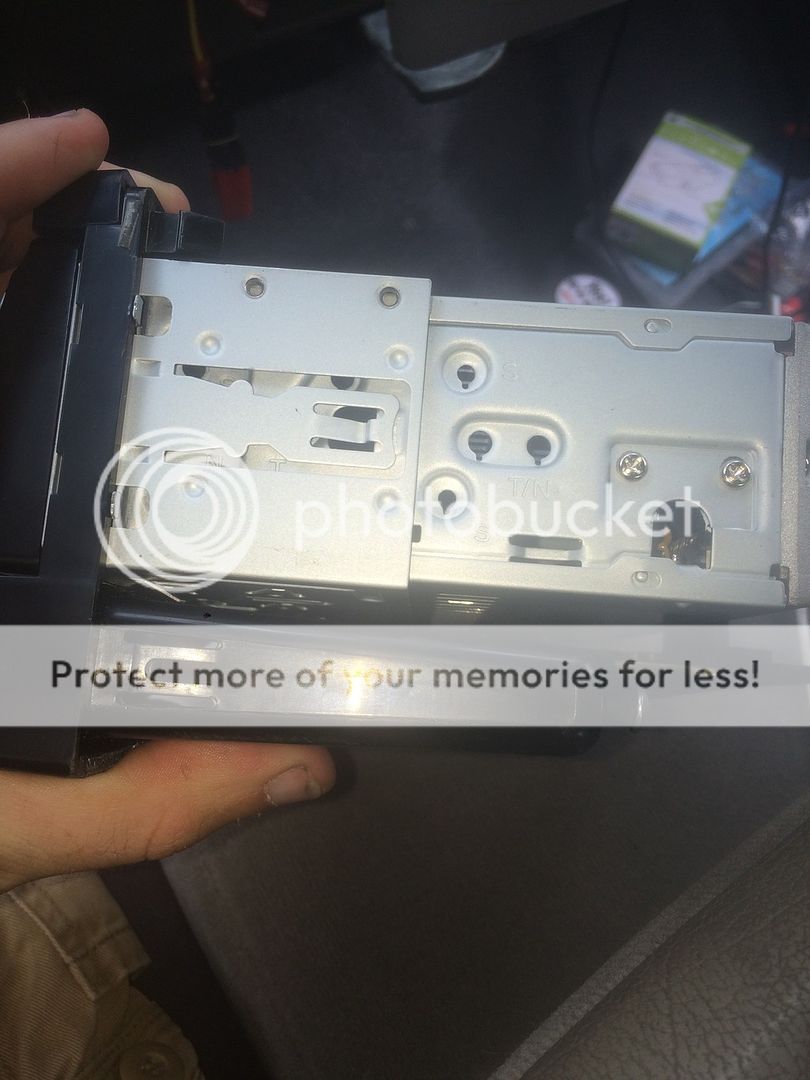
You will need to grab the radio removal keys (for Ford) and incert them into your radio (again this will be something any parts house will have them)
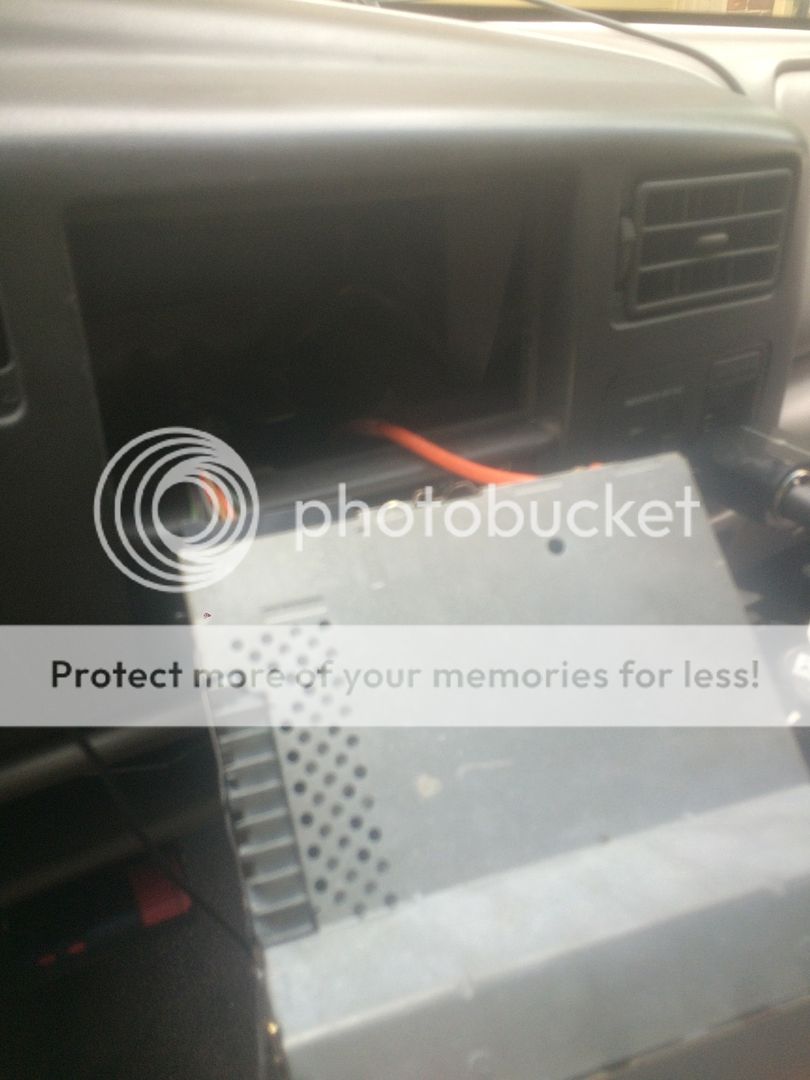
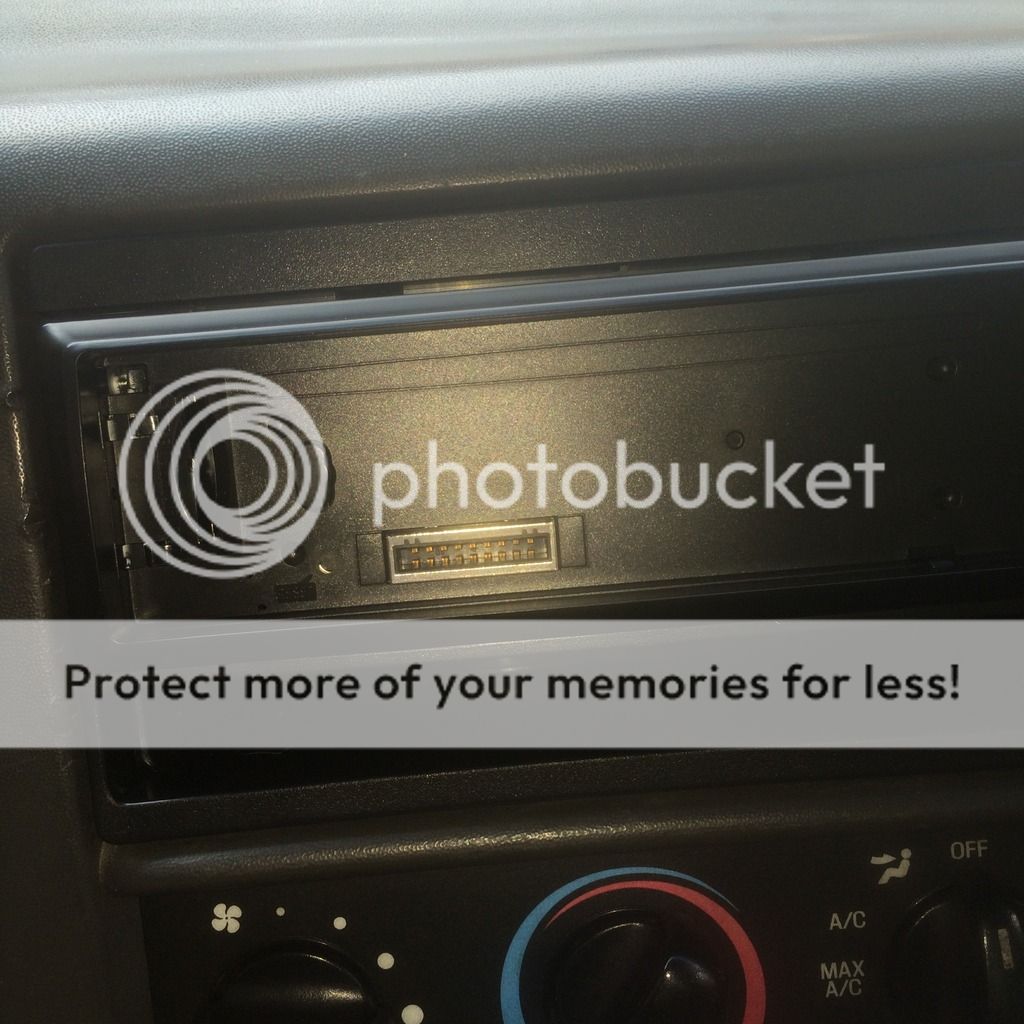
then you will find two wires sticking out the back of the radio, the orange wire is the antenna, the other block is your wires, this is where the radio harness comes in, were going to adapt the OEM harness to the after market radio (so were not cutting and splicing)
next once the stock boring radio is set aside were going to attach the after market harnes (I recomend you have the harness already predone, either your self or by a professionial)
go and put the "new" harness in and put it behind the dash (keep the part for the radio sticking out, we will need it
now lets make sure your radio is "assembled" (for the single din) in the holder
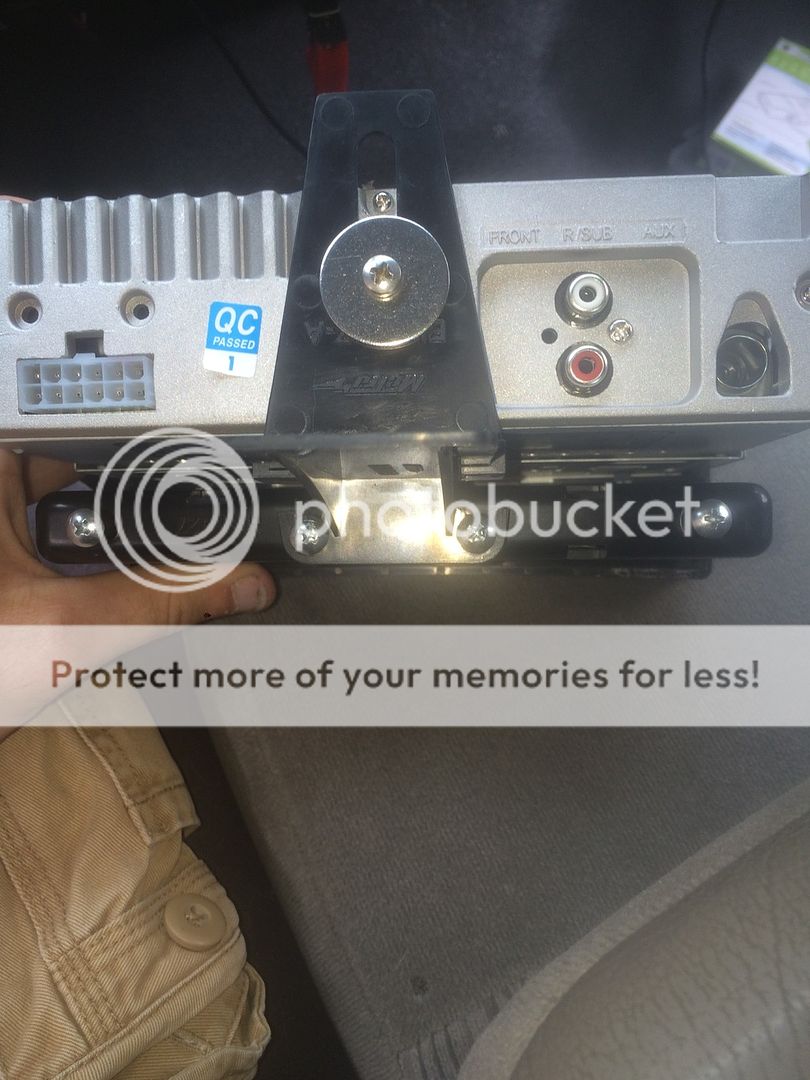
Your kit may come with side mount brackets (mine did) you can use them if you like, for the ease of install I just left them off, they really didn't make a difference
now were going to place the new radio in the slot (besure you connect up the antenna and harness first) and test the radio, to be sure all connections are good
once they are good, just slide the whole assemblage into the hole, until it clicks into place (held in by 4 tabs)
then test the radio and set up what you want and enjoy
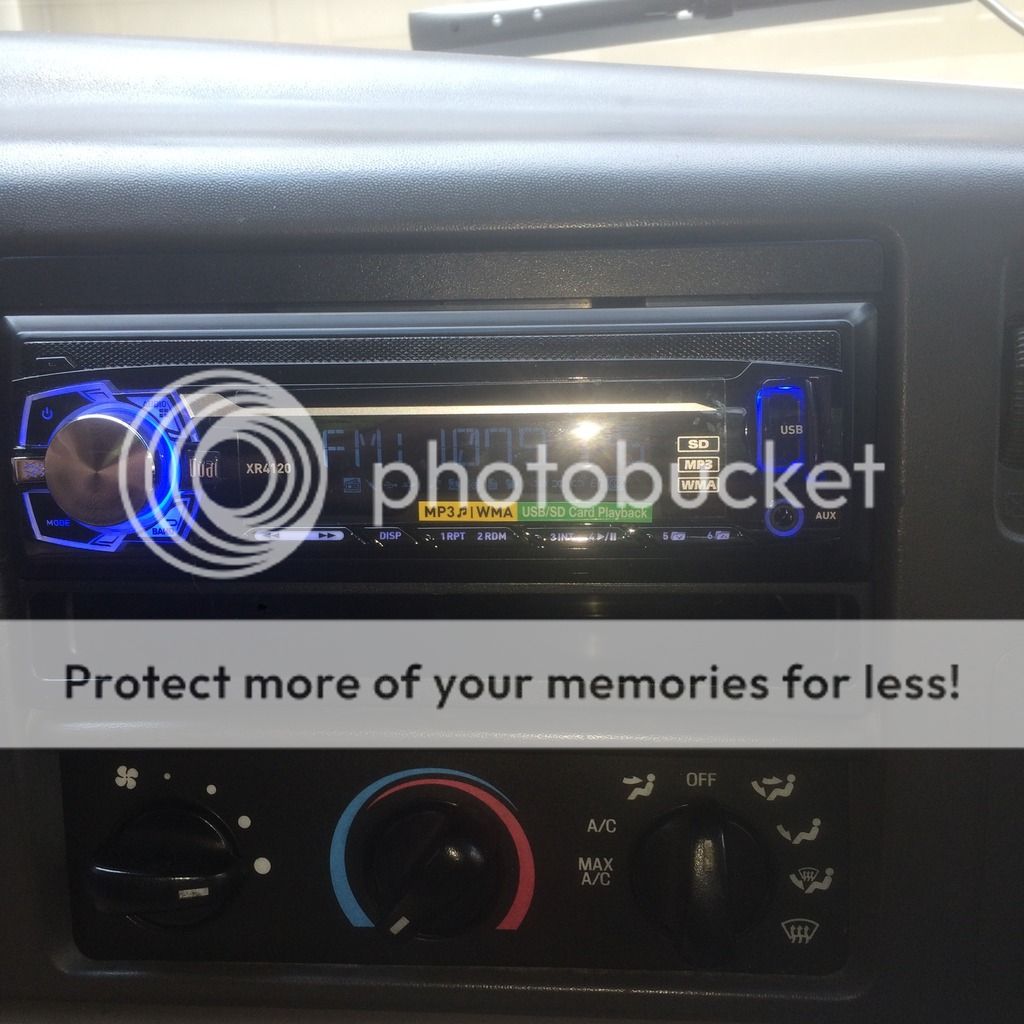
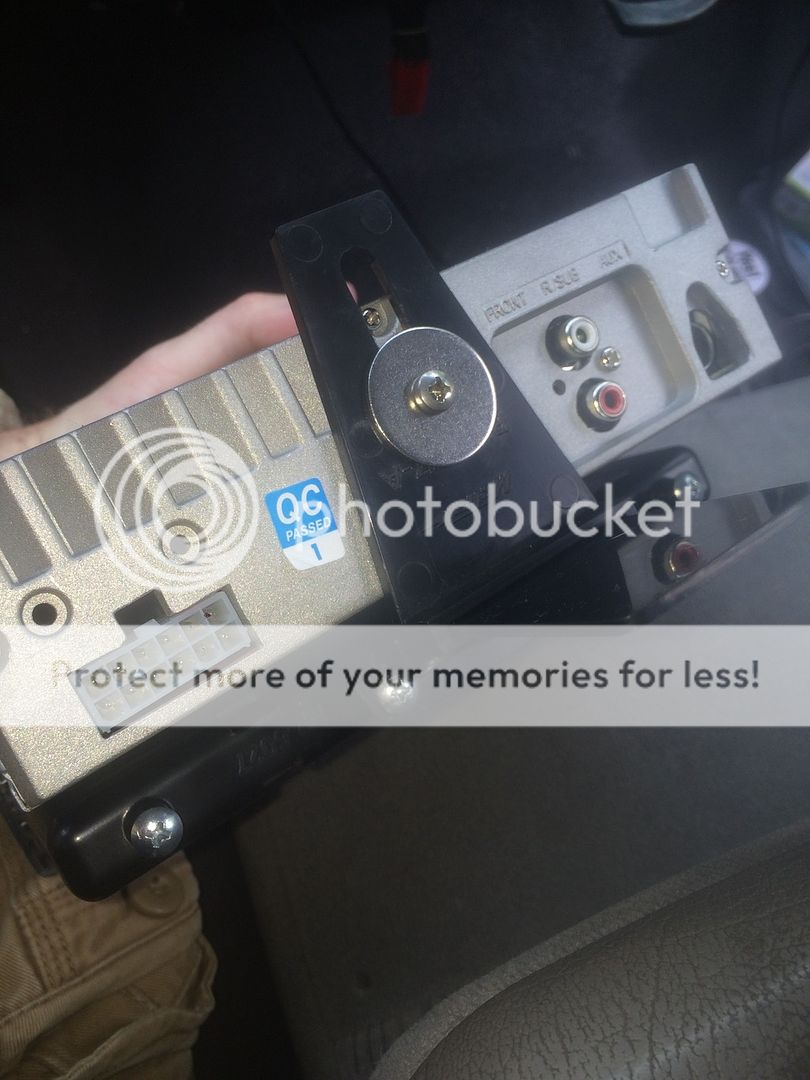
The one I picked is a USB/SD player with AM/FM, I decided to leave out the CD player as I don't really listen to CDs any more (Zippy spoiled me) and have all my music on a flash drive
This one is not as Advanced as the Kenwood DPX501BT model unit I have, but for the price its definatly a good update to the truck, I would say this would be a "factory upgrade" type radio if offered in vehicles today, it would be about the tape deck/cd player of 16 years ago, its good enough to be OEM like quality with out the OEM price or boreingness...again if you go with the unit pictured REMEMBER it is a mechless design meaning there is NO moving parts (no CD player) its all solid state based electronics. The total time for me took about 10 minutes 20 if I include pushing it into the dash and removal of the old OEM stockie
so here is a list of what you need (your results and mileage may vary accordingly on various factors like the radio and install kit used this list is what I used and is intended to be a base to work with)
you will need the radio single din will vary from a double, install steps are generally the same however there will be additional steps involved this is written for a single din as that is what I have on hand right now
Install Kit (fit according to your radio size) for single DIN radio AW-586FT
wire harness (vehicle specific, but any major parts house should have them) AW-WHFD3
Car Dual brand Radio XR4120
now for the fun parts
were going to go from boring stock radio
to something a bit more modern
You will need to grab the radio removal keys (for Ford) and incert them into your radio (again this will be something any parts house will have them)
then you will find two wires sticking out the back of the radio, the orange wire is the antenna, the other block is your wires, this is where the radio harness comes in, were going to adapt the OEM harness to the after market radio (so were not cutting and splicing)
next once the stock boring radio is set aside were going to attach the after market harnes (I recomend you have the harness already predone, either your self or by a professionial)
go and put the "new" harness in and put it behind the dash (keep the part for the radio sticking out, we will need it
now lets make sure your radio is "assembled" (for the single din) in the holder
Your kit may come with side mount brackets (mine did) you can use them if you like, for the ease of install I just left them off, they really didn't make a difference
now were going to place the new radio in the slot (besure you connect up the antenna and harness first) and test the radio, to be sure all connections are good
once they are good, just slide the whole assemblage into the hole, until it clicks into place (held in by 4 tabs)
then test the radio and set up what you want and enjoy
The one I picked is a USB/SD player with AM/FM, I decided to leave out the CD player as I don't really listen to CDs any more (Zippy spoiled me) and have all my music on a flash drive
This one is not as Advanced as the Kenwood DPX501BT model unit I have, but for the price its definatly a good update to the truck, I would say this would be a "factory upgrade" type radio if offered in vehicles today, it would be about the tape deck/cd player of 16 years ago, its good enough to be OEM like quality with out the OEM price or boreingness...again if you go with the unit pictured REMEMBER it is a mechless design meaning there is NO moving parts (no CD player) its all solid state based electronics. The total time for me took about 10 minutes 20 if I include pushing it into the dash and removal of the old OEM stockie
#195
05-12-2016, 03:21 PM
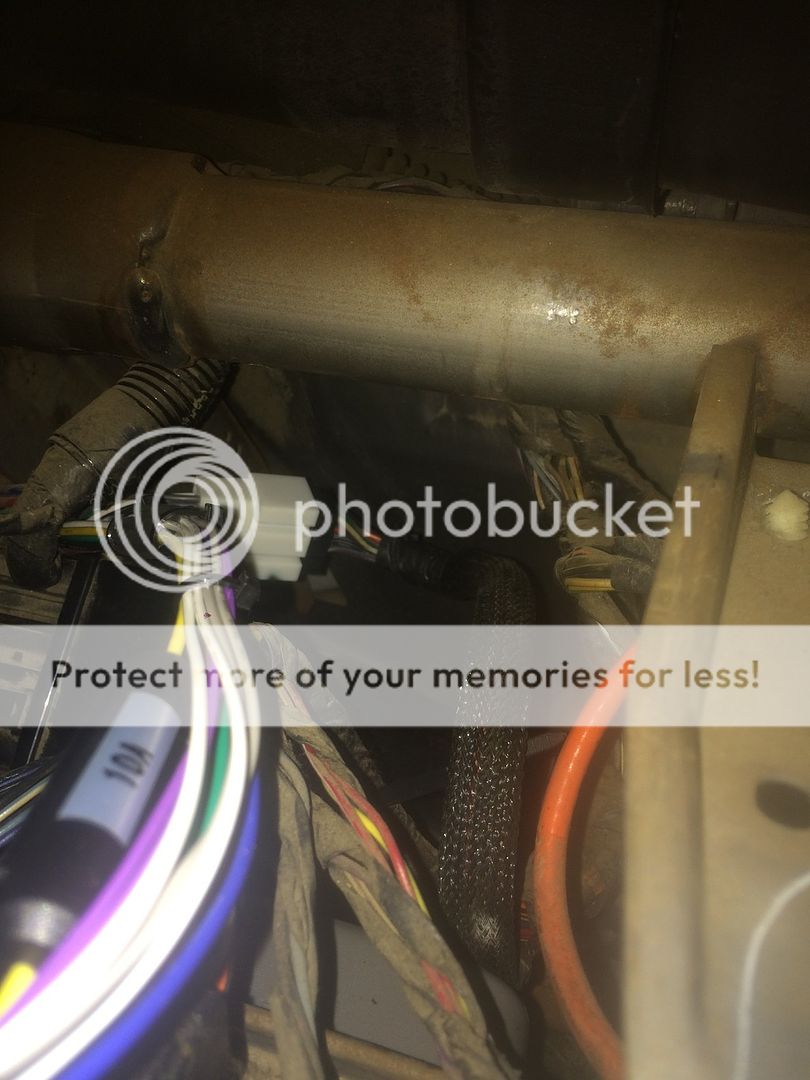
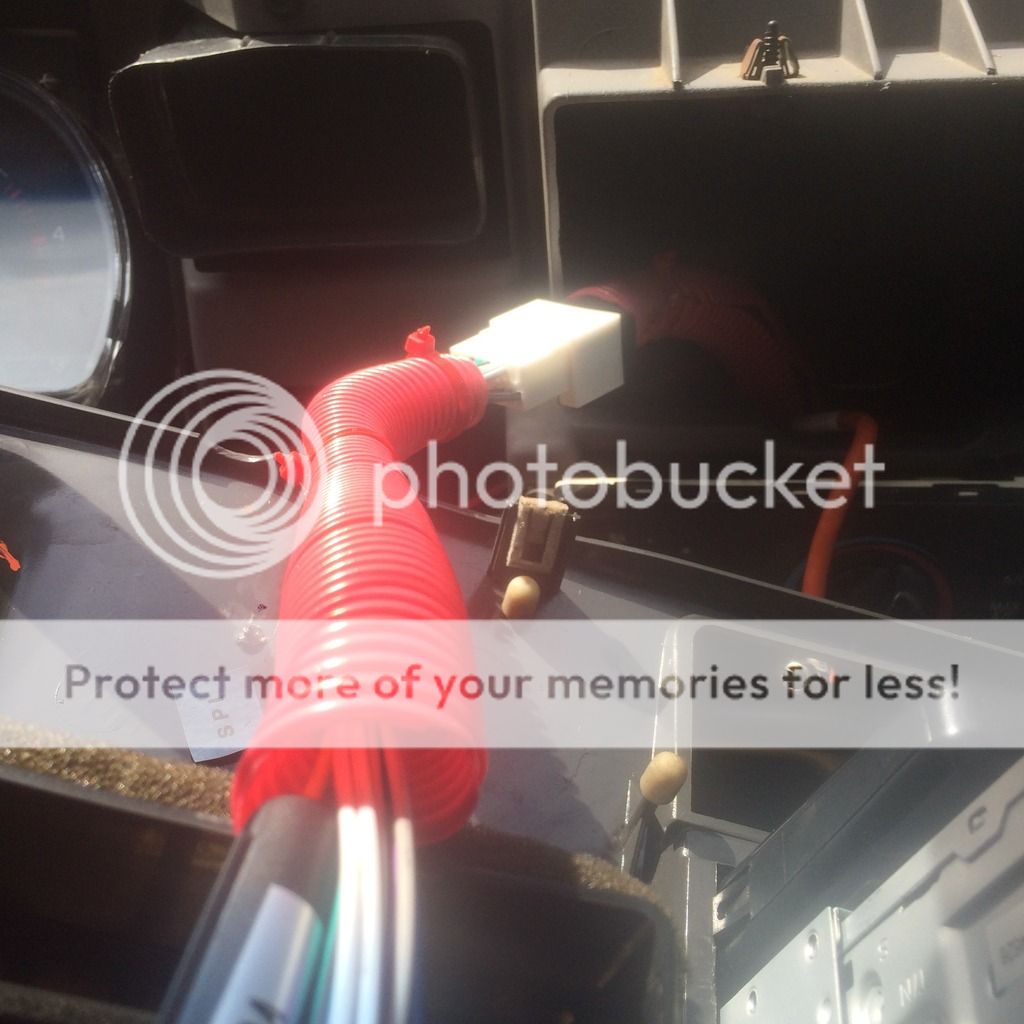
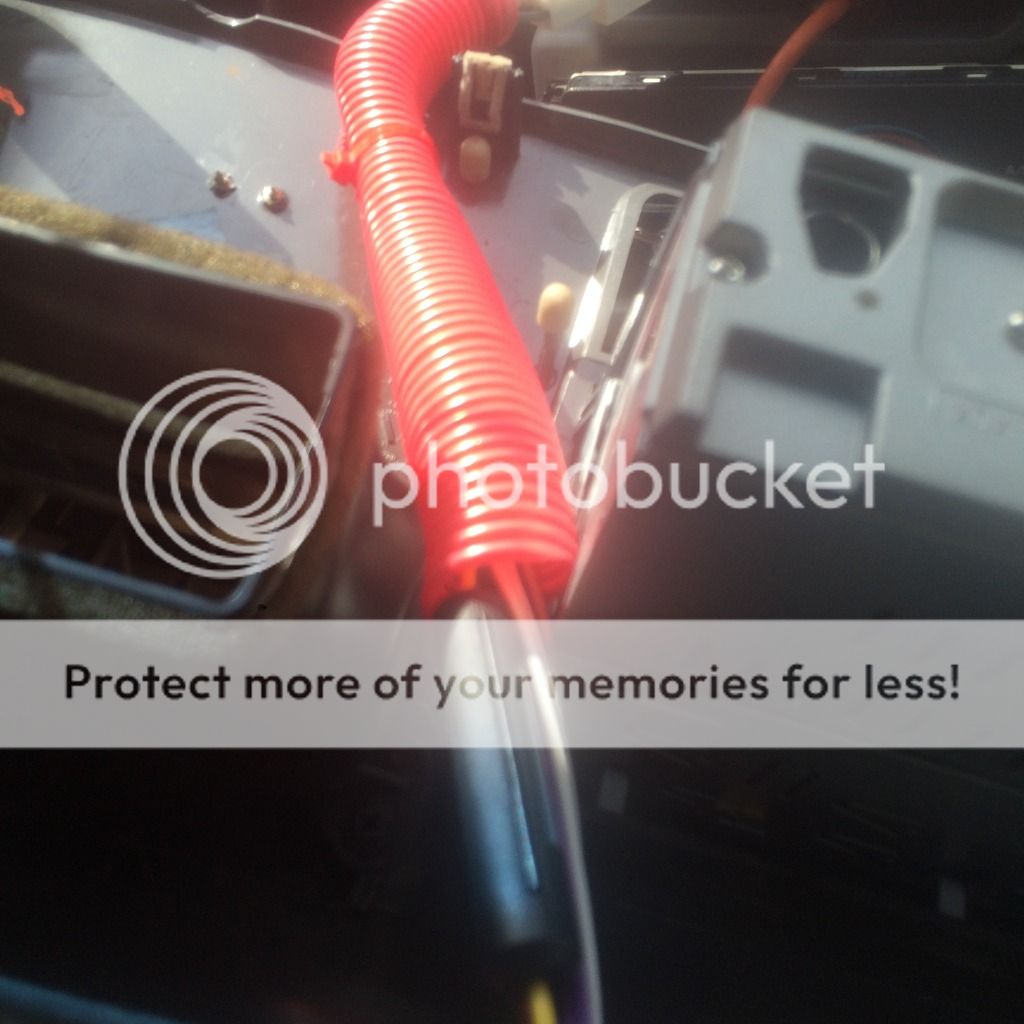
Well due to my IPR going bad and having to get under the hood and having my hands scratched up like a cat trying to play with a scratching post I decided to resolve that issue, and wire loom the two steel braded lines that are under the hood, which kinda led to other items being dressed up with wire loom (figured why not , I got the stuff laying around...) so here are the end results for the engine bay here is what was originally left on the steel lines...

at least it will match the plenum boots I got (they are red RiffRaff boots)
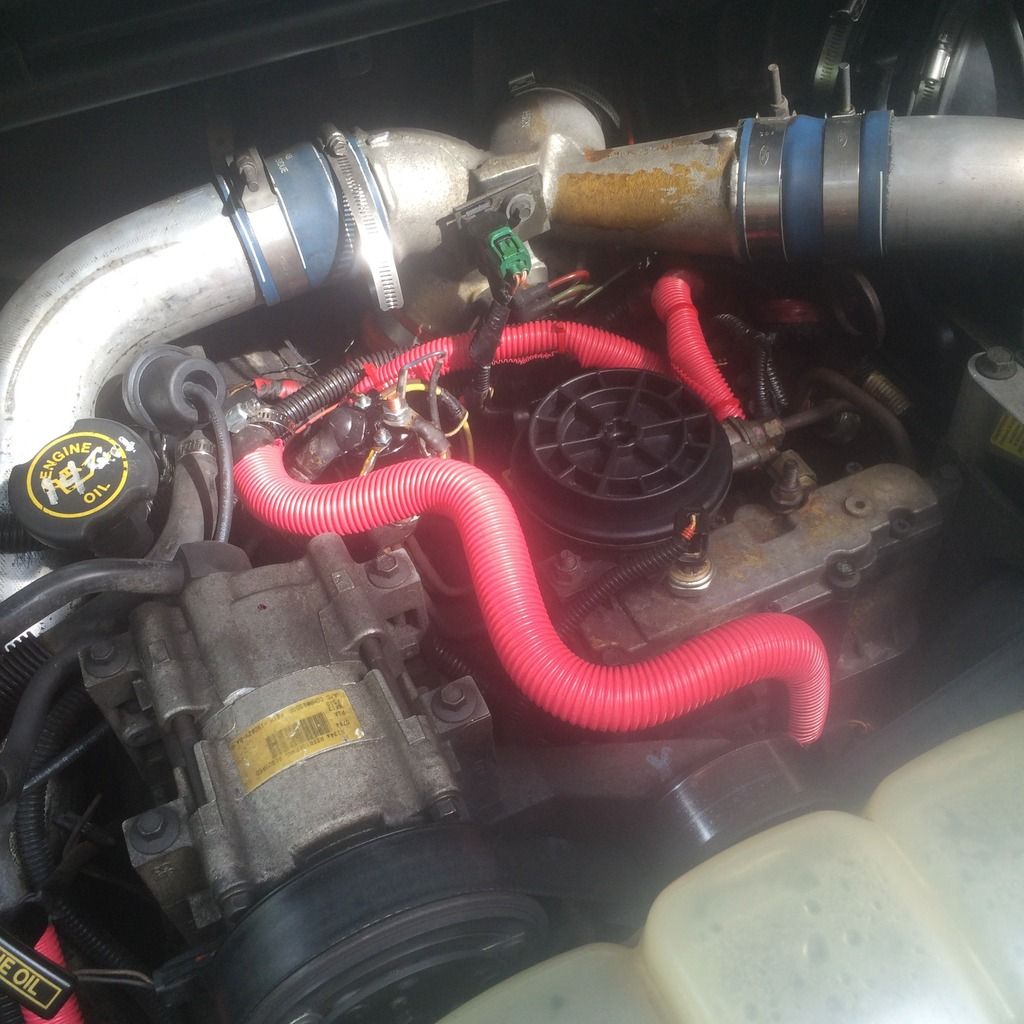
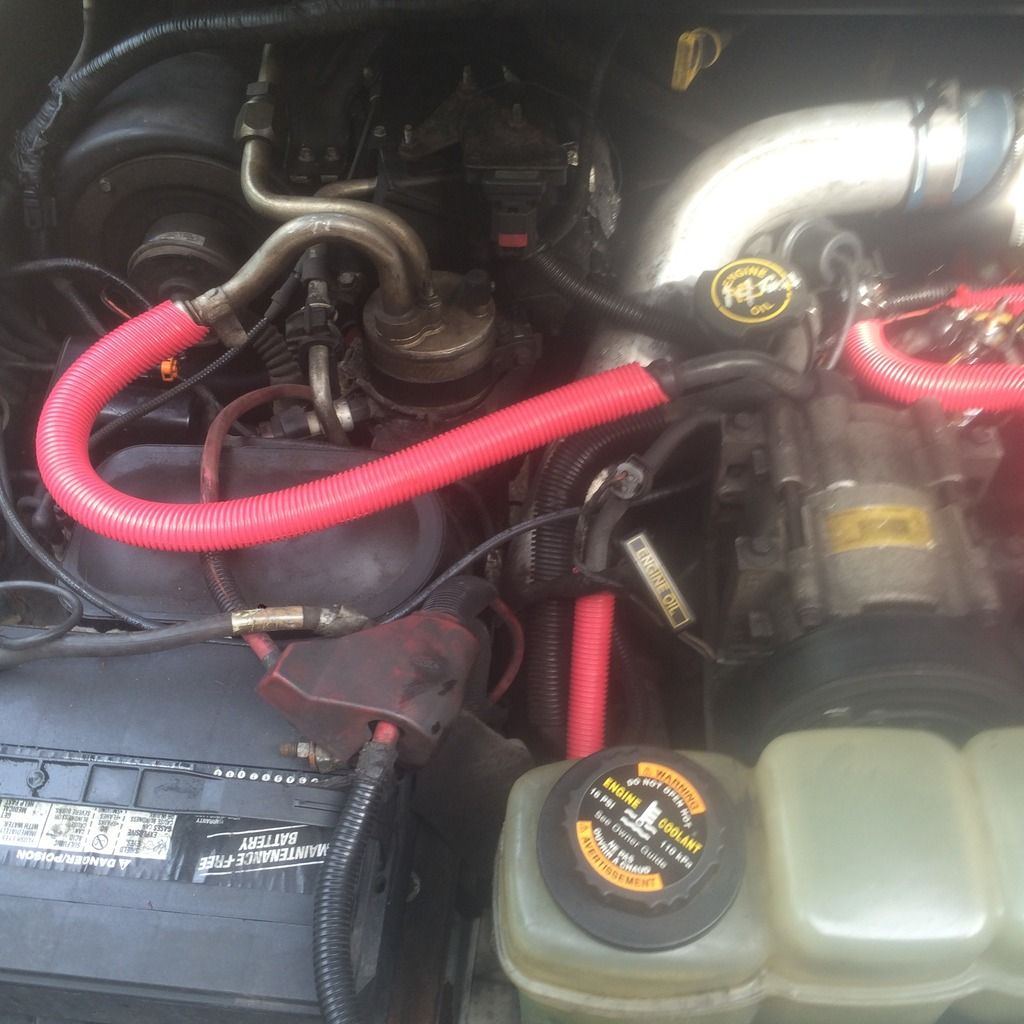
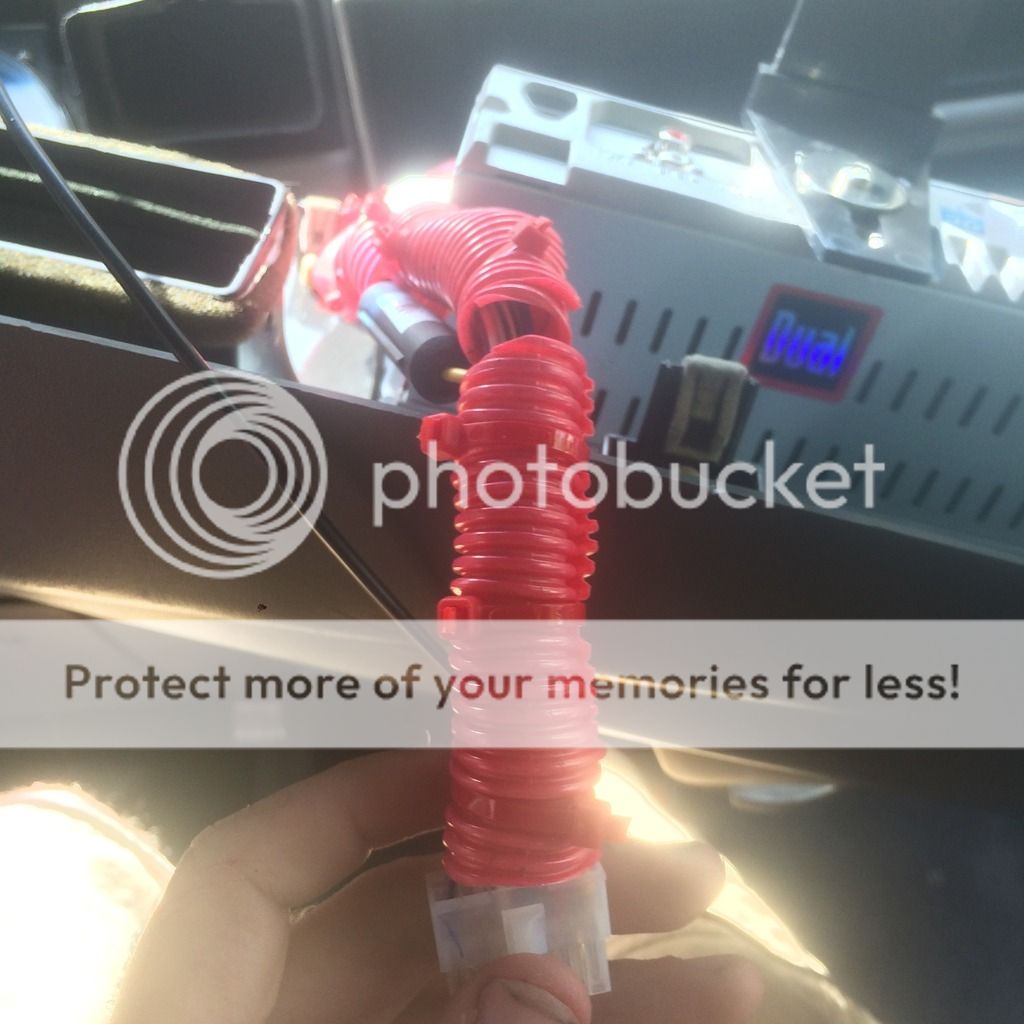
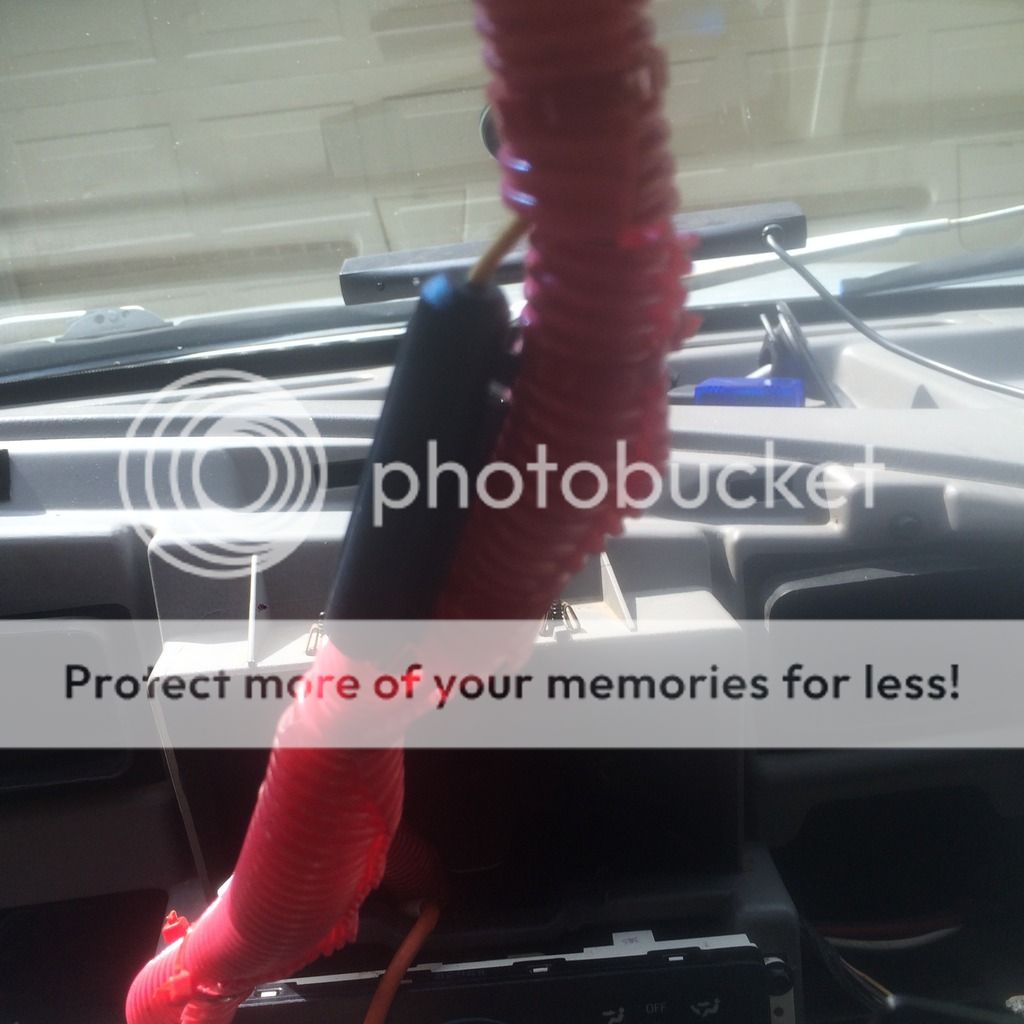
The Inside lead to the radio harness being loomed up...oops...
at least it will match the plenum boots I got
(they are red RiffRaff boots)The Inside lead to the radio harness being loomed up...oops...