When you click on links to various merchants on this site and make a purchase, this can result in this site earning a commission. Affiliate programs and affiliations include, but are not limited to, the eBay Partner Network.
I just finished a comprehensive clean/replacement of the fuel system from the tank to the injectors. I am unable to start the vehicle. Summary of new/cleaned/rebuilt parts:
NEW
Fuel Pump - HFP-362 from OnlyFuelPumps thru Amazon
Fuel Tank - Evan Fischer EVA13272017380 from AutoPartsGiant thru Amazon
Fuel Tank Sending Unit - Motorcraft PS22 thru Amazon
Fuel Sending Unit Pickup Tubes - 30255B thru Bronco Graveyard
Fuel Filter - Wix 33296 from NAPA locally
Fuel Pressure Regulator - BWD 21704P from OReilly's locally
Injector ORings, Pintle Cap, Injector Filter and Spacers - EBay from MRInjector several years ago
CLEANED
Fuel supply and return lines. Removed from the vehicle the tank to fuel filter supply line and cleaned using injector cleaner until fluid was clear and blew line out with air to dry. Repeated for return line from fuel filter to tank. For the fuel lines from the filter location to the fuel rail I left them in place on the vehicle and filled them with injector cleaner letting it sit for several minutes before draining and repeated this until the fluid was completely clear out the fuel filter end. After that I blew them out with air to dry them.
After removing the upper intake I removed the injector fuel rail and used injector cleaner to clear the rail of any old fuel and deposits using the method described above except that I soaked it overnight at first and then I repeated using injector cleaner until it was clear and then blew air to dry it. I also replaced the fuel pressure regulator after this was complete.
Spark plugs (Bosch Platinum +2 P/N 4302) were removed and cleaned using brake parts cleaner and a lint-free cloth to wipe them down. They only had about 700 miles on them and they cleaned up nicely after this.
REBUILT
Injectors were removed from the vehicle. To clean them I stripped the o-rings, spacer and pintle cap and pulled the filter. Then I cleaned using brake parts cleaner to remove all deposits flushing the cleaner through using a 9-volt battery to drive the pump and a syringe to push the fluid making sure all 4 orifices were clear in each injector. Then I air-dried them and assembled using new o-rings, spacer, pintle cap and filter.
WHY DID I DO THIS?
I had some bad gas left in the tank while the Bronco sat for about 4 years and it was corrosive enough to completely dissolve the brass float in the original fuel tank. Since I had tried to start the vehicle with this fuel not realizing that the float was gone and the fuel was bad I decided it would be prudent to go through the fuel system replacing some parts.
I now have all the rebuild, replace, clean part finished and have 4 gallons of new gas in the new tank. I have checked the position of the inertia switch (it is depressed) and feel good that it is ready to be started. I tried to get the vehicle to start but so far no joy.
I can hear the pump pressure up when the key is turned ON. When I energize the starter it so far has not fired at all. I put a pressure gauge on the schrader valve on the fuel rail and it shows zero pressure. I am wondering what I have missed here. Obviously zero pressure on the fuel rail suggests a pump malfunction. Could there be something else at play? I have seen others suggest checking the fuel pump relay but suspect that I wouldn't hear the pump charge if the relay was bad.
If anyone has words of encouragement or advice my ears are open and my eyes ready to read. After 9 years of work on this vehicle I am ready to return it to the road.
I'll hang up and listen now.
EDIT: Just wanted to add the the OBD-I code reader shows 111 - System checks OK with the Key On/ Engine Off. If I could start it I'd report those codes...
The Fuel Pressure Gauge shows 38-40 psi at the fuel rail schrader valve as I try to crank the engine. It almost started so maybe I'm a lot closer than I thought and just had to crank it enough to pump some fuel through everything. Cranked on it off and on for nearly 10 minutes last night. Finally have pressure today. Just need it to fire and run.
Last edited by 75_92_95; 07-07-2015 at 01:27 PM.
Reason: Update with Current Status
All right. It's been a long day but I finally found some joy just before dark.
As I noted in an earlier edit, the fuel pressure did come up after I bled the air at the schrader valve. The engine still wouldn't start and run so I started looking at fire problems.
After pulling the distributor cap I found a nice line of corrosion across each of the contacts on the cap and a spark plug wire tester showed no fire through several of the wires to the plugs. The coil was firing but didn't seem to be very regular or very hot though perception could've been influenced by the way I held the tool probe against the wire yielding good induction is some places and none in others.
Anyway, after all that I just decided to update all the ignition parts to eliminate any future problems.
I bought a new MSD coil (5527), MSD distributor cap and rotor (8482), Accel plugs for shorty headers (8199) from OReilly locally. I also picked up some new Duralast plug wires (4187) from Autozone.
After installing these parts I hit the ignition and it cranked right up! The AC compressor was squealing pretty hard but it had failed a year before I parked the Bronco for the new engine. On a quick test drive around the property here I noticed the power steering pump whining so I need to address that tomorrow.
So far I'm delighted!
9 years ago (2006) I set it down to put a new engine in after 273000+ miles on the original. After finally getting that installed in 2010 I started other upgrades and just when I was ready to fix the AC compressor or upgrade the whole setup to R134a the driver's side rotor burned up when the caliper locked up a mile from home while I was getting bids on the AC work.
I finally got all the stuff together to rebuild the brakes, bearings, seals, etc. on the front and double-checked the back brakes and emergency brake cable in 2012. I upgraded the brake lines at the same time since the original equipment ones were pretty spongy.
Since the Bronco wasn't going anywhere at the time I decided to go ahead and do the alternator upgrade to a 160A alternator from Fireguy along with the headlight harness upgrade and many of the parts necessary to build new 2Gauge battery cables. Late last year, around August I finished the battery cable build, the alternator installation, the headlight harness upgrade, and some replacement of old deteriorated rubber parts. I thought I was ready to roll.
As I was rolling the window up on the driver side at the end of the day figuring that I'd go get it inspected and registered in the morning the window fell down. The gears in the window motor had finally stripped. After researching that problem I ended up tearing down the motor and using some small nuts to solve that problem. While I had the door panel off I went ahead and added sound and heat insulation to the inside of the door and ordered the new window sweeps from Bronco Graveyard to replace the cracked sweeps on the door at the time.
After finding that the JBG sweeps for the door panel didn't fit without breaking the plastic panel or the sweep mount tabs I sprung for the OEM parts from the Ford house here and installed the new sweeps.
Since I had the driver door apart I decided to insulate the passenger door and replace the rubber on it at the same time. When I got done with that and had the door buttoned up again the window motor on the passenger side failed so I opened it all up again and did the now familiar motor rebuild.
A lot of the chrome on the vehicle is showing some crinkling so I ordered new chrome headlight bezels, grille, etc. and new headlights, side mirrors, etc. along with some rubber for the top and doors. I'll replace all that when we get it painted.
Anyway, that takes me to the point where I decided that it finally as ready to roll - again.
Boy was I wrong. The fuel, now with ethanol added, had done a real number on the fuel pump, injectors, float, etc. so I obtained all the parts for the fuel system upgrades noted earlier. That was about 6 months ago and I finally have this thing running.
What a long strange trip it's been. Fun and enlightening. I've done a lot of things I swore I'd never do myself and learned a lot in the process. I've leaned on the whole mass of great posters on this site for so much of the truly useful information that I have to sit down and relate what all I used and learned. I took pictures of a lot of the process so I will try to get some up in case someone will find any of it useful to them.
Thanks for all those who have viewed this thread, even though no one posted. I totally understand that it was a work in progress.
I hope now that the Bronco runs for another 273000 miles as trouble-free as the first miles.
I encountered a problem or two when I gave it a test drive yesterday in preparation for the emissions inspection and registration.
I took it out on the highway and opened it up to highway speeds, between 60-65 mph on that particular road and drove for several miles with the only observation being that the transmission seemed a bit sluggish from second to third but otherwise the vehicle ran good and was driving fine.
After about 6 miles I turned the Bronco around and started back towards town to the inspection station. I brought it up to speed and once it got around 55 I gave it the gs to kick it into passing gear and see what it would do opened up.
A few seconds later, at about 65-70 mph there was a dull FWOOMMPH sound that sounded like it came from below and behind me though it could've come from anywhere as it was a bit unexpected.
The vehicle accelerator pedal was instantly unresponsive. Getting on or off the pedal made no RPM difference at all but the RPM hung in at 2200+/- for several seconds and then began to decline slowly until it died completely. Again there was no effect at all from mashing the foot feed here.
At that point I was broken down about 5 miles from my shop with few tools. I attempted to start the Bronco but it wouldn't fire though it initially tried to start. I located a small screwdriver under a seat and used it to check for fuel on the fuel rail. There was no fuel when I depressed the schrader valve so I suspected the fuel pump or something related to it.
After letting it sit for about 15 minutes while I called a relative to come pull me home I decided to try to start it again. It cranked up hesitatingly at first but settled into a steady idle and I immediately headed for home.
I made it into the driveway and killed the engine after letting it idle for a couple of minutes. I used my code reader to dump codes on it after killing the engine and this is what I found with the Key On Engine Off:
332 - Insufficient EGR flow detected
334 - EGR closed valve voltage high
542 - Fuel pump secondary circuit fault
621 - Shift solenoid #1 circuit fault
80 - Cylinder #8 has a problem
I didn't get the O, C, R part of the code dump for the initial codes that I read.
I continued attempting unsuccessfully to start the Bronco and checking codes and somehow lost the 332, 334 codes so I don't know what mode they referenced. They were set when I got to the house but they evidently got cleared as I messed with the code reader as they don't show up now. I considered that they might be old codes but I think that isn't possible since the vehicle has not had a battery on it for at least a year and yesterday was the first time running on the highway so it seems likely that they are new codes related to the test drive.
The codes that I get now are:
542 (O, C)
621 (O)
10 (Cylinder #1 this time)
I've seen somewhere that the cylinder balance tests may not be that indicative of a real problem when there are other problems with the system so I think I can ignore it until other things are addressed.
As far as the issues from the codes are concerned I have checked the fuel pump ground on the radiator support and it looks good. It hasn't been touched since the vehicle was bought from appearances so I might remove it and scuff it up a bit to make sure that is good. I saw a picture of another related ground point on the driver side in the kick panel. I haven't checked that because I'm not sure that it could be related. If anyone has thoughts on that I'm listening.
I also plan to verify the fuel pump operation by checking for power at the connector near the tank and opening the line at the filter to check for fuel flow there if power is found at the tank connector. Once I have established whether fuel is pumping I'll move up the line to see how far it reaches. Right now there is no fuel at the fuel rail so something somewhere is bad.
During troubleshooting yesterday I also swapped the fuel pump relay (#2) with the trailer tow running lamp relay (#4). That made no difference with the fuel pump.
As far as the transmission solenoid code goes I haven't looked at that issue. I'm pretty sure I picked up a new harness connector, maybe from Fireguy when I got the alternator parts and other stuff and that has been installed. I also have a heat shield between the header pipe and the transmission case where the harness connects so I can't see how all that looks without removing the heat shield. My plan here is to remove the heat shield and double-check the connection and the contacts in the harness and connector. I installed a Transco shift kit in the transmission when I rebuilt the engine and it worked fine in the short time that I was able to drive the vehicle before the rotor burned up several years ago. I may need to drain the fluid an put in new fluid or drop the pan. Don't really know how to proceed on this. If anyone has any clues to solving the 621 code I'm listening.
I think the cylinder balance code can be ignored for the moment until the engine runs right and then addressed if it persists.
The 332 and 334 codes may be the cause of the engine quitting on me. I haven't dug thoroughly into the vehicle history (we bought it new) but I don't remember ever replacing the EGR valve so I guess I wouldn't be surprised if it had failed. My plan here is to check the harness at the EGR valve to make sure the contacts are clean and that it has power. If that's all good I'll replace the EGR valve. Does anyone have any experience dealing with this?
I'm open to any suggestions, short-cuts, tips, hints, etc. that will help me get this thing back on the road.
To top it all off it was hot yesterday as it is prone to be in north Texas in July so I rolled the windows down while I worked on the Bronco. Once I gave it up for the day I couldn't get the passenger window to roll up. It was stuck in the down position. This has happened once after I rebuilt the window motor. I did a bit of research on the problem and ended up pulling the switches and checking the contacts which were all good. The switches all work correctly from the master on the driver side to the passenger side switch and the rear window switch also works great.
The last time this happened I had to pull the door panel and remove the motor then reinstall it to get it working again. The motor works fine in both directions. This is the track that I took yesterday too. I removed the door panel, and then removed the screws holding the motor to the door and regulator. To get the motor to dislodge from the regulator I had to poke it with a ratchet extension inserted through the horizontal opening beside the top of the motor and knock it loose from the regulator. It was jammed tight against it.
Like I mentioned, I verified that I had power at the switch in both directions with the panel removed and verified that the motor worked in both directions with it outside the door connected to the harness.
I'm ready to put the door back together but since this appears to be related to overtravel in the motor-regulator operation allowing the motor to jam the regulator. I cleaned and greased the track when I had the door apart last year and it is all slick and willing at the moment so I don't think that's the problem.
When I install the motor should I install it with the door glass in the up position or with the door glass in the down position or does it matter? Is there a way to limit the travel in the up/down circuit so that it can't go far enough to jam itself?
Thanks to all for reading this wall of text. I'm pretty long-winded, a character defect think. I would really appreciate any insight into getting past these problems.
EGR valve, fuel pump circuit, transmission solenoid circuit, and door glass up/down travel.
I think that the method of giving it gas during a test drive is called "An Italian Tune Up"
My experience with a 1990 Bronco leads me to suggest that the distributor be rebuilt completely, new pip, new stator, new icm (if you don't have remote TFI).
As I understand it, the stator gets hot and looses it's magnetic signatute that's picked up to close the circuit and so the engine looses spark, hence the motor dies and won't restart until the stator cools off. then the thing works until it doesn't, repeat until the distributor gets rebuilt.
I'll take this advice and test out the distributor to see if this is indeed part of the problem and let everyone know what I find.
I think by remote TFI you mean the TFI installed on the driver side fender panel. If that's the case that is what I have. My TFI and heat sink are installed on the fender panel.
That was some interesting reading material, I'm glad you got it mostly sorted out. I currently have not much in the way of advice, I'll try to think of some possible causes and be back to you. Just to add more data, is the Bronco an E4OD auto? If that's so we have pretty much the same setup.
Yes the Bronco is a 5.0l with the E4OD transmission. I did put a Transco shift kit in it a couple of years ago but otherwise this is the second transmission in the vehicle. The first one bit it at around 247K miles. I was really hoping to get this thing out and rolling again but the latest crop of problems forces a hopefully short delay.
I appreciate anything in the way of advice or recommendations that you can add.
I'm going to be back into the diagnose and repair part of it tomorrow until I'm done. To narrow the possibilities a bit I'm planning to upgrade the vacuum lines on the off-chance that one of them has been cracked or broken during some of the previous work. I'm going to check the function of the distributor and related components and verify the correct operation of the fuel pump. I'm going to check the transmission harness and make sure everything looks good with that.
Any other ideas (and I may have missed a couple of things here) are appreciated.
Vehicle is a 1992 Bronco XLT 5.0l; E4OD w/ Transco shift kit; new trans harness, headlight harness, 3G alternator and associated wiring from Fireguy including new 2Ga battery cables and fusible link setup; engine from PowerPro has less than 500 miles since installation was completed in about 2011 due to other mechanical issues and delays encountered; new front rotors, bearings, seals, calipers, front and rear rubber brake lines with full brake system flush on rebuild; Bassani Bronco shorty headers, Y-pipe, cat, tips, full 3" single exhaust pipe setup from Y-pipe back; door panel rebuild; door insulated from sound and heat; rebuilt door window motors; repaired broken dash bezel mount points; new ignition including MSD coil, distributor cap, rotor, and Duraspark (Autozone) 8mm wires with Accel plugs; new fuel pump, fuel sending unit, fuel delivery module, fuel filter, o-rings and things on the injectors, and freshly cleaned and cleared fuel lines and fuel rails; crappy paint that was originally black; one small dent and a bit of surface rust on the top of the cab.
That's the vehicle in a nutshell. I may have left something out though. I do plan to lay out some of the work that I've done so that maybe others can benefit from my efforts and learn from my ineptitude.
It also seems like the issues you're having are kind of random but electric signal related, along with the vacuum lines do a check on the wiring, and if your bonnet is bare, check that the + side of the battery isn't making contact (recently had that issue and the truck would idle poorly then die). Is the current battery in the truck in good working order? didn't read any mention to it other than the charging system upgrade. Newer cars can be very sensitive to this, not our trucks, but it's always good to check it.
Encho, thanks for thinking about me. I have a brand new battery installed in the vehicle.
New interstate battery. Fully charged. New 2 Ga positive and negative cables. New 3G alternator and harness and new headlight harness (not visible in this photo). I bought all the parts for this from Fireguy while he was still around though I did end up getting some parts from Del City and from another supplier to finish it out. I think the terminal covers came from a 3rd party. I was intending to post a description of what I did and how I did it one day, when it all works.
I haven't had a chance to get back in it since work called and they need me again. Maybe a good thing but it sure puts a delay in this. I just do what I can in the evening and try to pick it apart piece by piece. I believe that I'm gonna go back into the door motor to check the bushing condition and if they look good I'll probably just replace the motor as it doesn't seem like it is giving enough torque to pull itself off the bottom. I know it works outside the vehicle but I also know it doesn't work when bottomed out inside the vehicle. It would be nice if there were a limit switch to keep it from cycling past the point of no return but I would have to add that by cobbling it together. I may take that route later but right now I just want a window that works.
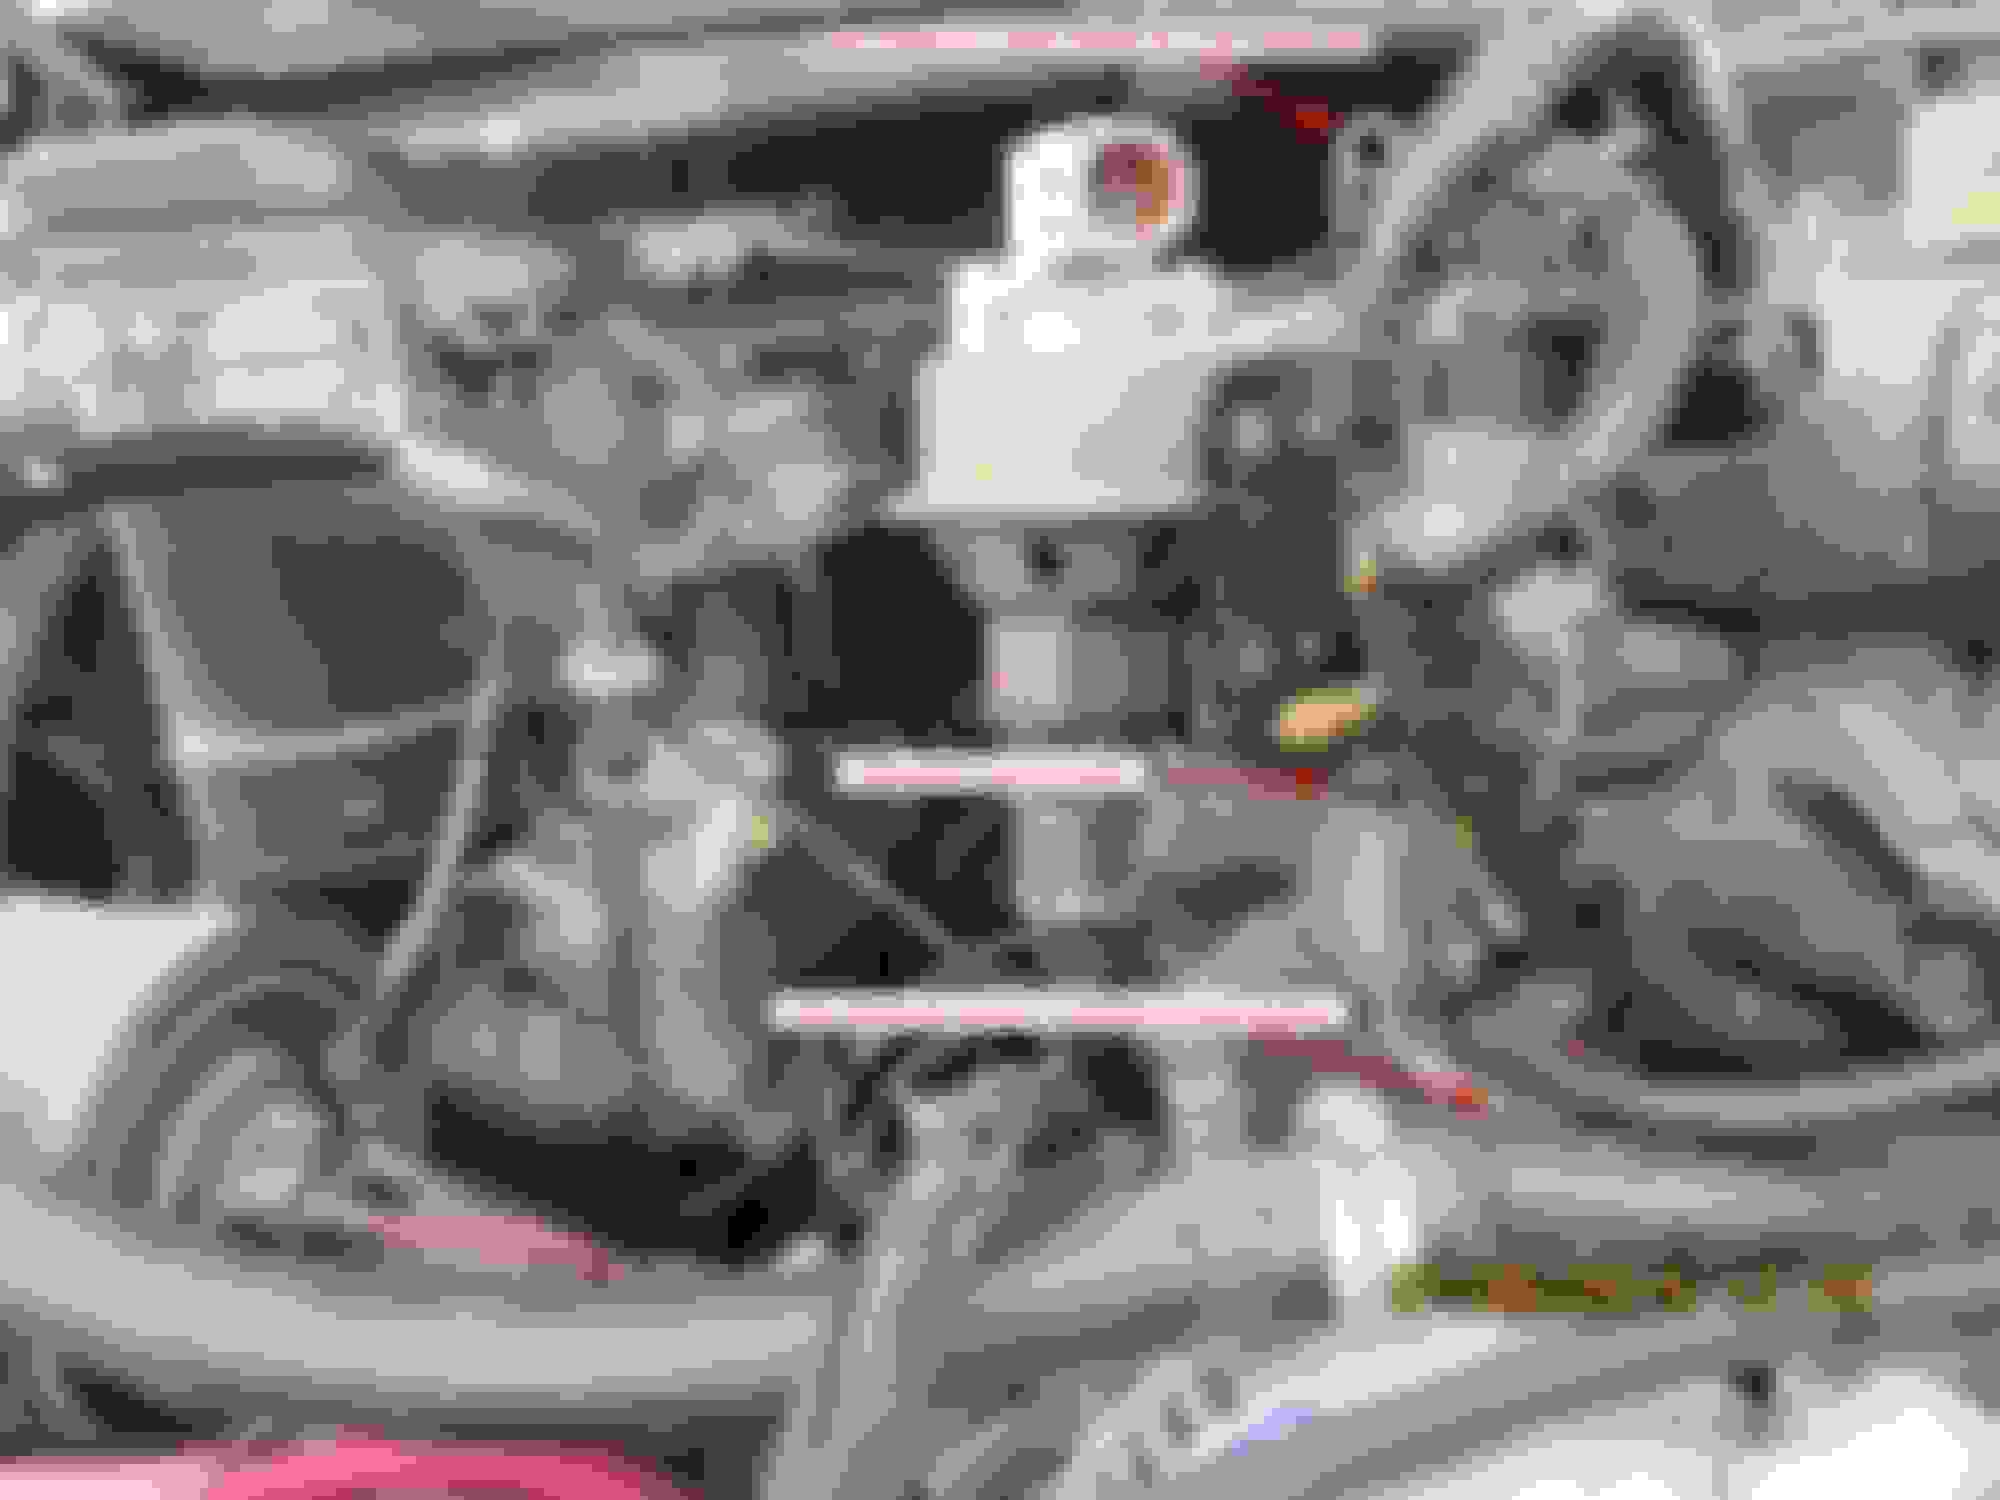
Looking at your picture I would guess that your air conditioner does not work.
It appears that the hose coming into view on the picture at the lower side, across the radiator and runs up to the engine with a clamp.
I think at that clamp position it should be a coolant hose running down to the heater hose to meet at a 3-way hose connection.
Great observation on the hose routing. It has always been like that I think. I did have the top off of the engine for four years before I got it reassembled so I may have screwed something up here.
Here is another shot of the situation in that area showing the connections as they are routed now.
These are the current connections. The two coolant lines circulate through the throttle body plate right now. I think they have always been like that since the lower hose is a formed rubber hose from Ford to make that connection at the coolant tree.
It is true that the AC has problems. The compressor clutch locked up on me a few years back and I have just kept it turned off to avoid burning up the belt while I sort through the other issues. Replacing the AC is the last step once the engine is running right. The compressor clutch does appear to operate normally now. I guess three years hanging in the engine bay with power steering oil soaking into it did some good things for it. I'm just not comfortable using it knowing that I was a few seconds away from burning the belt off the last time it froze. I had considered doing the AC delete temporarily but it has always felt like I was so close to having this running that it made no sense. That's still where I am today. Close but no cigar yet.
Thanks for taking time to look at my setup. I can post more pictures if needed. I have hundreds as I take pictures to help in reassembly since I know that it could be a while before I'm able to get back into it sometimes with work interfering.
It definetly different from my 1990 5.0L. Mine has a tee where the two clamps are in your picture on the heater hose. That tee goes up to the top of the throttle body and the lower hose off the throttle body does go to the coolant tee next to the distributor.
Where does the hose running across your radiator end up? How about some pictures of that end?
Part number for the tee 389344-S100
Part number for the hose 9F795
Nevermind, You must have the E4OD transmission, illustrations of the 5.0L and E4OD shows the hose running over the top of the radiator.
Your set up is right, my knowledge is deficient, sorry for the misdirection.
Nothing wrong with your knowledge. I appreciate the input. Here is a pic of the other side of the coolant line where it connects to the neck of the radiator.
Coolant line comes across the top of the radiator and connects below the overflow tank line.
It's always good to add information that may be useful to someone else. Thanks!

 07-07-2015, 01:09 PM