Westin HDX SS Winch Mount Grille Guard Installed
#1
 06-22-2015, 11:00 AM

Westin HDX SS Winch Mount Grille Guard Installed
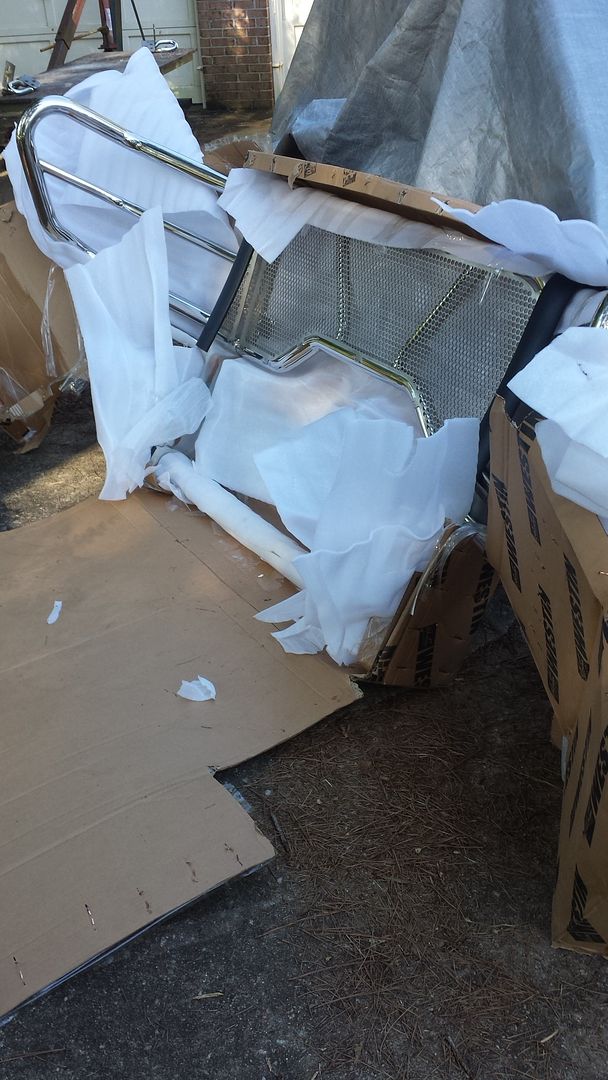
After a couple of weather delays, my son and I got up early this morning and put on my new Westin HDX stainless winch mount grille guard. As most people have pretty much summed up, the directions suck! If you lay out all of the parts, it is pretty obvious where they go and if you count the bolts, pretty easy to figure out where they go too. The direction said that the lower valance had to come off of the bumper, but I removed the entire bumper(8 bolts) and took it off as a unit. I realized then that they have two different grille guards but use the same set of directions! Also, they are wrong as to what sockets and wrenches you need. You need 16mm, 18mm and a 19mm sockets as well as wrenches. Also an 8mm allen head socket. Anyway back to the bumper. You need another pair of hands to do all of this. My engine crane just didn't listen when I needed something moved  Now, remove the fog light wiring harness from the bumper and the push pins holding the air deflector in place. Once off, take off the factory tow hooks as they will not be used with the winch mount. Then put on the winch mount brackets. It is not easy to tell at first glance, but the bevels go to the outside as to fit the curvature of your bumper. Then bolt them on, and it looks like this.
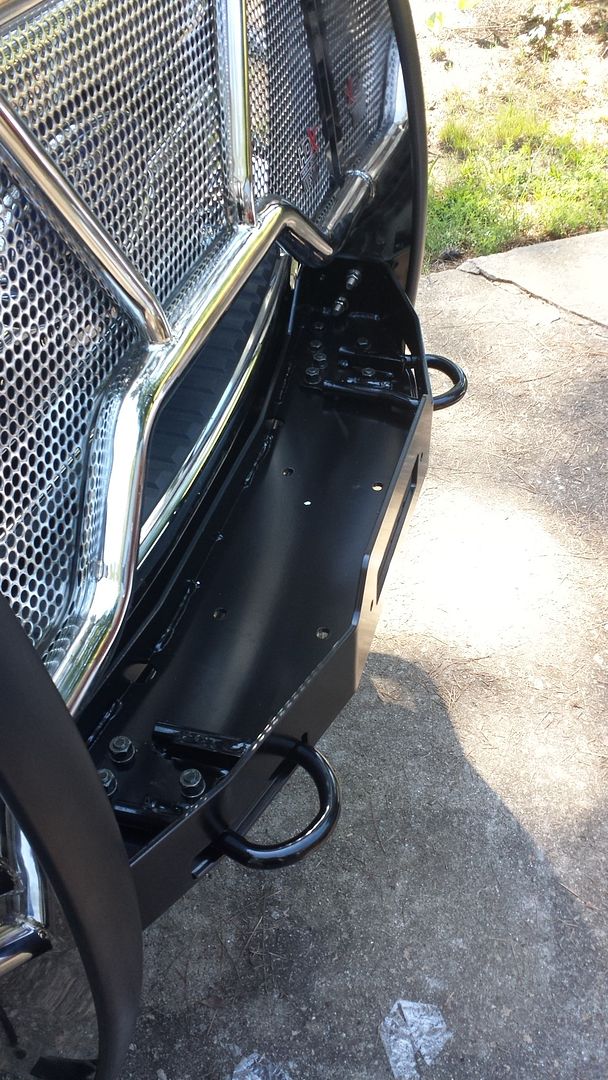
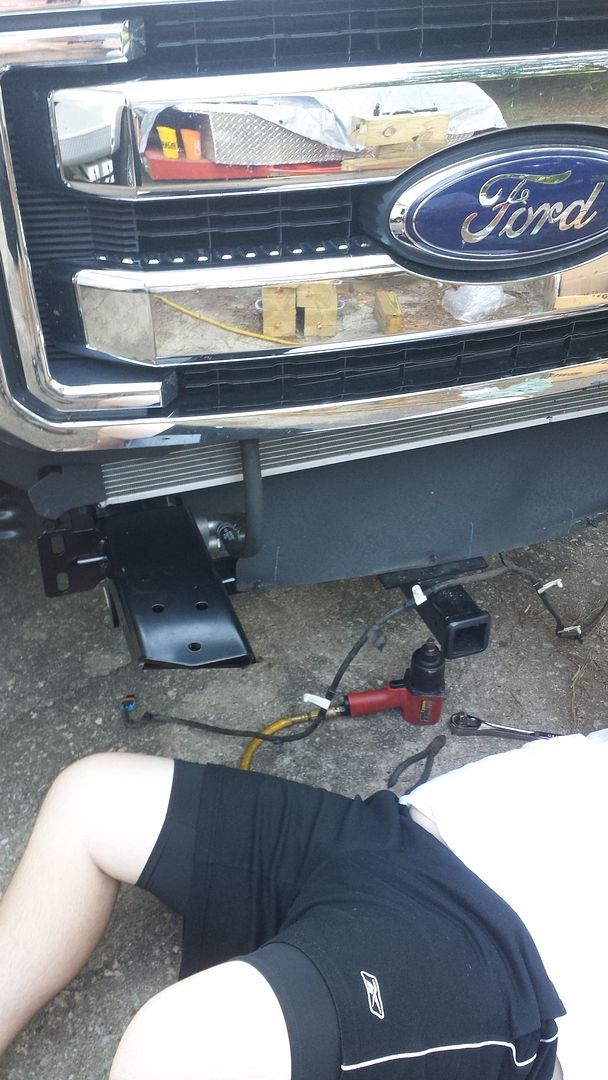
The direction say not to torque them yet, but I was able to keep my lower receiver on the truck and I knew I couldn't get back in there to do it, so I measured and squared the tips of the brackets and torqued them down.
Then you slide the bumper back on, reattach the fog light harness, the pins for the air deflector, line it up and bolt back into place. Then place the winch mount plate on top of the brackets and bolt them into place(6 bolts)but don't torque yet.
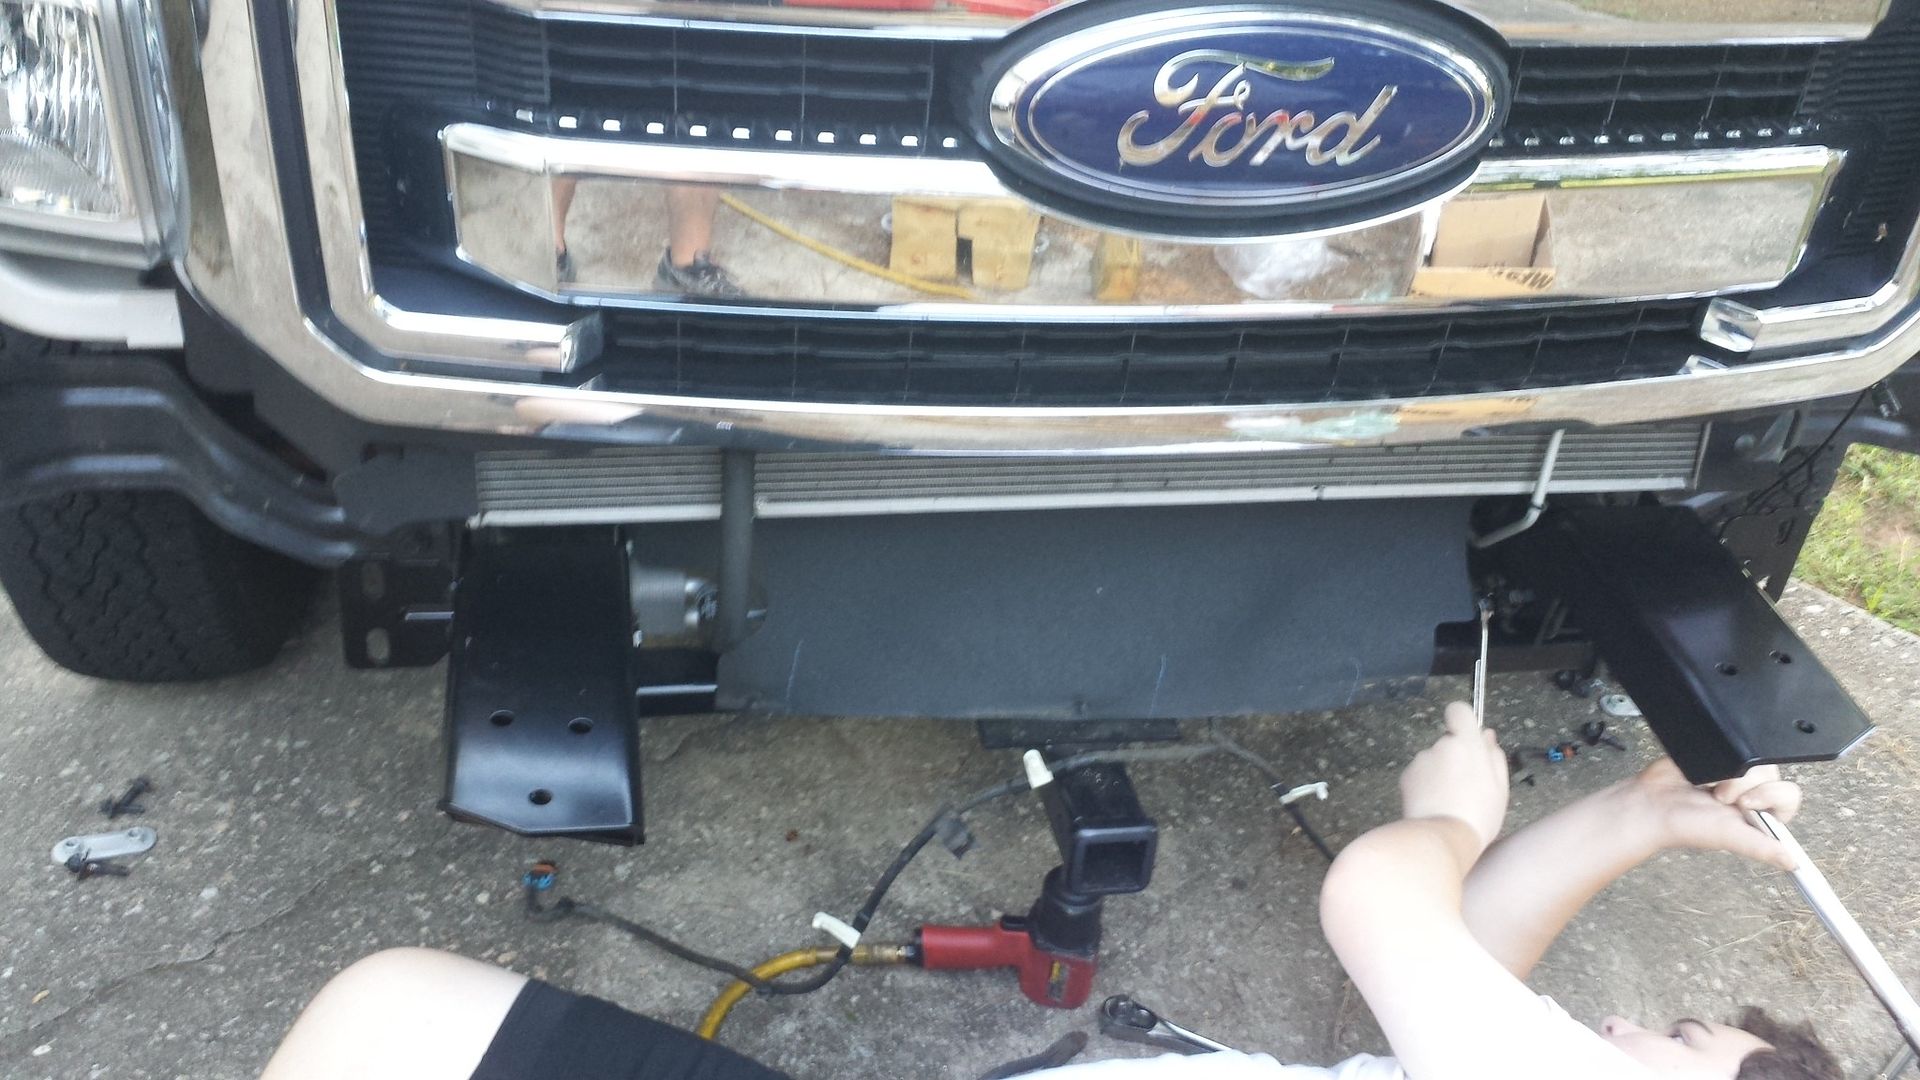
I went ahead and torqued them not realizing it may not be completely centered.
Then time for the grille guard itself.
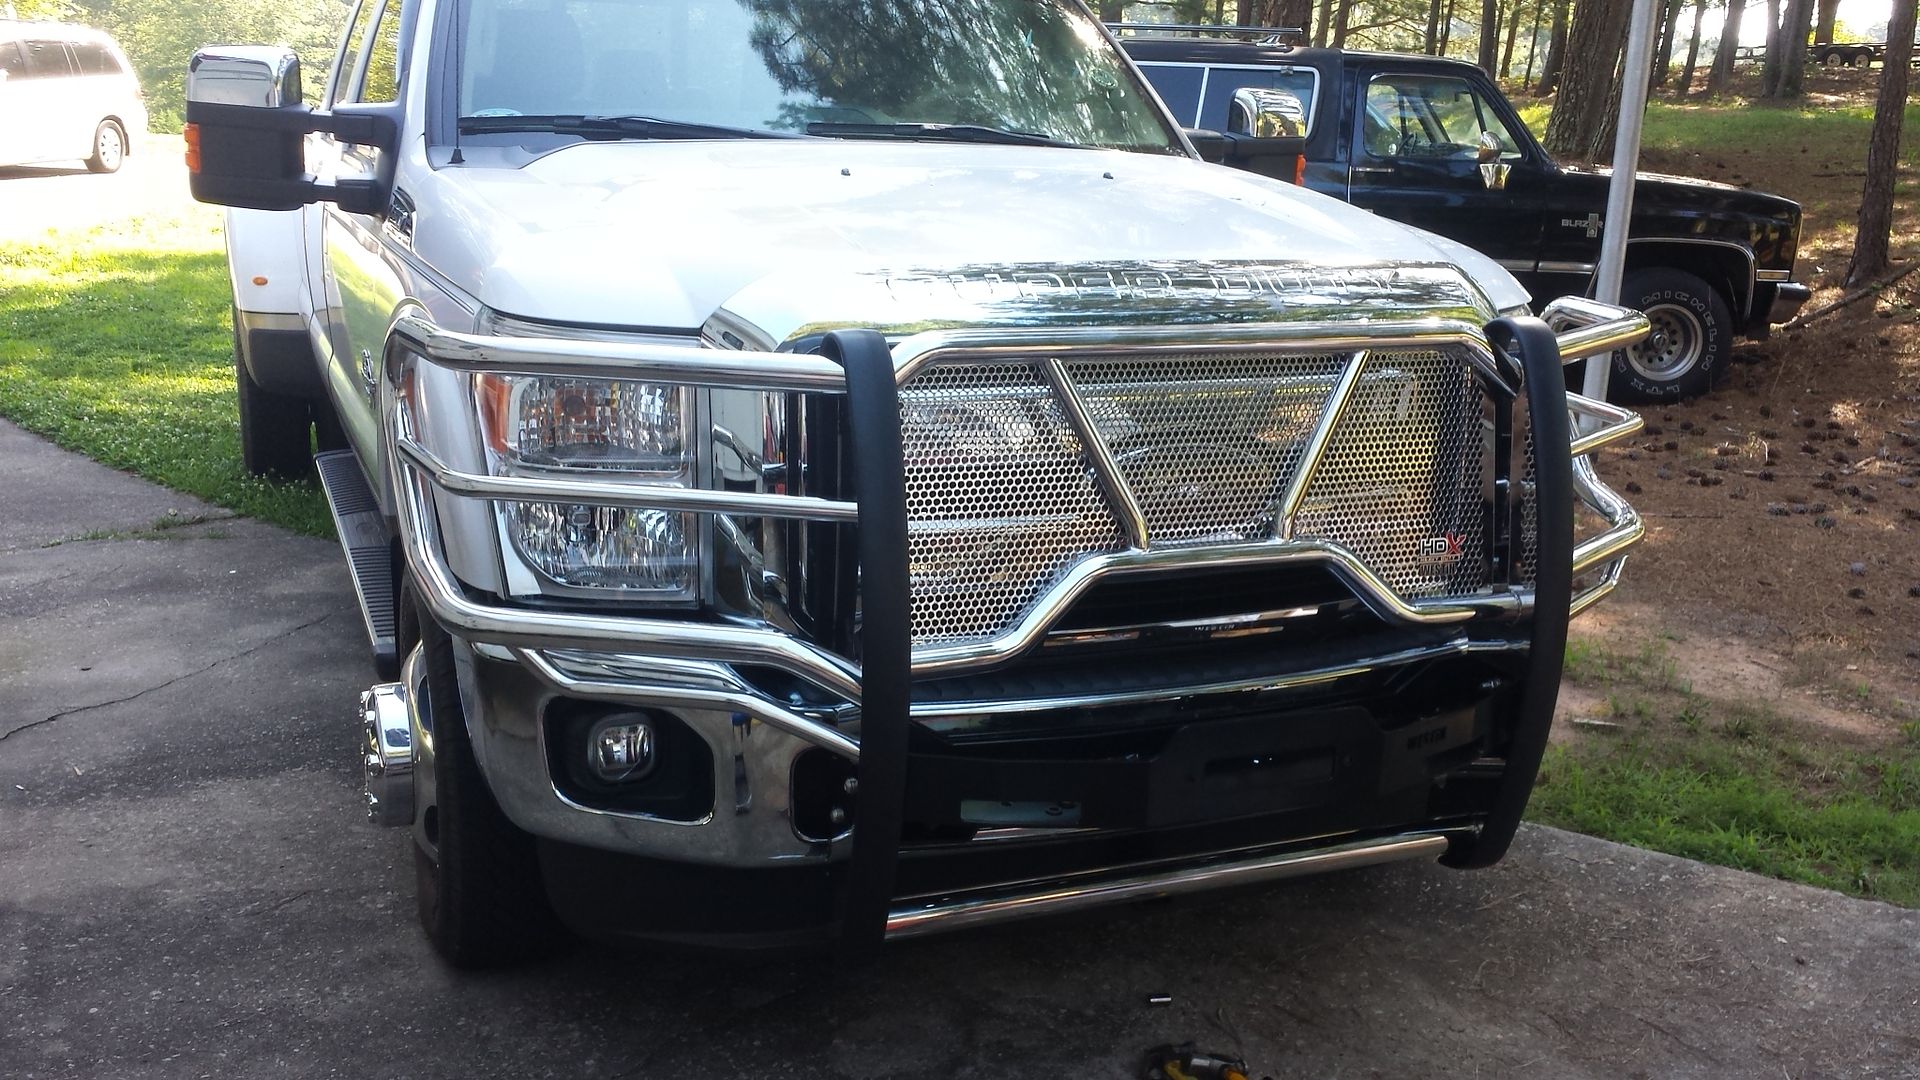
This gets really heavy and cumbersome to maneuver and where the other pair of hands come in really handy. Set the guard over the mount and attach with stainless bolts in the two top holes and then a spacer is required in the bottom hole. I had to loosen my winch mount to get the spacer in place and then re-torque the bolts. Then line up the guard the way you want it. I leveled mine with the tops of the lights and put it all the way rearward in case I hit an animal it won't push back. Then torque the bolts while someone holds in place. The bolts are torqued by size anywhere from 40-55 ft pounds.
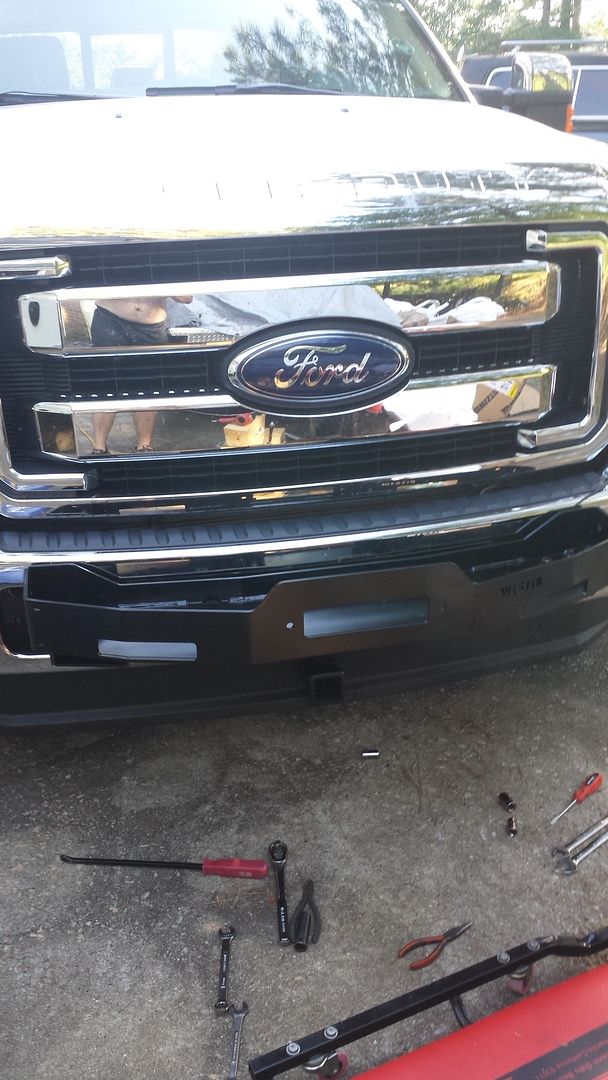
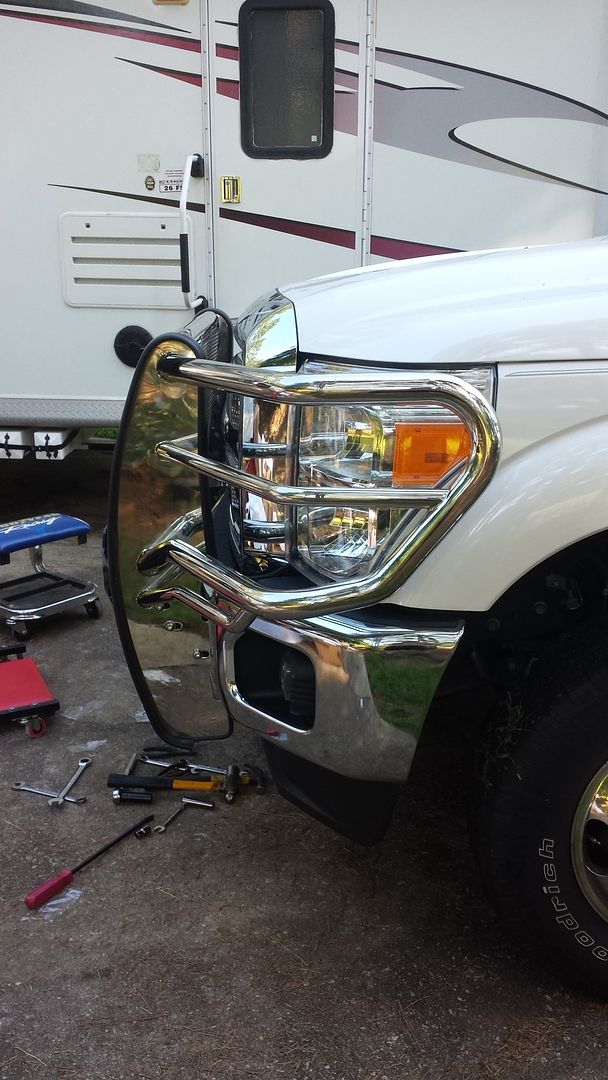
Here it is installed. The winch won't be here until midweek.

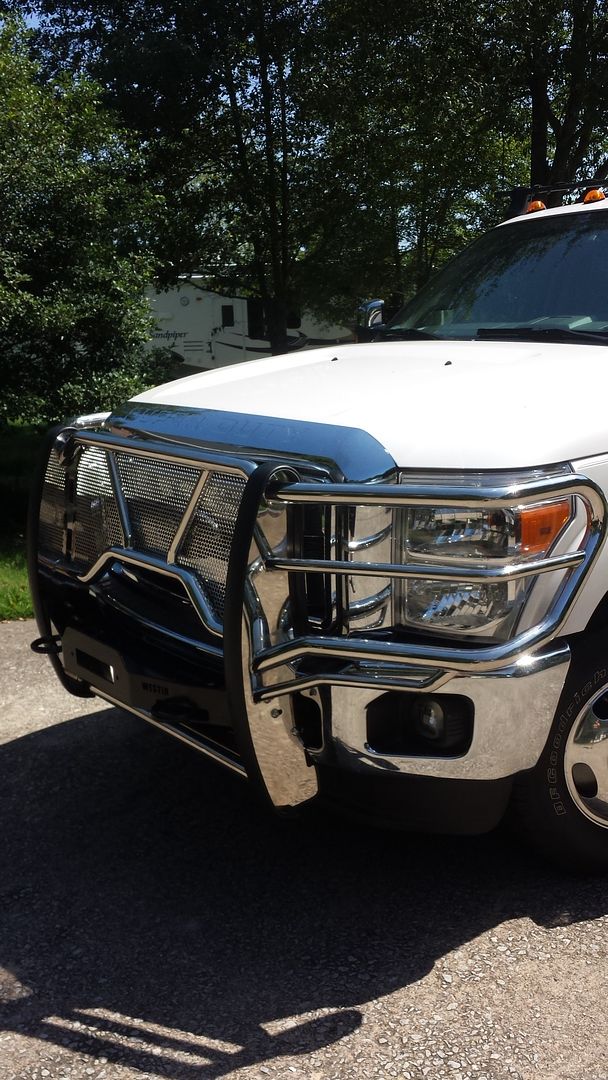
I did lose the tag bracket as it sits really close to the bumper and also hides where it went. I may look into the flip down version kind of like Roy mentioned. But it will have to go behind the fairlead roller holes instead of regular tag holes.
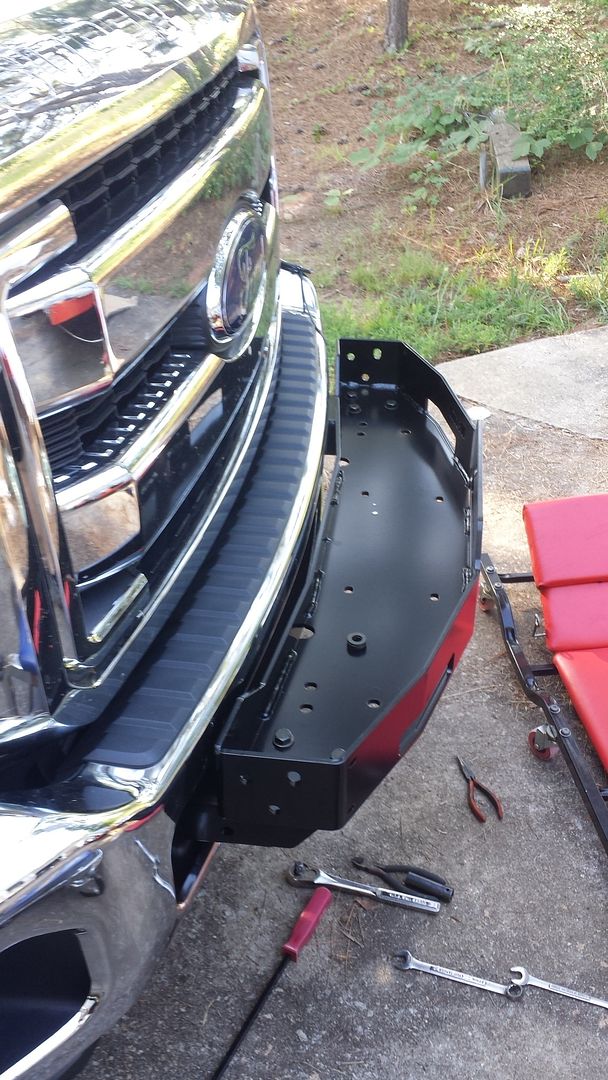
We then put on the optional tow hooks ($22 each/12,000lb rated each)
All in all, it took us about 3 hours with a quick breakfast in the middle. I like the way it looks and gives me the winch I've always wanted on my duallies. So yeah, I'm satisfied. The black powder coated one is about $275 cheaper, but I went all out as I am now a 'retired' teacher, just wish I could permanently retire as a medicBut that is a ways away.
Now, remove the fog light wiring harness from the bumper and the push pins holding the air deflector in place. Once off, take off the factory tow hooks as they will not be used with the winch mount. Then put on the winch mount brackets. It is not easy to tell at first glance, but the bevels go to the outside as to fit the curvature of your bumper. Then bolt them on, and it looks like this.

The direction say not to torque them yet, but I was able to keep my lower receiver on the truck and I knew I couldn't get back in there to do it, so I measured and squared the tips of the brackets and torqued them down.
Then you slide the bumper back on, reattach the fog light harness, the pins for the air deflector, line it up and bolt back into place. Then place the winch mount plate on top of the brackets and bolt them into place(6 bolts)but don't torque yet.

I went ahead and torqued them not realizing it may not be completely centered.

Then time for the grille guard itself.

This gets really heavy and cumbersome to maneuver and where the other pair of hands come in really handy. Set the guard over the mount and attach with stainless bolts in the two top holes and then a spacer is required in the bottom hole. I had to loosen my winch mount to get the spacer in place and then re-torque the bolts. Then line up the guard the way you want it. I leveled mine with the tops of the lights and put it all the way rearward in case I hit an animal it won't push back. Then torque the bolts while someone holds in place. The bolts are torqued by size anywhere from 40-55 ft pounds.
Here it is installed. The winch won't be here until midweek.


I did lose the tag bracket as it sits really close to the bumper and also hides where it went. I may look into the flip down version kind of like Roy mentioned. But it will have to go behind the fairlead roller holes instead of regular tag holes.
We then put on the optional tow hooks ($22 each/12,000lb rated each)

All in all, it took us about 3 hours with a quick breakfast in the middle. I like the way it looks and gives me the winch I've always wanted on my duallies. So yeah, I'm satisfied. The black powder coated one is about $275 cheaper, but I went all out as I am now a 'retired' teacher, just wish I could permanently retire as a medicBut that is a ways away.
#2
06-22-2015, 11:15 AM
#4
06-22-2015, 07:16 PM


#6
06-22-2015, 08:29 PM
#7
06-22-2015, 08:37 PM
Posting Guru
Join Date: Jul 2008
Location: Florida
Posts: 1,061
Likes: 0
Received 0 Likes
on
0 Posts
Trending Topics
#8
06-22-2015, 09:21 PM
Lead Driver
#11
06-23-2015, 09:25 PM
Posting Guru


