When you click on links to various merchants on this site and make a purchase, this can result in this site earning a commission. Affiliate programs and affiliations include, but are not limited to, the eBay Partner Network.
The driver's side plate had to be clearances to fit around the master cylinder bracket.<br/>I welded the bracket in, and welded the plate to the bracket. Just for a better overlap on the graft.
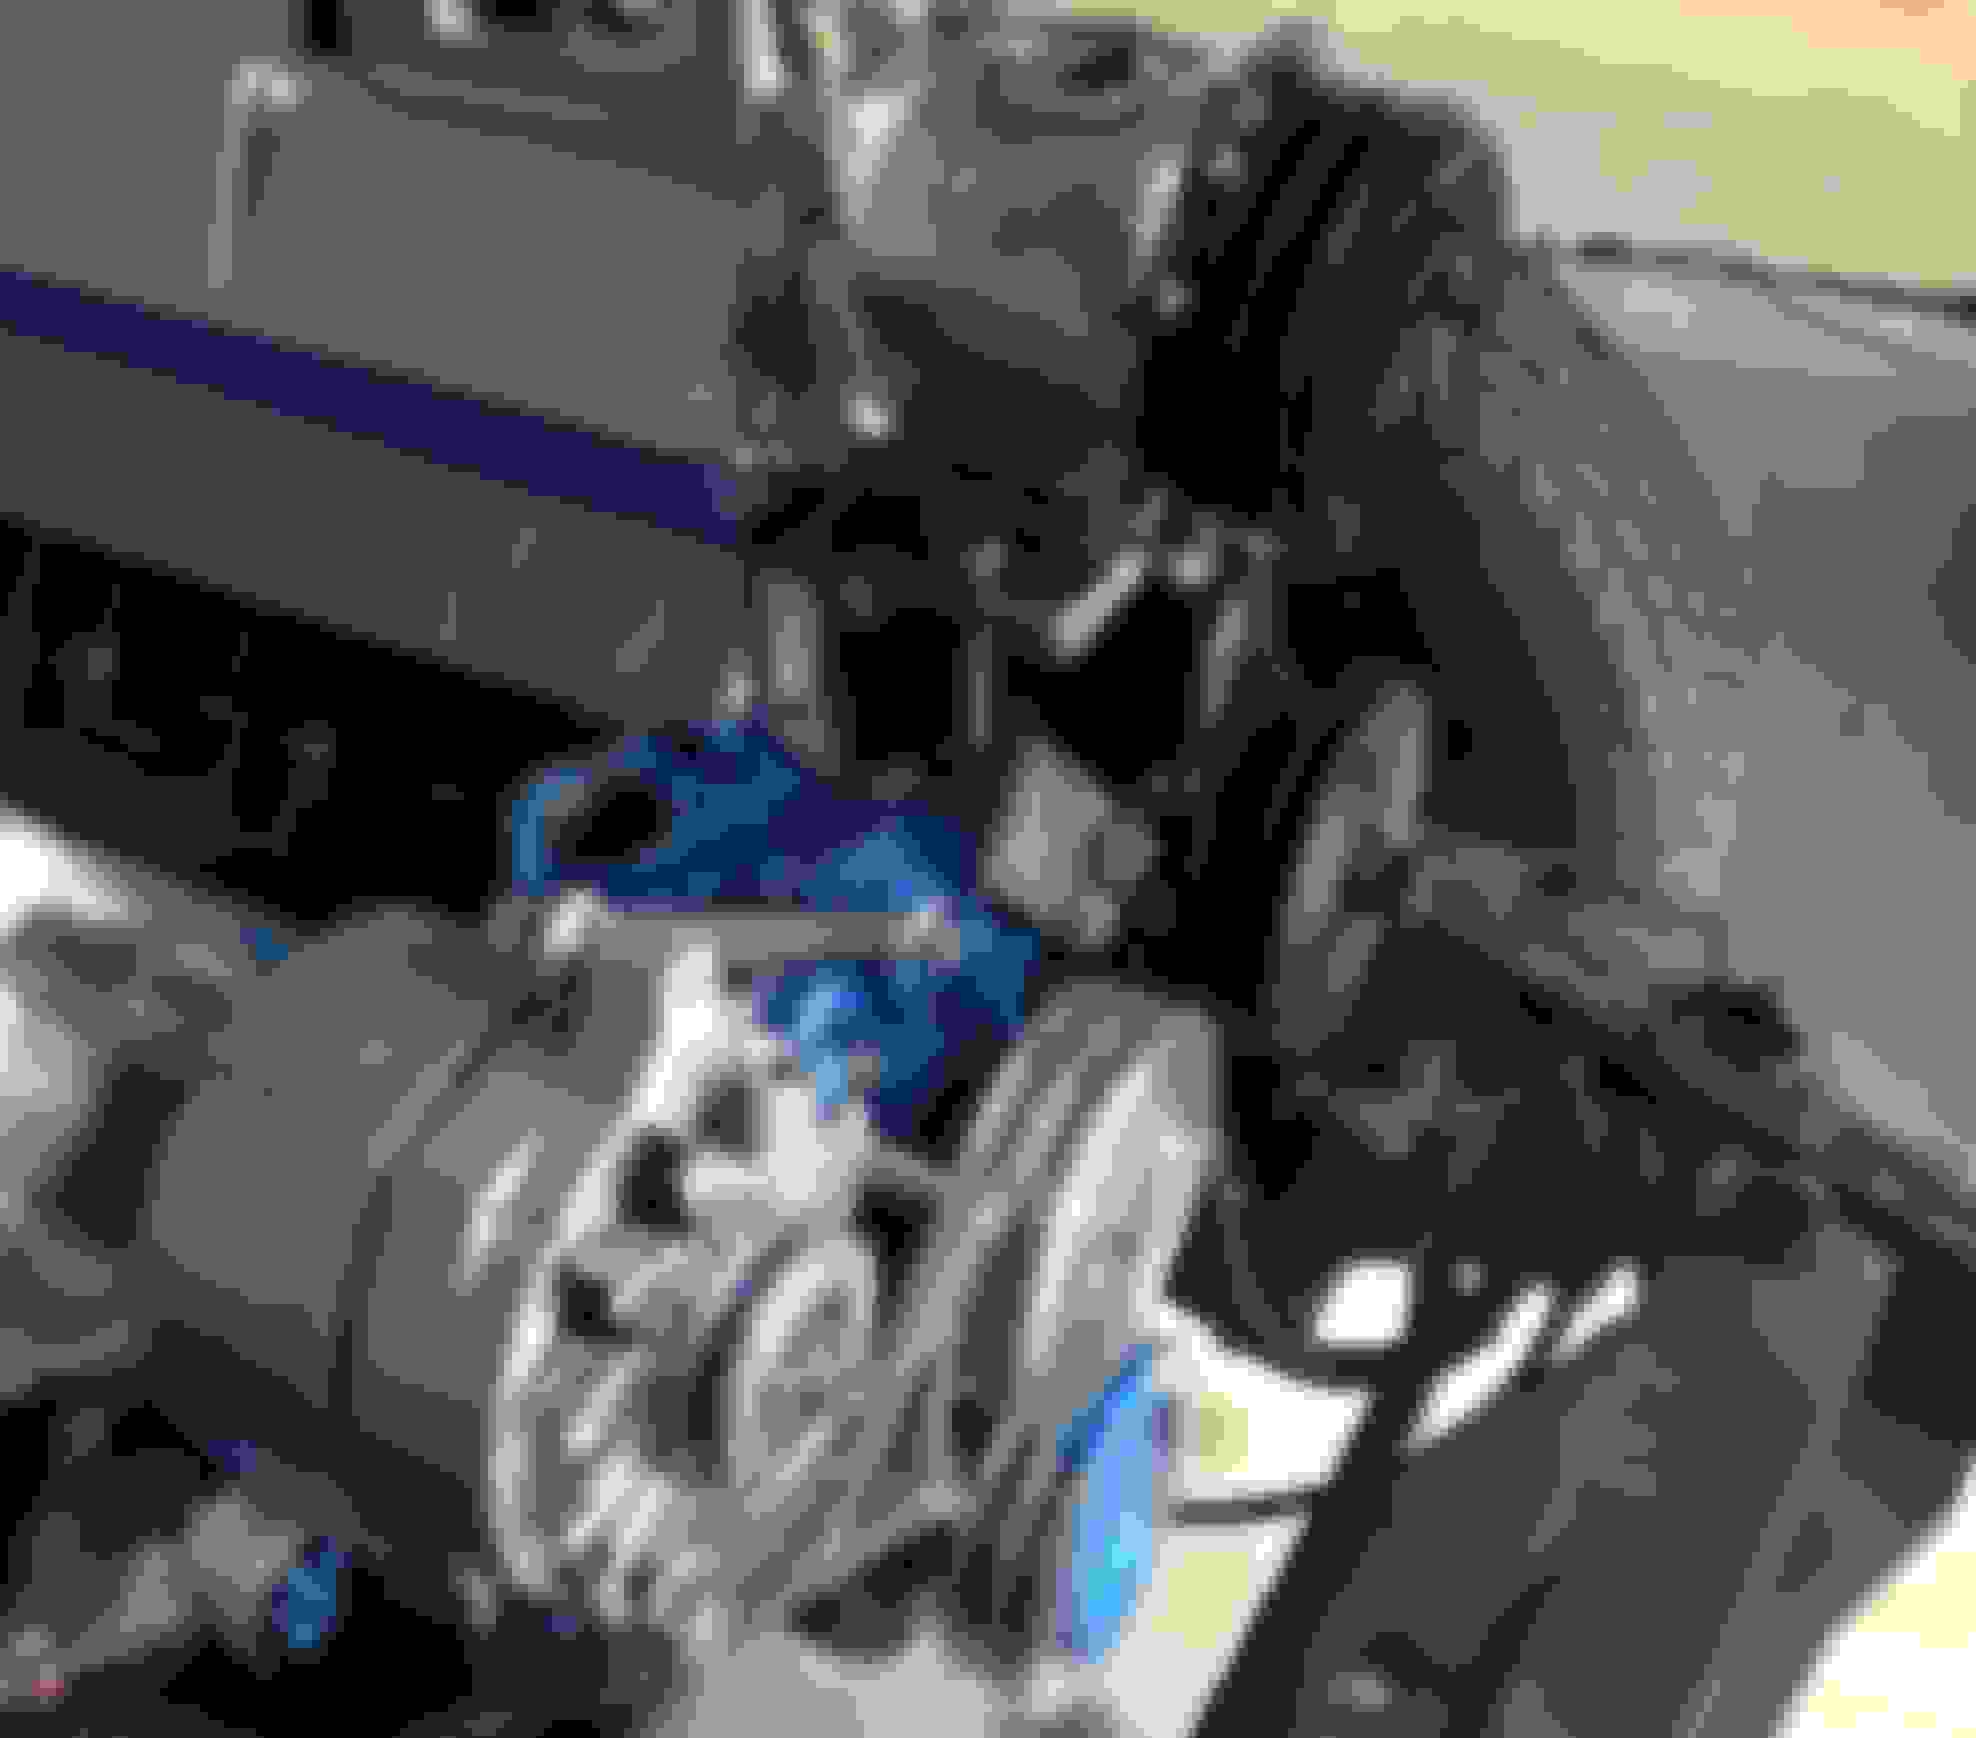
Still need to finish welding and grinding, but I think it will look good. My truck has a tilt front end, so all of this graft will be visible.
Looking much better, nice and clean. Did you "lose" your most forward cab mounts with the changes? If so, I suspect that you may want to temporarily remount the cab to locate the mounts.
Keep up the good work!
Hey Tony!.............. I think we'll be looking for a little CNC work done for the new shifter mount on Gary's truck. Now that his engine mounts and tranny crossmember are in and the headers worked out that will be the next major design/fabrication project we'll be tackling in the next couple weeks. It would be nice if the three of us could get together again, I know Gary has mentioned it too as recently as today!
I've got a few jobs on the CNC lined up, but if you email a drawing to me, I'll try to do it between setups. Yes, that would be nice to get together. I'd like to see Gary's progress.
Originally Posted by Oz52F1
Very Nice work !!!
Thank you, just very slow!
Originally Posted by 49willard
Looking much better, nice and clean. Did you "lose" your most forward cab mounts with the changes? If so, I suspect that you may want to temporarily remount the cab to locate the mounts.
Keep up the good work!
Thank you!
Yes, the front mounts were removed in the transition, and you're right that it will be easier to locate the new cab mounts without the engine in the way.
I'll do that when I get new mounts for the cab.
Well the "bridge building PO" Had "modified" the front cab mounts by welding plates onto them to replace the rubber pads, so replacing the mounts is not a bad thing. Looking really good Tony, Soooo much better than before, glad you took the plunge.
It will likely be a couple weeks before I can draw up the cad drawings for the shifter mount pieces for Gary. Right now it's just a rough concept in my head, Gary and I have to do some planning and measuring then I'll sit down atthe computer and refine the design. When we get closer to the final drawing stage I'll get in touch with you and kick the tires before doing the drawings. The part(s) needing machining will likely be from aluminum, but even that is still up in the air, just started figuring out how to attach the mount to the tranny.
Time for another progress report. I can't believe it's been almost a year since I updated. Man, I'm slow!
I finished up my subframe graft, and stripped down the chassis for some paint.
I rebuilt the front suspension and brakes and added some hybrid QA1 coil over shocks. I was planning to use the original coils, but they were in pretty bad shape, also because I've removed a couple hundred pounds from the front, the coilovers will make height adjustment easy.
I have the motor/trans back in place, and fabricated a transmission mount.
Right now I'm working on making mounting brackets for the engine accessories.
I'm using the Ford Racing short water pump kit to gain needed radiator clearance. The aftermarket alternator kit that I bought on eBay is really meant for a standard length water pump, so it doesn't really let the bracket clear the inner water pump pulley. I'll be making a new bracket for this with an offset.
The AC compressor bracket fits fine and is well built. Another eBay purchase.
Because I'm using the GM power steering pump, I'll have to make my own bracket. Because I'm only using a two groove crank pulley, I'm driving the PS pump and AC compressor with one belt. Not a common way to do it, but I've seen a couple of cars at the cruise-in with this arrangement, and they report no trouble.
A rough mock-up. The alternator bracket covers the inner H2o pump groove.
A rough mock-up.
I'll add a mount for the ps pump going to the AC bracket, and also a brace going to the outboard side of the PS bracket.
Hey Tony
Thanks for posting the shorty water pump & belt kit installation.
I've been thinking about doing that one. I've mounted a Mark VIII
Thunderbird 18 inch fan in our 1950.. very tight between the fan & standard water pump on our 351W.
Thanks, Ben. I couldn't really find a belt kit made for the short V belt kit.
Here's a case where doing some more homework would have paid off for me. My motor came out of a 95 Mustang GT, with a serpentine belt setup. Looking through the Ford Racing catalog, they list two short water pump kits. One CW, and one CCW. the setup for the serpentine belt is actually 1/2" shorter than the V belt kit, and upon investigation uses the same parts that were on my 95 Mustang Motor! So, I spent all this time and effort to put a short pump kit on that's 1/2" longer than what I had! LOL!
That's OK, I guess. I also wanted V belts on the motor, to look a little more "Old School" with the Wieand Tunnel Ram, and tilt front end.
In my research for short water pumps, I found somebody making a kit that uses an Opel GT pump and adapter, called "Snow White" water pump. Also there's somebody that uses a pump from an old Chevy straight six. There was also information on a Sunbeam Tiger forum about modifying the stock ford water pump to shorten it. I abandoned all of these options, with the worry that I will be stranded on a trip because I can't use off the shelf parts.
As a matter of fact, I'll probably buy a spare pump anyway. Who knows if the Ford Racing part will be in stock when I need it.
Hey Tony
Thanks for posting the shorty water pump & belt kit installation.
I've been thinking about doing that one. I've mounted a Mark VIII
Thunderbird 18 inch fan in our 1950.. very tight between the fan & standard water pump on our 351W.
Very nice job over there in Tarheel country.
Ben in Austin
1950 F1
Oh, BTW, Ben. Is your radiator support in the 6 cylinder position? That adds quite a bit of clearance over the V8 position. That was something I was unaware of when I was in the planning stages.
 09-19-2015, 07:32 PM