DSII swap tomorrow
#1
DSII swap tomorrow

The truck: '84 F150 styleside 4.9 300 I6 w/ A/C. I have been dealing with problems for the last 3 months, replacing all the usual suspects with motorcraft parts.
Still, I will get rough running, 8 miles per gallon, backfiring through tailpipe, and from time to time non-start until I pull the positive and reset the computer.
In my area I can not find a mechanic that has the ability to pull the codes off my computer (including the Ford dealerships). I have replaced: plugs, wires, coil, dist. cap, ignition switch, and control module with Motorcraft parts.
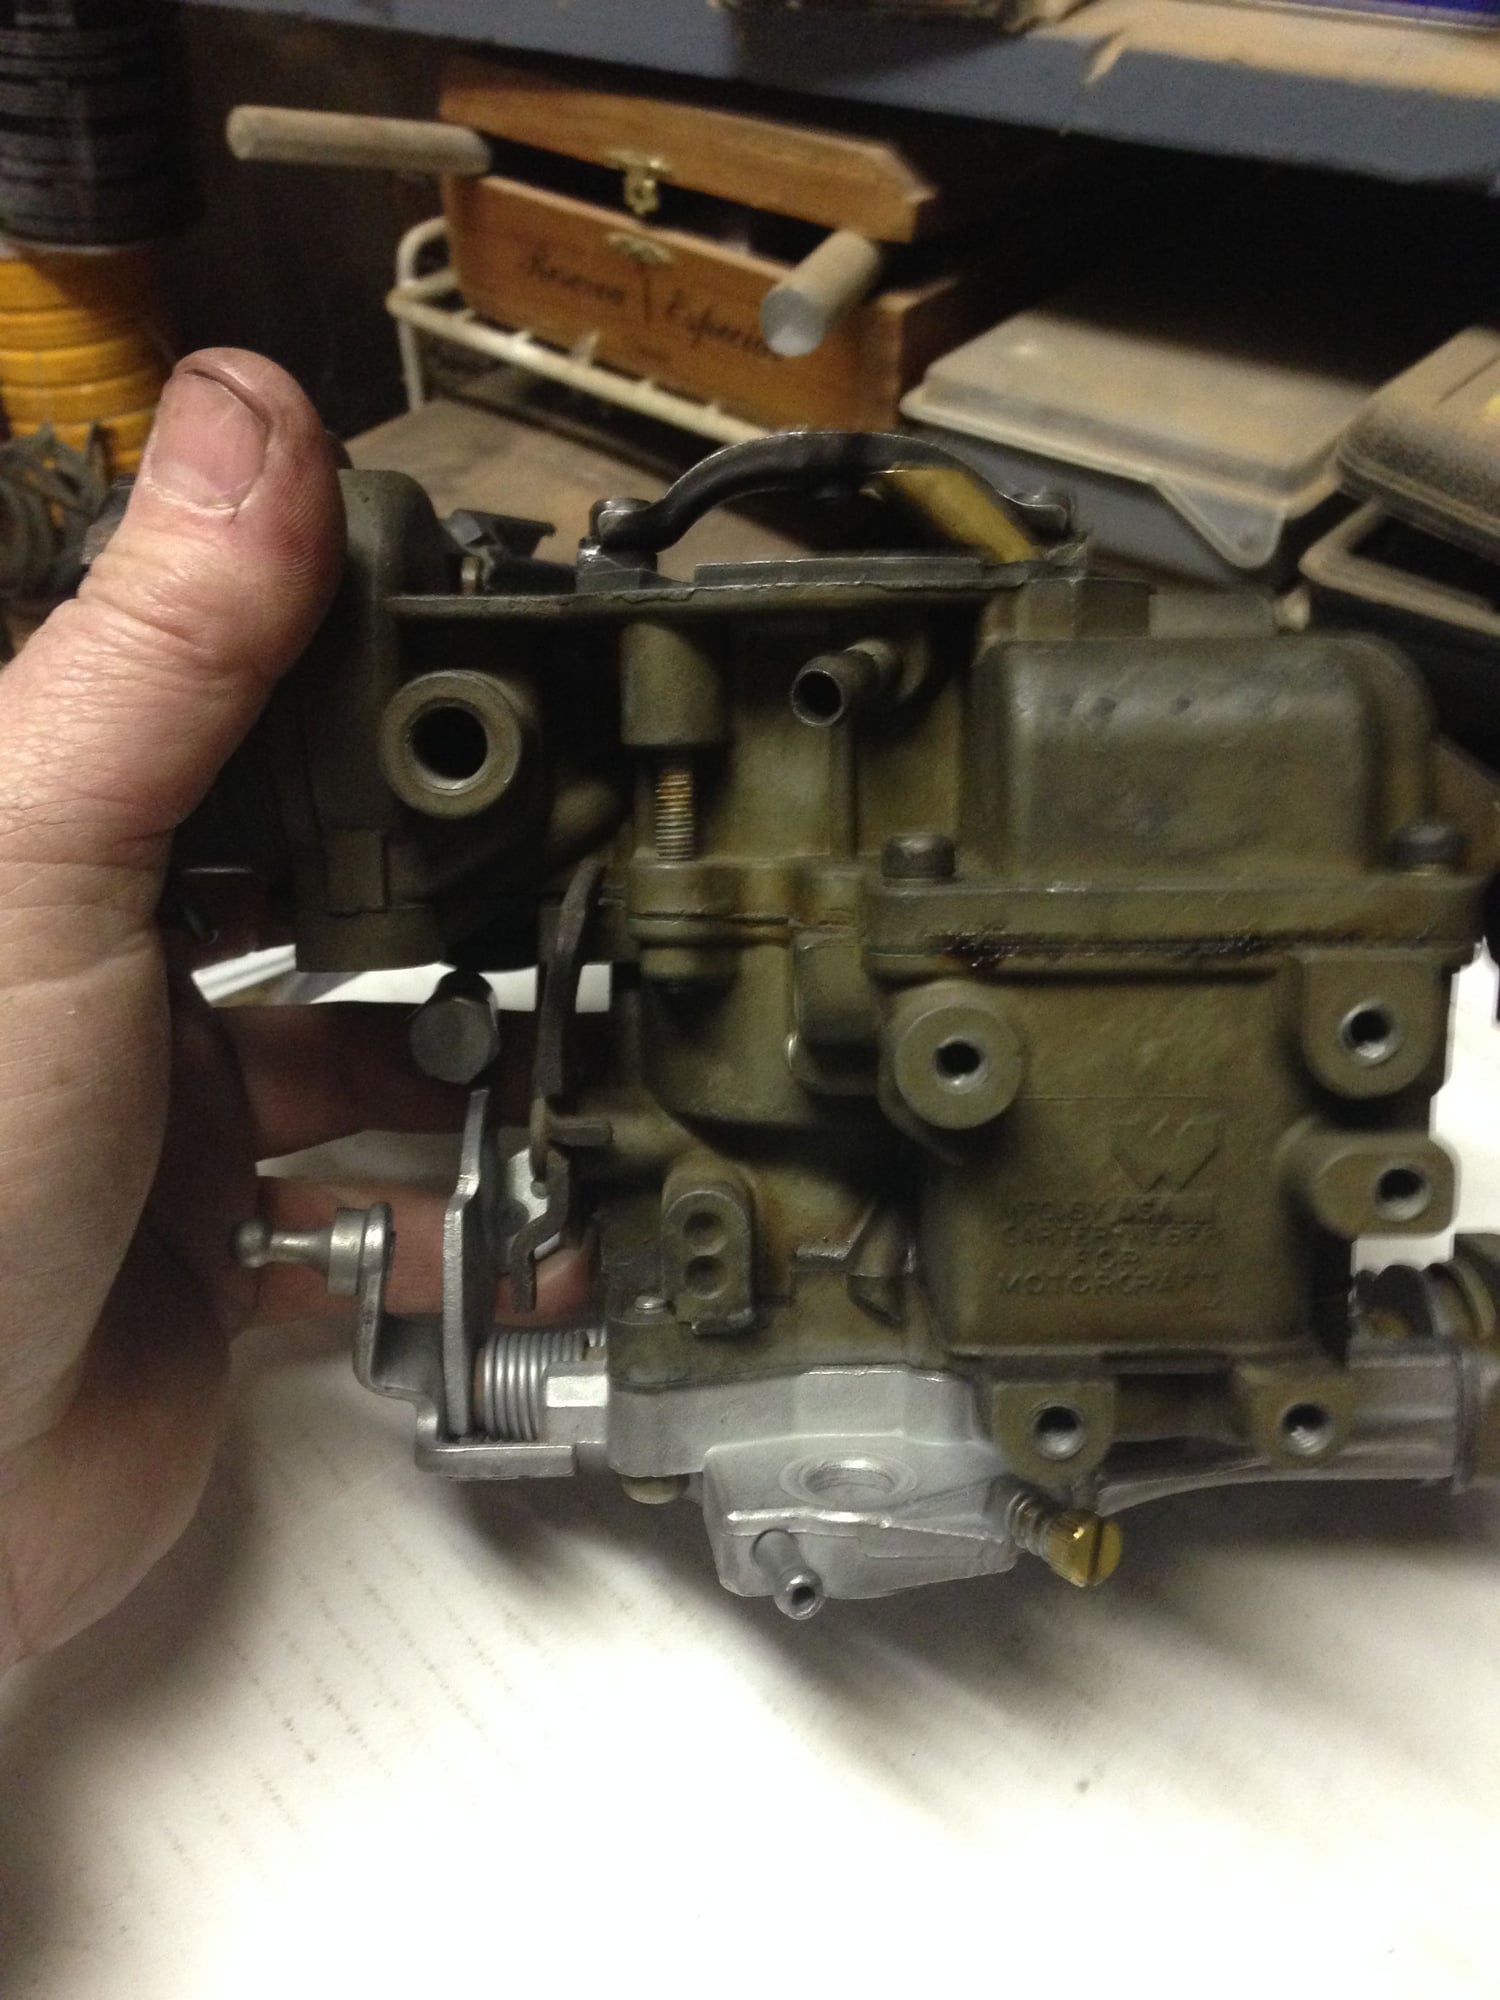
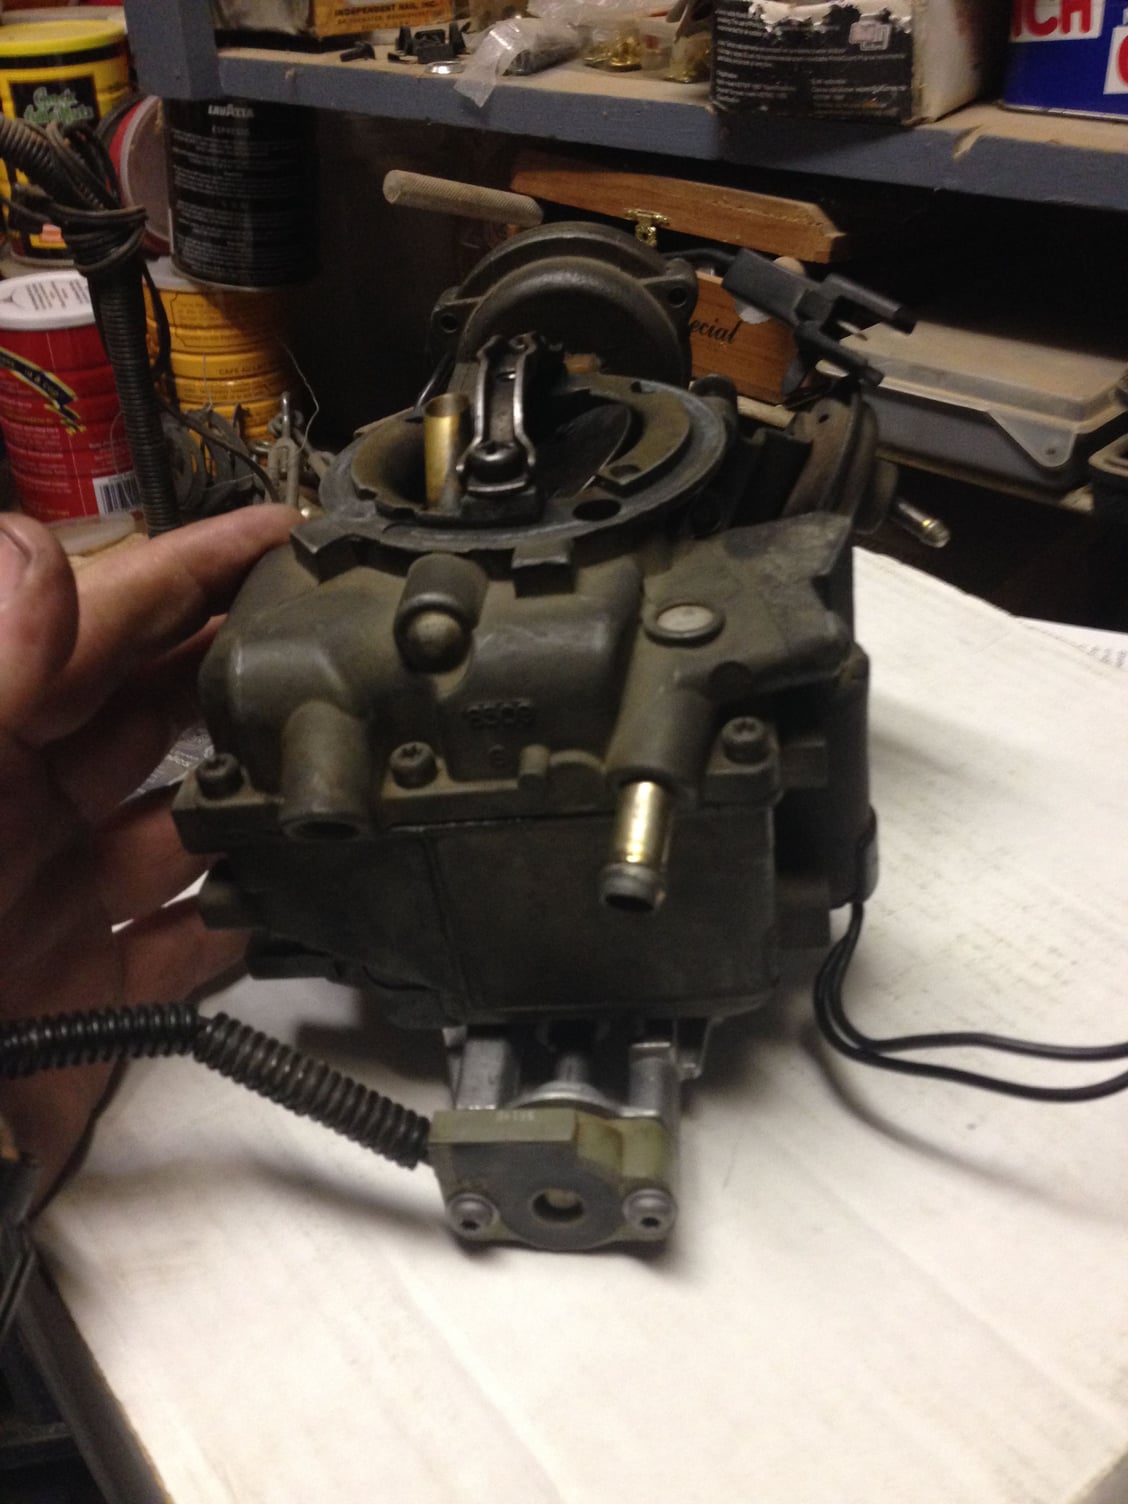
I realized the carb was lose, creating a vacuum leak and ended up buying a new feedback due to stripped interior bolts.
Still it is not a reliable ride.
So, tomorrow I will start my DSII conversion. I have read hours of threads & the sticky about this conversion and feel fairly confident (I have learned to take that with a grain of salt when working on cars...). I am planning on posting before and after engine pictures in the event anyone wants any parts that I will take out.
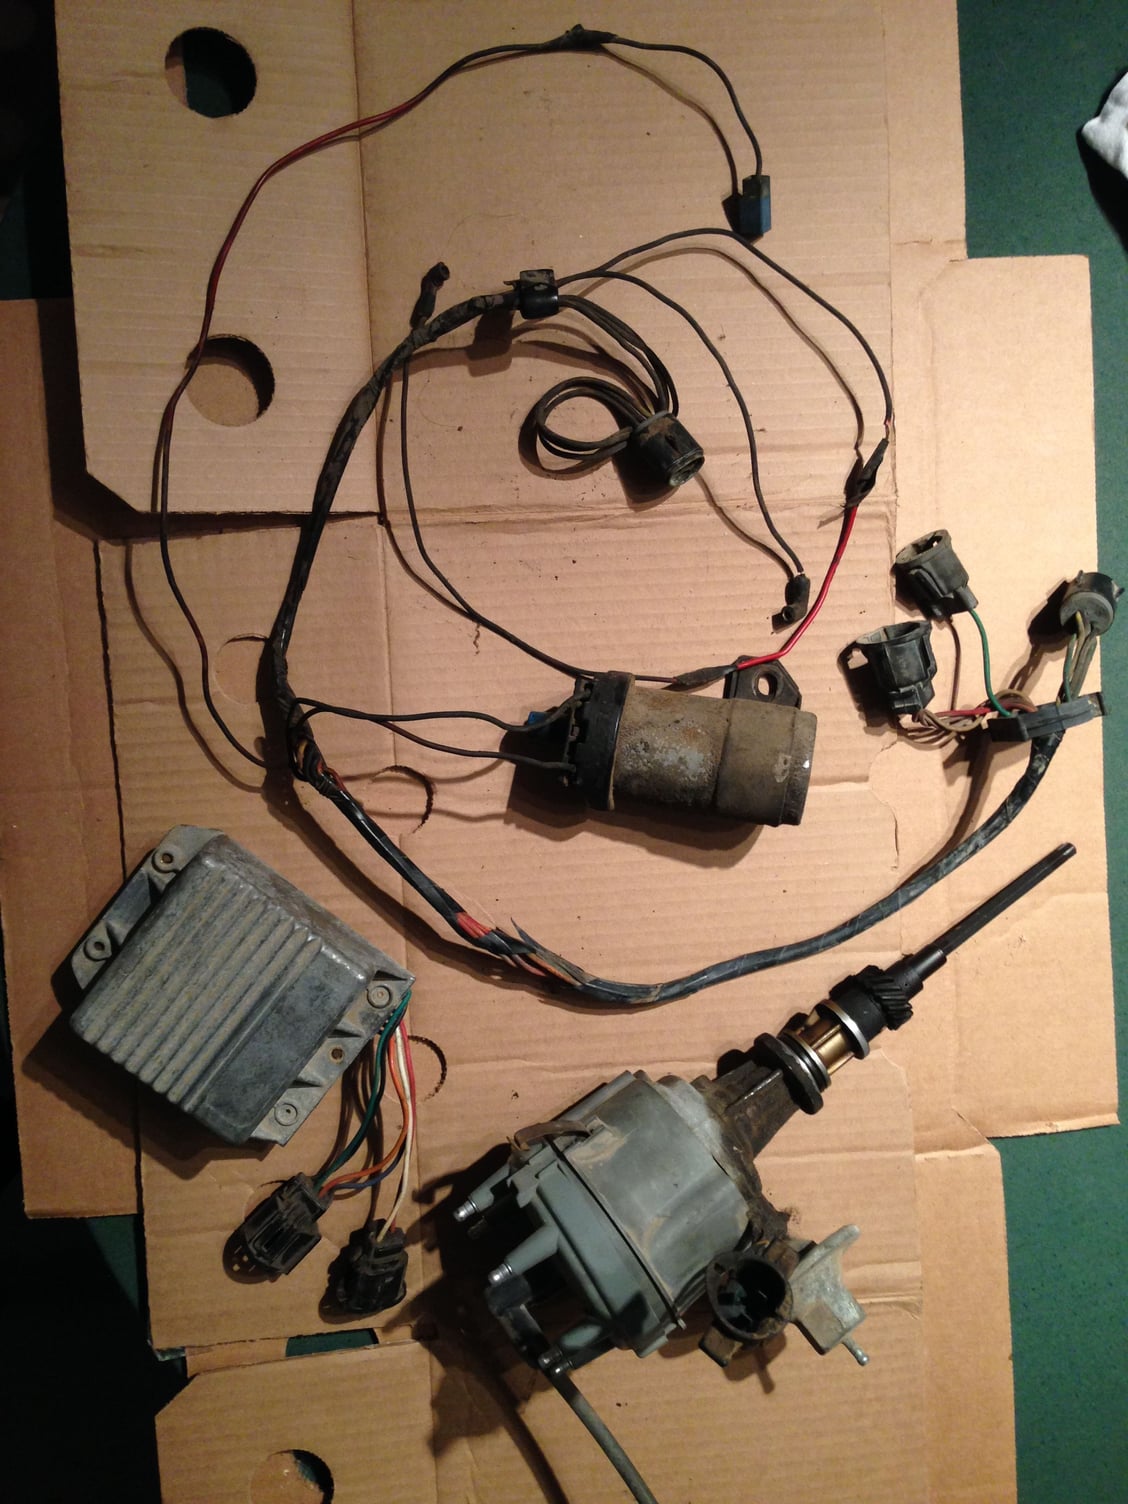
Here is a picture of the parts I have culled from local salvage yards taken of an '83 straight 6 (I stupidly didn't check the door, just trusted the computer printout for the year model.)
Does anyone know what the blue connector at the top of the pic goes to?
Seems to be a red wire with thick white dashes on it.
Tonight I will clean, check for breaks and repair the harness.
Thank you in advance for any and all advice/answers.
#2
Good luck with the swap! The longest part of the process is actually taking the old system OUT since there's so much of it. Looks like you have the right stuff by the picture. But definitely go over the harness, it looks like it needs some TLC. Don't scrimp on repairs either (ie. electrical tape isn't enough. Use heat shrink wraps if you can). Any moisture/exposure to those wires can cause issues.
As for the blue connector, I don't know what that's for. It hangs off freely on both of mine (one stock DSII, the other converted) and isn't plugged into anything.
As for the blue connector, I don't know what that's for. It hangs off freely on both of mine (one stock DSII, the other converted) and isn't plugged into anything.
#3
Good luck with the swap! The longest part of the process is actually taking the old system OUT since there's so much of it. Looks like you have the right stuff by the picture. But definitely go over the harness, it looks like it needs some TLC. Don't scrimp on repairs either (ie. electrical tape isn't enough. Use heat shrink wraps if you can). Any moisture/exposure to those wires can cause issues.
As for the blue connector, I don't know what that's for. It hangs off freely on both of mine (one stock DSII, the other converted) and isn't plugged into anything.
As for the blue connector, I don't know what that's for. It hangs off freely on both of mine (one stock DSII, the other converted) and isn't plugged into anything.
The only thing that worries me is the timing. Thanks again.
#5
Mainly I have never done it before, this will be a first.
I have read many threads on it, the plan is to get #1 to TDC, mark the position of #1 on the cap then mark the position of the rotor. then line up the above with the new distributor.
Does this all sound correct?
I have read many threads on it, the plan is to get #1 to TDC, mark the position of #1 on the cap then mark the position of the rotor. then line up the above with the new distributor.
Does this all sound correct?
#6
Oh, for installing the distributor?
It's extremely specific, but quite easy:
Bring the #1 piston to TDC on the compression stroke. Test for the compression stroke by rotating the engine and waiting for pressure to build in the spark plug hole. Sticking your finger in the spark plug hole is a good test. Be sure to turn the engine the right way. It should rotate clockwise when facing the engine.
Once you've identified the compression stroke and brought the #1 to TDC, rotate the engine slightly until you have the timing marks where you want them (About 10* advance).
Now point the rotor in the direction of the #1 spark plug post.
Put the distributor into the engine until it fully seats. It does NOT matter what direction it's facing as long as the rotor is pointing toward the #1. Just put it in in a way that makes the vacuum advance canister accessible. This step may take a few tries and tweaks if it doesn't want to seat down all the way. You may have to rock the engine slightly/try different angles, etc. to get it to sit right. Sometimes, it's simply easier to just keep turning the rotor until you can get the distributor to seat fully, and then rotate the distributor to line the #1 back up with the rotor.
Last, but NOT least, remove the rotor and look down into the distributor. There's a six bladed stator and a black, magnetic pickup. Rotate the distributor slightly until closest arm of the stator is lined up between the two markings on the magnetic pickup.
Tighten down the distributor, put the rotor and cap back on, and you're good to go! If done correctly, you don't even need to put a timing light on it since it's already set.
It's a technical process, but not difficult at all. Whenever I pull my distributor, I simply do this method to reset it and it takes about 2 - 3 minutes once you have it down.
IF it bucks, backfires, and pops when you try to start it, you more than likely accidentally installed it on the exhaust stroke instead of the compression stroke and have it in 180* backwards. Pull it out, flip it around the opposite way, and do it again.
Best of luck!
#7
OH, important tip:
When you bring your engine to TDC, shine a flashlight down the #1 sparkplug hole and watch for it to peak out. Rock the engine back and forth until you can see that the piston is at its highest point.
Now, look at your timing marks. The timing mark should be pointed at 0. If it's a tiny bit off, like 1 to -1, that's fine, but if it's waaaaay off, then you have a slipped harmonic balancer and you should replace it.
Trending Topics
#8
Thanks again for the advice AbandondedBronco. I have everything installed. Engine cranked right up. It sputtered a bit on acceleration and backfired out of the carb a few times but runs and idles fine. Just drove it around the block, seems to have more power (maybe I am imagining that...). I still have the feedback carb on it, also.
I have A/C on it so I couldn't get an angle to see into the #1 hole. Is it possible I am just a little off on the timing? would it still start and run?
Again, thank you for your help.
I have A/C on it so I couldn't get an angle to see into the #1 hole. Is it possible I am just a little off on the timing? would it still start and run?
Again, thank you for your help.
#9
If you have it running, you're most of the way there. If you have a vacuum gauge, put it on full manifold vacuum.
Then, disconnect the vacuum advance and rotate the distributor until you get the highest vacuum you can get. (It'll top out after a while.) Then, turn the distributor the other way until the vacuum drops to about 1 1/2 below what your peak was. Tighten it down, reconnect your vacuum advance, and you're good.
Also be sure to check for vacuum leaks. With the vacuum gauge attached, spray carb cleaner all around your intake ports and base plates on the carb and watch for the needle to dance (easier than listening to rpm changes). Fix any leaks before continuing.
The feedback carb will work but it isn't ideal as it's meant to be adjusted by the computer.
#10
Where do I connect the gauge for "full manifold vacuum"?
I assume I will me making very small movements of the distributor. Will this not mess with the stator alignment?
Do you have a suggestion for a carb? I was planning on buying a non-feedback but wanted to start with the DSII swap.
On the vacuum advance for the distributor, my understanding is that it needs to come off the carb on a line that has no vacuum at idle but vacuum when revved.
Again AB, thanks for putting up with me. The help is invaluable.
Then, disconnect the vacuum advance and rotate the distributor until you get the highest vacuum you can get. (It'll top out after a while.) Then, turn the distributor the other way until the vacuum drops to about 1 1/2 below what your peak was. Tighten it down, reconnect your vacuum advance, and you're good.
Also be sure to check for vacuum leaks. With the vacuum gauge attached, spray carb cleaner all around your intake ports and base plates on the carb and watch for the needle to dance (easier than listening to rpm changes). Fix any leaks before continuing.
The feedback carb will work but it isn't ideal as it's meant to be adjusted by the computer.
The feedback carb will work but it isn't ideal as it's meant to be adjusted by the computer.
On the vacuum advance for the distributor, my understanding is that it needs to come off the carb on a line that has no vacuum at idle but vacuum when revved.
Again AB, thanks for putting up with me. The help is invaluable.
#11
Where do I connect the gauge for "full manifold vacuum"?
If it has zero, and then jumps up to 15 - 20 once you start bringing up the RPMs, you have it on ported vacuum, which isn't what you want.
I assume I will me making very small movements of the distributor.
Will this not mess with the stator alignment?
When you set your timing marks to 10* and then lined up the stator, basically what you did was "cheat". This is the same as setting the engine to TDC and lining up the stator, and then rotating it enough to set it at 10* advance.
10* advance is just a starting point. Base factory timing is more of a safe catch-all, good for everyone setting from the factory. By adjusting yours for vacuum, you're changing that base timing to what your engine likes. It may be 8*, it may be 16*.
Do you have a suggestion for a carb? I was planning on buying a non-feedback but wanted to start with the DSII swap.
I've seen allcarbs.com have them for sale as well as nationalcarburetors.com
Ford 1bbl Carburetor
On the vacuum advance for the distributor, my understanding is that it needs to come off the carb on a line that has no vacuum at idle but vacuum when revved.
Again AB, thanks for putting up with me. The help is invaluable.
#12
Update:
Bought a vacuum gauge, hooked it up to the vacuum tree coming of the intake. Started off reading around 15, rotating the distributor the gauge topped out at 20 brought it back down to 18.5. The truck sounds much better, test drove it and got a lot more power in 1st & 2nd. Have yet to take it on the highway to hit 3rd.
Now for the other shoe to drop. Problems: See next post
Thanks again AbandonedBronco, I feel like I can now set timing on my truck.
#13

I am trying to figure where to pull the line for the vacuum advance on the dist. The carb has 2 ports on the passenger side, The top one had no vacuum at idle and none when I revved the engine. The bottom is full vacuum at idle.
I did not check all the lines coming off the vacuum tree, the one I used to test was the first I pulled and was full vacuum.
Could one of the other ports on this tree be "ported"? Or should I just hook it up off a full vacuum line? Also, with the DSII swap do I pull all these vacuum lines and cap the tree ports?
#15


