When you click on links to various merchants on this site and make a purchase, this can result in this site earning a commission. Affiliate programs and affiliations include, but are not limited to, the eBay Partner Network.
Did some work on the truck today and decided to install the new wheels! So old ones are available if someone can use them. I will put them on the for sale board.
Lets see the new wheels and tires.
Let me get the fenders back on then I'll put up some photos.
Between obligation, being sick and work progress on the truck has been hit and miss but is still coming along nicely.
Bracket I made to mount the Ford controls relay box behind the passenger kick panel.
Panel installed along with the AC hoses.
Some on the board have used the EZ-clip system for their hoses. I found for me it was easier and cheaper to use regular hoses and just buy the tool to do the crimps.
Tool does a fantastic job! Is fast and easy.
Temporary mock-up of the hoses.
For those of you who think everything is always so neat.
Wiring is always a mess till it all gets tied up.
A couple hours later and it looks much better.
I sand blasted the inner fenders in preparation for powdercoat.
I cut a hole in the underside of the drivers fender it matches the one on the passenger side that supplies outside air for the heater. This one is for the engine air intake.
Rick made this grill that will go into the opening I made in the fender to keep larger debris out of the air intake box.
I'm getting closer to installing the front clip so I needed to disassemble the grill so it could be touched up and the grill teeth could be changed back to a color close to original.
Once again the grill was in great shape.
An hour with the sand blaster and this is what I had. I decided to powdercoat it and the front hood trim to match the wheels I had made. Much cheaper than trying to paint at $40.00 for the grill and hood trim.
While I was waiting for the parts to come back from the powdercoaters I took some time to finish up the fuse panel.
Installed the hood as I didn't want to be reaching over the fenders.
Inner fenders back and installed. AC hoses installed for the last time.
Computer installed and wired.
Hood trim on.
Finishing out the under hood wiring.
Horns are hooked to 12 volts, you don't want to be anywhere close when they go off!!!
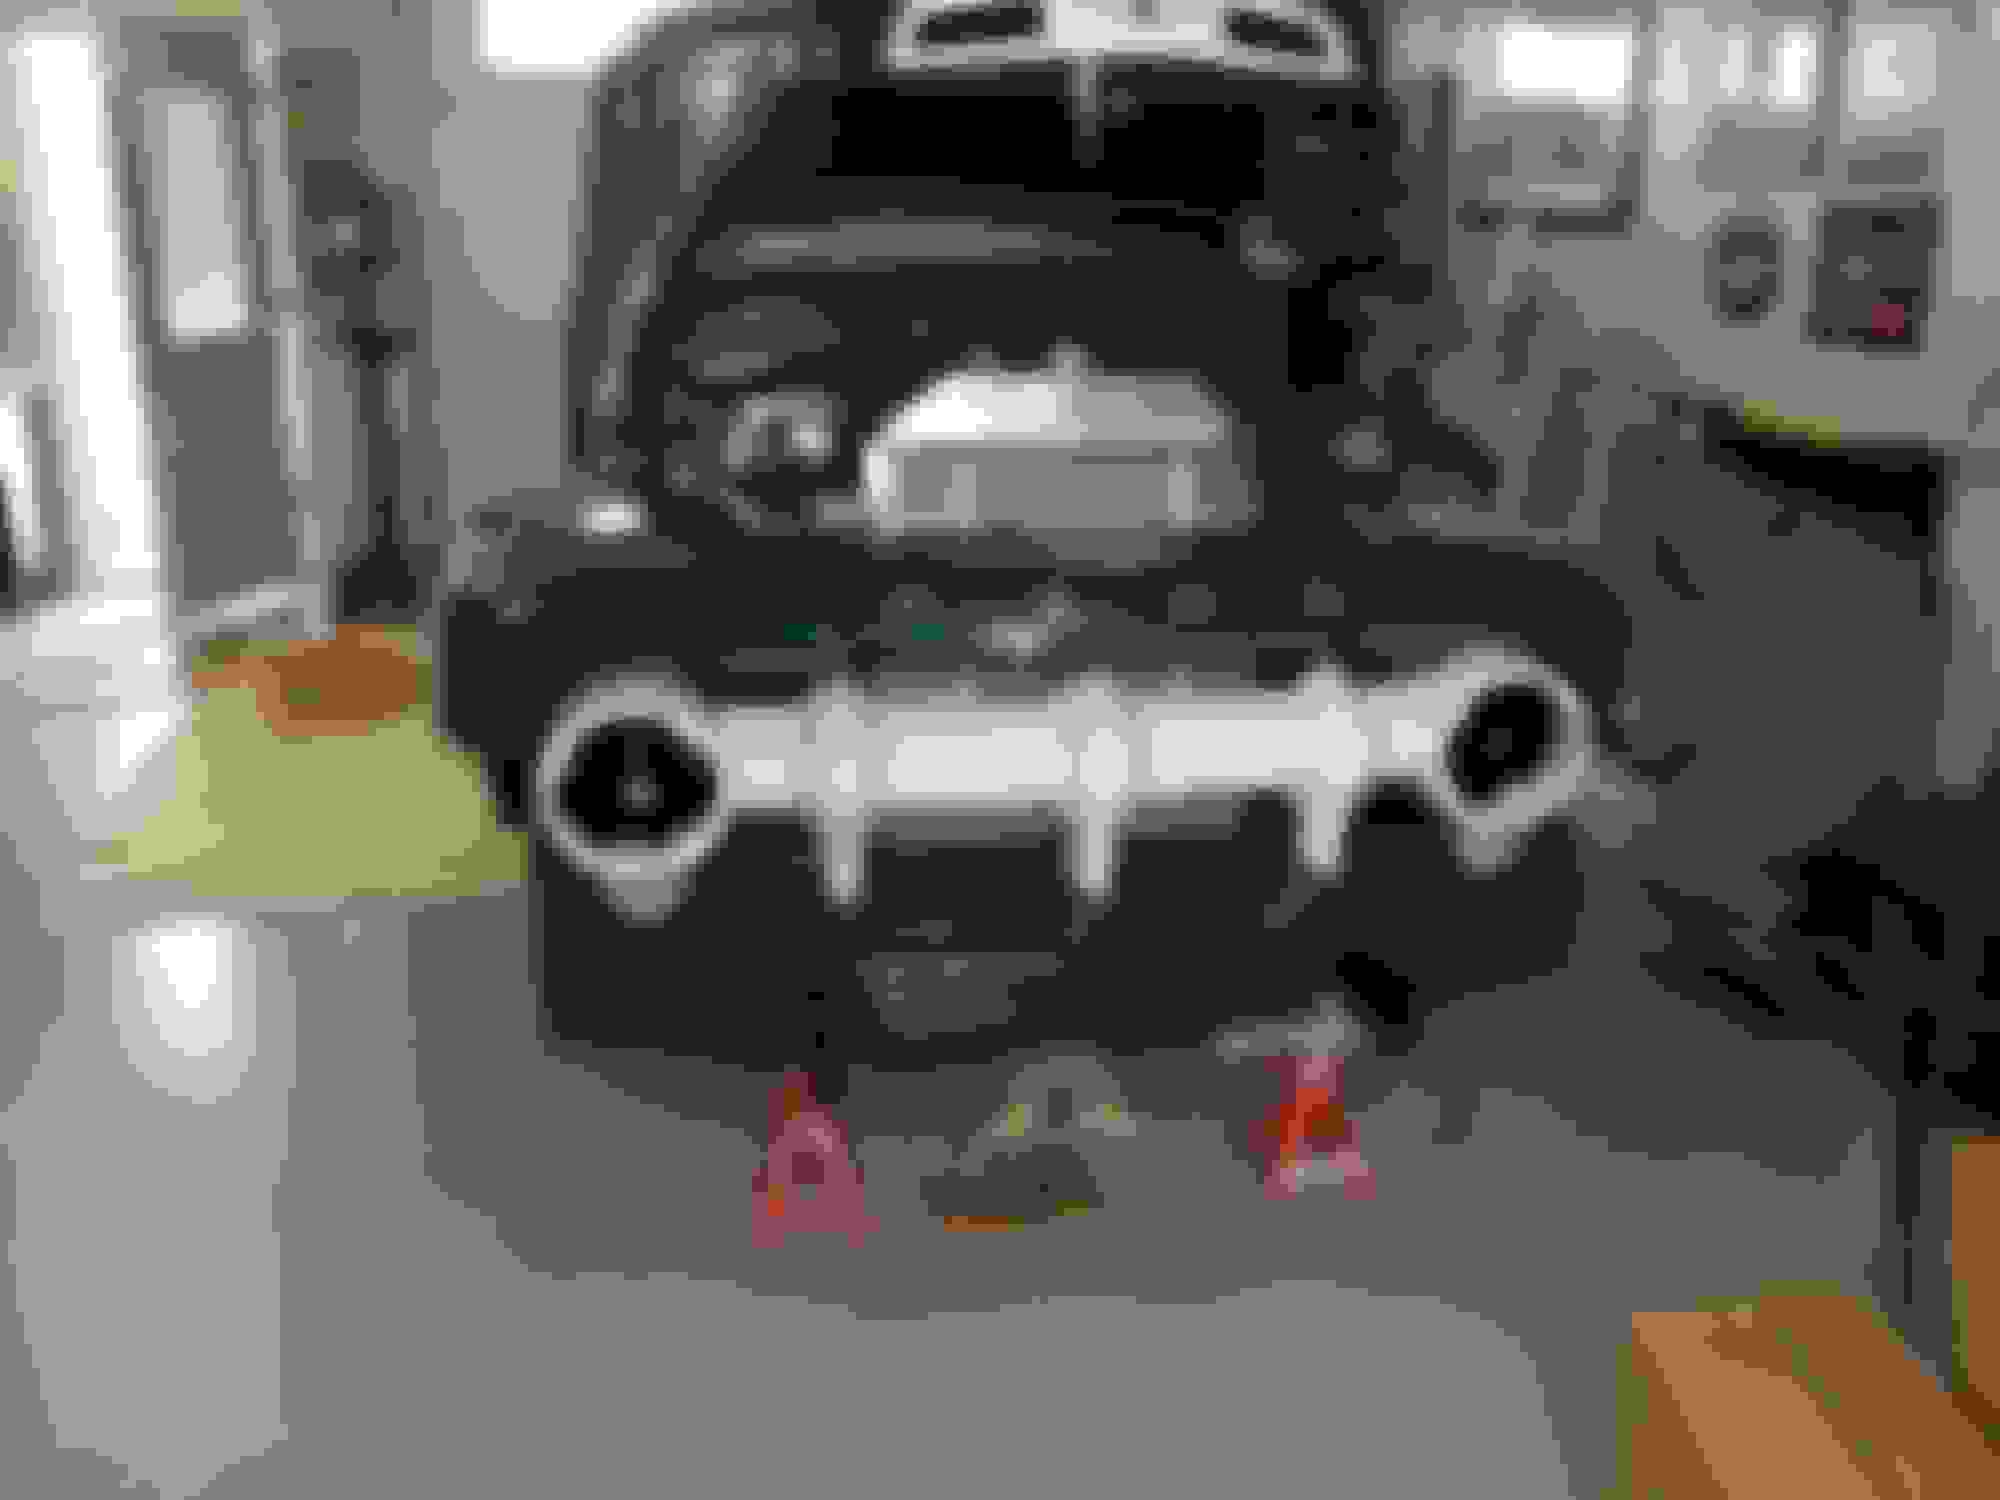
Installing the new wheels and tires. They look good but due to errors on my part the tires will be changed.
I love the look of the front end with the correct color scheme. More importantly my wife loves it!
Gauges went in and now work.
Column is in for the last time and most of the work under the dash is done.
I did one last check to see if the shifter would clear. This is as close as it ever gets to the seat.
I little update to bring the build current 4/17/2015. Things have been going well and I hope to have the bed on by Sunday night.
I installed the third brake light a wired it.
Lois installed some of the interior when we discovered it had been cut too short by the previous owner. Now that we have shoulder belts the corners no longer fit, more parts to order.
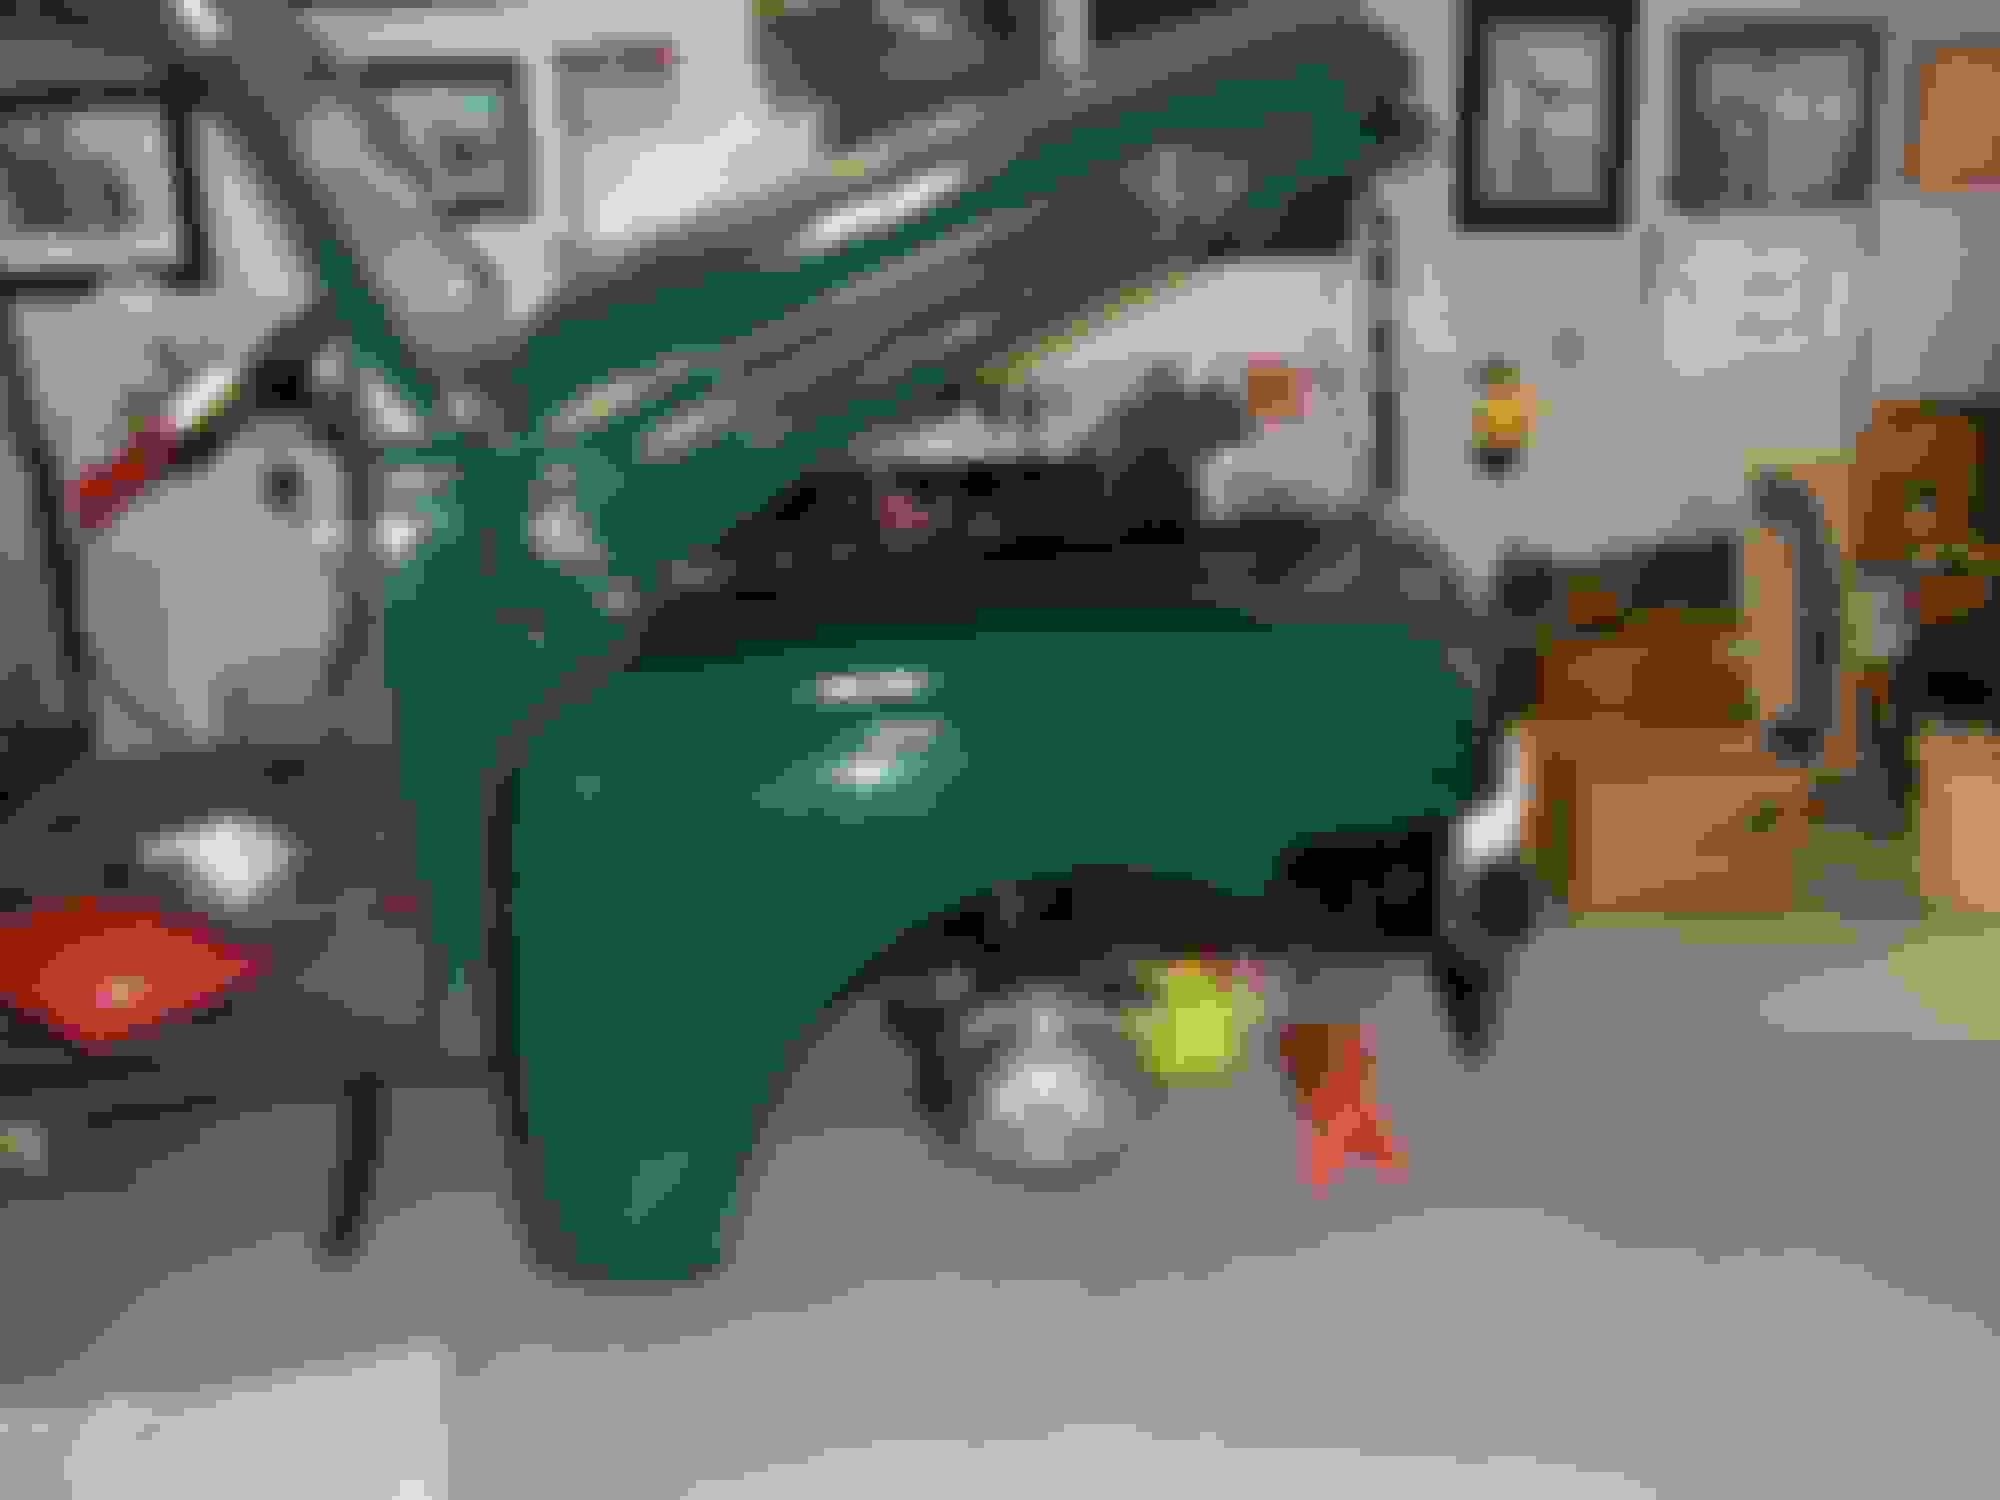
Installed the front fenders so the front end is looking much better.
Installed the air inlet in the bottom side of the drivers side fender.
I left the front lowers off to make it easier wiring the parking and headlights and installing the air box.
Air box complete and ready for install.
Air intake and filter installed.
After installing the air box.
Lois preparing the Oak for the bed. We are going a little different on this as it will be stained green with no clear coat so it will look like the boards Henry painted.
Lower fenders installed and new wheels installed with the correct tires this time.
Front end done except for the bumper. All lights are wired and working, Whoo Hoo!!
Mike, Amazing work! Looking very nice. I do have a question for you. In one of the above photos of the drivers side kick panel area, I see your fuse panel and what looks like a Ron Francis electronic voltage reducer. I have a 20amp reducer that I ordered from Koolcars.us that looks identical to the Ron Francis reducer, but is not painted black. They recommended that it not be installed inside the vehicle as it develops too much heat and must be installed where moving air can pass over it. Do you think you will have any issues with yours mounted behind the kick panel?
Thank You, Mark
My instructions also say not to install behind upholstery and I was concerned about doing so. Here are my thoughts on this location. The kick panel is mare than 1" away and is open at the top allowing for decent airflow. Reducer is mounted to a aluminum plate providing some heat sink. Only wipers are hooked to reducer so if it is working it is raining and that area is being cooled by water from the outside. Most importantly I live in AZ so how often is it actually going to be in operation? If it turns out I was wrong (happens more than I would like) I will be installing a new one in a better location.
Mike, You are probably right, with just the wipers, it probably won't develop that much heat. I guess my concern is that if these reducers do produce very much heat, if there would be a fire issue. Maybe that is an unnecessary concern. I will be running the heater and gauges with mine, so I probably need to mount mine under the hood.
Again, beautiful work you are doing on your wife's truck.
Thanks for the reply, Mark
 03-29-2015, 10:03 PM