When you click on links to various merchants on this site and make a purchase, this can result in this site earning a commission. Affiliate programs and affiliations include, but are not limited to, the eBay Partner Network.
For some reason I mostly just read threads on the 53-56 trucks so I'm glad I just stumbled onto this. Awesome and clean work. I'm just getting ready to start buying parts for my project and I also want the TCI front and rear 4 link(maybe No Limits eng. on rear), the coyote motor, which I think I have found in a donor car and I even have your exact Miller welder so I'm definitely subscribed to this build!
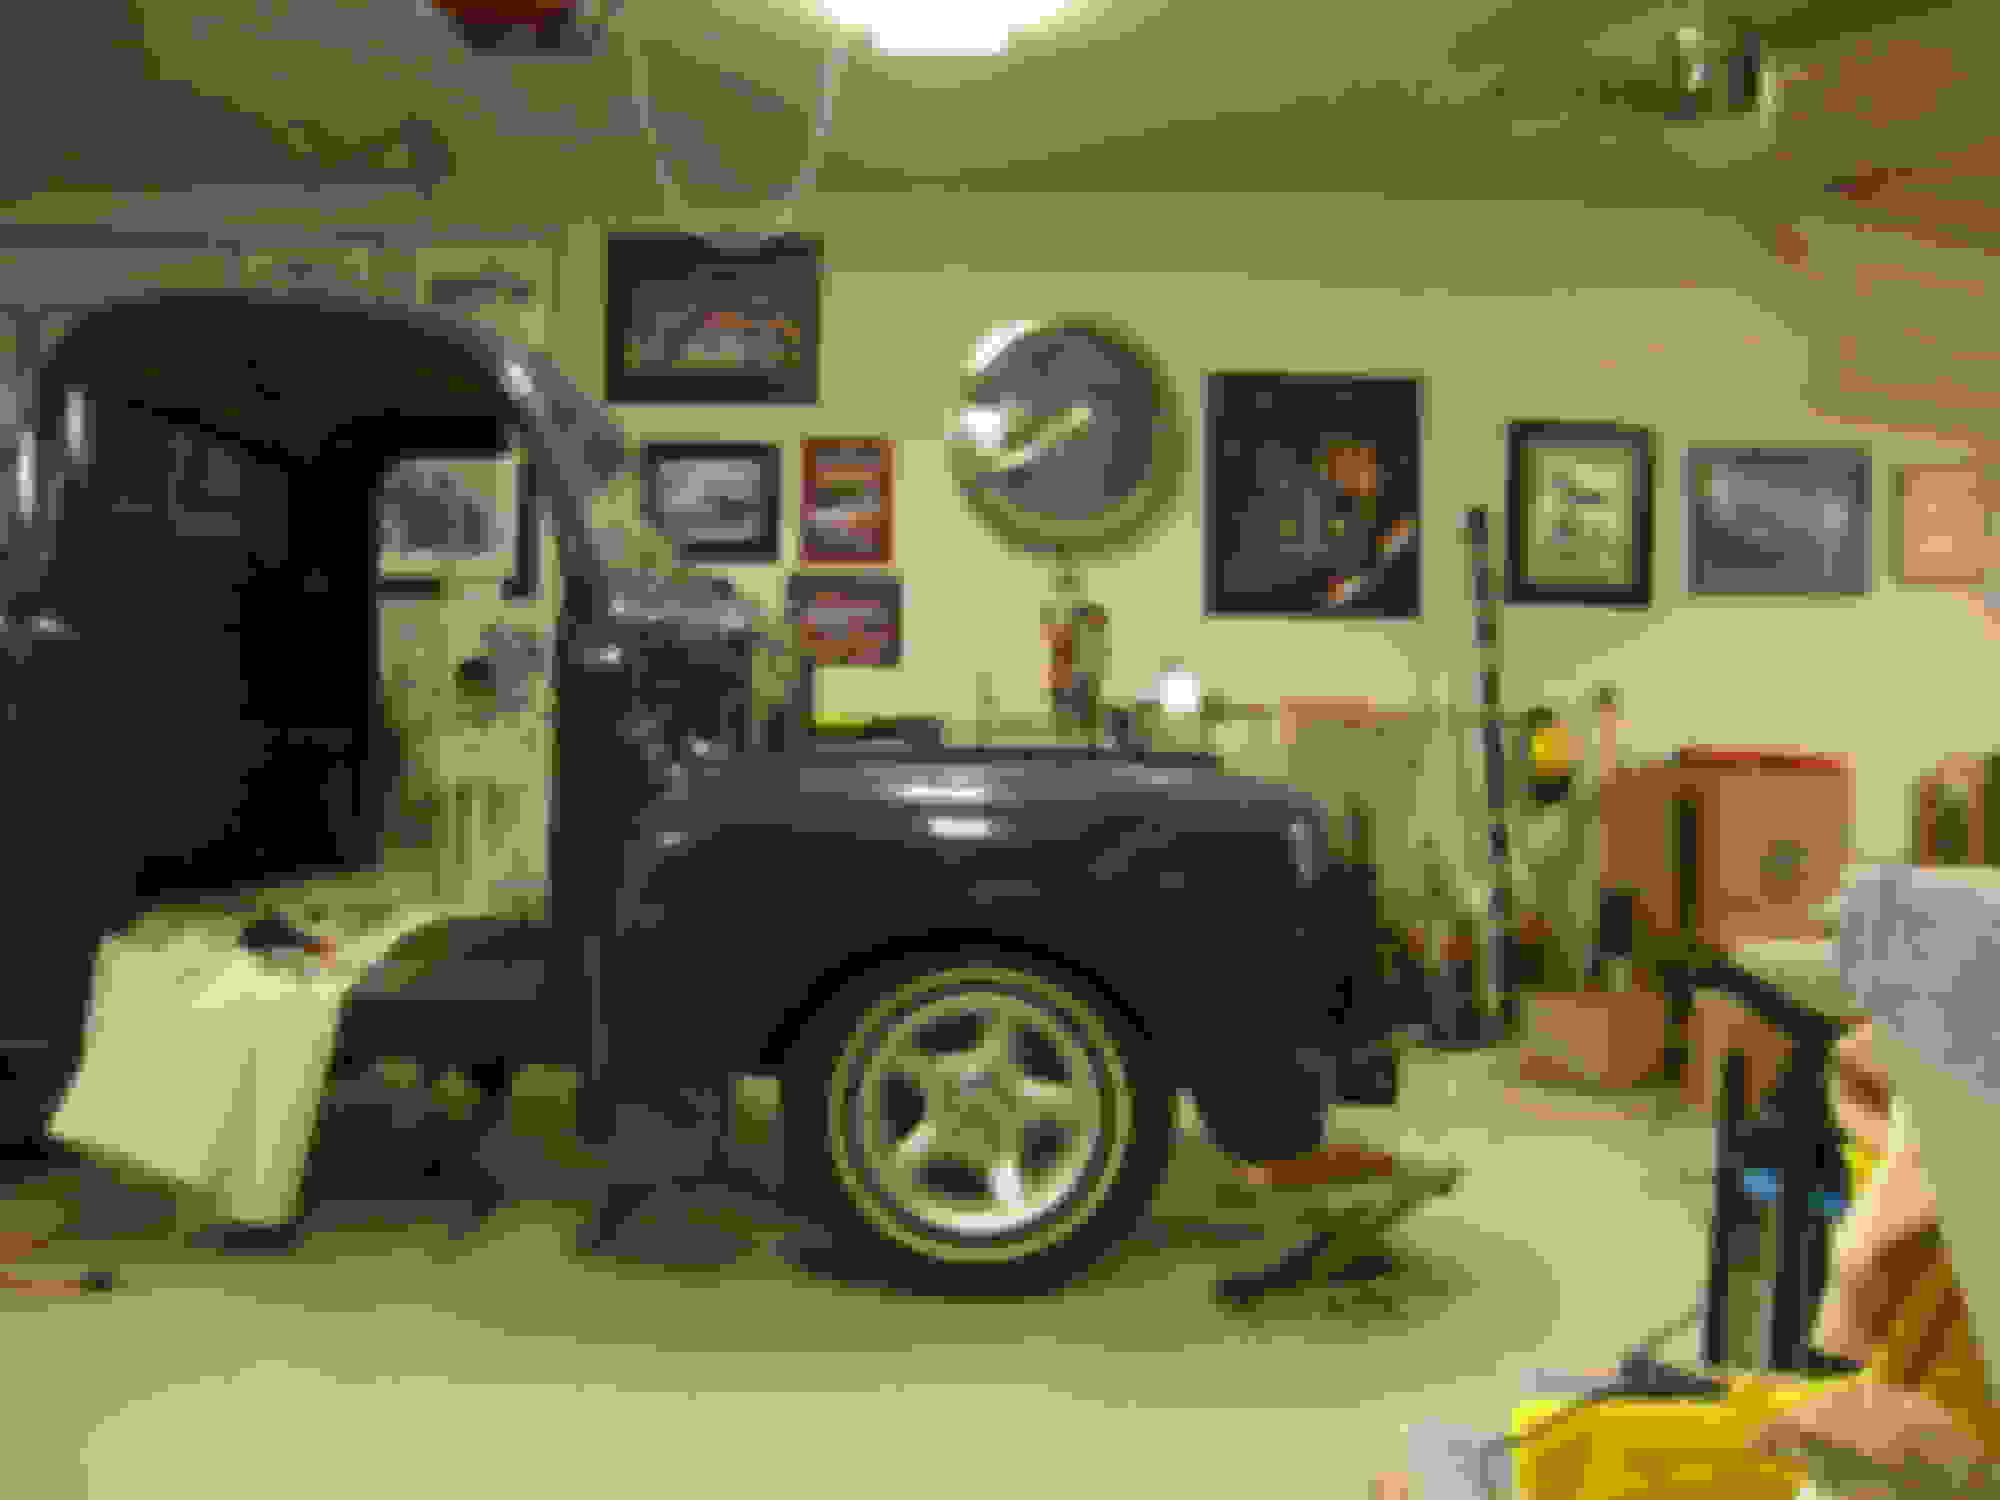
We are heading down to Midnight at the oasis tomorrow. Weather is supposed to be in the upper 70s, sorry all you folks in the east. Thought I would put up some progress photos for those of you that might have cabin fever.
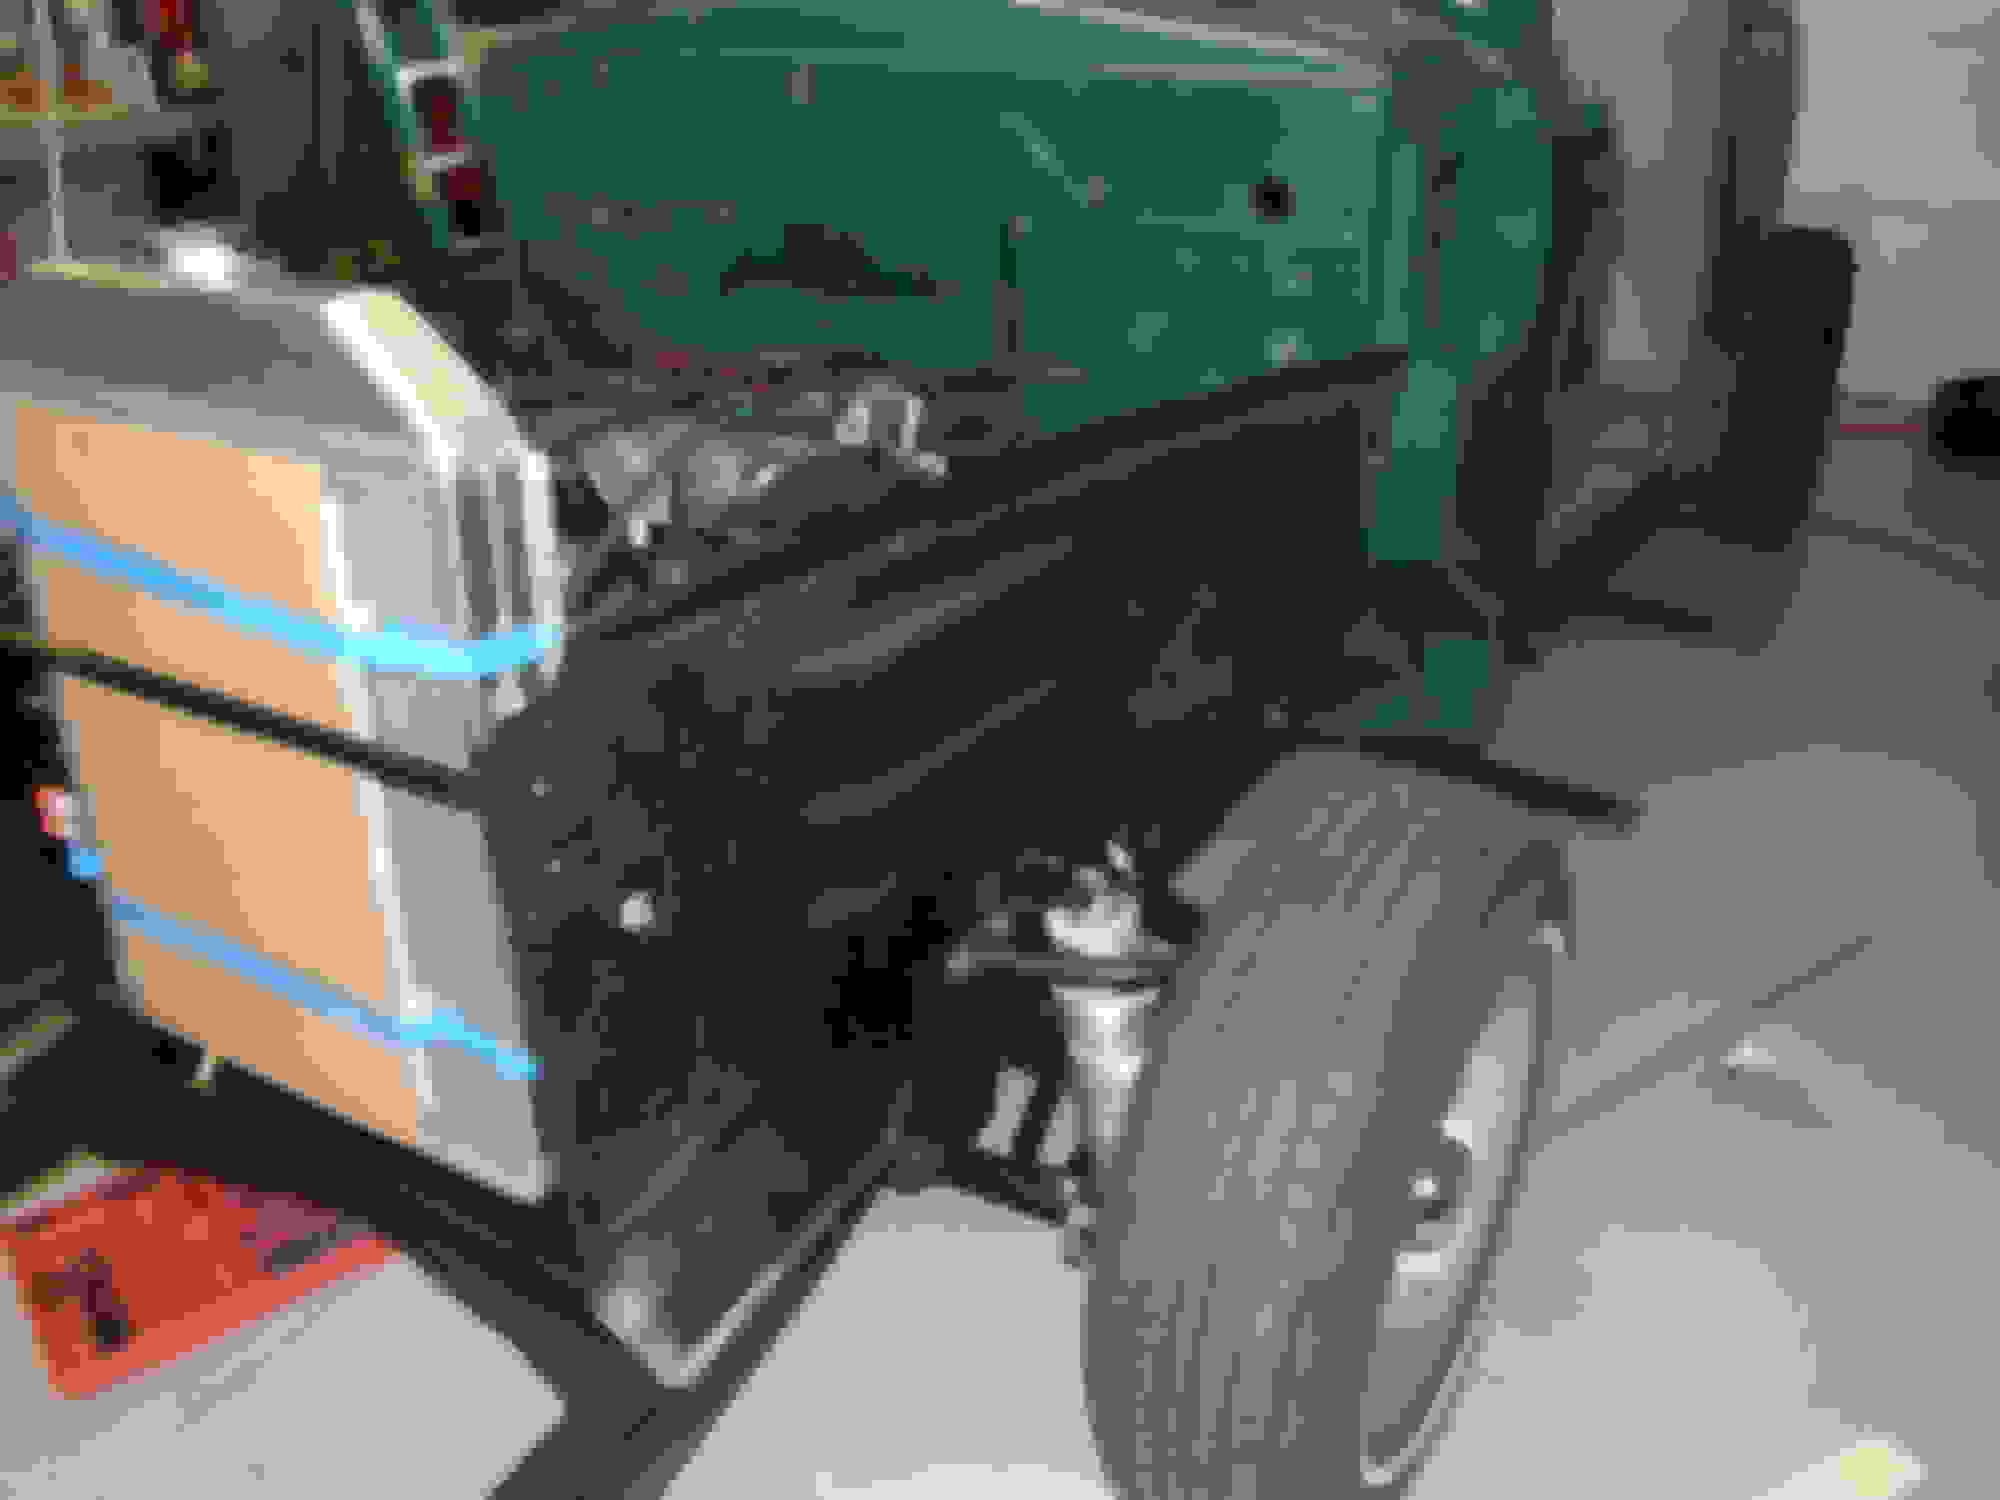
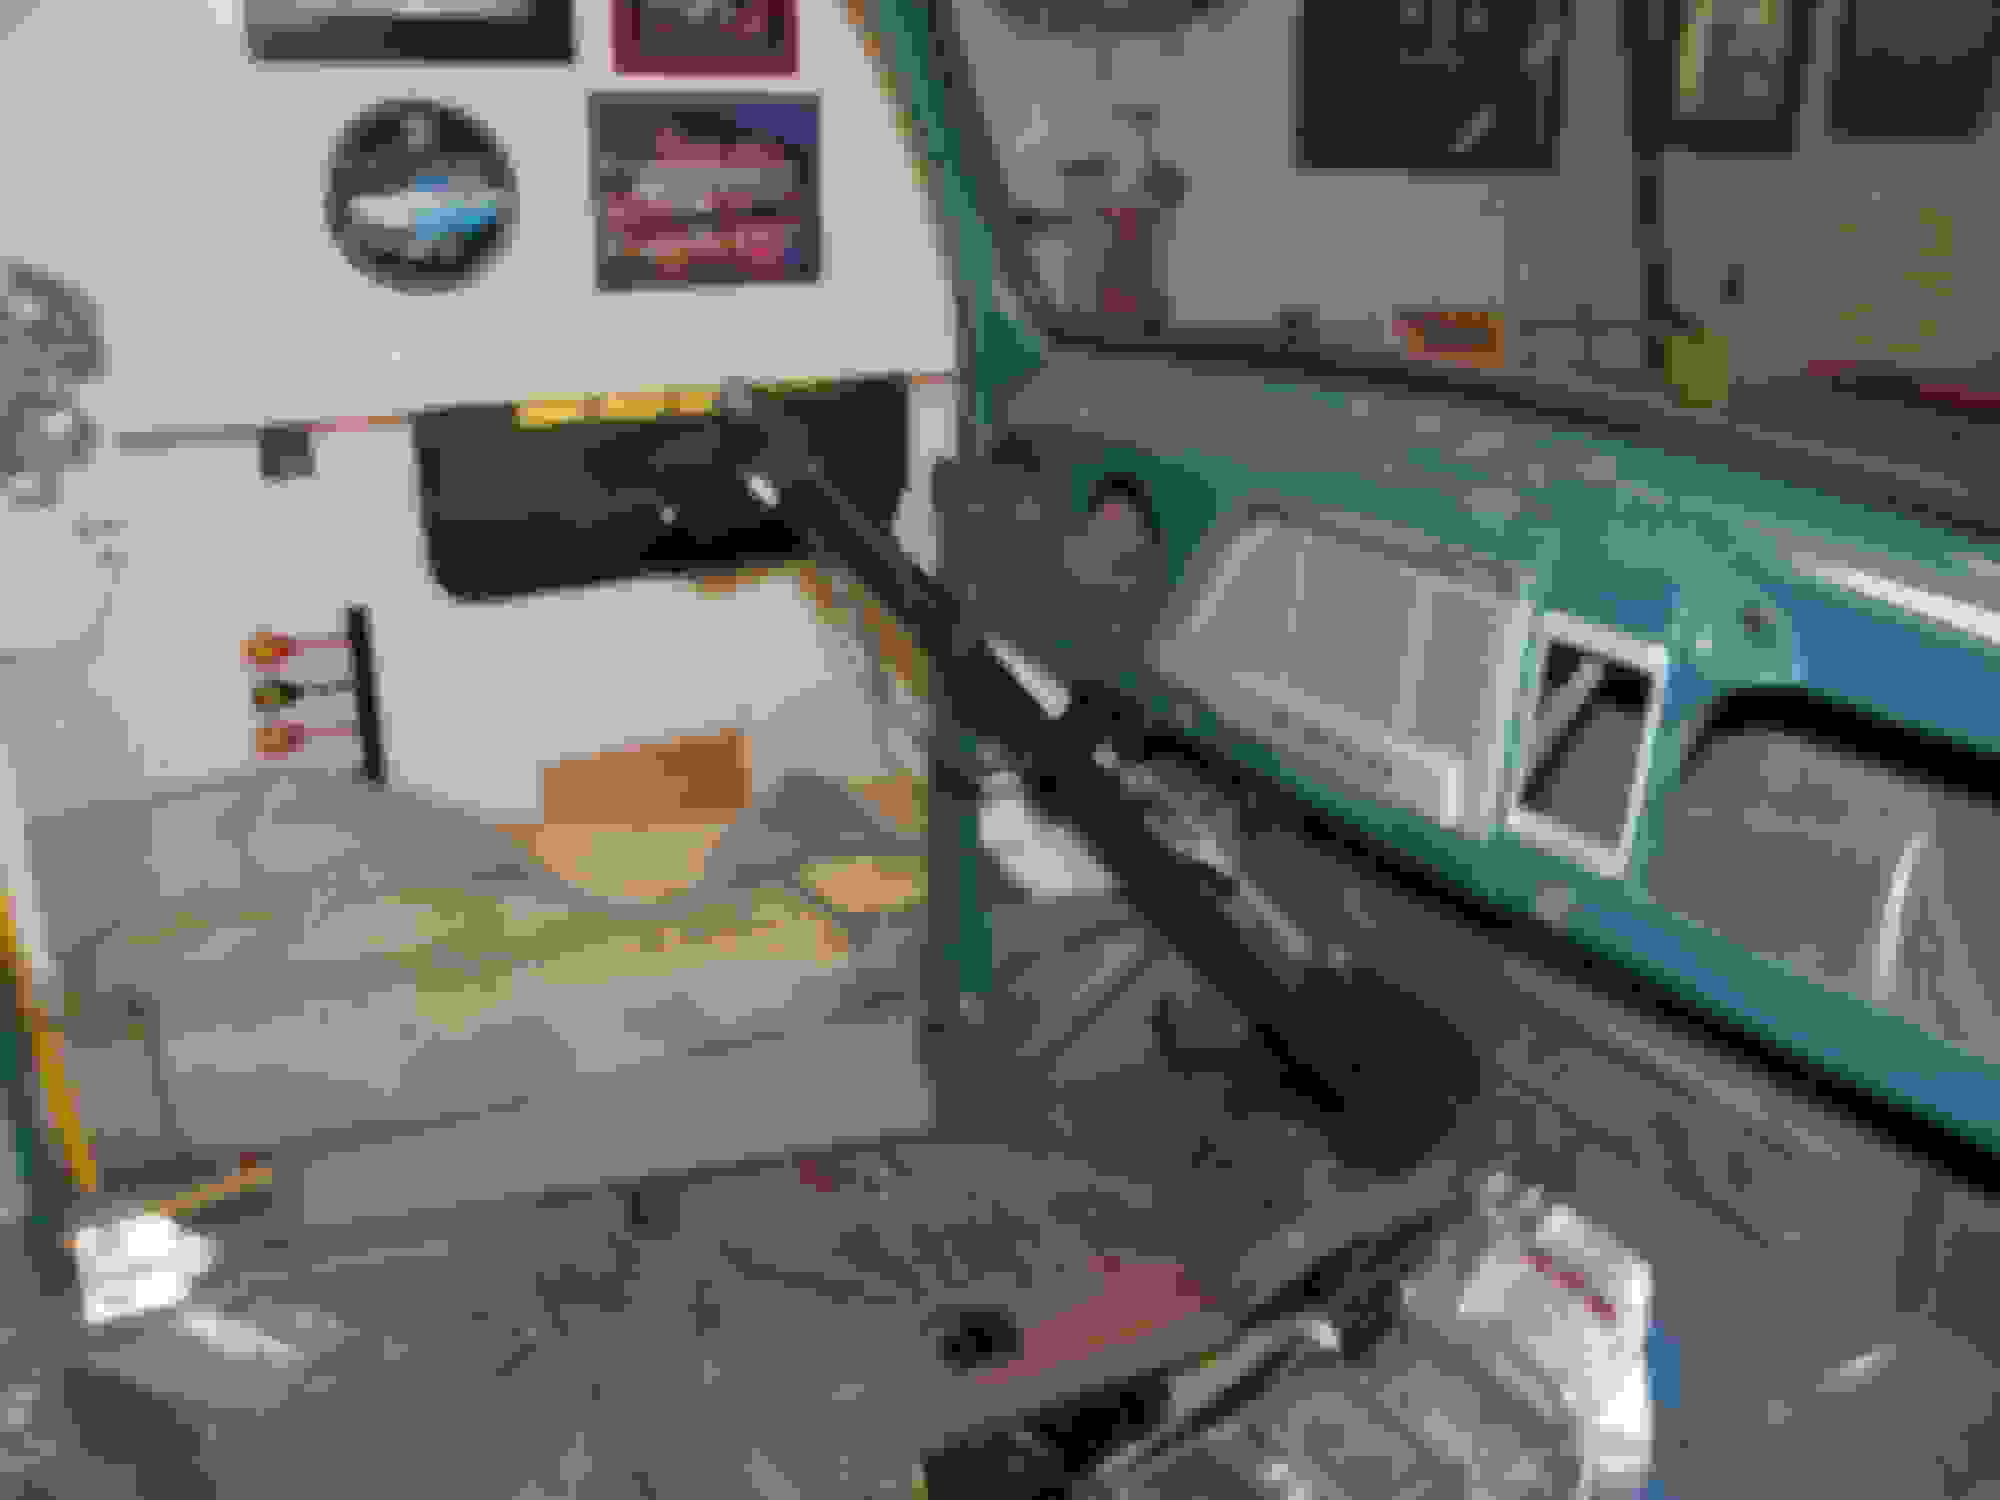
With the engine in and the cab back on I could get to work on the inner fenders.
Drivers side took very little cutting to make it fit around the new suspension.
Passenger side also took little cutting and the addition of a small dent where the blue tape is to clear the upper control arm.
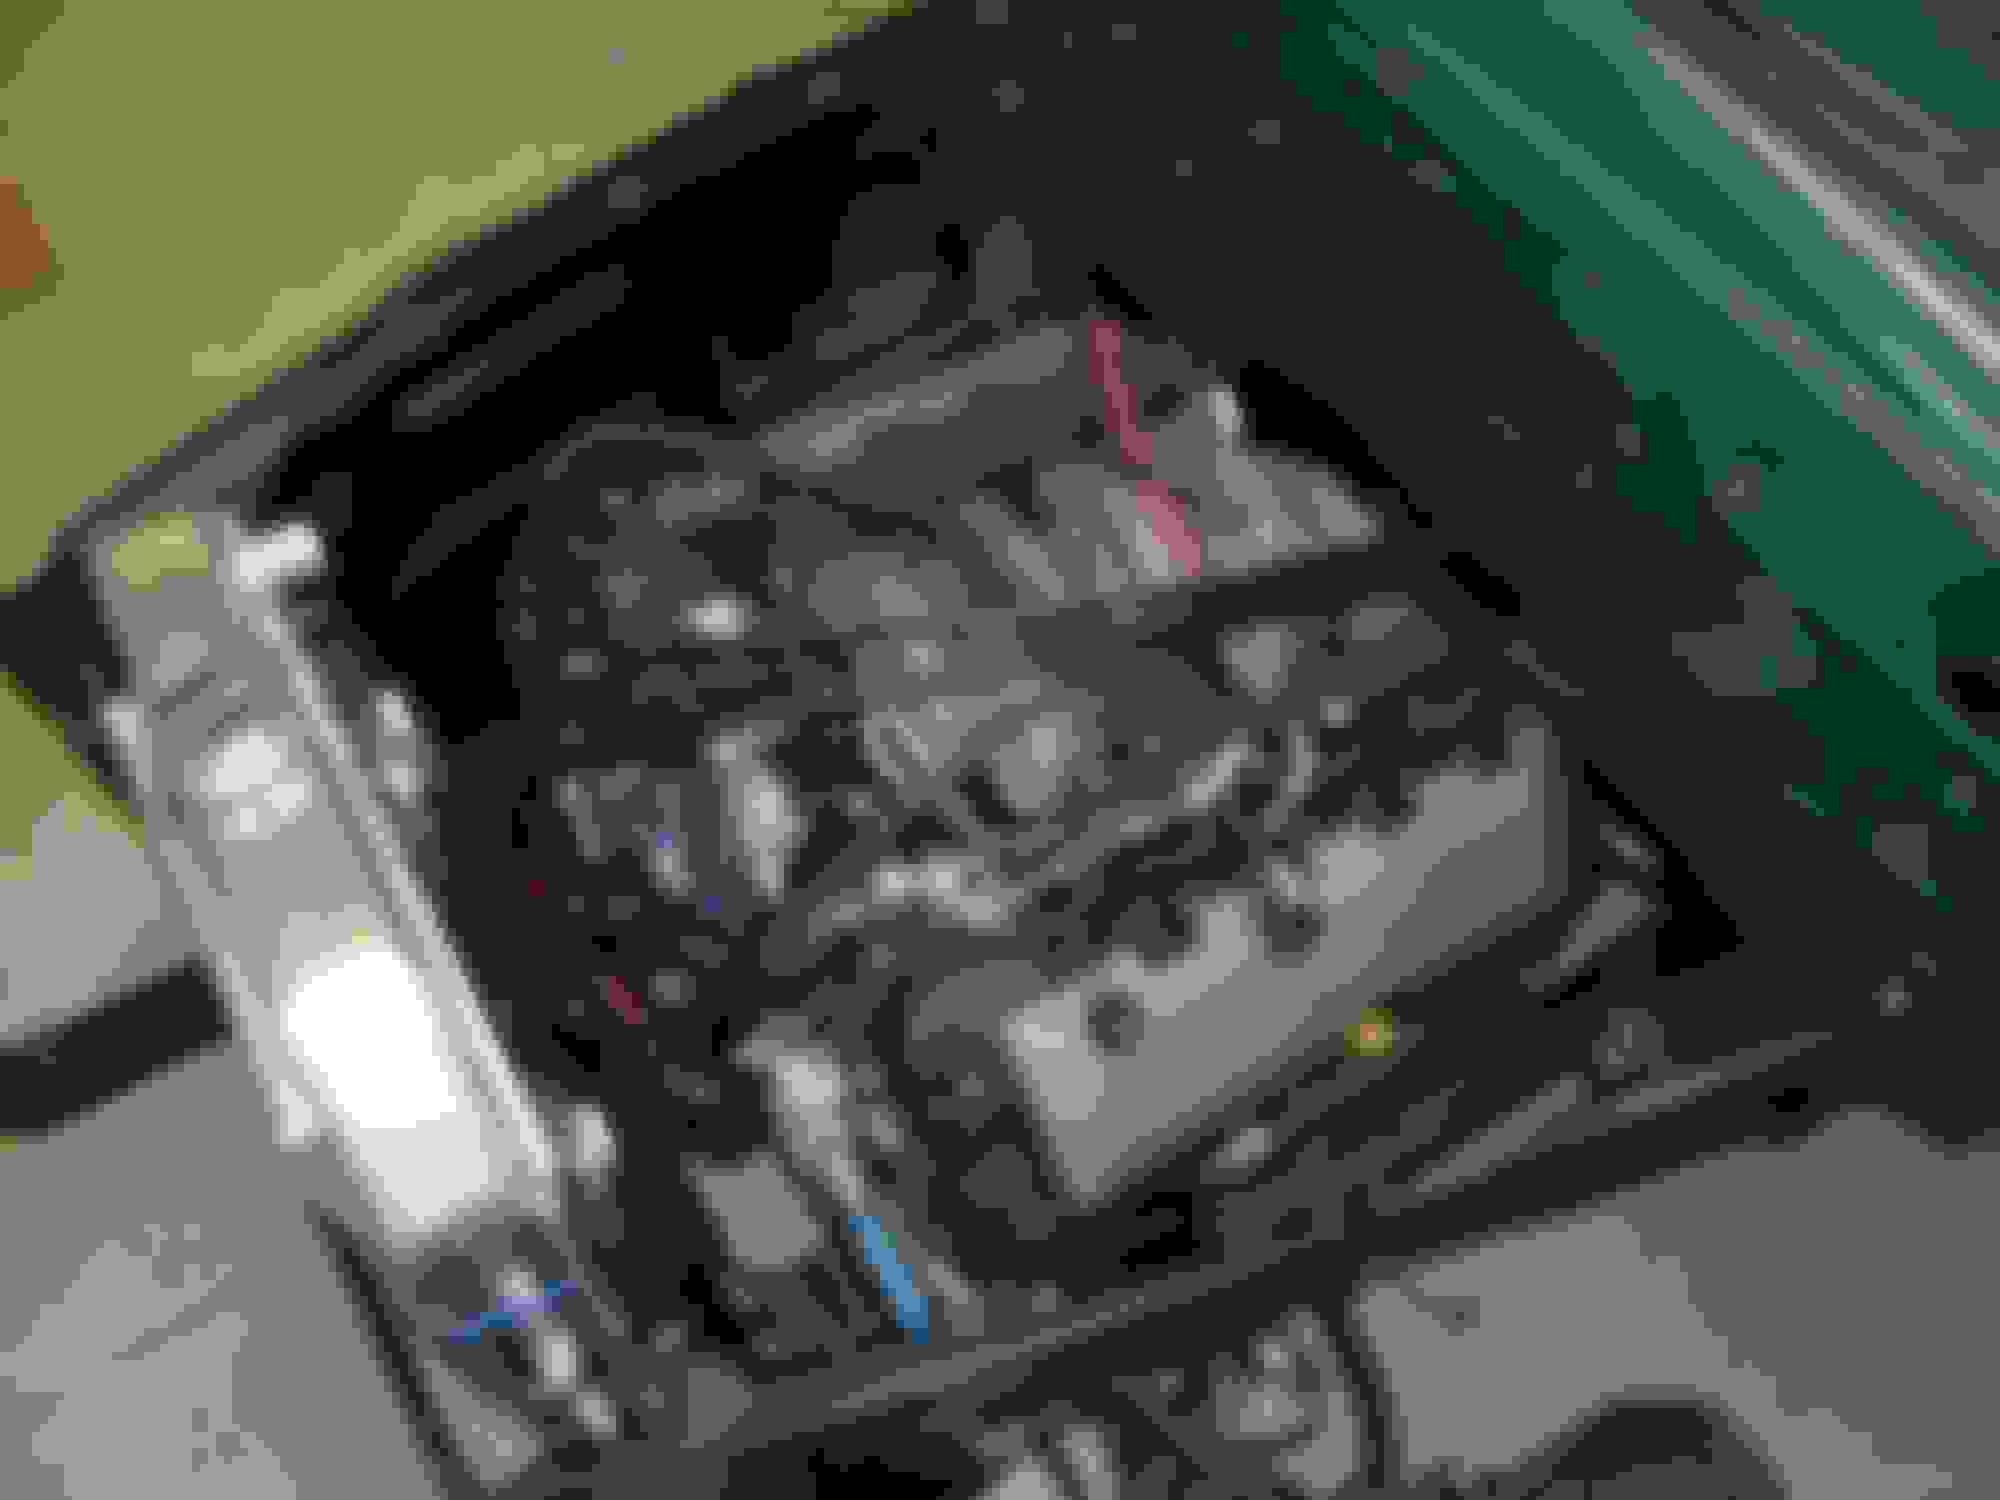
With panels installed there is plenty of engine clearance.
Same with the passenger side.
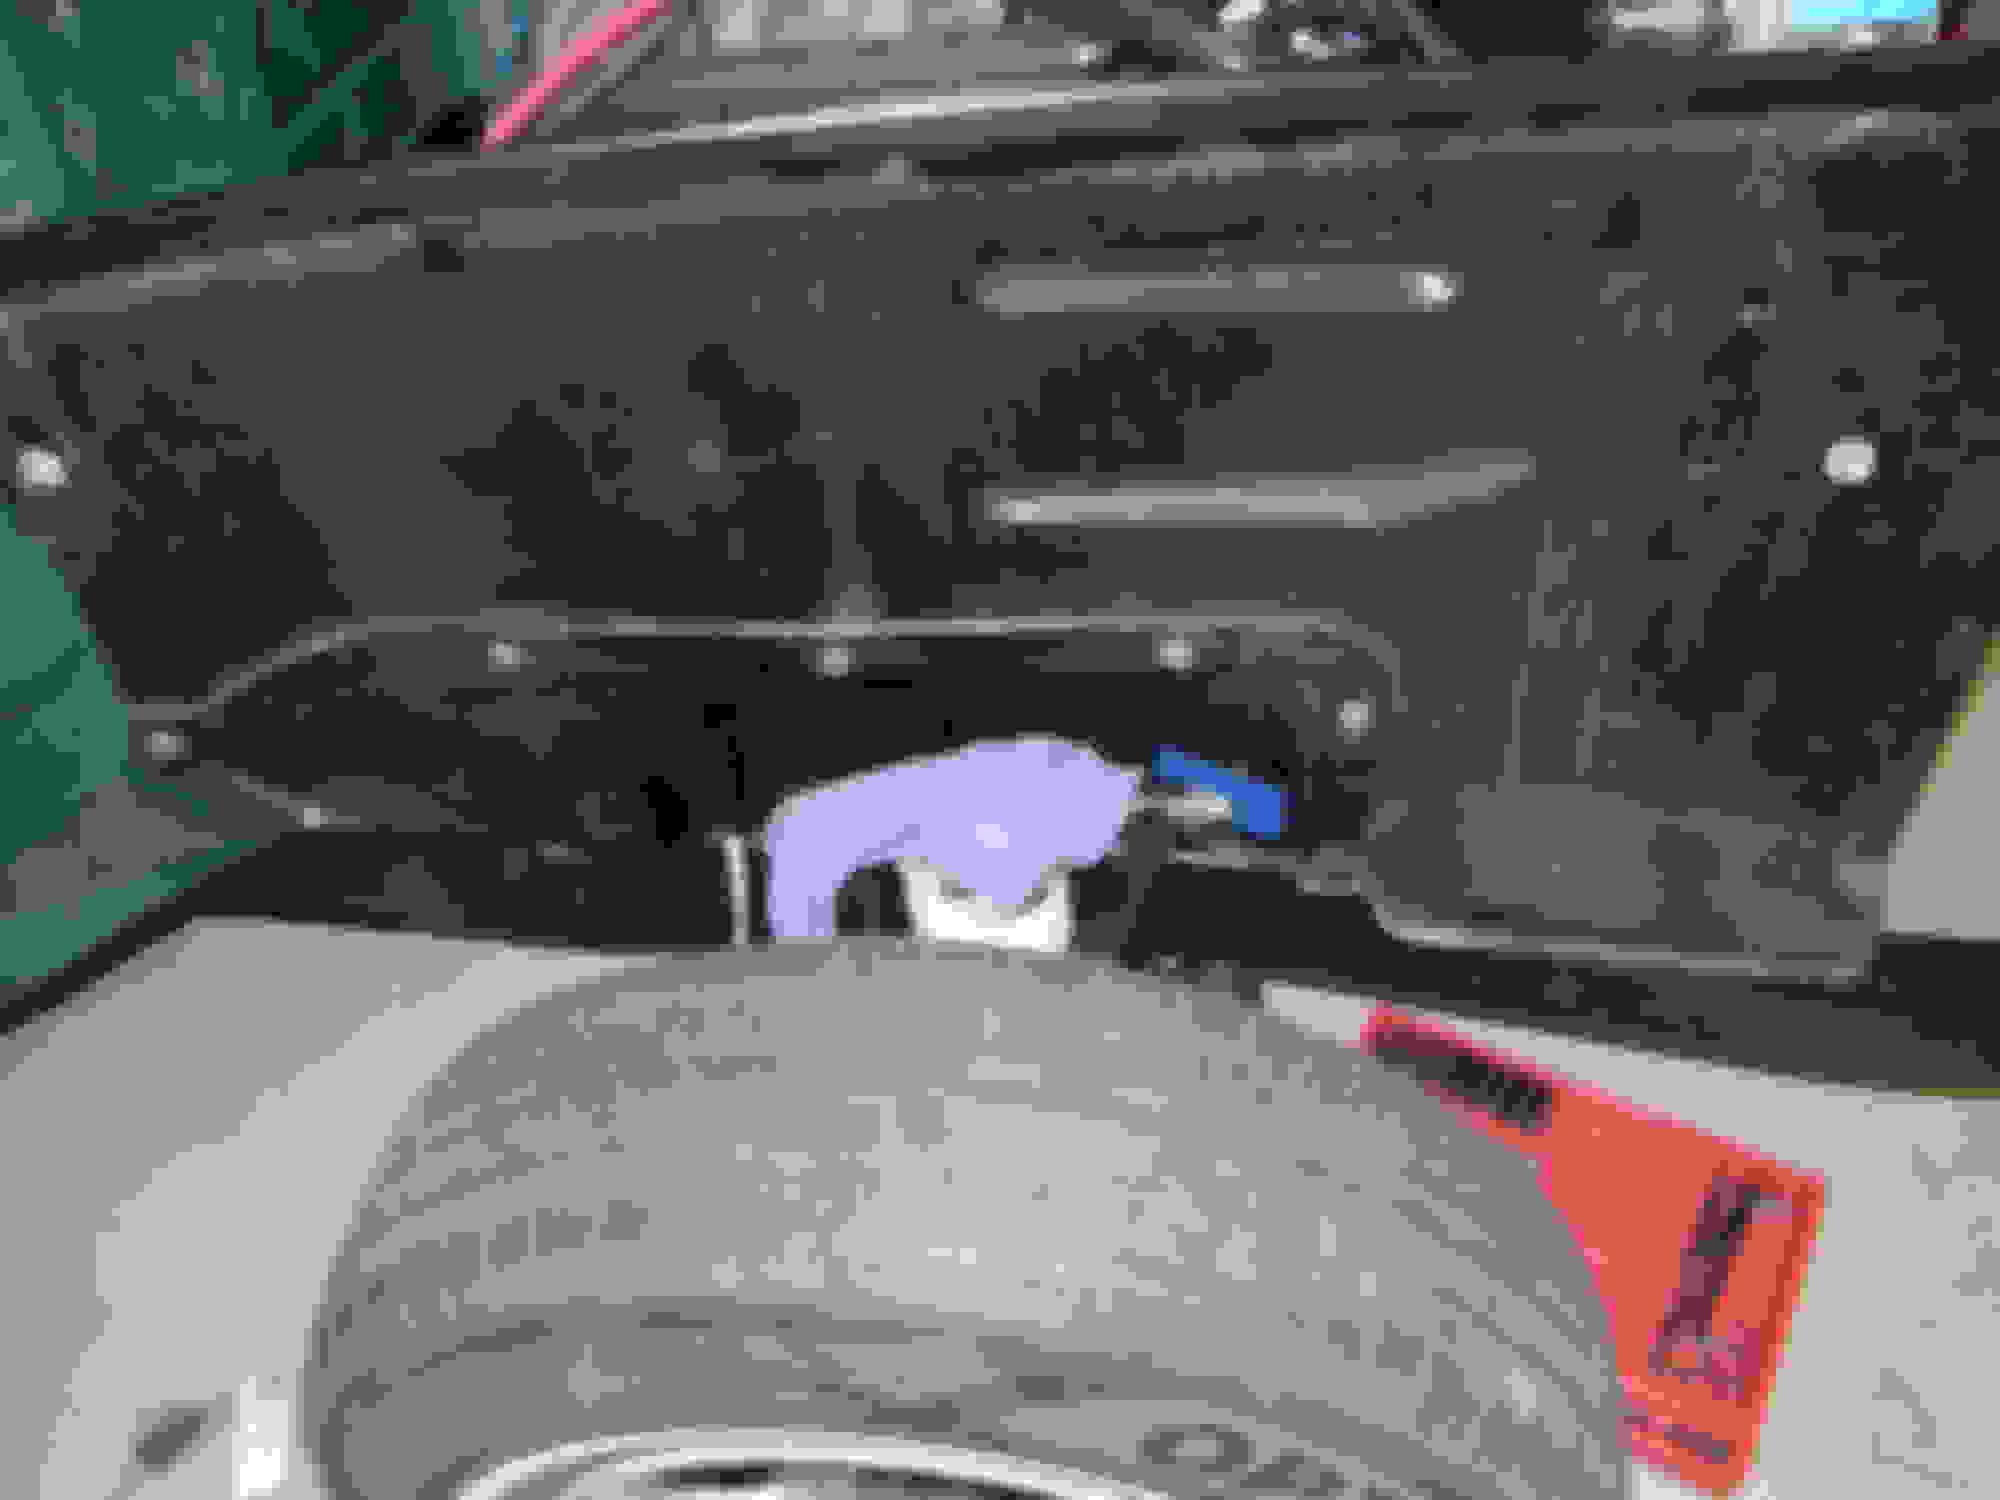
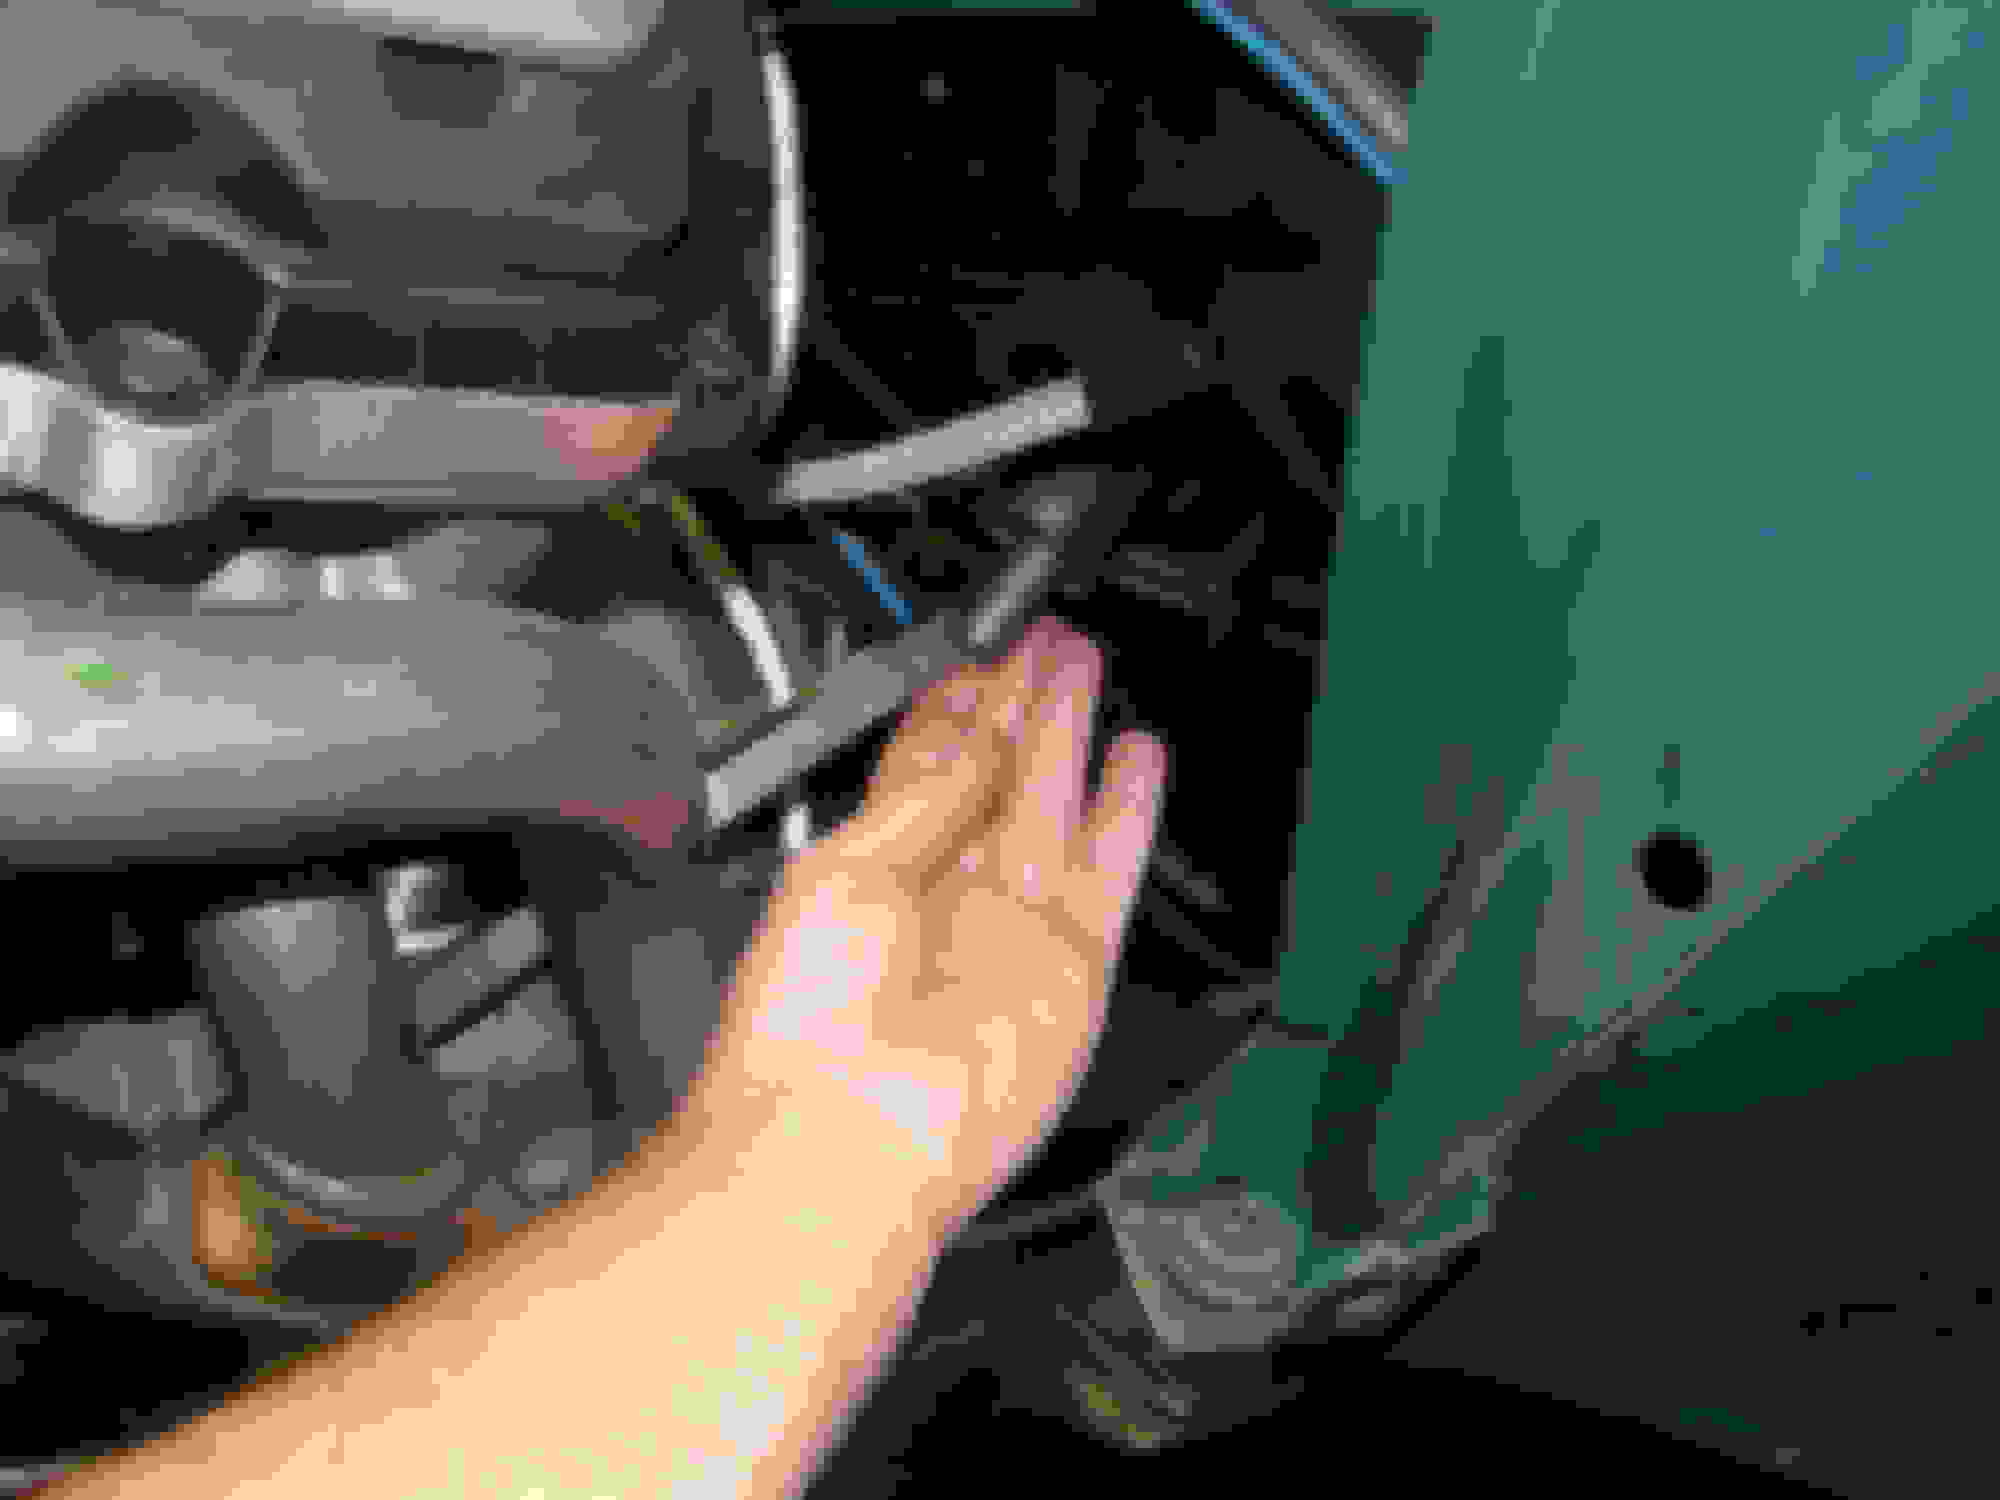
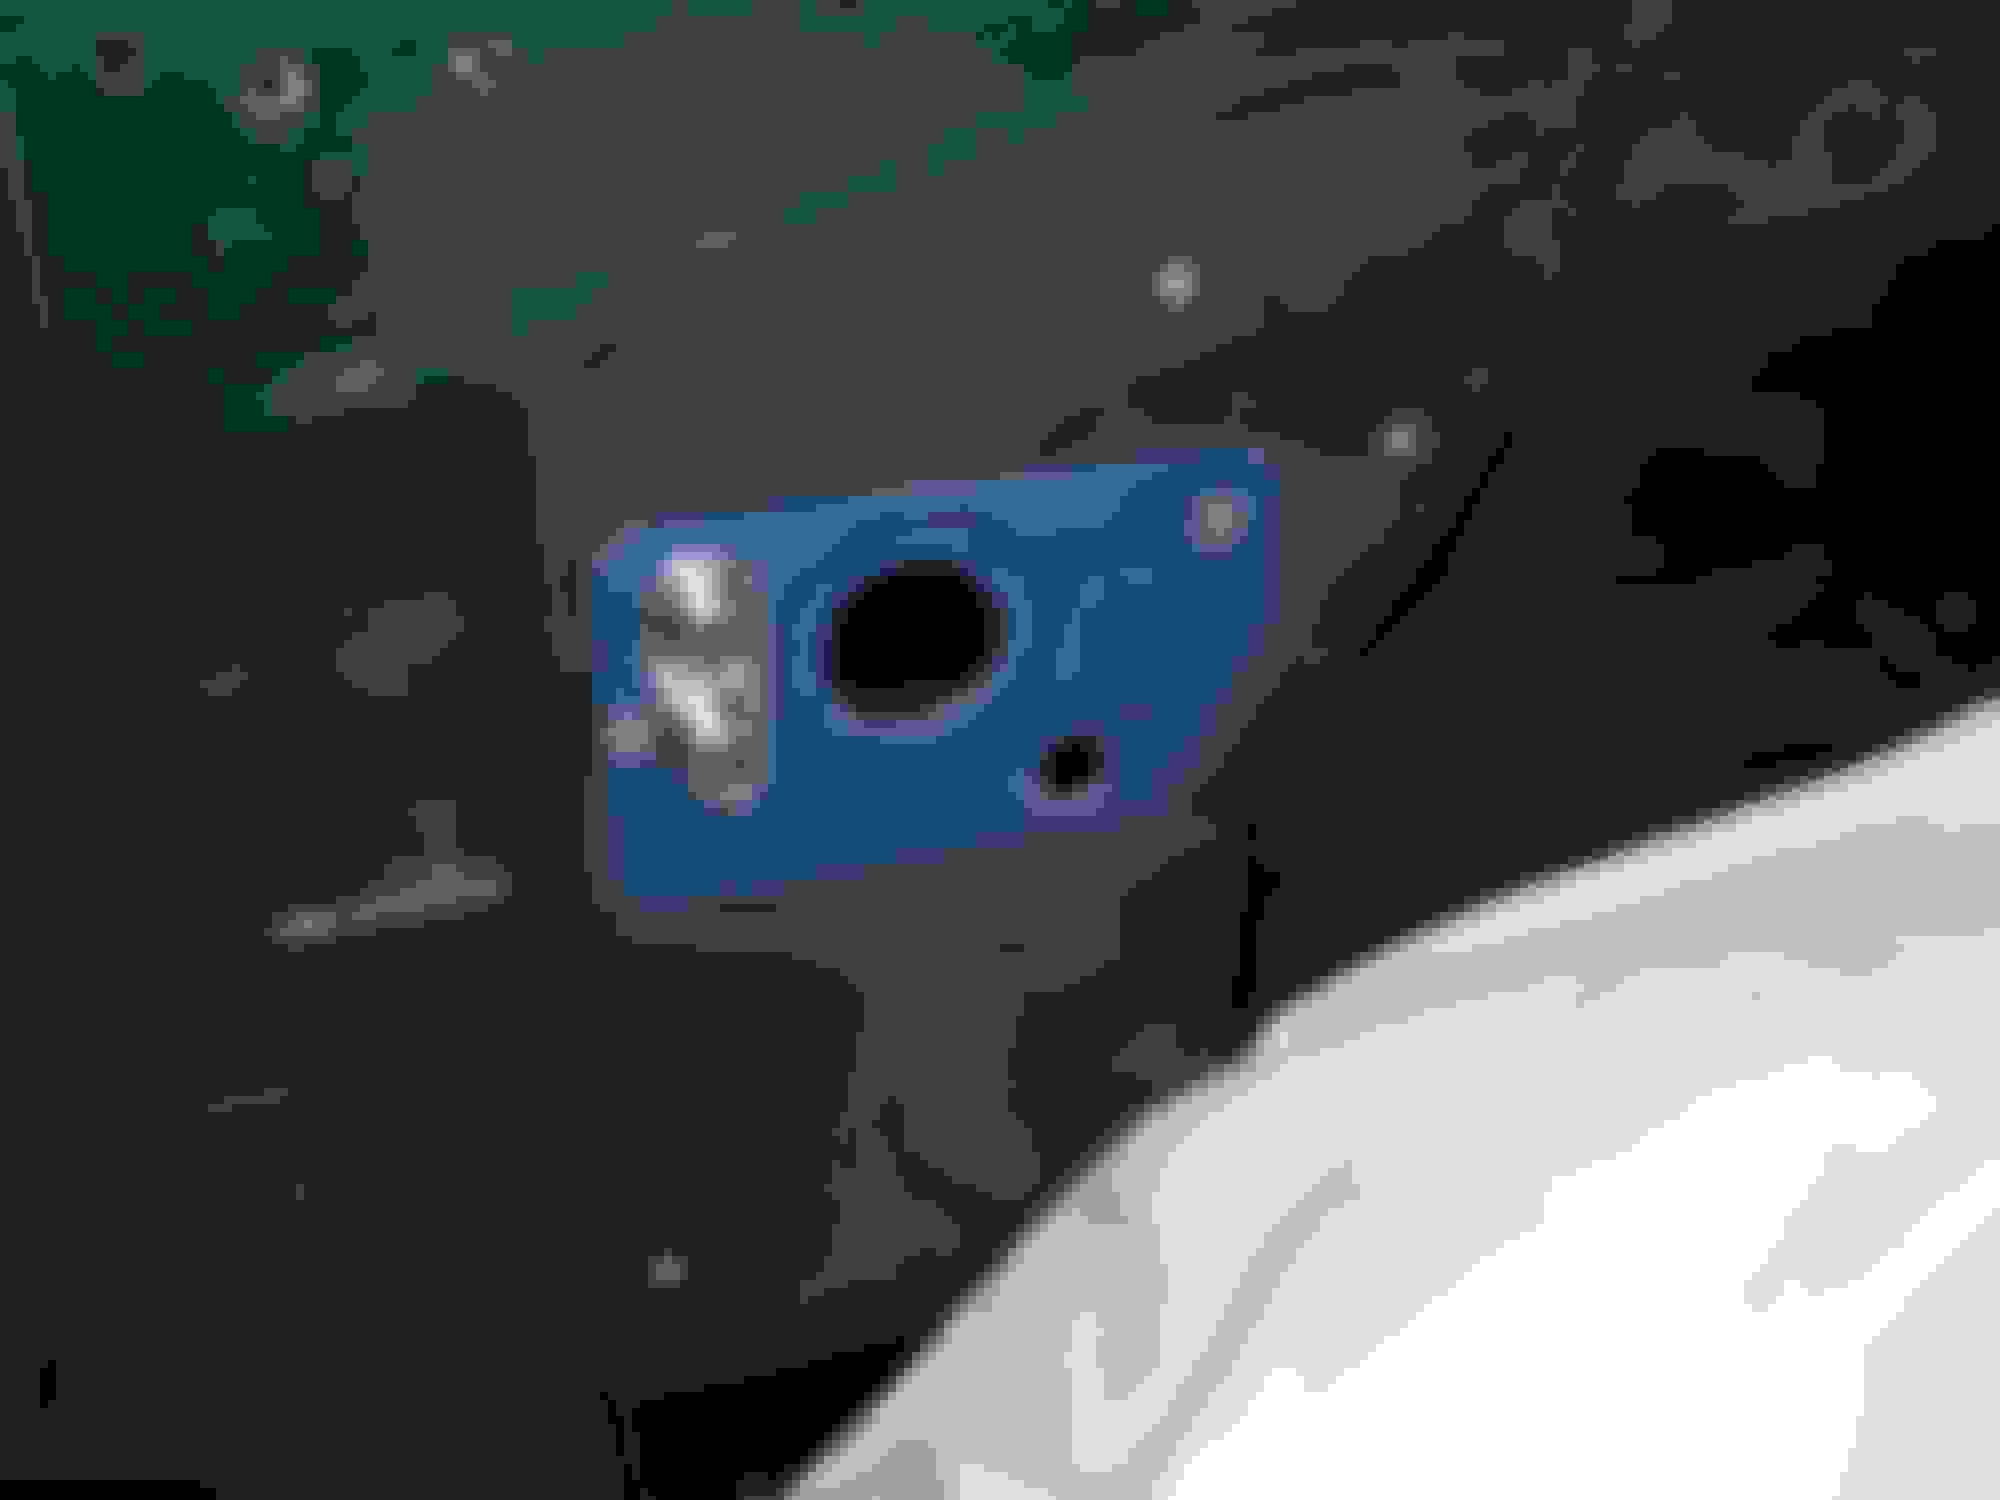
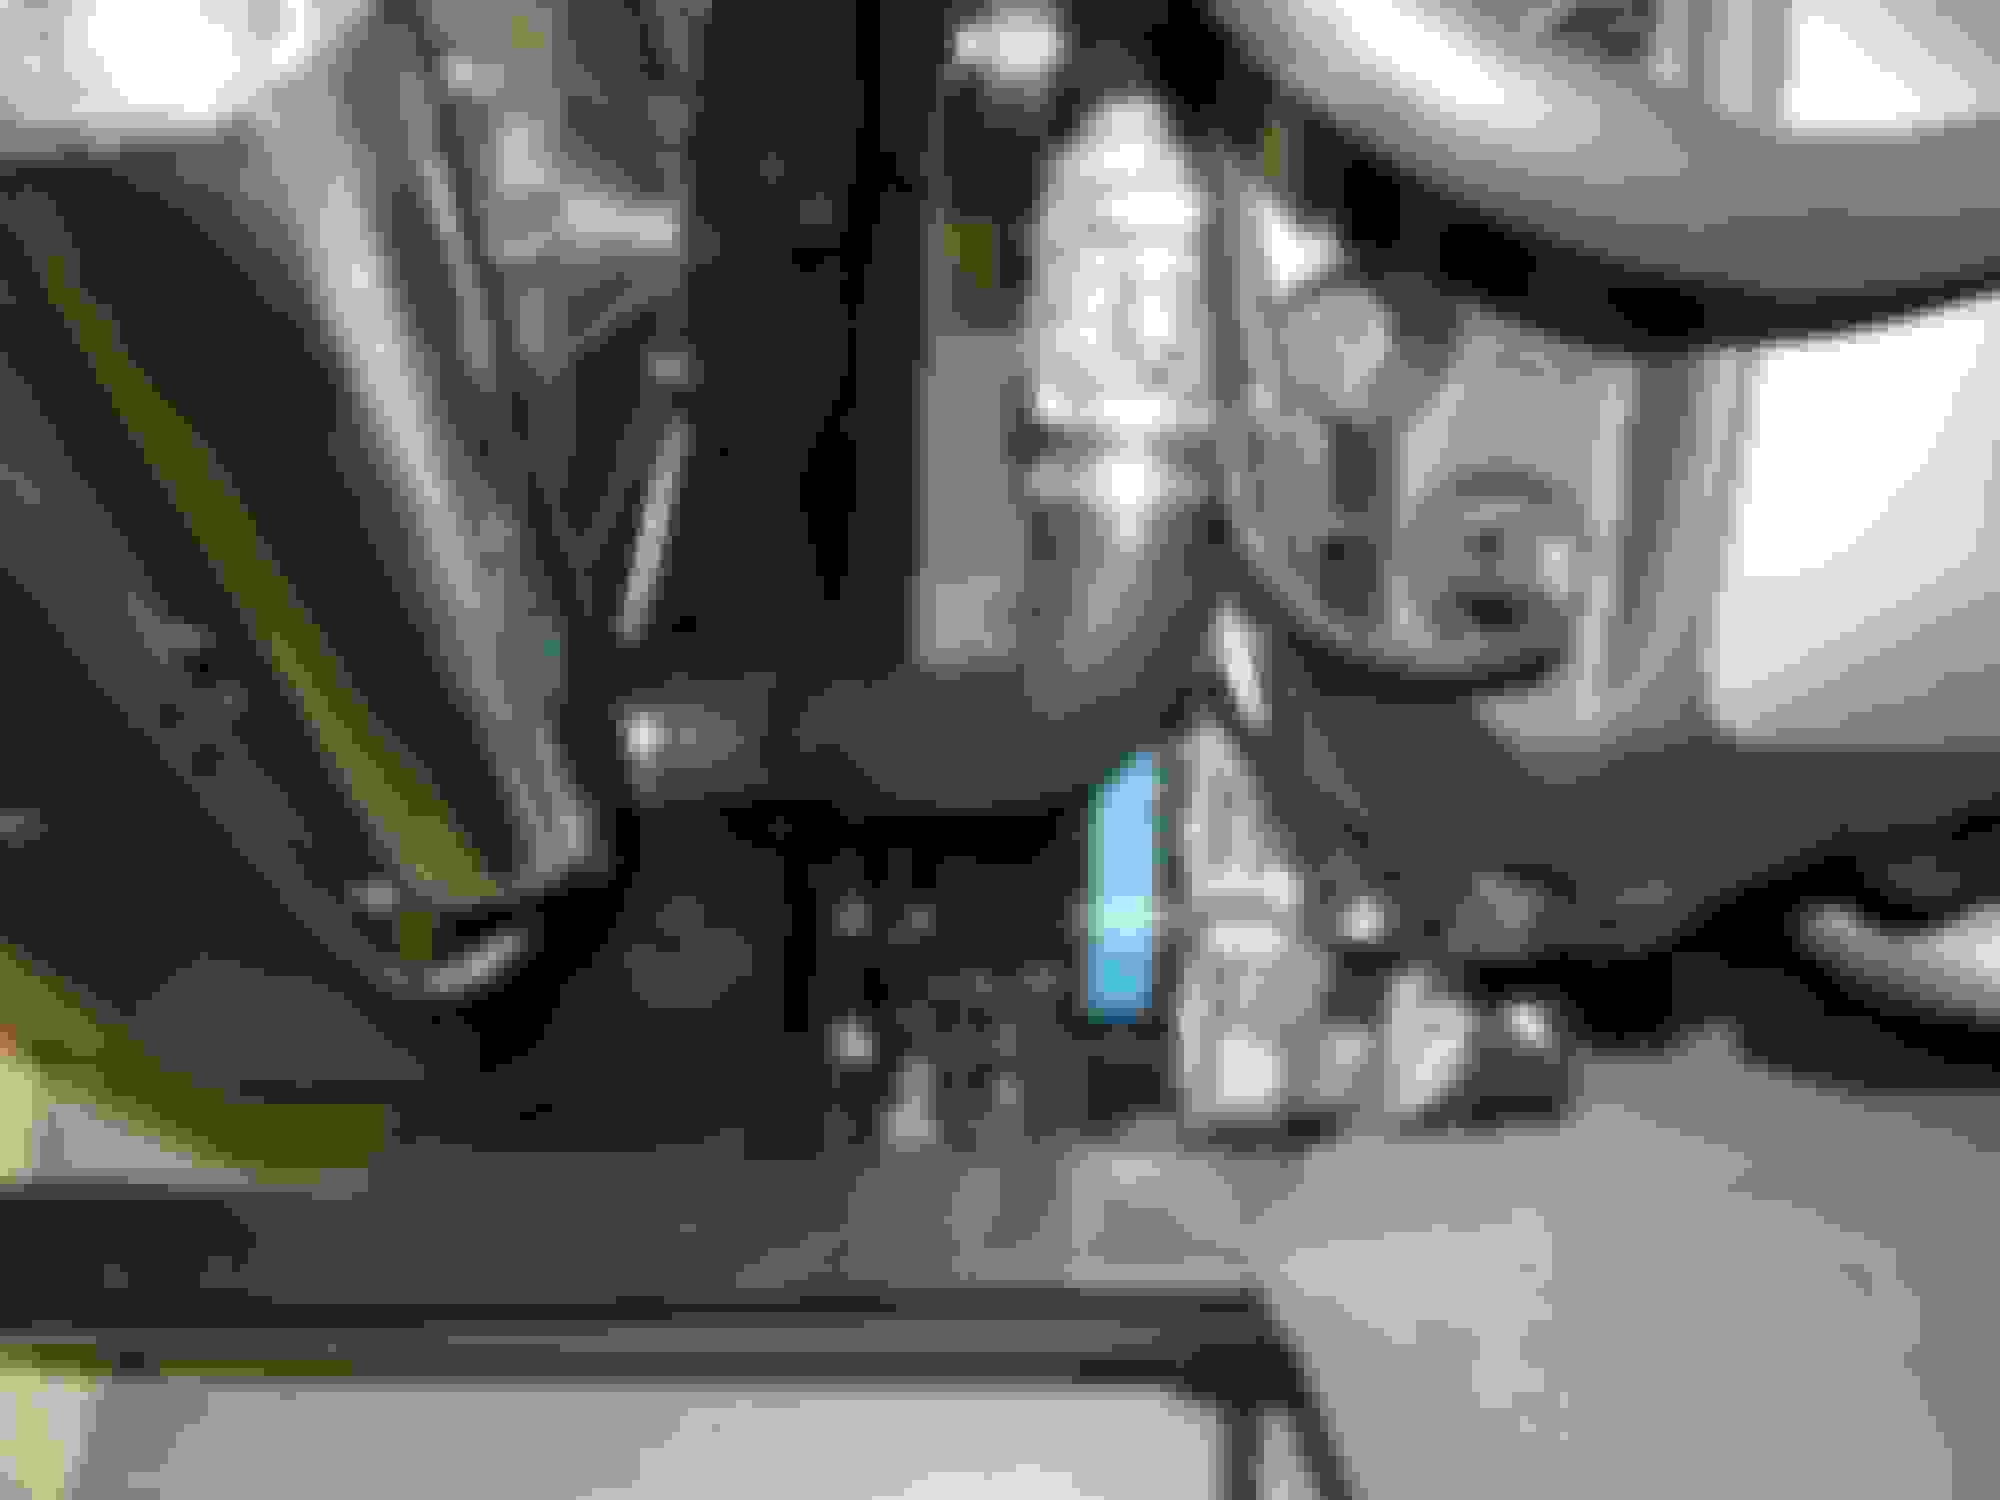
I cut a hole in the passenger side for the engine control module.
I made a steel semi-box to protect the ECM from flying rocks.
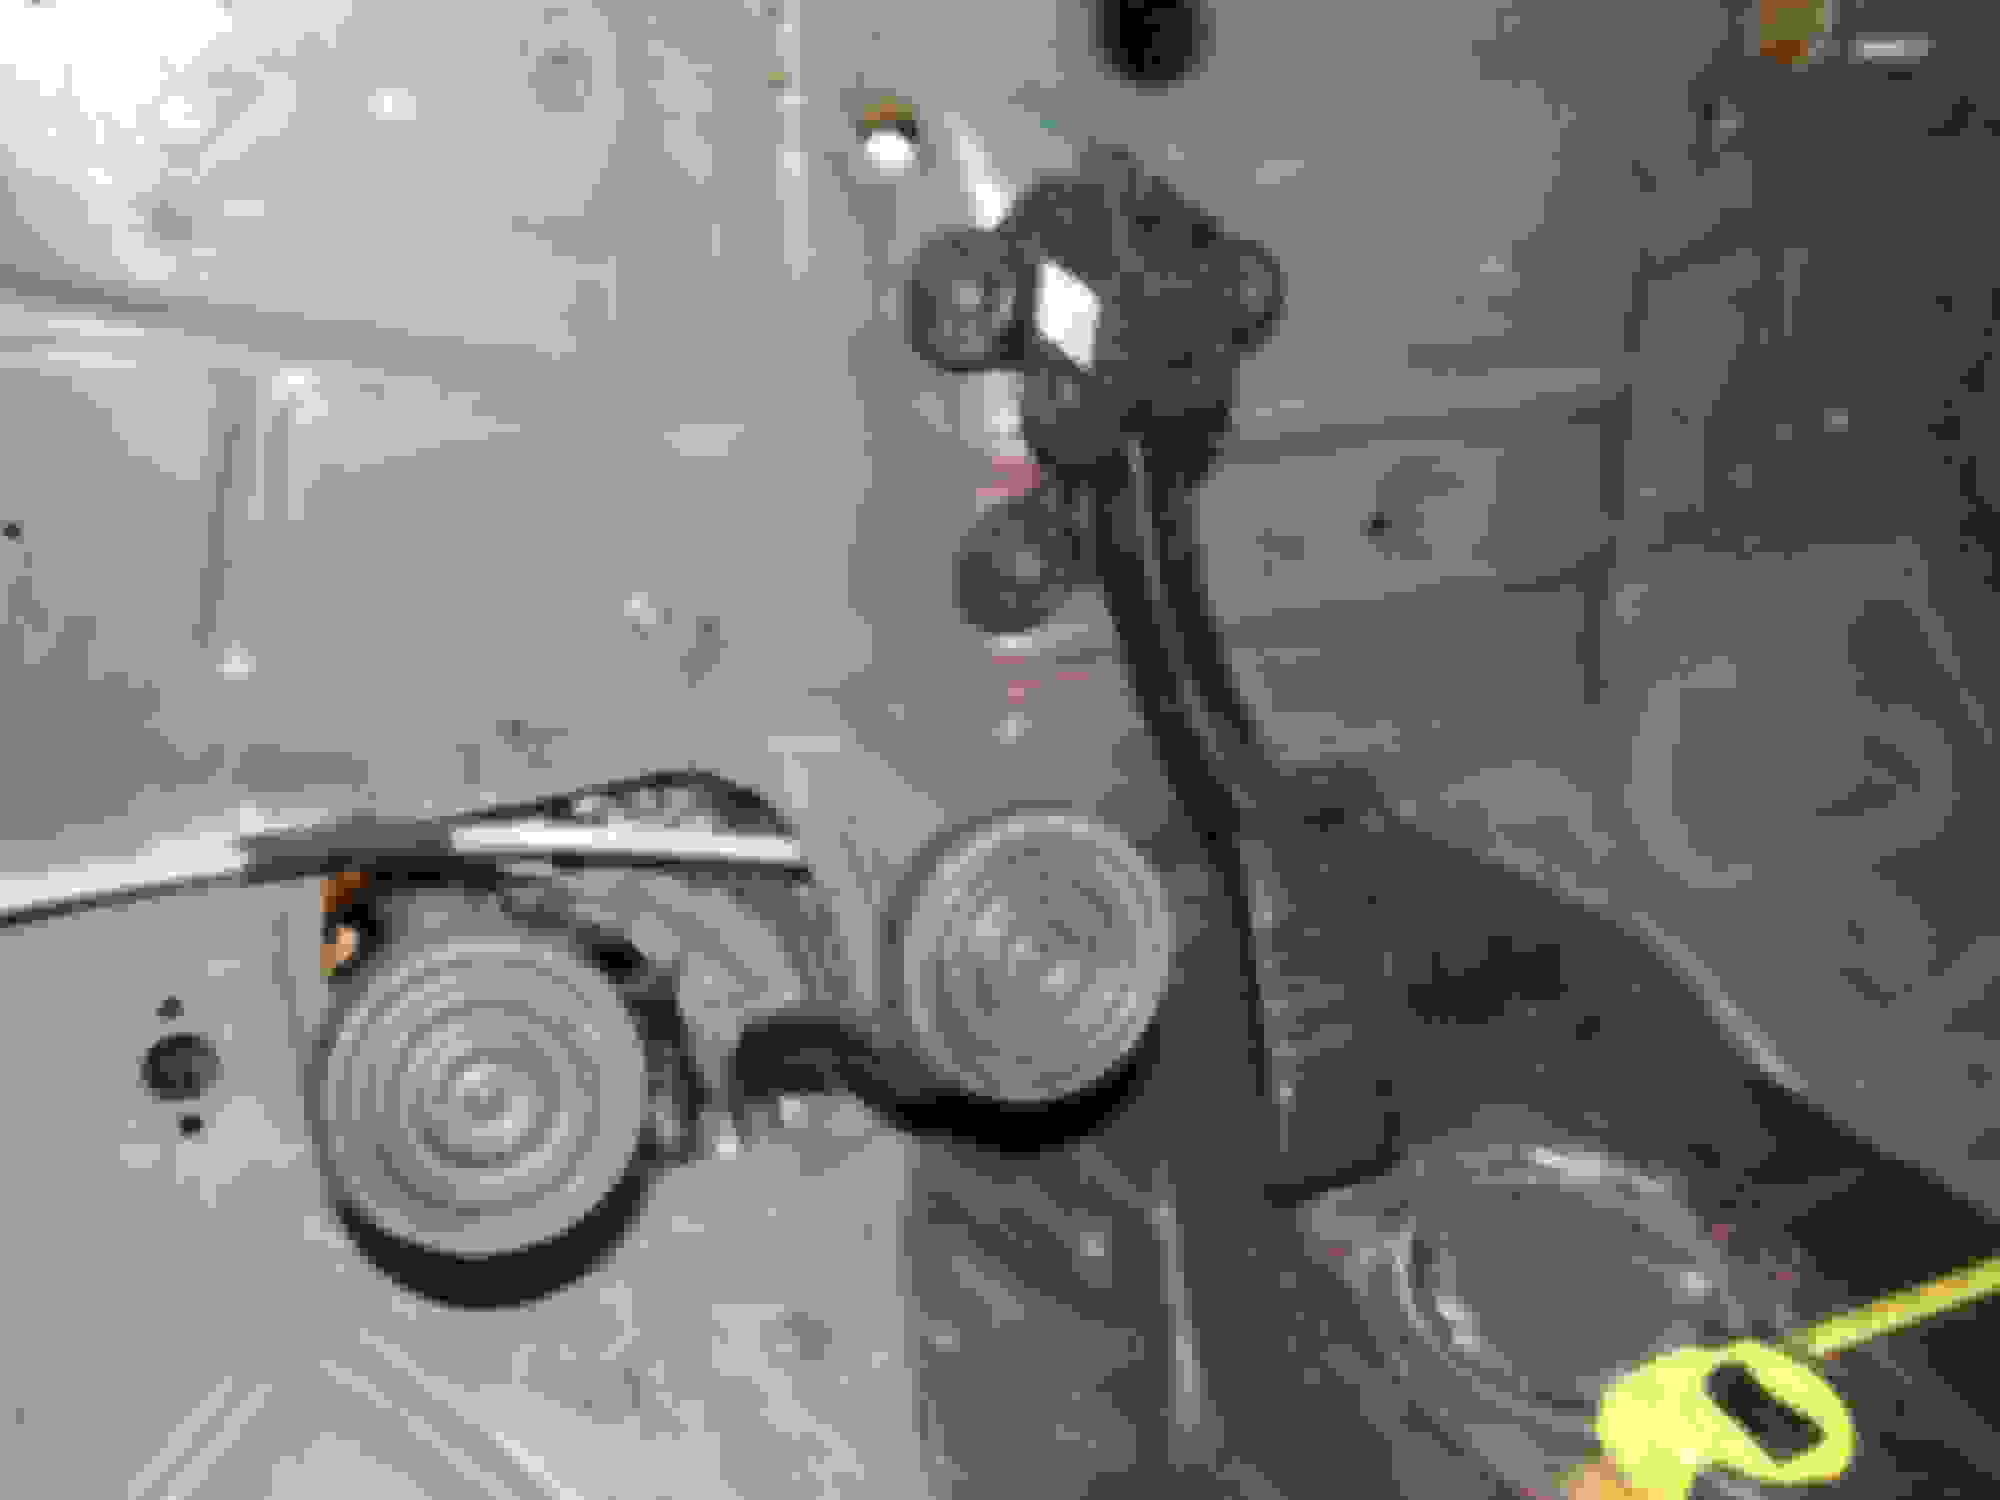
Took this opportunity to check if I had done the steering correctly.
This will be the final connection. Worked out very well with 3 u-joints.
Also checked the shifter location. I think a Lokar s bend shifter will work well but it is a little too short, have a fix in mind.
Welded the extra tunnel cover holes.
Checked the fit of the fenders. Wheels are turned slightly left so tire looks forward. Will be replacing the rims and tires with lager ones so if someone needs a deal on tires and rims, 5 on 5.5
Welded in shoulder belt mounts.
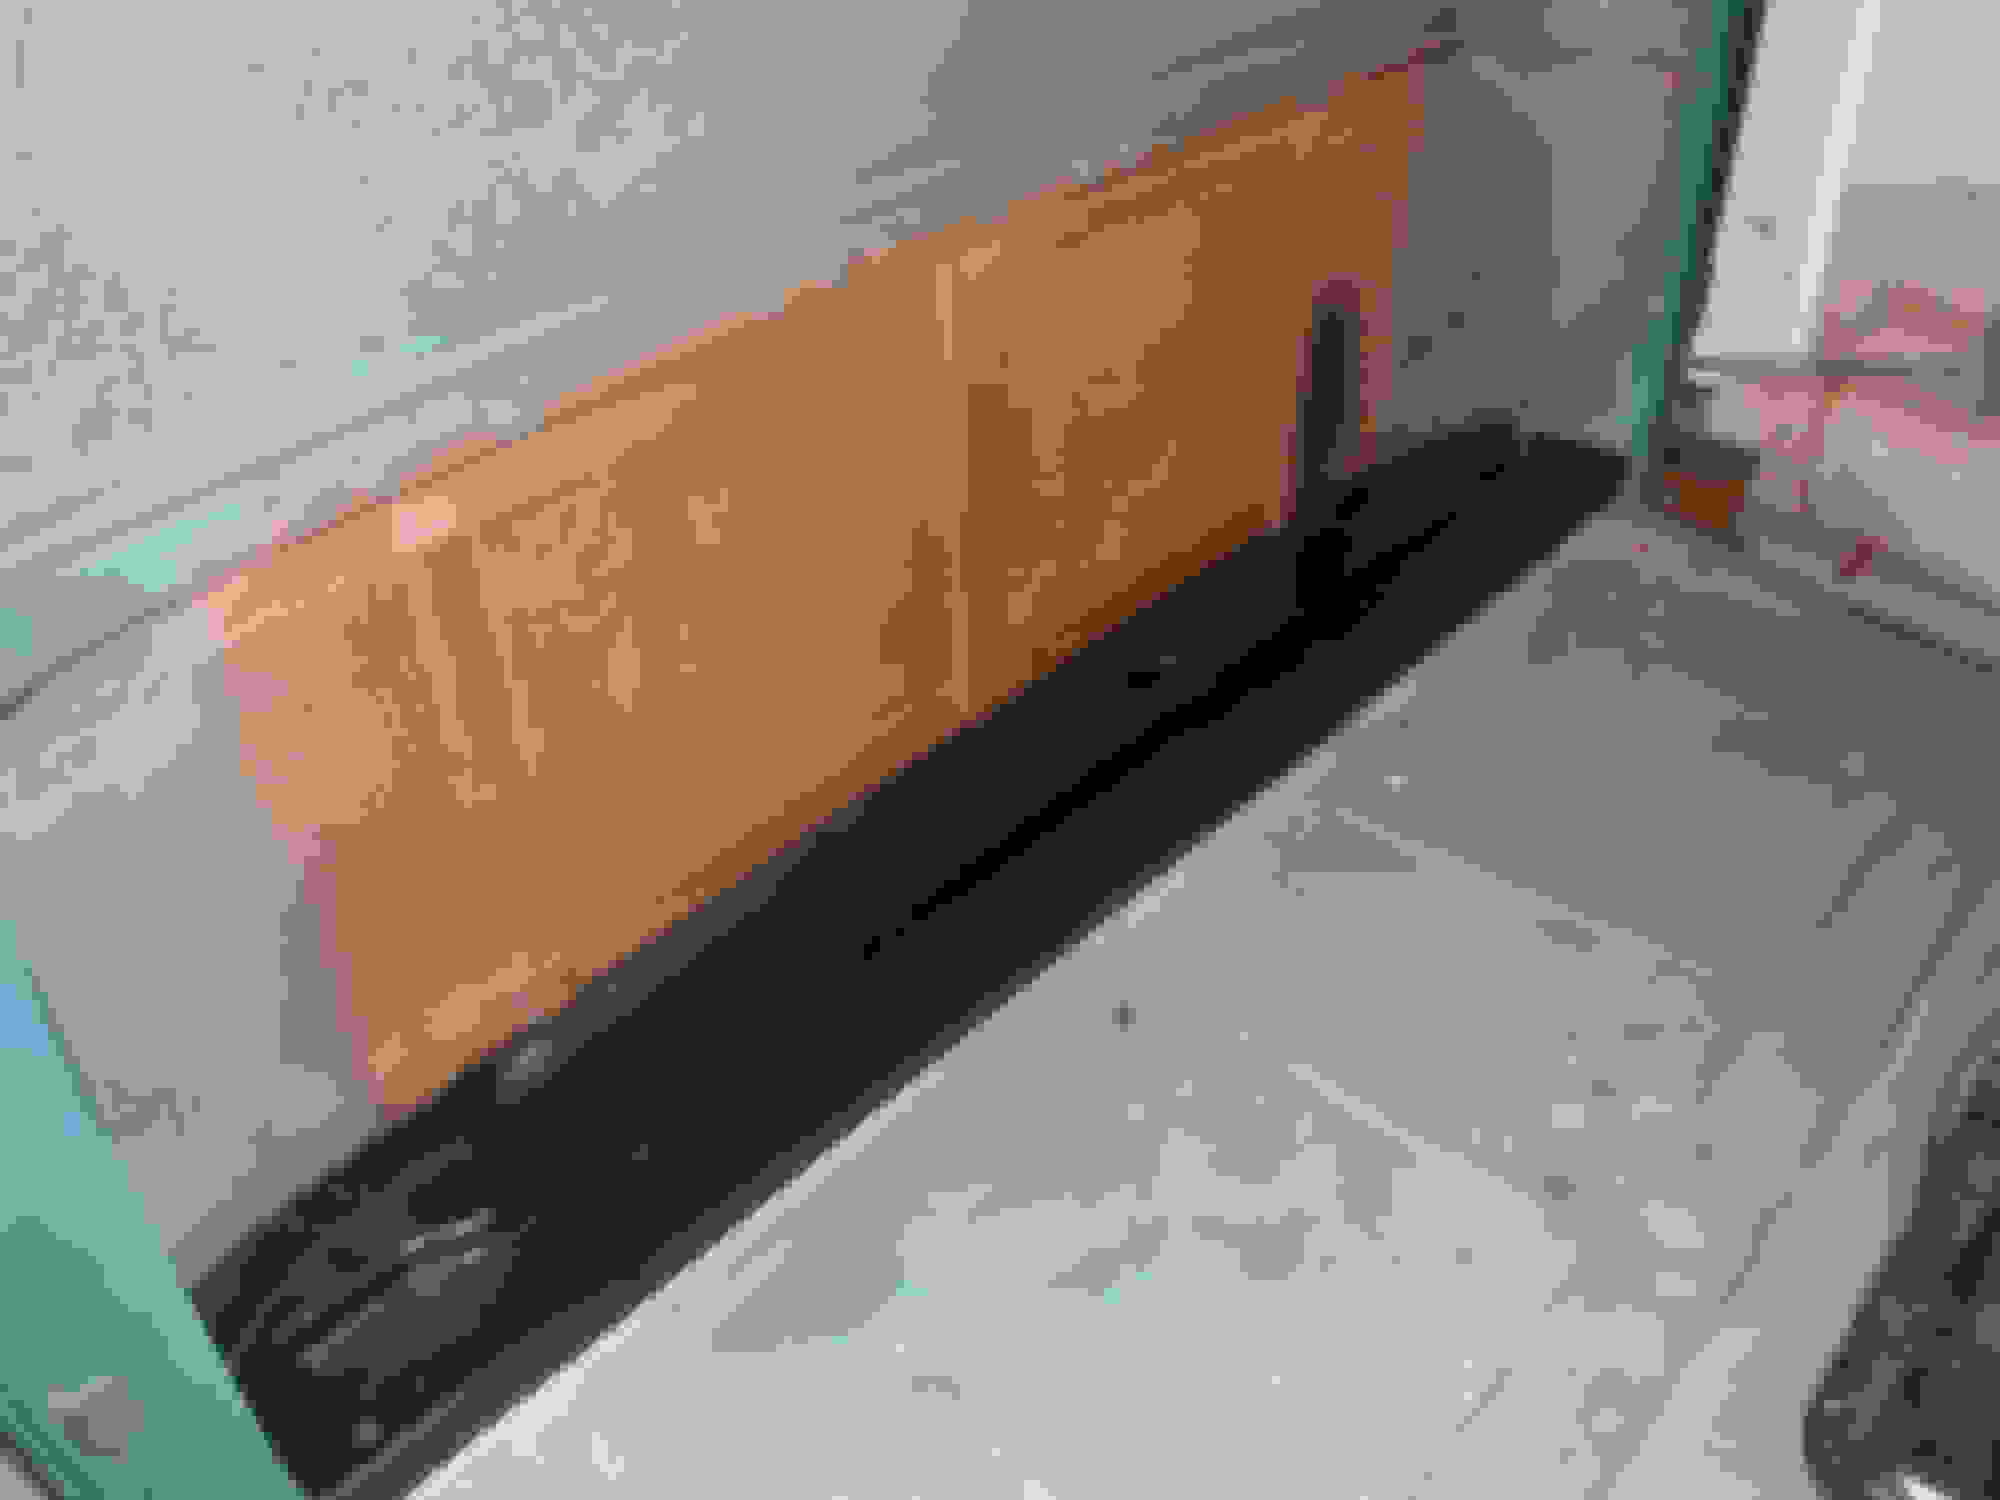
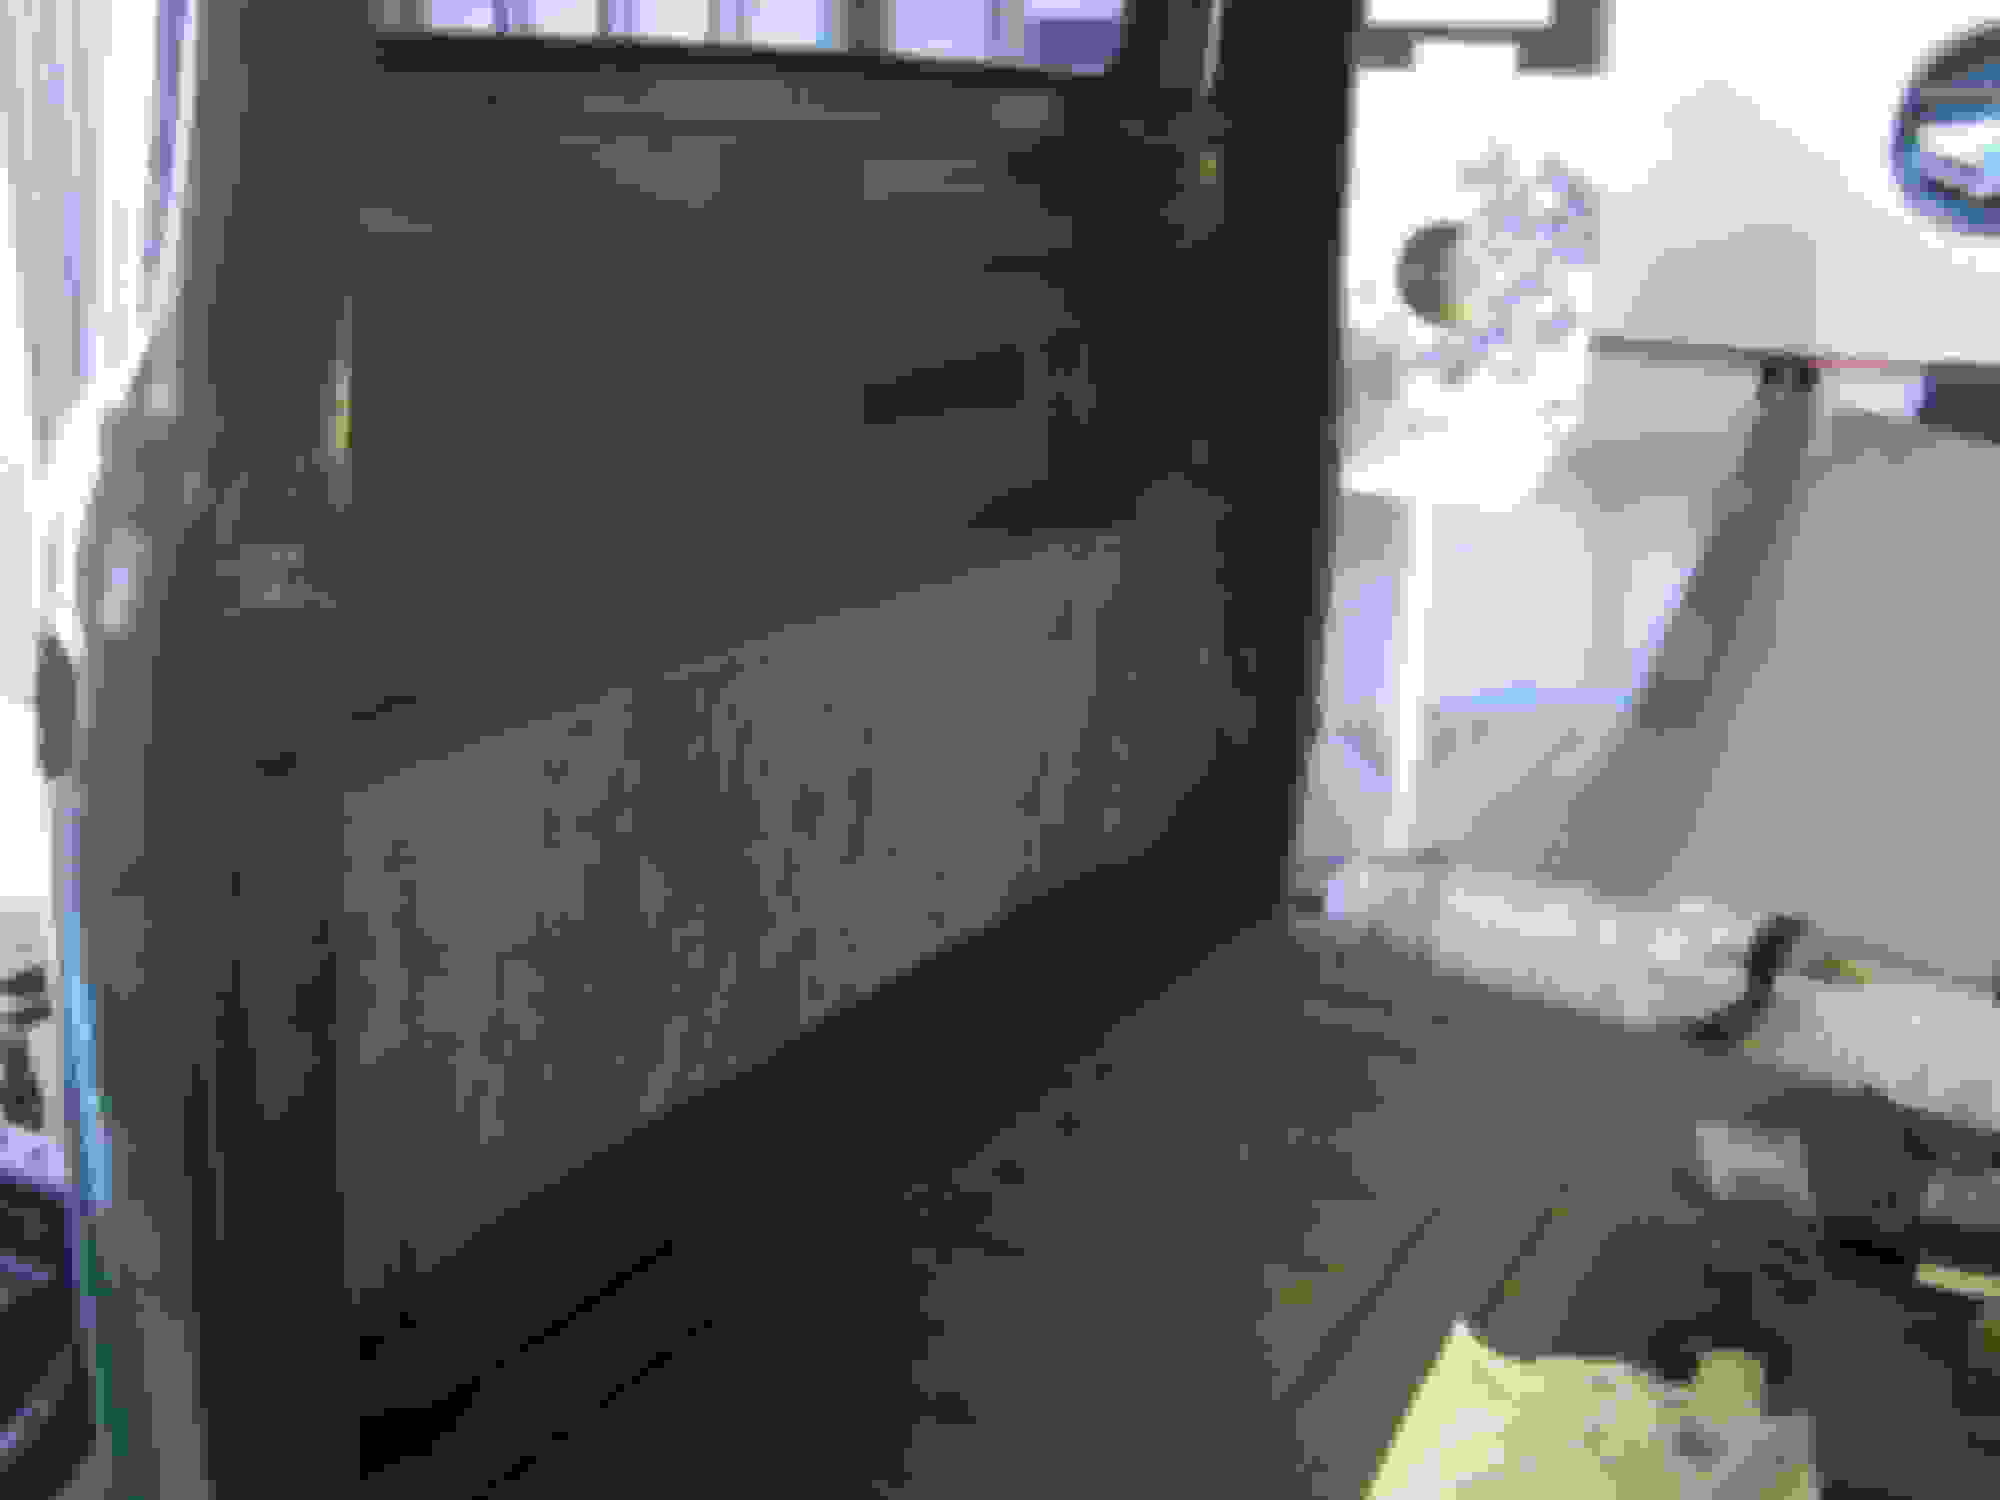
Primed the underside of the cowl, this was bare metal.
Cut a hole in the drivers inner fender so I could stare laying out the air inlet system.
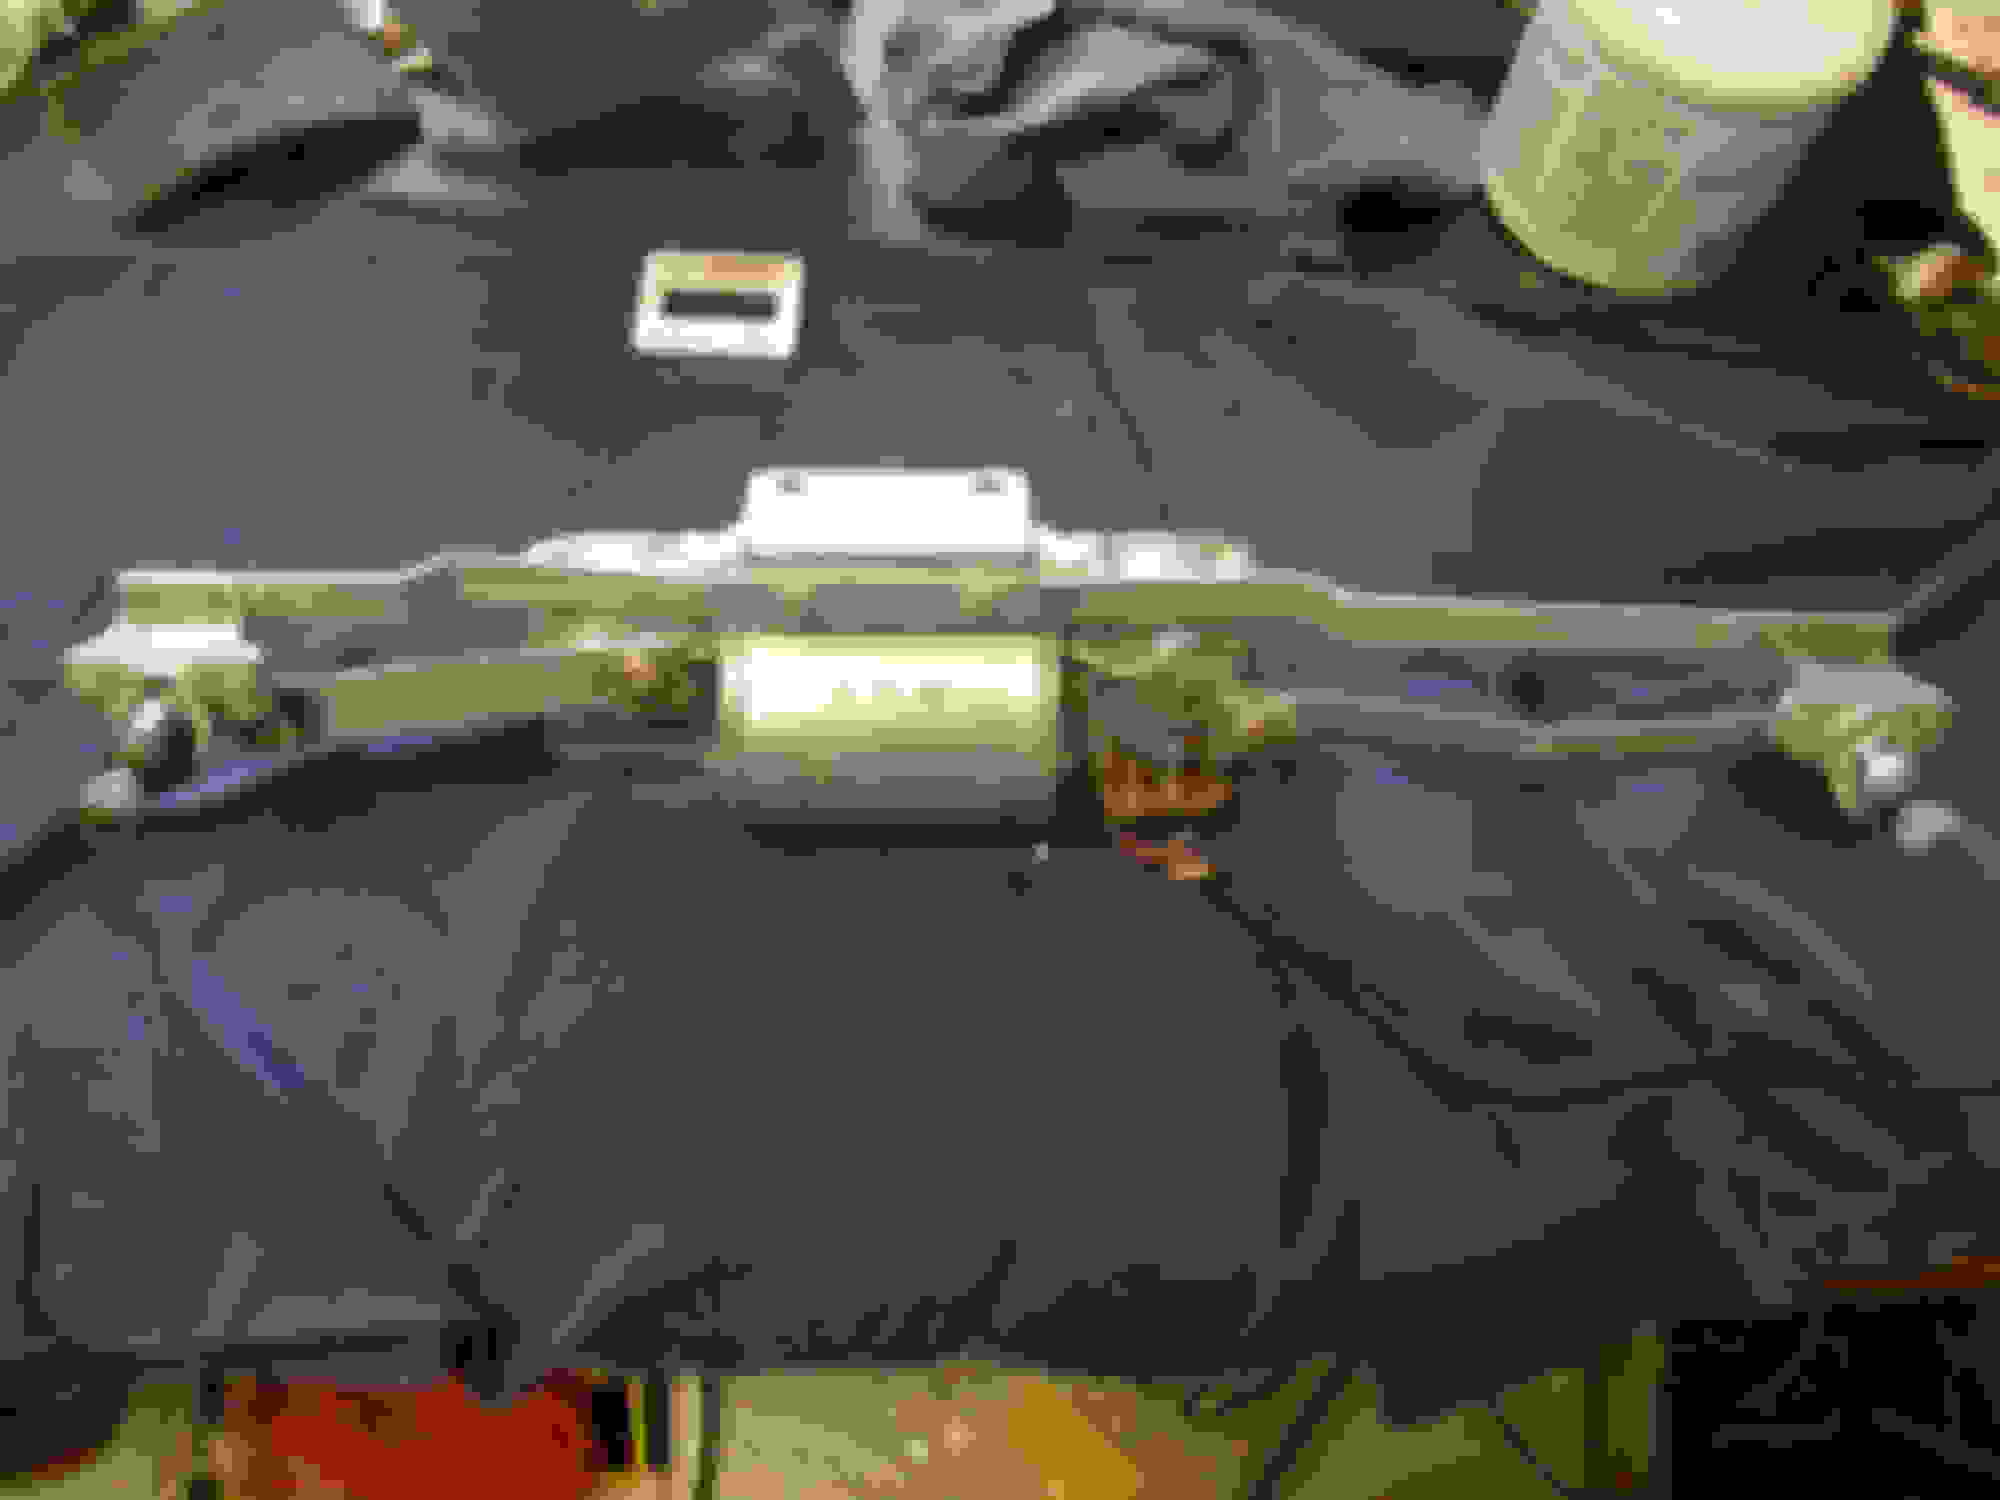
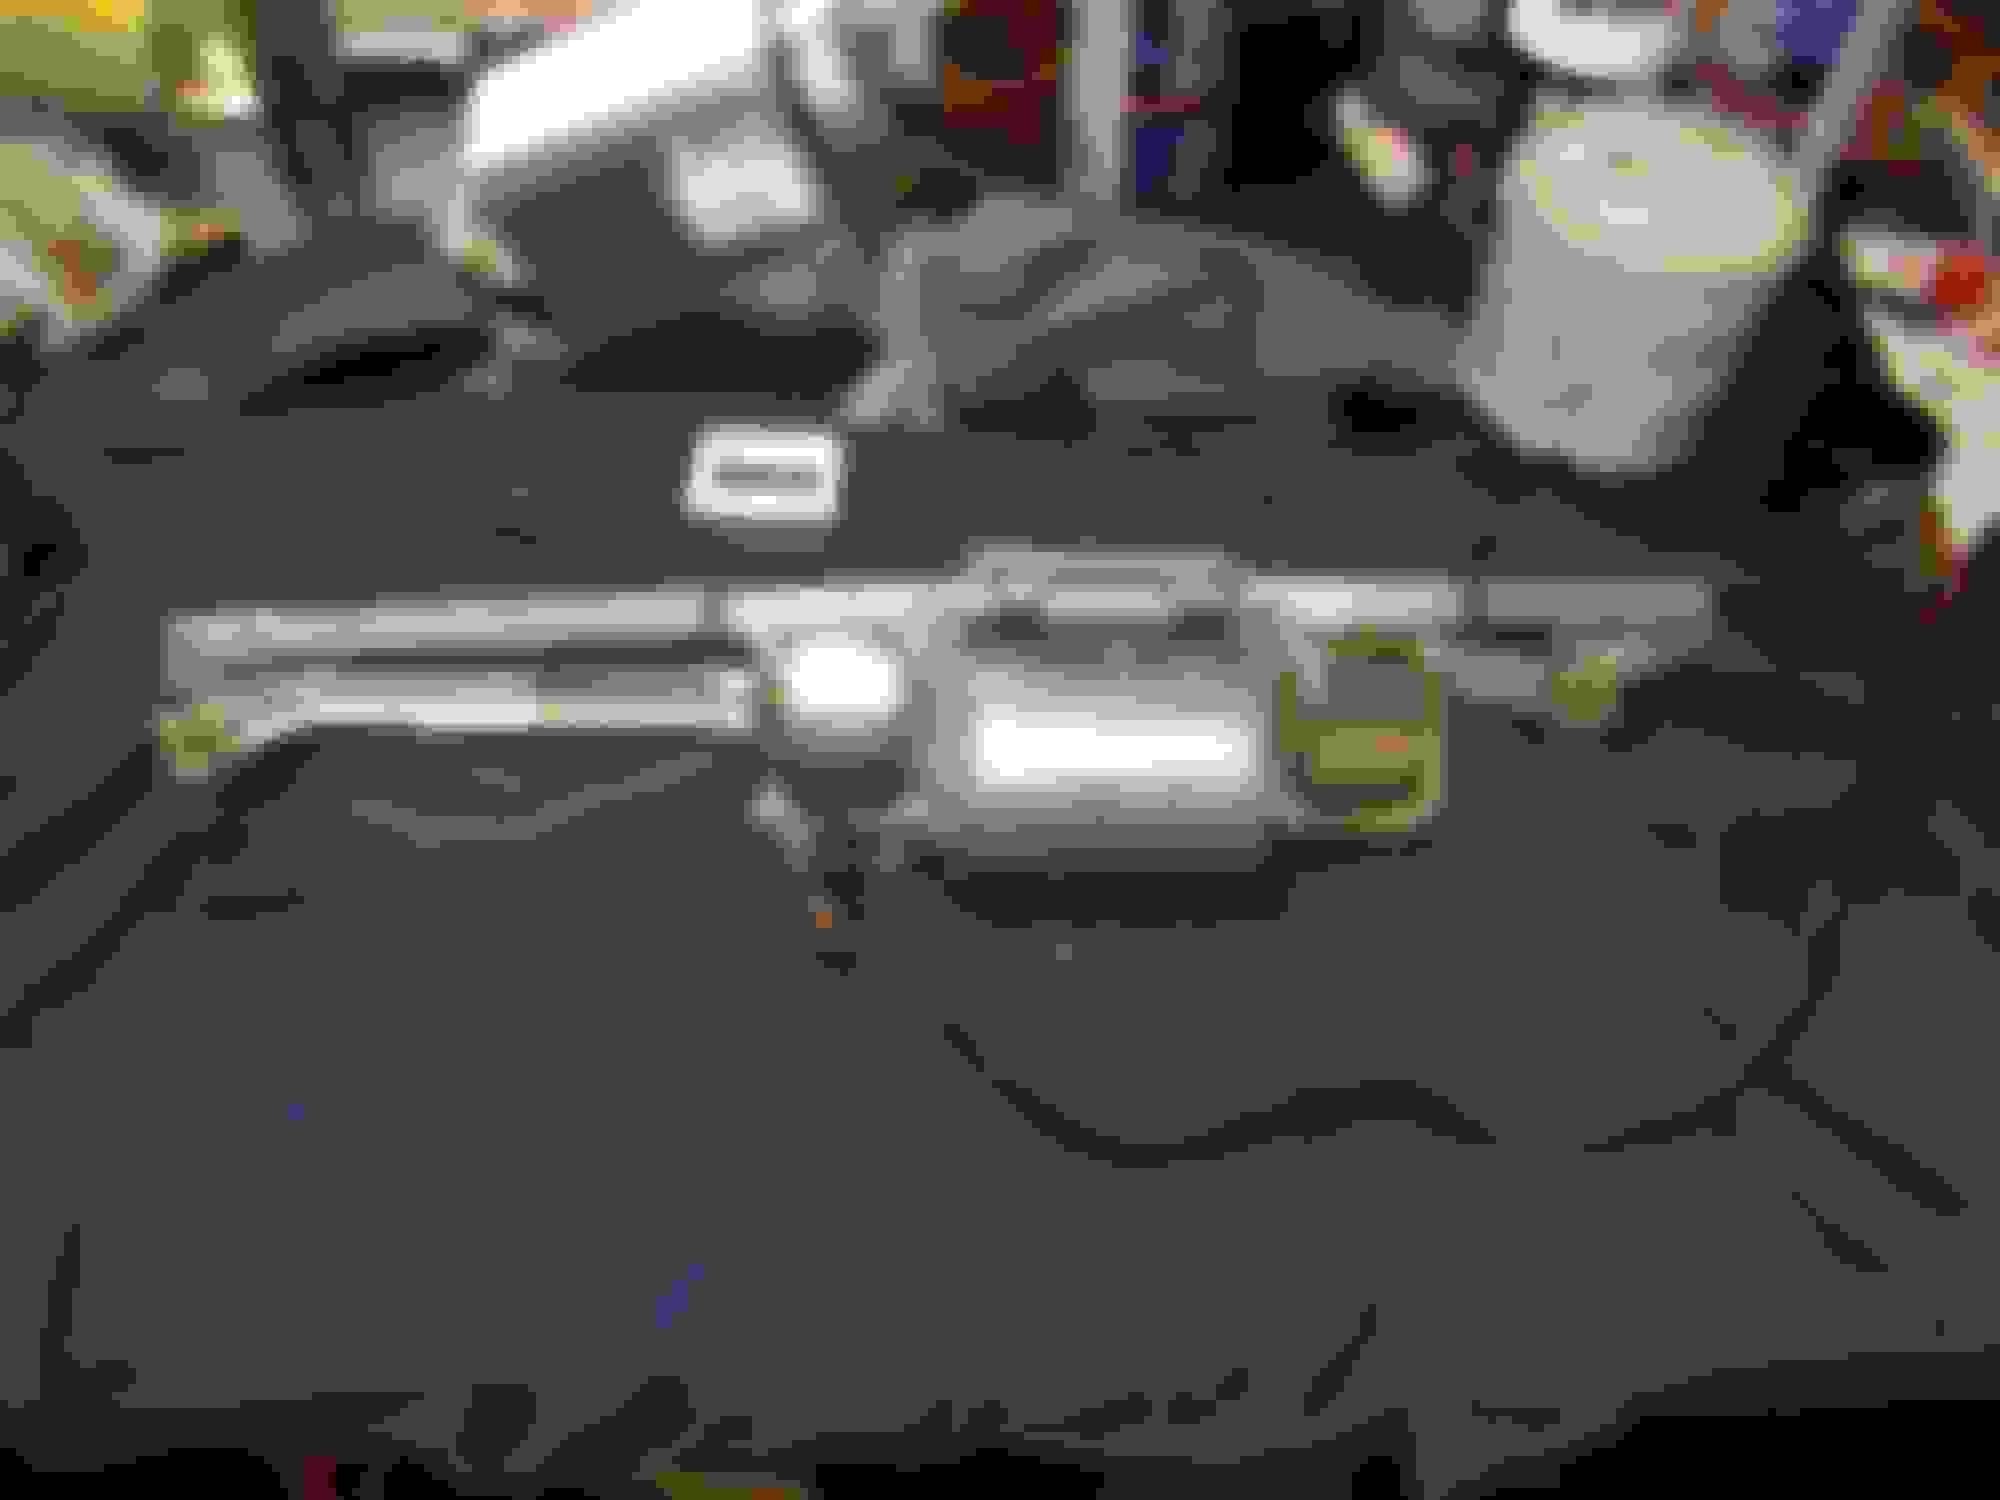
Cleaned up the wiper motor. not bad for 50 years old.
I would like to tell you I restored this but in reality i took about 30 minutes to clean and lube it.
Pulled the head liner out and this is what I found.
Well I'm at that part in the build where I spend hours of work for very little visual change. All progress is progress though and it all needs to be done. There have been a few fun jobs,
and start up is just around the corner.
I painted the area under the fuel tank and.....
undercoated the cab corners.
I used a single screw to secure the gas pedal so I could try different locations (just me at home for a couple weeks). Four holes later I was happy with the location and could start on mounts.
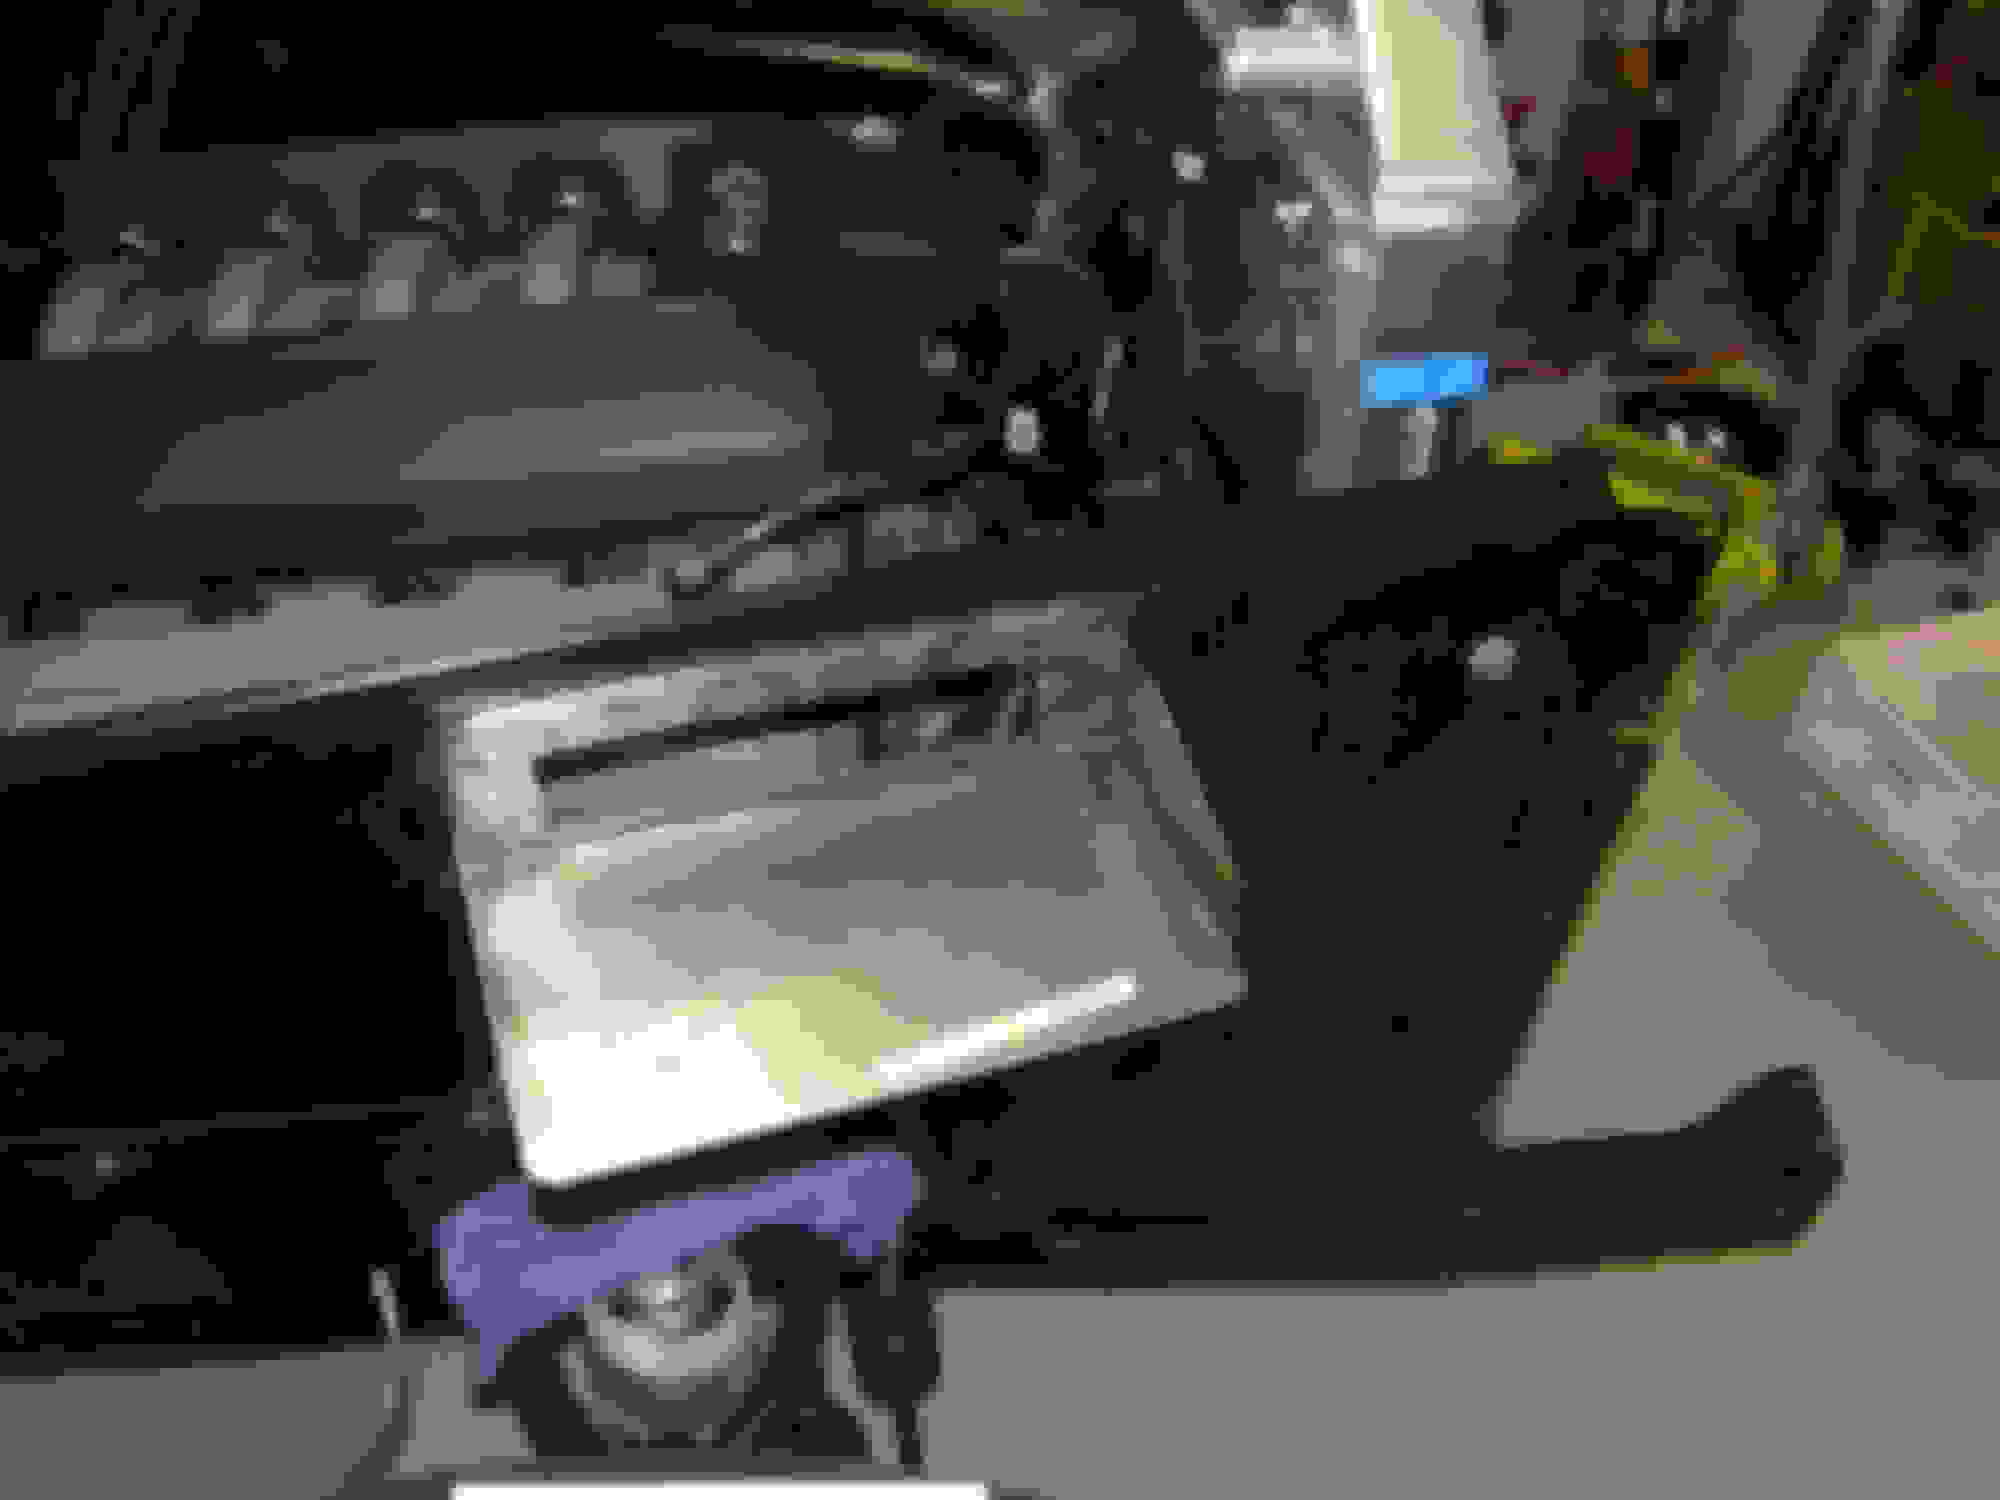
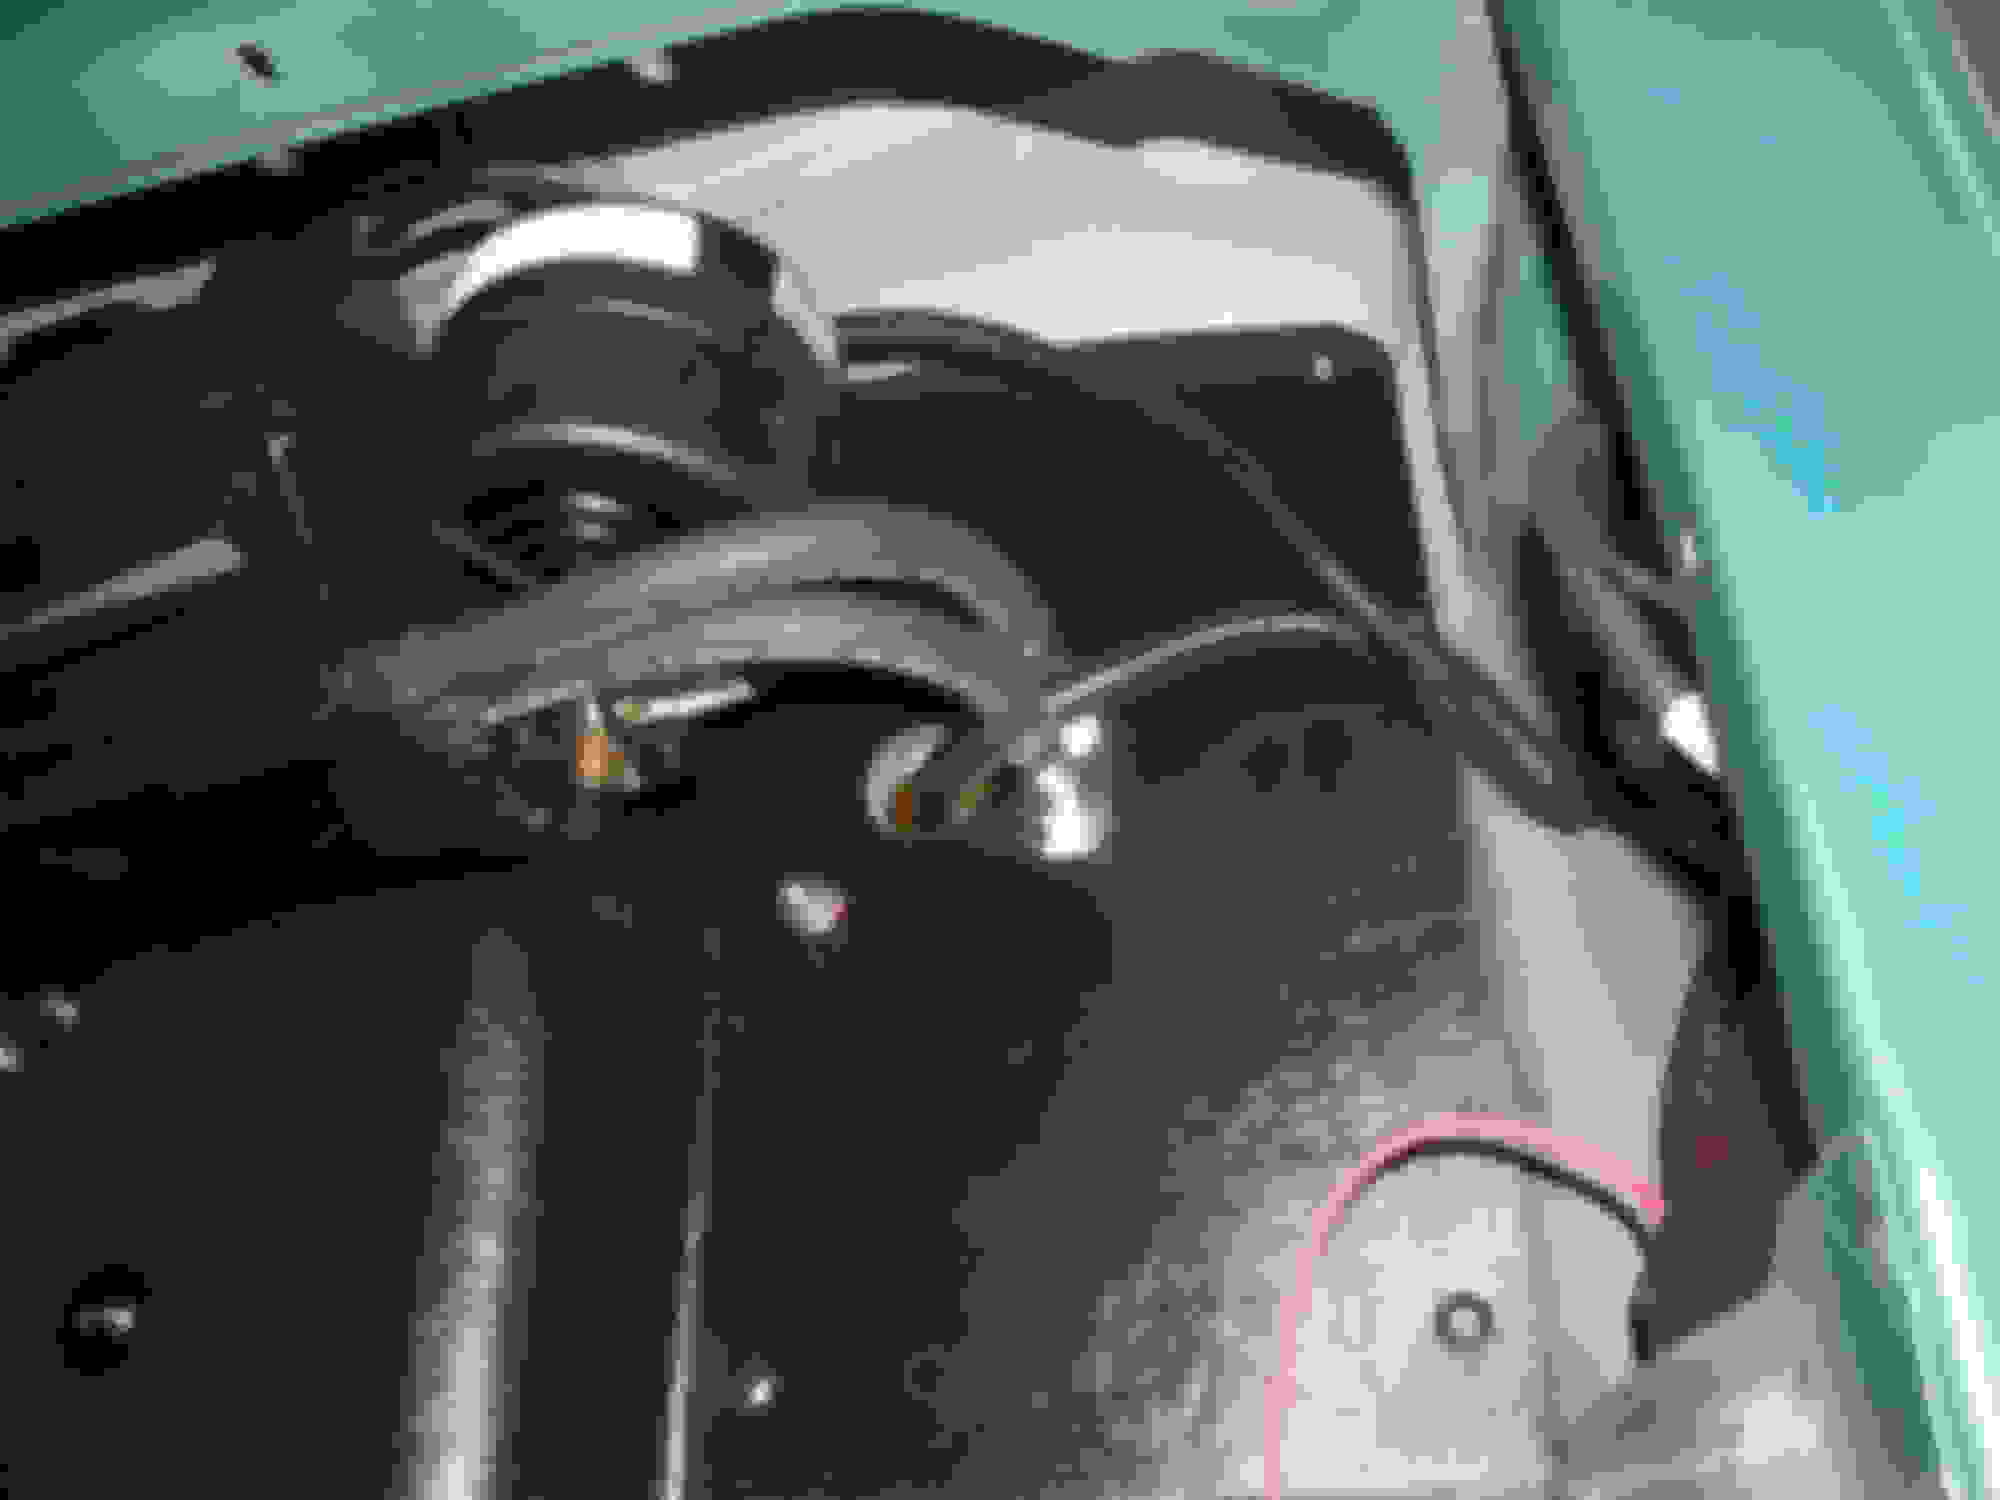
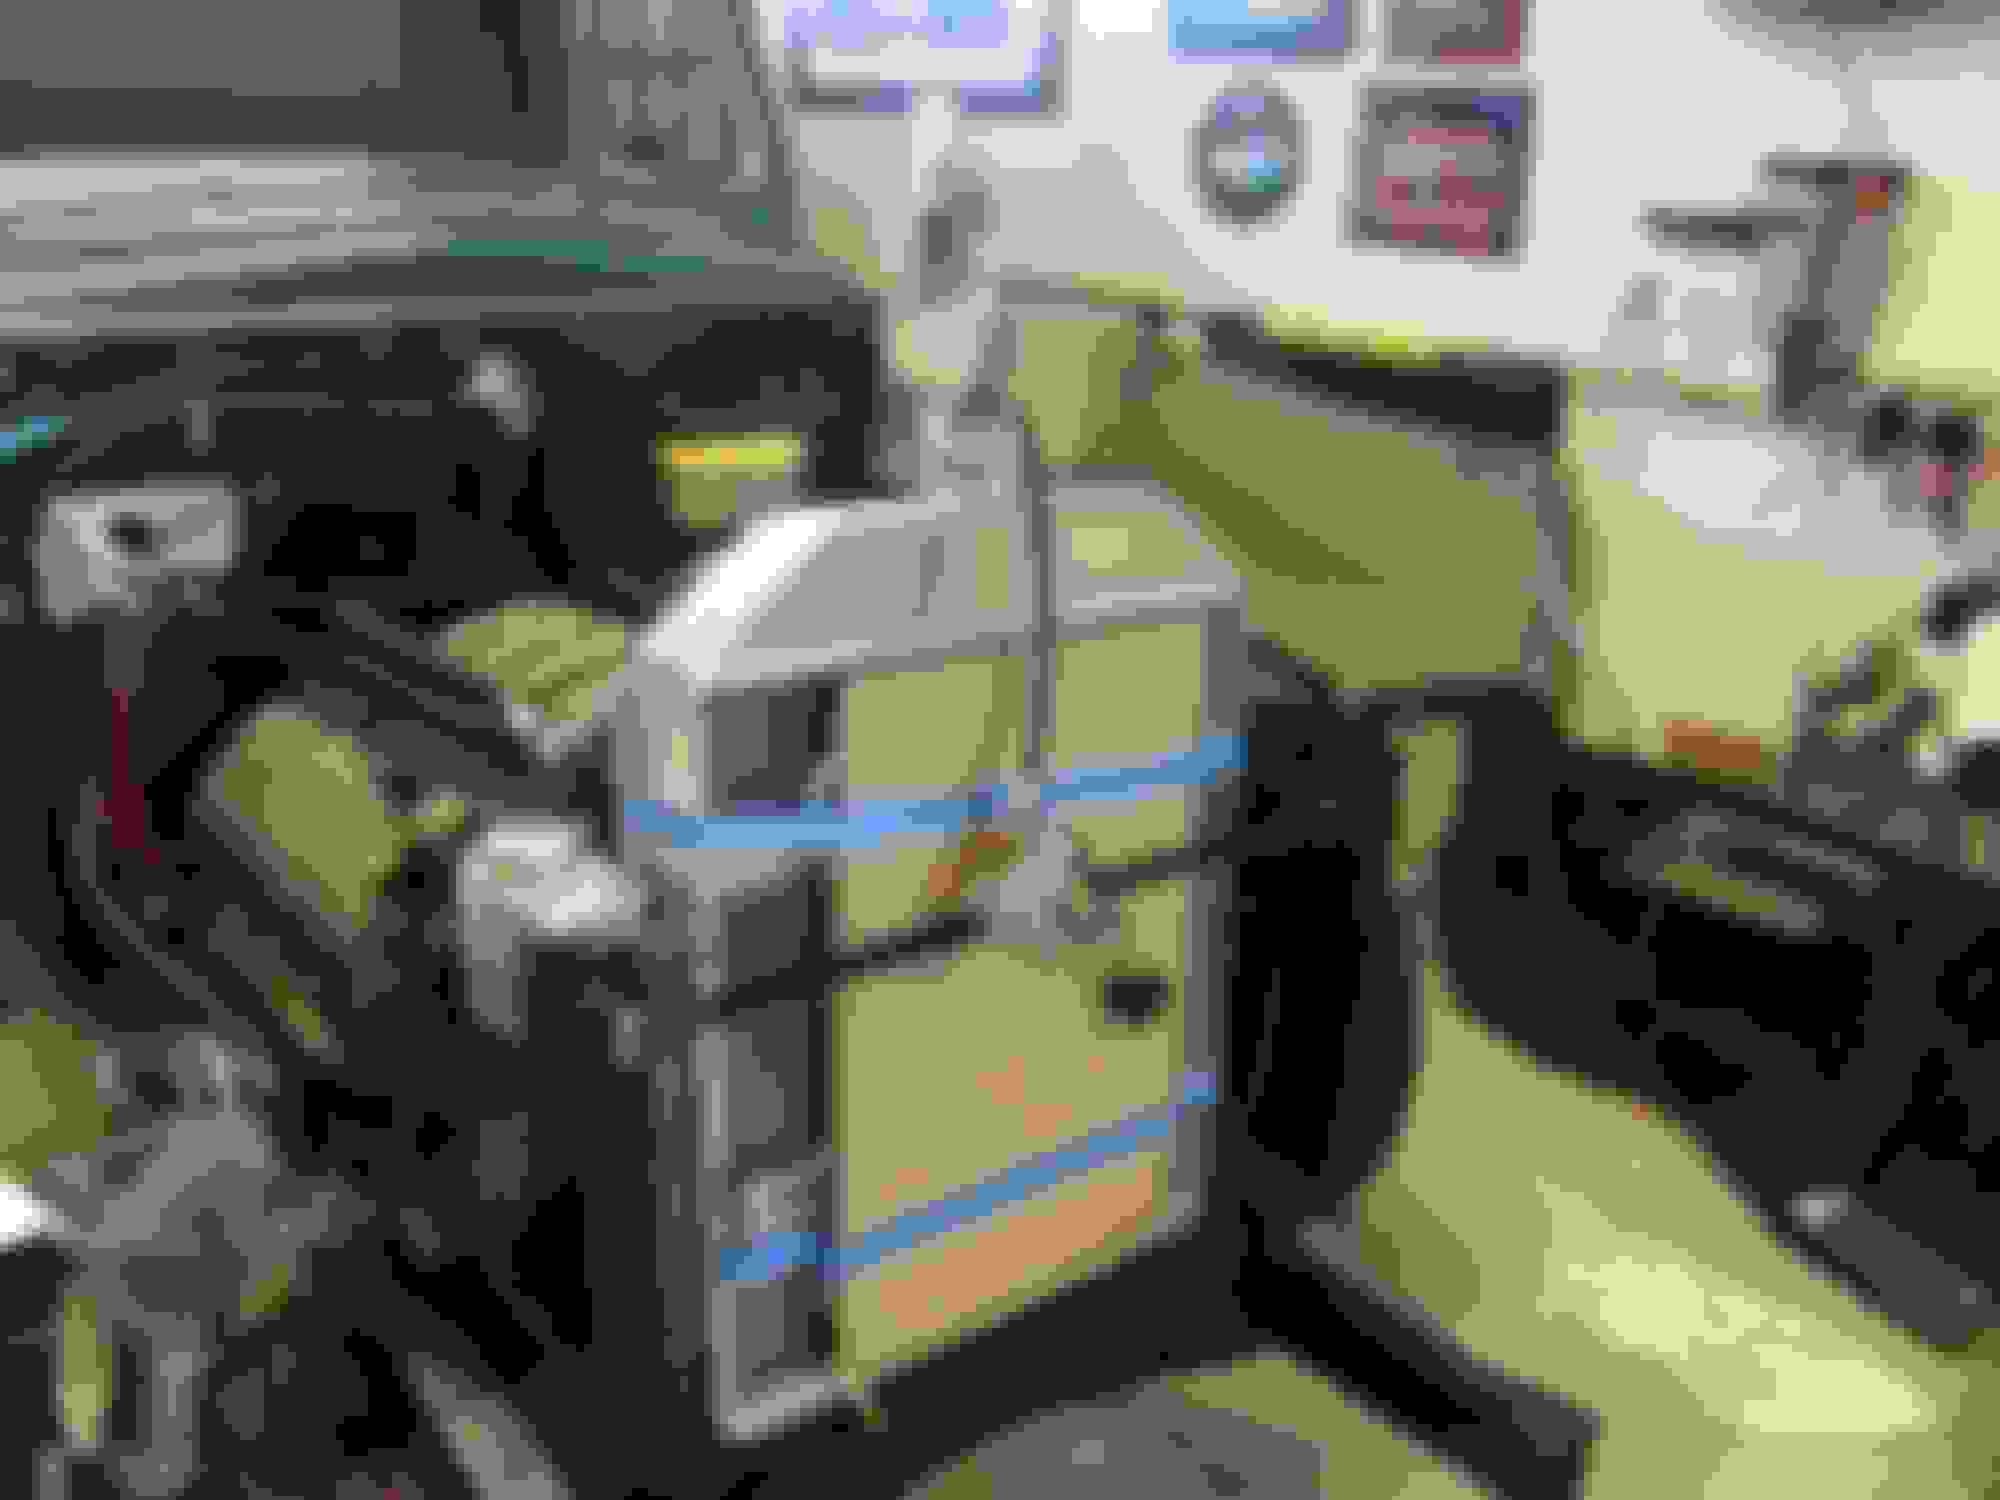
I made a aluminum plate as a access point for heater hoses ( AC are in cab side),engine control cables, battery positive bulkhead fitting and ground strap.
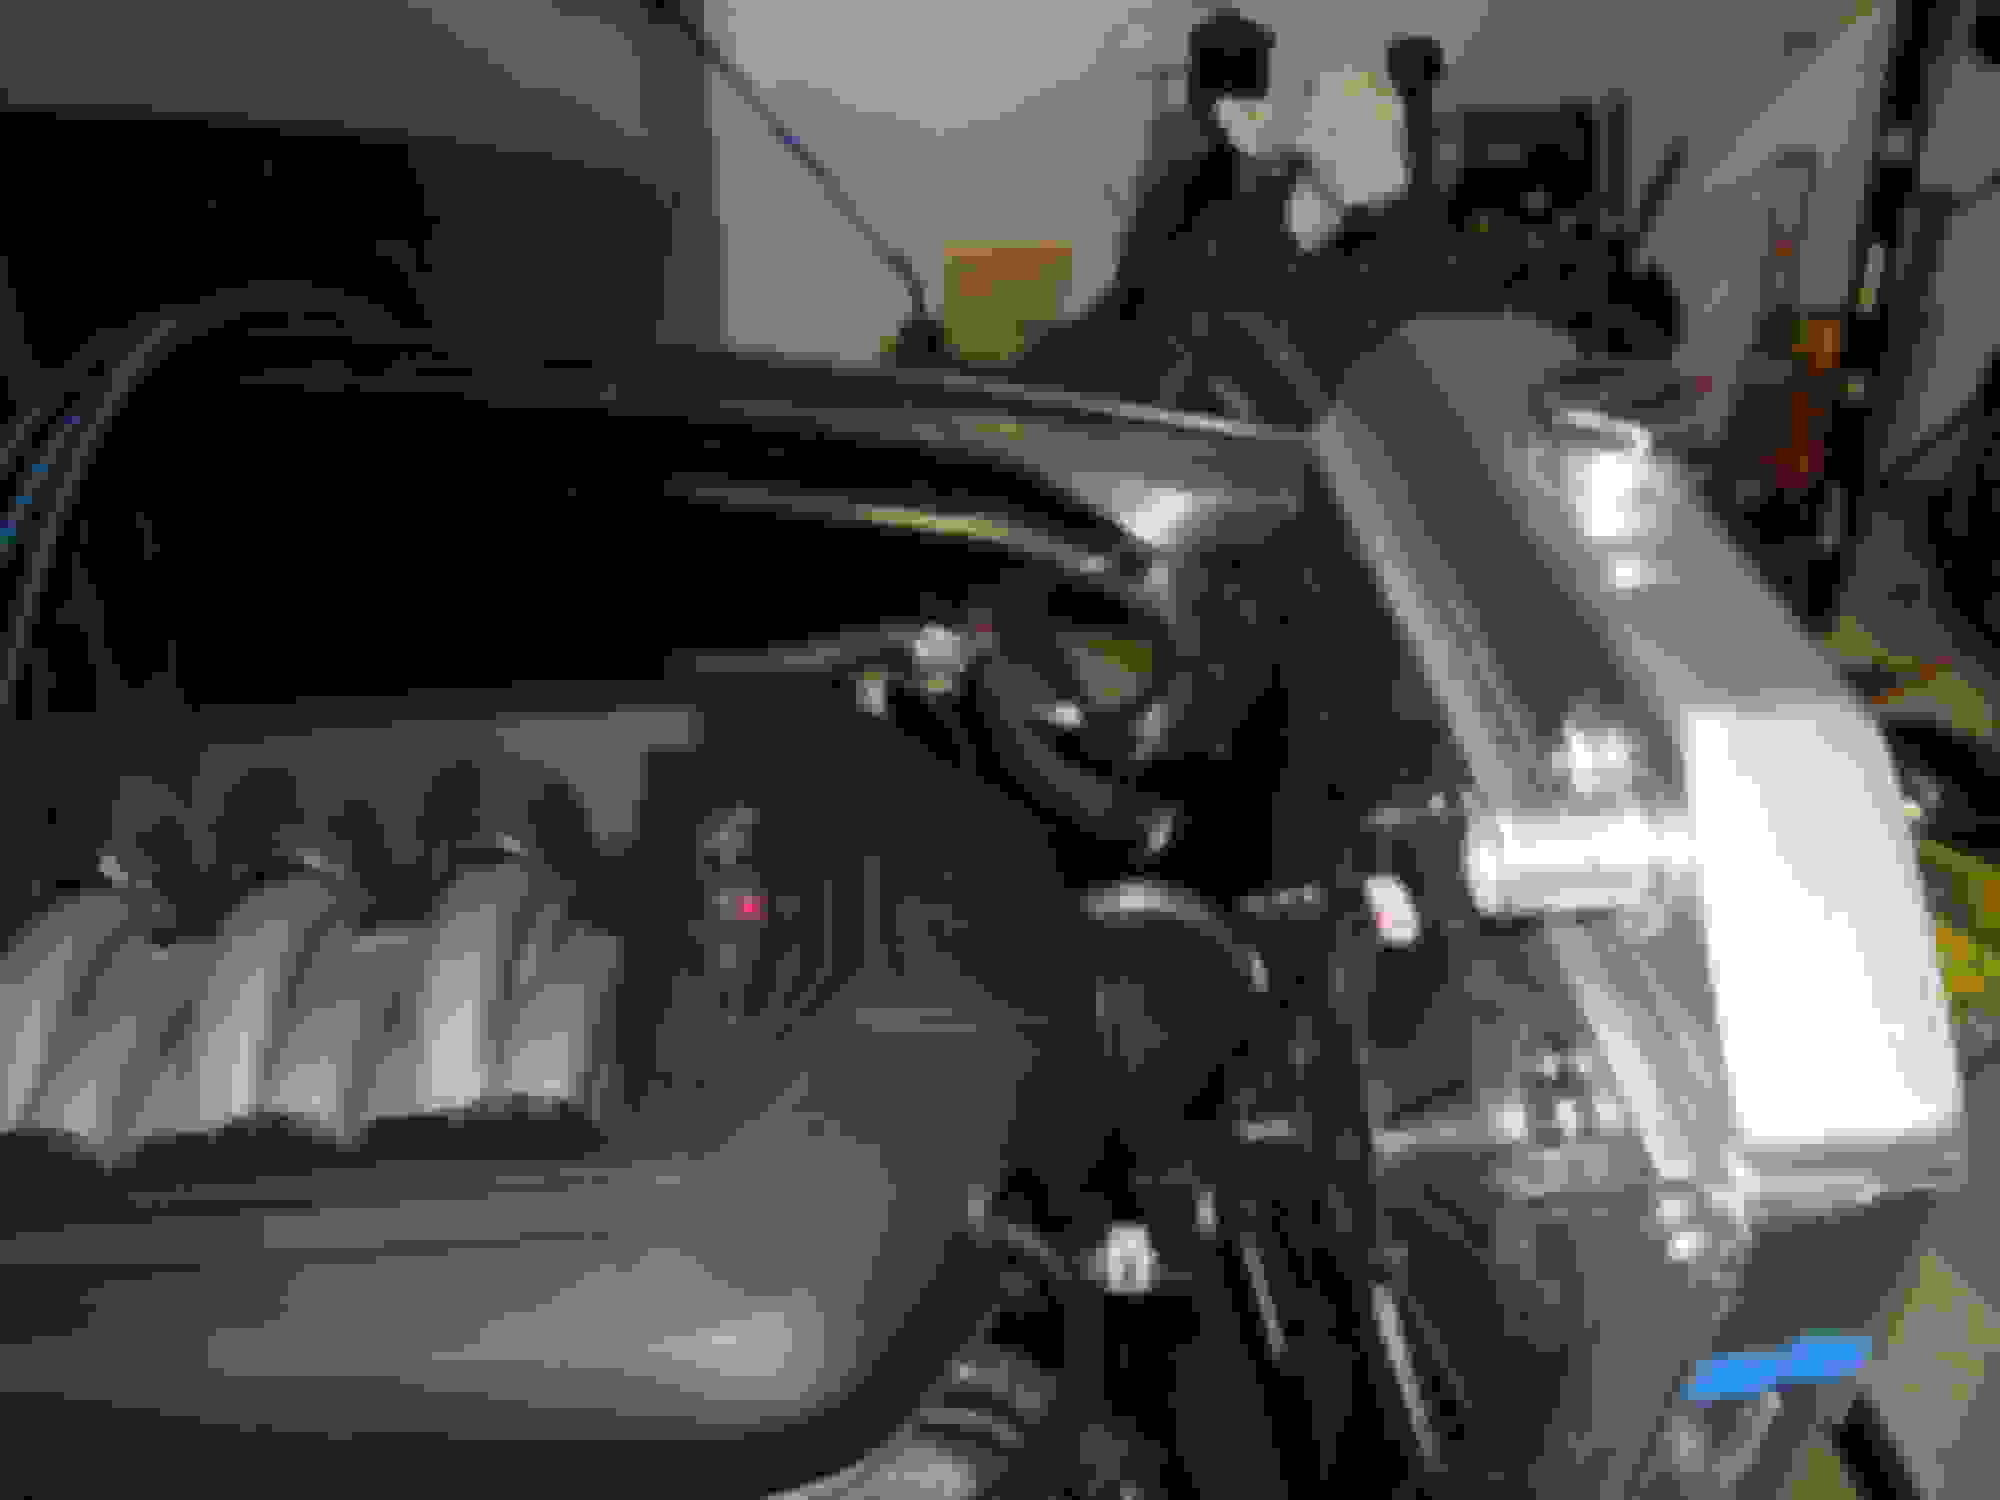
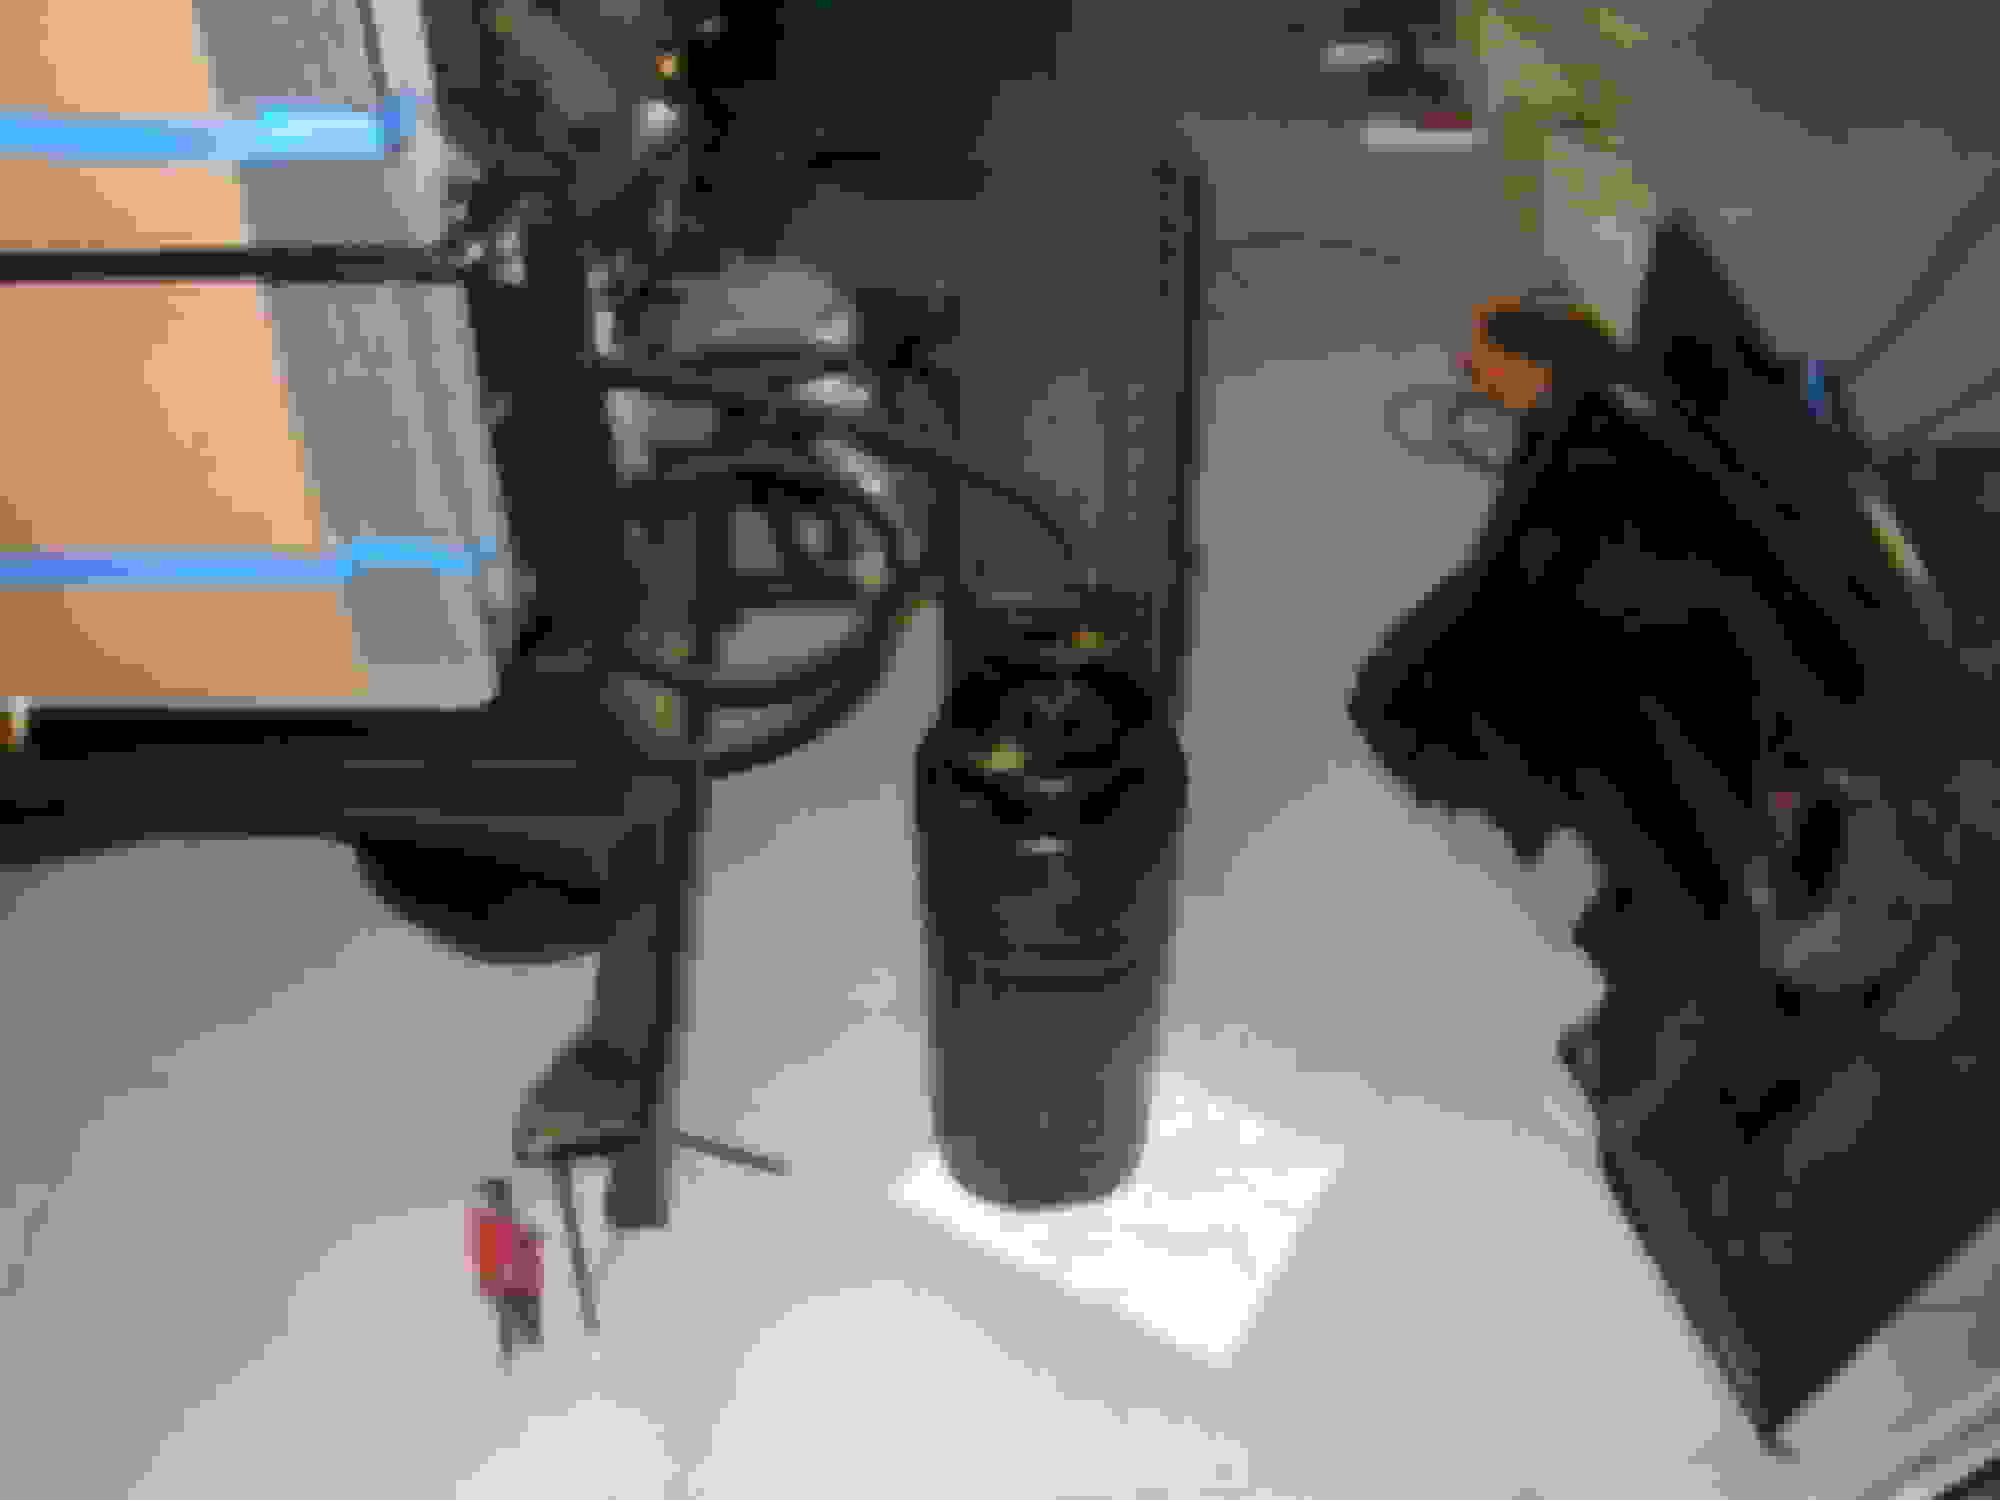
I used a pressure tank filled with 4 quarts of oil to prime the oiling system.
I pumped it through the filter and watched it flow from the cam phasers in the cylinder heads.
I purchased a Lokar shift stick that had the proper offset for my needs but was too short. I thought I would have Rick cut it in half and weld in a extension, then have it re chromed. He had a better idea! He cut the mount off the bottom and machined a new one out of stainless with a 4" extension built in. On the end of this he had a section that fit tightly inside the old stick for about 2". He then used Voodoo magic and welded the two parts together without damaging or bluing the chrome. A little polishing on the stainless and it's hard to tell where the two have been joined. Thanks Rick!
This stick is two pieces of different metals. The top is chromed steel and the bottom 4 inches and mount is polished stainless. Welded together and not re chromed!
Bucket is about the same as the front edge of the seat both in height and fore aft, stick is in the most rearward position.
I used factory heater hoses as they will be hidden under the engine cover. One metal line is for fuel the other is the vacuum line for the brakes.
I made mounts for the pedal that mounted to the firewall then installed a new pad. Pedal then bolted to mounts.
I started fabrication of AC mounts.
Running everything through the bulkhead plate I made.
Final installation of the pedal and firewall pad.
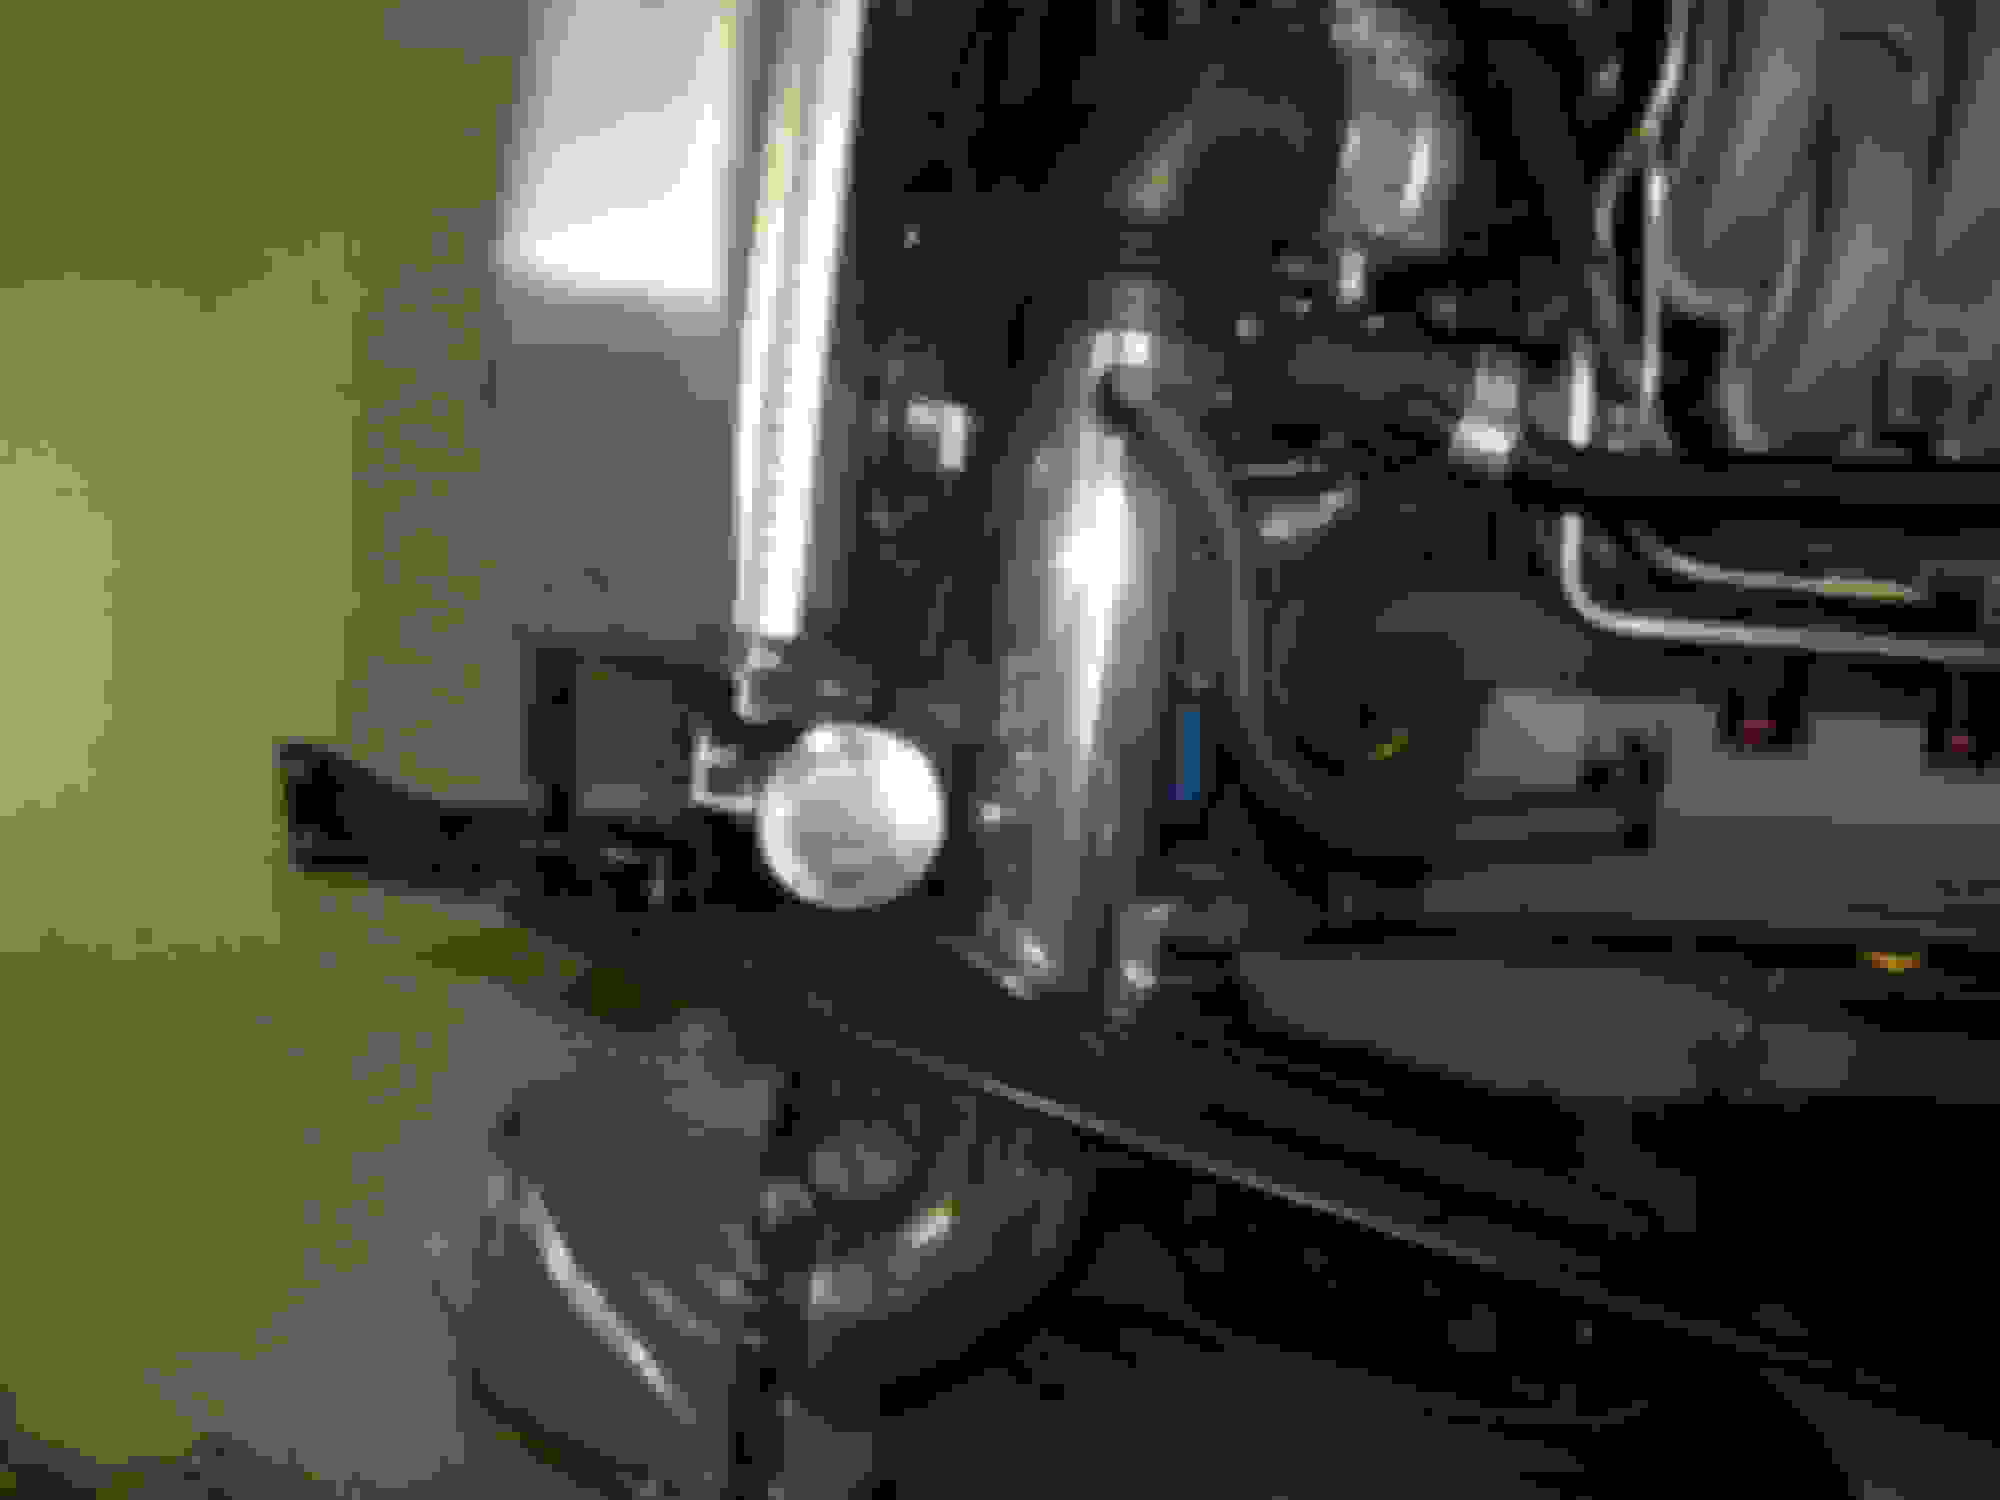
Rick made a mount and I install the P/S tank on the passenger side of the radiator. Overflow tank is on the drivers side.
Air inlet tube, overflow tank and crankcase vent.
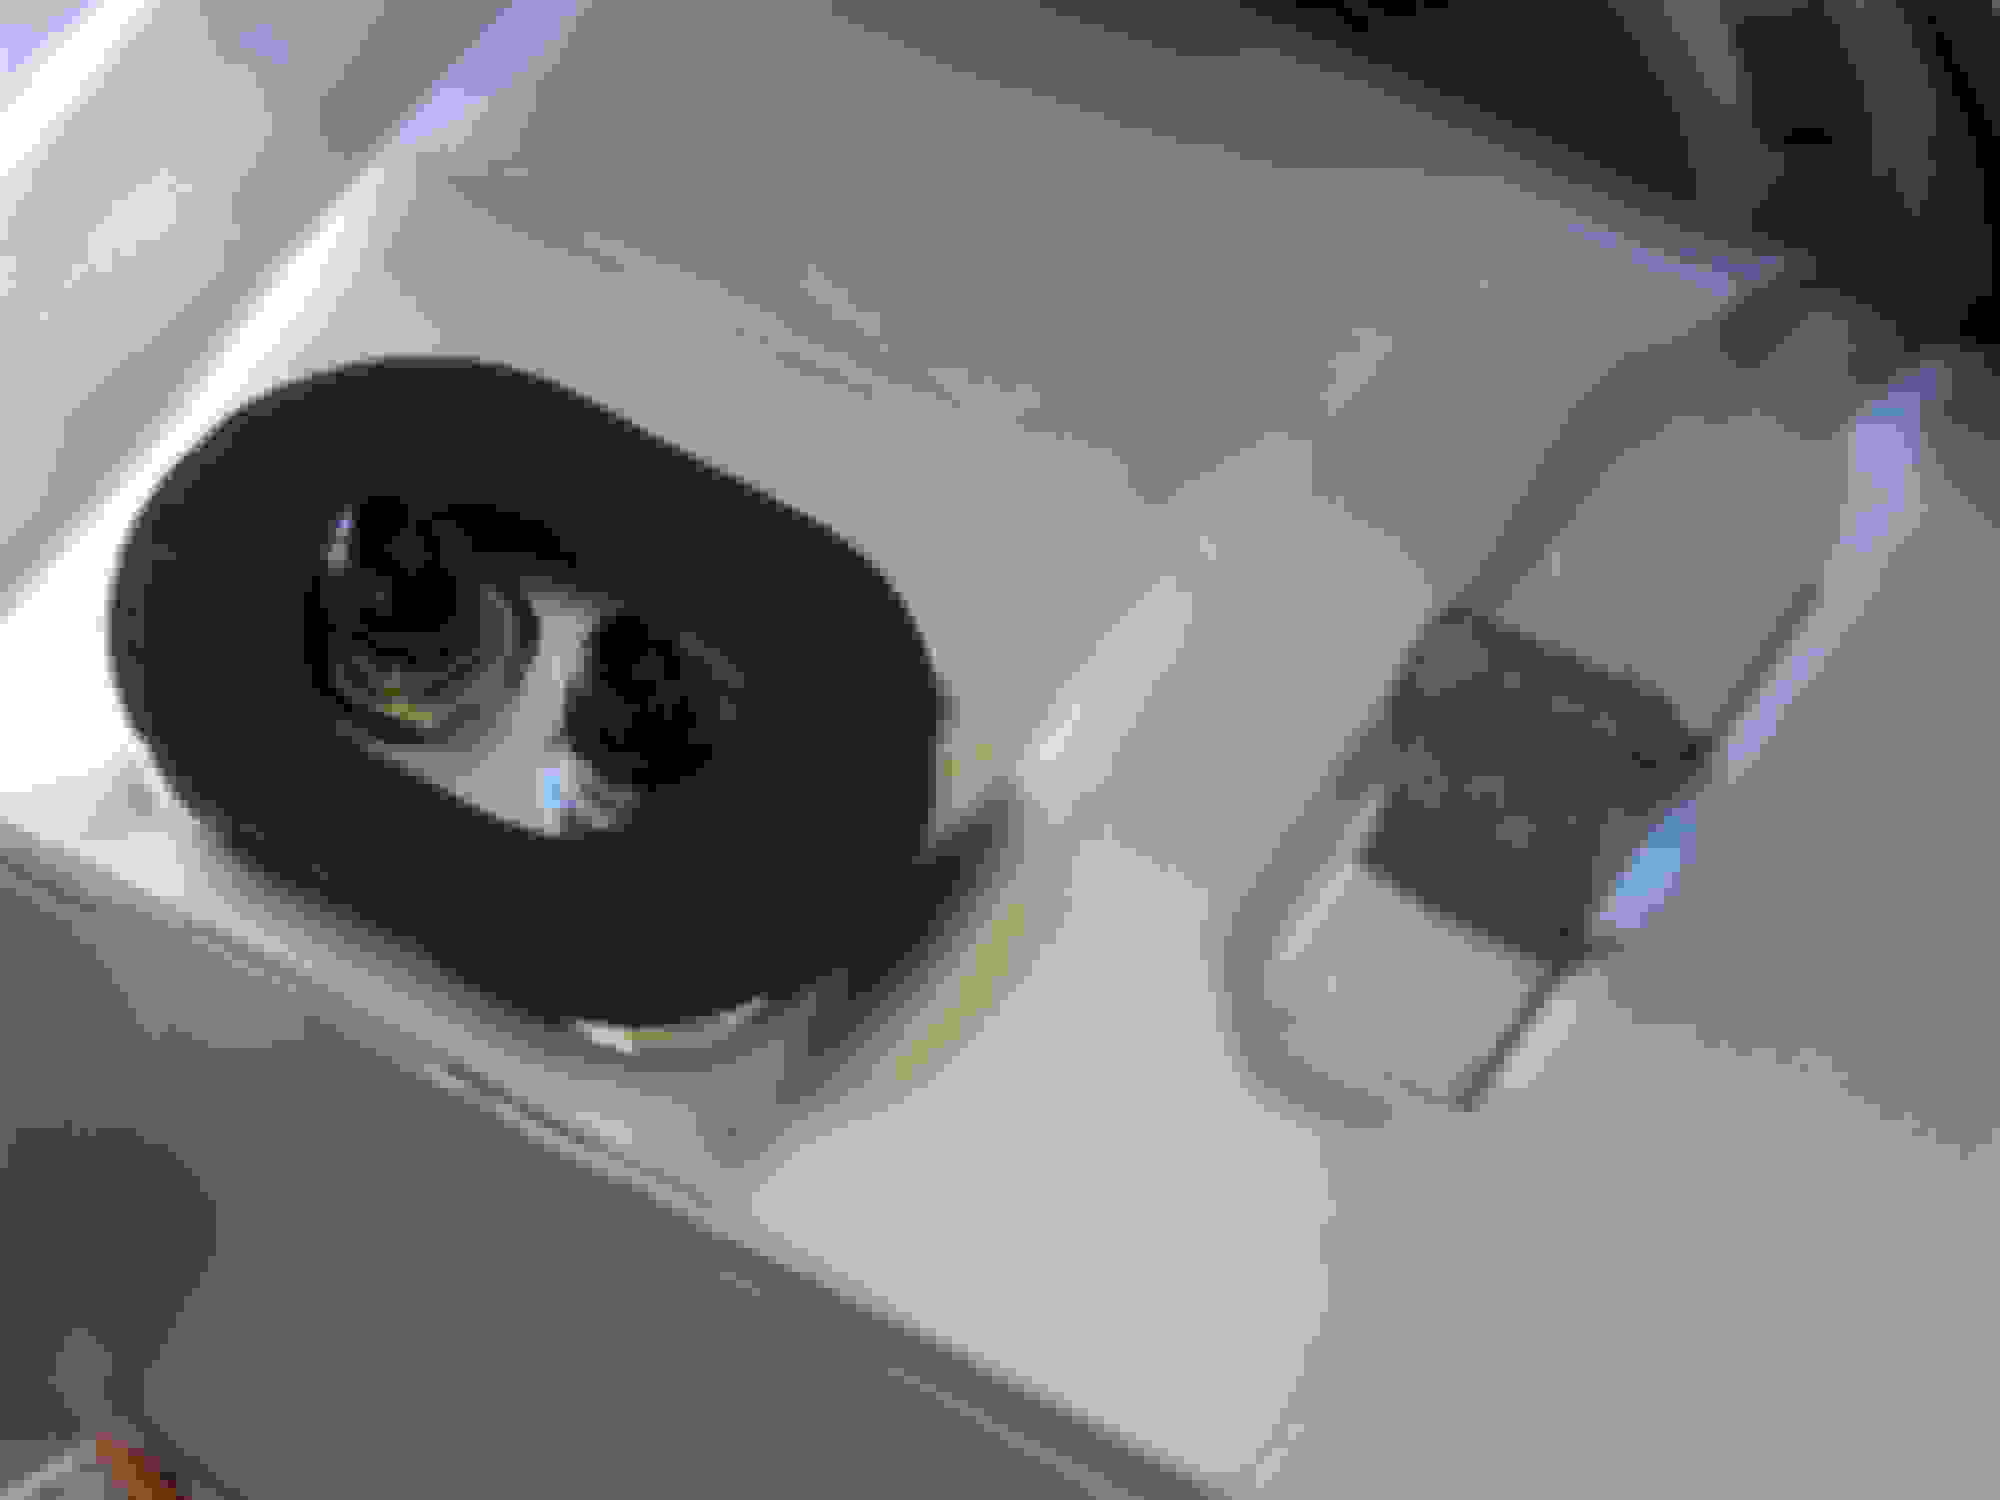
Air filter is located under the right front fender. I will box this in.
I kept all tubing sizes the same size and distances the same as the factory pieces so hopefully will not need fuel reprogramming. I now have plenty of clearance between the inlet tube and radiator.
The factory tube had a special fitting moulded into it for the PVC system. I wanted to use the stock system so Rick machined the same fitting out of aluminum and welded it to the new intake tube.
We decided to have a few friends over for my birthday and to use that event as Belle's first start-up. There were a few details that needed finishing so that could happen.
I made the brakets and installed the Vintage Air unit.
I was able to position it so it won't be visible standing outside the truck but still keep most of the glove box.
Heater lines installed, I.ll do the AC later as I don't need them to start.
I'm very happy with the way the heater lines worked out.
I used the factory supplied upper radiator hose with a piece of stainless tubing installed.
The factory lower hose worked the same way.
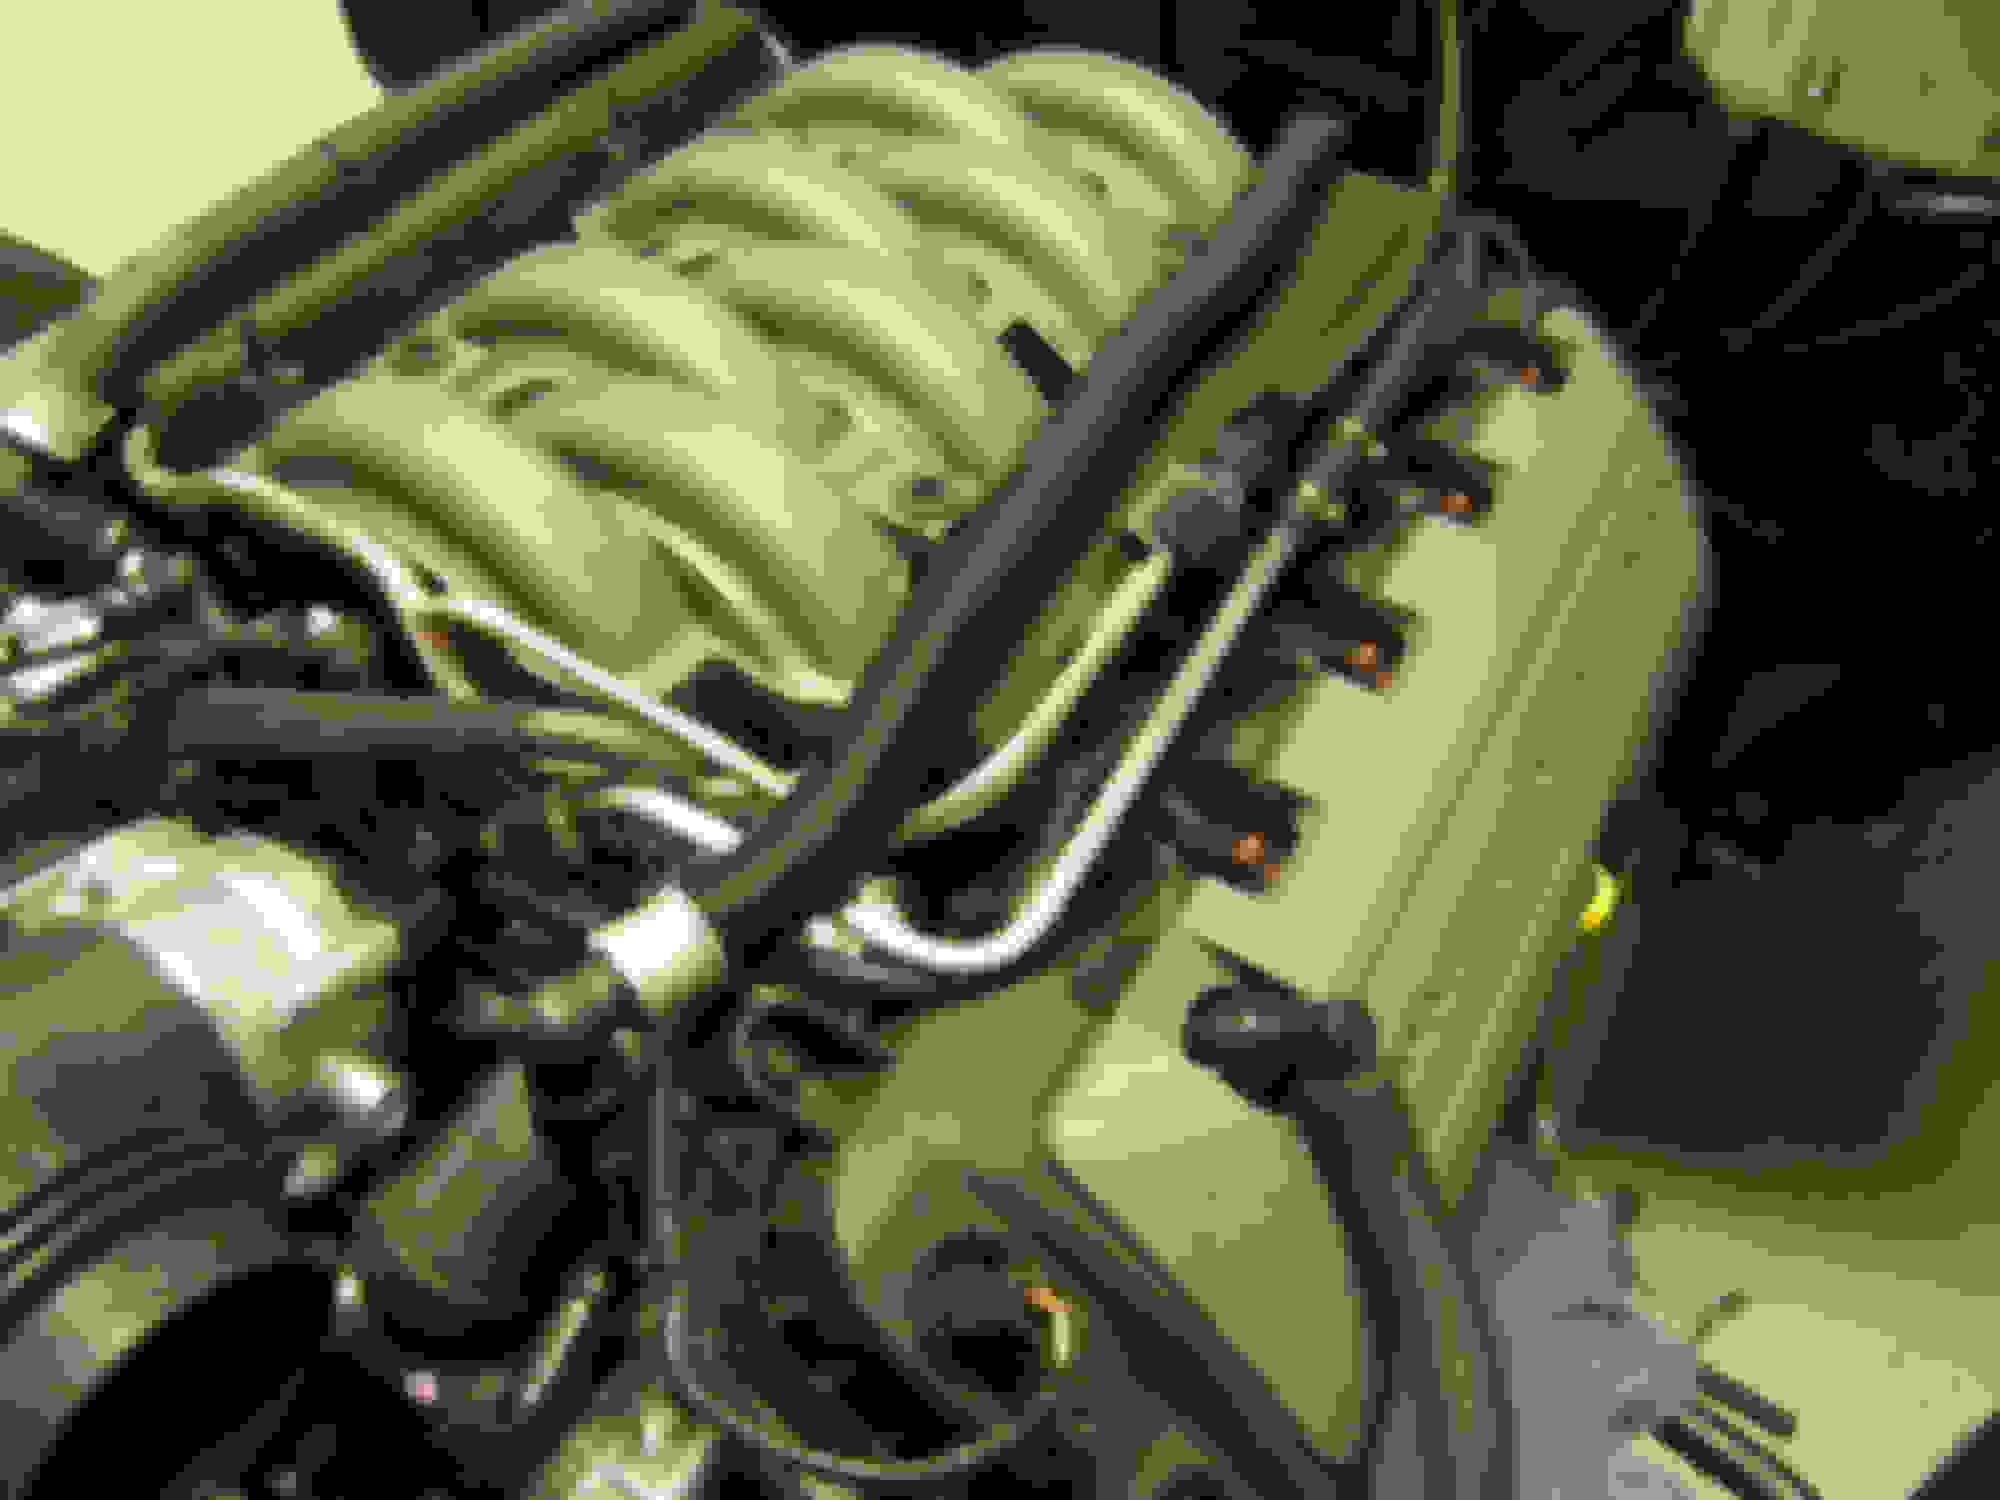
The engine bay is coming together. The heater valve is mounted to the aluminum bracket below the fuel pressure regulator.
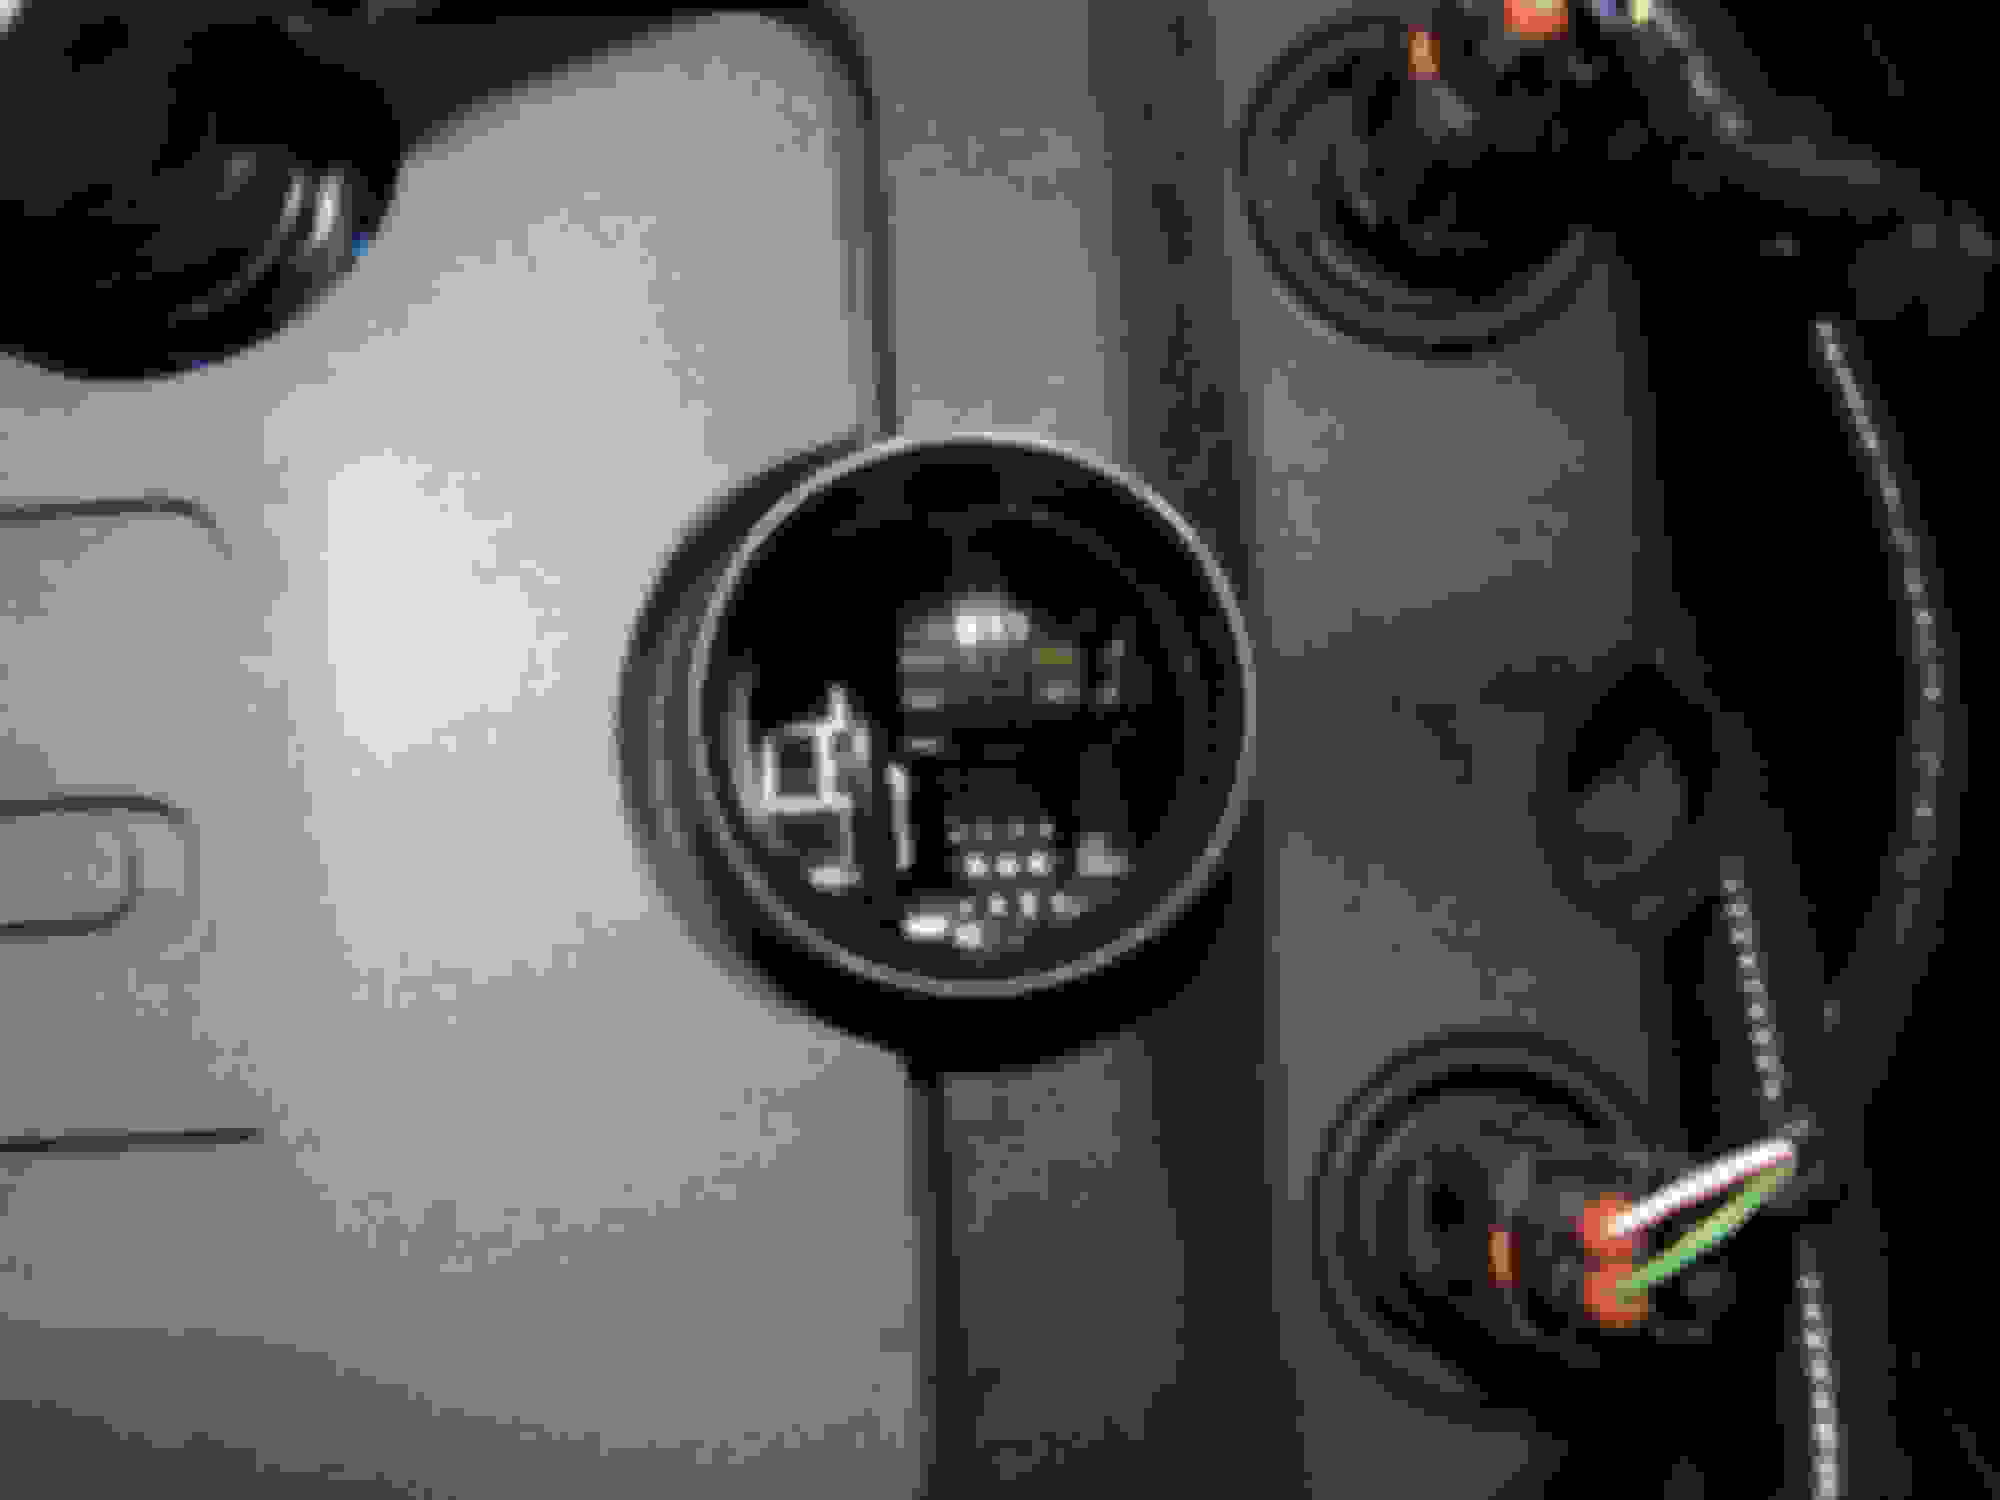
Pressure checking the system. There was a small leak at the temp sender.
Insulating the back of the cab for tank install.
I used DEI under carpet lite.like it so far
Installing the seal around the fuel inlet/outlet.
Tank is in!
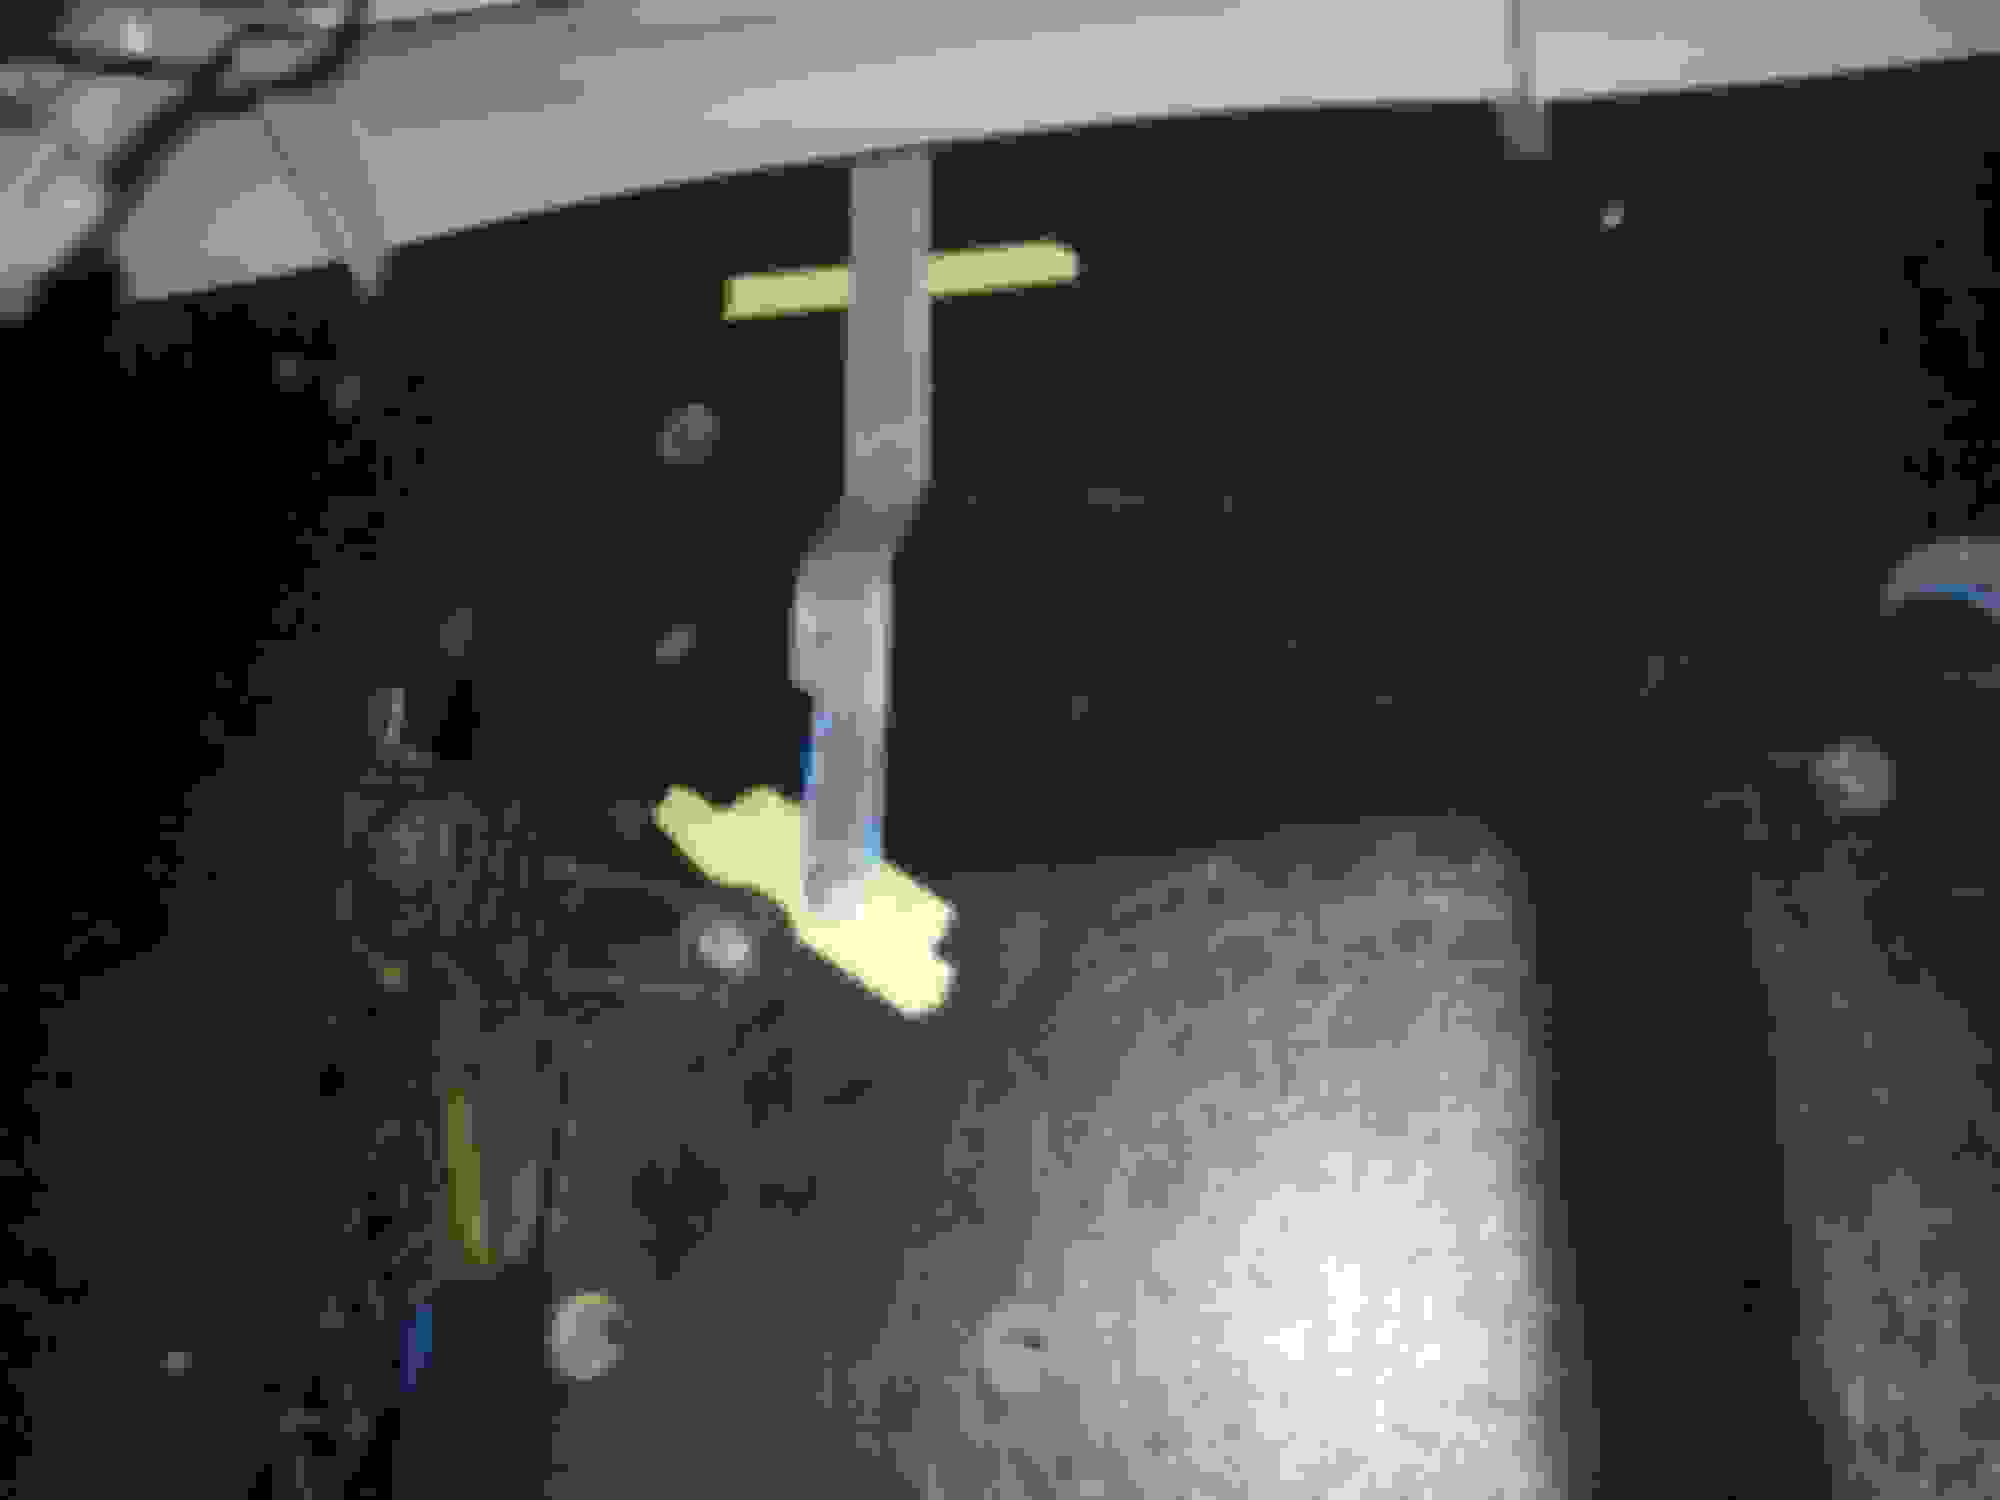
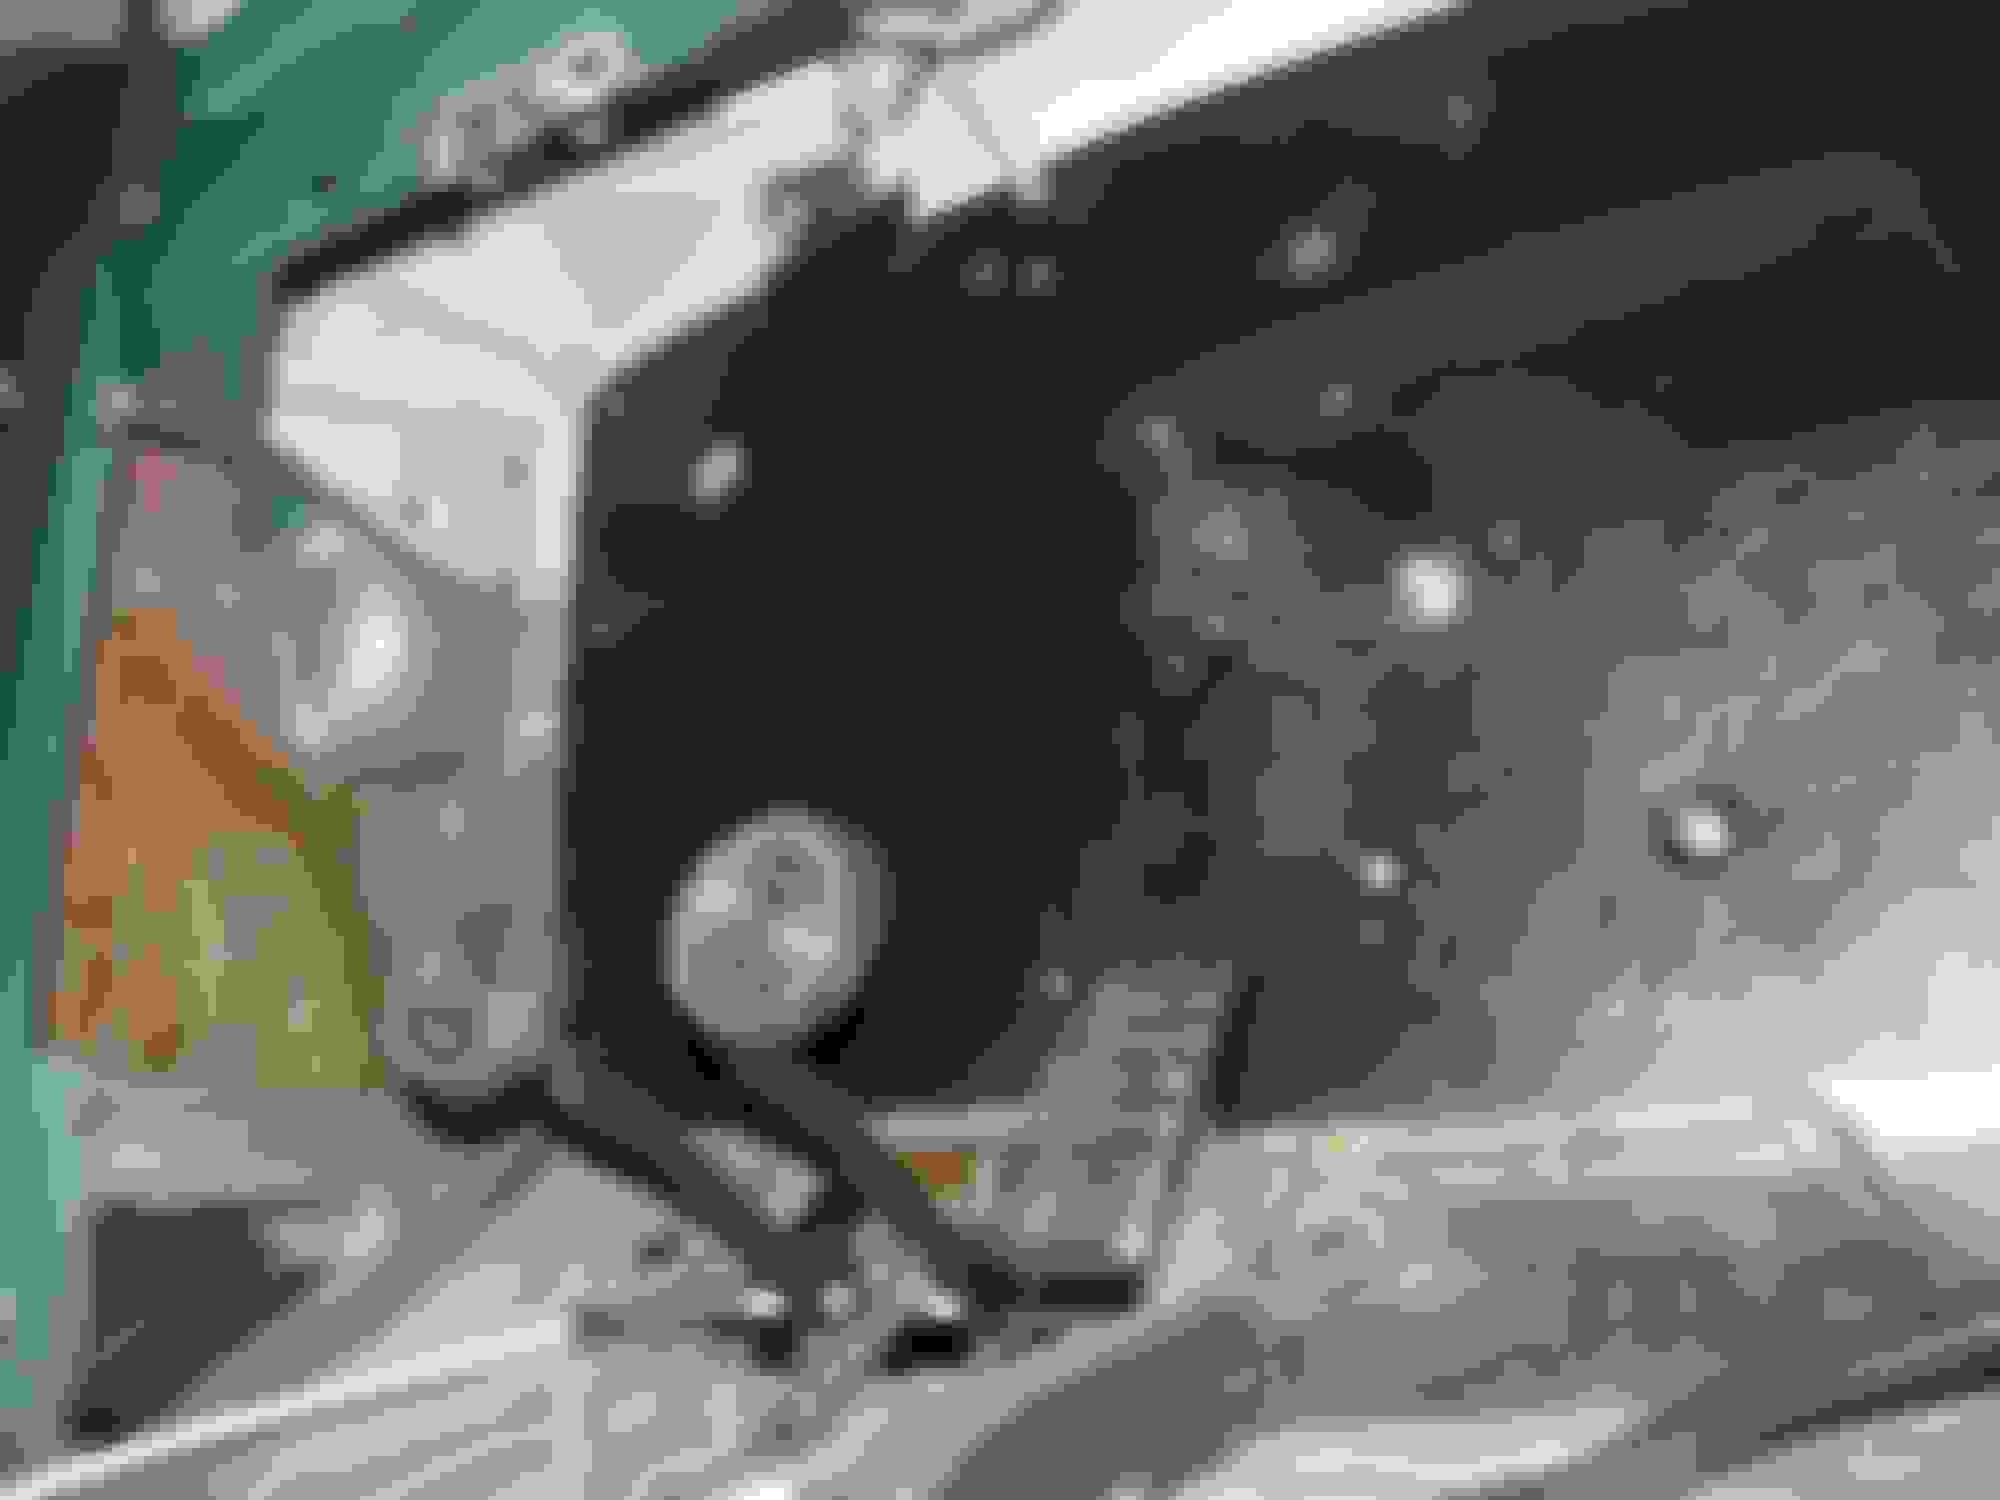
I made a bracket for the bottom of the steering column and finished the steering shafts.
I made a box for the air filter.
I still need to trim the front edge to fit the backside of the headlight panel.
A couple bolts remove it for filter service. I will add some rubber strips to seal it to the underside of the fender.
Secured the hoses under the floor, don't want them hanging near the exhaust during start-up.
Final job was adjusting the fuel pressure, no leaks! Next week is Start-up!!
Looking very good Mike!! I still think you'll have to move the gearshift to the middle position like I did...
... ? Have you tried the shifter with seat in place yet?


 03-03-2015, 09:07 PM