1948 - 1956 F1, F100 & Larger F-Series Trucks Discuss the Fat Fendered and Classic Ford Trucks

"Belle" 1952 F-1 build thread.

  #46  
Old 01-11-2015, 04:06 PM
mkassab's Avatar
mkassab
mkassab is offline
Mountain Pass
Join Date: Nov 2012
Location: Brevard, NC
Posts: 108
Likes: 0
Received 0 Likes on 0 Posts
Pretty cleaver!!

Mark
 
  #47  
Old 01-11-2015, 04:27 PM
arctic y block's Avatar
arctic y block
arctic y block is offline
Post Fiend
Join Date: Sep 2006
Location: Island Southeast Alaska
Posts: 14,325
Likes: 0
Received 5 Likes on 5 Posts
You Da Man Mike. Yes clever indeed.
 
  #48  
Old 01-11-2015, 05:05 PM
Rimrock F1's Avatar
Rimrock F1
Rimrock F1 is offline
Posting Guru
Thread Starter
Join Date: Apr 2013
Location: Rimrock AZ
Posts: 1,170
Likes: 0
Received 0 Likes on 0 Posts
Originally Posted by mkassab
Pretty cleaver!!

Mark
Originally Posted by arctic y block
You Da Man Mike. Yes clever indeed.
It's kind of like lightning. One brilliant flash, then it's gone.
 
  #49  
Old 01-11-2015, 07:07 PM
mkassab's Avatar
mkassab
mkassab is offline
Mountain Pass
Join Date: Nov 2012
Location: Brevard, NC
Posts: 108
Likes: 0
Received 0 Likes on 0 Posts
Originally Posted by Rimrock F1
It's kind of like lightning. One brilliant flash, then it's gone.
Or.... another saying here in the south.... Even a blind squirrel finds a nut once in awhile.

Mark
 
  #50  
Old 01-12-2015, 05:45 AM
Harrier's Avatar
Harrier
Harrier is offline
Lead Driver
Join Date: Nov 2002
Location: Jefferson City, MO
Posts: 8,709
Received 757 Likes on 369 Posts
Very nice solution.

Originally Posted by Rimrock F1
My wife wanted to retain the stock steering wheel and column on Belle.
This is a sign that you have a keeper.
 
  #51  
Old 01-17-2015, 08:07 AM
Rimrock F1's Avatar
Rimrock F1
Rimrock F1 is offline
Posting Guru
Thread Starter
Join Date: Apr 2013
Location: Rimrock AZ
Posts: 1,170
Likes: 0
Received 0 Likes on 0 Posts
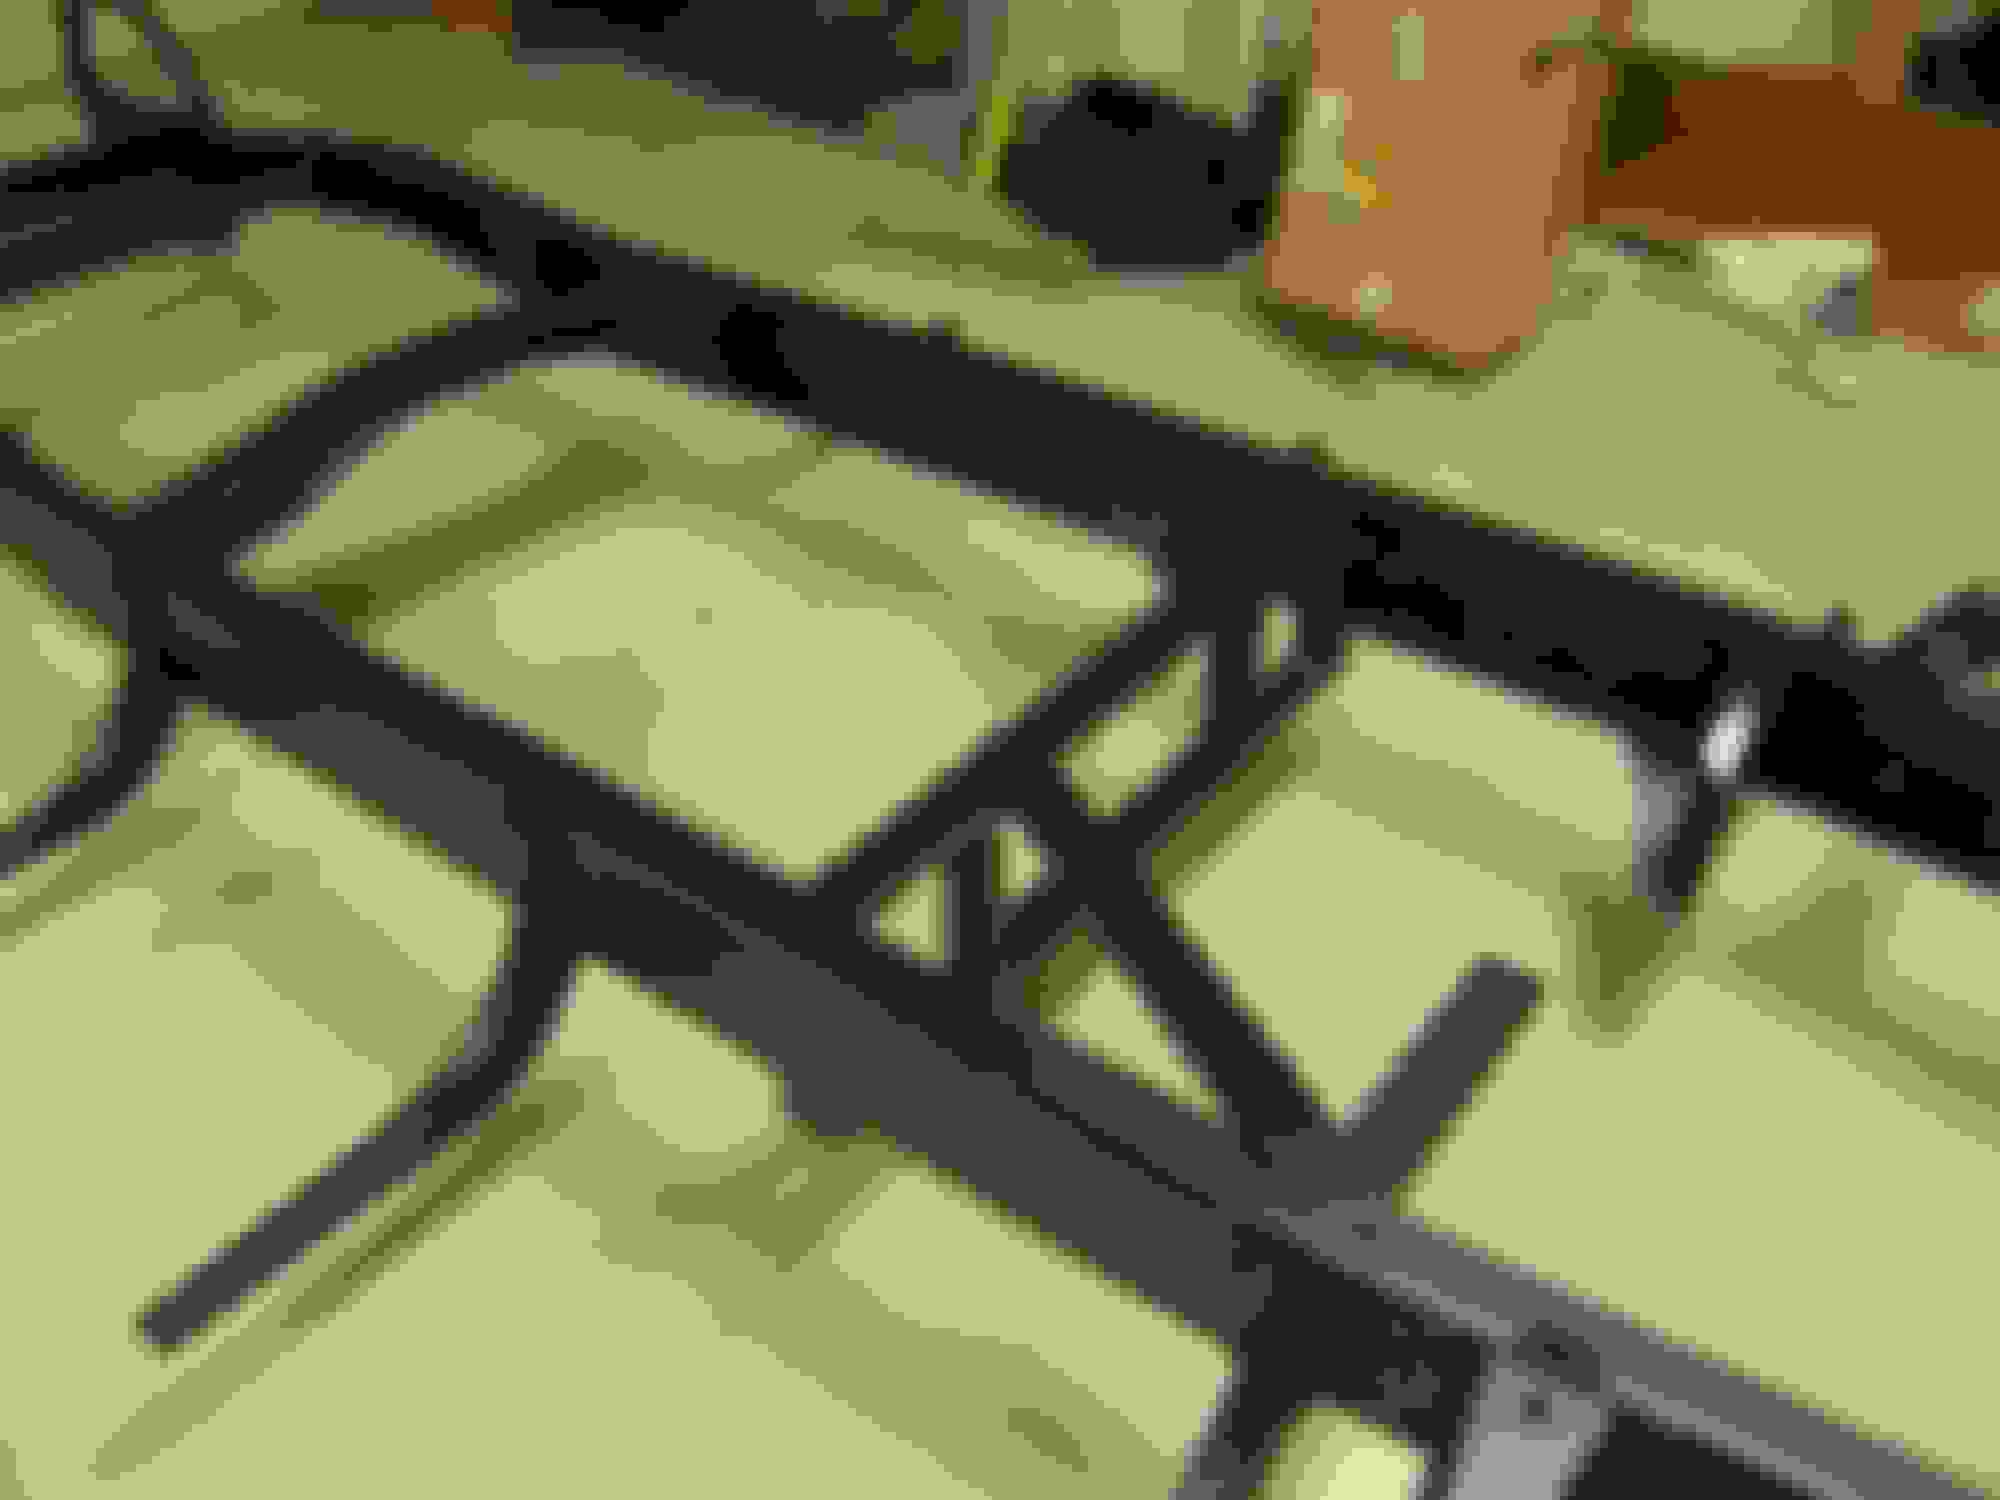
Because we had removed the original Transmission cross member and the new one was a fairly light bolt in I decided to add a H member to the center of the frame. Also took some time to work on the steering and finish up the welding.


Pieces for the H member


And the rest of them


Plates were added mid frame to bolt the battery to and to give a place to weld the H member to.


Finishing up the welding.


Nothing fancy was done to make the H member. Some rectangular tubing cut with a cutoff wheel and dressed on a disc sander for fit.


This was the original routing for the steering. After welding and painting I changed it so it runs between the header and block, much better.


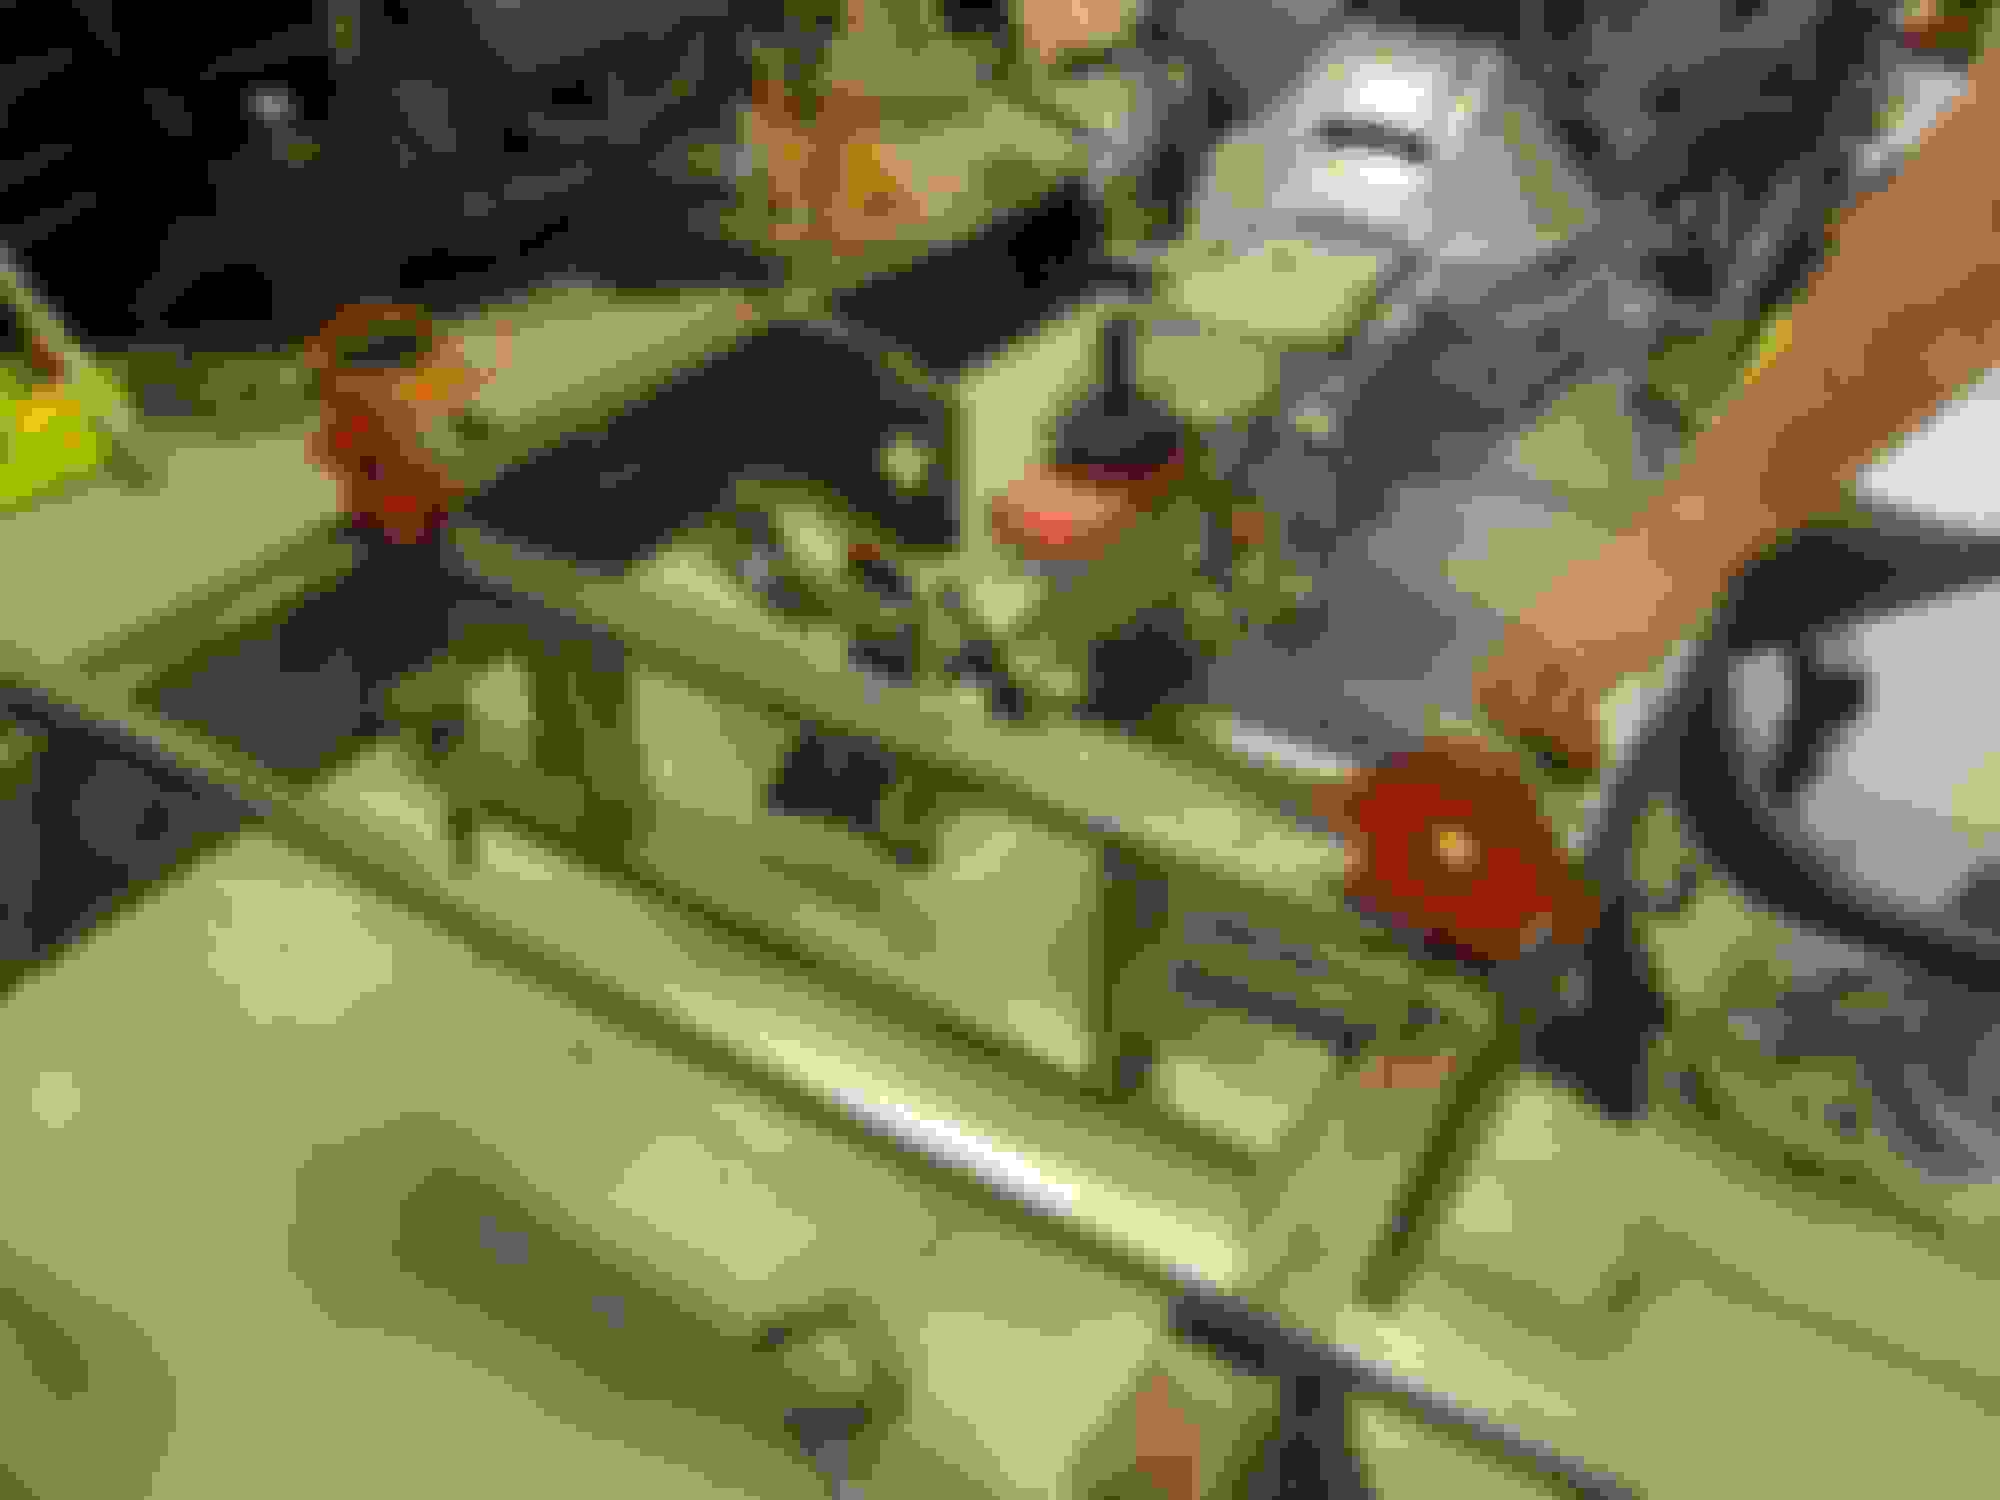
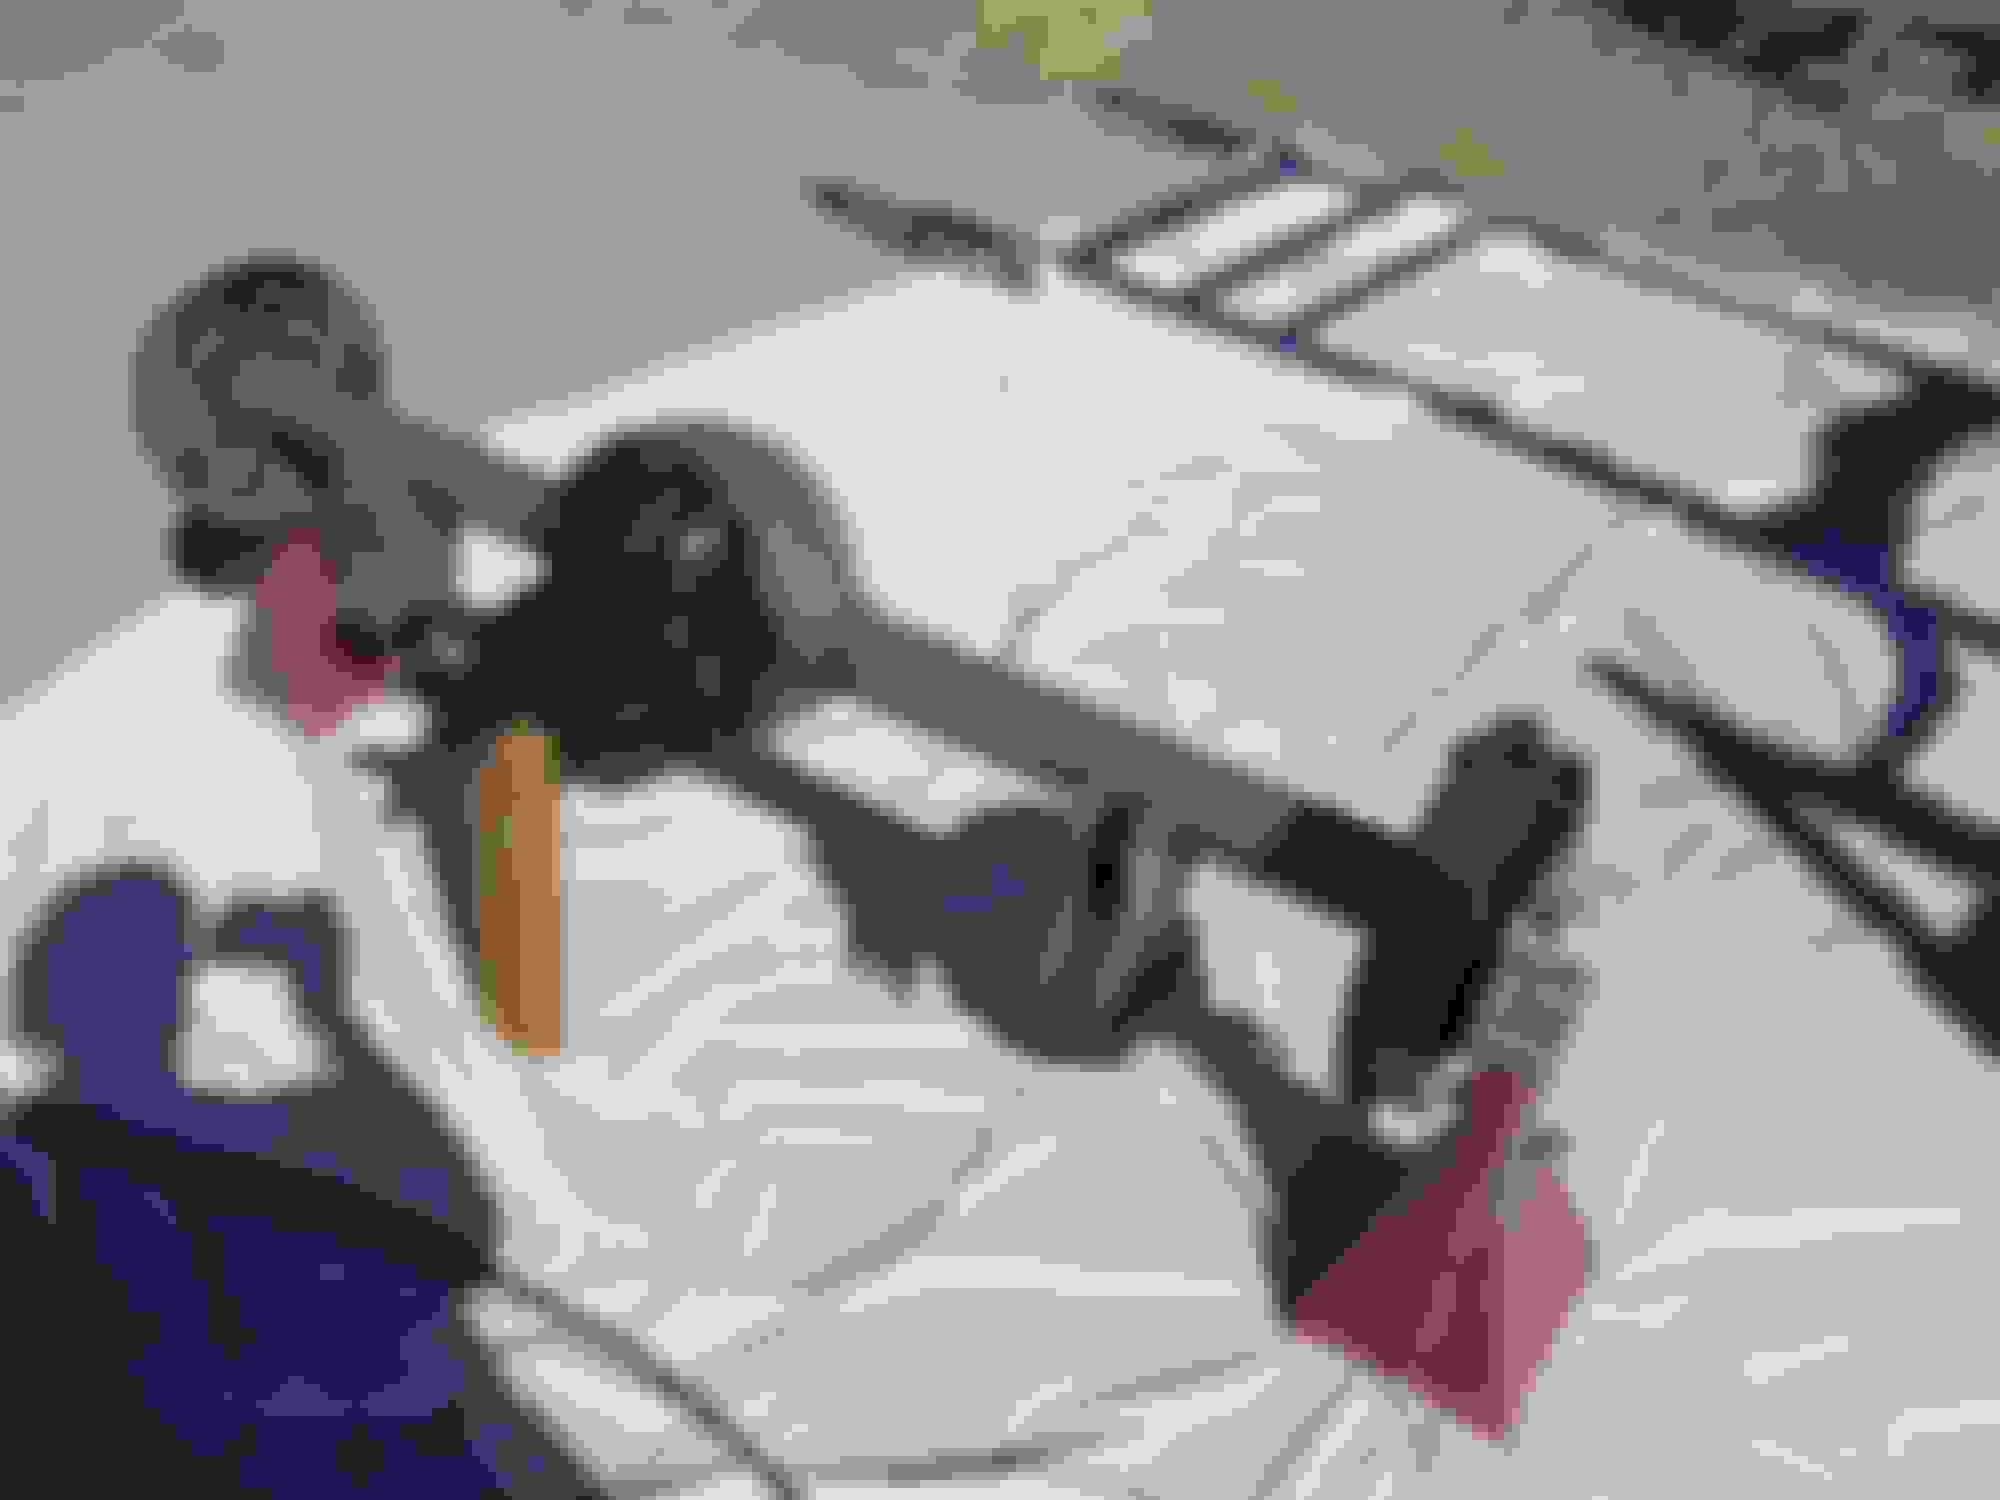
Laying out the H member for welding.


Components like the brake booster, battery and exhaust determined the location.


We were able to TIG the h member together. Much less mess and a better looking weld.
 
  #52  
Old 01-17-2015, 08:24 AM
Rimrock F1's Avatar
Rimrock F1
Rimrock F1 is offline
Posting Guru
Thread Starter
Join Date: Apr 2013
Location: Rimrock AZ
Posts: 1,170
Likes: 0
Received 0 Likes on 0 Posts
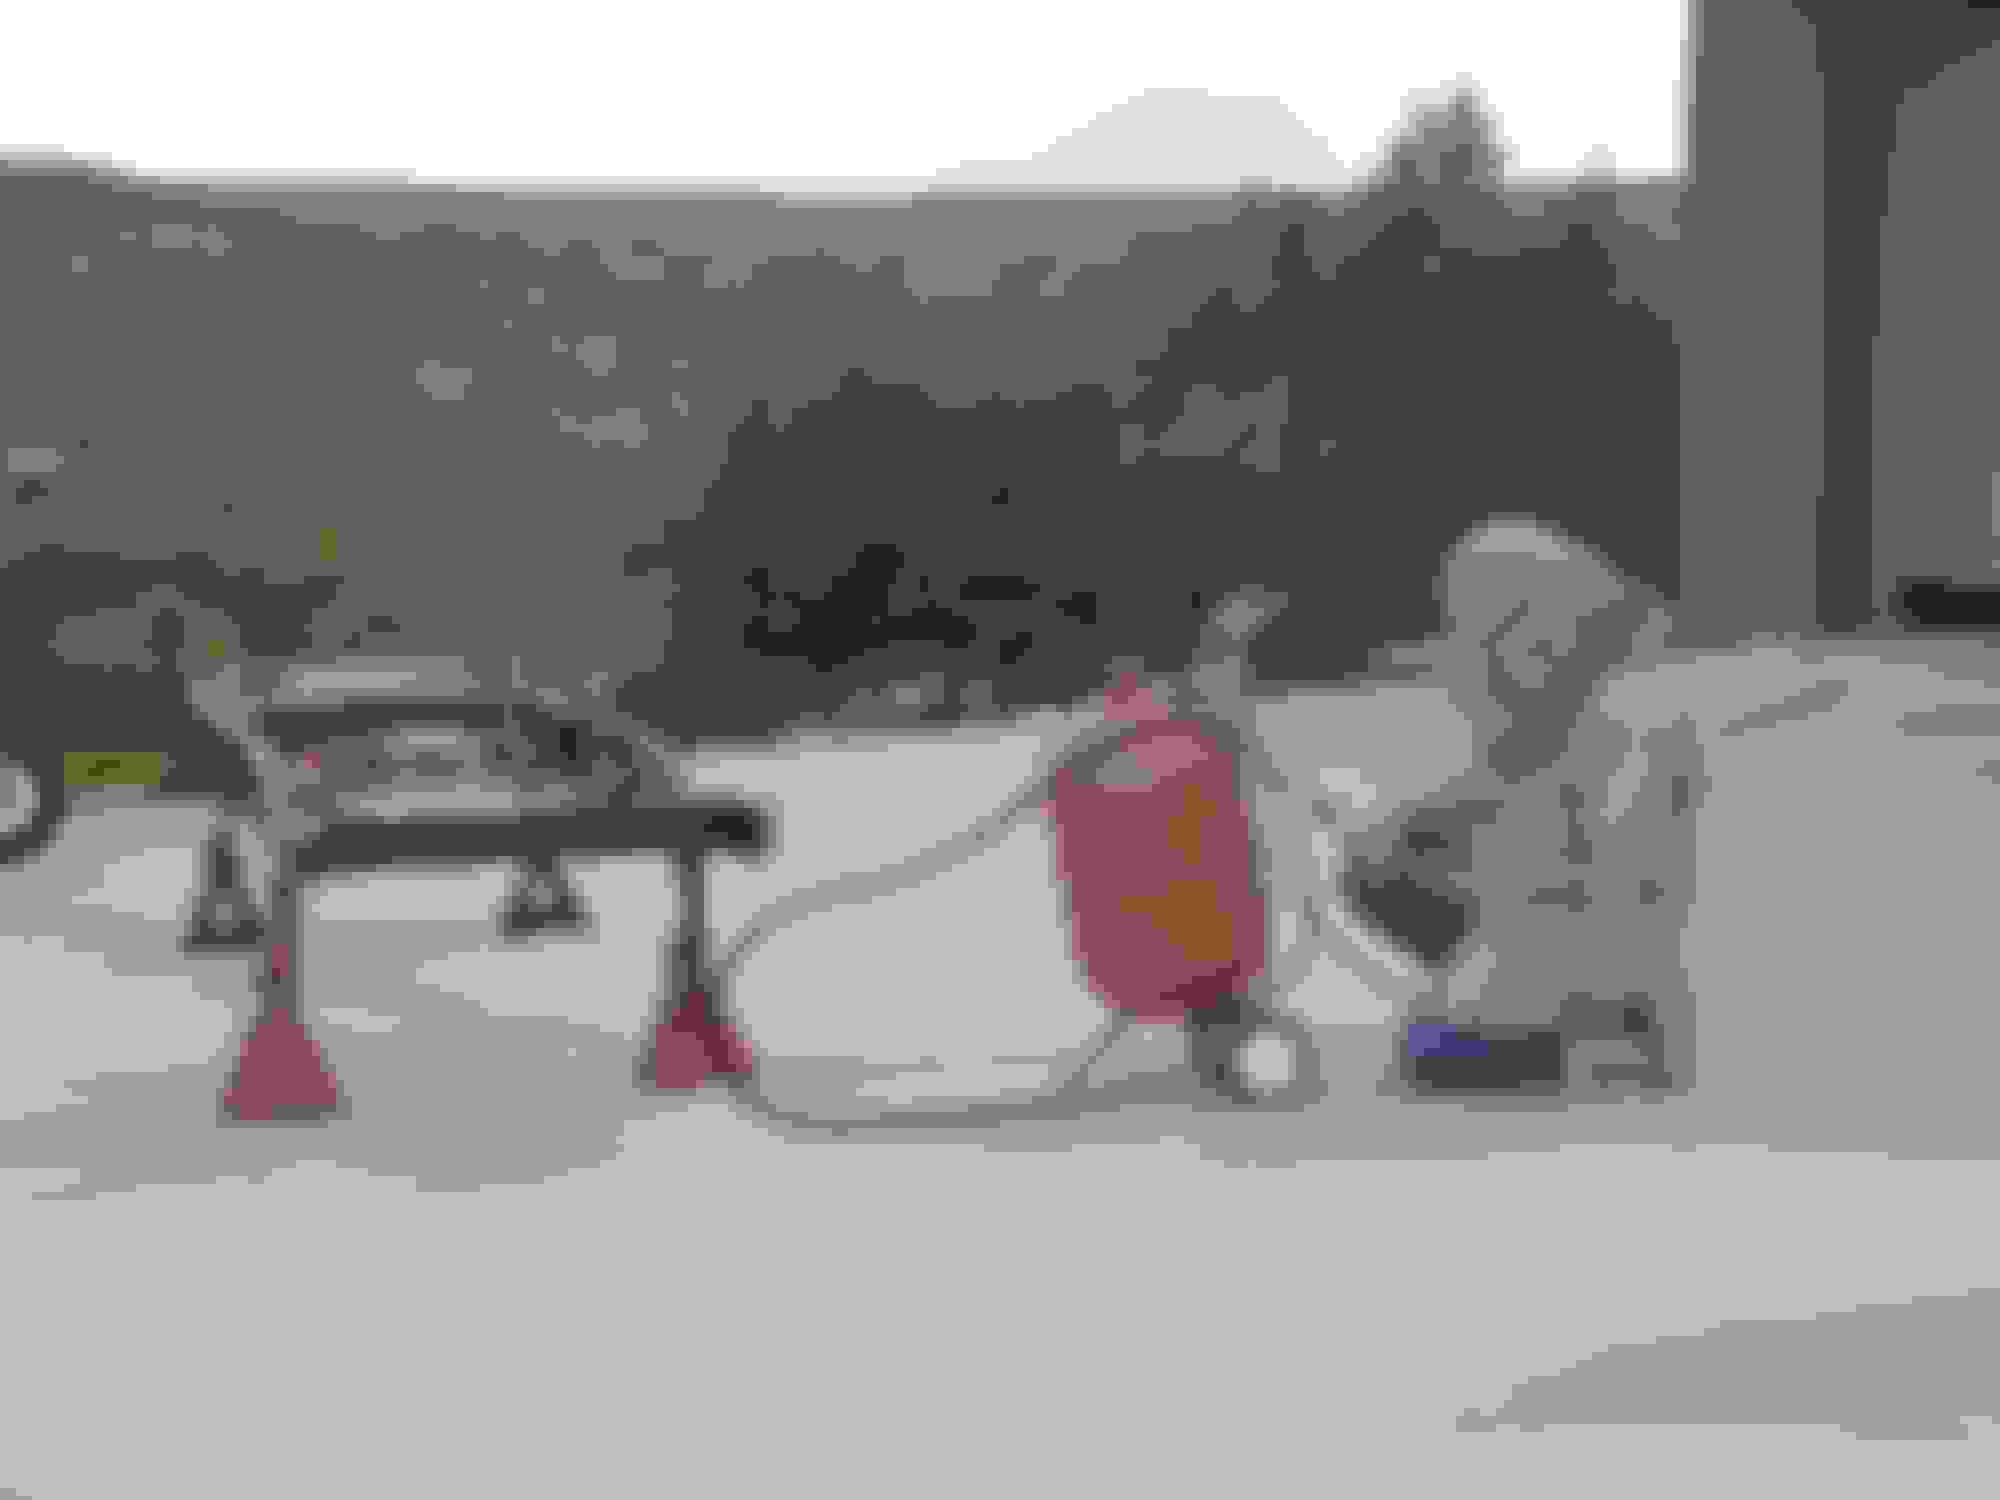
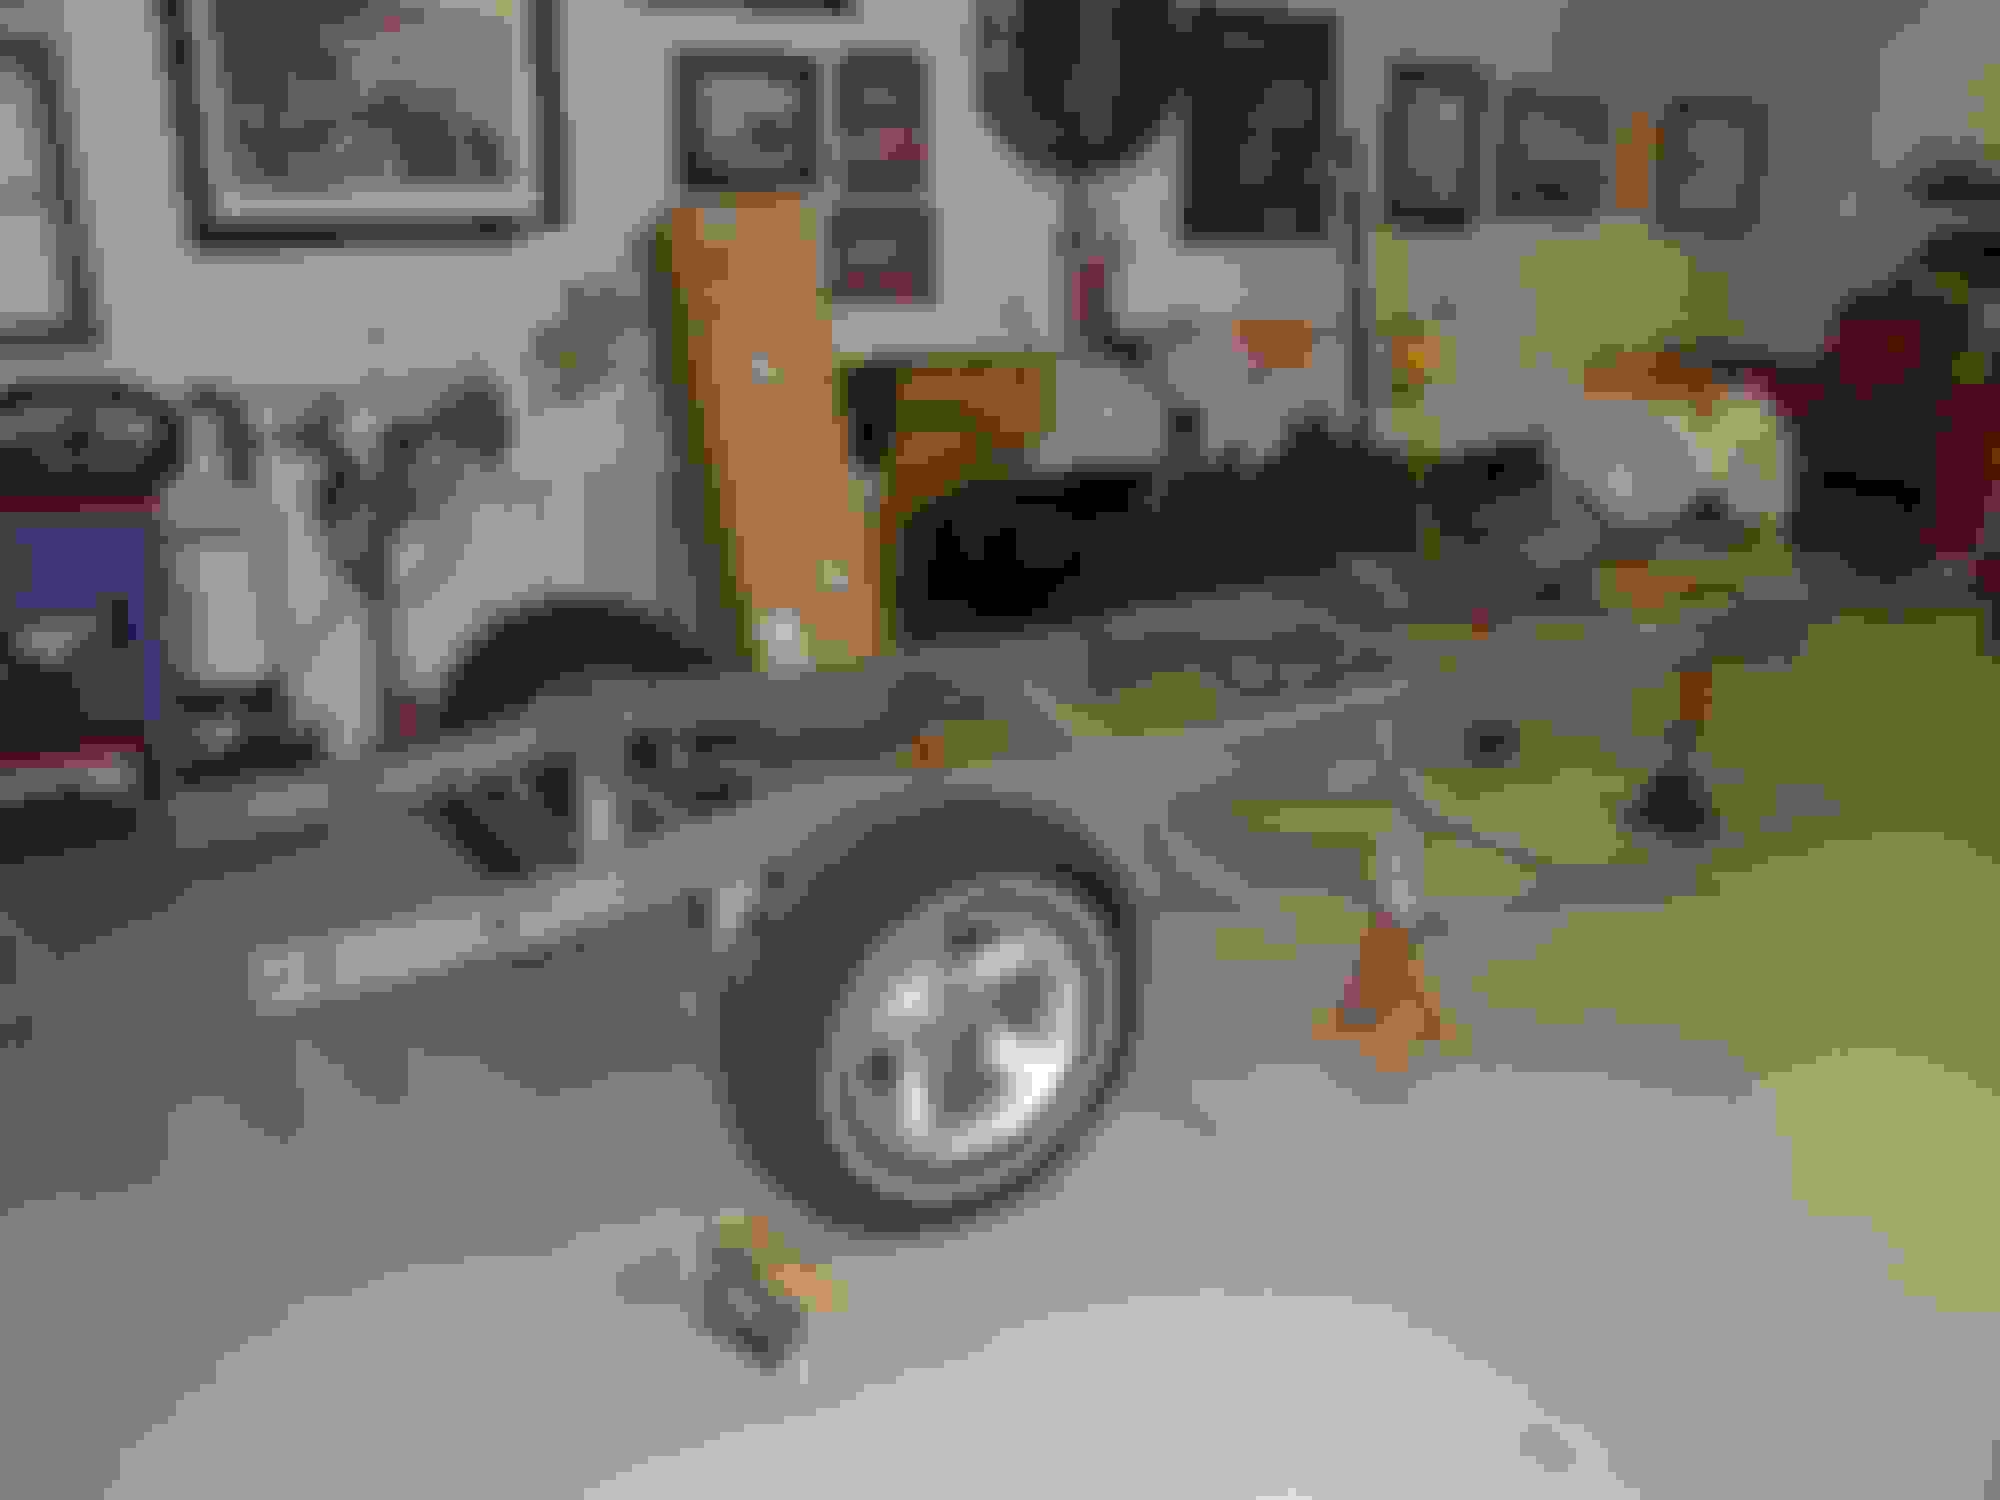
Because the frame was looking so good a friend suggested I sand blast it. I was worried about the mess it would leave. He told me to blast on the concrete, sweep up the material and reuse it. That's what we did, everything was swept up and sifter then run though the blaster again. When done there was no signs of sandblasting anywhere. Weather was a problem as it was windy (this helped) and threatening to rain. The moisture made the sand tend to clump in the blaster.


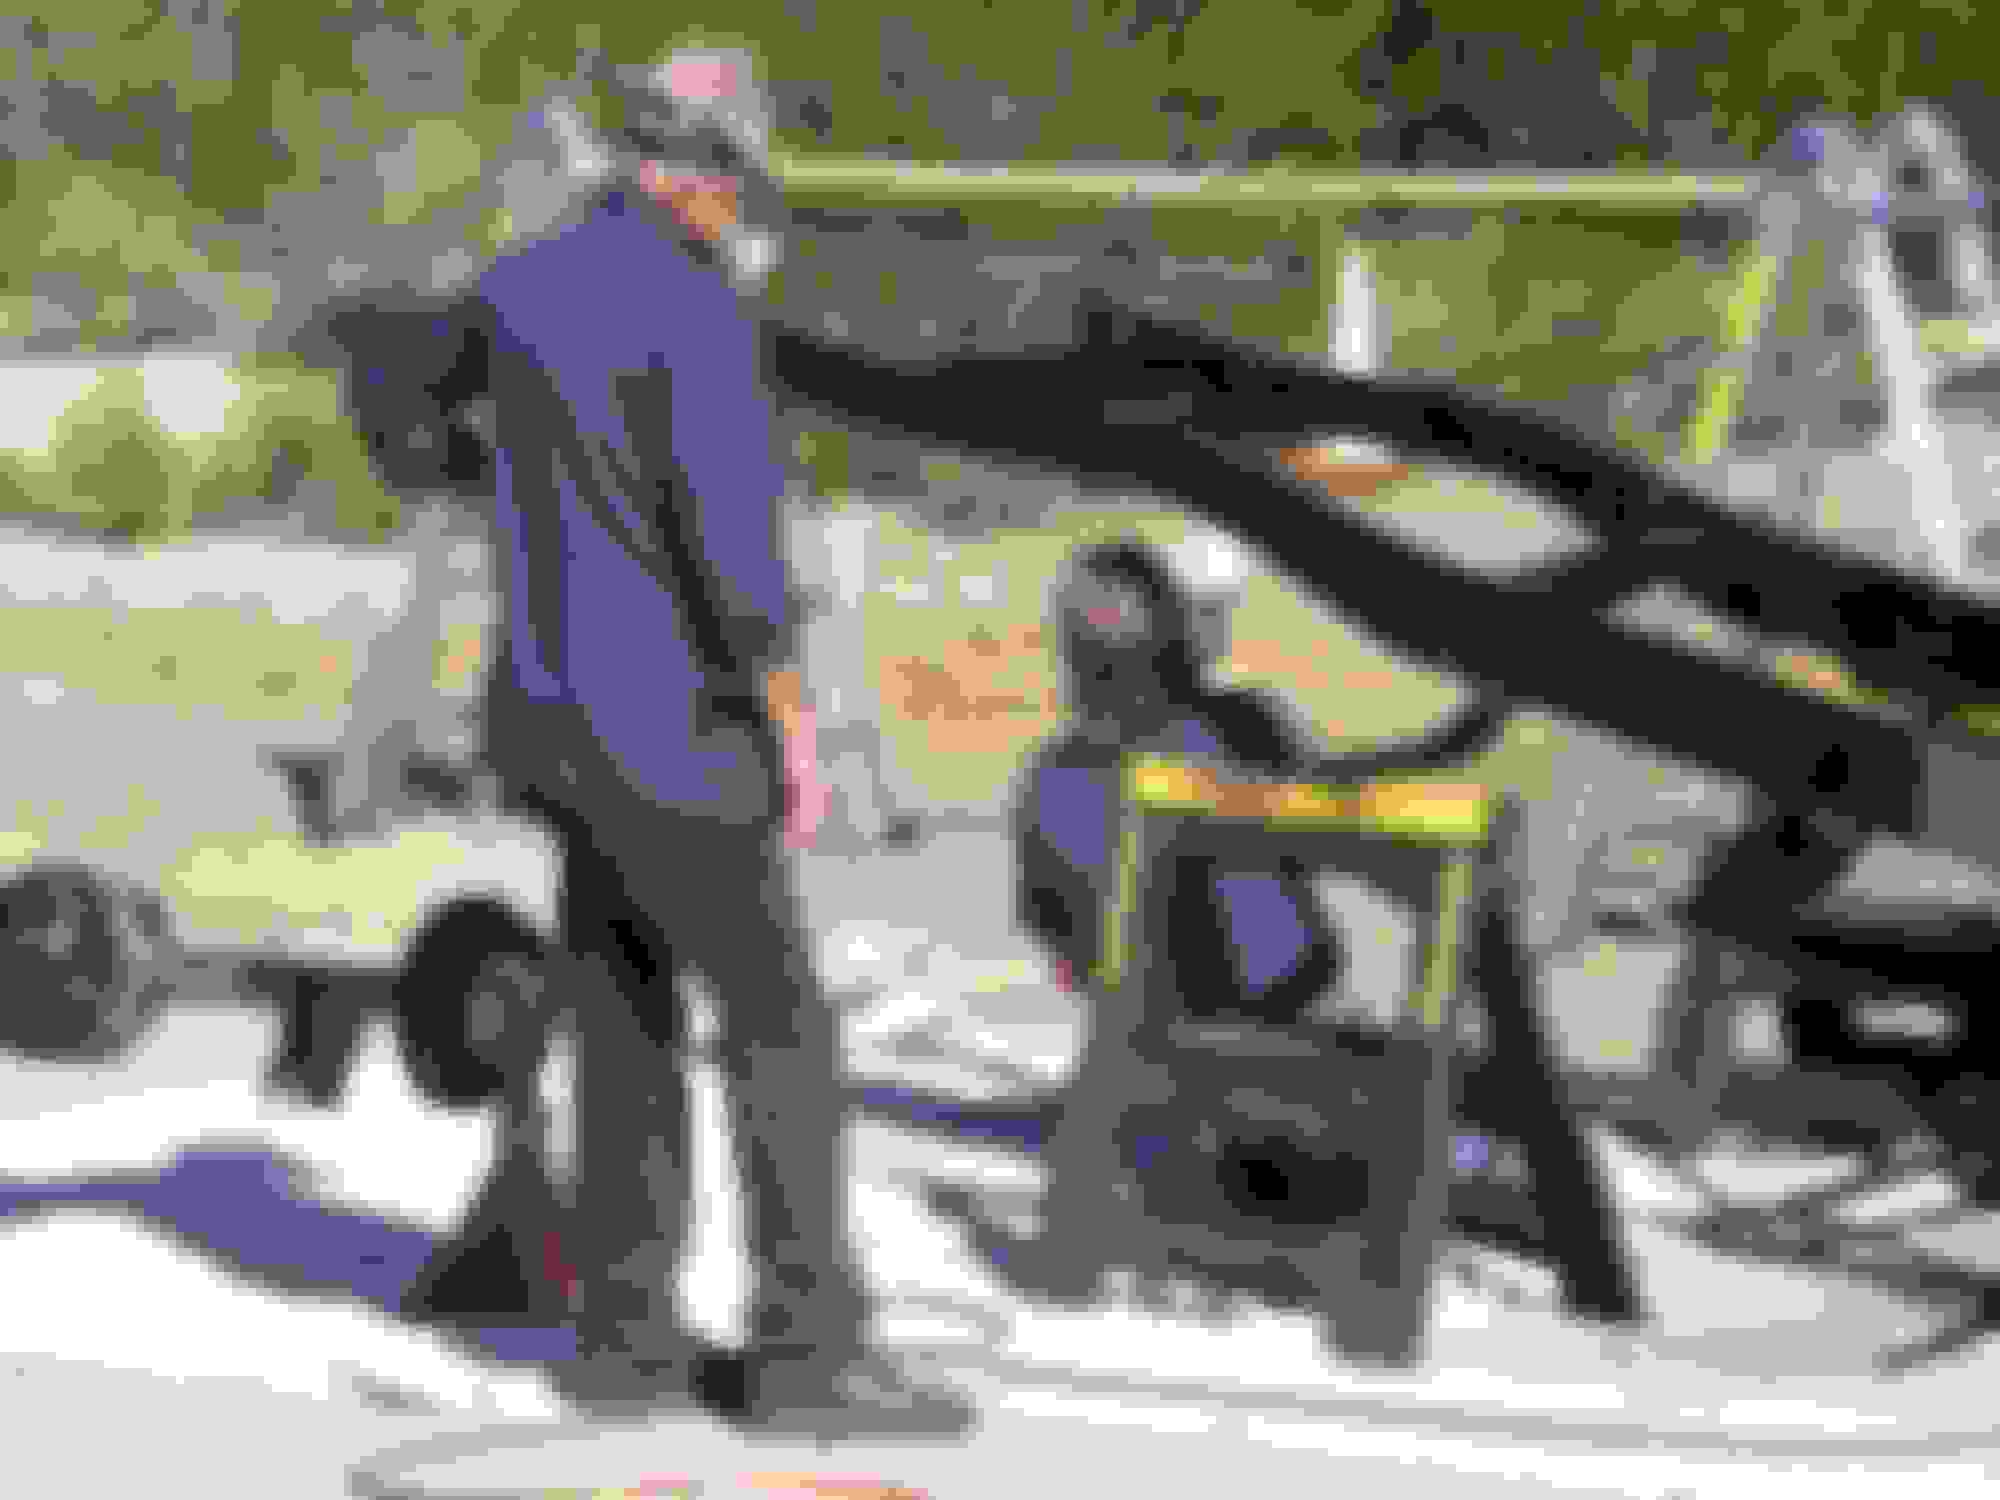
Me praying it wouldn't rain halfway through the job. Must have worked.


The red media we were blasting with did a great job and swept up easily.


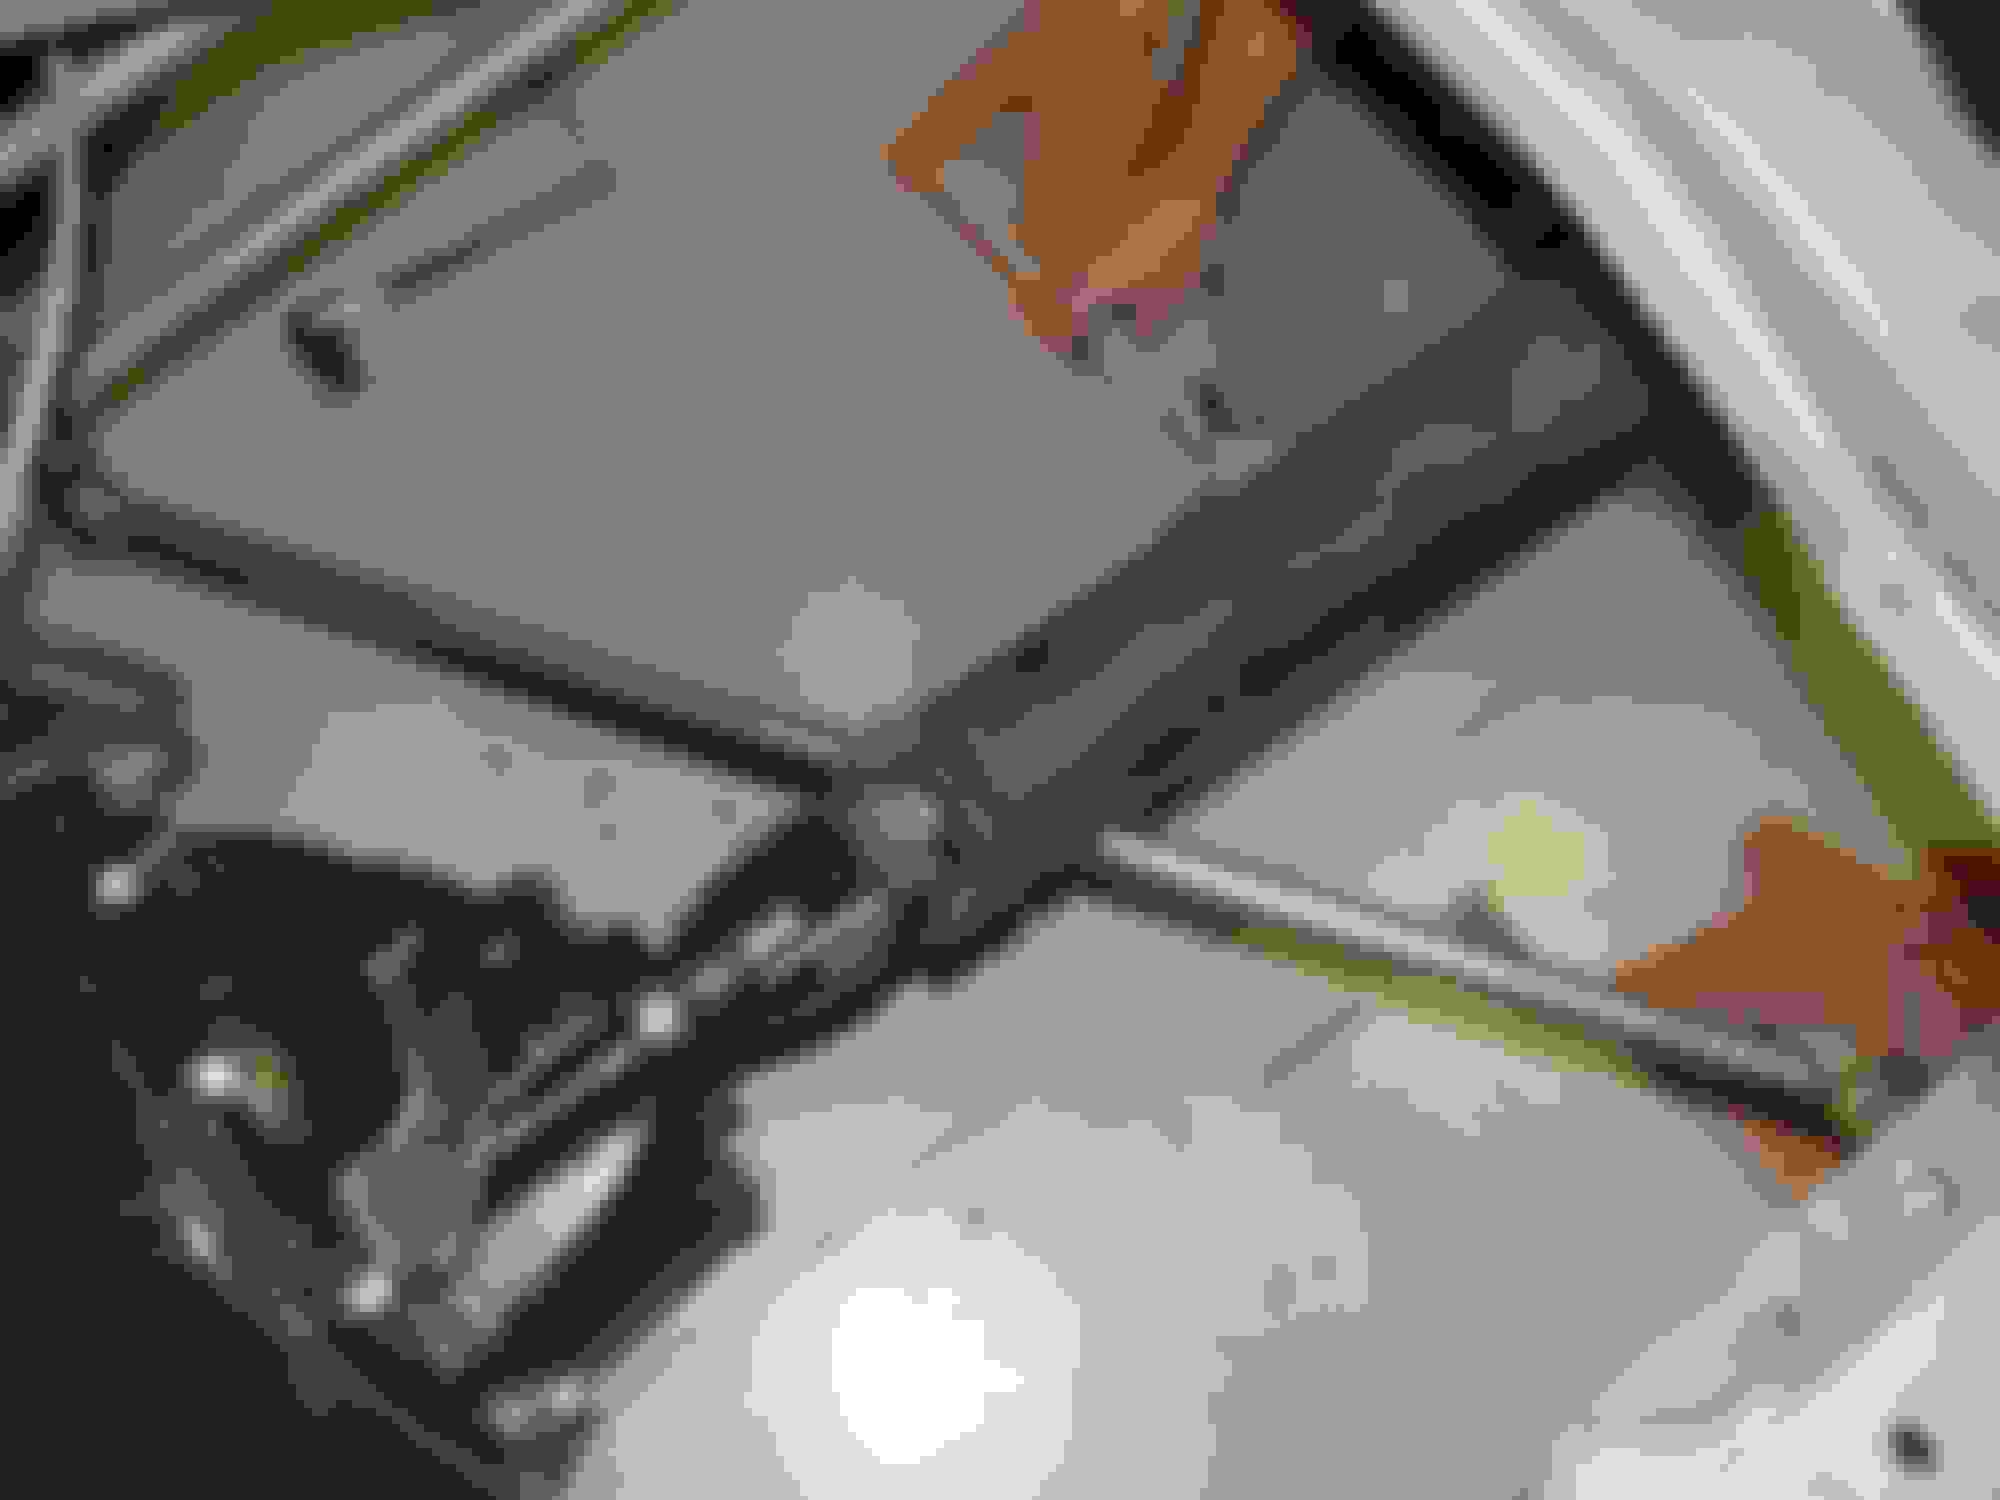
After blasting and before painting we needed to check the clearance of the panhard rod. It was very close to the driveshaft and we wanted to make any changes before painting.


It was close but as the suspension compresses the distance becomes greater so nothing needed to be done


Frame ready for paint.


Now we just need a calm and warm day.
 
  #53  
Old 01-17-2015, 08:34 AM
Rimrock F1's Avatar
Rimrock F1
Rimrock F1 is offline
Posting Guru
Thread Starter
Join Date: Apr 2013
Location: Rimrock AZ
Posts: 1,170
Likes: 0
Received 0 Likes on 0 Posts
Painting was going to take awhile so we got a early start the weekend after blasting. The frame received a coat of Eastwood epoxy topped with Eastwood 2K chassis satin. It worked very well and I am happy with the result.


We used the hoist so we could lift the fame and do the underside at the same time as the top.


Primer sprayed.


We sprayed those portions of the rear end that were worked on.


Made a hanging rack for the small parts.


Getting under the rear of the frame was tough, so out came the saw horses for a little more clearance.


End of the day and the final product.


Very happy with the finish.
 
  #54  
Old 01-17-2015, 10:30 AM
ChuckRob's Avatar
ChuckRob
ChuckRob is offline
Elder User
Join Date: Mar 2012
Location: Prescott AZ.
Posts: 787
Likes: 0
Received 0 Likes on 0 Posts
Belle is really coming right along, almost makes me want to take mine apart and do something.
 
  #55  
Old 01-17-2015, 12:55 PM
Rimrock F1's Avatar
Rimrock F1
Rimrock F1 is offline
Posting Guru
Thread Starter
Join Date: Apr 2013
Location: Rimrock AZ
Posts: 1,170
Likes: 0
Received 0 Likes on 0 Posts
Originally Posted by ChuckRob
Belle is really coming right along, almost makes me want to take mine apart and do something.
I know what you mean. Rick, the friend that is helping has been going through catalogs looking at a new P/S pump, control arms, wheels etc. I guess I'll be going to his house before long.
 
  #56  
Old 01-17-2015, 01:14 PM
Harrier's Avatar
Harrier
Harrier is offline
Lead Driver
Join Date: Nov 2002
Location: Jefferson City, MO
Posts: 8,709
Received 757 Likes on 369 Posts
That is looking beautiful.
 
  #57  
Old 01-17-2015, 05:43 PM
49fordv8f4's Avatar
49fordv8f4
49fordv8f4 is offline
Cargo Master
Join Date: Aug 2014
Location: North Central Arkansas
Posts: 2,594
Received 69 Likes on 40 Posts
Looking Good !
Mark
 
  #58  
Old 01-18-2015, 01:37 PM
Bluey Zedoff's Avatar
Bluey Zedoff
Bluey Zedoff is online now
Laughing Gas
Join Date: Sep 2013
Location: Shellharbour, NSW
Posts: 1,107
Received 69 Likes on 35 Posts
That chassis came up a peach! Definitely got me thinking now about mine
 
  #59  
Old 01-18-2015, 03:33 PM
mkassab's Avatar
mkassab
mkassab is offline
Mountain Pass
Join Date: Nov 2012
Location: Brevard, NC
Posts: 108
Likes: 0
Received 0 Likes on 0 Posts
Mike... you got the frame additions almost looking like a TCI new frame with the cross and x-members you added.

Very nice,
Mark
 
  #60  
Old 01-20-2015, 12:03 AM
DW SD's Avatar
DW SD
DW SD is offline
Senior User
Join Date: Jul 2013
Posts: 386
Likes: 0
Received 0 Likes on 0 Posts
Thumbs up... Great job so far. Look forward to updates! Doug
 

Thread Tools
Search this Thread
Quick Reply: "Belle" 1952 F-1 build thread.


All times are GMT -5. The time now is 08:41 PM.