When you click on links to various merchants on this site and make a purchase, this can result in this site earning a commission. Affiliate programs and affiliations include, but are not limited to, the eBay Partner Network.
Wow! Belle is looking beautiful.
Any chances your wife will let you drive it any?
I can't wait for the start up video. Be sure to post it even if things don't go just right. (Like there is any chance of that happening.)
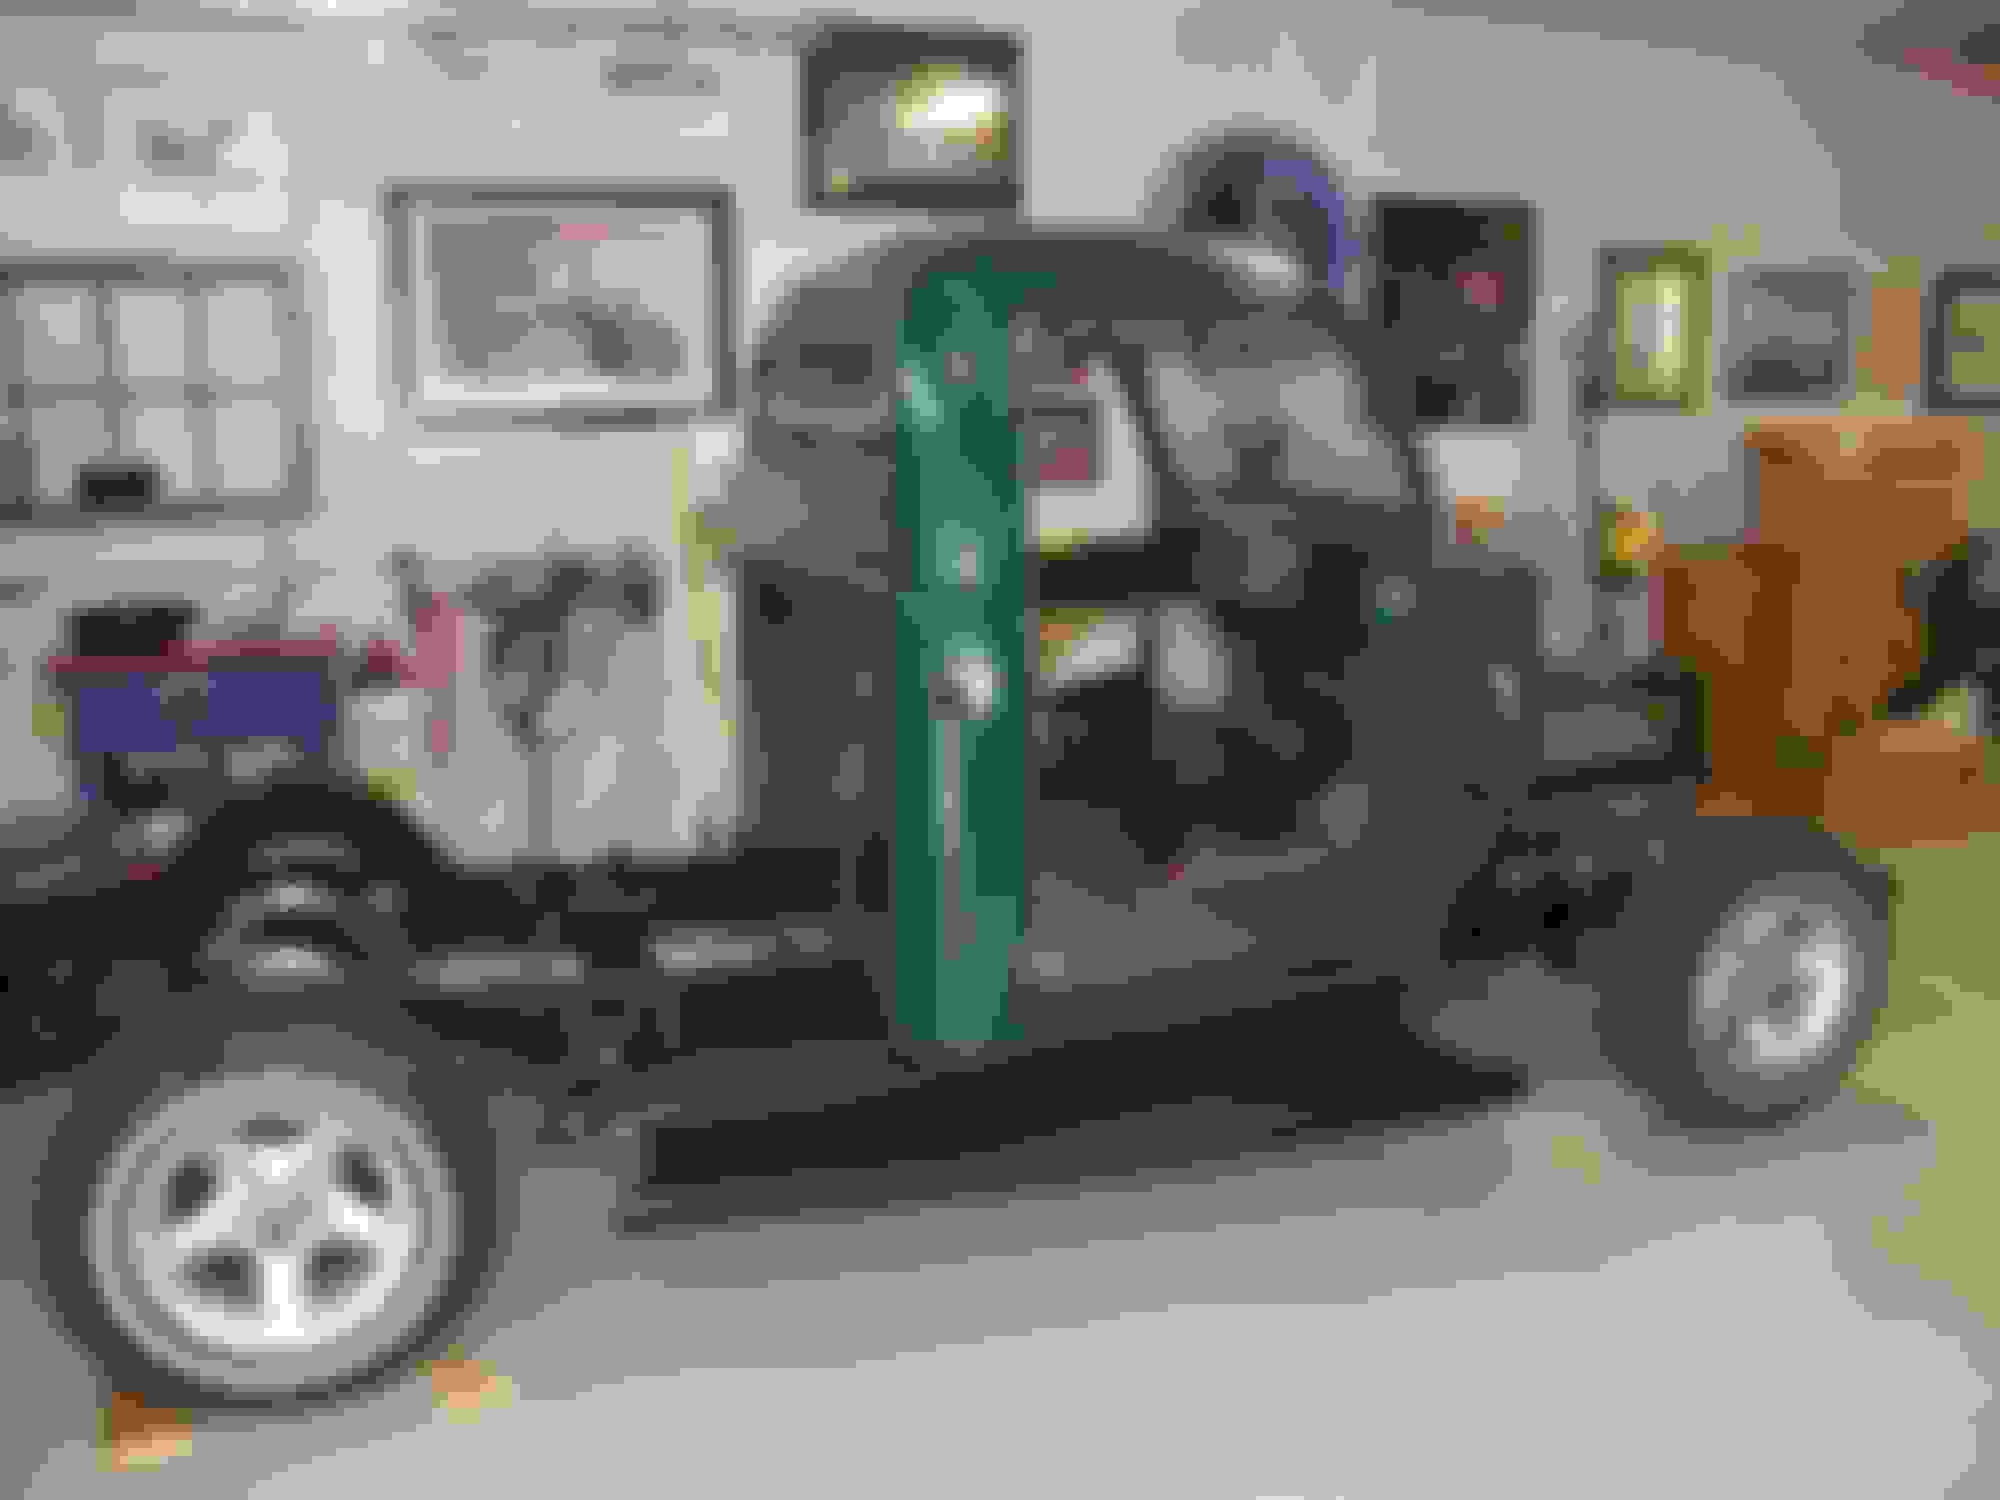
With the exhaust done it's time to get a few things done before the cab goes back on.
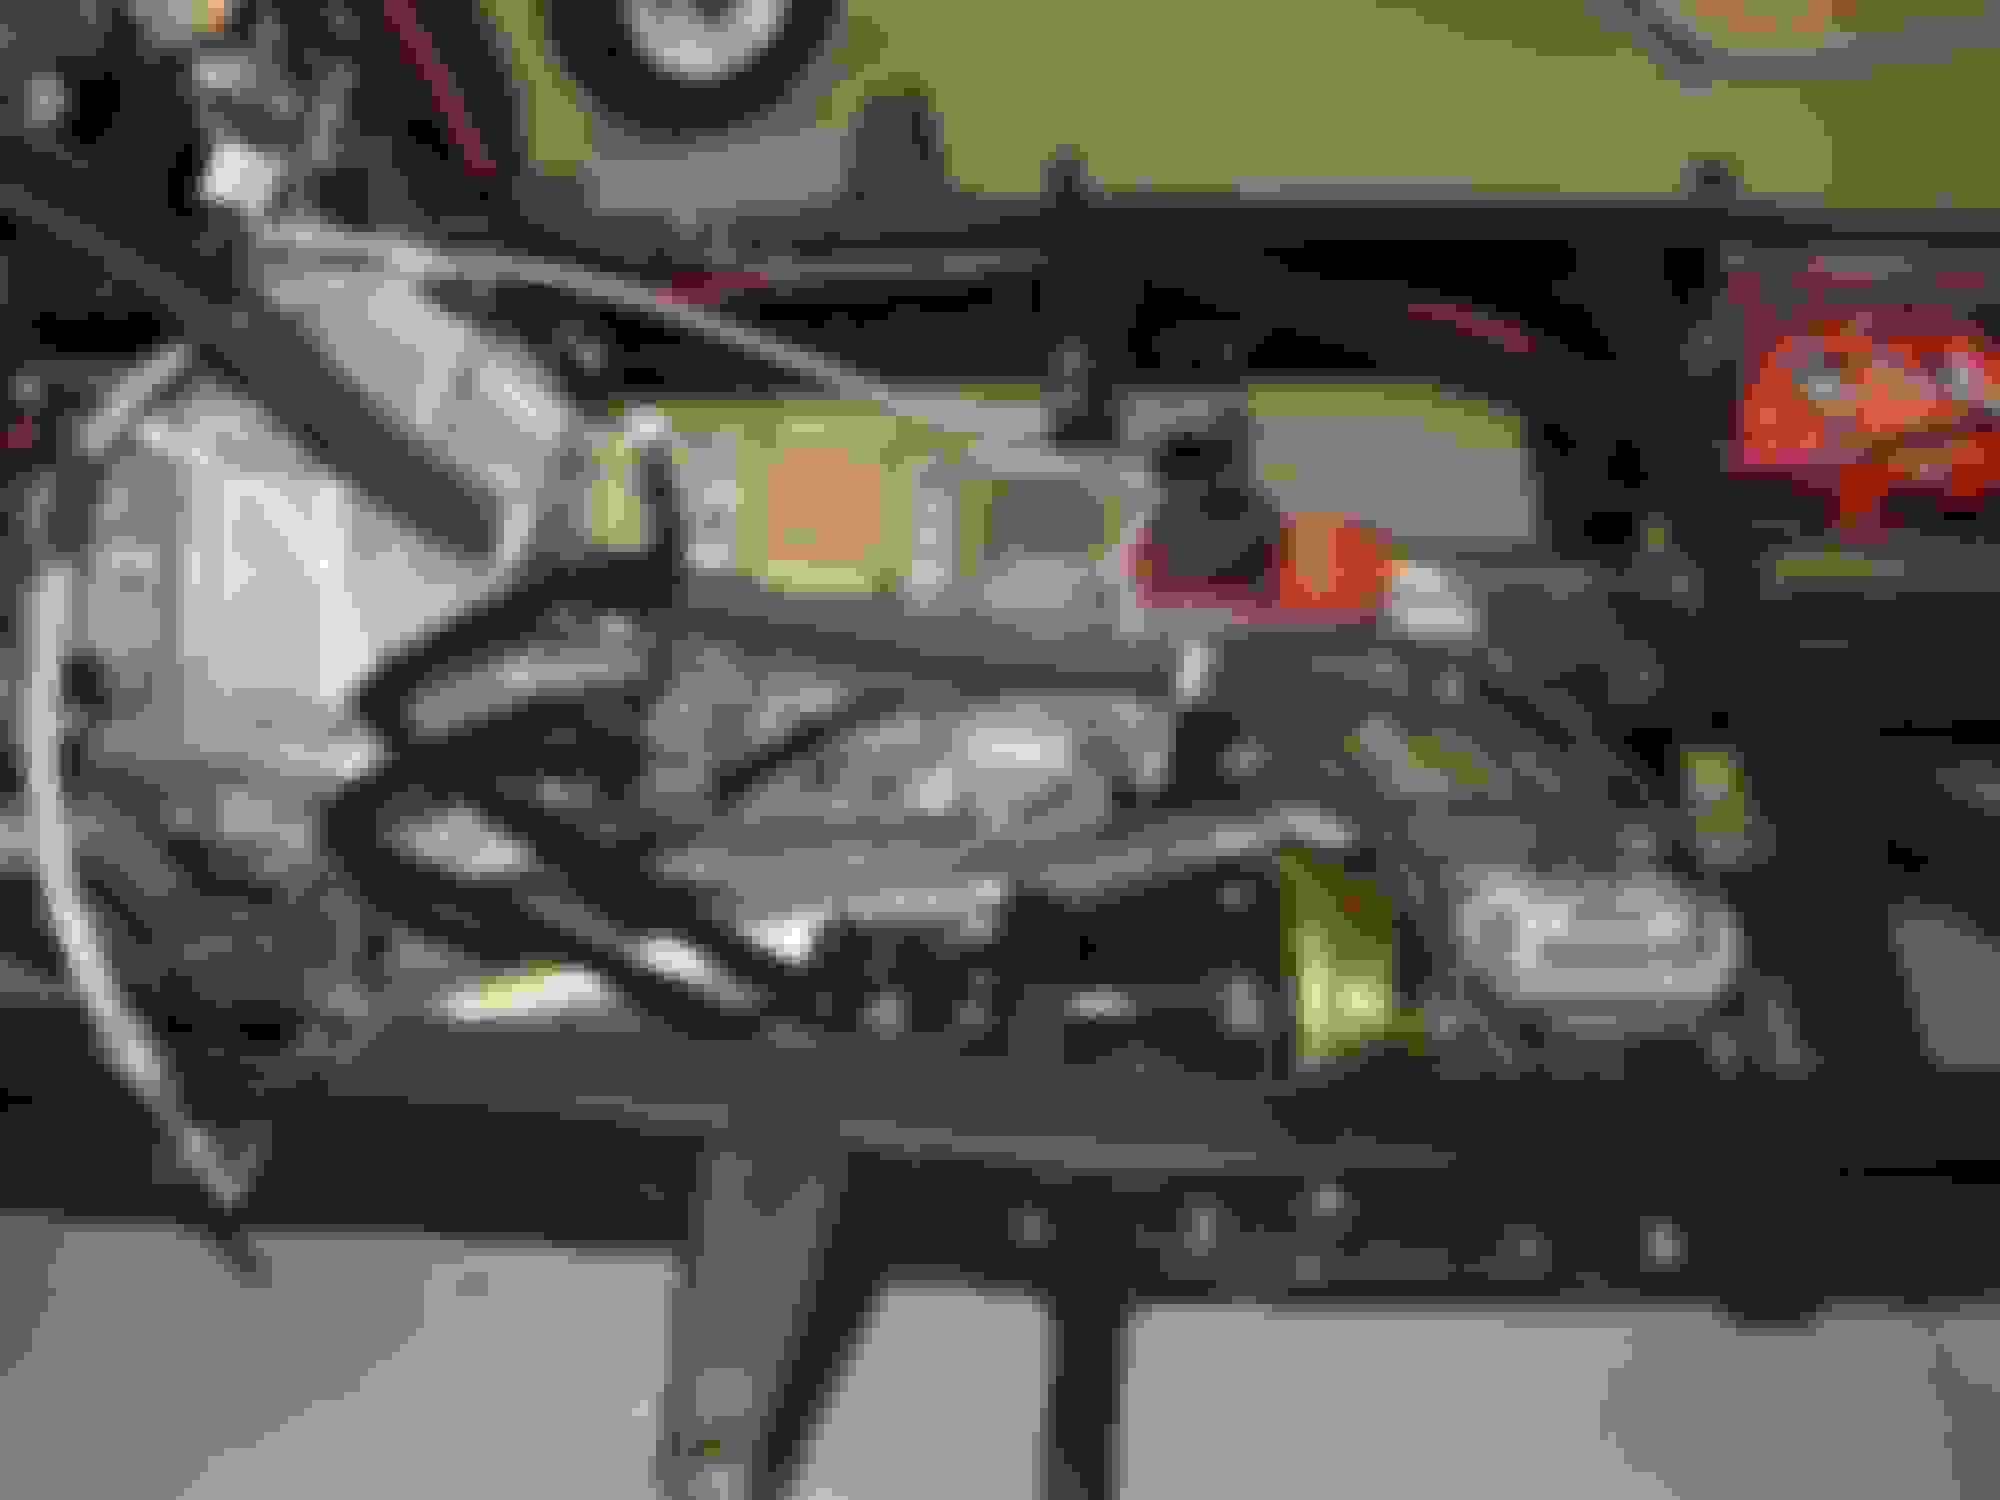
I ran the battery cables, which I put in tubing later and installed the original parking brake cable.
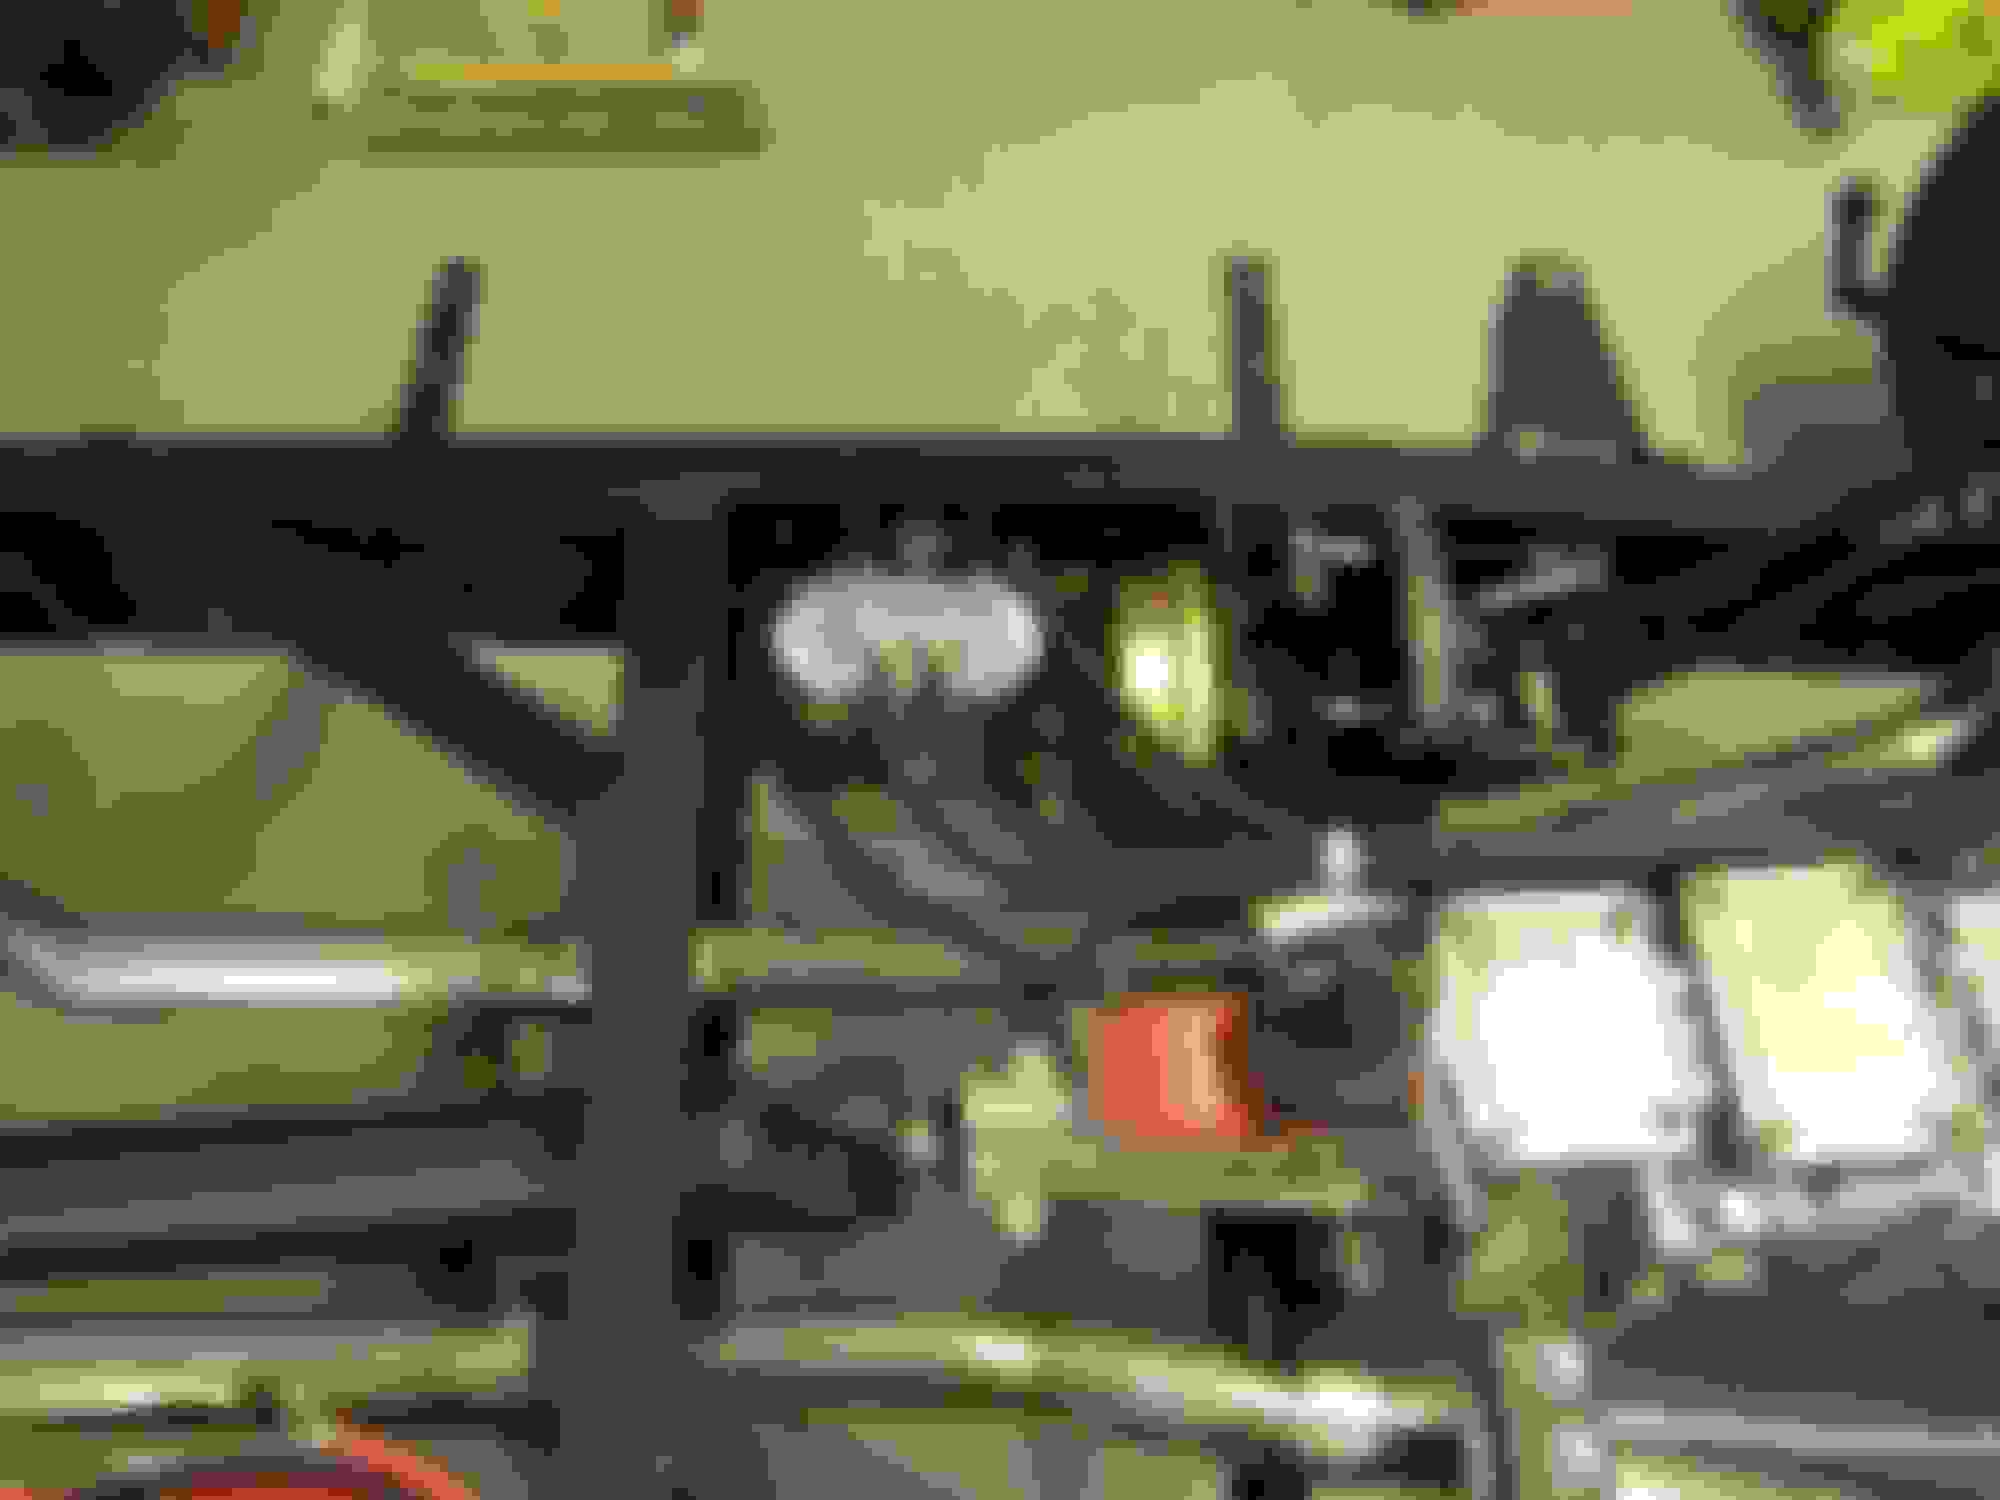
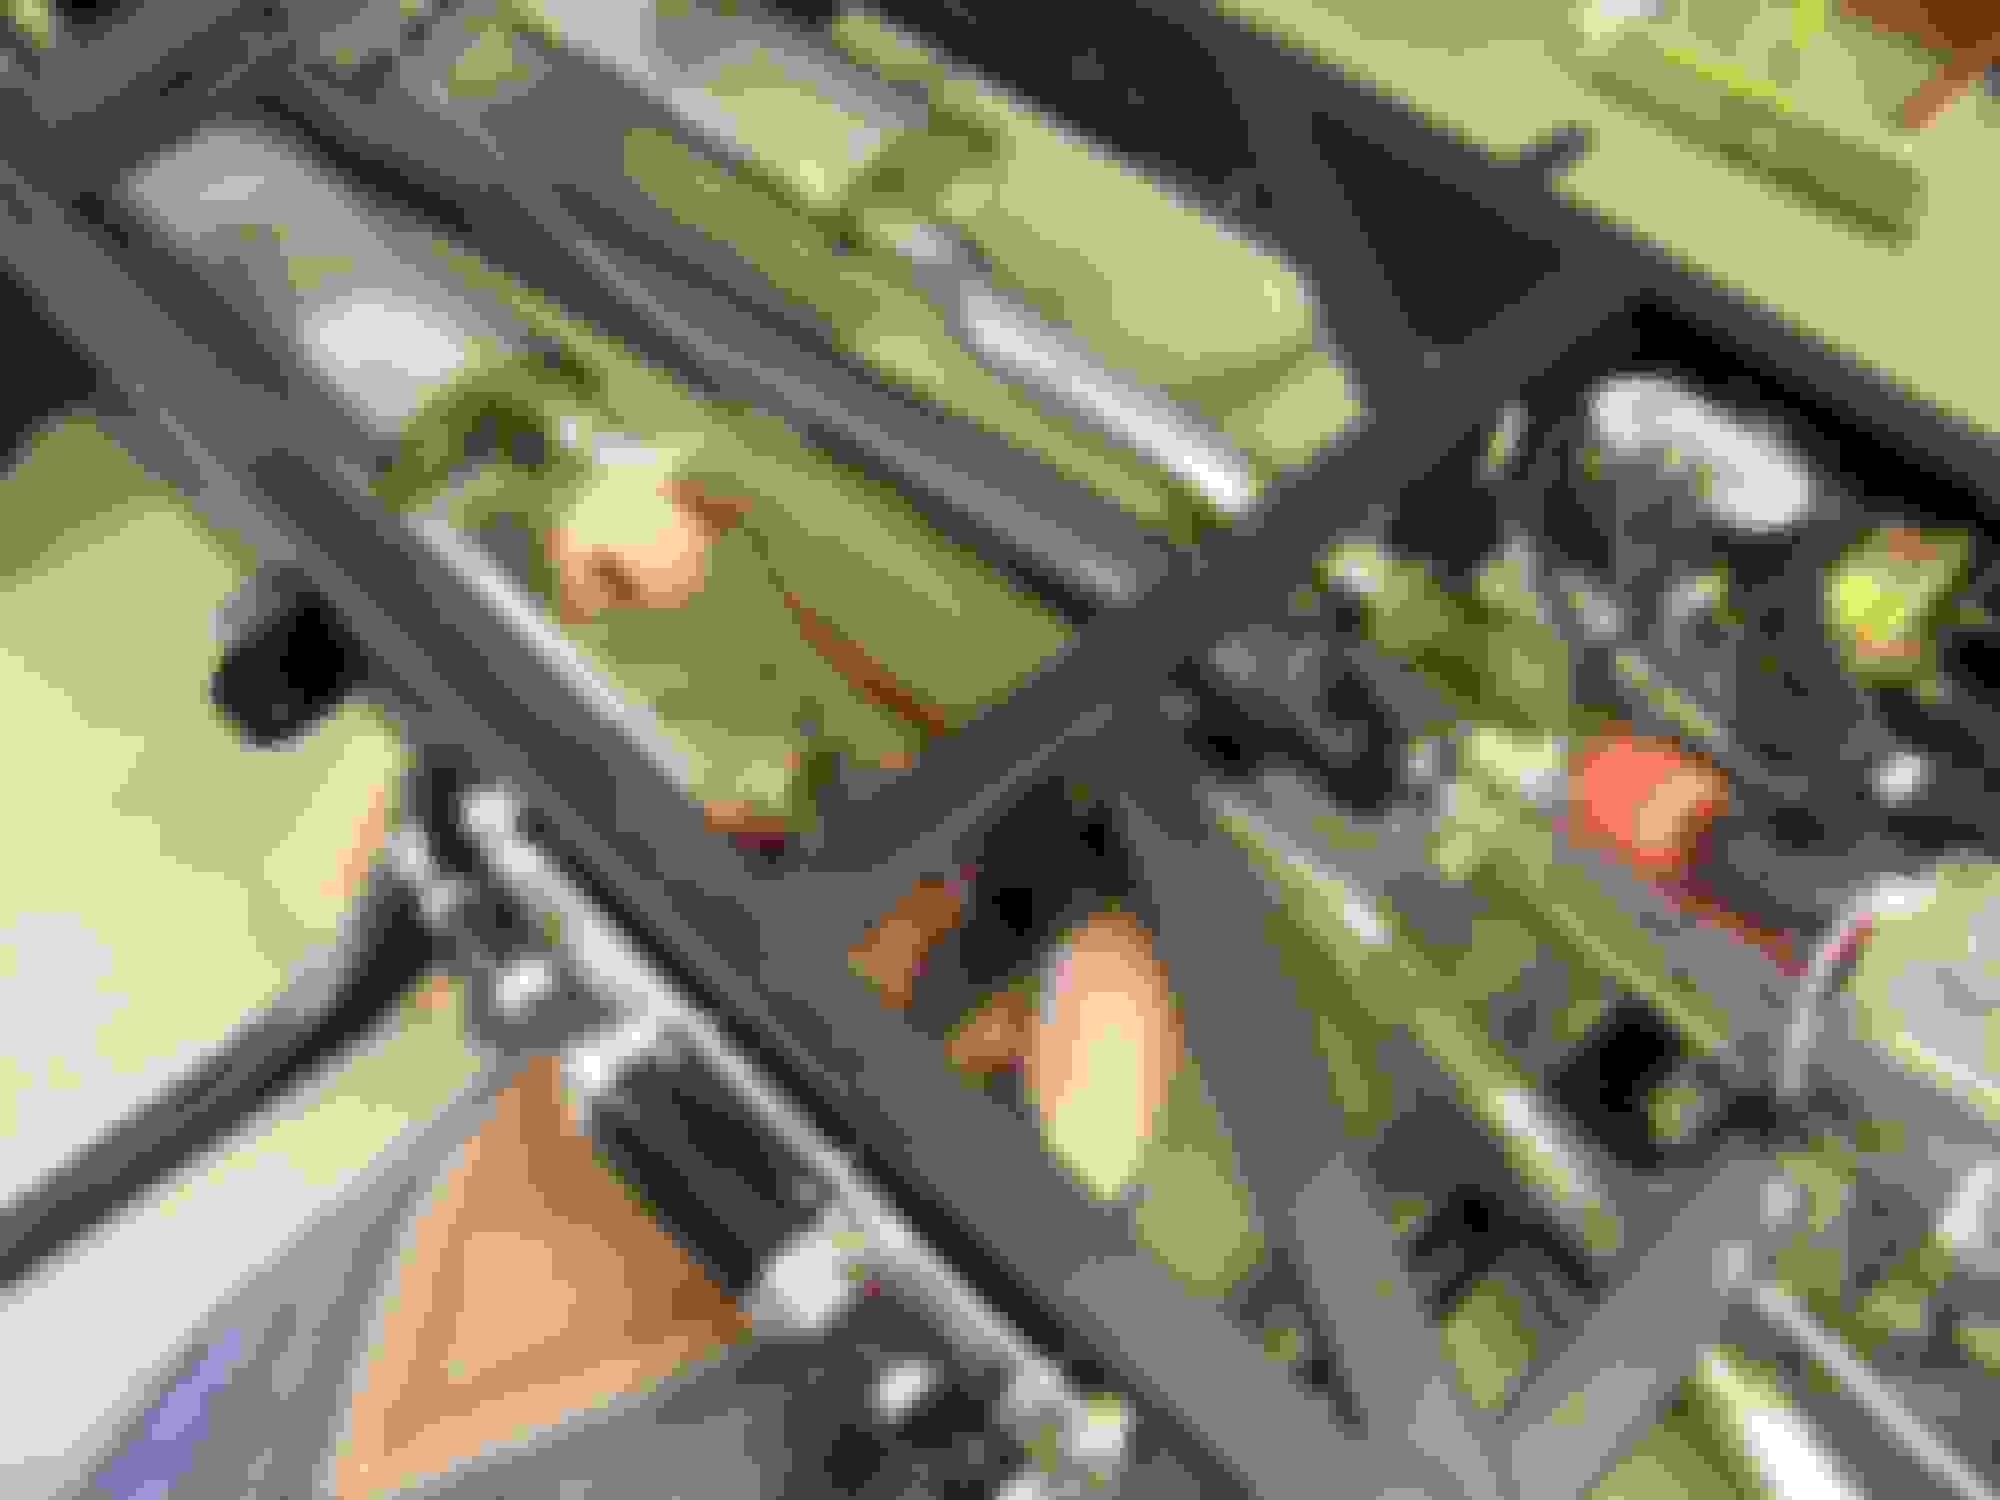
Installed the hoses for the remote brake/clutch reservoir.
Hoses will eventually be secured to the top side of the transmission.
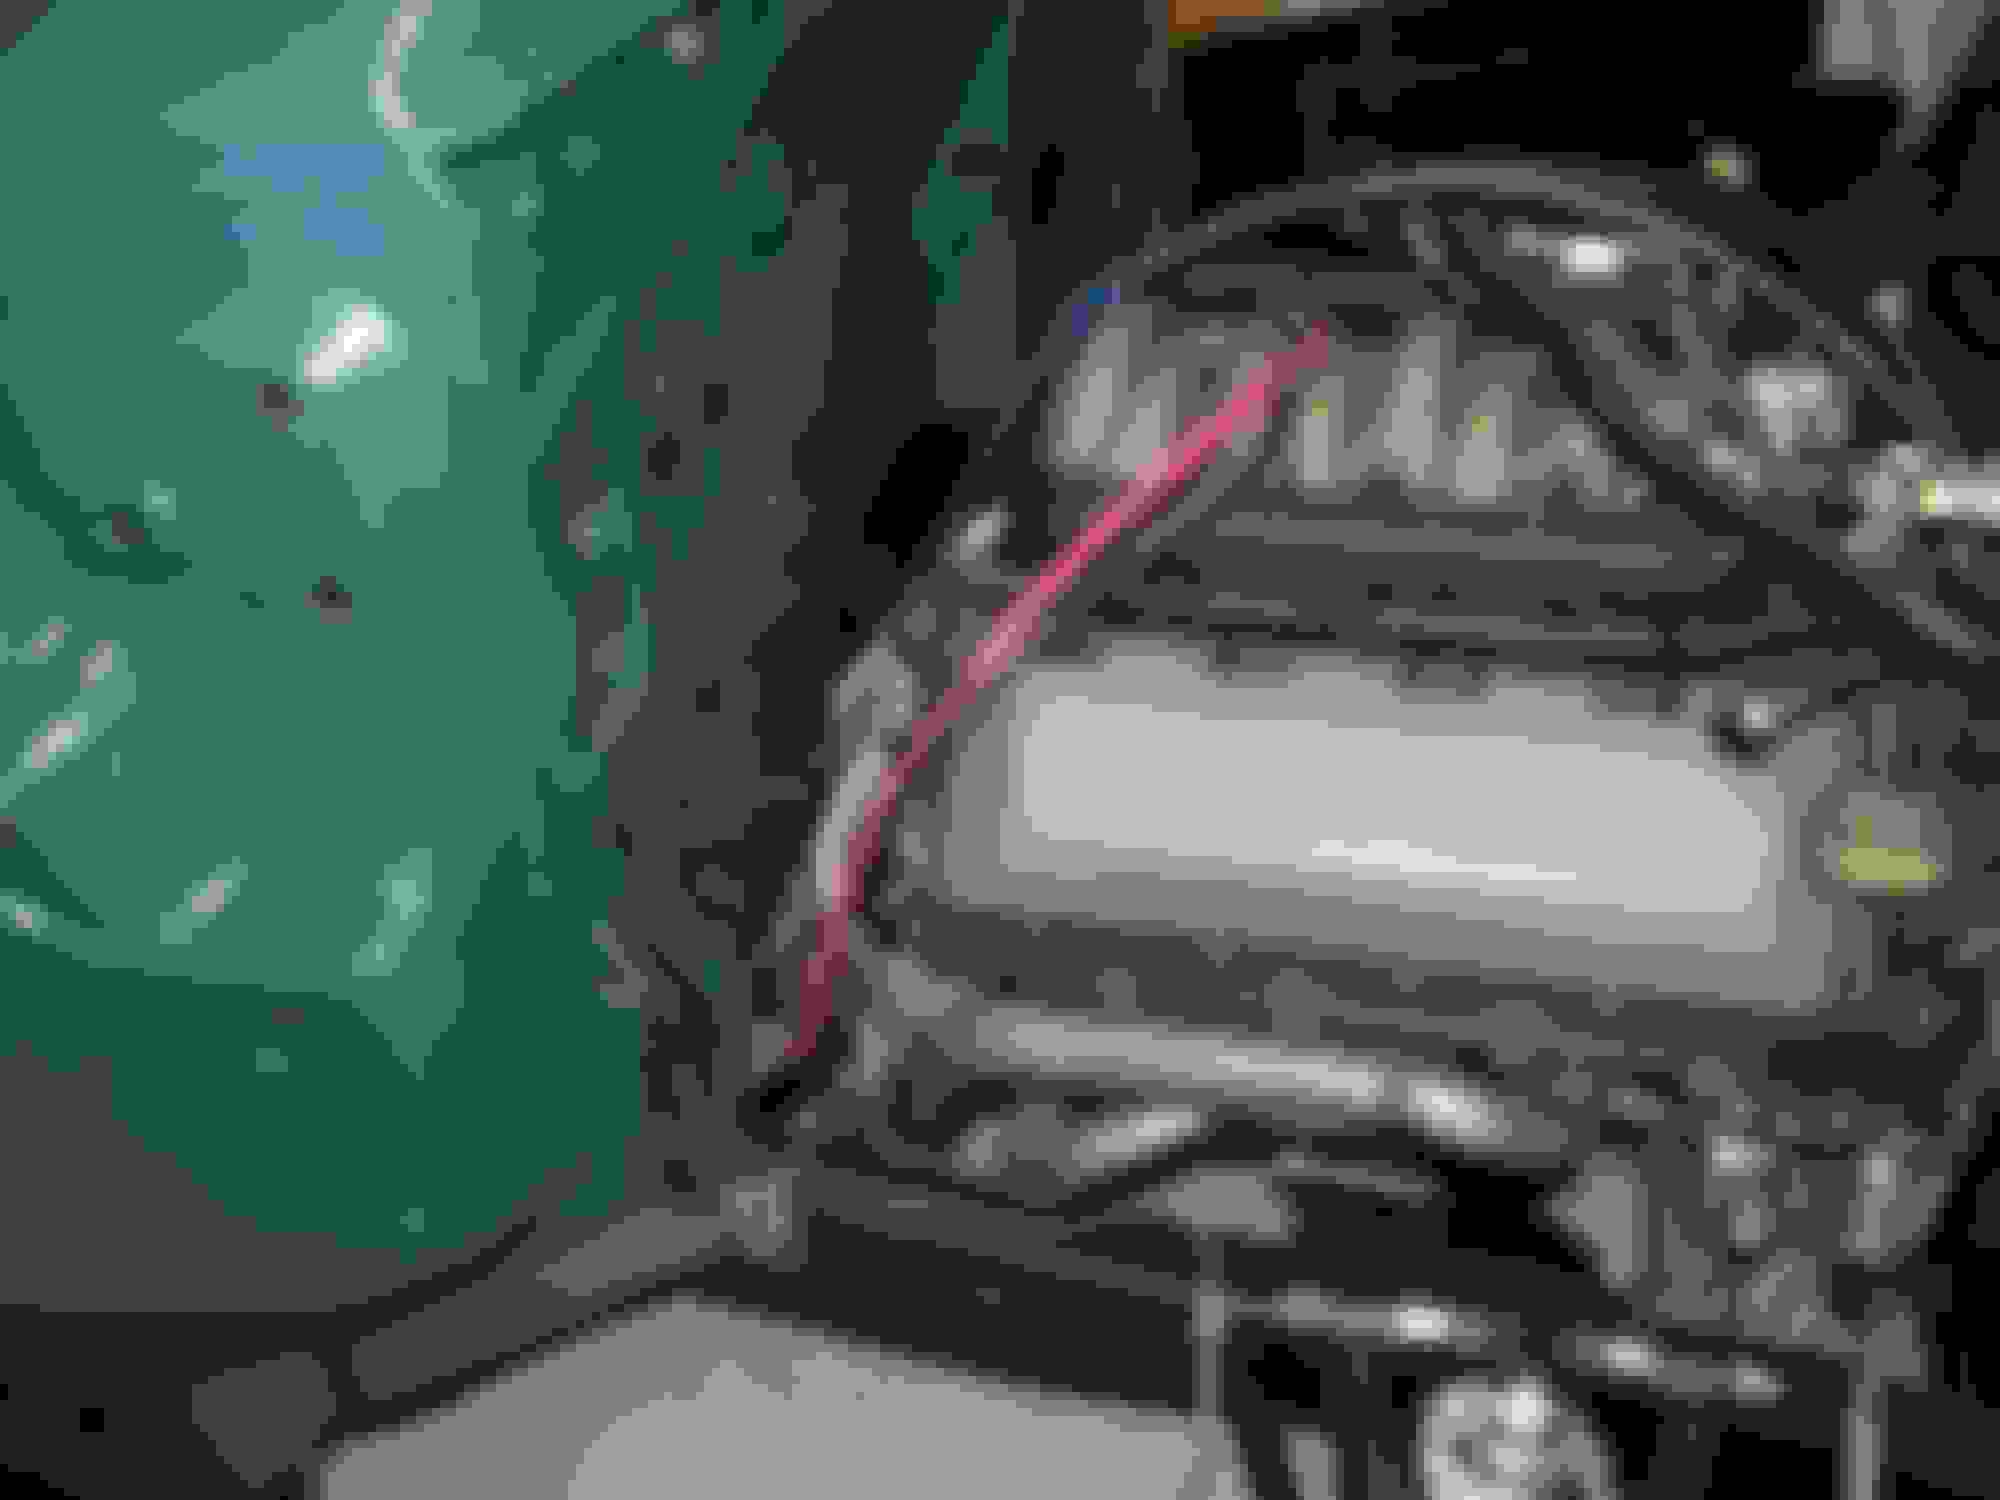
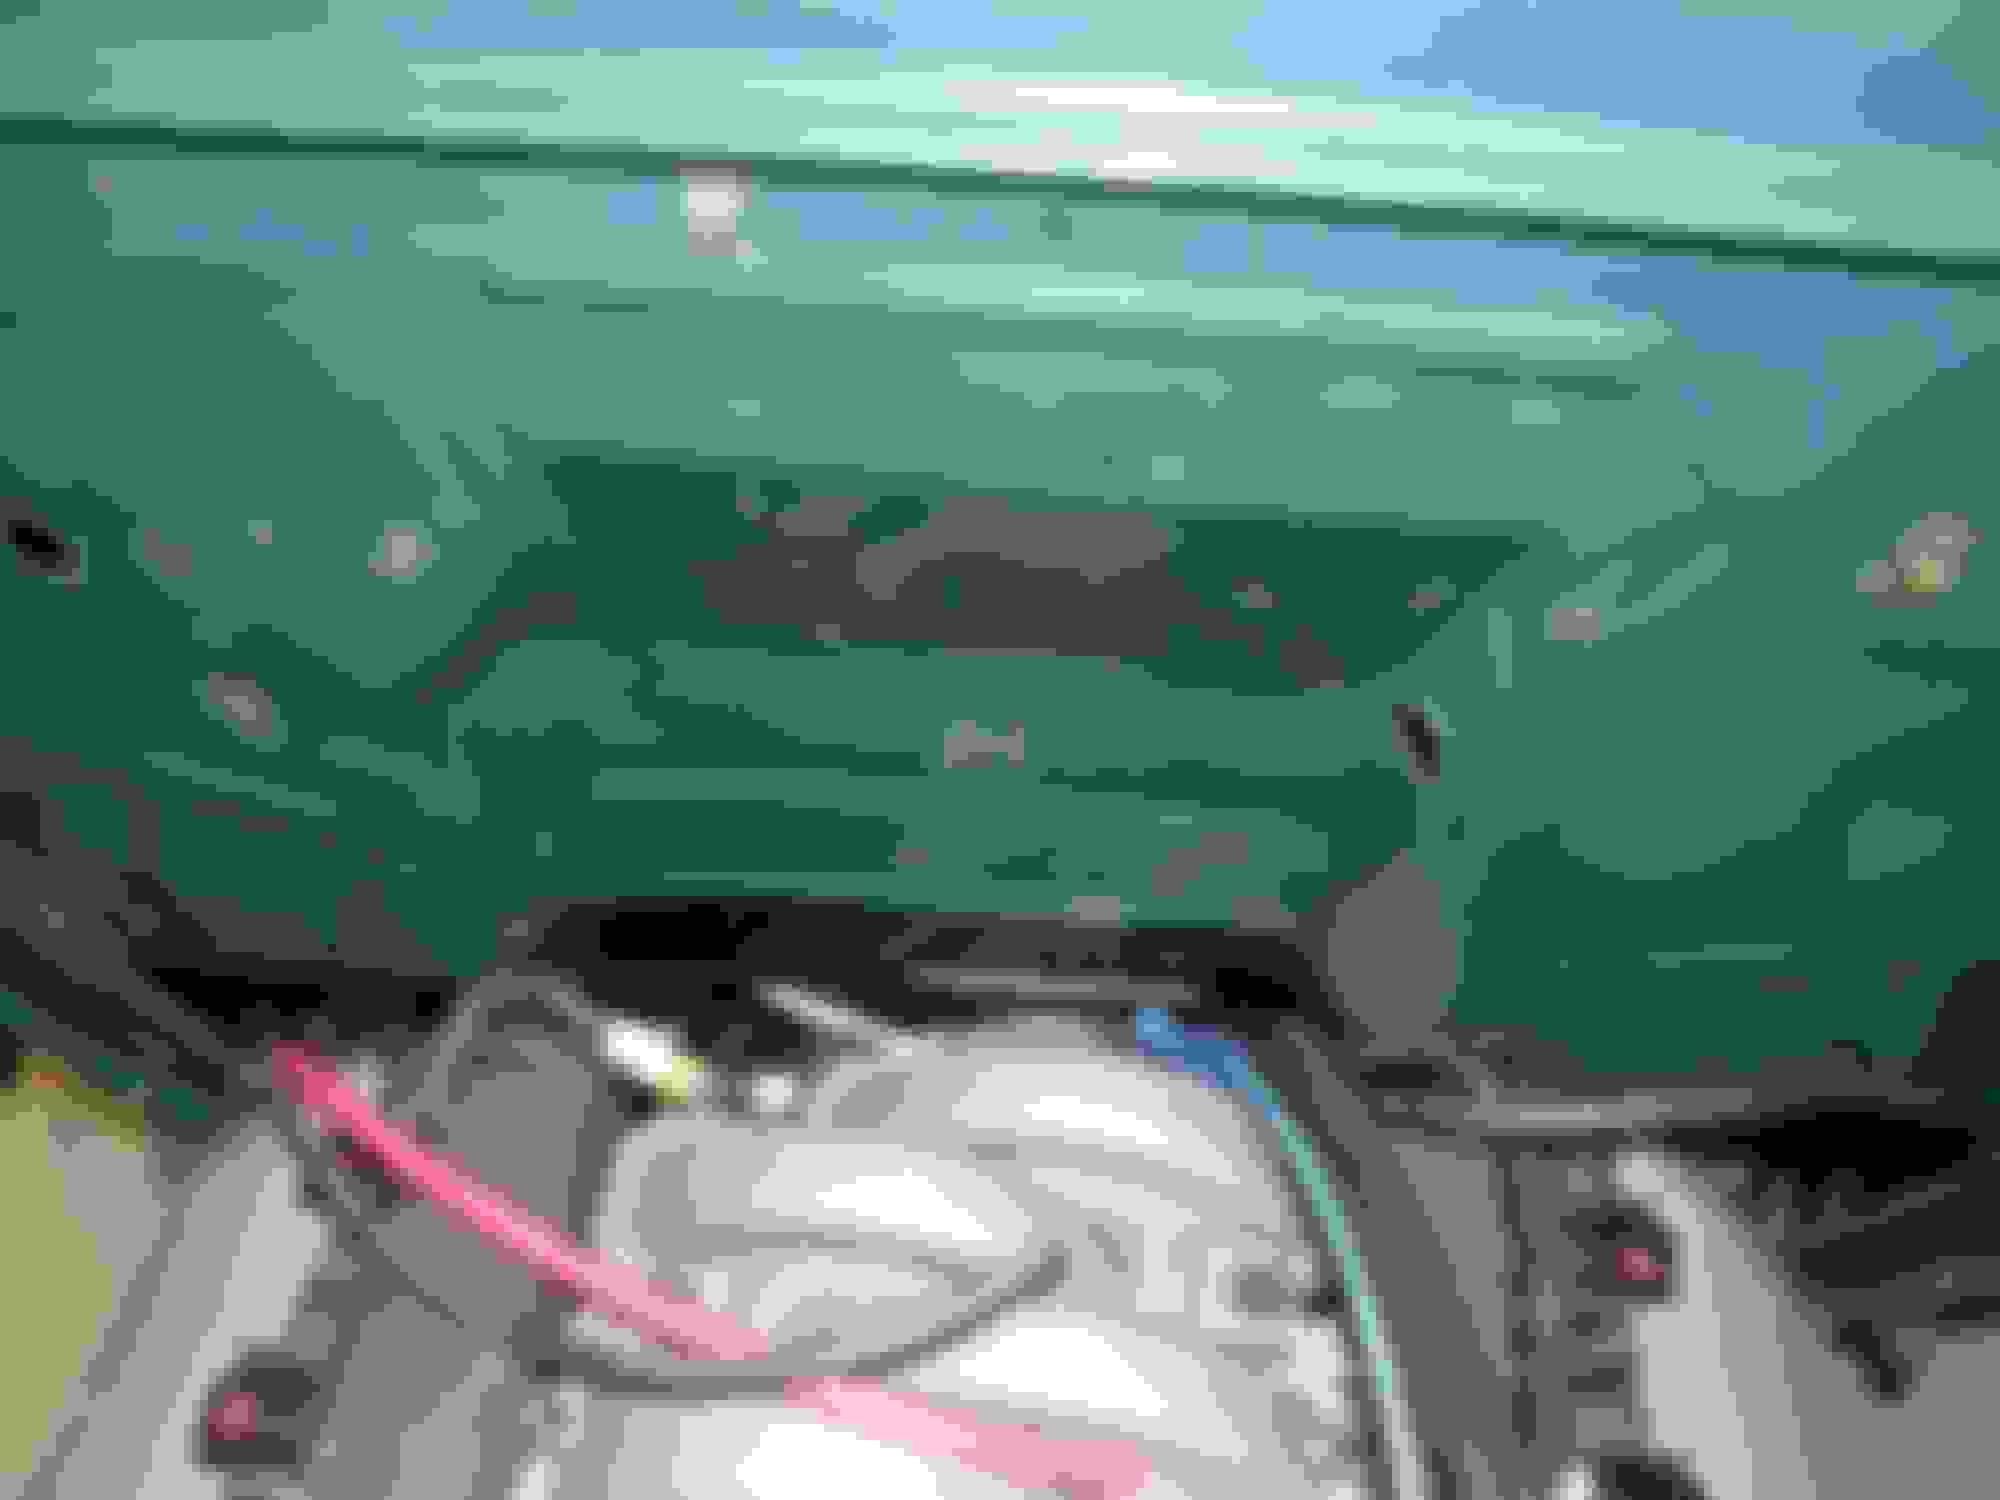
The exhaust runs pretty close to the battery and the brake booster......
So I installed DEI heat shields on the sections of pipe near them.
Once secured the hoses will be 3" or so away from the exhaust.
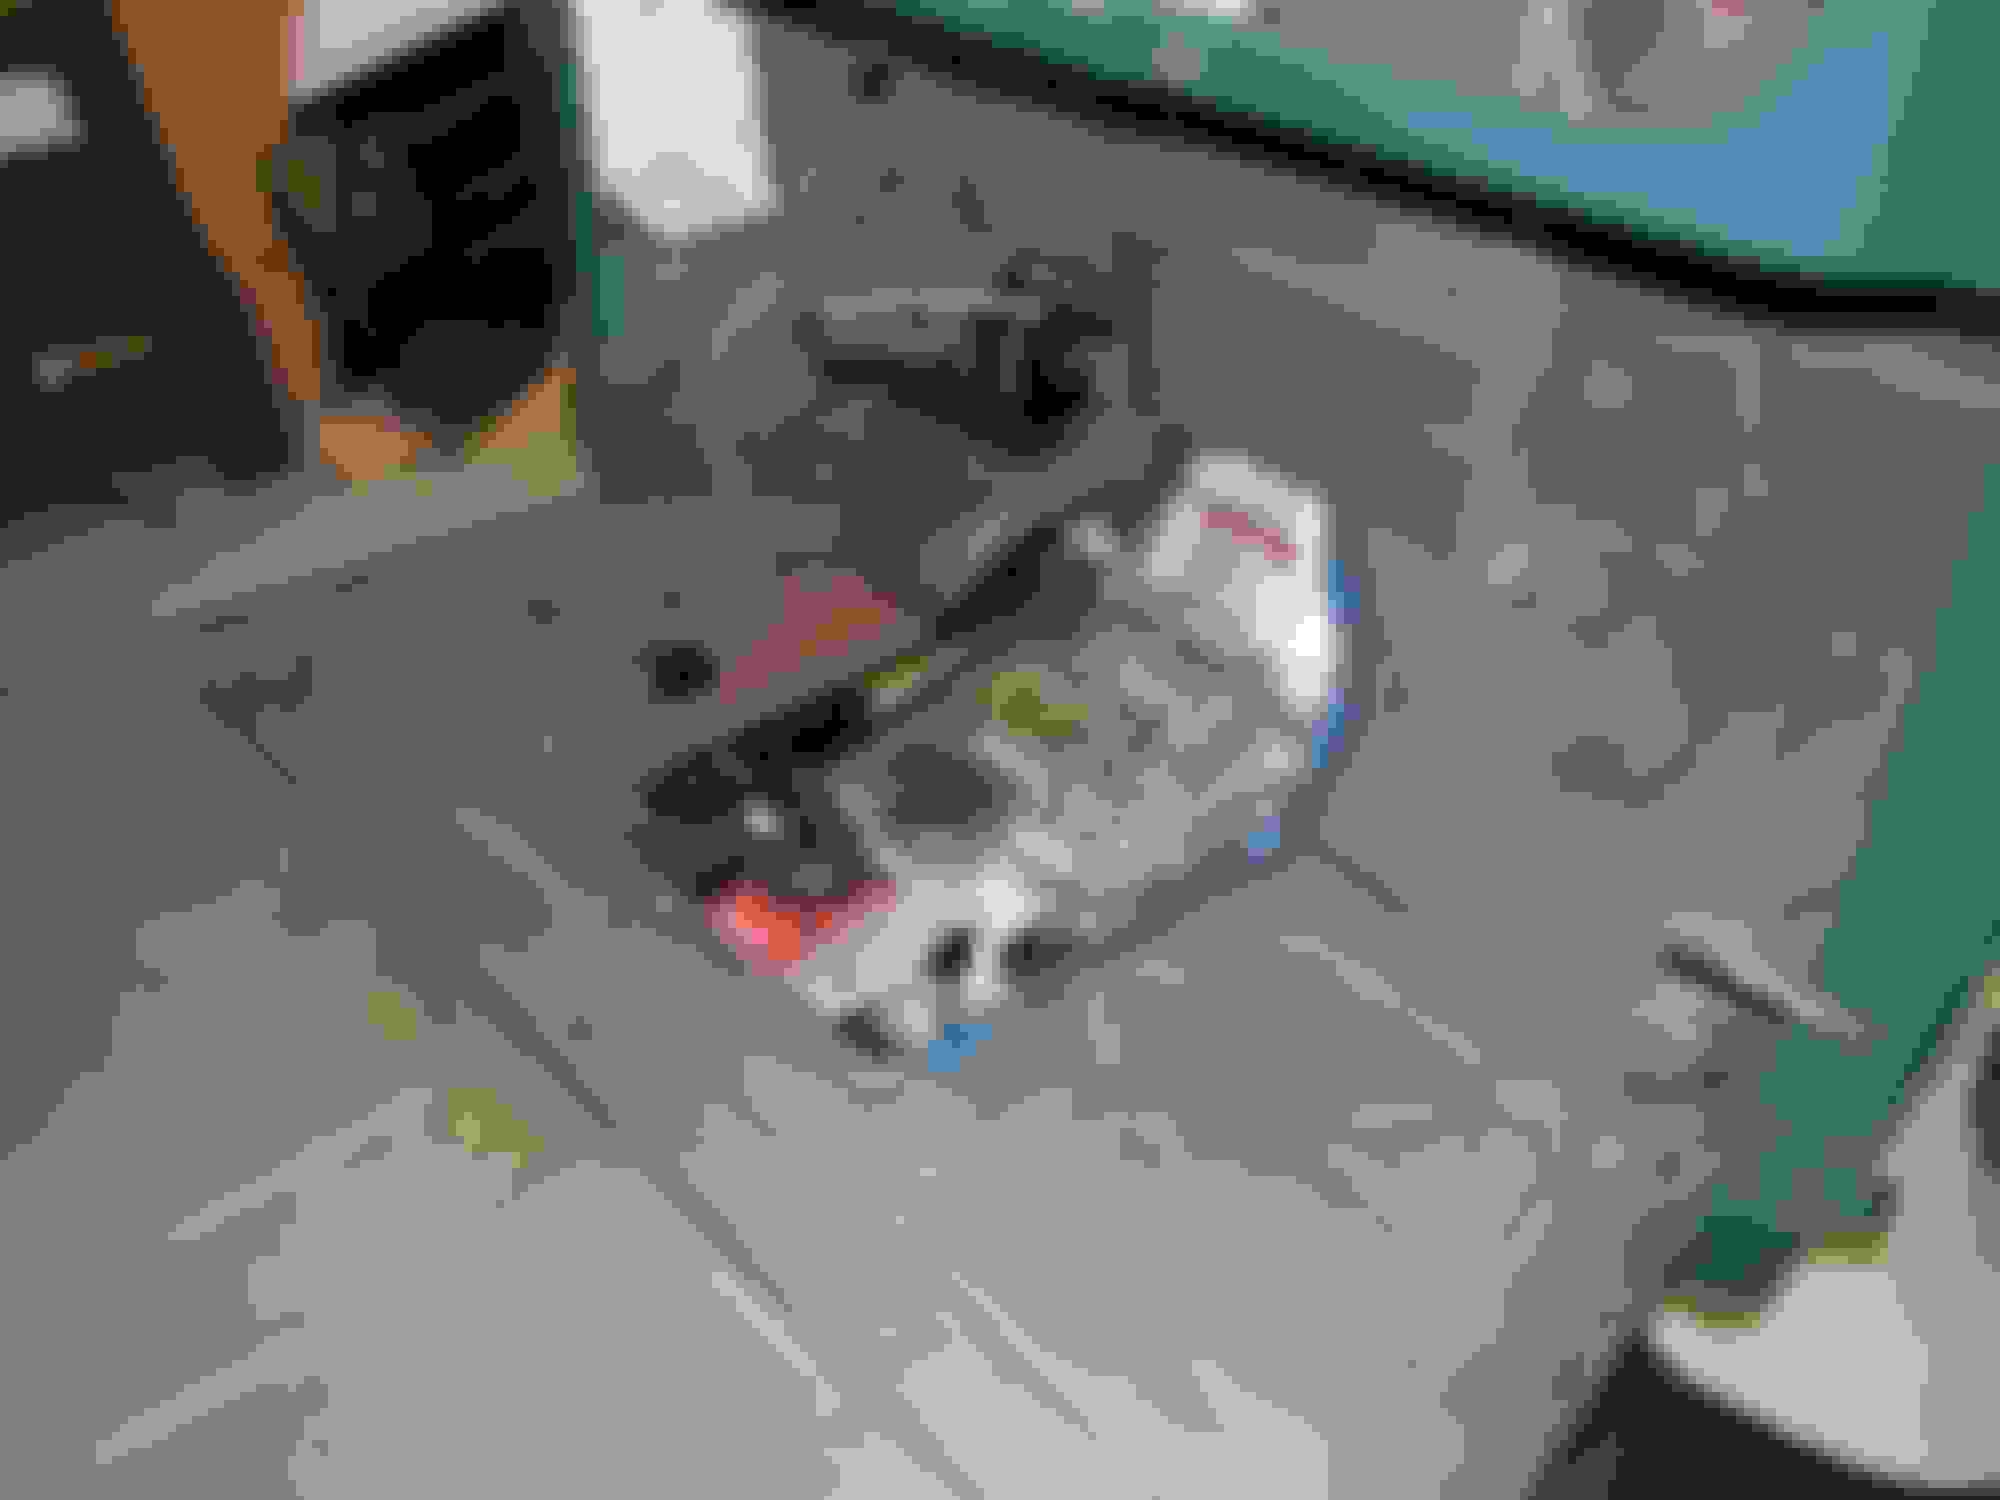
The last thing I needed to install was the oxygen sensors.
Sorry no photos of setting the cab on but it was just Lois and I so no one to take them. All new rubber bushings made the rear mounts a little tough.
Checking the stance. I am very happy! The coil overs need to be adjusted which will raise it 1/2" and the new tires/wheels will raise it a little more.
This is the first time I was able to check the actual engine to firewall clearance, it was right on with our mock-up firewall.
No cutting require anywhere on the cab and the shifter should work fine.
I'm very happy with the way the Coyote fits.
We don't get this often but this was the day after cab install. Fortunately all work will be inside for awhile.
Would like to see how you secured that engine hoist to your cab floor. I need to take my cab off soon and that looks like a great way to lift it. What do those straps connect to on the cab floor? Thanks.
I'm planning an under floor hydraulic clutch and brake master cylinder arrangement for my rig with remote reservoirs under the hood. Imagine my surprise when I read your update and saw pictures in living color of the vision that's been rolling around in my head! I'm anxious to see how it works out. Love your build! It's one of the cleanest I've seen and your workmanship and methods mirror my own very much. If and when I get my bucket screwed together, I'd love to catch up with you sometime in the flesh. Keep up the great work!
Would like to see how you secured that engine hoist to your cab floor. I need to take my cab off soon and that looks like a great way to lift it. What do those straps connect to on the cab floor? Thanks.
I hooked them to the bottom of the door posts in the front and to my seat belt mounts in the rear. There are some additional photos earlier in the post. Straps allowed me to adjust the balance.
So far so good. That cab is as clean as your shop.
I'm surprised you have snow shovel in your tool shed. Odd to see a few inches of snow next to cactus. Hope that stuff goes away soon for you.
Tom
.
Snow is long gone. The shop becomes a disaster each day as I work but I clean it at the end of the day of before I start work again....usually just before I take the pictures.
I'm planning an under floor hydraulic clutch and brake master cylinder arrangement for my rig with remote reservoirs under the hood. Imagine my surprise when I read your update and saw pictures in living color of the vision that's been rolling around in my head! I'm anxious to see how it works out. Love your build! It's one of the cleanest I've seen and your workmanship and methods mirror my own very much. If and when I get my bucket screwed together, I'd love to catch up with you sometime in the flesh. Keep up the great work!
Thanks for the compliments. It sometimes takes a few tries to get things the way I want. So you don't have to wait for the reservoir install, here is a photo.
I may have missed it earlier in the thread, but I would have thought you'd want the middle shifter location? Maybe even the front location?
Front location would have put the shifter through the original hole but.... Tremec does not make this kit any longer, if ever. I found one company that does and the trans has to come completely apart and it runs $1200.00, ouch! I considered the middle location but it only buys 3" and runs $350.00 and last and most important!! This is my wife's truck and being a woman she has crap that she takes everywhere. there is enough room in front of the shifter to make a portable storage box for said crap. We had one in another truck and she loved it.
Fuel pressure regulator routing has me concerned. Please confirm that fuel supply from the pump goes onto the fuel rails and that the return from the fuel rail goes to the regulator which then controls how much goes back to the tank. Right?
Fuel pressure regulator routing has me concerned. Please confirm that fuel supply from the pump goes onto the fuel rails and that the return from the fuel rail goes to the regulator which then controls how much goes back to the tank. Right?
Ha Ha I figured someone to comment that the lies were backward. I had planned on connecting them the correct way which would not have been as clean an install, then I read the directions where Holley tells you it does not matter which line is the inlet and outlet. This way the lines enter on the passenger side exit on the drivers and the pressure gauge is to the front. Good catch, for which you have one a gift! This young lady should be delivering it in a few days.

 02-22-2015, 01:52 PM