When you click on links to various merchants on this site and make a purchase, this can result in this site earning a commission. Affiliate programs and affiliations include, but are not limited to, the eBay Partner Network.
Hey Guys,
I'm looking for what combo's you guys have done for in bumper mounts. I really like the Baja Design OnX 6 20in but not sure the Rigid mount will work.
I did the 20" from DDM Tuning and modified the Rigid Mount so it would work.
The one I did was not as long (both are for 20" lights) but used the brakets which came with my light to attach to the Rigid frame. What I like about the Rigid frame is the way it mounts so you don't have to make something yourself.
The one thing I liked about the bracket is that it mounts both on top and from below. I think this may help further stabilize the light in rough road situations. I have yet to drive down a rough road to know for sure.
The bracket holes for the upper outer edge did not line up well enough on my 2011 to be usable but the license plate bracket holes lined up.
I used two nuts on each of the license plate bracket holes, along with some thread locker, to be sure that the nuts don't loosen on their own. I also used some flexible rubber coating to help protect the nuts from rusting, knowing that I'll probably have to use a small metal brush (gun cleaning tooth brush) to remove the nuts later if needed.
You can look at my gallery for some photos and accompanying explanations for further advice.
I used the lid from the packaging to cover the light when not in use so it would stay clean when needed as well as not be as noticeable to would be thieves. I coated the lid with aerosol flexible rubber coating to further protect the lid from moisture and ice. The license plate bracket bolts help brace the lid in place. I placed small pieces of Velcro along the perimeter of the light face to help secure the lid to the front of the light.
I used a Skeene license plate bracket to move the license plate to the lower valance, as a front license plate is required in my state. http://skenedesign.com/FPBracket/Installation.shtml The bracket can be adjusted to be mounted to the valance (vertical) rather than the underside of the bumper (horizontal) as depicted in many of the Skeene site photos.
The one thing I liked about the bracket is that it mounts both on top and from below. I think this may help further stabilize the light in rough road situations. I have yet to drive down a rough road to know for sure.
The bracket holes for the upper outer edge did not line up well enough on my 2011 to be usable but the license plate bracket holes lined up.
I used two nuts on each of the license plate bracket holes, along with some thread locker, to be sure that the nuts don't loosen on their own. I also used some flexible rubber coating to help protect the nuts from rusting, knowing that I'll probably have to use a small metal brush (gun cleaning tooth brush) to remove the nuts later if needed.
You can look at my gallery for some photos and accompanying explanations for further advice.
I used the lid from the packaging to cover the light when not in use so it would stay clean when needed as well as not be as noticeable to would be thieves. I coated the lid with aerosol flexible rubber coating to further protect the lid from moisture and ice. The license plate bracket bolts help brace the lid in place. I placed small pieces of Velcro along the perimeter of the light face to help secure the lid to the front of the light.
I used a Skeene license plate bracket to move the license plate to the lower valance, as a front license plate is required in my state. No Holes License Plate Bracket The bracket can be adjusted to be mounted to the valance (vertical) rather than the underside of the bumper (horizontal) as depicted in many of the Skeene site photos.
Thanks for the info guys, I like the cover something I was thinking about as well. I was looking at the same location for the plate but I think I'll bend and inch or so of the top at 45 to tuck it up higher and rig up a surround.
For two reasons; the appearance and function. In snow areas the lower light will get covered in ice but the upper won't get covered as bad.
I intend to put a 50 - 54" curved on the top of my Ranch Hand guard or recess a 40" in the grille like yours. I haven't figured out how the flush mount works to decide which to choose.
Otherwise, it looks great. What brand light is that?
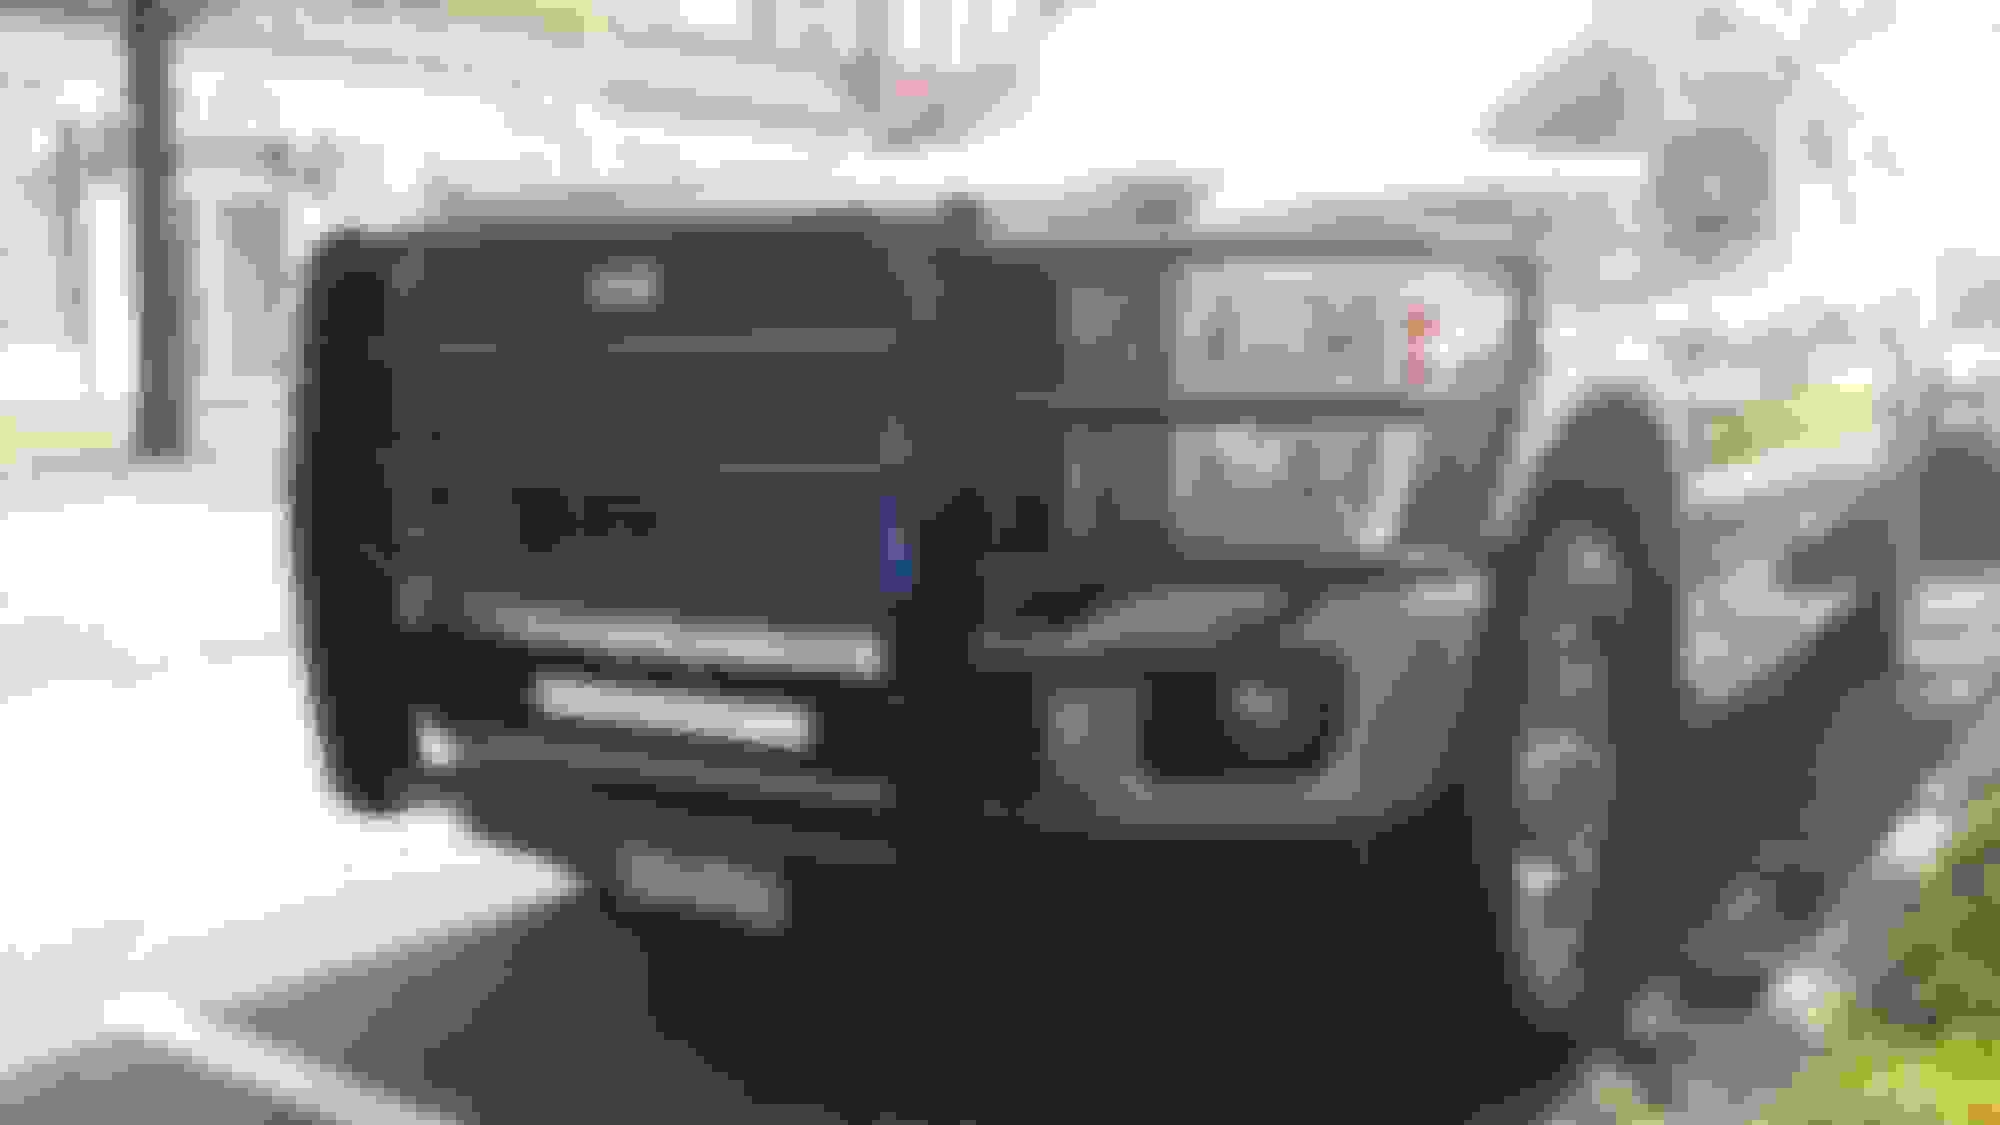
BTW, love the headlights.
Thanks. The upper and lower grilles are made by T-Rex and the headlights are made by Anzo.
 10-04-2014, 06:18 AM