Fresh Air Vents
#1
Fresh Air Vents
I am aware from this forum that it is common for the slider tab on the driver's side vent to break off from being right next to the parking brake. This is the case on my 72.
Similarly, I am aware from this forum that it is common for the vents to become bird-nests of leaves and other crap. Also the case on my 72, at least on the driver's side. Passenger's side works just fine.
My driver's side was closed, and I couldn't grip where the tab used to be well enough to open it, until yesterday. I learned three things yesterday: 1) it appears the vent cover cannot be removed without first removing the parking brake pedal, 2) the leaves and junk cannot effectively be vacuumed out through the vent louvers, and 3) it does not smell like the leaves were placed there by a rodent (thank the Lord for small favors).
I have looked through my shop manual, and I cannot find where the layout of the vent is described. Probably, I am just overlooking it. Here's my question:
WHERE IS THE INLET FOR THE FRESH AIR VENT, AND CAN I CLEAN OUT THE TRASH FROM THAT SIDE, SO I DON'T HAVE TO TAKE OFF THE PARKING BRAKE PEDAL TO GET TO IT?
#2
The air inlet is from the cowl vent.
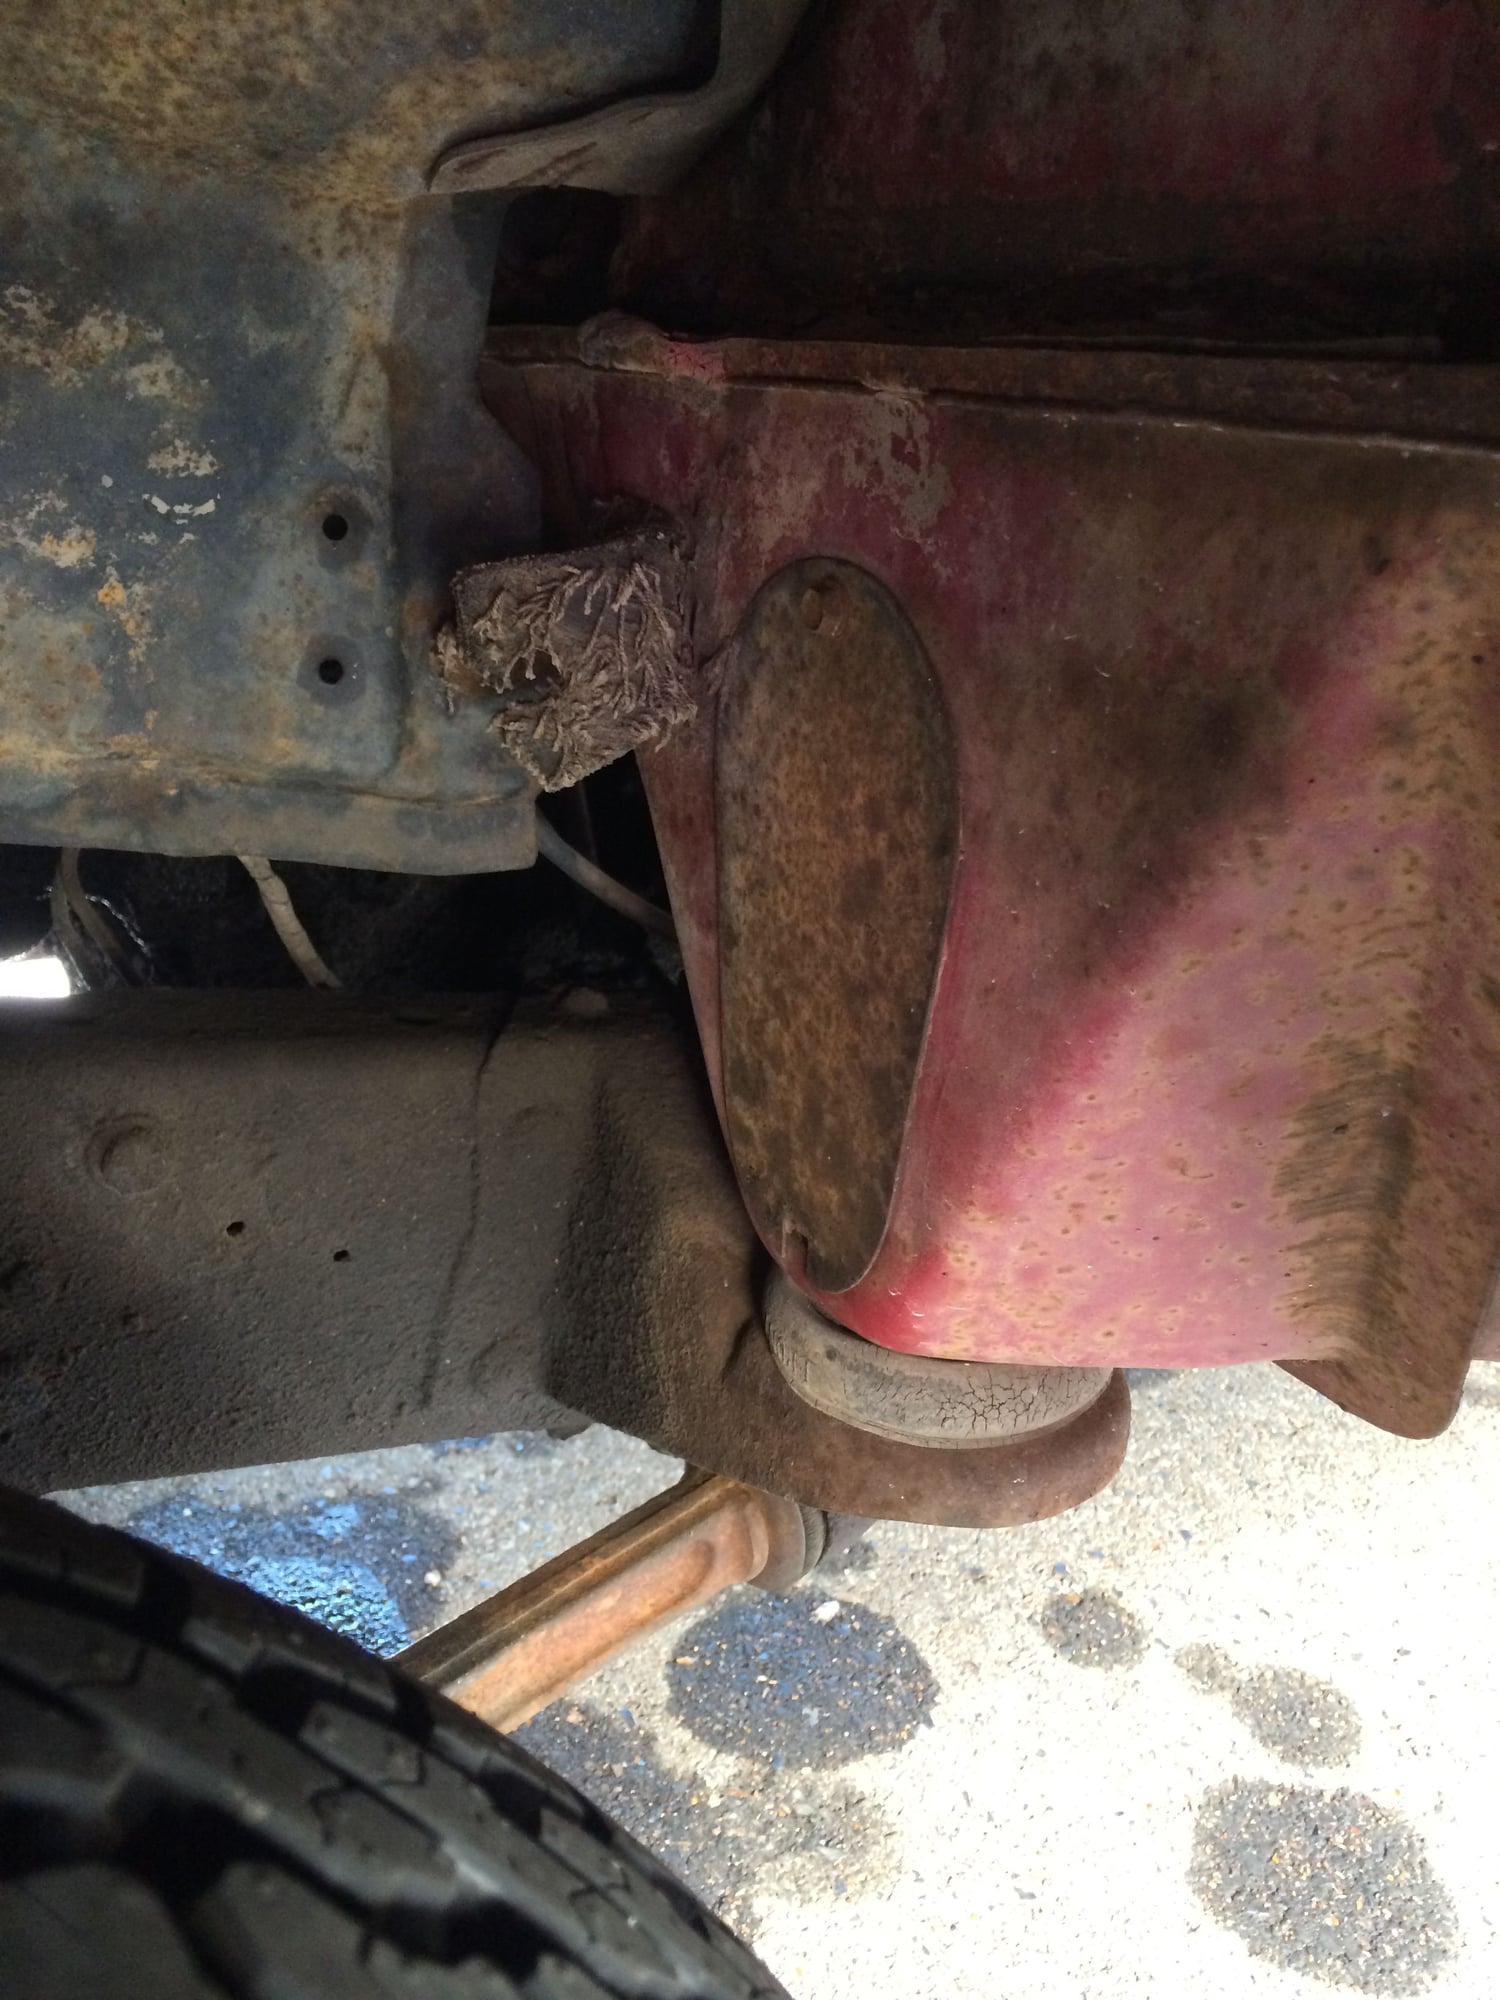
To clean it out undo the splash shield at the rear of the front wheel wells. Then fashion a small hook outta stiff wire and fish out the debris. Flush with garden hose... patience required until it runs clear.
Oh close the air vent lest ya want a wet floor board.
To clean it out undo the splash shield at the rear of the front wheel wells. Then fashion a small hook outta stiff wire and fish out the debris. Flush with garden hose... patience required until it runs clear.
Oh close the air vent lest ya want a wet floor board.
Last edited by HIO Silver; 09-22-2014 at 01:08 PM. Reason: Corrected typographical errors as a result of using a lil tablet.
#5
Or you could do what I did with my parking brake bolts. The two that go through the firewall broke when I tore it down. I ground the pressed bolt off and replaced with regular bolts and mounted it.
I did this before installing the air vent. And then I realized that I shouldn't have. Since the cable was a pain to get connected to the brake assembly, I didn't want to completely remove it. I removed the 2 firewall bolts, loosened the dash bolt and swung the parking brake over just enough to get the air vent in.
I did this before installing the air vent. And then I realized that I shouldn't have. Since the cable was a pain to get connected to the brake assembly, I didn't want to completely remove it. I removed the 2 firewall bolts, loosened the dash bolt and swung the parking brake over just enough to get the air vent in.
#7
The air inlet is from the cowl vent.
To clean it out undo the splash shield at the rear of the front wheel wells. Then fashion a small hook outta stiff wire and fish out the debris. Flush with garden hose... patience required until it runs clear.
Oh close the air vent lest ya want a wet floor board.
To clean it out undo the splash shield at the rear of the front wheel wells. Then fashion a small hook outta stiff wire and fish out the debris. Flush with garden hose... patience required until it runs clear.
Oh close the air vent lest ya want a wet floor board.

Trending Topics
#8
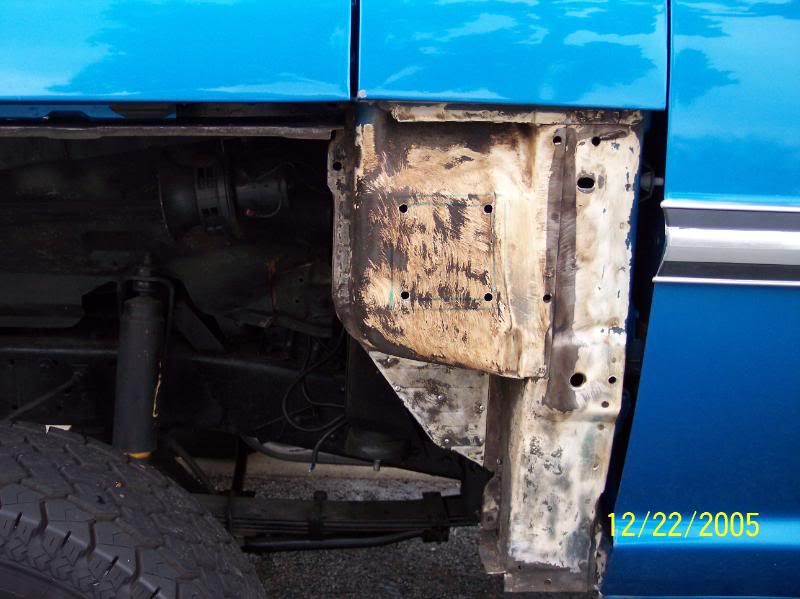
Nope... that's an access panel for the cab mount. The splash shield (feels like roofing paper) is on the inside trailing side of the fender... it's held on with a series of spiny push pins. Pull out the push pins, peel back the shield, and you'll see the cowl vent bowl.
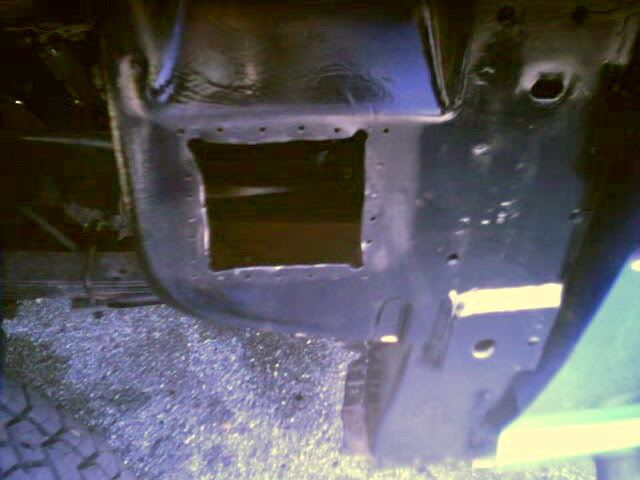
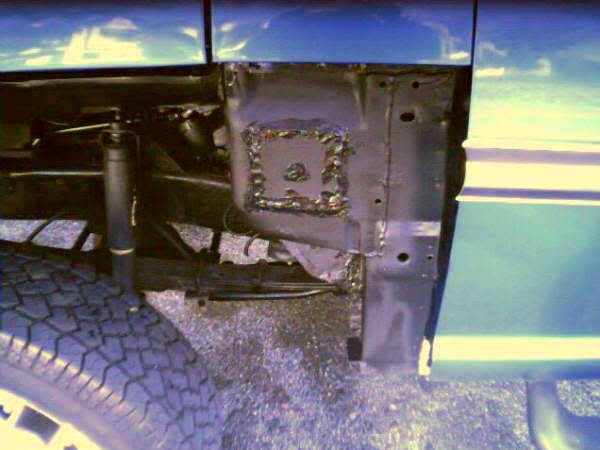
As a result of great engineering, the drain of the vent bowl is directly in line with (I think) a door hinge bolt which prevents it from passing large chunks. My 70's bowls had about four or five inches of "mulch" when I first got it and took quite a bit of fishing and rinsing until it was fully cleaned out.
As a result of great engineering, the drain of the vent bowl is directly in line with (I think) a door hinge bolt which prevents it from passing large chunks. My 70's bowls had about four or five inches of "mulch" when I first got it and took quite a bit of fishing and rinsing until it was fully cleaned out.
#9
Nope... that's an access panel for the cab mount. The splash shield (feels like roofing paper) is on the inside trailing side of the fender... it's held on with a series of spiny push pins. Pull out the push pins, peel back the shield, and you'll see the cowl vent bowl.
OK, so if I put the camera over by the cab mount and looked back towards the fender, that's where I would find it?
#10
#11
Turn the steering to full right or left and peer in there. You'll see it. The bowls are welded to the sides of the cowl of the cab.
#13


