When you click on links to various merchants on this site and make a purchase, this can result in this site earning a commission. Affiliate programs and affiliations include, but are not limited to, the eBay Partner Network.
I'm a few weeks ahead of you on the interior install (see attached). I started building a lower valance for the dash out of aluminum, but didn't get too far, yet - want it to cover some of the wiring at the bottom of the dash. I might be a buyer or a tester of yours
DW, My lower dash extension plug is now with a fiberglass place. They may make the extensions for Classic-Haulers. Keep checking with Candi at Classic-Haulers. Hopefully soon they will have them.
Mark
The console is complete. Only thing left in the interior build is bolting in the seats, making a rear storage tray and Side panels to the seat bases. Also, the door panels need to be completed. Pictures of the above coming soon.
Here you see I've completed the carpet install. This has to be done before completing the center console. This carpet had a heavy fiber insulator/sound mat glued to it. I just had to cut for the center console, all the pedals and door openings/edges. I then added a polished door edge to hide carpet ends and give the "finished" look. Note, I hate drilling through carpet and matting..... the drill bit grabs it all.... so be careful.
First, make the templates out of cardboard or heavy paper. Then once those pieces fit correctly, trace out on the plywood.
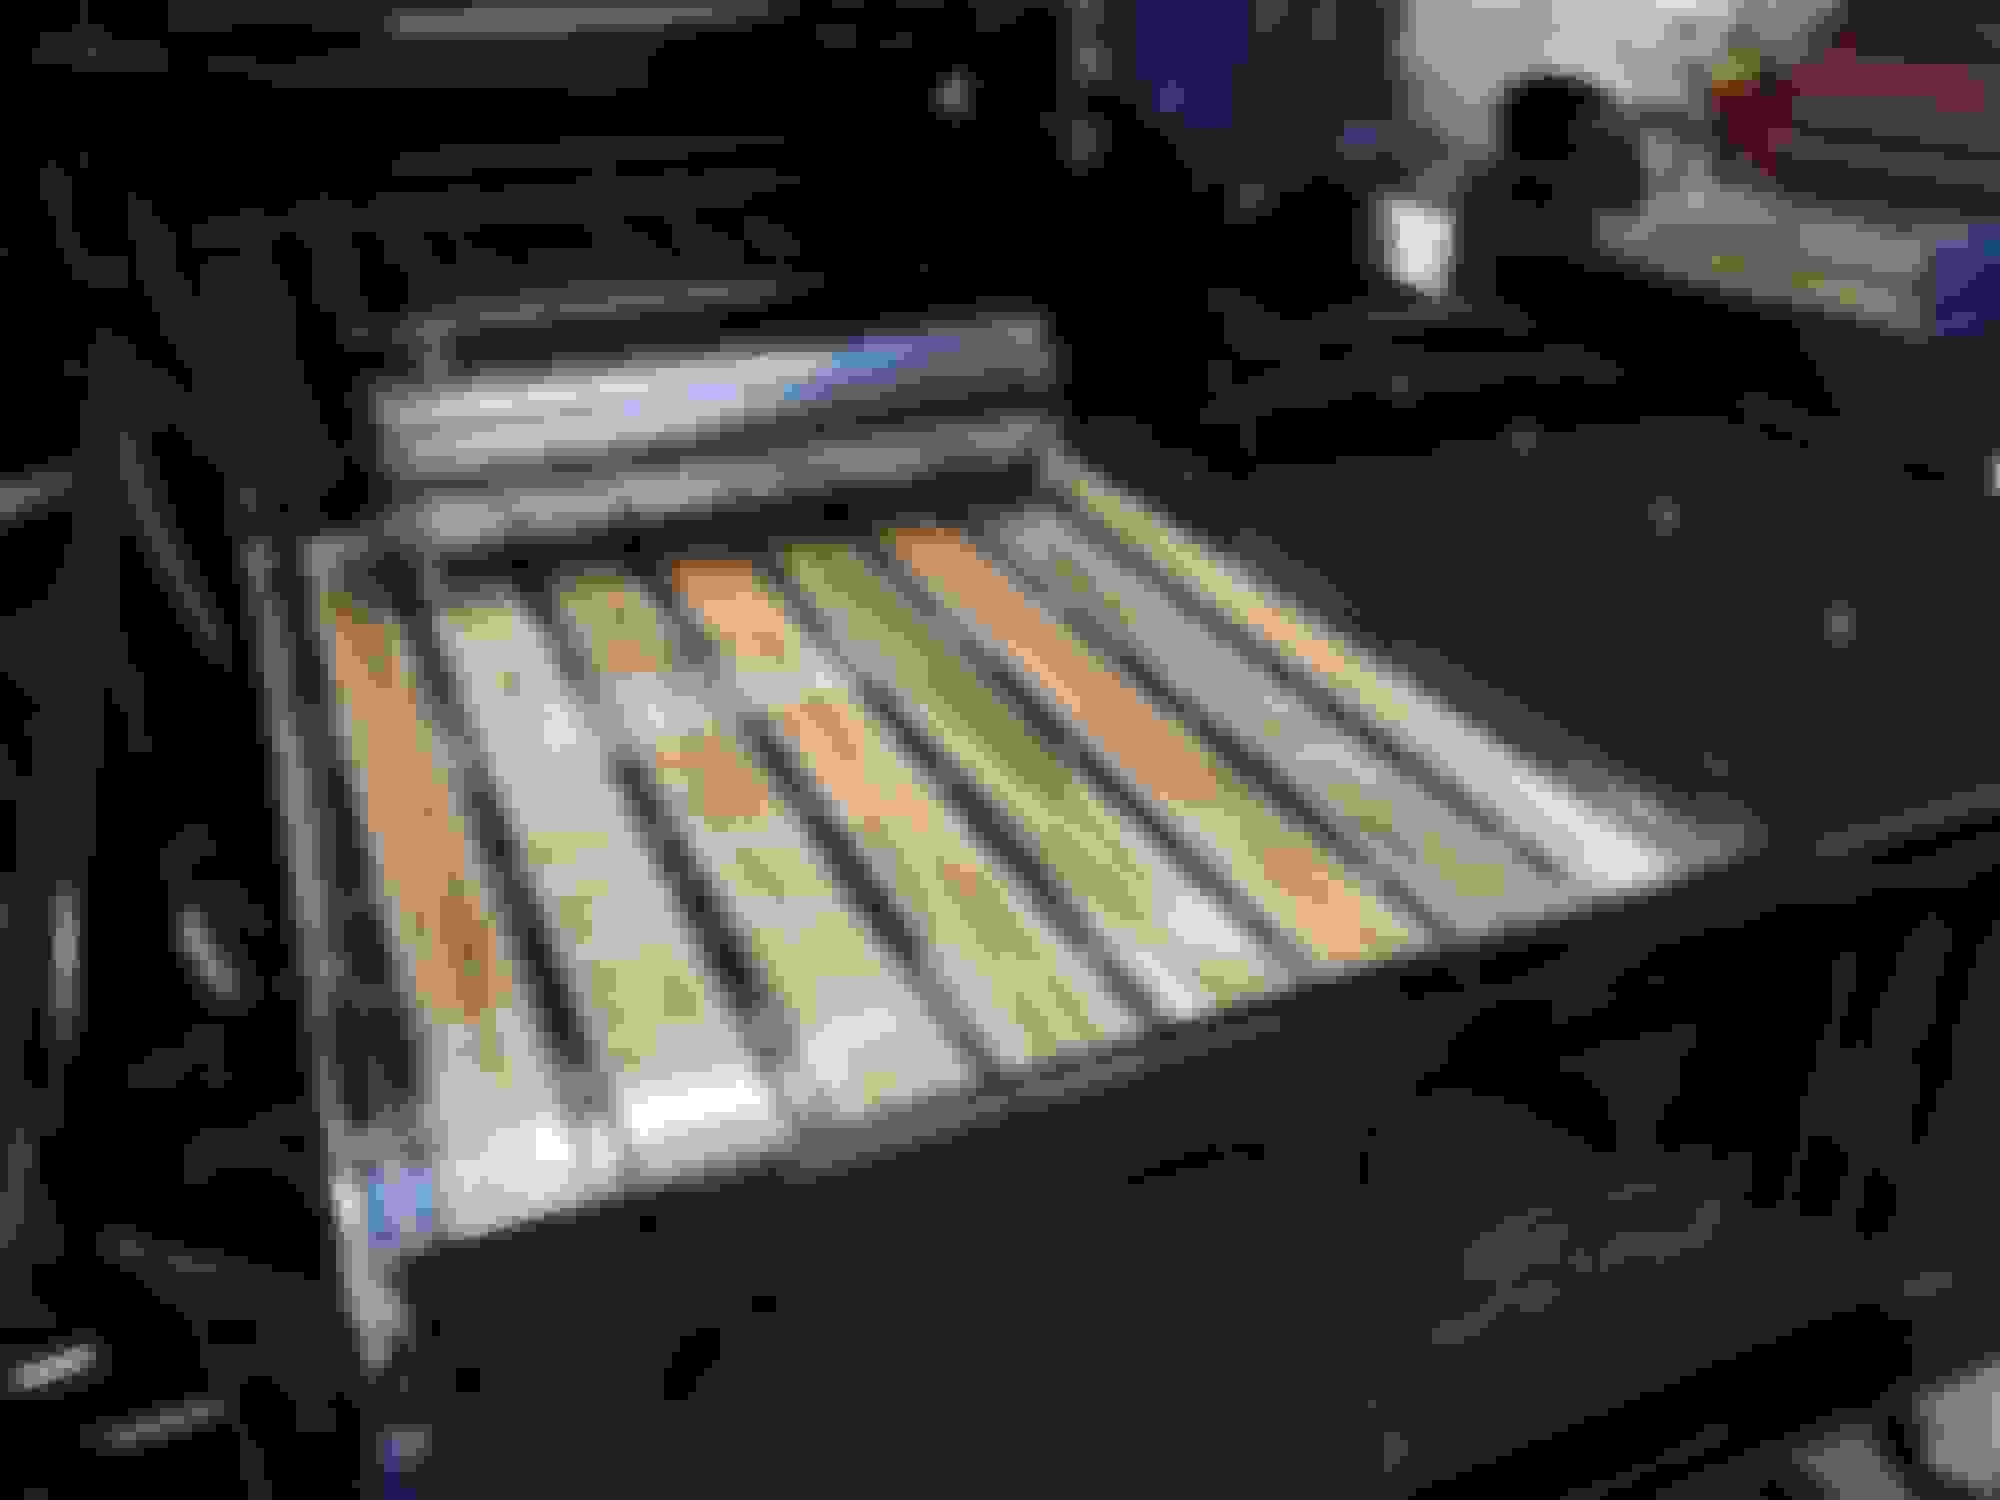
Here you see all the plywood cut and in place for final fitting. Once that's done, I started the Flux Leather (quality vinyl with backing) covering.
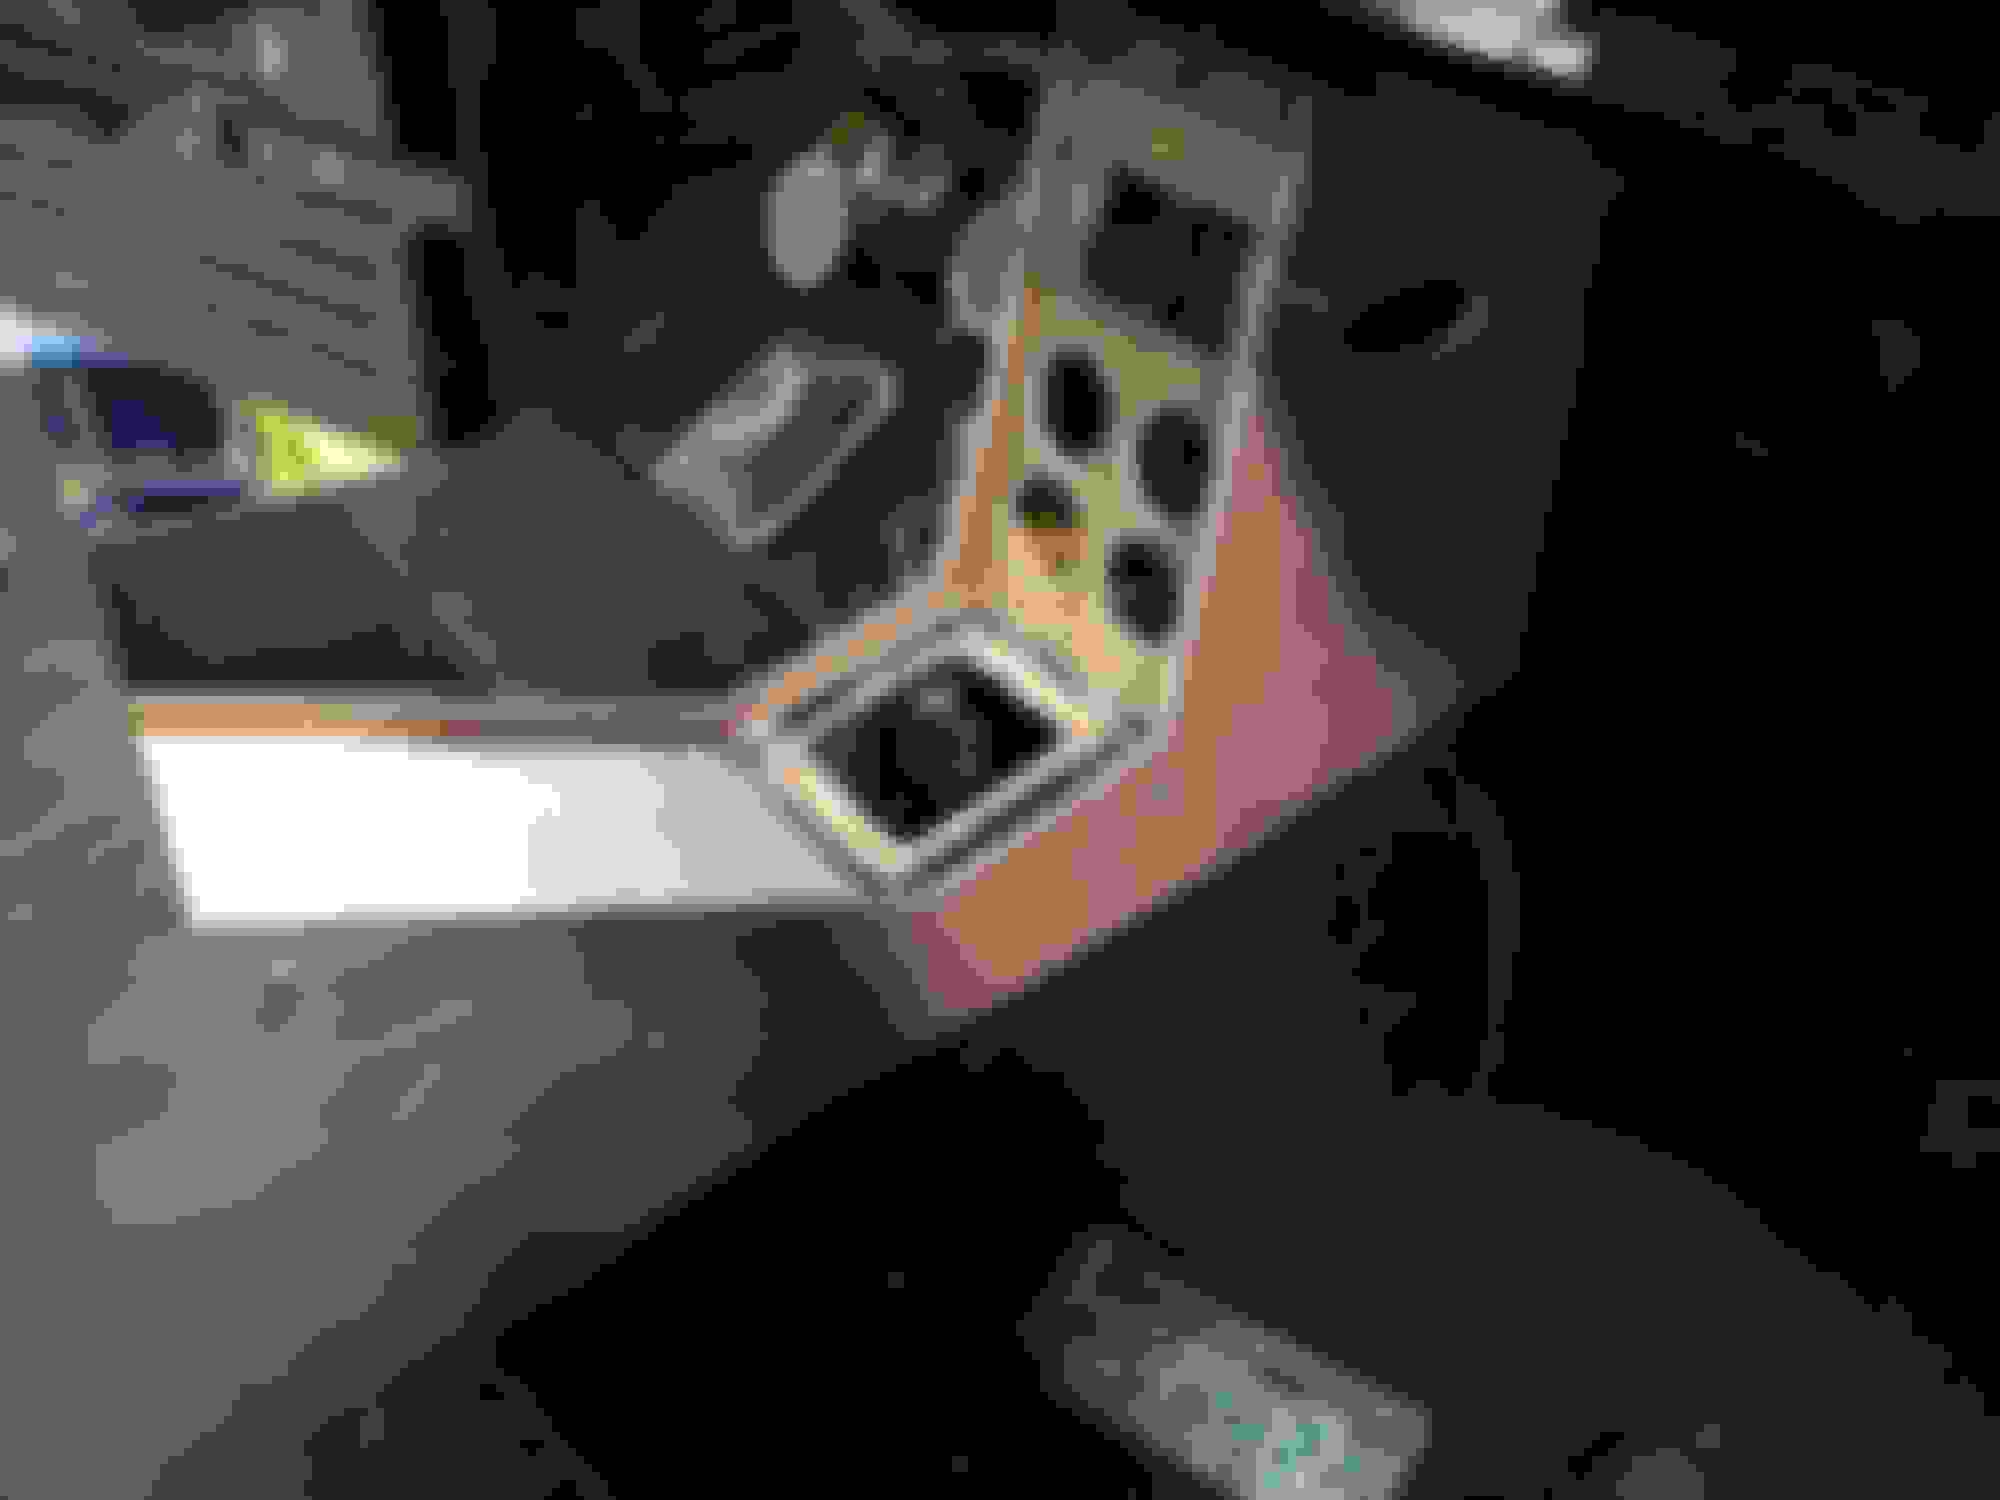
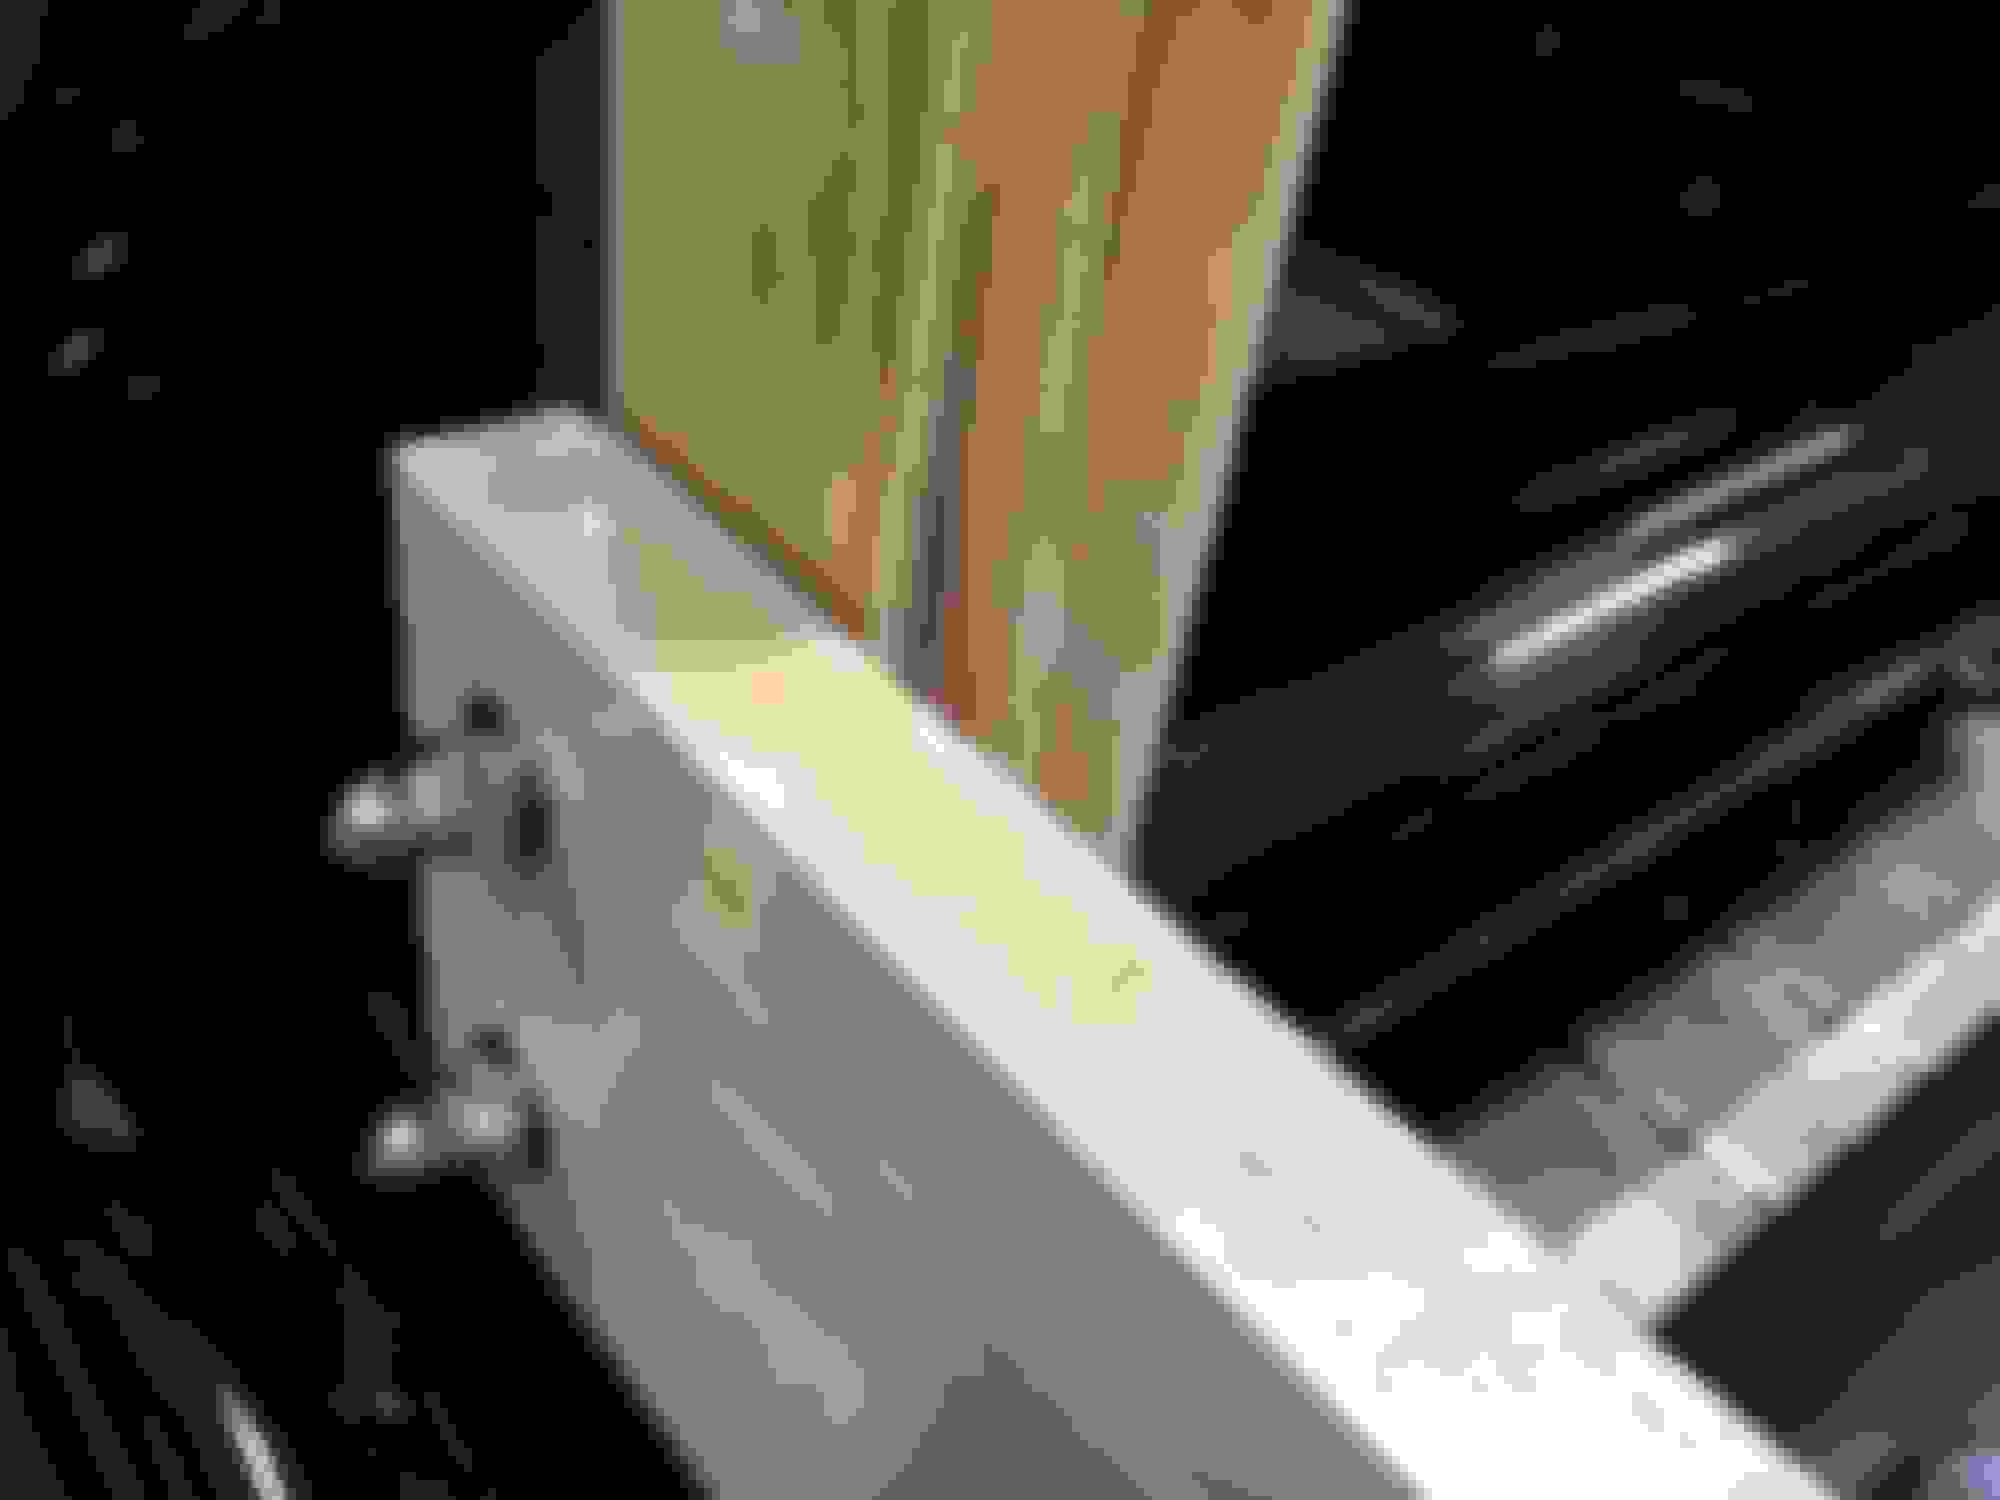
The sides are attached using ss screws, while all the center sections I used high stick/quality Velcro. The sides then screw down firmly to the centers, which add additional strength. The only center sections that I didn't use Velcro were the gauge and gear shift sections.... the gear shift sections will be held in place with the four screws from the gear shift boot and the gauge section I glued 1/2" pine wood to the rear sides then used screws from through the side panels to hold all together. This provided a very firm structure.
Everything now covered in the Flux Leather. This picture shows an extra 12v outlet, master power switch, manual "ON" electric radiator fans and the master Lock/Unlock switch.
Here you see the four additional gauges installed along with the Sirius/XM sat head unit. This can be removed from the holder and used elsewhere. Also note in the lower center of the left side panel is the switch/gauge for the air compressor and I also installed an indicator light for when the master power switch is "ON".
Right side view. The arm rest/tray I used I bought from a BMW supplier... it's the arm rest used in the BMW S3 model. Also Note the two side panel lights I instilled, just under the dash. Them come on with the dome light.
Lastly, before the final "screw down/install", I cleaned up the wire mess, add wire warp and made everything neat. The console unit can come apart anytime when/if needed.
Steering wheel and floor mats installed.
Today, the bed wood will be installed.... stay tuned... more coming.
Yesterday was a break from the interior and I started installing the bed wood with the help of my buddy Steve Ortiz. I must admit, it took a lot longer than I thought to install the bed. Hole alignment being the biggest issue and watching you didn't scratch the trucks gloss black paint and the clear on the wood.
I wet sanded each piece of wood with 1000 grit and then a DA polish/foam pads with several different polish compounds. The wood is Wormy Maple... so it's very hard and distinctive. It contrasts well with the black paint. I prefitted each peice and drilled holes as need to accept the external polished ss gas tank and associated mounting bolts and gas lines. The clear on the wood is from Bed Wood and Parts... their EZ Seal and Shine kit, Catalyzed clear Acrylic Urethane Finish... here's the link: EZ Seal And Shine Bed Wood Finish Kit 951 Bed Wood and Parts It's not cheap, but well worth it. The wood and polished ss strips came from them as well. They custom cut the wood for the side rails and posts.
This shows a close up of the posts. I used ss flush/insert style nuts for the posts. I then sealed the nuts with silicone and the fronts where the bolts will pass through the bed sides through the posts I made rubber washers. So between the front rubber washers and the rear sealed with the silicone, little to no water should get into the drilled hole in the wood. If it does, I also applied sever coats of the urethane with pipe cleaners. I also ran a tap through all threads to ensure the bolts had no issues.
After many hours, the bed wood installed and bolted down tight with ss hardware. All threads were coated with anti-seize. The polished ss gas tank is mounted. I have four lines connected to this 13 gal tank... 2 - 3/8" lines that gravity feed the 17 gal tank located in the truck's frame; 1 - 3/8" line for the return from the fuel pressure regulator and one from a vent tube in the tank. The vent tube is welded to the bottom outlet and to the top of the fuel fuller neck by the twist off cap. Lastly, if you look very closely to the front right bed post I installed you'll see a metal shelf I made that I mounted the AM/FM antenna, the GPS speedo antenna and the Sirus/XM antenna. I also grounded the metal shelf to the truck frame. Since everything is satin black and the bed side rails will make them virtually disappear. You can't see it in this picture, but the lower tank also has a filler cap. I'll fill the lower tank first, then the top tank. The lower tanks is completely sealed and vents through the gravity feed gas lines to the top tank.
I also have started to mount the tailgate.... more pictures later. The "FORD" script logo was hand painted with the same Light Platinum metallic paint used elsewhere on the truck as the accent color.
Thanks Mike. When I first got the wormy maple, I was somewhat worried it would be too light with the gloss black. The urethane did darken it a bit and the contrast worked out ok. I could have wet sanded more to remove all orange peel and make it more like the trucks paint finish... but I chose to leave as is for the thicker, deeper look and thus better protection for the wood itself.... at least that's my thoughts and I'm "stick-en" to it.
It's been awhile since I've viewed your build thread, I need to go back to the start and go through it again. You have done an amazing job and your truck is absolutely beautiful. Fantastic work.
Truly awesome work on the bed! May I ask where you found and purchased the round secondary fuel tank? I have a 12 gallon primary, which is just an inexpensive fuel cell and considered building a larger custom tank, but a secondary tank might work great and be simpler.
Truly awesome work on the bed! May I ask where you found and purchased the round secondary fuel tank? I have a 12 gallon primary, which is just an inexpensive fuel cell and considered building a larger custom tank, but a secondary tank might work great and be simpler.
thank you,
Doug
Doug, I had the tank made to spec from Aluminum Gas Tanks.net AluminumGasTanks.net ph 620-662-4557. They were great to work with, fast and good price. Tank made and shipped... $423. Price included polished ss 10x40 tank, 1 shoot out, 1 vent 3/8 NPT, 3 3/8 NPT, billet tank straps and cap.
I plan to finish the truck this week..., i.e., I took the week off and the weather is good.... mid 60's each day.
I received the polished SS Bumper and had to do a bite of fitting... but got it. It looks great..., but time will tell.
On the right front side rail post, I made and installed an antenna shelf. It holds the GPS speedo antenna, Sirus/XM sat antenna and the AM/FM antenna. I grounded the metal shelf also to the chassis. All wires run down the bed side rail channel and not visible.
Right side complete and hides the antennas very well.
Starting the left side. Note the gap between the side rail and the post. I put double ss washers between all posts and rails for one single reason, drainage of trapped water. This gap will allow air to help dry any moisture. In addition, all hardware I used here are stainless steel (ss).
Since I installed the external ss gas tank in the bed, I needed good acces to fill it with gas. I used polished ss marine/boat hardware here. The middle rail swings out. The two bolts/nuts were cut on the ends of this middle rail and protrude about 1/2" into the post and act as the vertical position stabilizers.
Job complete.
Now back to the interior and final pictures coming soon. I'm looking forward to the first test drive.
 01-07-2015, 04:53 AM