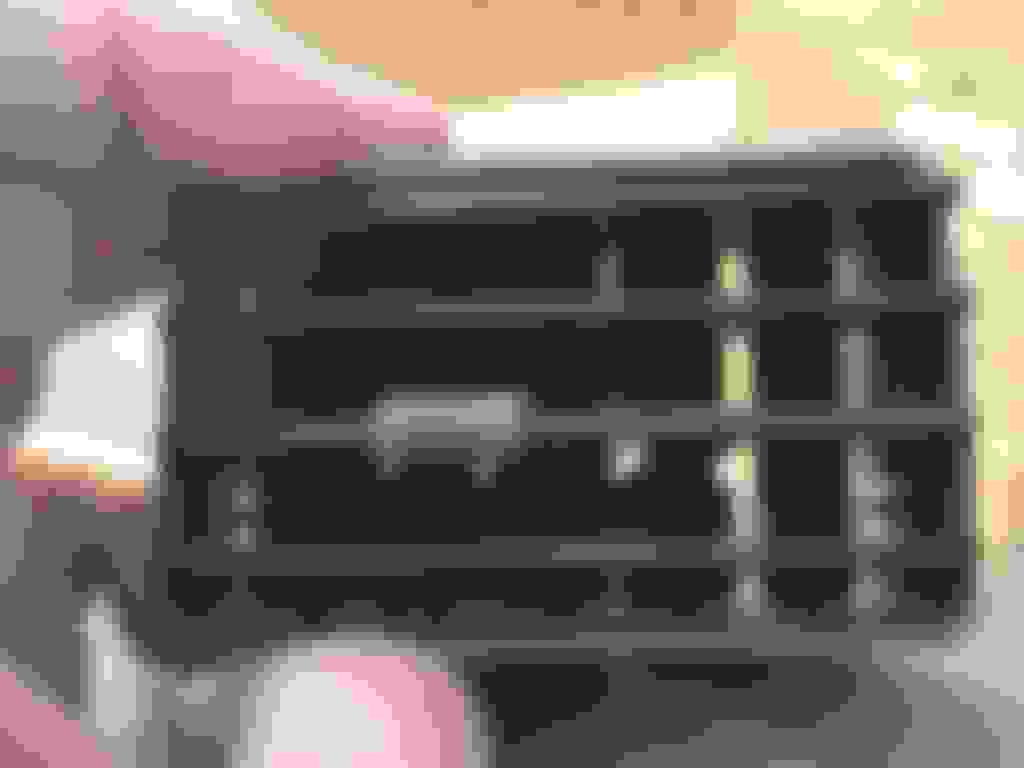
When you click on links to various merchants on this site and make a purchase, this can result in this site earning a commission. Affiliate programs and affiliations include, but are not limited to, the eBay Partner Network.
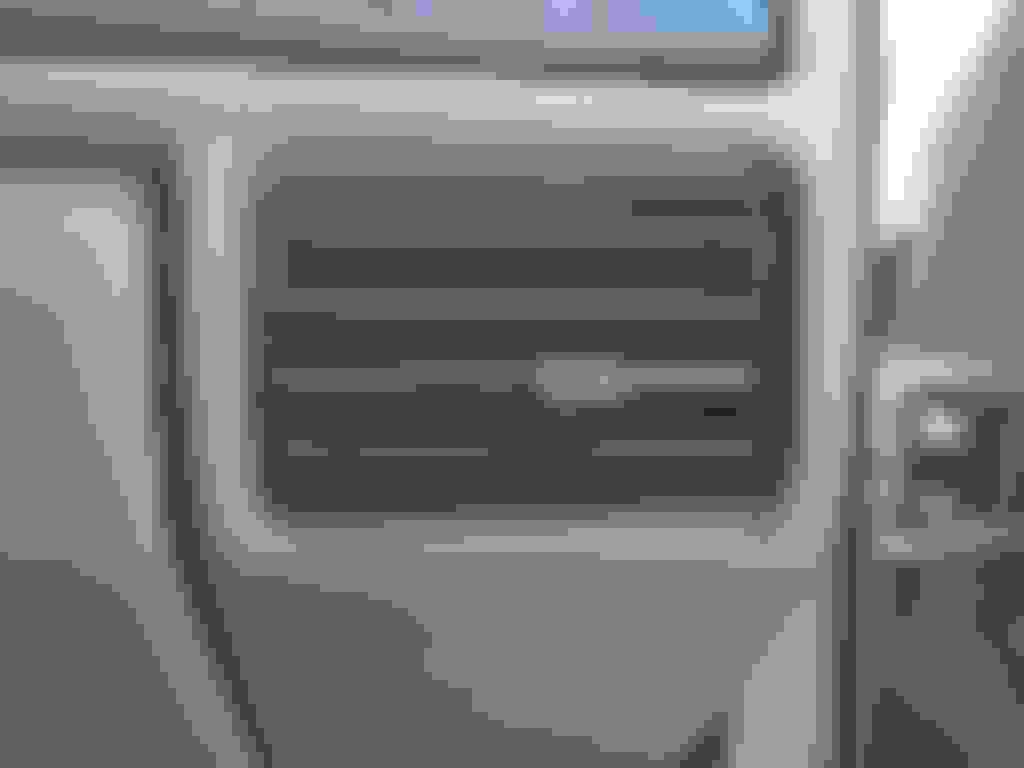
Your sticky vents are easily removed, cleaned and unless you stripped the gears, you can get them to fully swing both directions again.
Here is how the left and right sides of them look…identical on all 4 vents so only the one pic is needed. They have 2 ramped tabs that need to be pried inwards.
Identify a thin tool (but wide enough to engage both tabs simultaneously) like a putty knife, 2 butter knives, or similar. I used a hand saw that has no kerf. (Kerf is the amount the saw teeth are bent left and right of each other.) I was careful as using my tool of choice could be destructive. The tool is slide inwards along one side, you pinch the vent and the tool together and pull outward. Once one side has released continue to pull that one side outward until the whole vent assembly is loose. My free hand is holding the camera so you'll have to use your imagination for the 'pinch maneuver'.
Bubble bath time… I wouldn't use bleach or alcohol based hand sanitizer on the plastic but dishwashing soap or hand soap in water as warm as you can tolerate along with a softish brush should do the trick. Get it all clean, work the slides back and forth, the vents up and down, etc. Rinse it off and clean the others. Rinse and shake them dry.
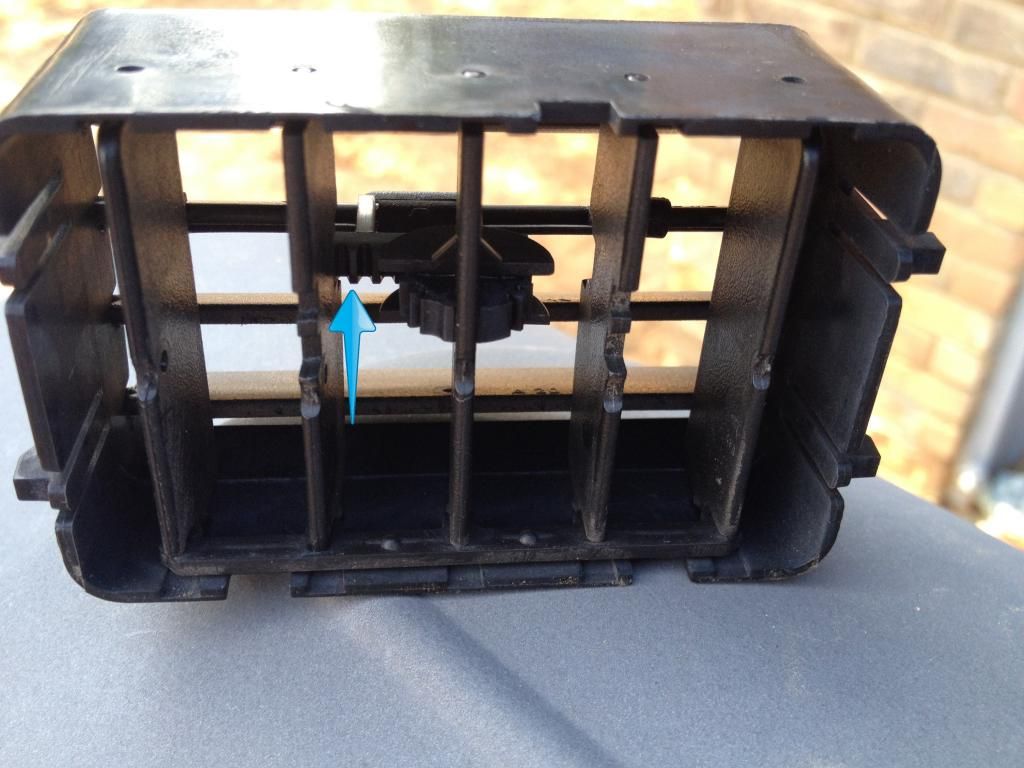
This vent won't swing any further than this though the slider is all the way over…
From the back side you can see the toothed rack is offset to the left.
With a small screwdriver push the toothed slider away from you while holding the very center blade. The center blade has the curved set of gears on it. Be gentle as all you are trying to do is separate the gears enough to jump the slider one direction of the other. When you are done the toothed slider will be centered. These two pick show before and after adjustment. If you jump too many teeth just go the other direction a little. Be gentle, be patient.
Inserting them back in their hole is similar to reversing the removal process. I was able to squeeze the one side enough to get the tabs to insert. Your removal tool may be helpful too.
If they don't swing all the way left and right you don't have the side it won't go to all the way inserted. Here's the vent that once swung only one way, now slides both ways with ease.
The pride from this project comes when your wife goes to adjust her vent and doesn't gruff and mutter about your prehistoric truck.
Really good post on a common issue. It's a very good idea to pop the vents out every so often, and clean the duct out, as dust seems to accumulate there very quiclly.
Helps alot with allergies, etc....
I tried to rep ya, but the powers that be says I have to spread the love around a bit more.
Yet another project to do during this upcoming cab swap. Thanks for the post and nice pics..
now put that saw away and get yourself a putty knife before you cut your dash.
I may have you a set of gray A pillars. Don't know if I'll need your blue ones though. If we were closer we could probably do some trading. I just aquired a 40/20/40 seat for mine . I'm having second thoughts on gray interior and wanting to two tone it at least.
I think the saw adds some excitement to an otherwise boring task!
I'd buy the A pillars if you want to sell them outright. I can sell the blue ones at another time.
Let me know what you decide with the seats. I think stripping the fabric off makes more sense than shipping the seats. The center arm rest may be the piece to ship as a whole, and the colored trim pieces.
Awesome write up Leo, this will no doubt come in handy as both of my trucks are in need of this big time Maybe I can get the wasps that are in the ducts too once the vents are out
Its funny. I been doing this for YEARS to get the buildup of dust, dirt and kids crap out of them. I typically saturate them in purple power then rinse clean.
I would like to add that the 1996 model vents, although they look the same, have slightly different holes (Where the fins clip in place to the outer housing) than the 1992-1995 ones.
I got some spare ones out of a 96, and broke them down along with my 92 ones and had a fun time separating them all out.
Good to know! Are they interchangeable and does this change how they are removed or cleaned?
Thanks for the writeup. i read it when you first posted. but just got around to doing it in both my 97s. i had two that were broke but luckily i have a extra 96 dash in the shed and they were not broken.
this helped a ton and they didnt look dirty. but the water says otherwise. that is only from one set.
 08-10-2014, 08:02 PM